3D Scanning And Printing

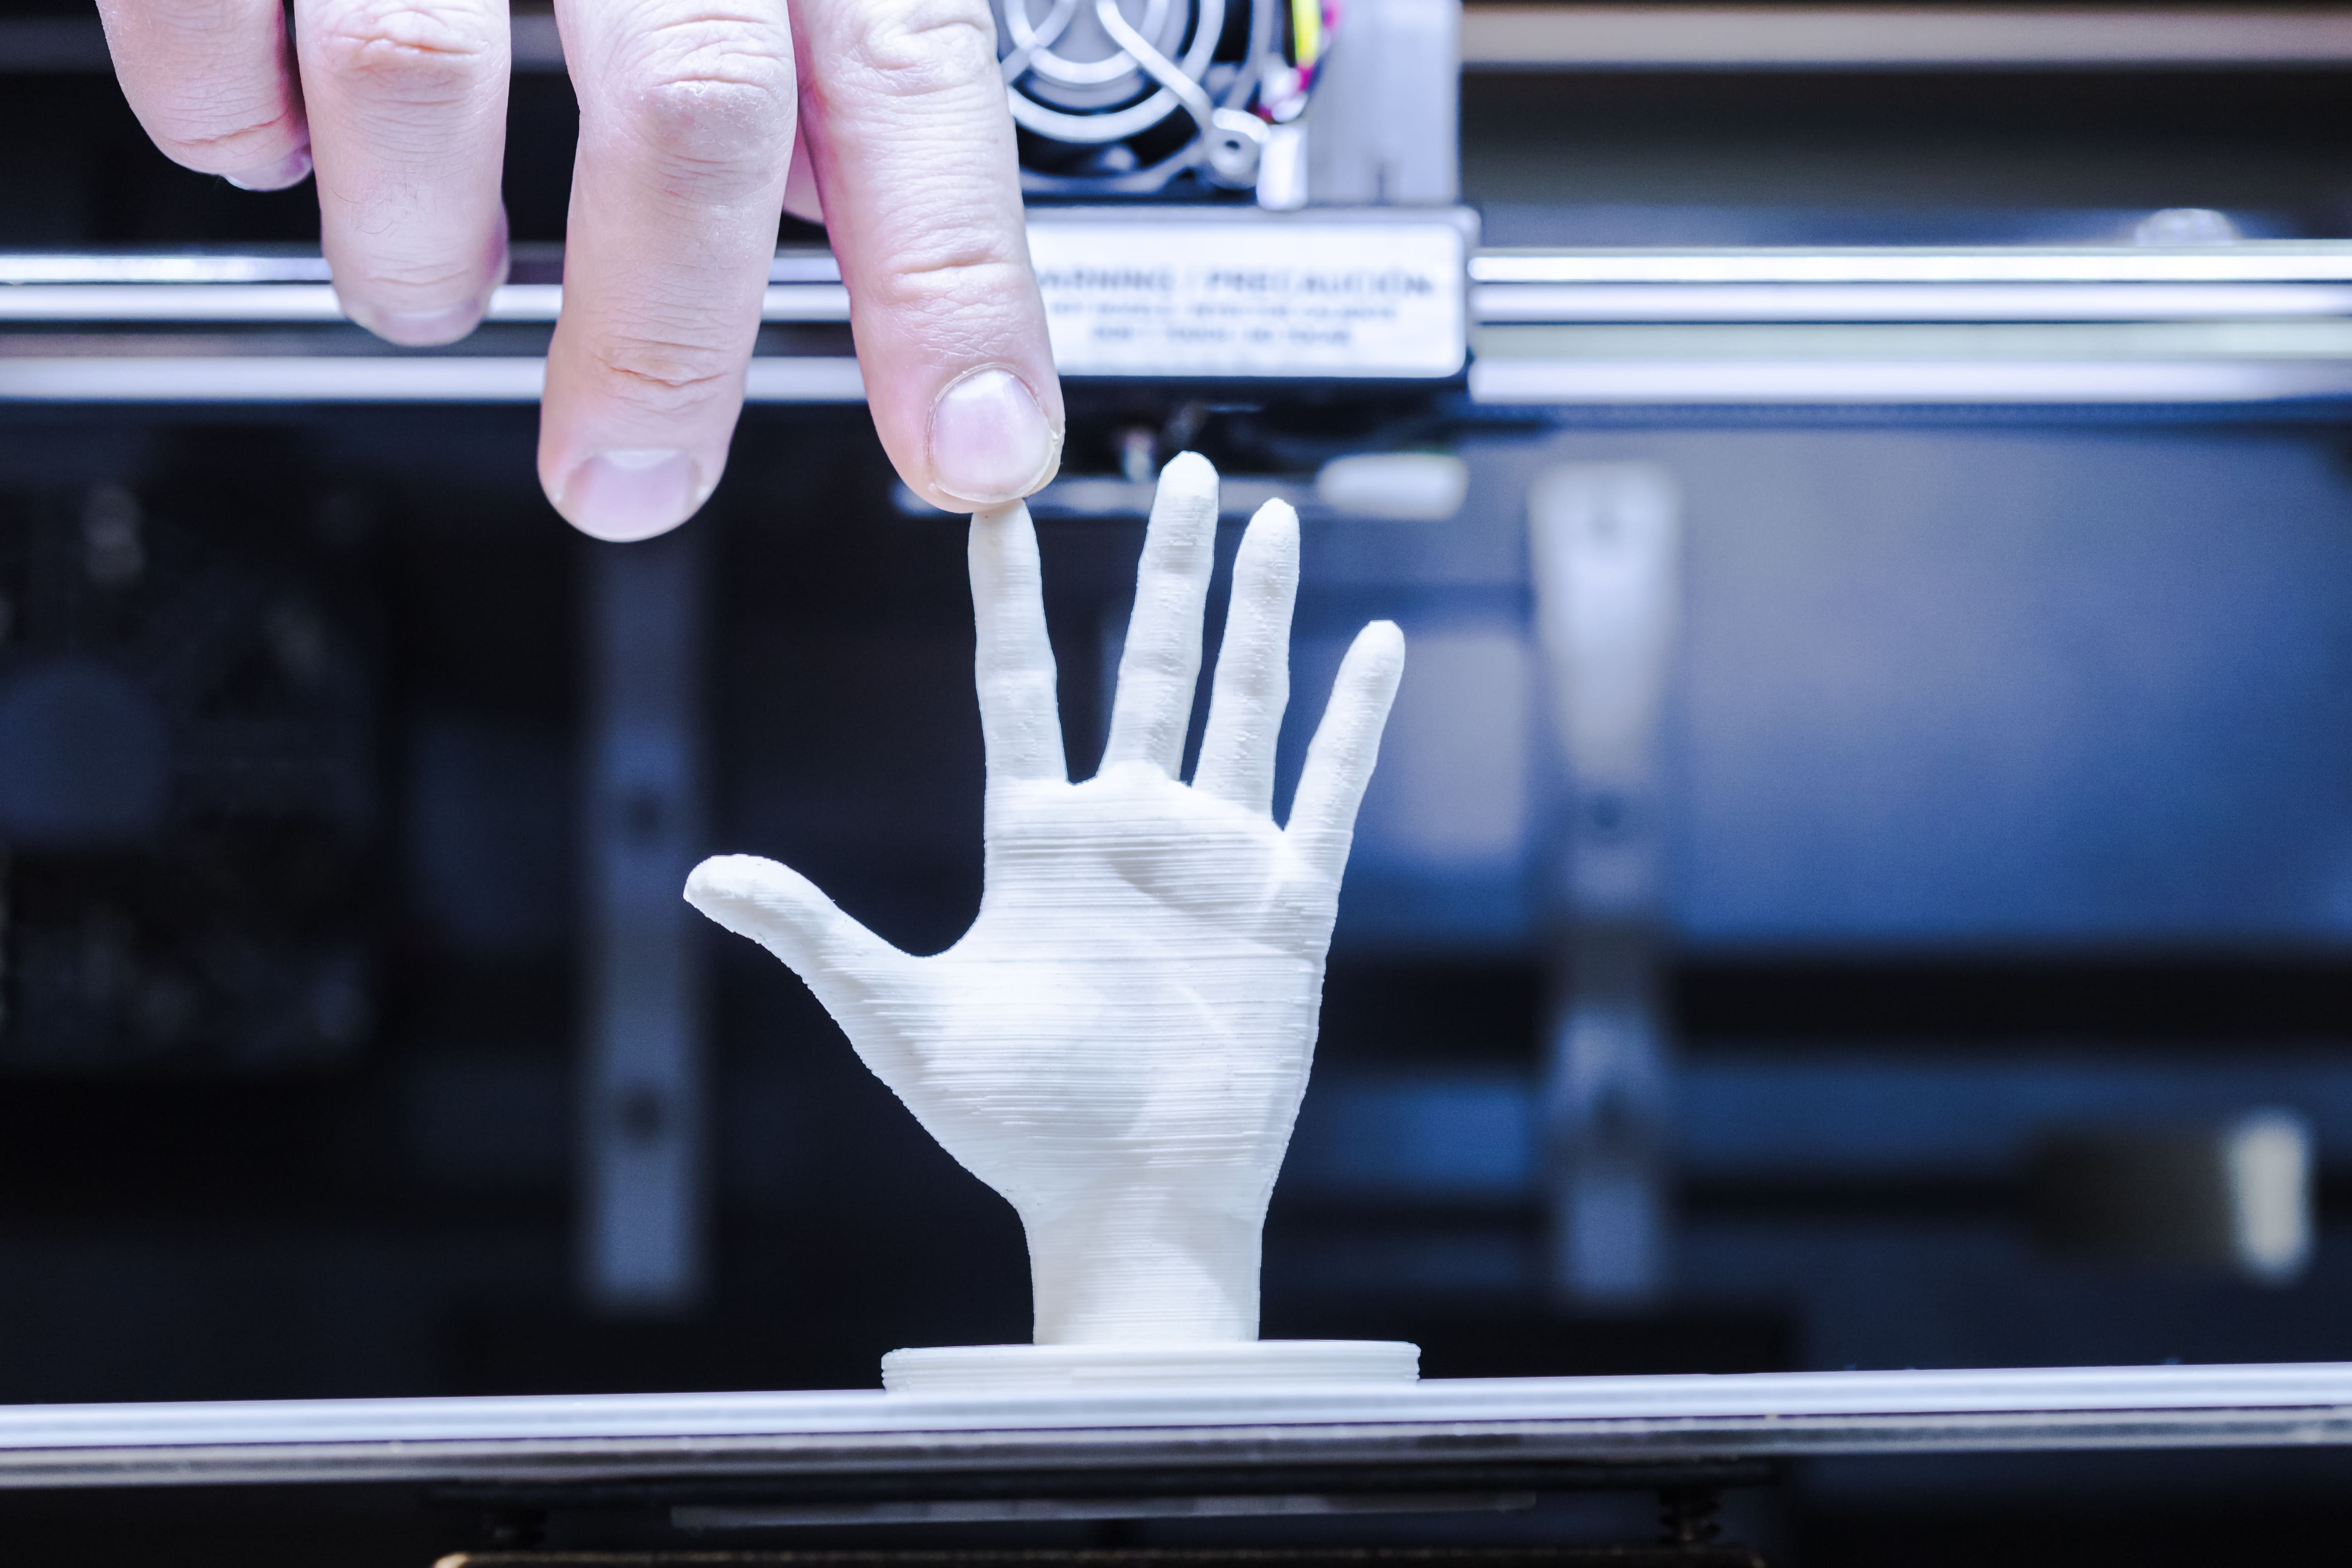
Is a technology has revolutionized the way everyone creates, its amazing how easy and accessibe is to own and use technology that allows us to create rapid prototypes and small-scale production.

3D printing offers many advantages over traditional manufacturing methods, including the ability to create complex geometries that would be difficult or impossible to produce with other methods, such as injection molding or CNC machining. 3D printing also enables the production of small batches of parts or products without the need for expensive tooling, which can be cost-prohibitive for small businesses or individuals.

Overall, 3D printing is a powerful tool that is changing the way we design, create, and produce objects. As the technology continues to evolve, it is expected to have a significant impact on manufacturing, supply chain management, and product development in the years to come.
Assignment

For this week I learned how to use a 3D scanner and some photogrametry apps. I also created a model in 3D, sliced it and then after calibrating my printer I printed that model.

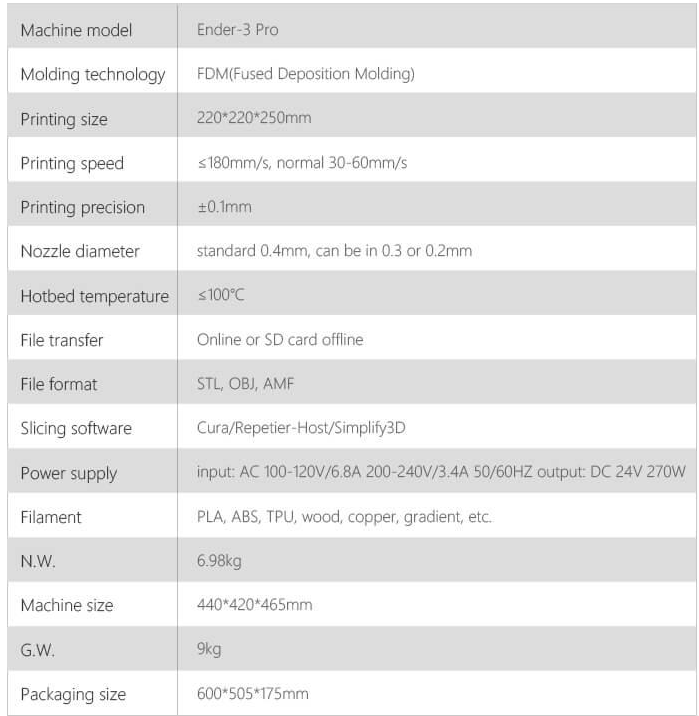
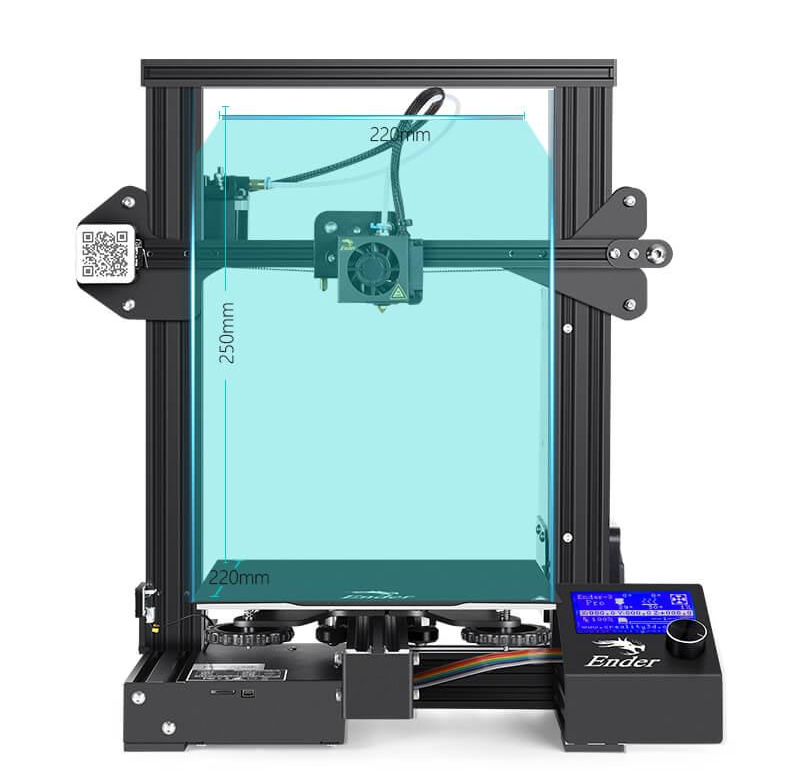
3D Printer (Creality Ender 3 Pro)

Parameters

Calibration

Here are the steps to calibrate the Ender 3 Pro printer:
  • *Level the bed: The first step is to ensure that the bed is level. Use a piece of paper or a leveling tool to adjust the bed until it is level. The bed should be level in all directions.
  • Calibrate the extruder: Next, you will need to calibrate the extruder. Heat the extruder to the desired temperature and extrude a small amount of filament. Measure the amount of filament that is extruded and adjust the extruder steps per millimeter (E-steps) accordingly.
  • Calibrate the flow rate: After calibrating the extruder, you will need to calibrate the flow rate. Print a calibration cube and measure the dimensions of the cube. Adjust the flow rate until the dimensions are correct.
  • Calibrate the temperature: The temperature of the extruder and bed can affect the quality of your prints. Experiment with different temperatures to find the optimal temperature for your filament.
  • Calibrate the retraction: Retraction is the process of pulling the filament back to prevent stringing. Print a test print and adjust the retraction settings until the stringing is minimized.
  • Fine-tune the print settings: Once you have completed the calibration steps above, you can fine-tune the print settings for your specific filament and print. Adjust the print speed, layer height, and other settings to optimize the print quality.

* Required

Preprocessing

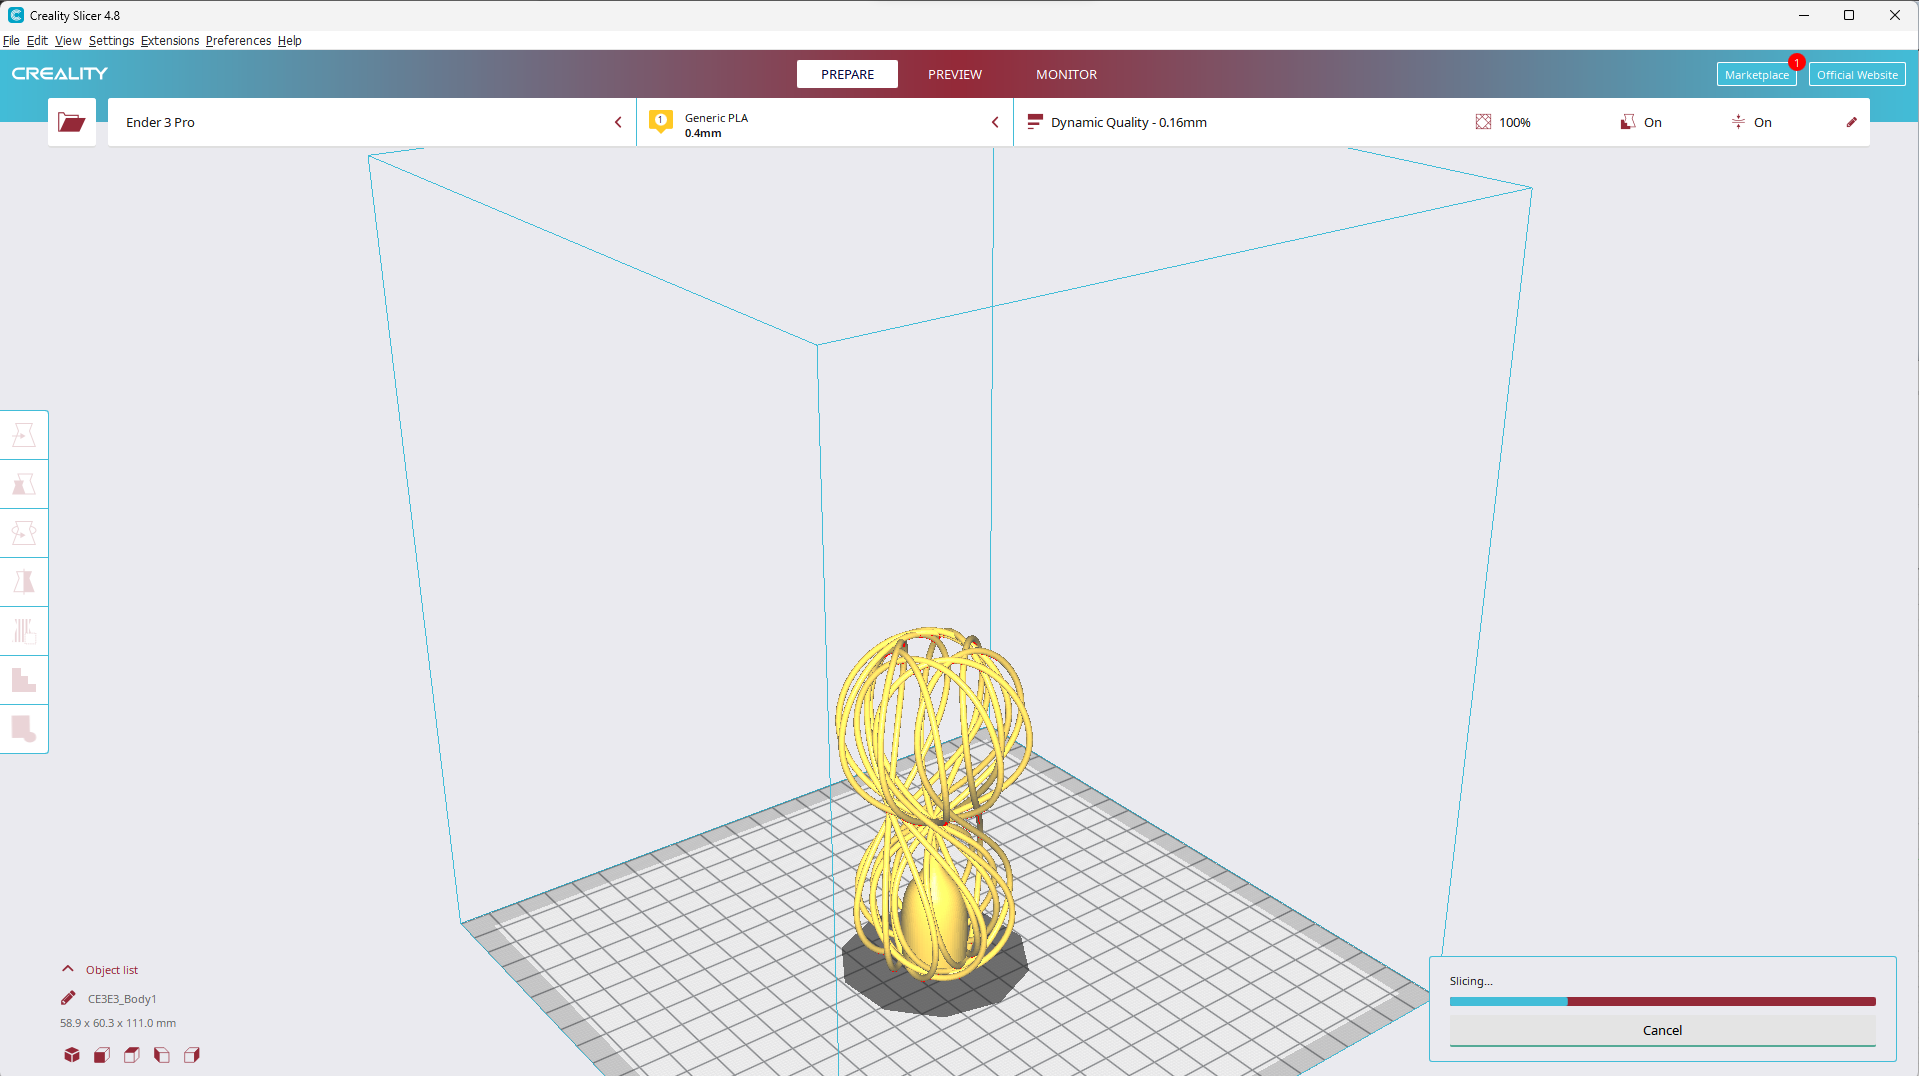
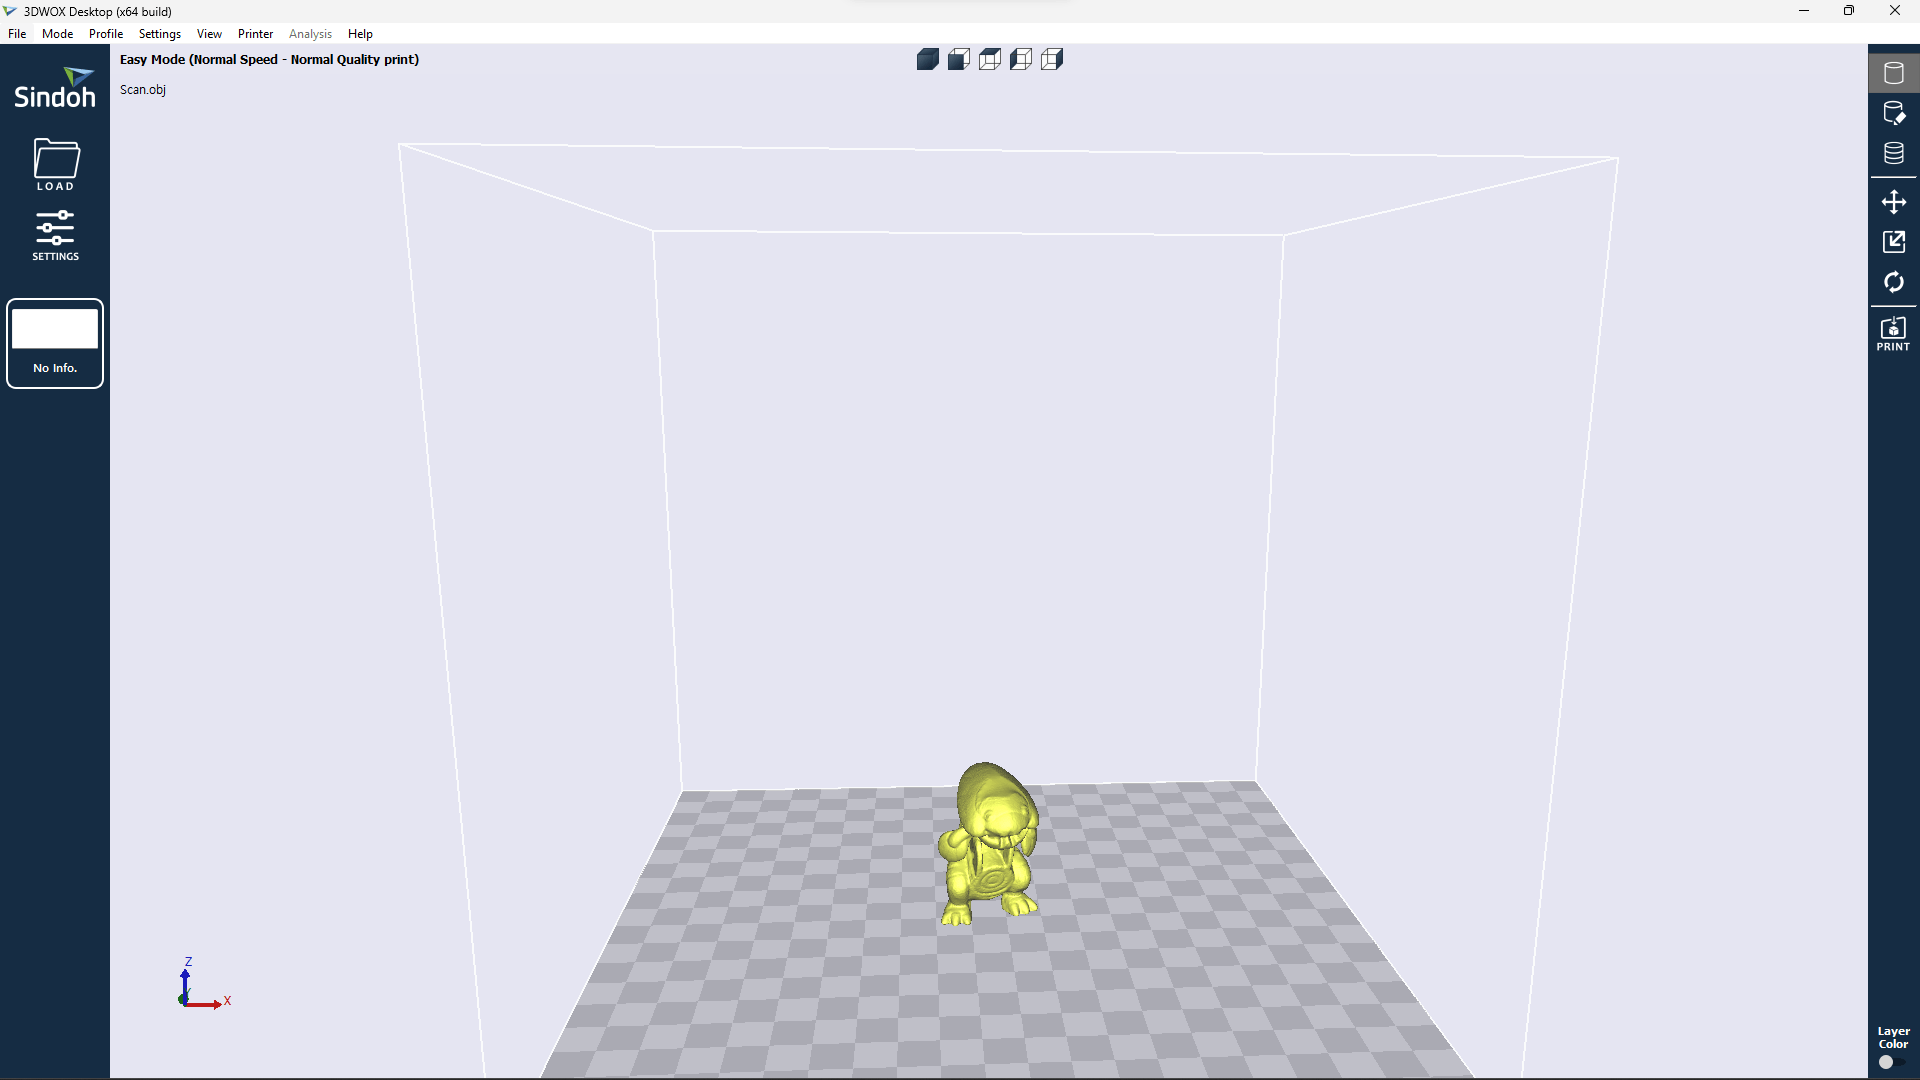
For this process I used Crealty Slicer software. Its pretty straight forward to use. You just follow the steps on the screen and select the parameters of the filament you're using.

Printing

Final result

What went wrong?

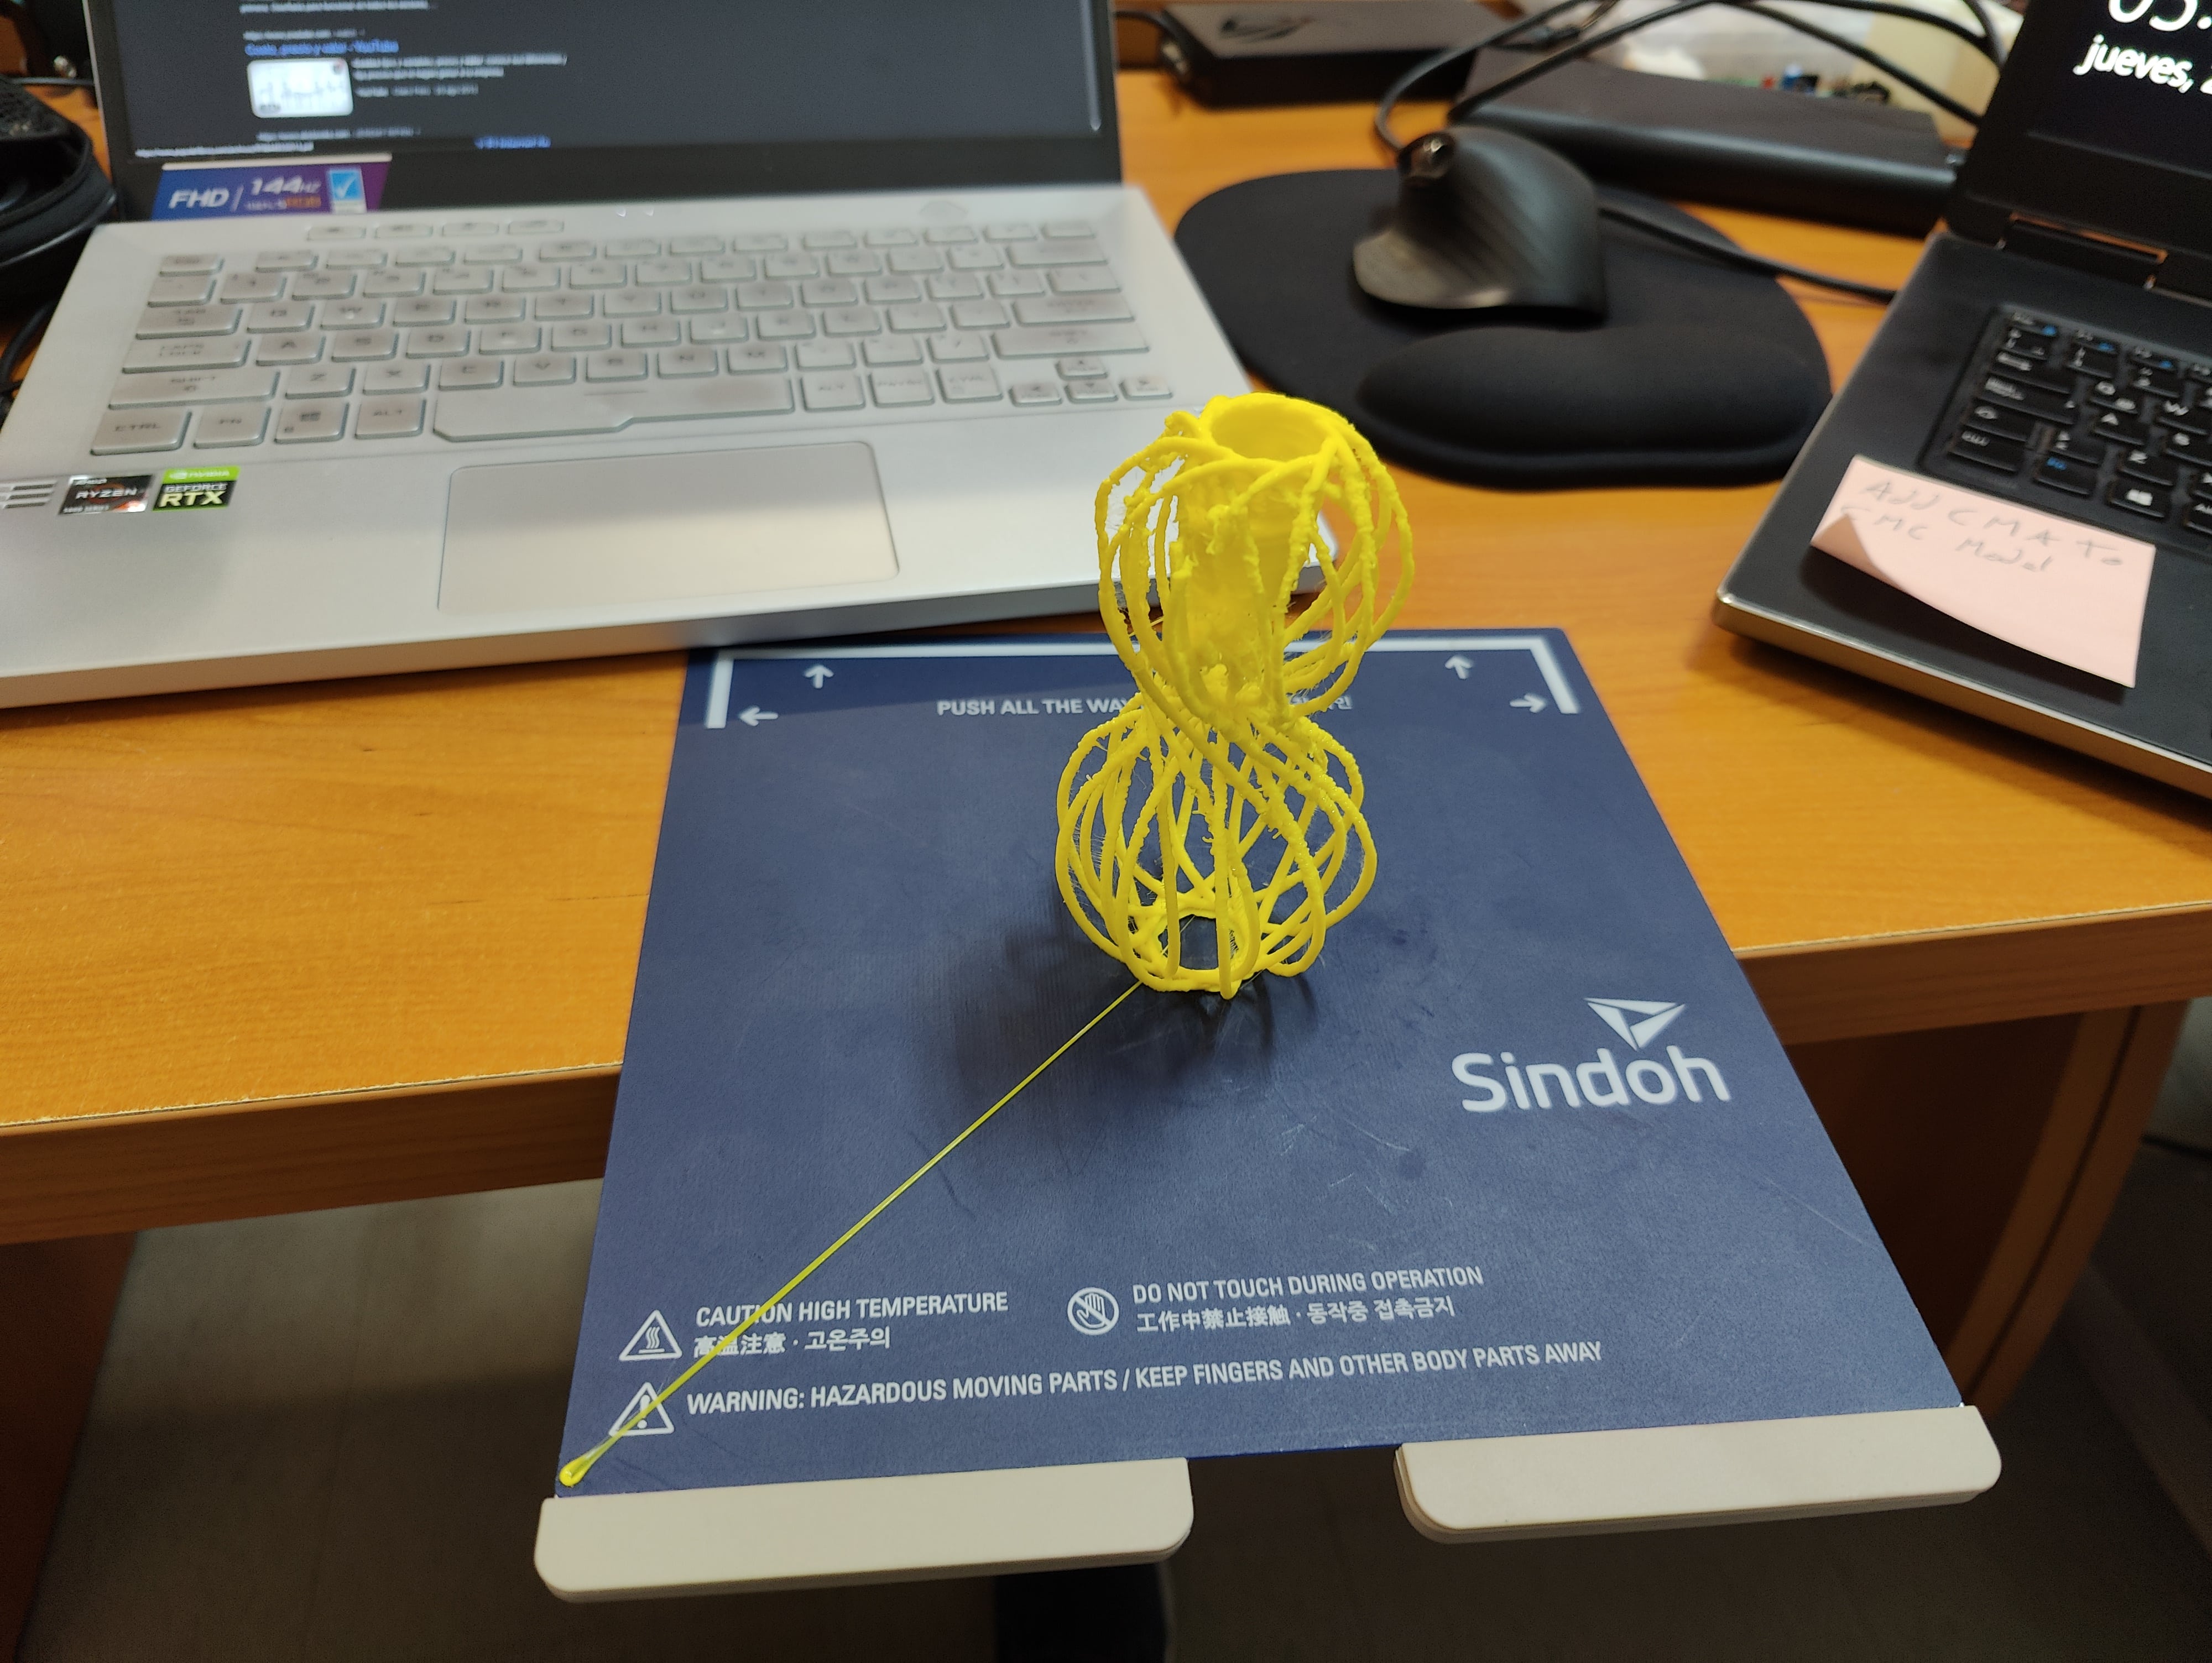
Stringing is a common problem that occurs in 3D printing when small strands of plastic filament are left between different parts of a print where they shouldn't be. This happens when the filament oozes out of the nozzle as it moves between different parts of the print that are not connected. Stringing can cause issues such as rough surface finish, reduced print quality, and can even result in a failed print if the strings get in the way of the print head.

In my case, stringing its also due to the print form, because it should have supports so it does not move, and in my case I wanted to test the limits of the printer and as it shows, this was to much.

3D Scanner (EinScan-SE)

3D scanning is a process of capturing the shape and appearance of physical objects using specialized scanning equipment, such as laser scanners or photogrammetry systems. The goal of 3D scanning is to create a digital model of the object that can be used for a variety of purposes, such as reverse engineering, prototyping, and quality control.

There are several types of 3D scanners available, including contact scanners, structured light scanners, and laser scanners. Contact scanners use physical probes to measure the shape of an object, while structured light scanners project a pattern of light onto the object and use cameras to capture the reflected light. Laser scanners use laser beams to measure the distance between the scanner and the object, and can capture highly accurate measurements.

Calibration

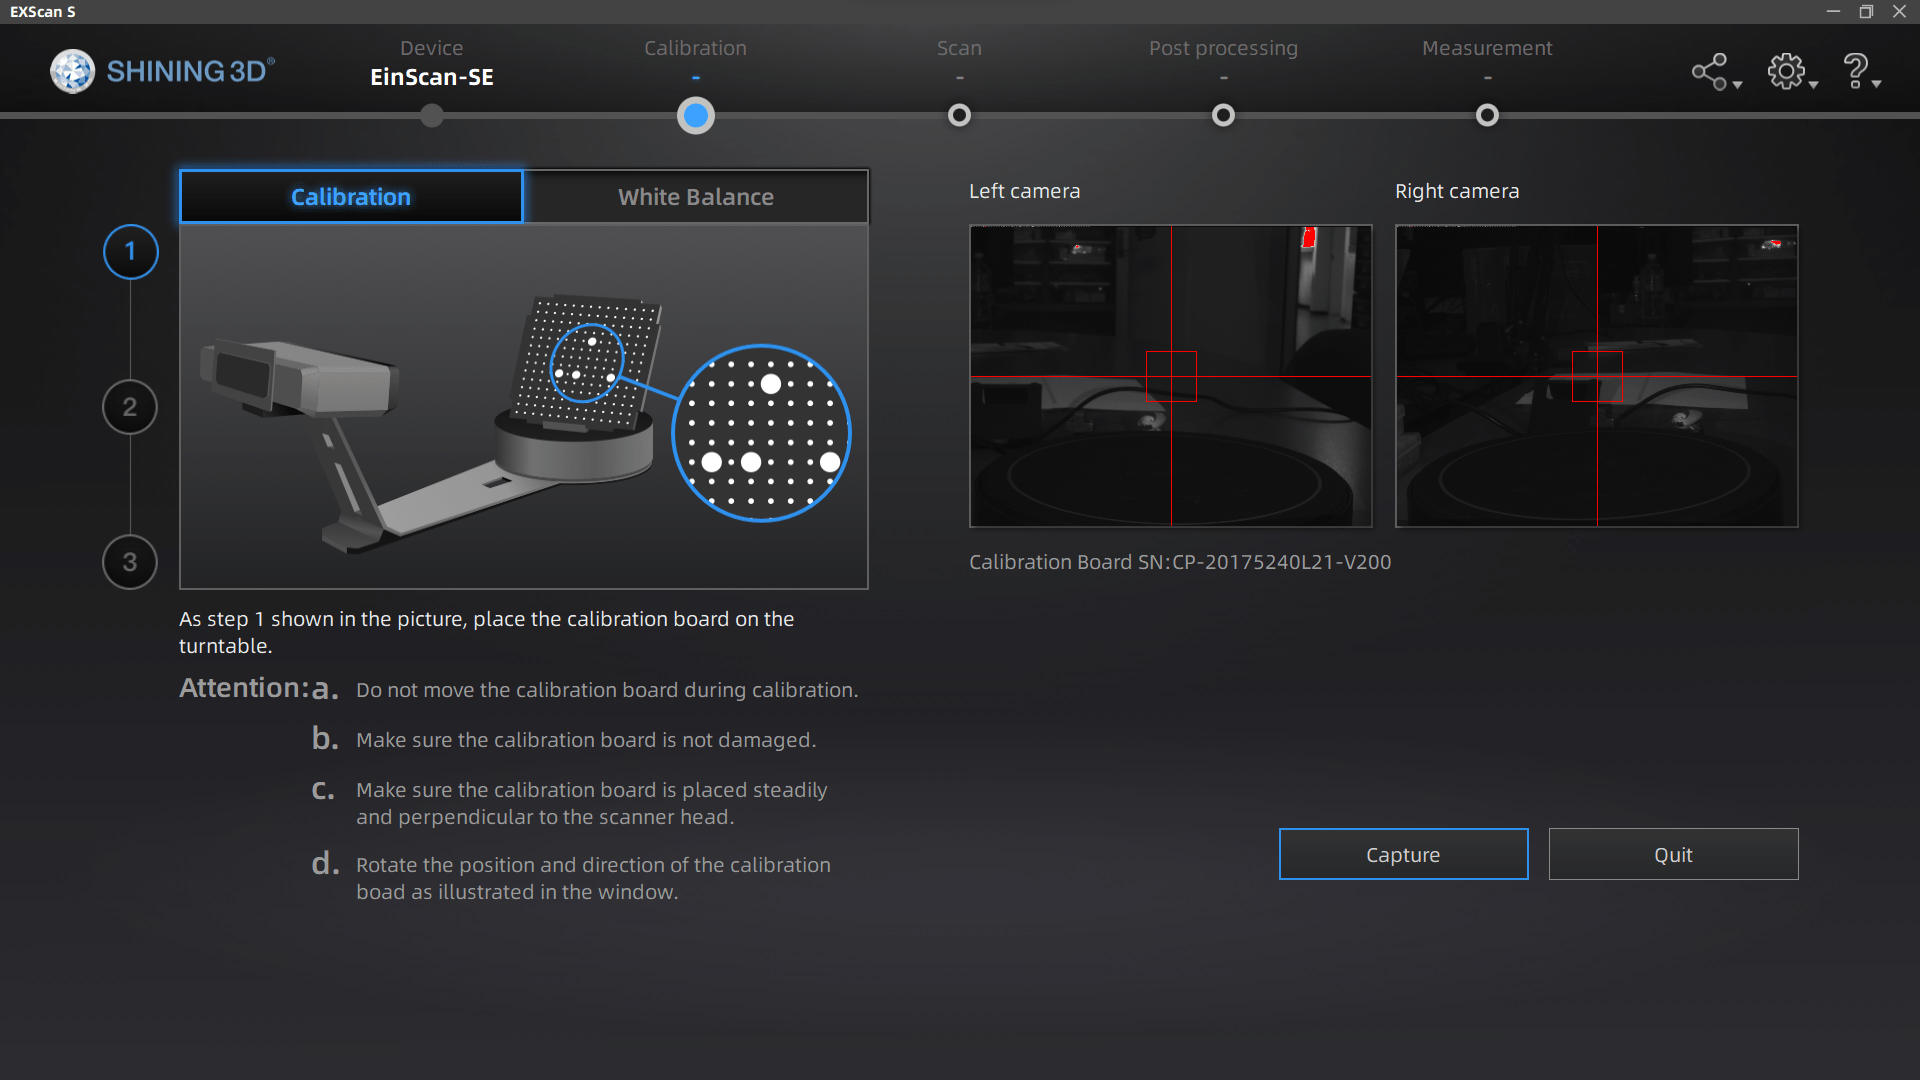
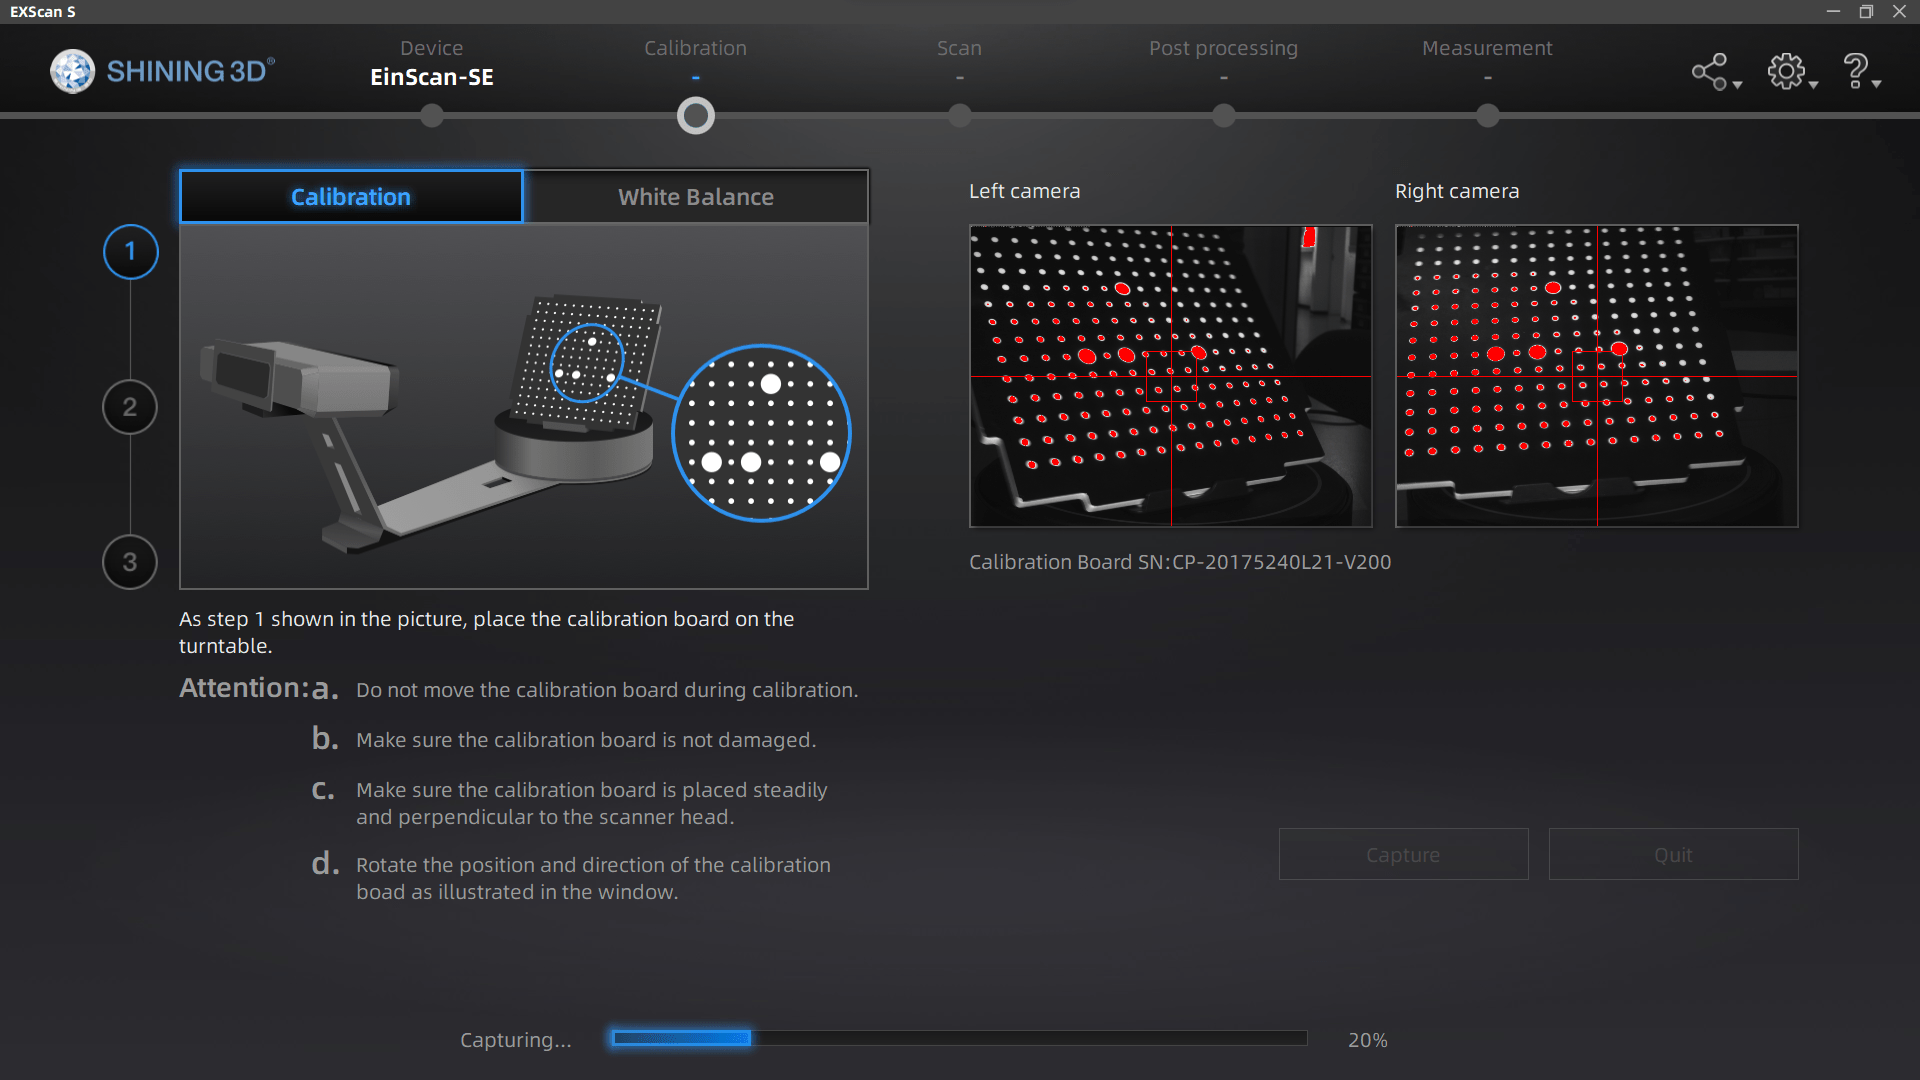
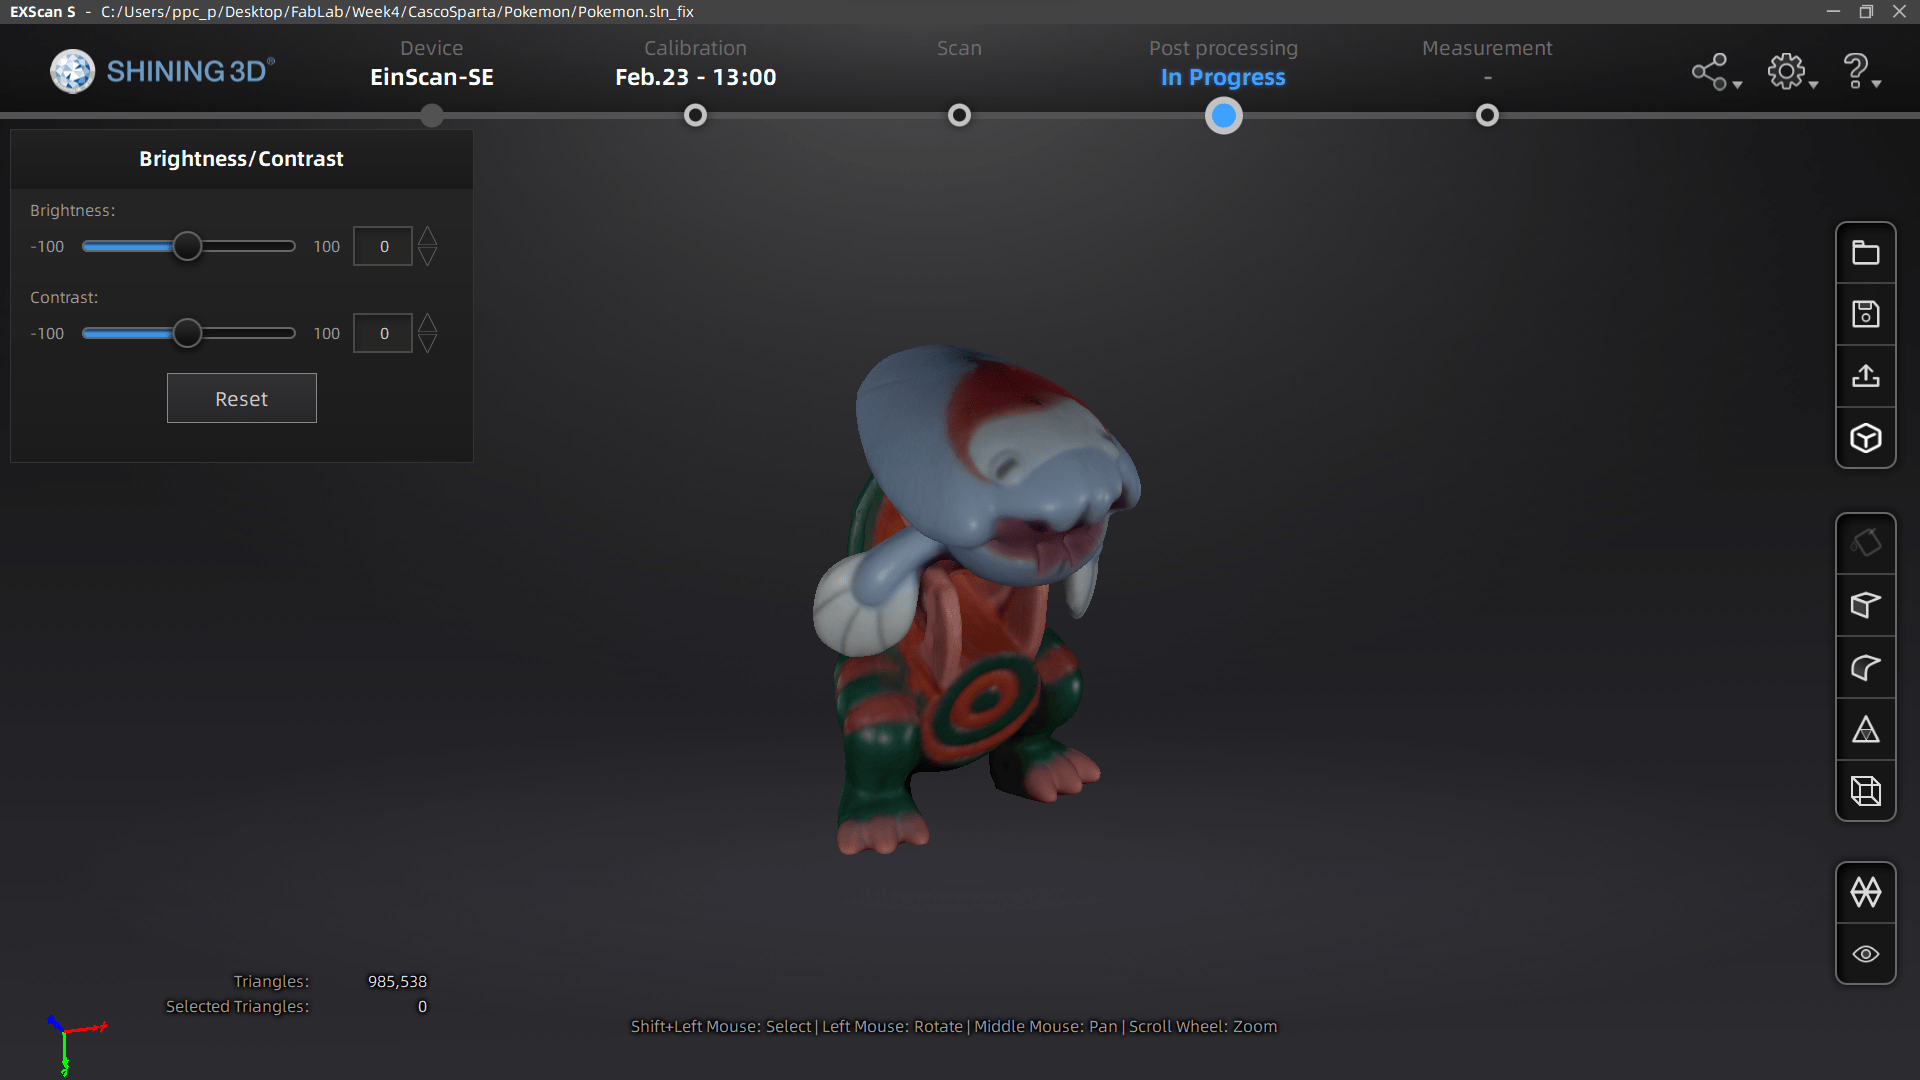
To calibrate the scanner you have to follow the on-screen instructions and use the calibration board. This scanner calibrates the way it scans as well as its white balance, these is because it can also scan textures.

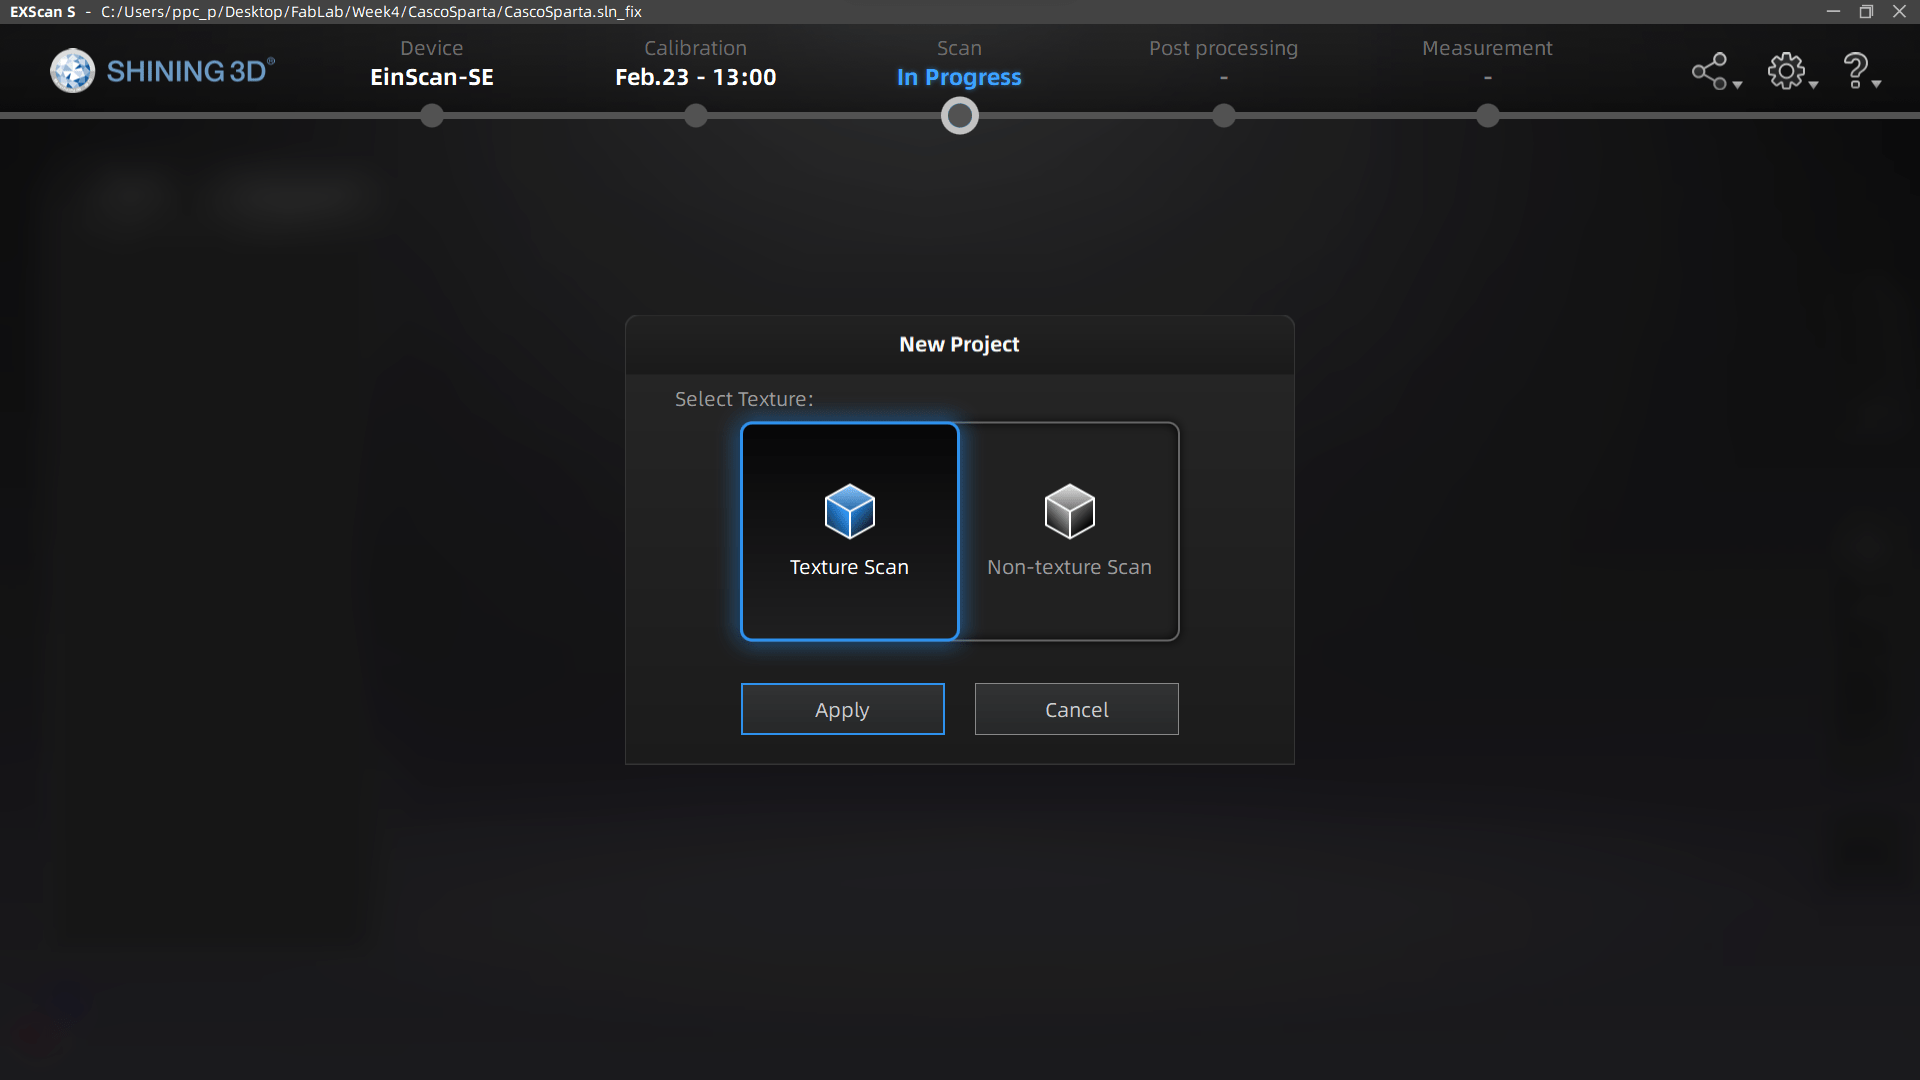
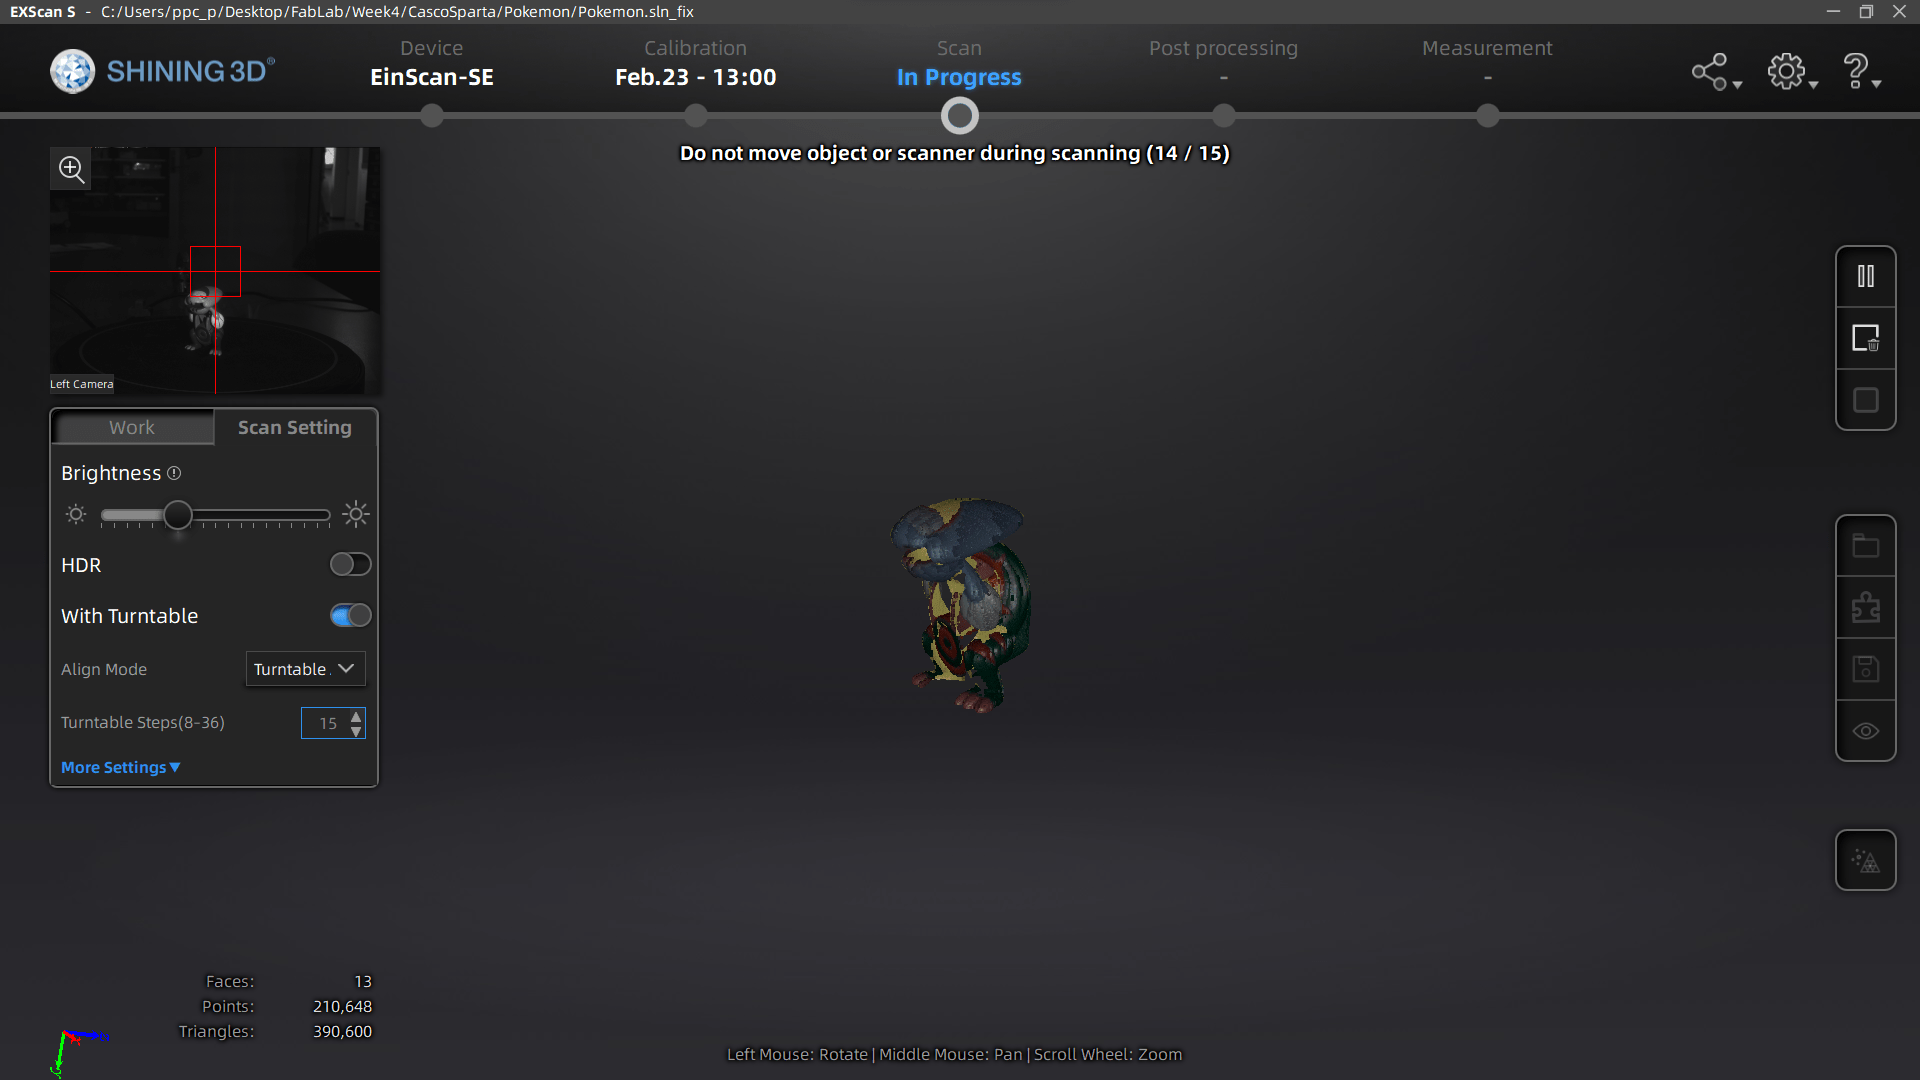
Scan

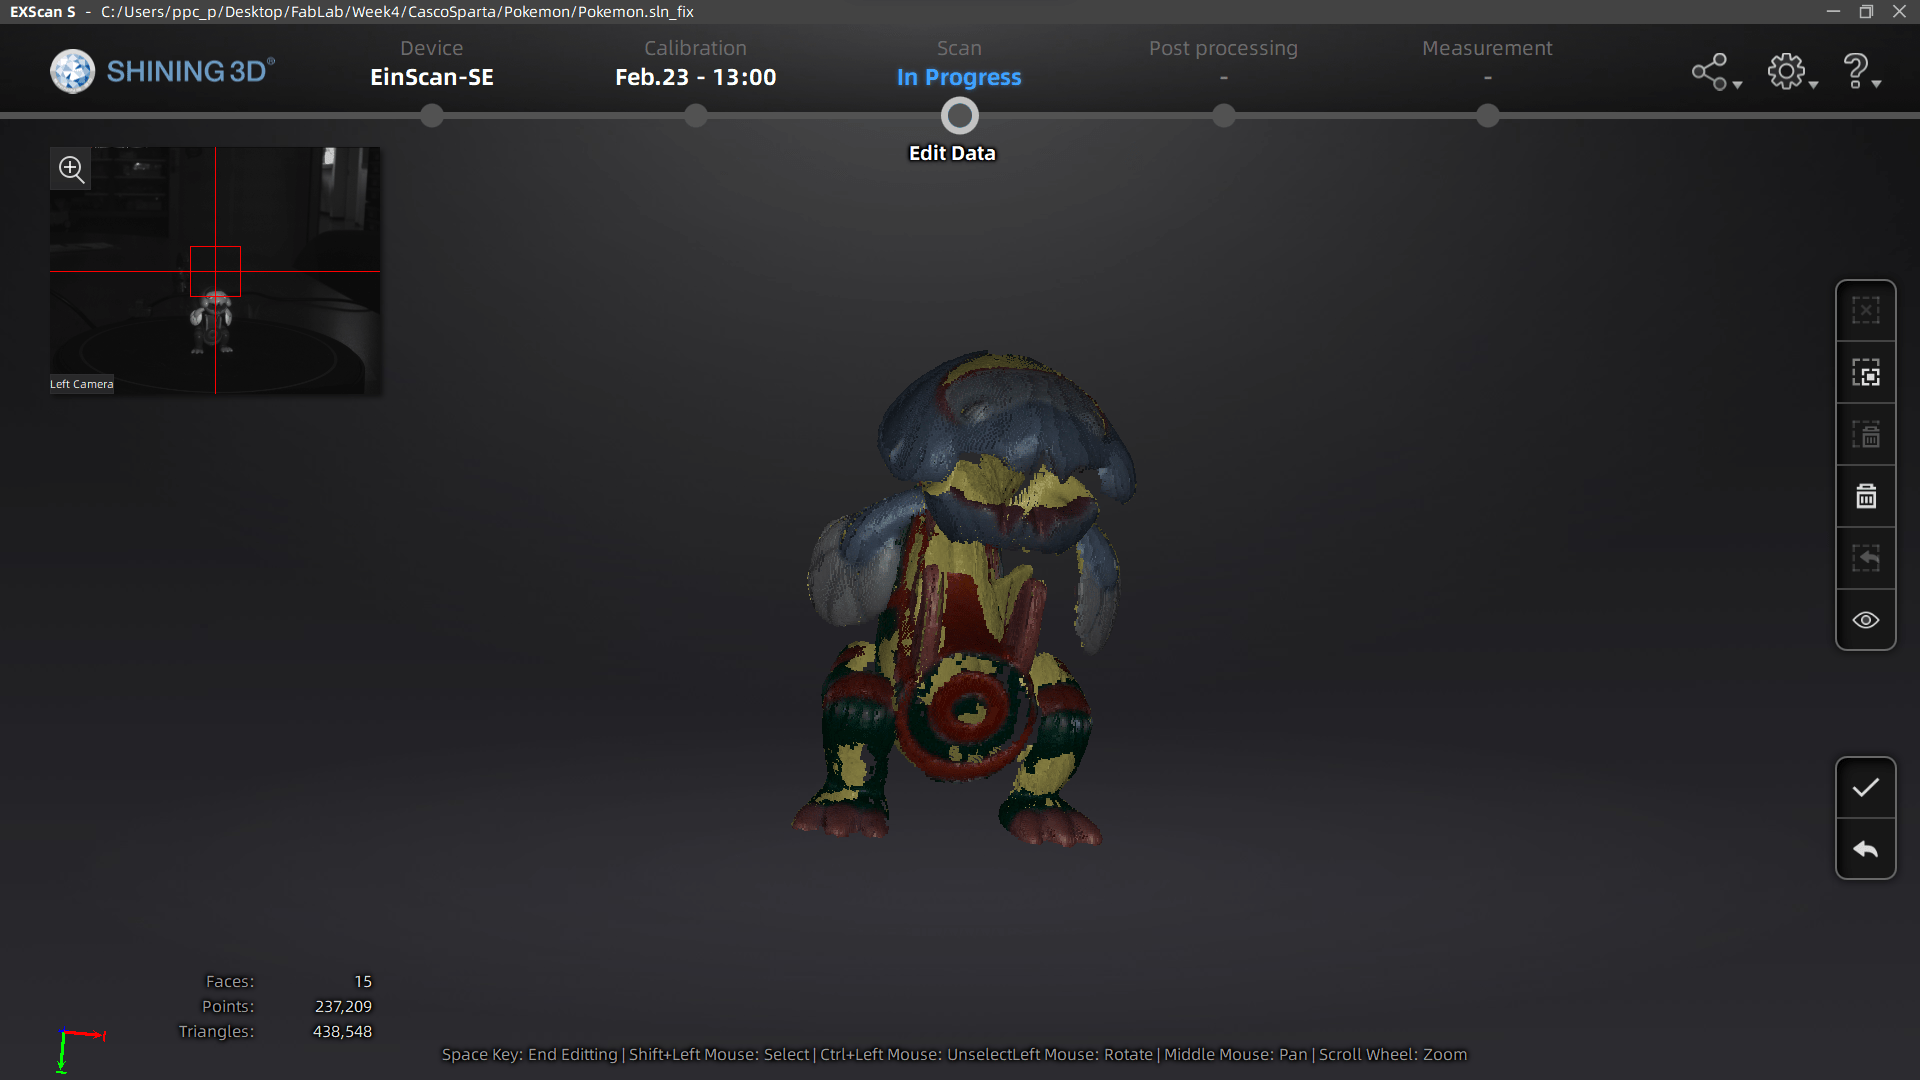
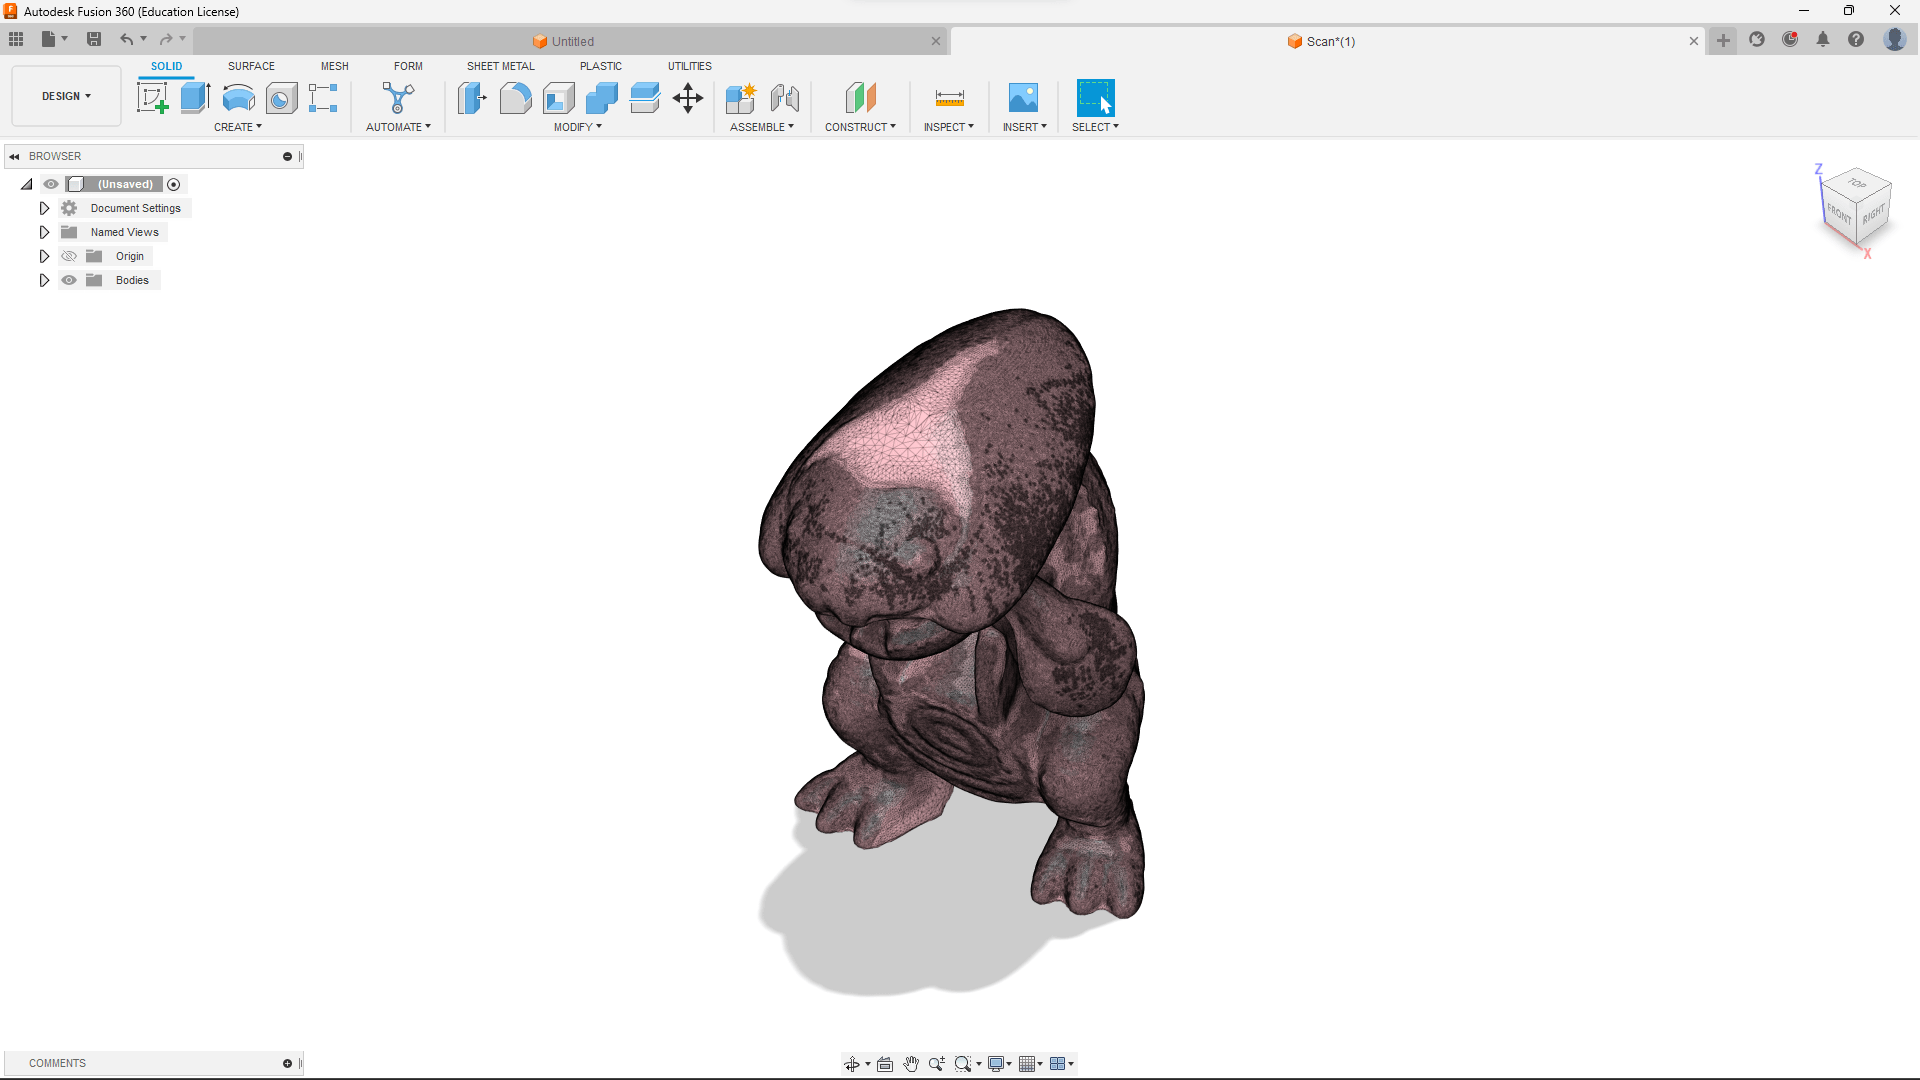
Once the data is captured, it can be processed using specialized software to create a 3D model.

Prepare

Conclusions

One of the benefits of 3D scanning is that it allows for the creation of highly accurate digital models of physical objects. This can help to speed up the design process and reduce the need for physical prototypes, which can be time-consuming and costly. 3D scanning can also be used to analyze the shape and quality of physical objects, which can be useful for quality control and inspection purposes. Additionally, 3D scanning can be used to create digital archives of historical or cultural artifacts, preserving them for future generations.