9. Moulding and casting
A week with a little less anxiety; fun, even.
Groupassignment
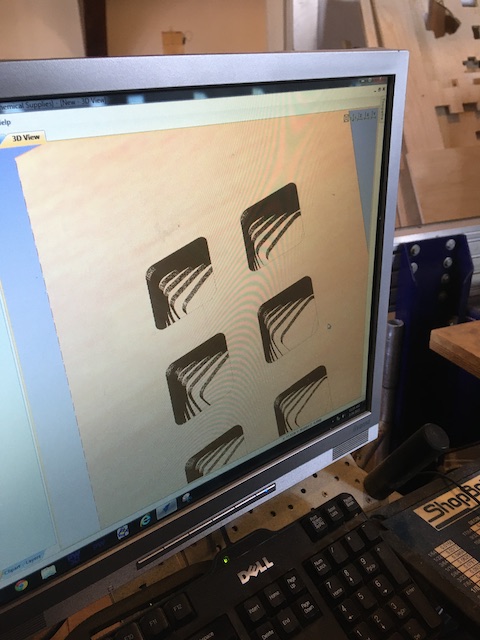
First of all, our tutor once more got us to the Shopbot, and demonstrated the process of milling a 3d design.
It was clear from the demonstration that the 3 step design can be hard to wrap your head around - positve, negative, positive..
Getting the design as well as the toolpaths straight took some time.
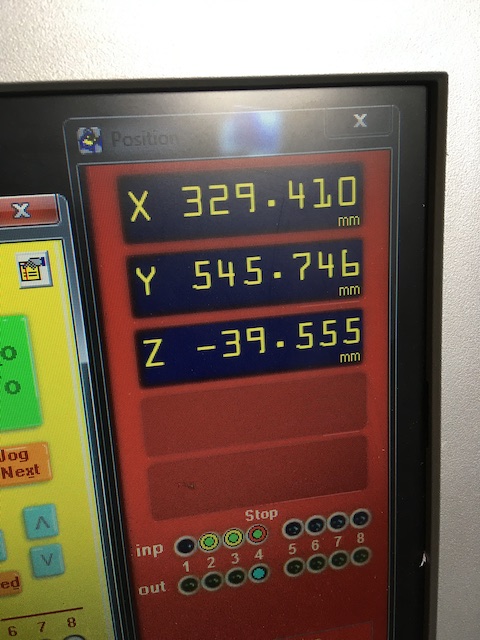
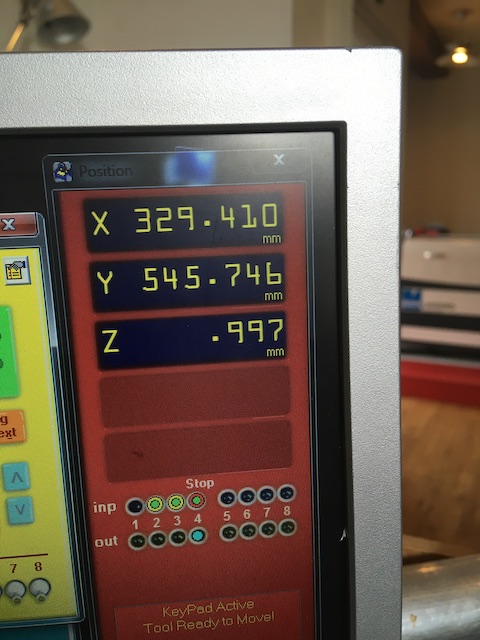
Then the wax brick had to be fastened - by putting doublesided tape, as well as four tightly screwed slats. Once all is in place, you follow the same procedure as in the Computer Controlled machining week (zeroing, etc.)
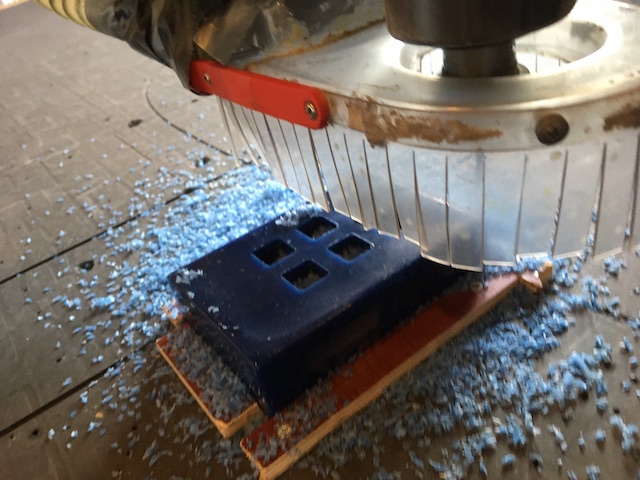
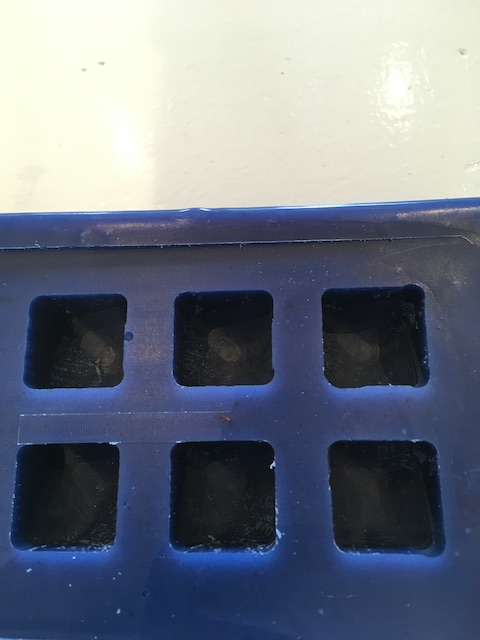
We ended up with a demobrick with six holes, to be filled with different materials as part of the groupassignment.
We were then carefully introduced to the materials we could be working with this week. The wax block, the different kinds of chemicals, and the different tools accompanying them.
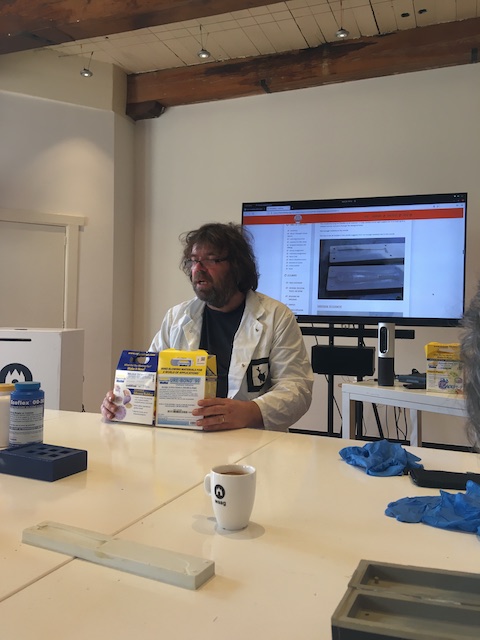
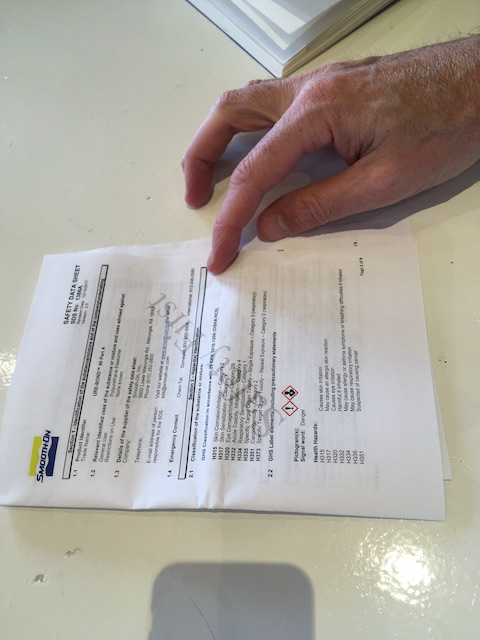
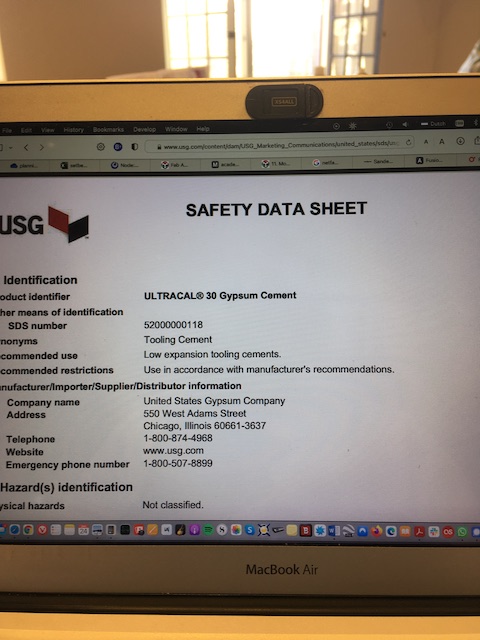
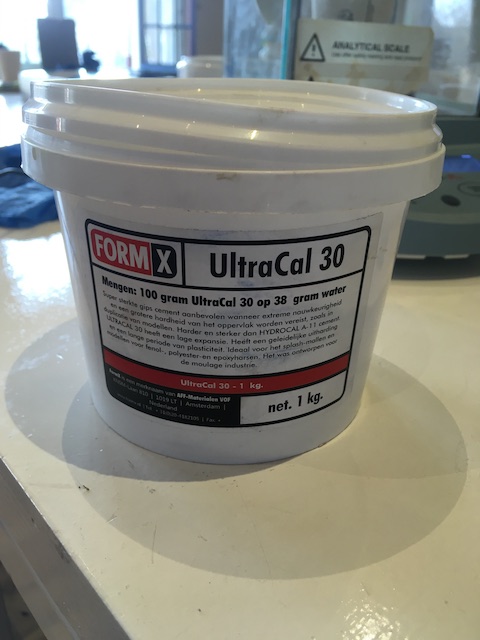
We split up into teams to do the groupassignment, which was to read the safetysheets of a material of choice, and try and cast something in the testbrick (or any other shape available) I did some testing on my own since my partner was not available, and chose gipsum, seemingly the least toxic.
In the datasheet I read about the risk for heat e.g., and on the packaging the right dosage was to be found.
I weighed
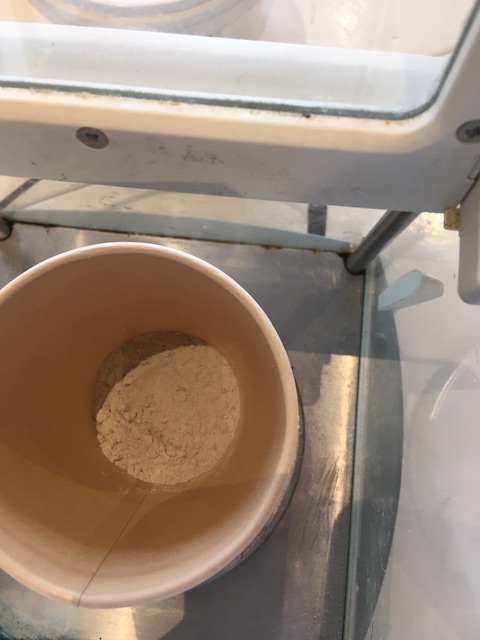
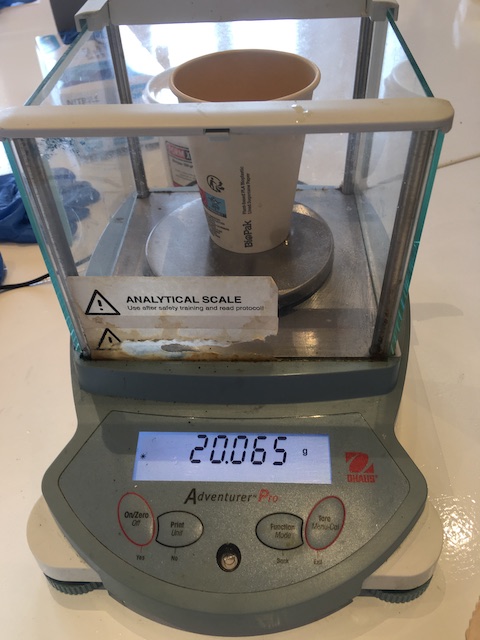
and mixed a small amount in the right proportions
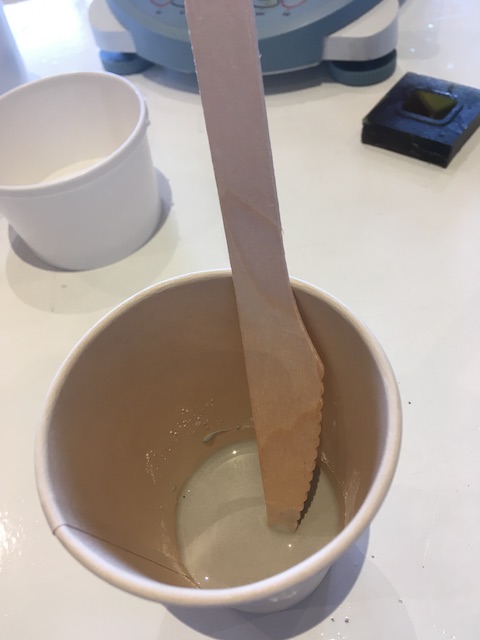
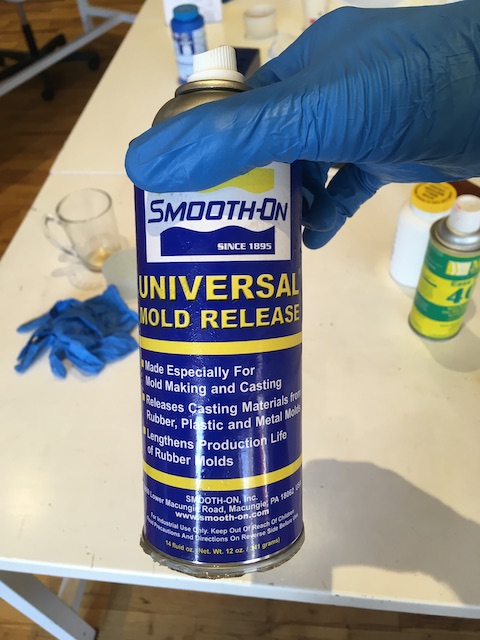
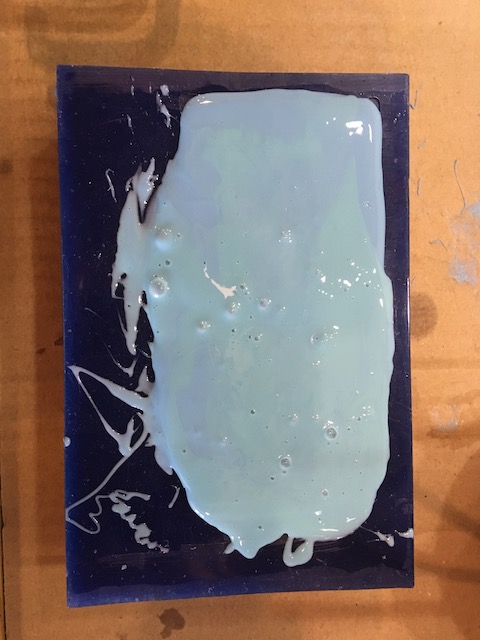
put smoothon to prevent the gypsum from sticking to the mold
and poured it in a mould someone had left at de Waag.
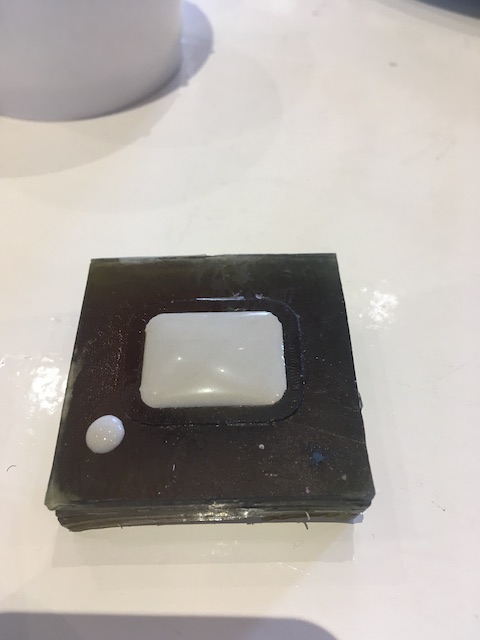
with this result the next day:
 I made the right mix, which I could then use for my own job.
My own assignment
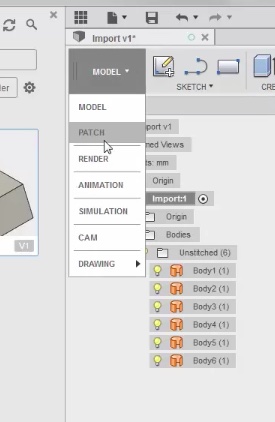
I started off trying to dig deeper into Fusion360, followed their own tutorial for a bit, 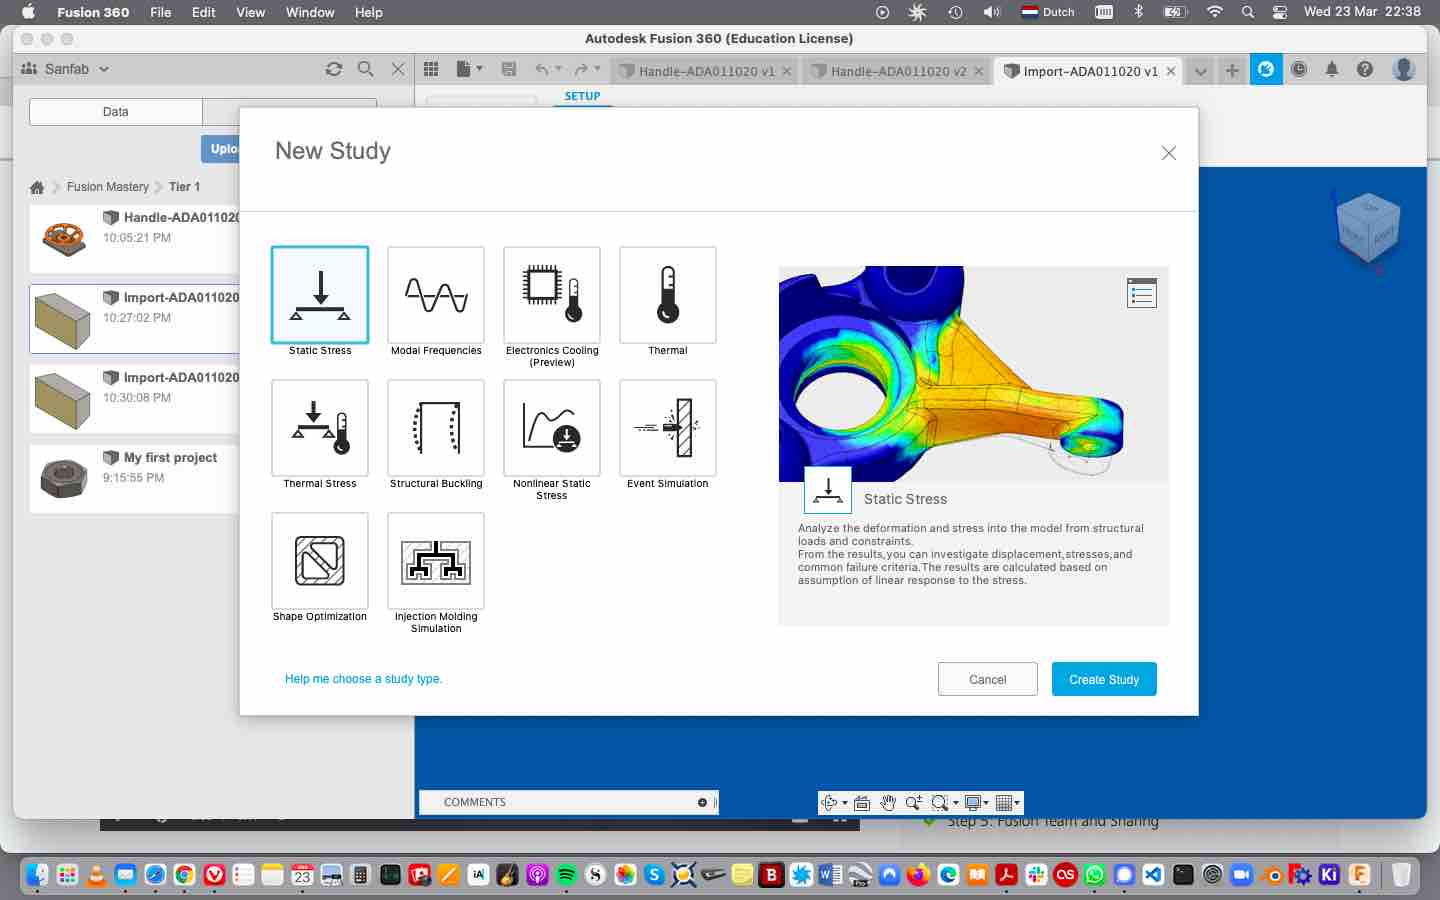
 but had to give way to Blender again for the sake of time.
An old design I did, Nefertiti in silly hat
but had to give way to Blender again for the sake of time.
An old design I did, Nefertiti in silly hat 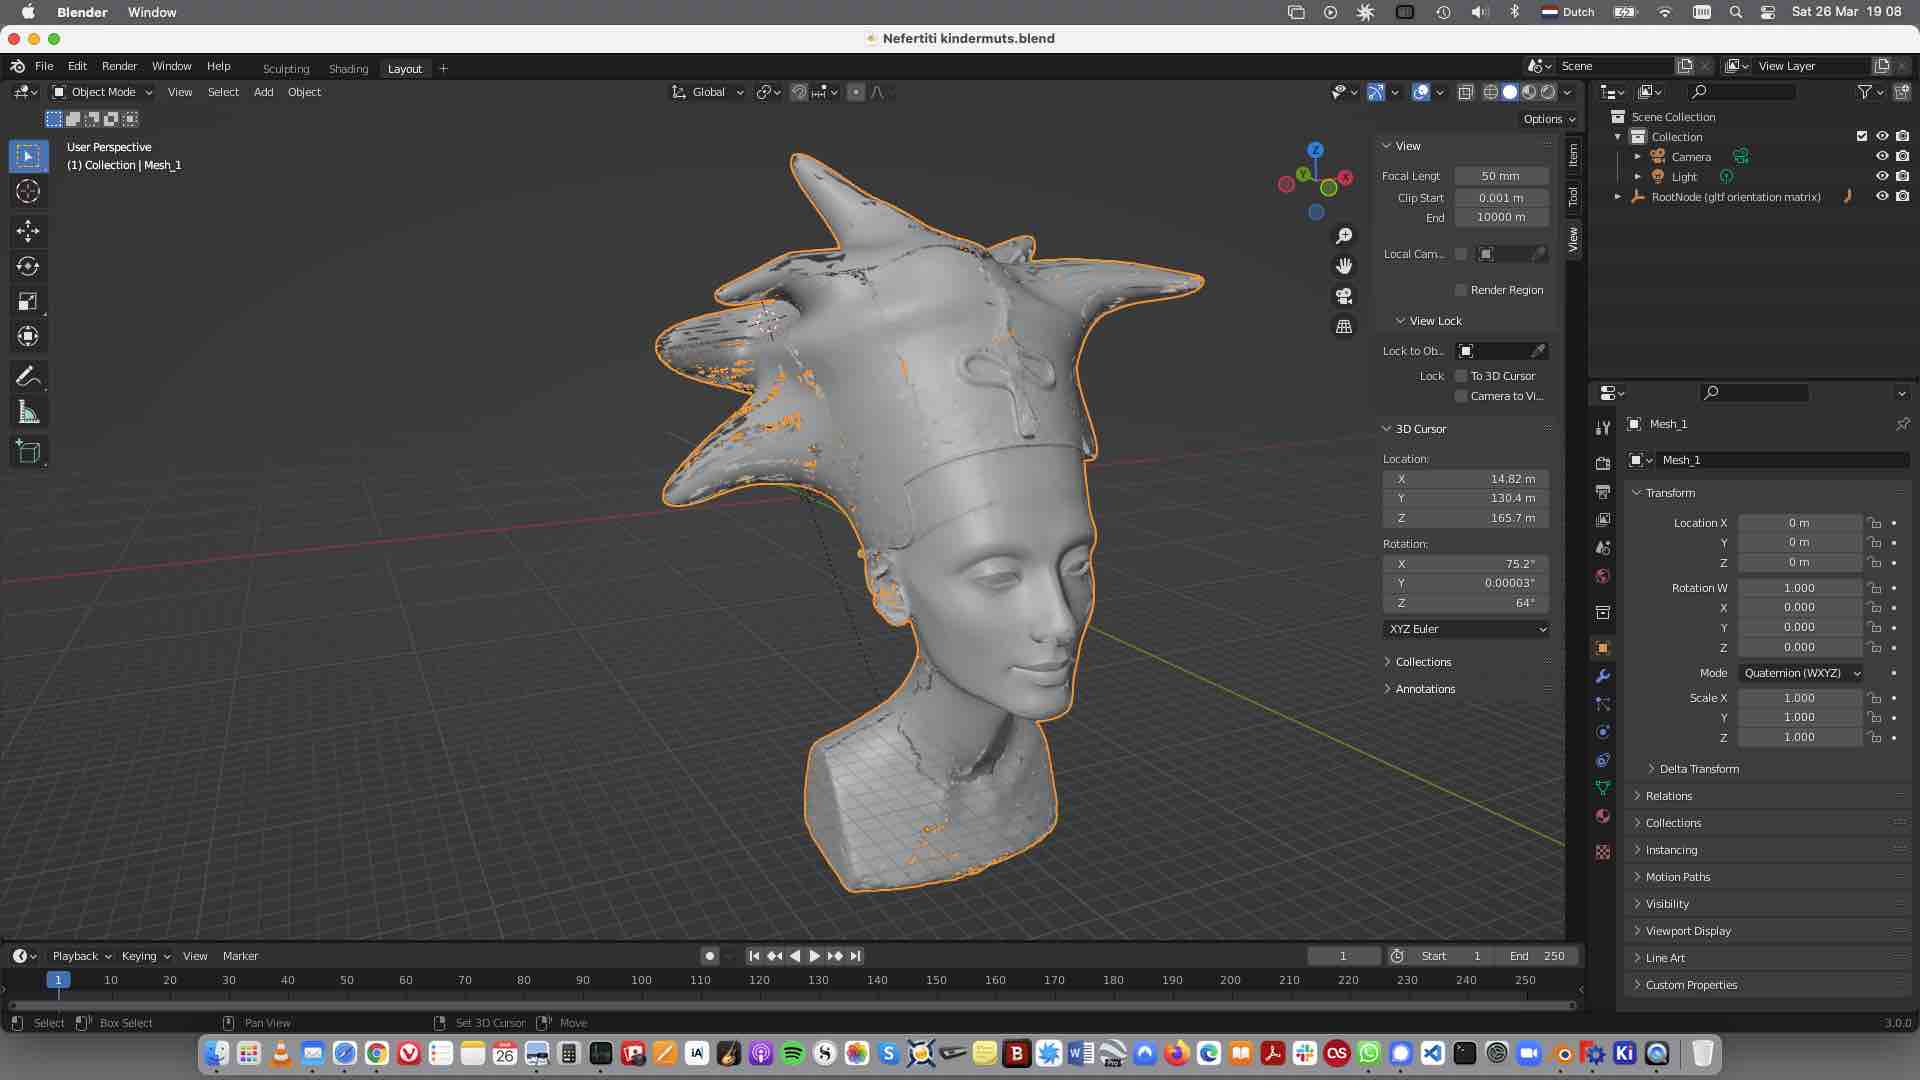 based on a Sketchfab find.
proved to be not good for milling. Given my interest in historical items I searched Sketchfab and other libraries for a fitting design - for instance, the ‘Mouth of Truth’ from Rome, or one of the poor people cast in Pompeii. But none of these was suitable and thus I did my own.
based on a Sketchfab find.
proved to be not good for milling. Given my interest in historical items I searched Sketchfab and other libraries for a fitting design - for instance, the ‘Mouth of Truth’ from Rome, or one of the poor people cast in Pompeii. But none of these was suitable and thus I did my own.
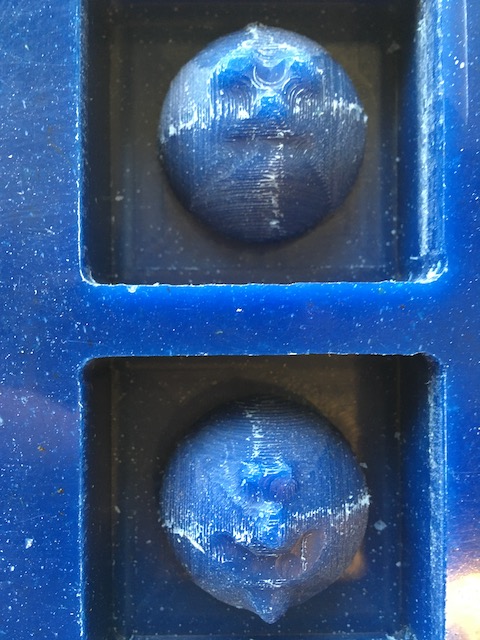
It was fun to do, and naturally I did encounter some issues. I forgot many things from Blender already, for example how to fill up a mesh that has holes. Cost me quite some time to cover that, and still there were many different options. But in the end I managed to make some sort of twofaced moon I liked.
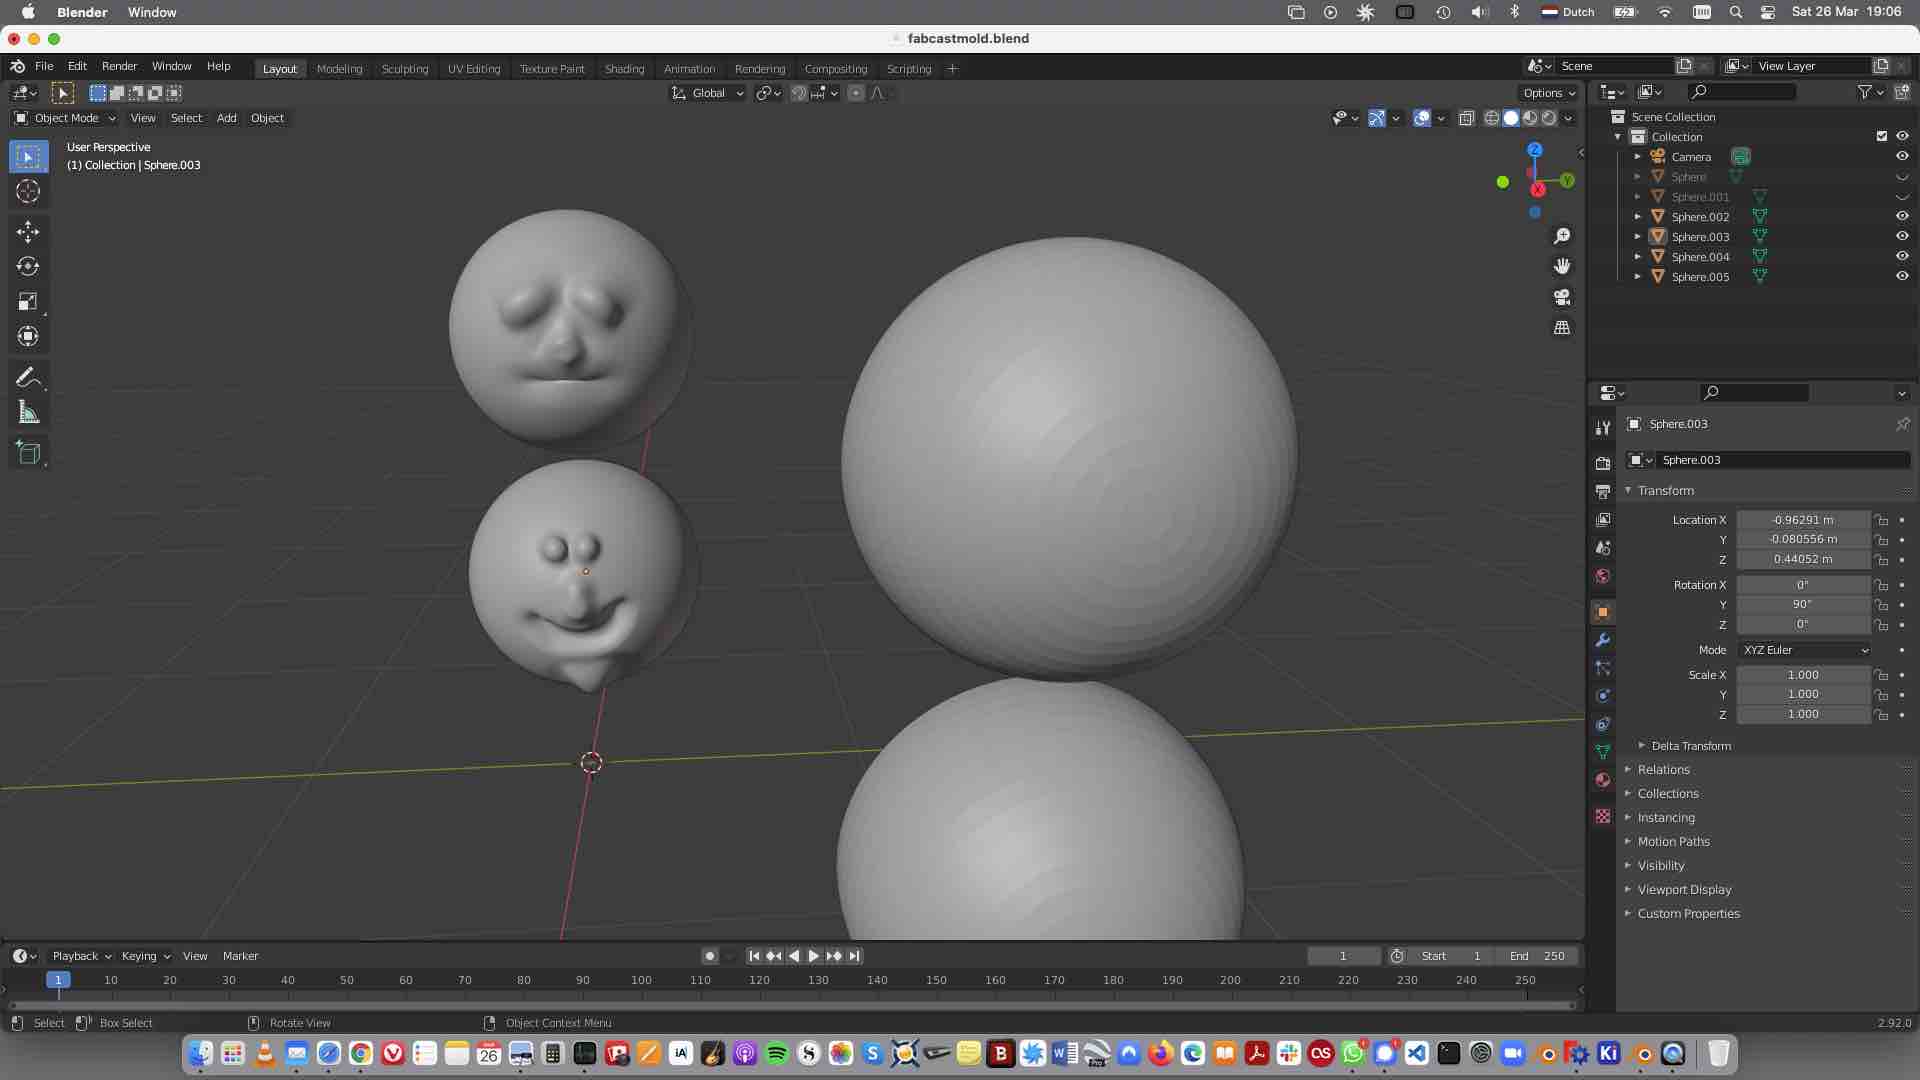 Simple, not too much detail.
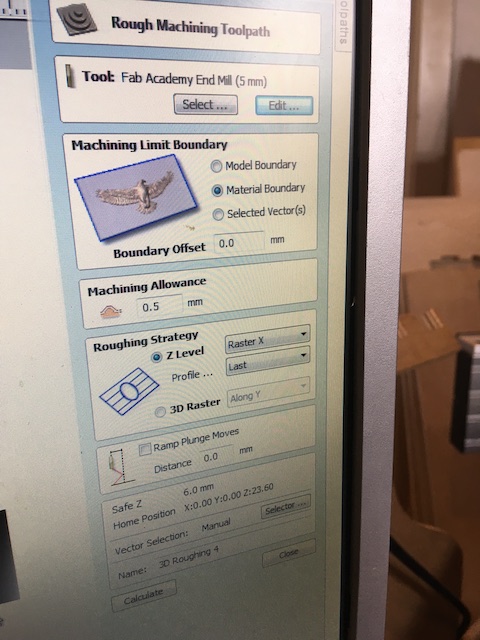
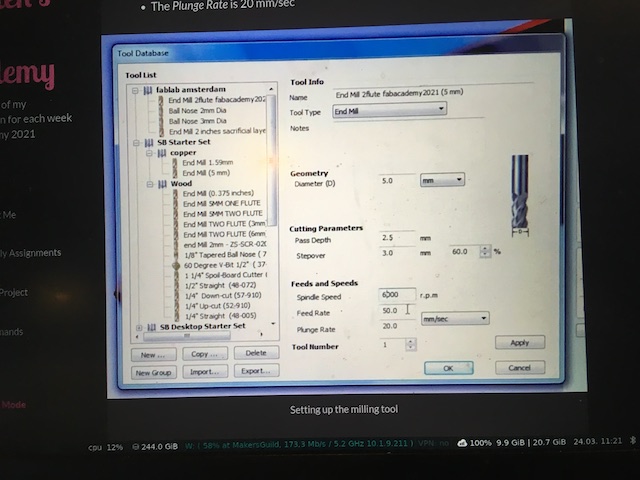
Bad notes and a bad memory but great help from Michelle got me to making two toolpaths in VCad - that had to be checked and changed over and over again. One reason was a lack of room for the rough path between my moonface and its encasing, which meant back to the drawingboard and changing my design;
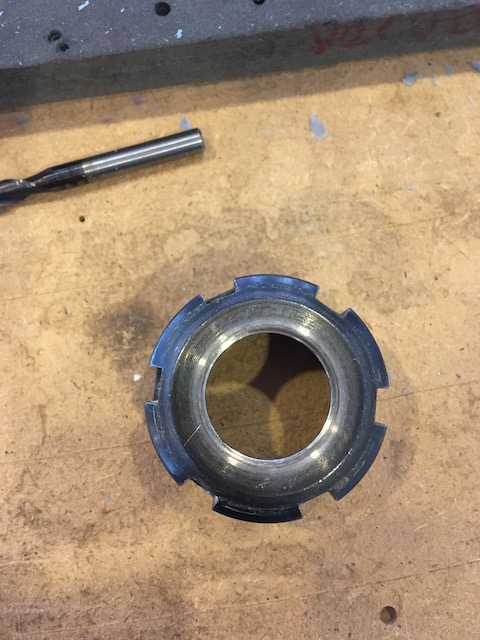
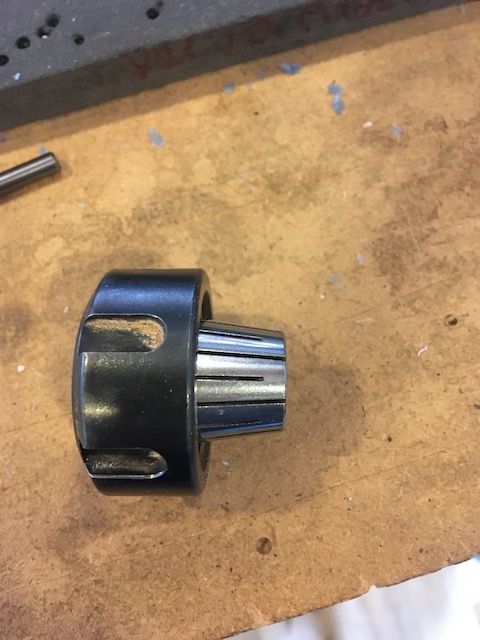
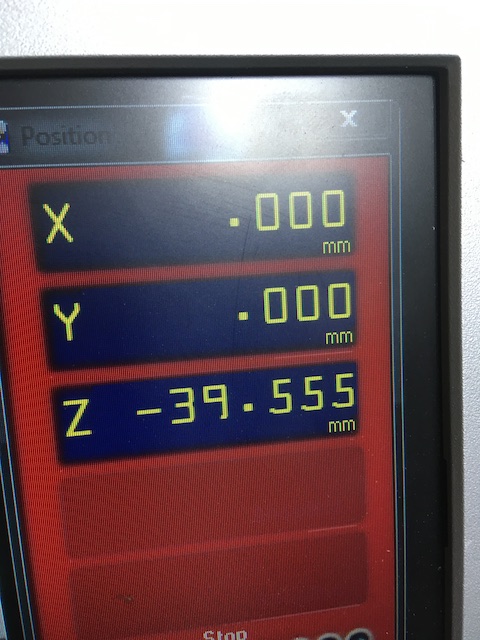
 another one was not sufficiently checking the dimensions of the chosen 2mm millingbit - I ran the risk of the machinehead destroying my wax brick because the bit was not long enough.
Redesign again, new toolpath, this time for a 3 mm bit. That worked.
another one was not sufficiently checking the dimensions of the chosen 2mm millingbit - I ran the risk of the machinehead destroying my wax brick because the bit was not long enough.
Redesign again, new toolpath, this time for a 3 mm bit. That worked.


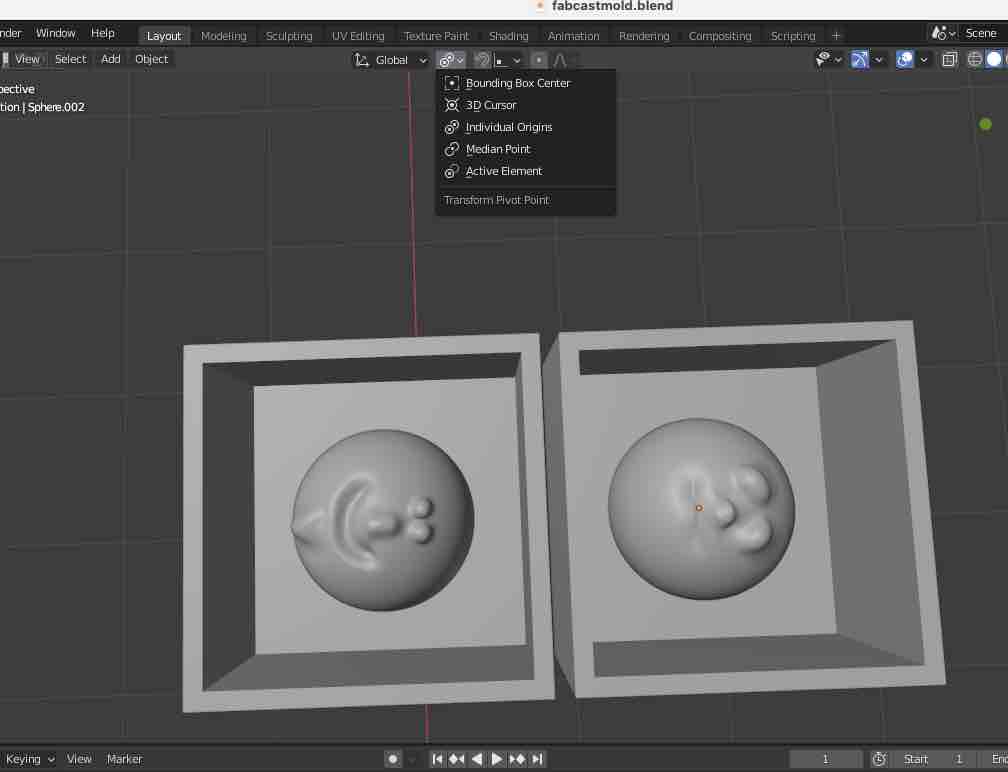
I was slightly underwhelmed by the lack of detail, also noticing the pattern chosen in VCad gave some unwanted tracks on my moons.
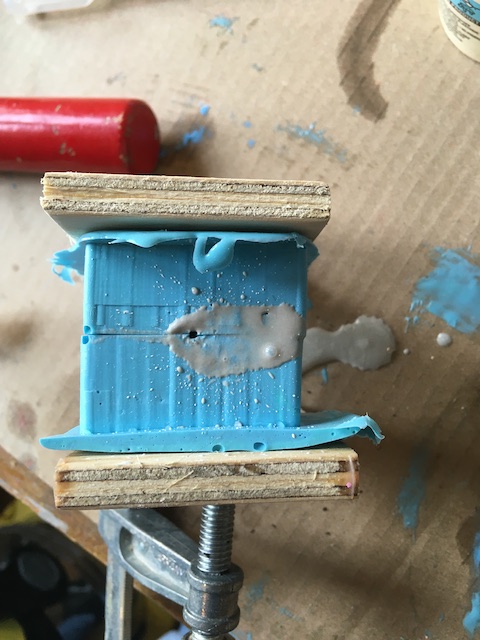
I sanded it down as best I could, and poured the Oomoo in.
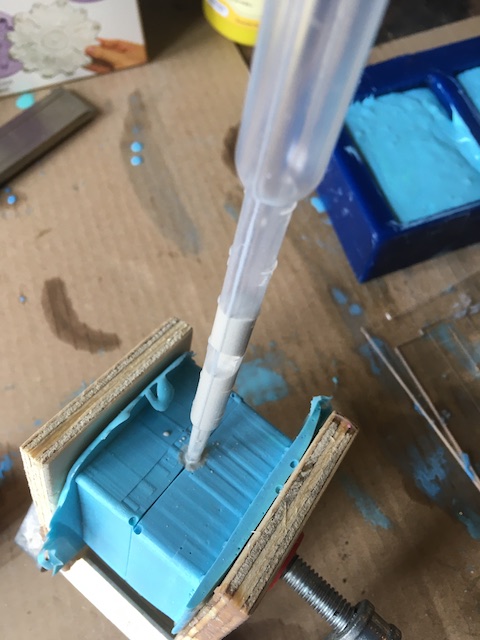
One thing I did not design is a pouringhole - I made a small channel with an electrical tool - therefore my assignment is only complete tomorrow, once I found a pipette small enough to fill up my mold with gipsum.

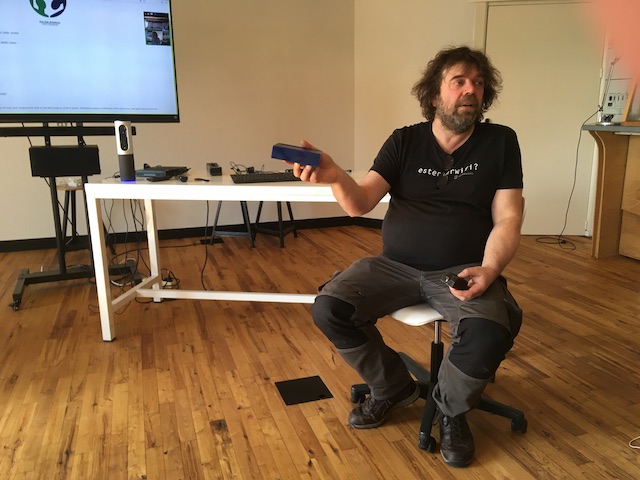
Half an hour before presenting..
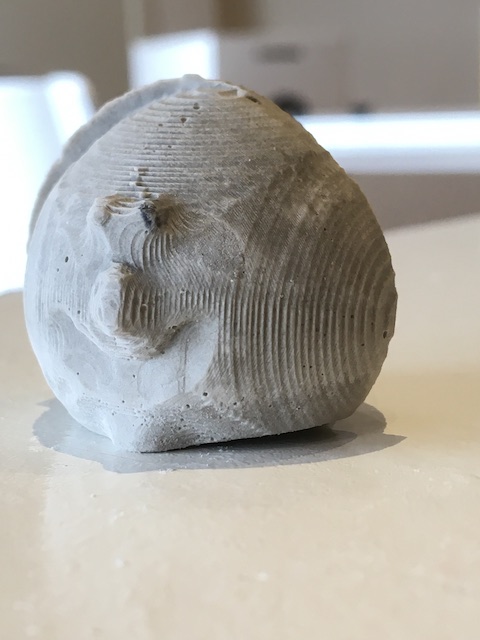
heroshots

Next time I’d like a greater level of detail, and I will design it so I do not have to mess around with the two halves the way I did now.