7. Computer controlled machining
This week I hit a wall. I do not understand why, but I found it next to impossible to make a design.
Of anything.
I looked at many examples, possibly too ambitous or conceptual…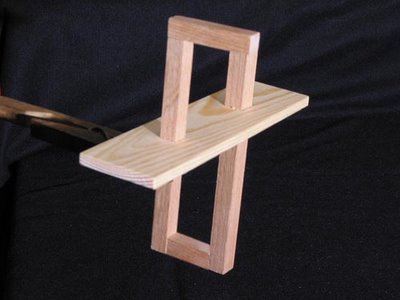 and they got me nowhere closer to something of my own.
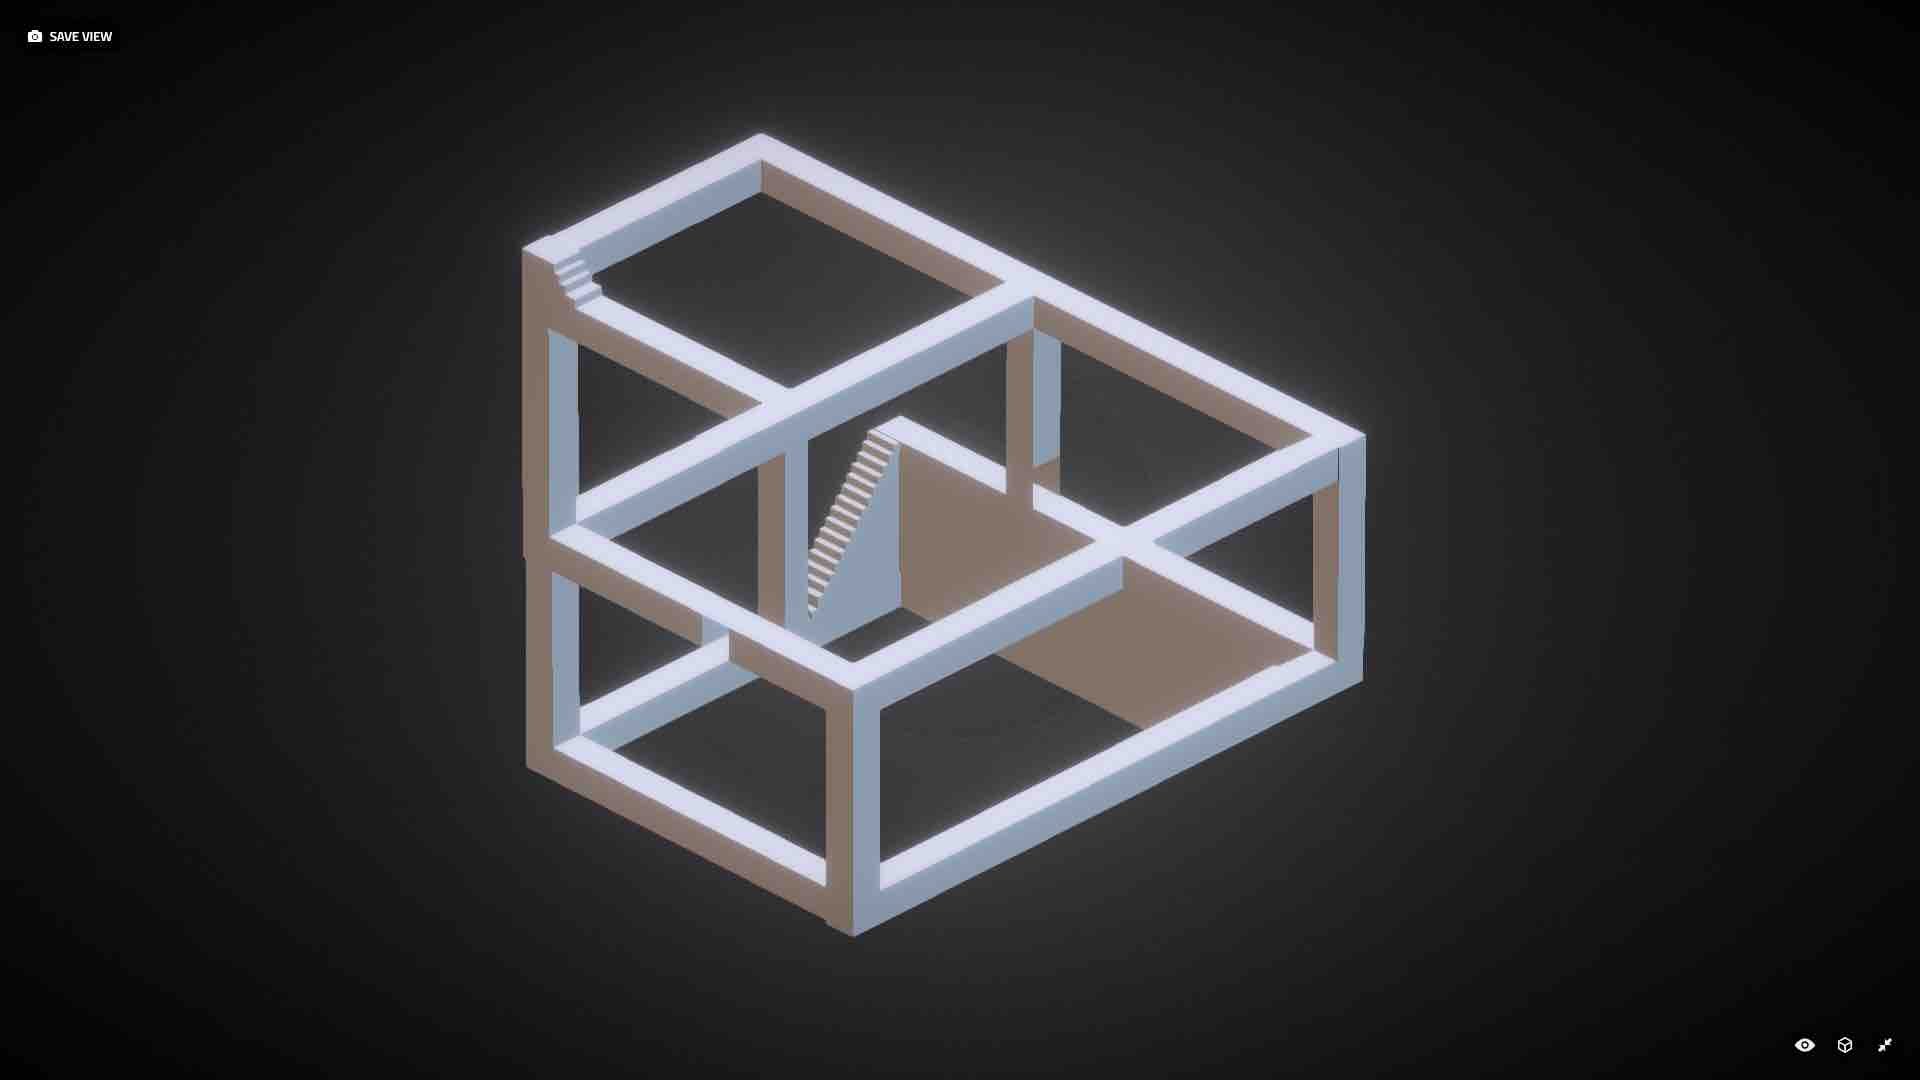
Like my brain was made of rubber. (Forgot to note who these images belong to also - last one is from Sketchfab).
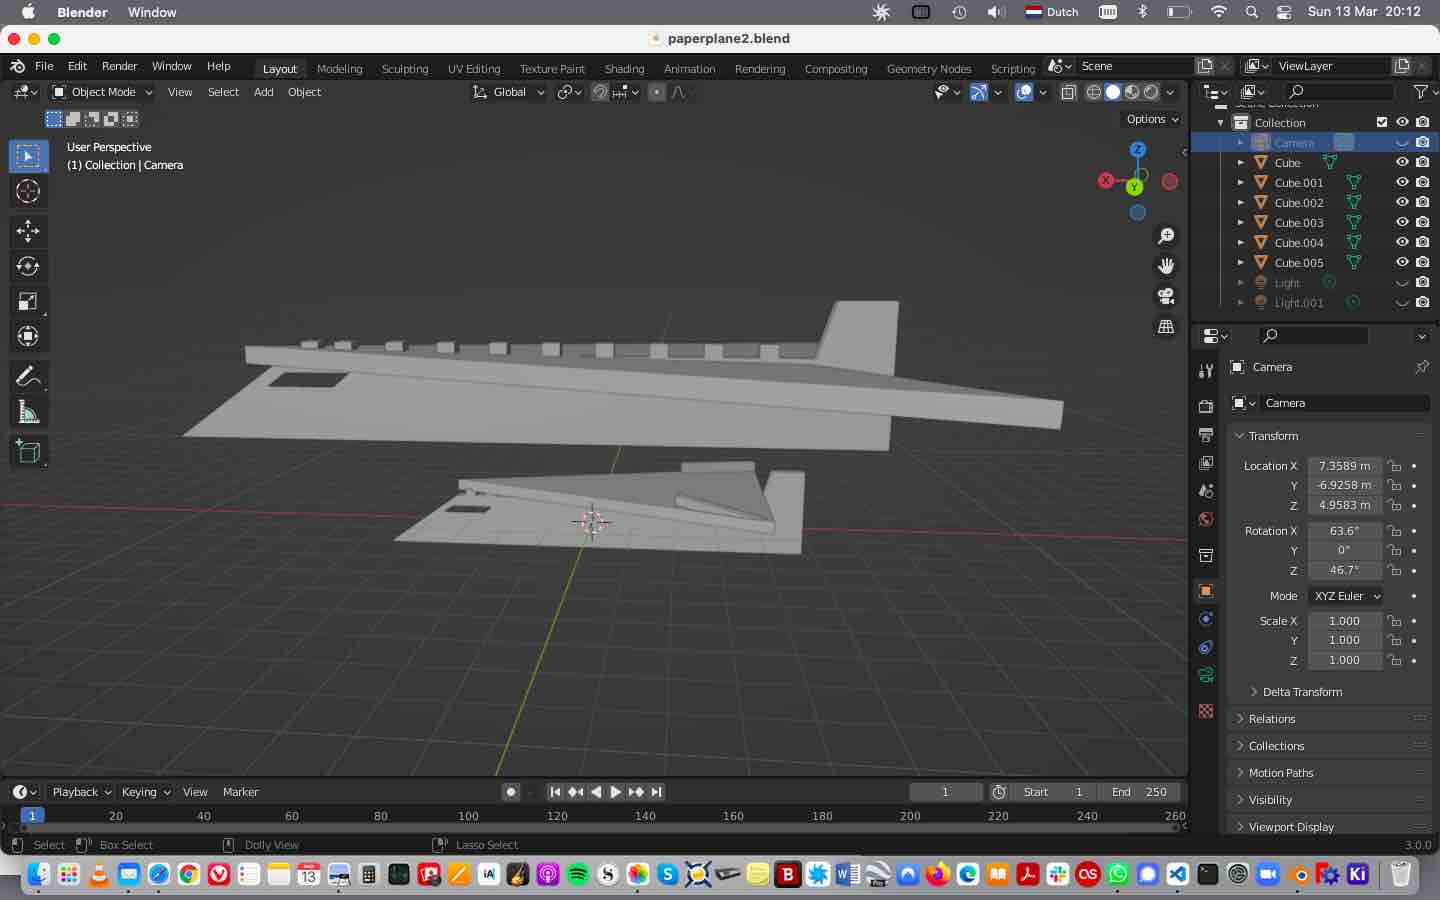
The best I could come up with, after days, was a giant paper plane - I sketched it on paper, 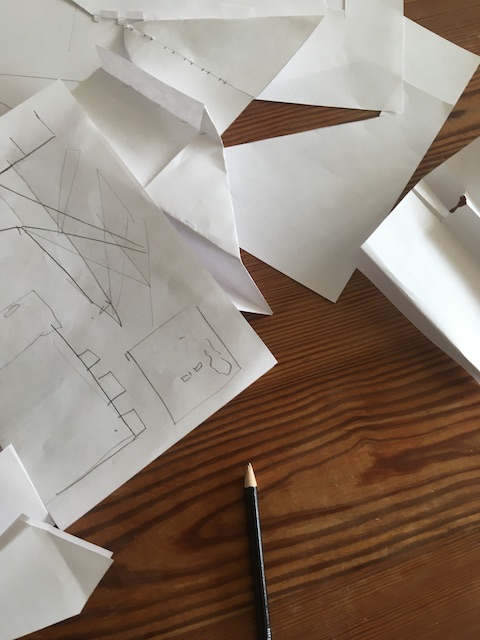 folded it, and then drew it in Blender - only to find that the new addon turning my design into a CADfile did not work.
So with Sundaymorning (the time I had the millingmachine booked) rapidly approaching, I tried to get up to speed with Fusion360 - but it was my first time and the learningcurve was too steep. And I still had no idea for a design (a 1,5 meter plane in 9mm plywood might not be feasible), also not after trying to remember how I did things in FreeCad - which seems ages ago. So, Sundaymorning, after very little sleep, I went to Waag without design and of course that proved pointless. The golden trick I hoped would help me did not work either - I found some very charming pictures of paper models

 some sort of pun on my inability to model something. Made them into pdf’s, and thought this could be imported into Vcad. Henk tried to help in checking the Blender CAD and these pdf’s, but confirmed their uselessness.
Operating the machine while tired: not the best idea either.
Went home again, now with two assignments not complete, and my time-issues multiplying.
I also tried to get Inkscape to work for me (also the first time) - but constantly learning new software was not the solution.
Finally I gave in, found a very simple designer online, and made my design.
some sort of pun on my inability to model something. Made them into pdf’s, and thought this could be imported into Vcad. Henk tried to help in checking the Blender CAD and these pdf’s, but confirmed their uselessness.
Operating the machine while tired: not the best idea either.
Went home again, now with two assignments not complete, and my time-issues multiplying.
I also tried to get Inkscape to work for me (also the first time) - but constantly learning new software was not the solution.
Finally I gave in, found a very simple designer online, and made my design.
I am very frustrated, not having finished my assignment, and especially not understanding why this was so very hard for me. I have a whole lot of catching up to do now. Finish last week’s circuitboard, programme it, and try and find a moment to mill my boxes. :( Plus quite some documentation staring me in the face.
edit: during global review I stumbled upon BlenderCad, one peer used it and I thought I’d be able to cut corners as well. After much research I found it is not for me, yet.

edit 22-03-22
My first day after recovering from covid I went to De Waag, prepared for a day programming as per in the schedule. In stead, I was asked to work on the CNC machine since it will be busy in the coming days. I was not very well prepared for that, my documentation was not up to date yet and I had not put my notes in order - but luckily Michelle was there to assist me by asking the right questions on the order of actions to be taken.
I leave the heroshot here, with a description of how I got there to be added later.

edit june: how I got there
The shopbot - being the only machine ready to kill you, although I’m sure the others (given a chance) will too- was quite intimidating at first, but as I worked with it that anxiety faded.
 I feel sorry in general for the amount of effective time I was able to put into this course, but with this tool especially - I’ve seen my peers do great stuff on it.
Instruction was as follows:
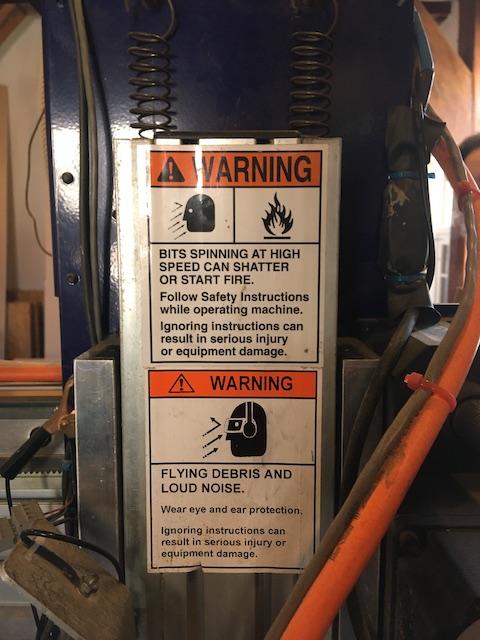
Safety:
The shopbot is in a small space.
Two doors for escape, one through the tower, one via main entrance.
The fire extinguisher is in the back, right, near the window.
Power is also in the back.

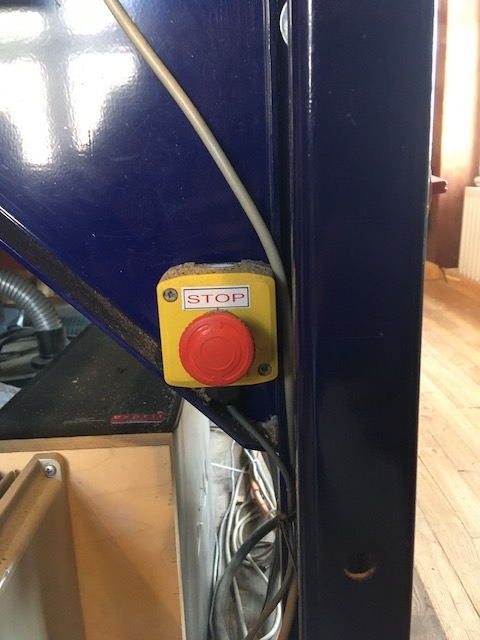
Stay away:
-1 from the red button at the front of the machine. It is an emergency stop, and requires a total reinstall.
 -2 from the machine itself when in operation.
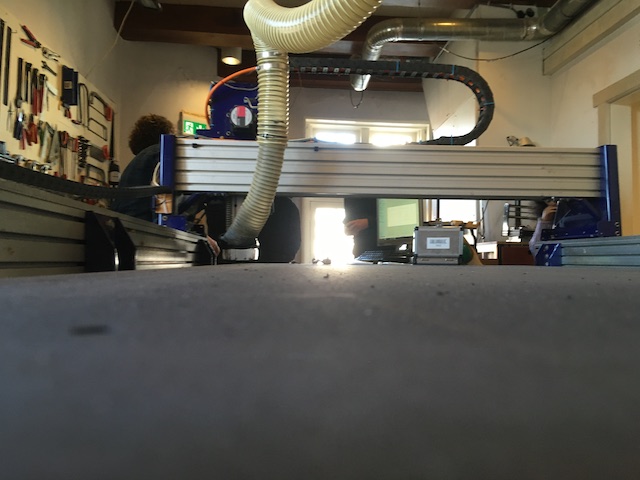
Mechanics…
The bridge with the spindle moves along a y axis and z axis, the rails alongside control x.
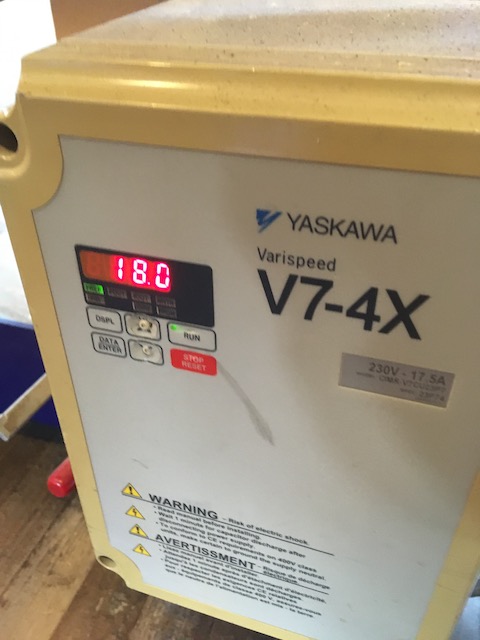
 The spindle is driven by a large stepper motor, which gets to 18000 rpm.
The x axis : driven by two stepper motors, connected to the rails. It cannot be slowed or stopped by hand.
The spindle is driven by a large stepper motor, which gets to 18000 rpm.
The x axis : driven by two stepper motors, connected to the rails. It cannot be slowed or stopped by hand.
While the machine runs: hands off. Surroundings clean before operating. The sacrificial plate was surfaced, and without woodies.
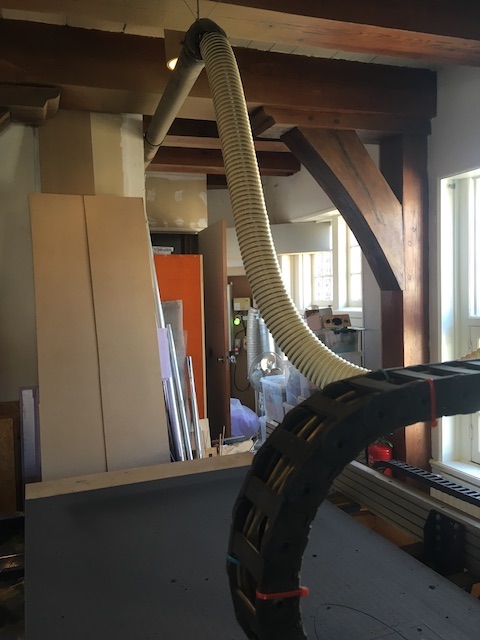
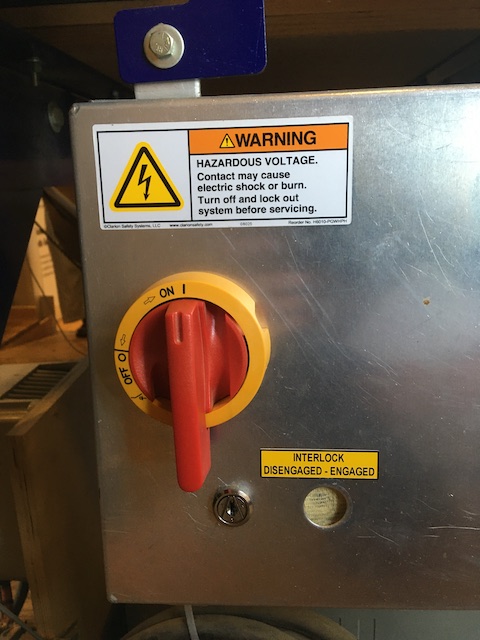
Suction:
It moves away the dust from the spindlehead to the bag in the back of the room.
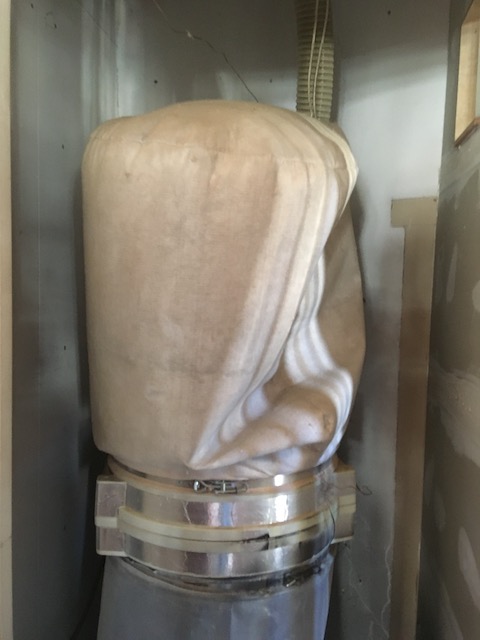
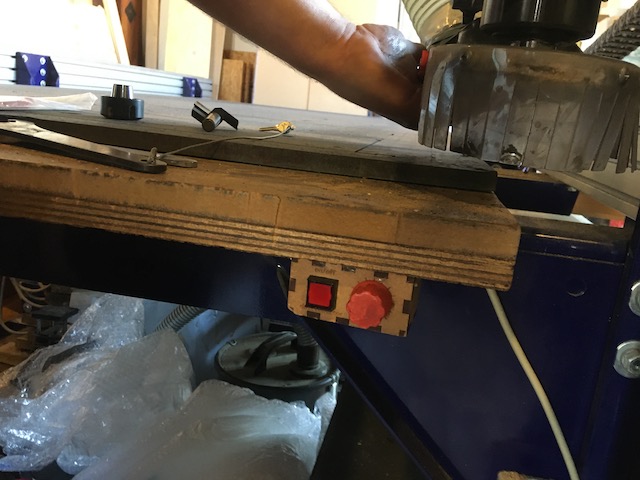
Switched on (before you start a job) first with the big red button in the closet in the back (green indicator lights up), then at the front of the machine with a small red button, next to it a switch to control the speed.
 When sparks fly: RED BUTTON, stop the machine, stop the suction, take off the plastic bag from the dustcollector and smell if it is burning.
Operation A:
Loosen the screw behind the spindlehead so the skirt comes down.
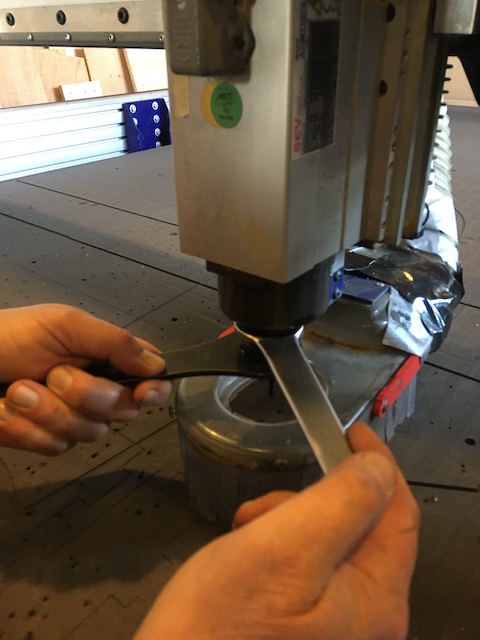
 Loosen the ring (there are two wrenches for that, one of them has the ‘ignition key attached to it, both are at the right side of the machine).
 Collet and bit are free now.
Prepare head
Replace bit and collet, if necessary, for the size you require, which you determined in VCARve earlier.
Check the girth and also length of the bit, needs differ per job.
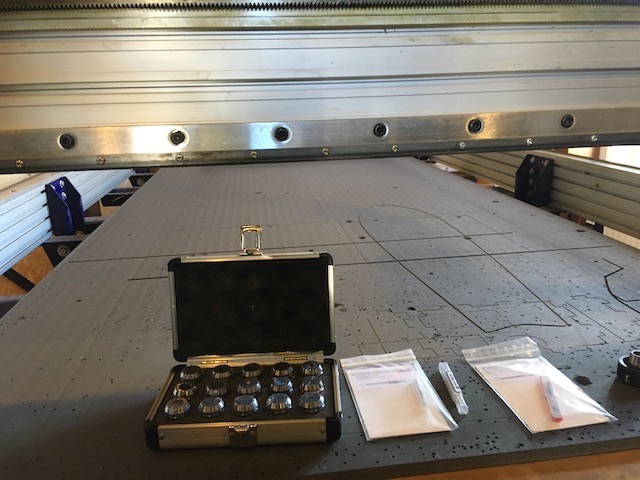
Push the black ring into the collet until ‘click’; then put the bit in (We used a 5mm bit in the demo).
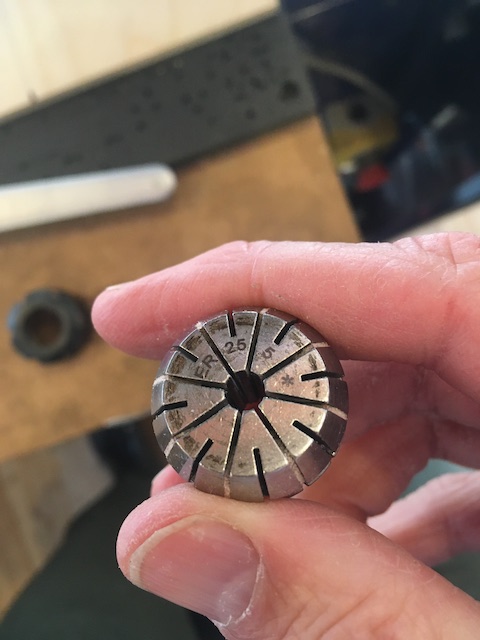
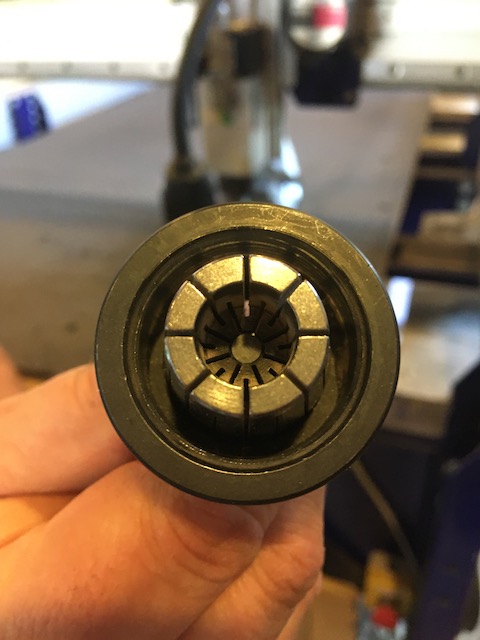
Screw this combination back in the spindle head with the two aforementioned tools. Gently. Put the skirt back up, and tighten.
Operation B
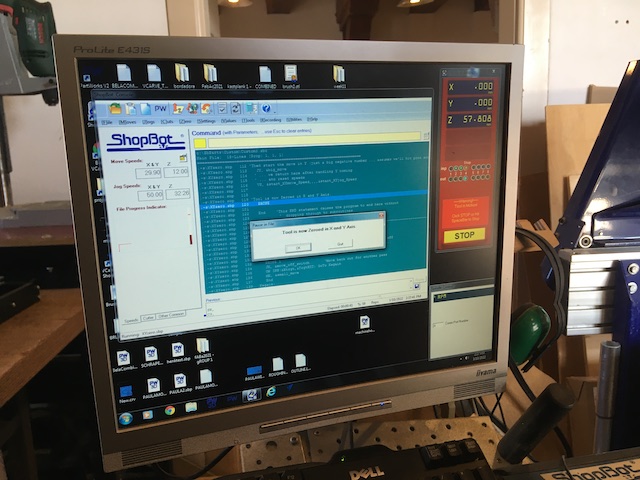
Start the pc, and start the machine with the red switch on the side/
 .
To home: (on the sacrificial layer on the machine)
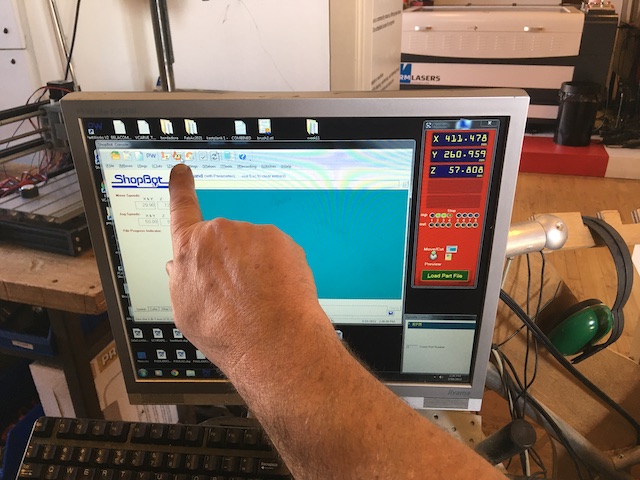
Press the x/y button, head moves there.
Press K to allow the keyboard to steer the homing
Manually determine X and Y with the arrow buttons
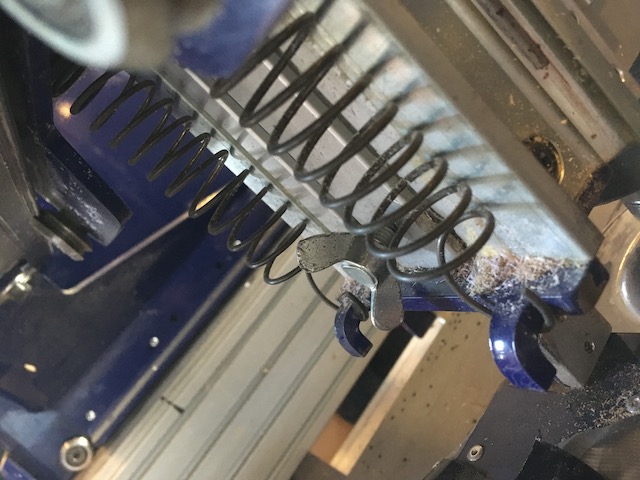
To put the Z (PgUp PgDown) : Put the metal plate (at the back of the spindle)
.
To home: (on the sacrificial layer on the machine)
Press the x/y button, head moves there.
Press K to allow the keyboard to steer the homing
Manually determine X and Y with the arrow buttons
To put the Z (PgUp PgDown) : Put the metal plate (at the back of the spindle)
 under the milling head, see if the light comes up (it makes contact) Press Z button in the software.
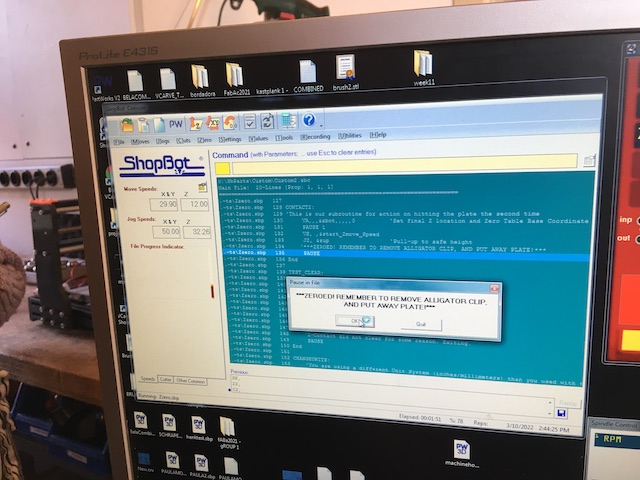
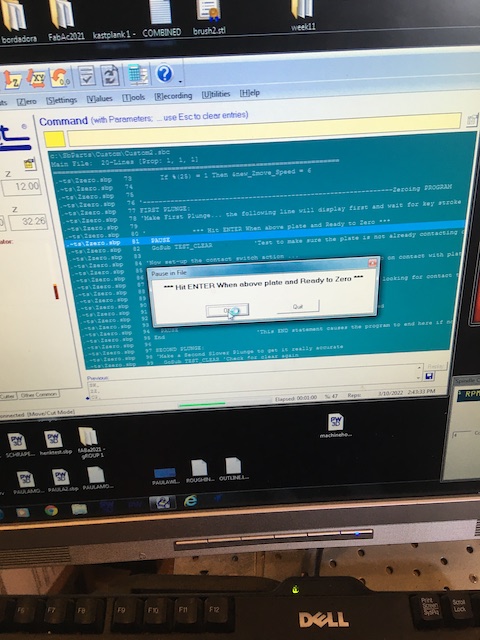 Lift Z, remove ‘homing’plate.
Interlude: VCarve
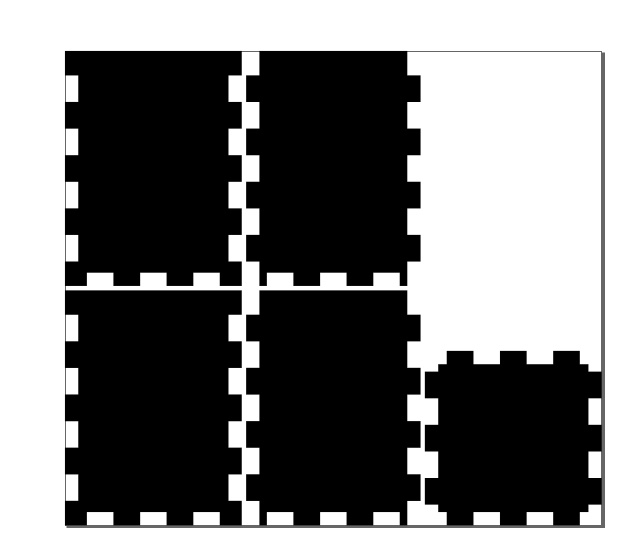
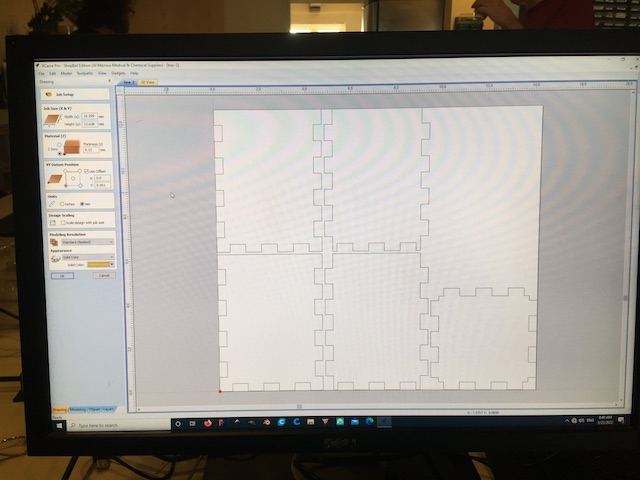
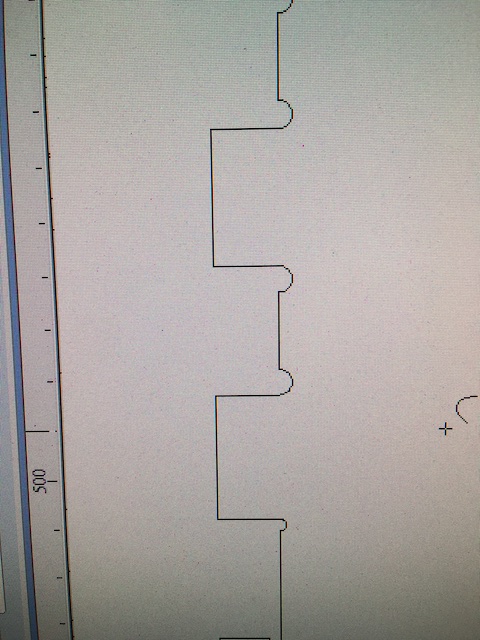
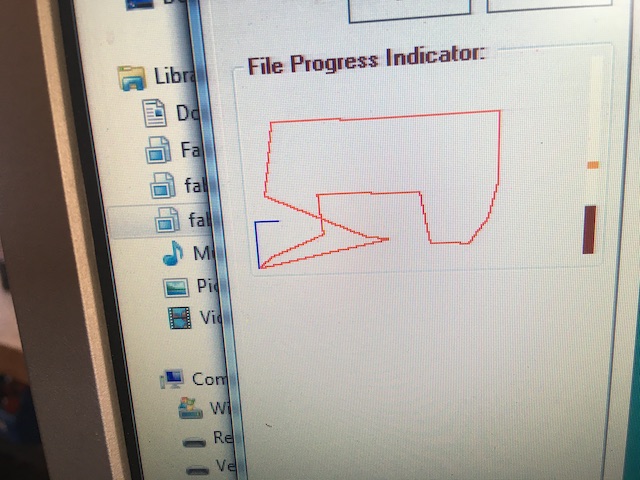
VCarve VCarve is the (Windows only I believe) software in which you determine the tool path the machine will follow to mill your design. The principles are similar to what you do on the laser cutter and the small milling machine, the Modela. -You have to input the dimensions of your material (in mm). The one we got was 2440 x 1220 x 9,5 if I remember correctly. -And also the settings for the mill you’ll be using. We took a 5mm flat 2 flute one. -Import you design (as a dxf file). -Add screw holes (so you can drill them, and thus the wood will be steadily fixed to the sacrificial layer), and save that tool path. -Also add tabs: that way once you milled one part through and through, it won’t jump out while the machine continues elsewhere. -Add dogbones when applicable: the machien cannot cut straight corners, so it needs a ‘softer’ path provided by those dogbones. It is an automated feature in VCarve. -Save the second tool path as well, and it is ready for use on the Shopbot. -But first run a test, the software will go through the milling virtually for you - in my Moulding and Casting page is an example of such a testrun.

Put Material, mill.
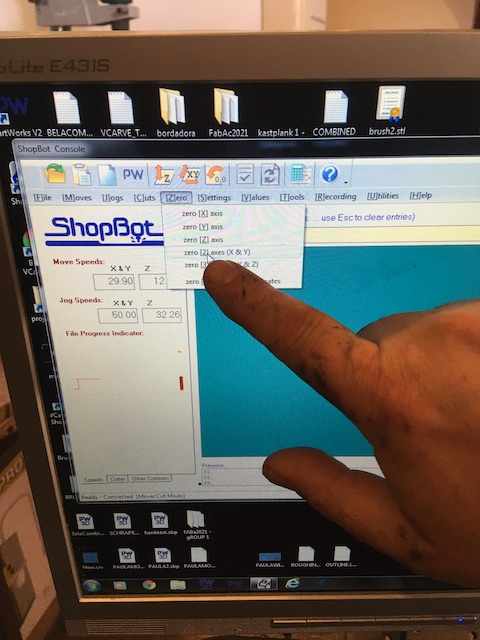
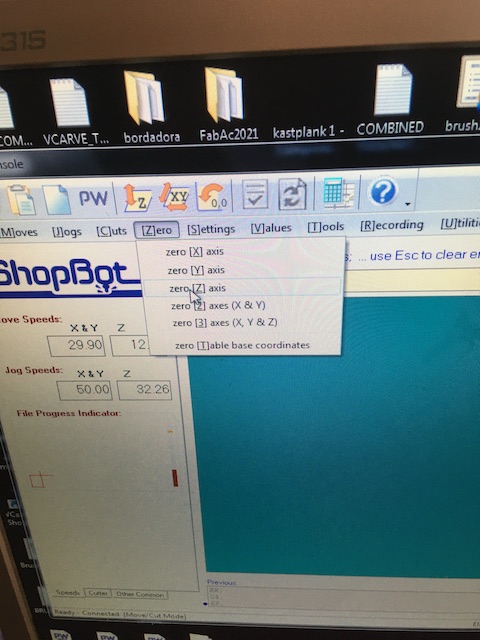
Move head along X and Y until you find a good homing position for the design you made in VCarve (see VCarve), bottom right. Note the coordinates. Zero X/Y with the pulldown menu on the pc.

Put your usb with the toolpaths in the pc. First choose the one for the screw holes.
Drill the screw holes you designed. (But not before starting the sucker, and switching on the spindle with the ignition on the right side of the machine, and set the speed at the front at 18000rpm)
Then: fasten the wood to the sacrificial layer with screws (count them) in the holes you just marked. Deep enough, so it will not interfere wiht the path of the machine.
After that: select the new tool path, repeat the procedure. Stay alert until the end. After the job is done, unscrew the plank. Count the screws (none should be left in the sacrificial layer, very dangerous). Clean with vacuumcleaner.
Making my own Something Big
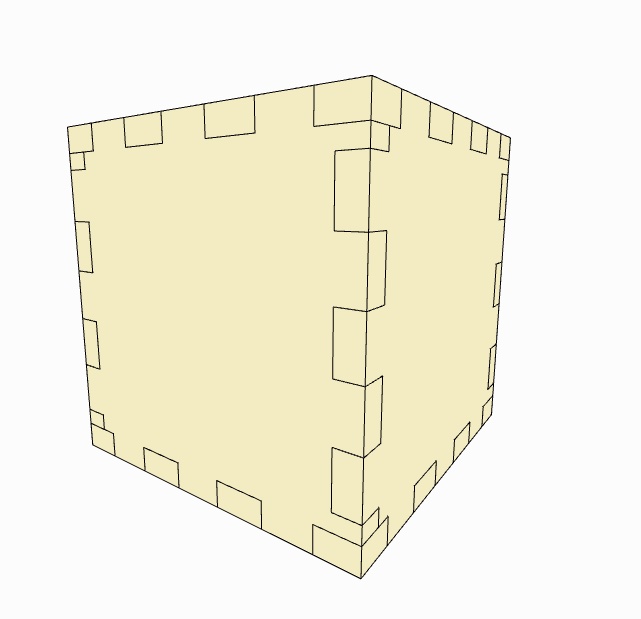
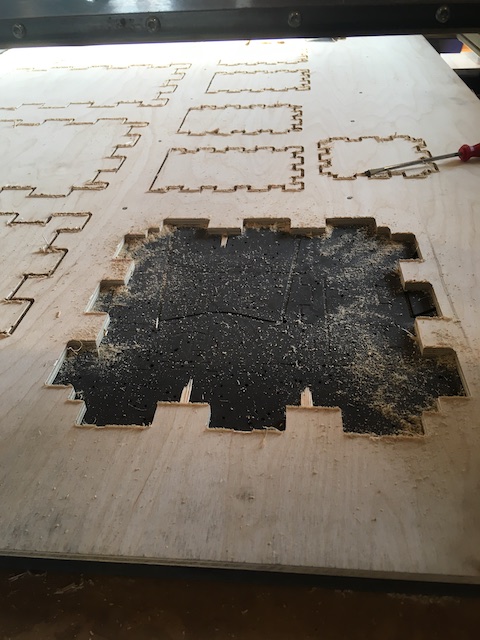
I made several mistakes in the procedure. First, not so much a mistake: as I said I failed to come up with a good design at the right time, so my slot went unused. Frantically taking notes and pictures during the demos is good, but putting the notes in order and adding to them not too long after you took them is much better. I did not do that quickly enough, so I did not digest. Once it was my turn on the shopbot unexpectedly, I was illprepared. That also means I did not document my own process in enough detail. I can say that, once I set up the machine the right way, everything went smoothly - even if the result was quite splintery. I sanded the parts, and came up with two nicelooking boxes that were almost pressfit. As with most things in my FabAcademy trajectory: practice makes almost perfect.

Edit june:
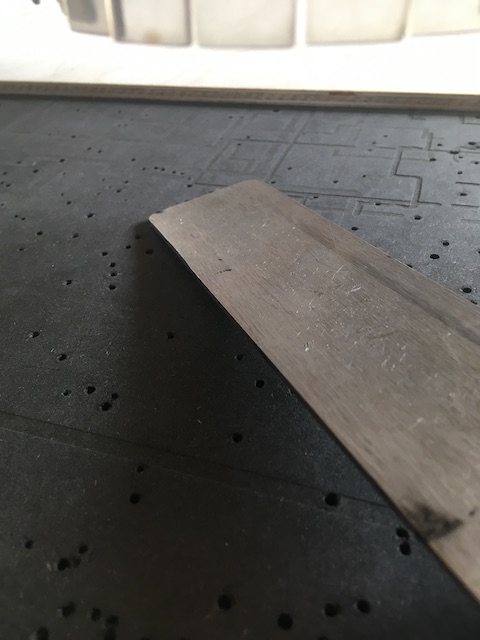
Groupassignment
Saco -being an experienced CNC user - suggested to try and find the difference between milling-with and milling-against the feed, climb and conventional that is. The conventional method resulted in a plank that was much rougher then when you went with it - splinters all over in the first case.
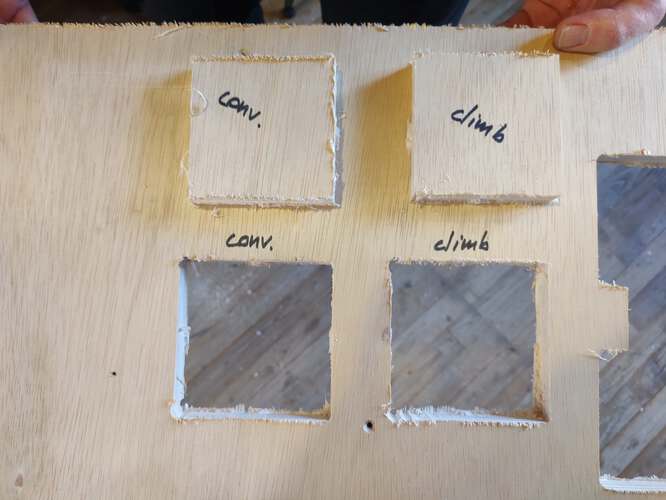 Nice pictures courtesy of Bas.
Summary: