Week 7: Computer-Controlled Machining
Group assignment:
- Complete your lab’s safety training
- Test runout, alignment, fixturing, speeds, feeds, materials and toolpaths for your machine
- Document your work to the group work page and reflect on your individual page what you learned
Individual project
Make (design+mill+assemble) something big
Group assignment:
-
Safety in the laboratory
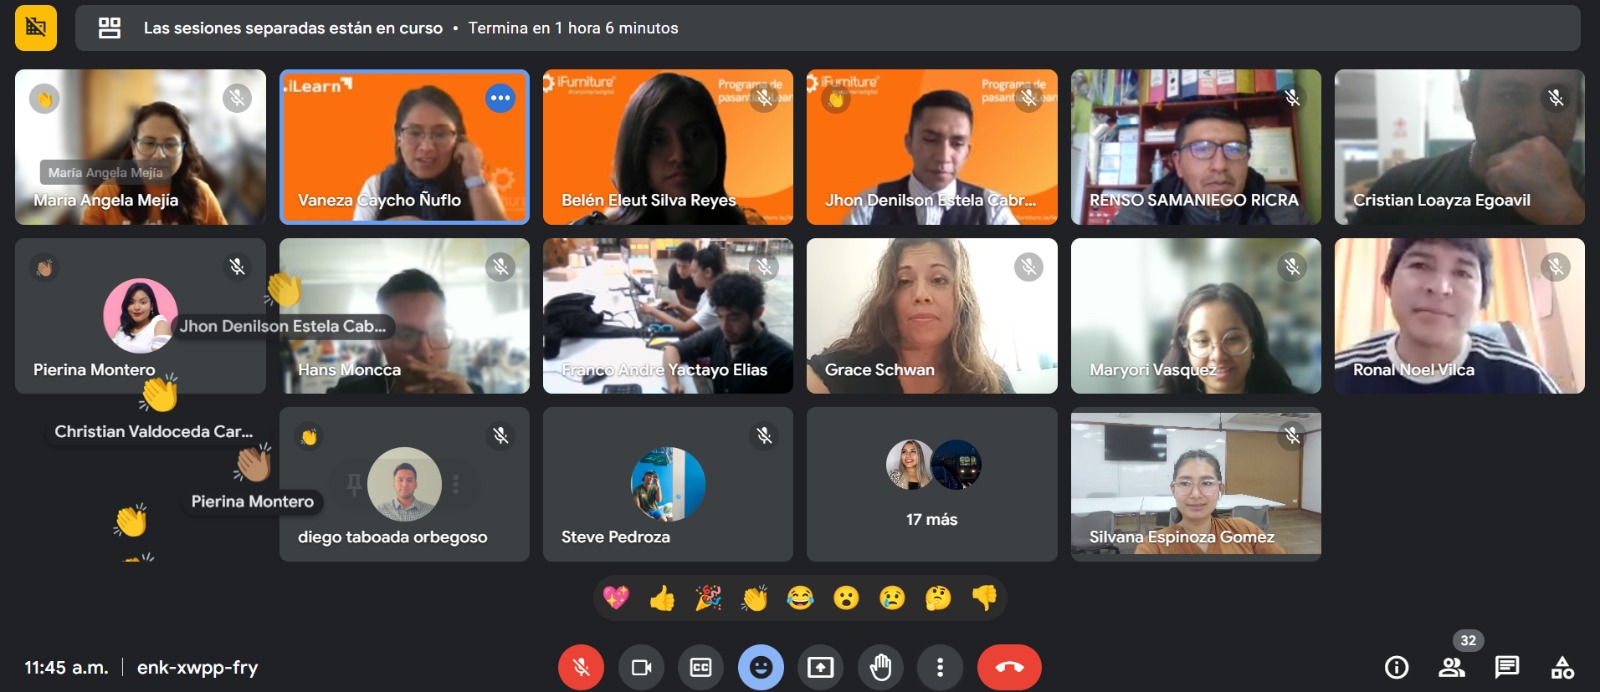
We have already received the talk from the company ifurnituri regarding security issues via zoom All the students of the fab Academy 2024 were present
 The topics of safety signals at work were discussed and it was explained at every moment that we would have to use each signal. There were several signs that I didn’t know
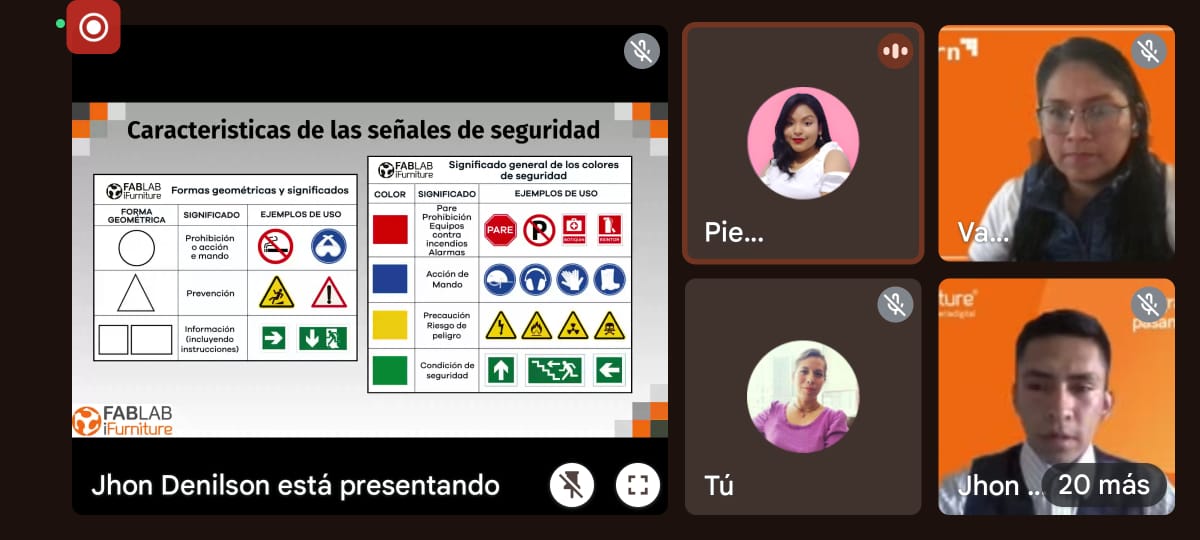 The topics of the stripes were touched on, especially the green one, which I didn’t know and I found it very interesting since it indicated an emergency condition.
 We were also provided with the location plans of the machines where the locations of the machines had to be taken into account for personnel access.
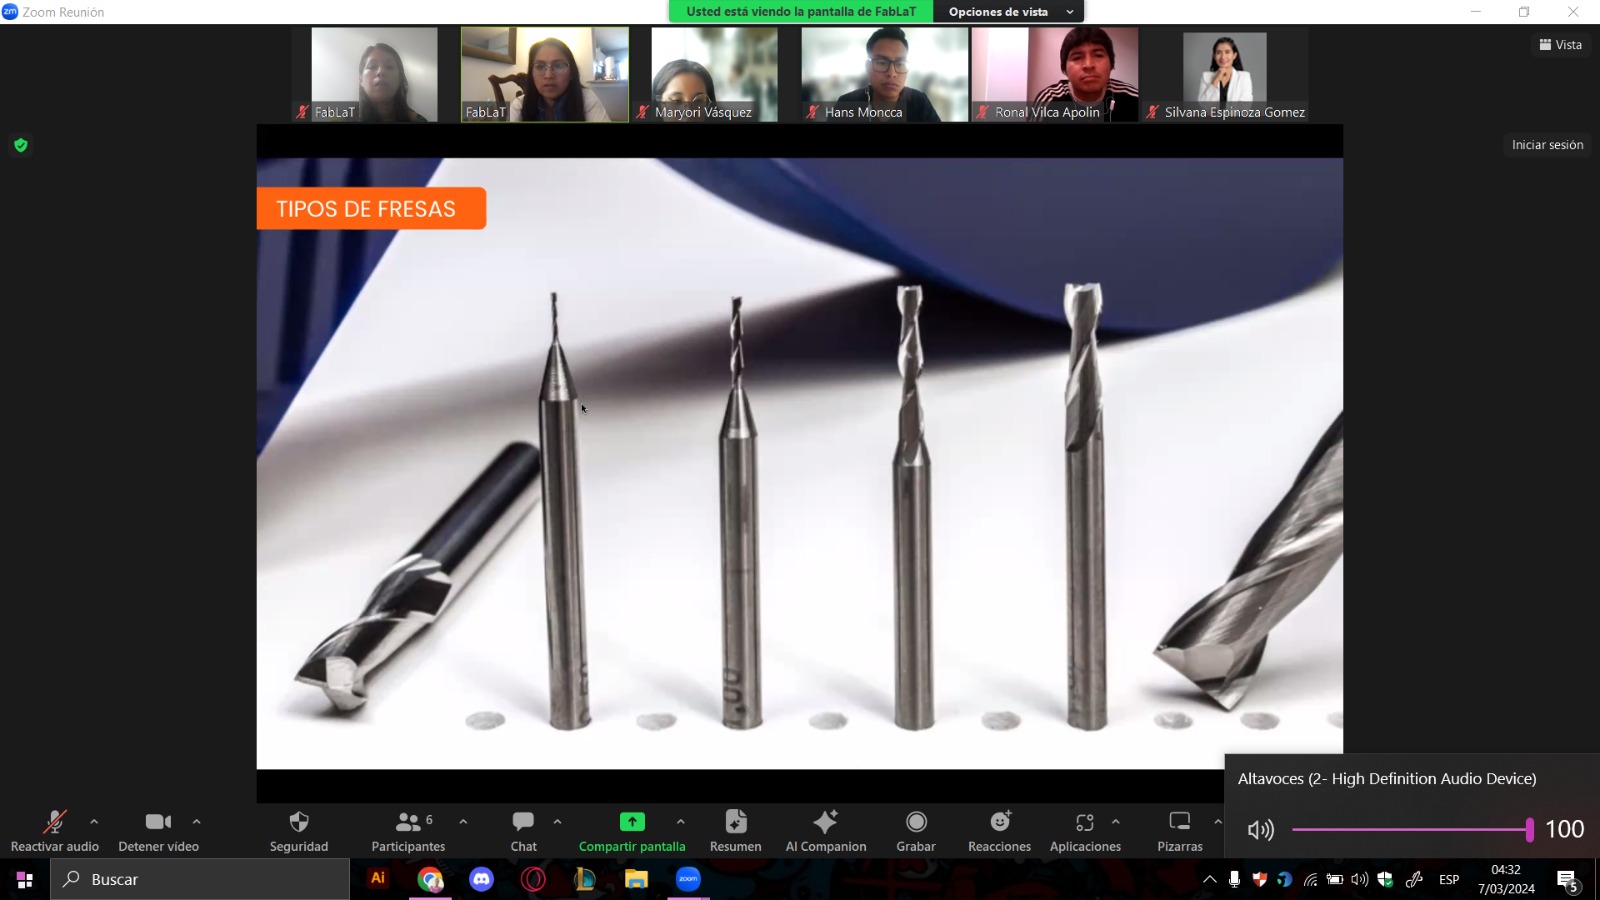
 It was reported regarding the types of milling cutters for cutting wood with the CNC, there were different types of shapes and sizes
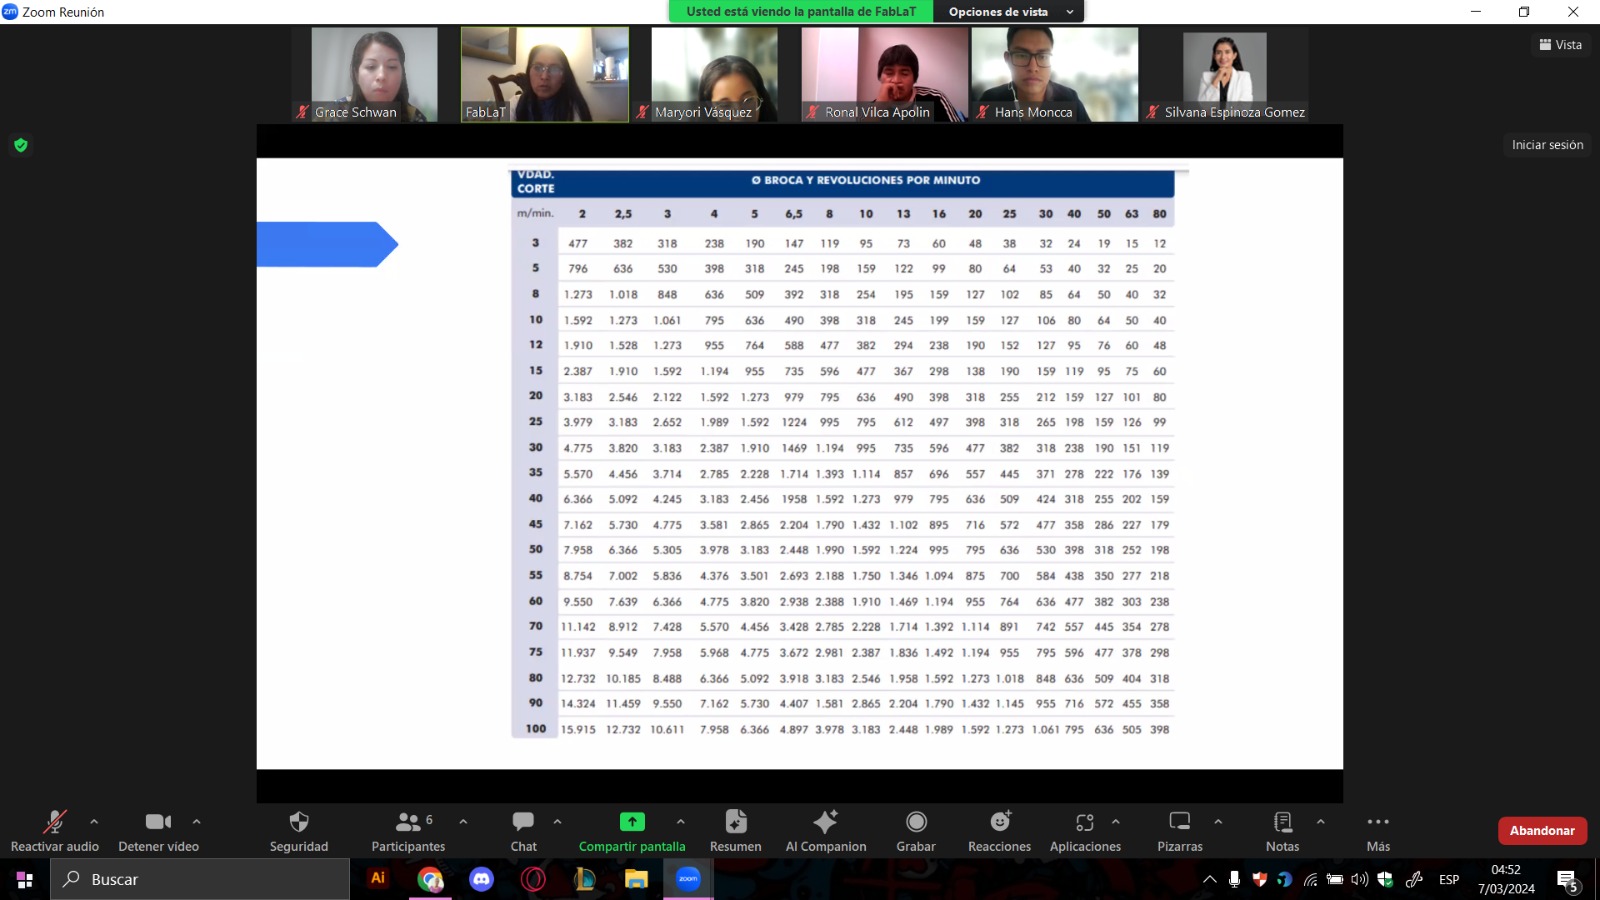
 We also saw the topics of the cutting speed table on the CNC
 We see which drill bit to use and the revolutions per minute
 At the end of the talk we have obtained the certificate
 For safety we put on the helmet, glasses and ear plugs, also the gloves before starting to work and don’t forget the safety shoes.
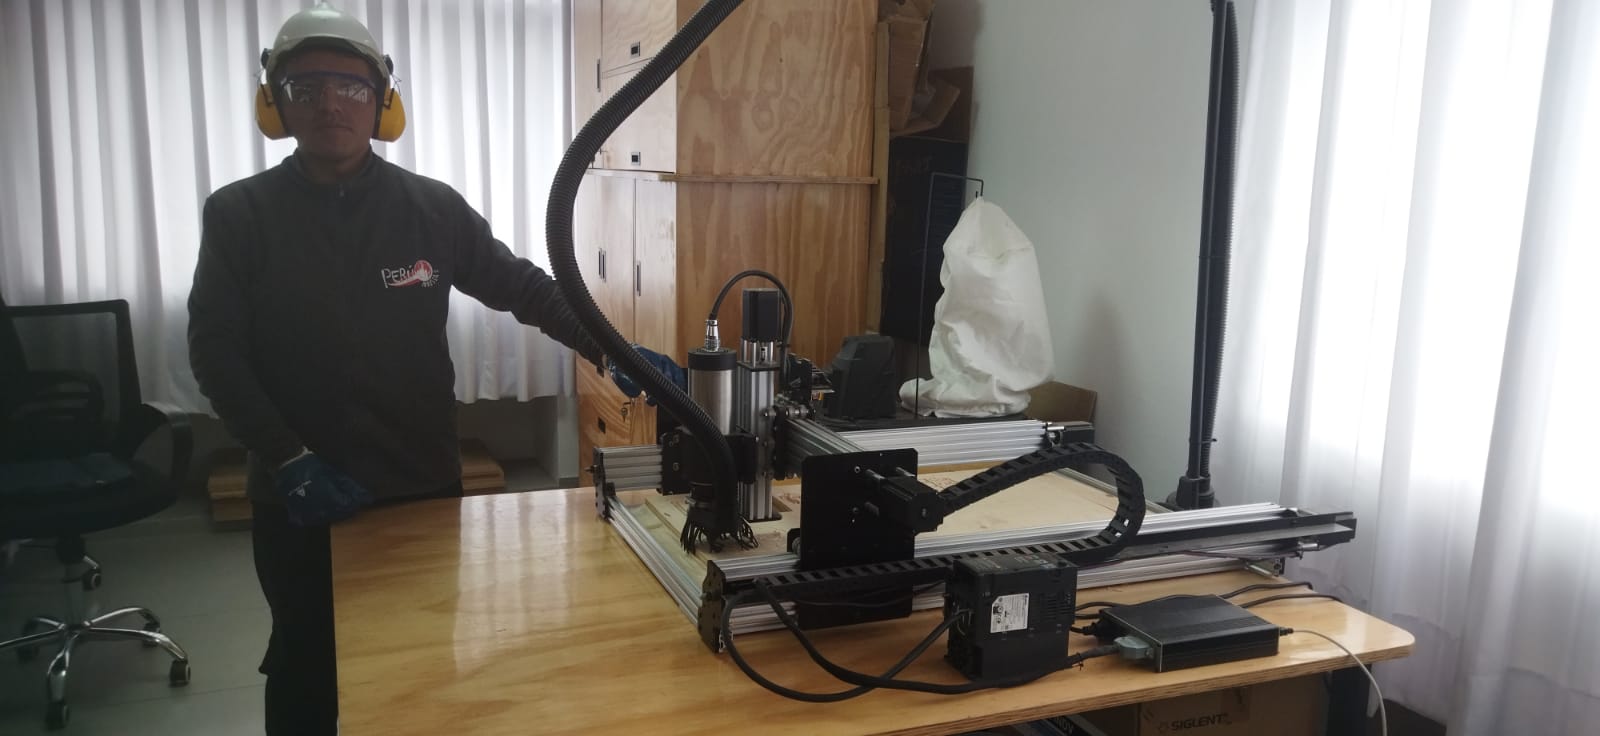 Wilbert did the same in putting on the safety equipment without first putting on our jackets because of the very cold weather in our city on Cerro de Pasco

-
Test runout, alignment, fixturing, speeds, feeds, materials and toolpaths for your machine
We begin by measuring with the vernier the diameter of the drill to use this average 6mm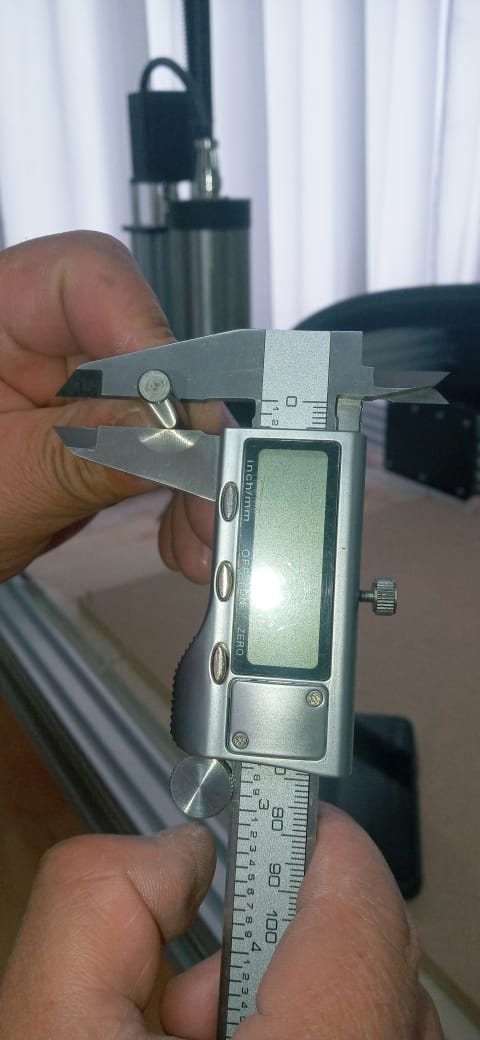 We use the tools to adjust the drill bit on the CNC milling machine
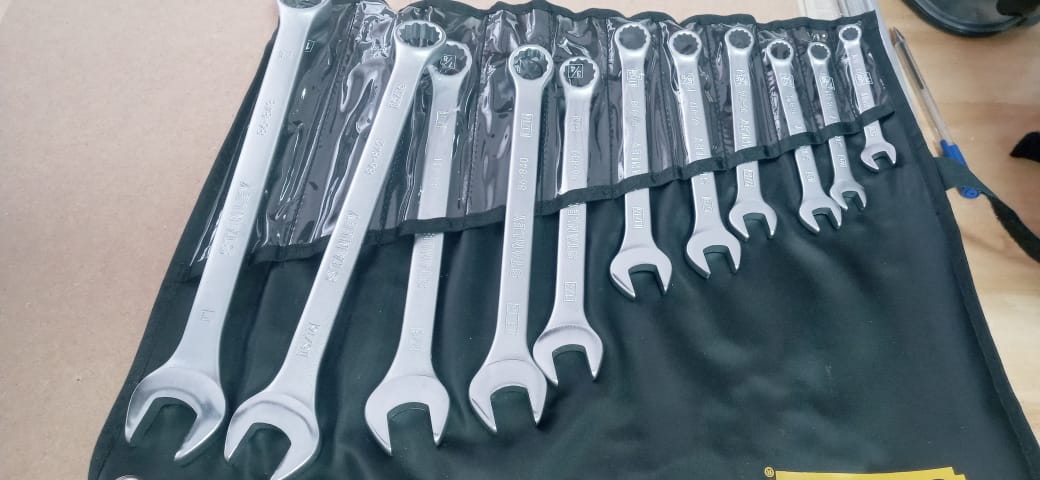 We begin to adjust the cutter with the tools
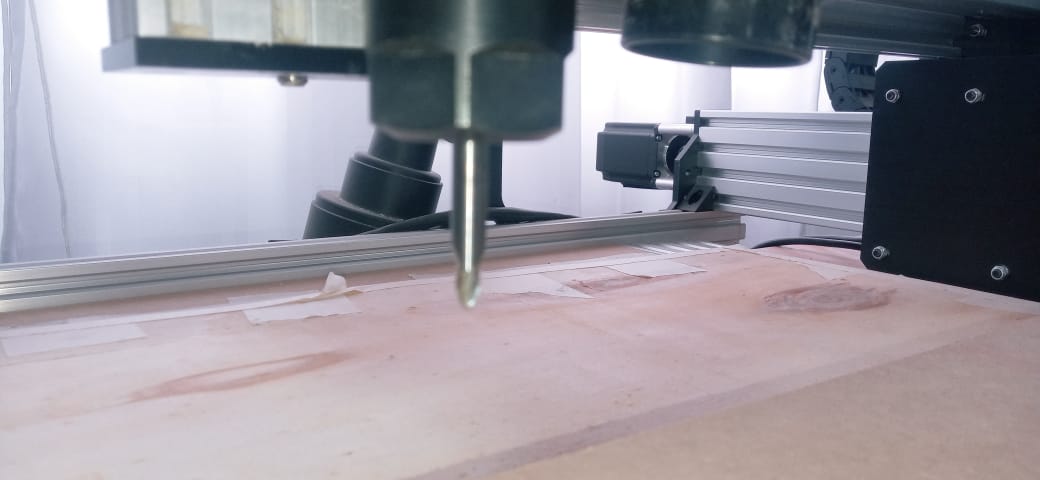
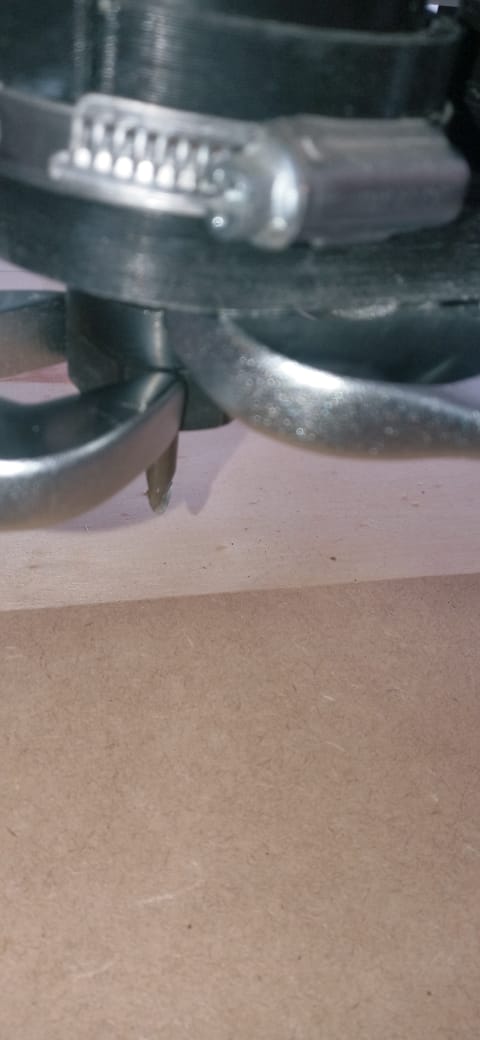 Mill ready to work with the CNC
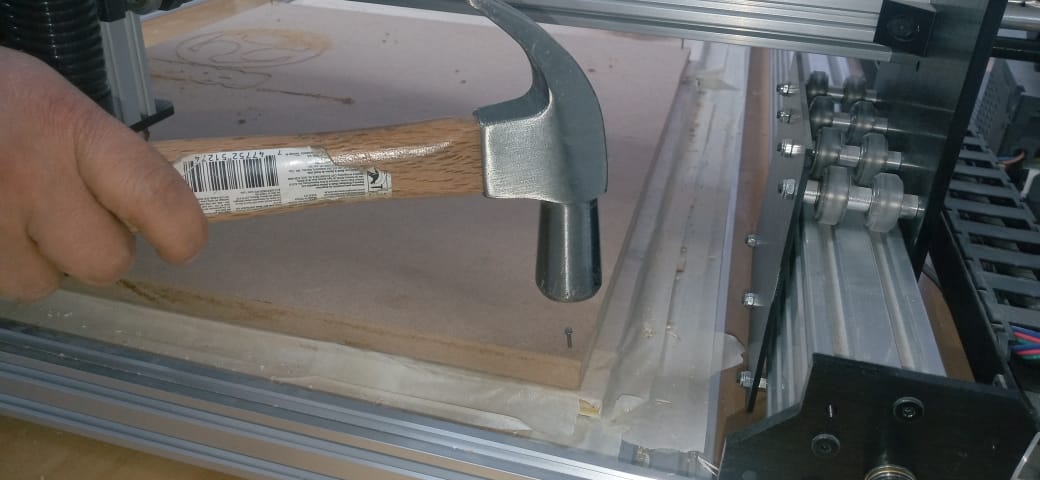
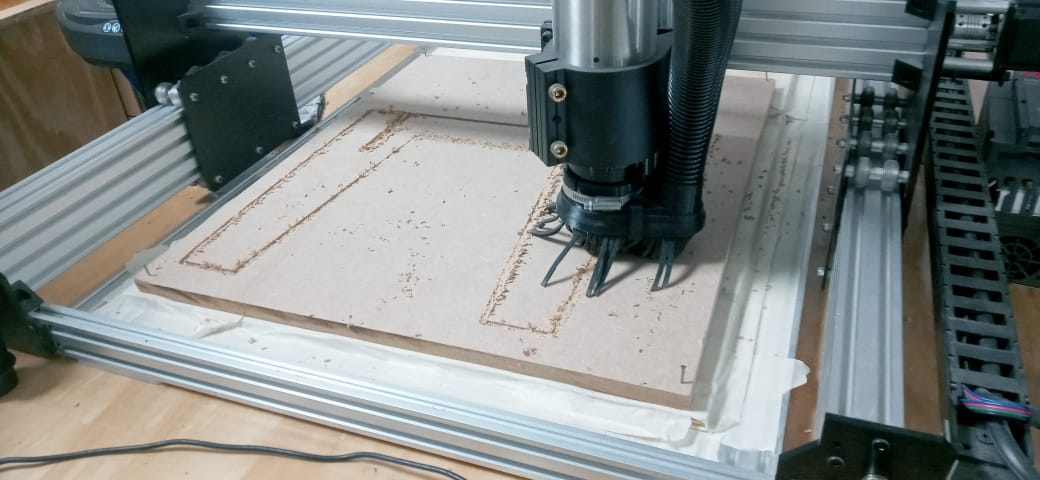
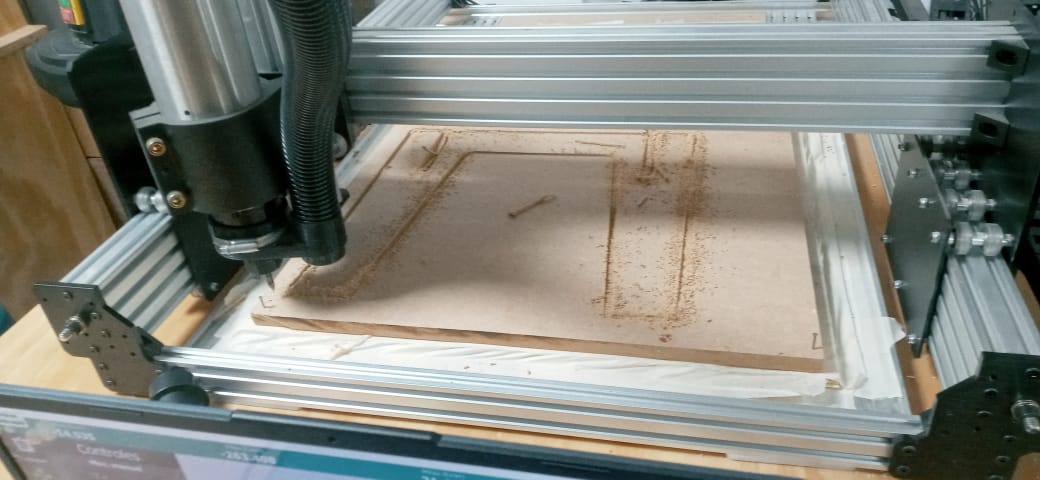
 Our work area has a 50 by 70 cm work area division and there we put the 15 mm thick MDF, fixing it to the bed by nailing the edges so that our material does not move.
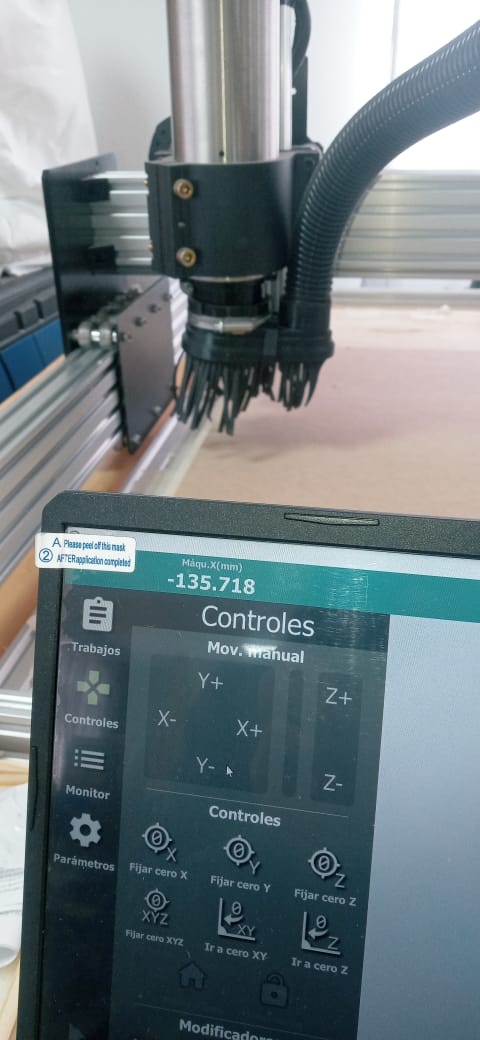
 We turn on the machine and verify that the speed of the cutter is at zero
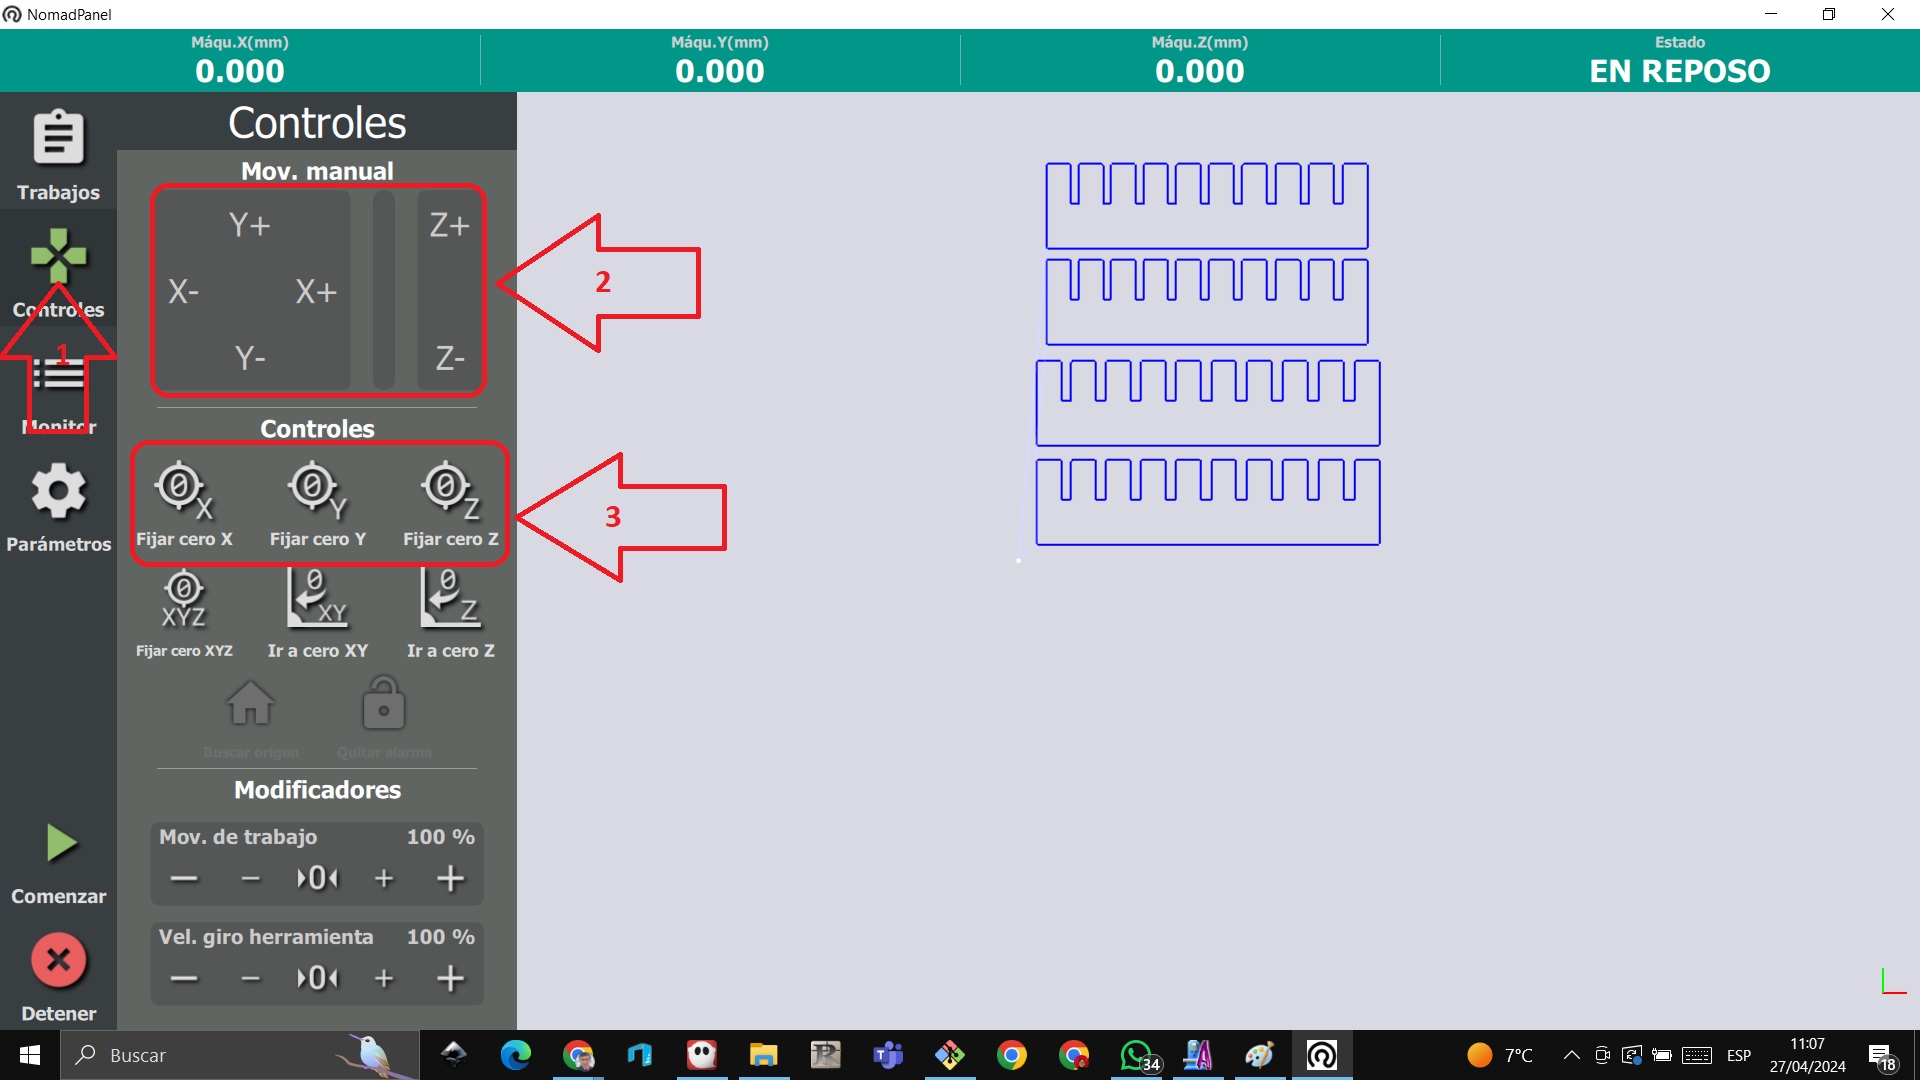
 We open the nomad panel software and start looking for the starting zero point of our work in the x and z axes
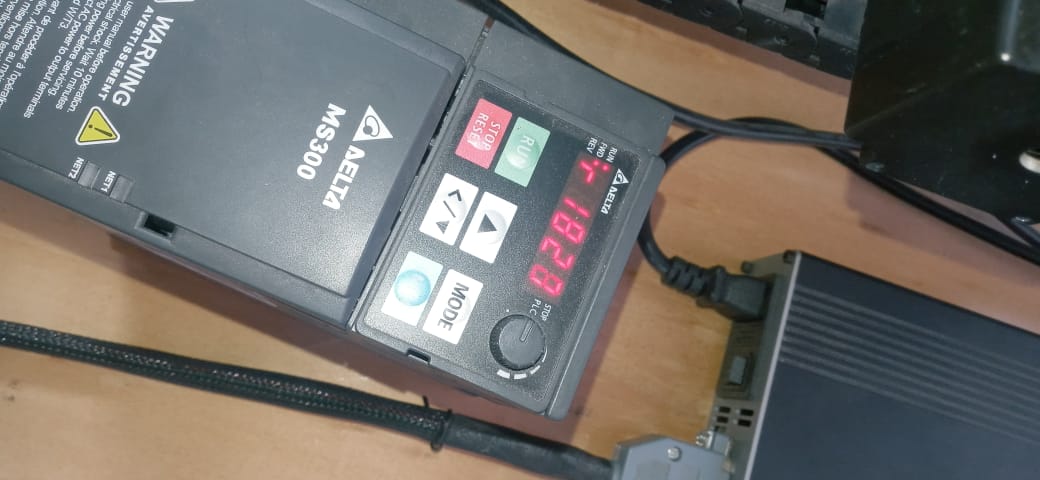
 We increase the speed according to the board indicated in the safety regulations for cutting 15 mm MDF


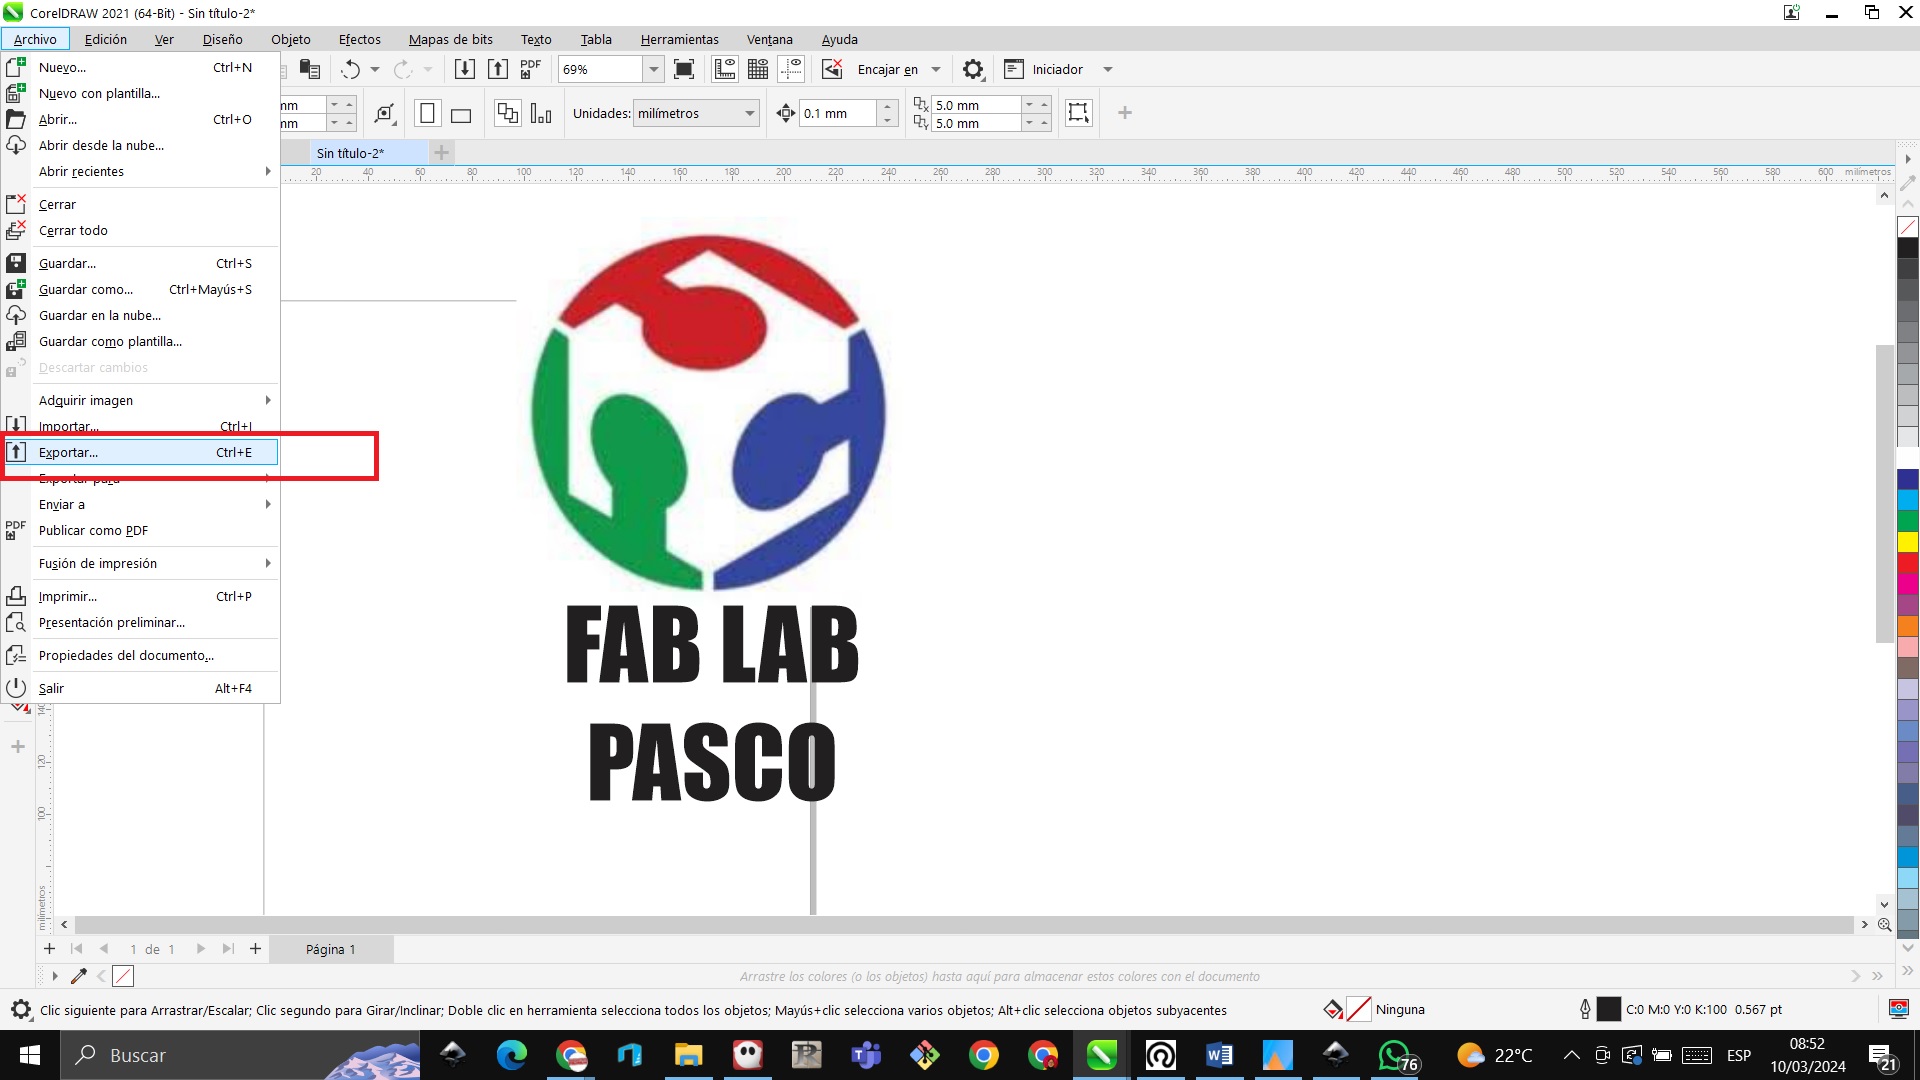
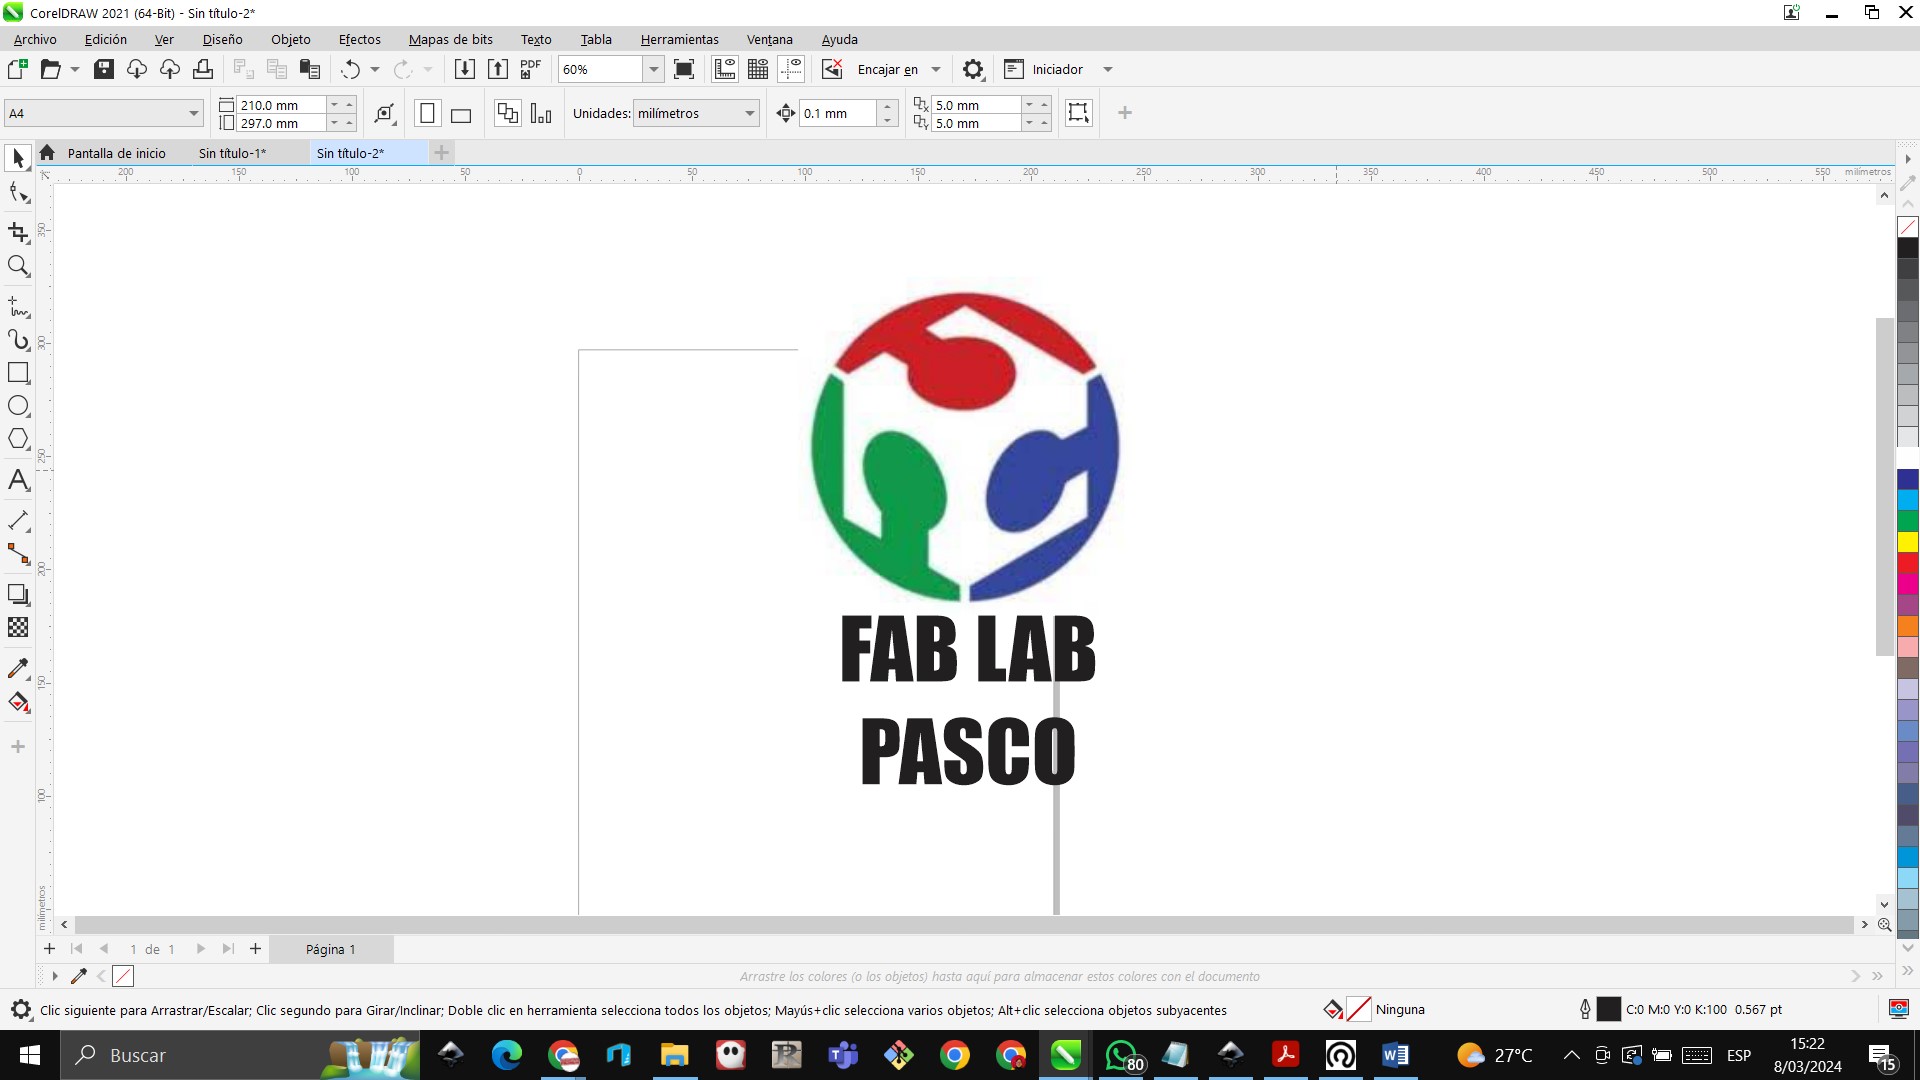
We open Coreldraw to be able to work on our logo and design it
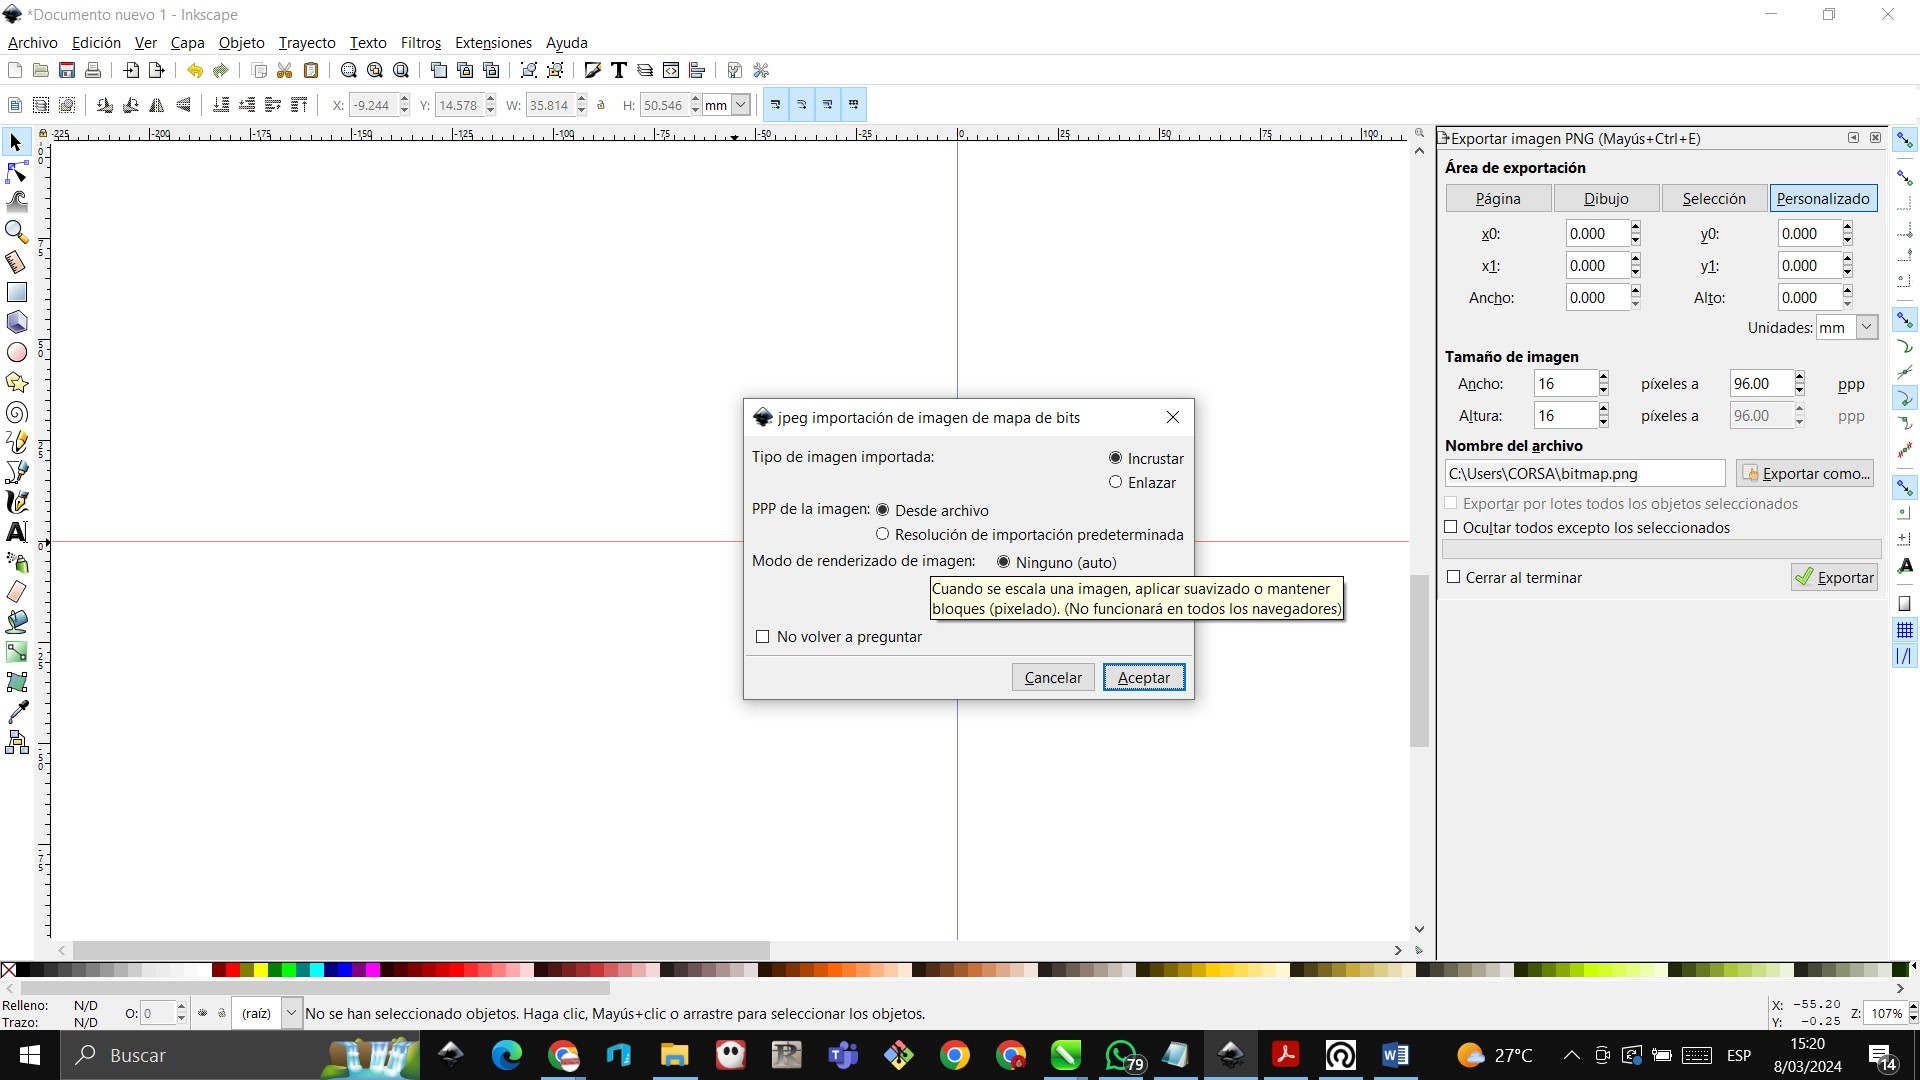
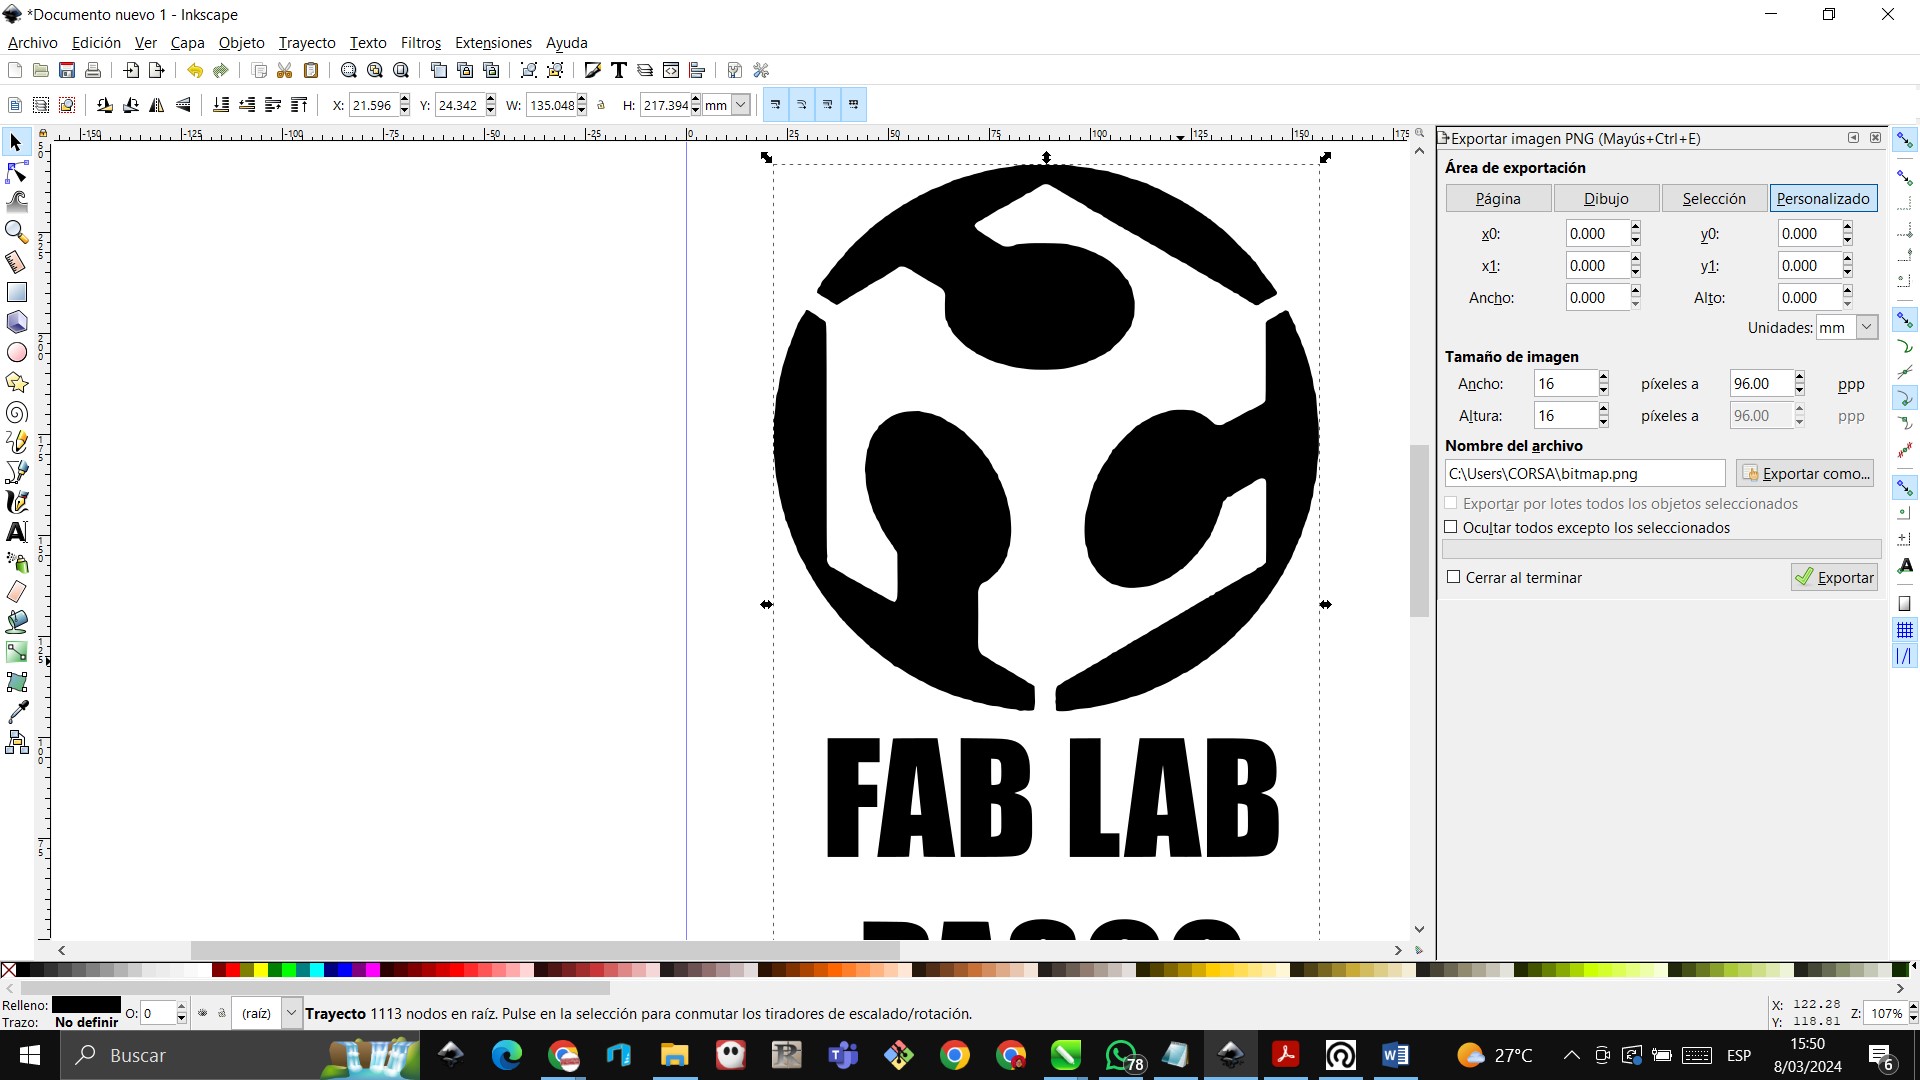
 We open the Inskape software and import the image

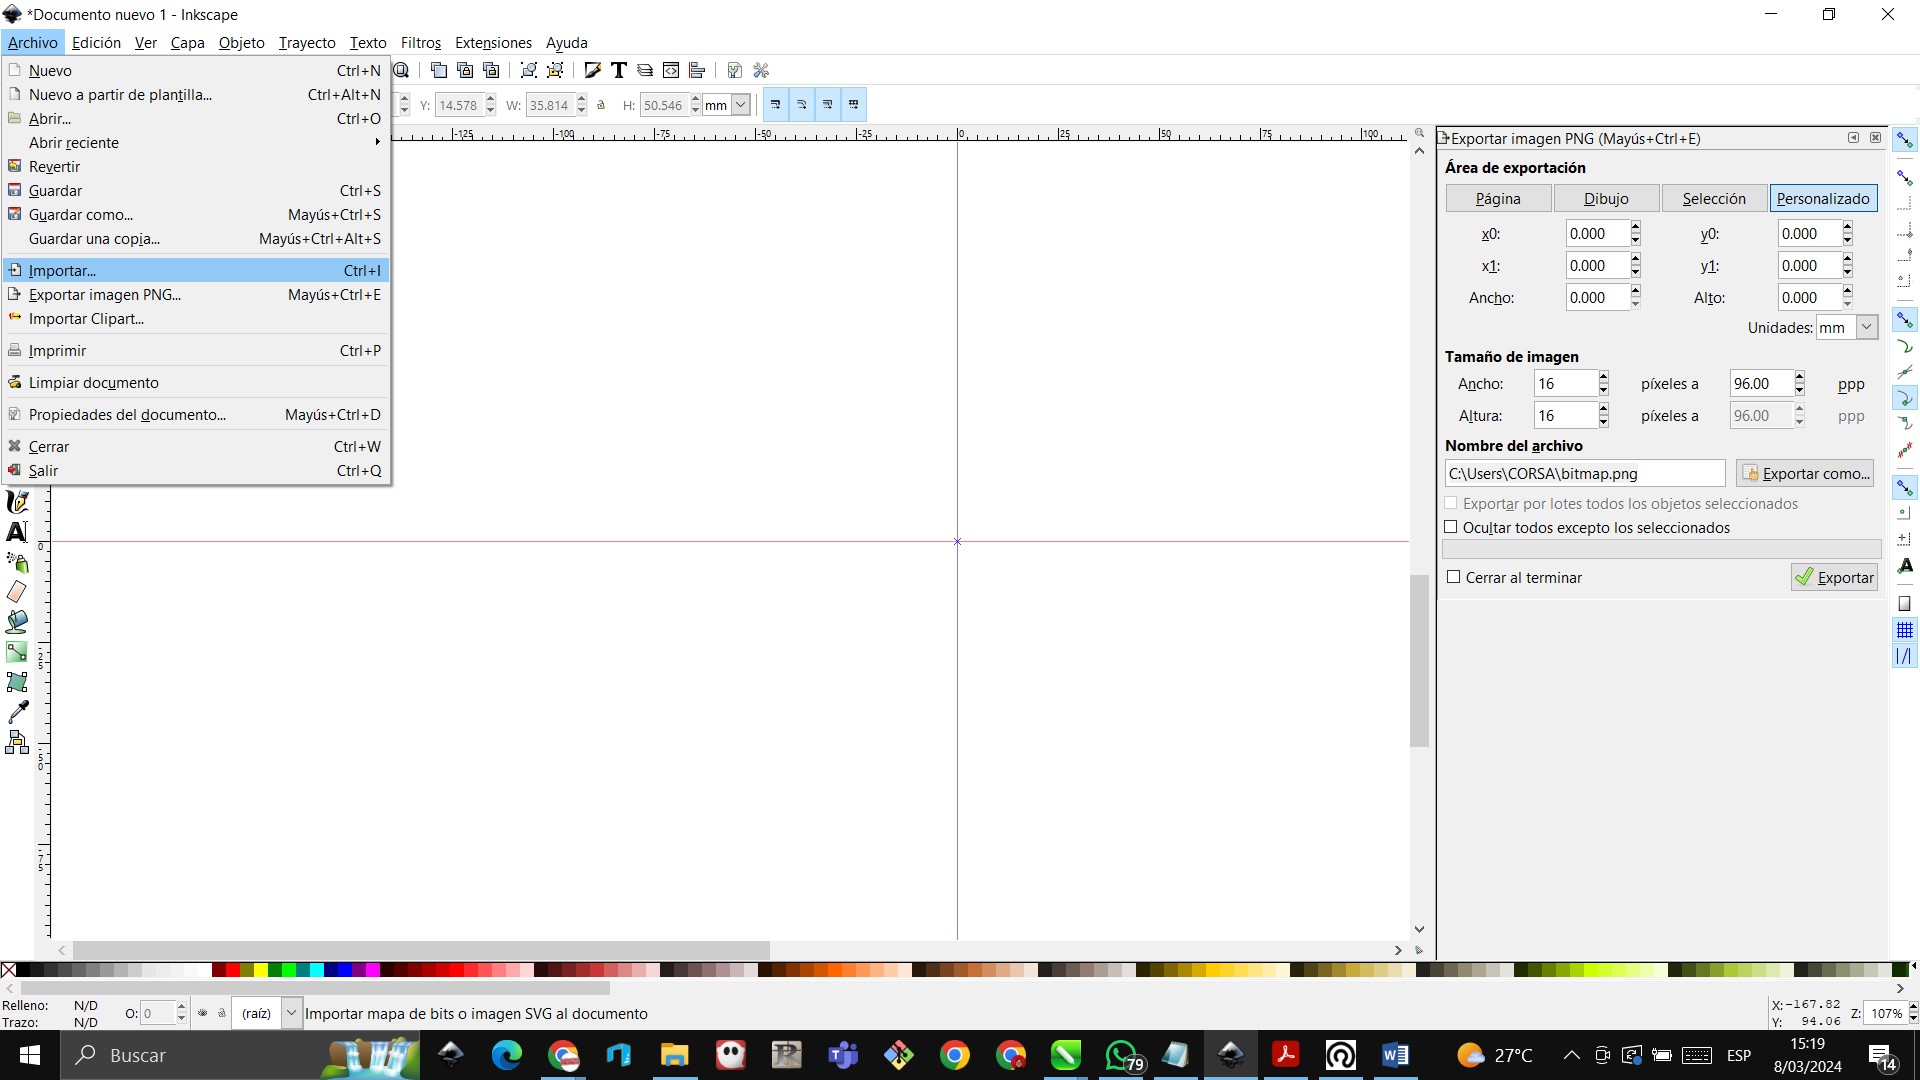 We are looking for the image to import, in this case it is the logo of the fab lab pasco
 Then we accept to finish the import of the file
b pasco
Then we accept to finish the import of the file
b pasco
 Now we have to vectorize for which we right click
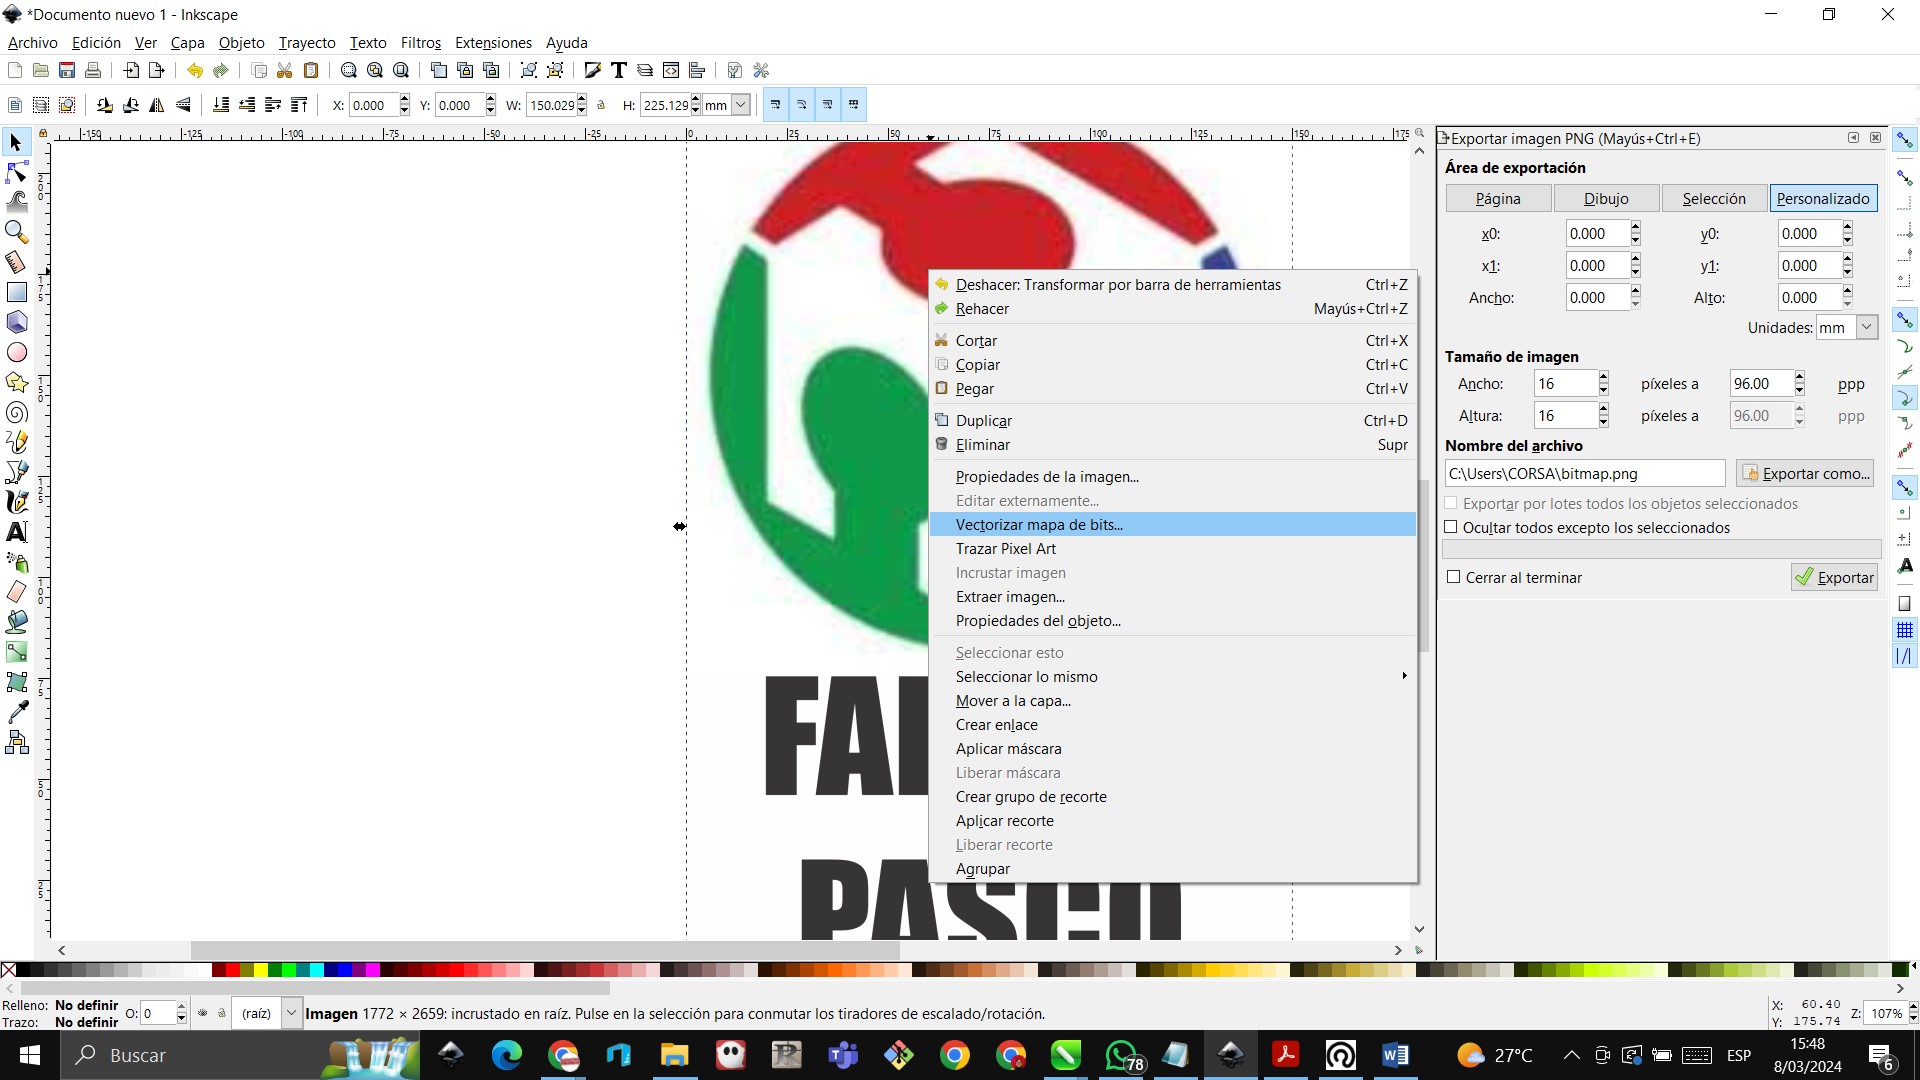 We get vectorized bitmap and we click on accept
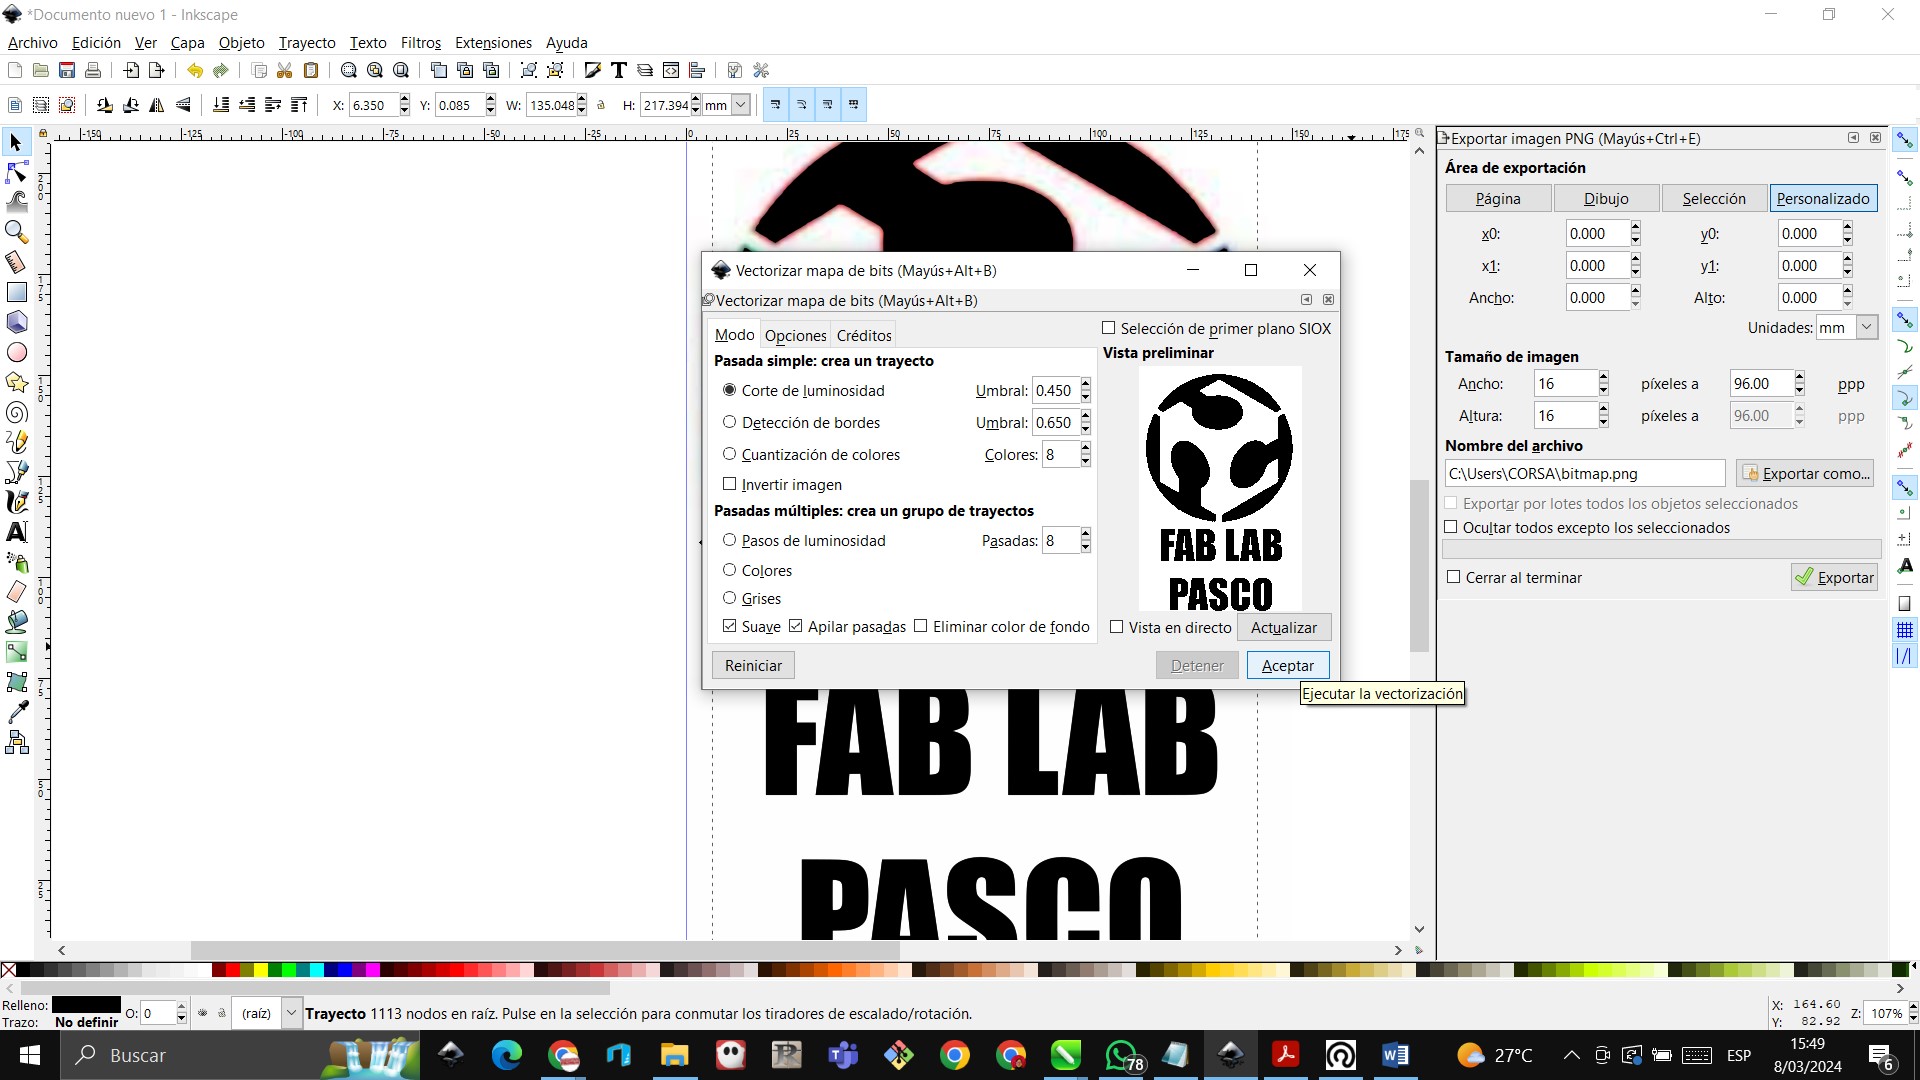 Once vectorized we get 2 images, the vectorized one and the initial image, which we eliminate and we are left with the vectorized one.

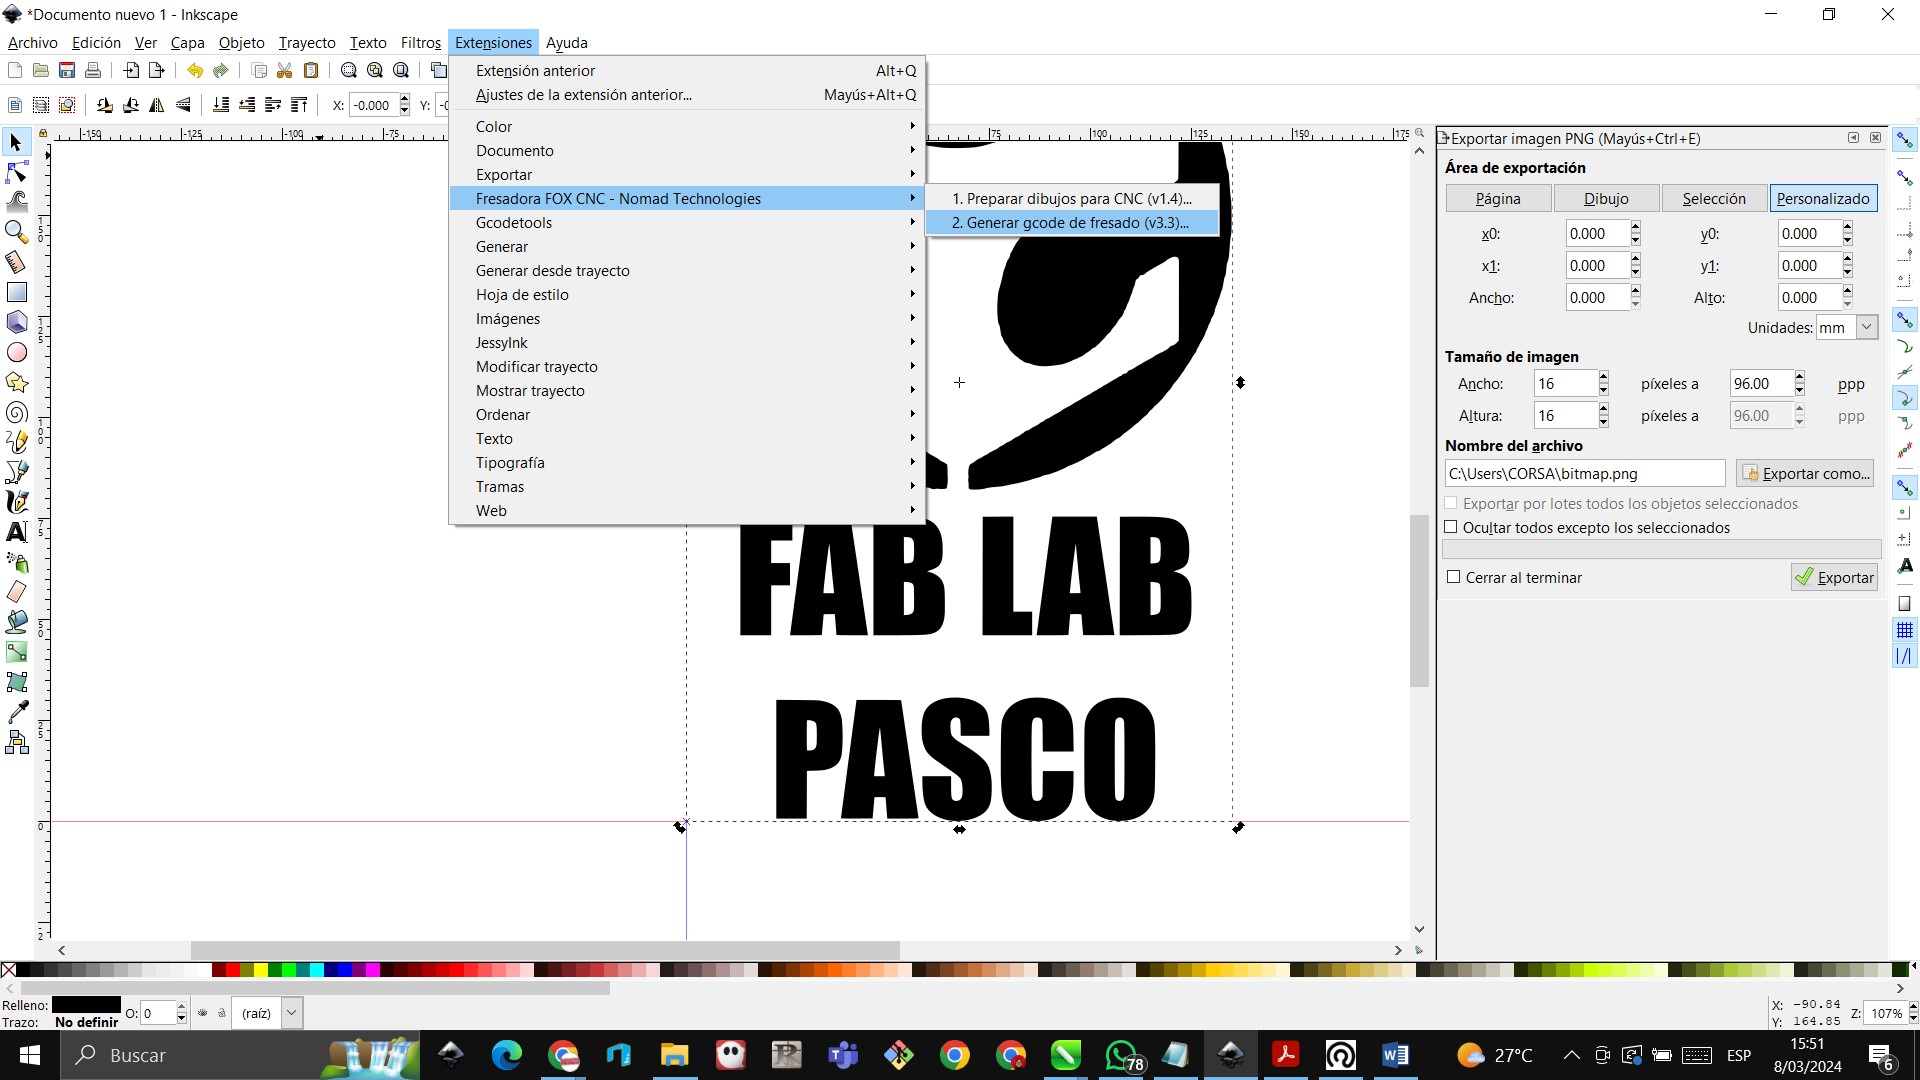
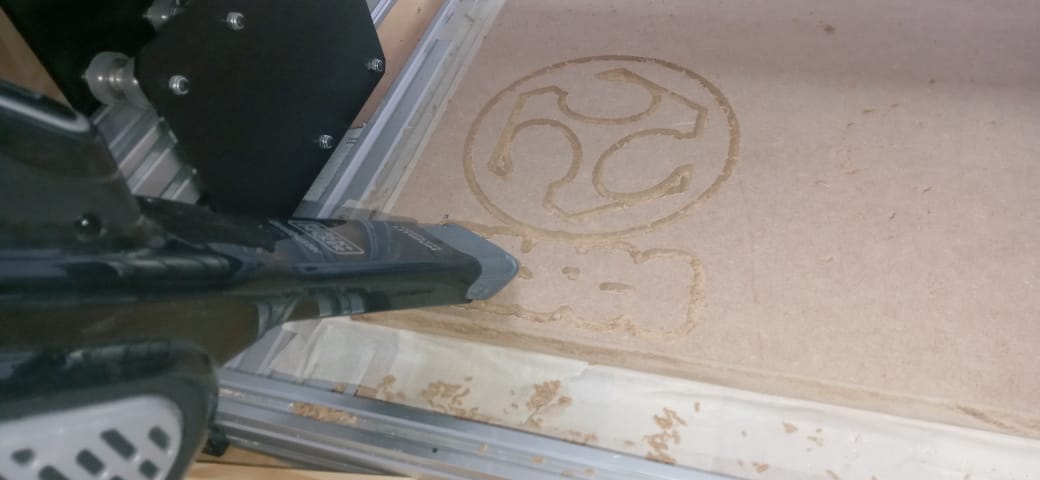
 We go to the extensions tool and look for the red fox cnc milling machine and generate its gcode and place the parameters for the test exercise
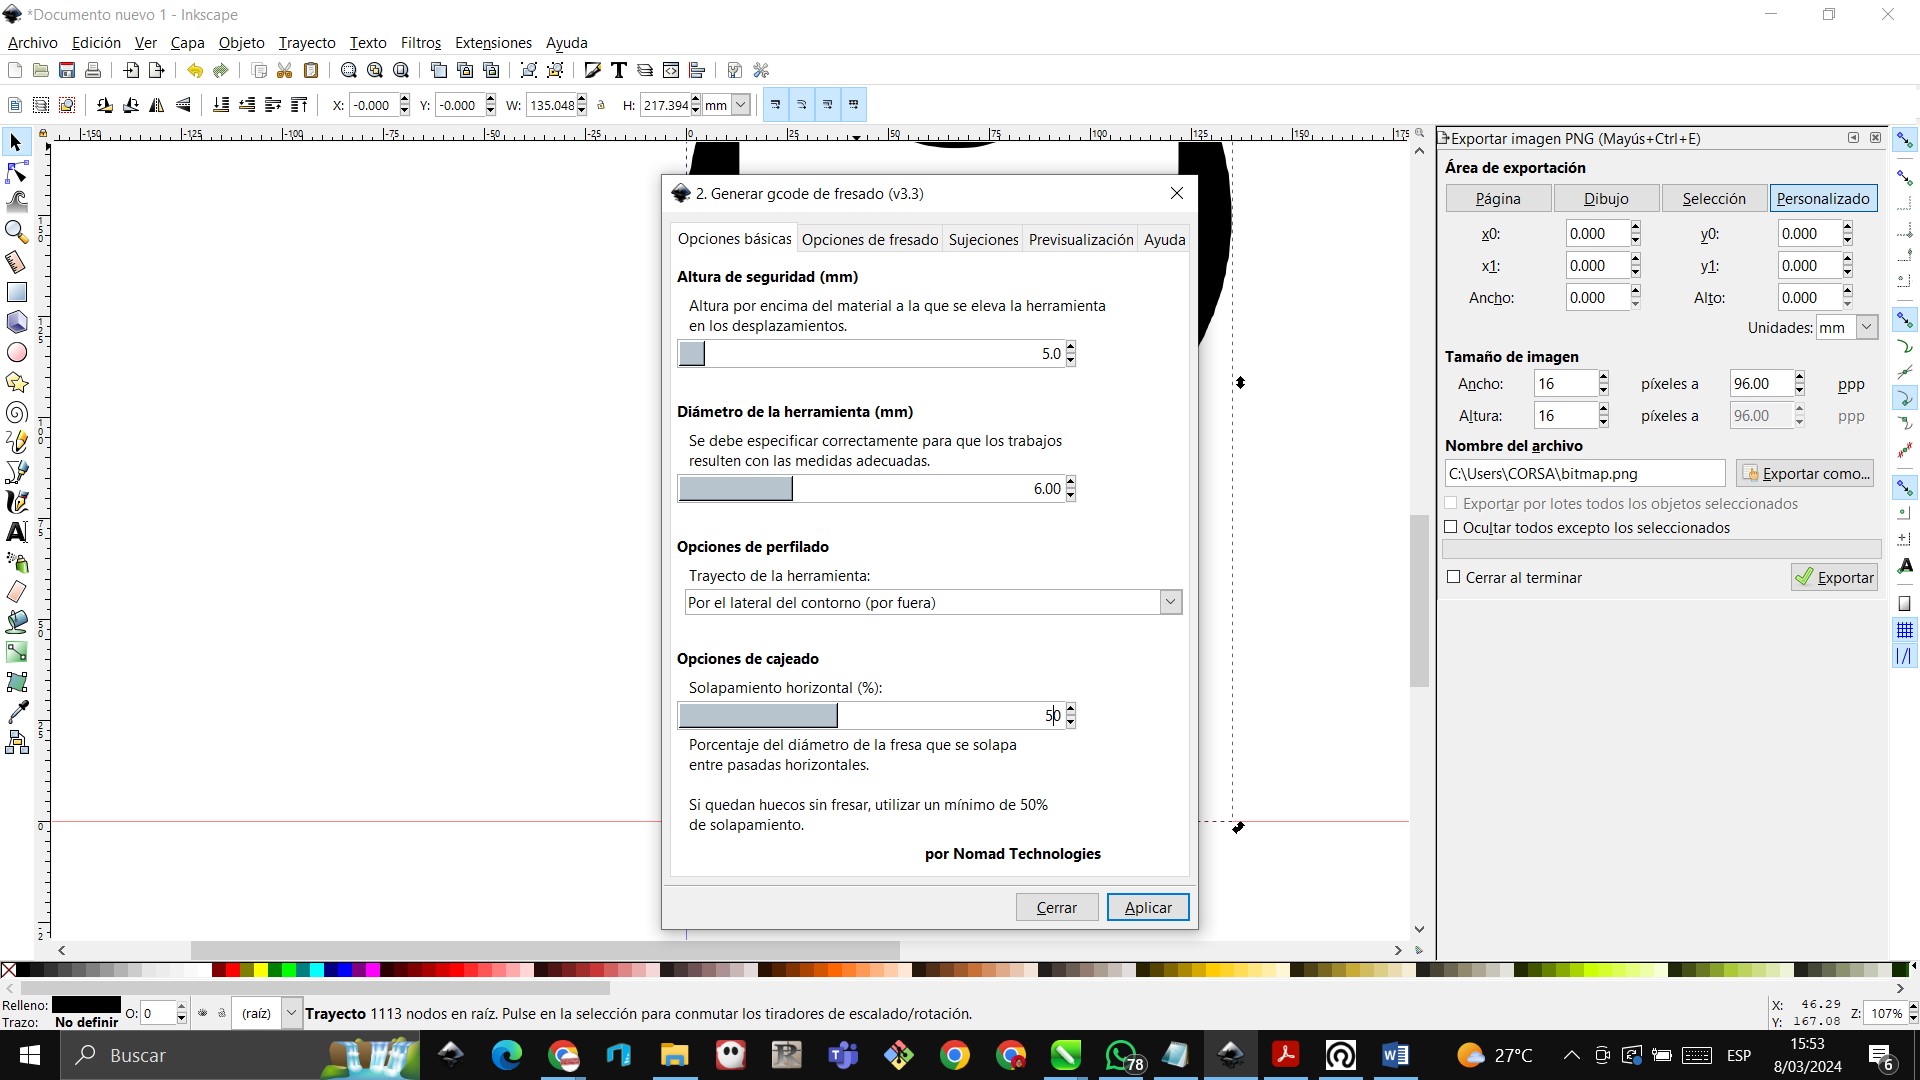
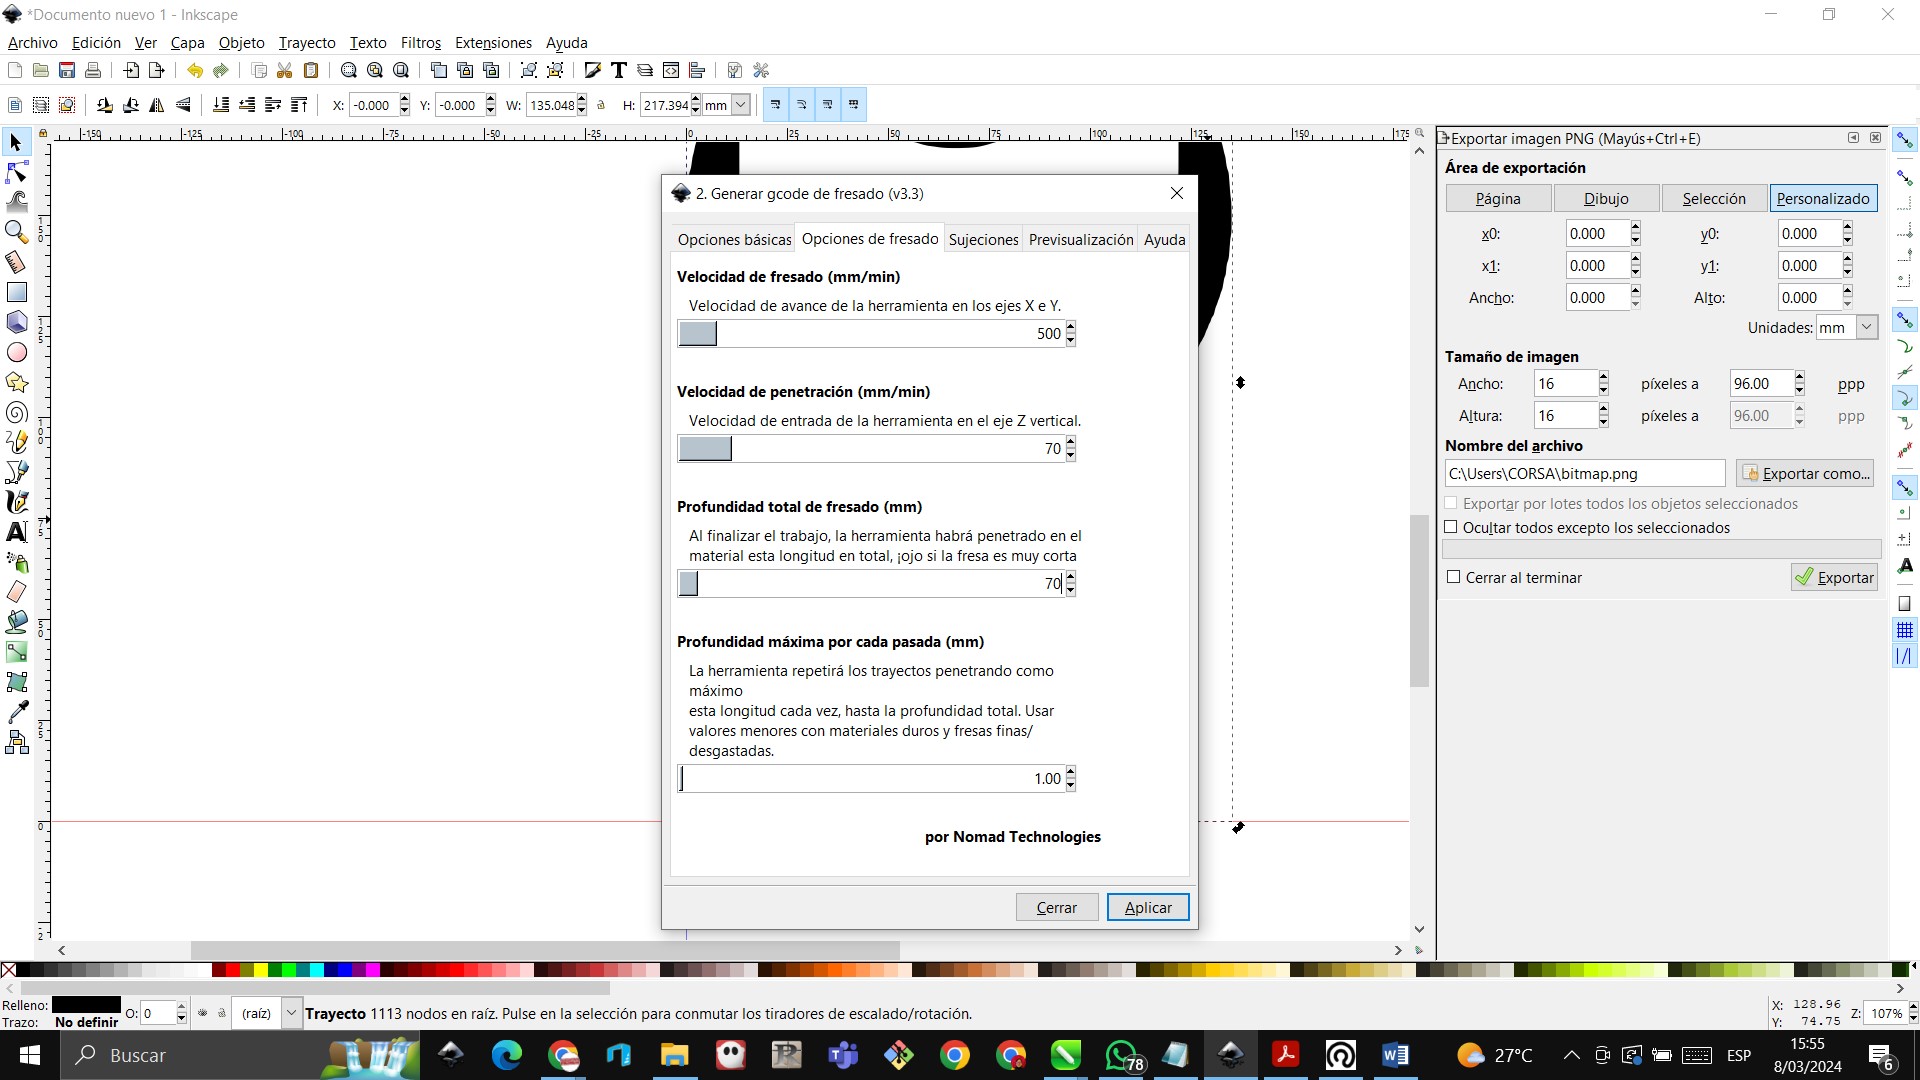
 Here we see the basic options such as safety height in movements, tool diameter, horizontal overlap

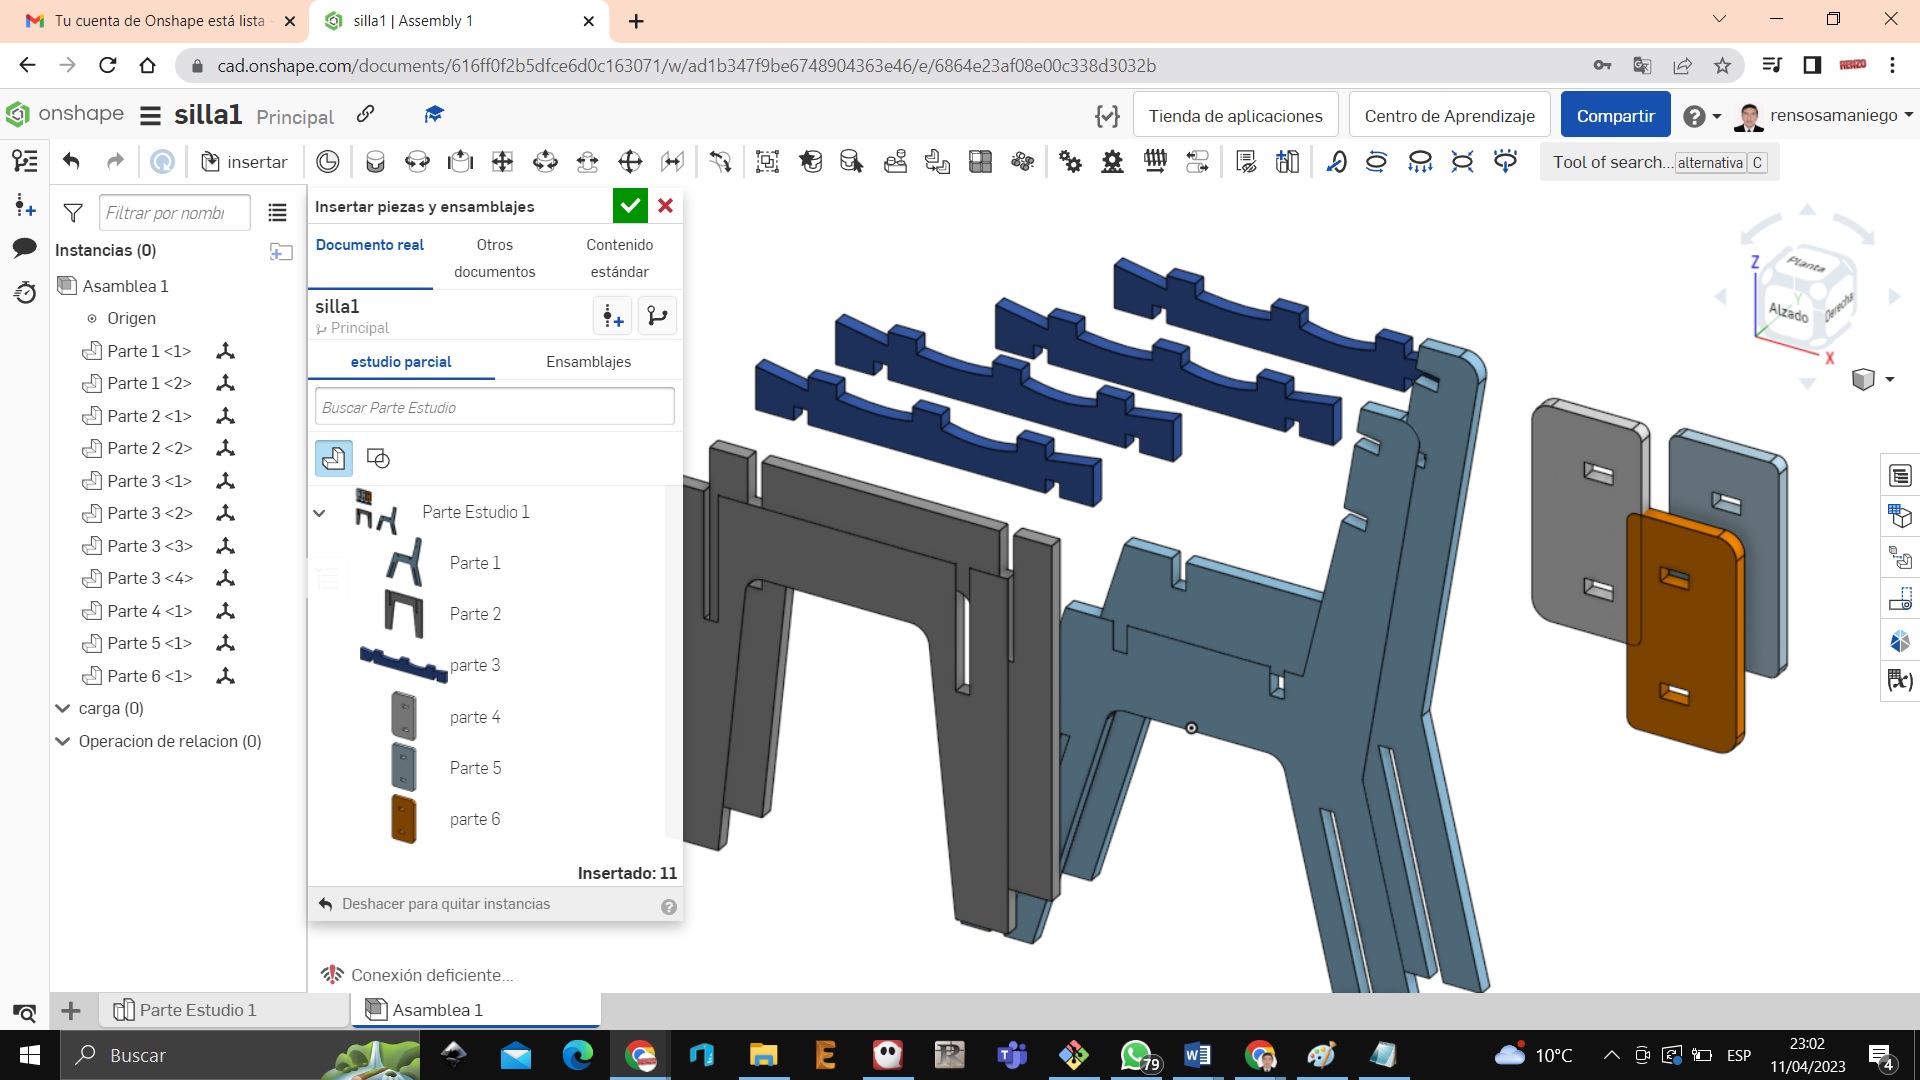
Individual project Creating a piece of furniture in onshape
We also create a screwless assembly chair, we make the main part of the chair
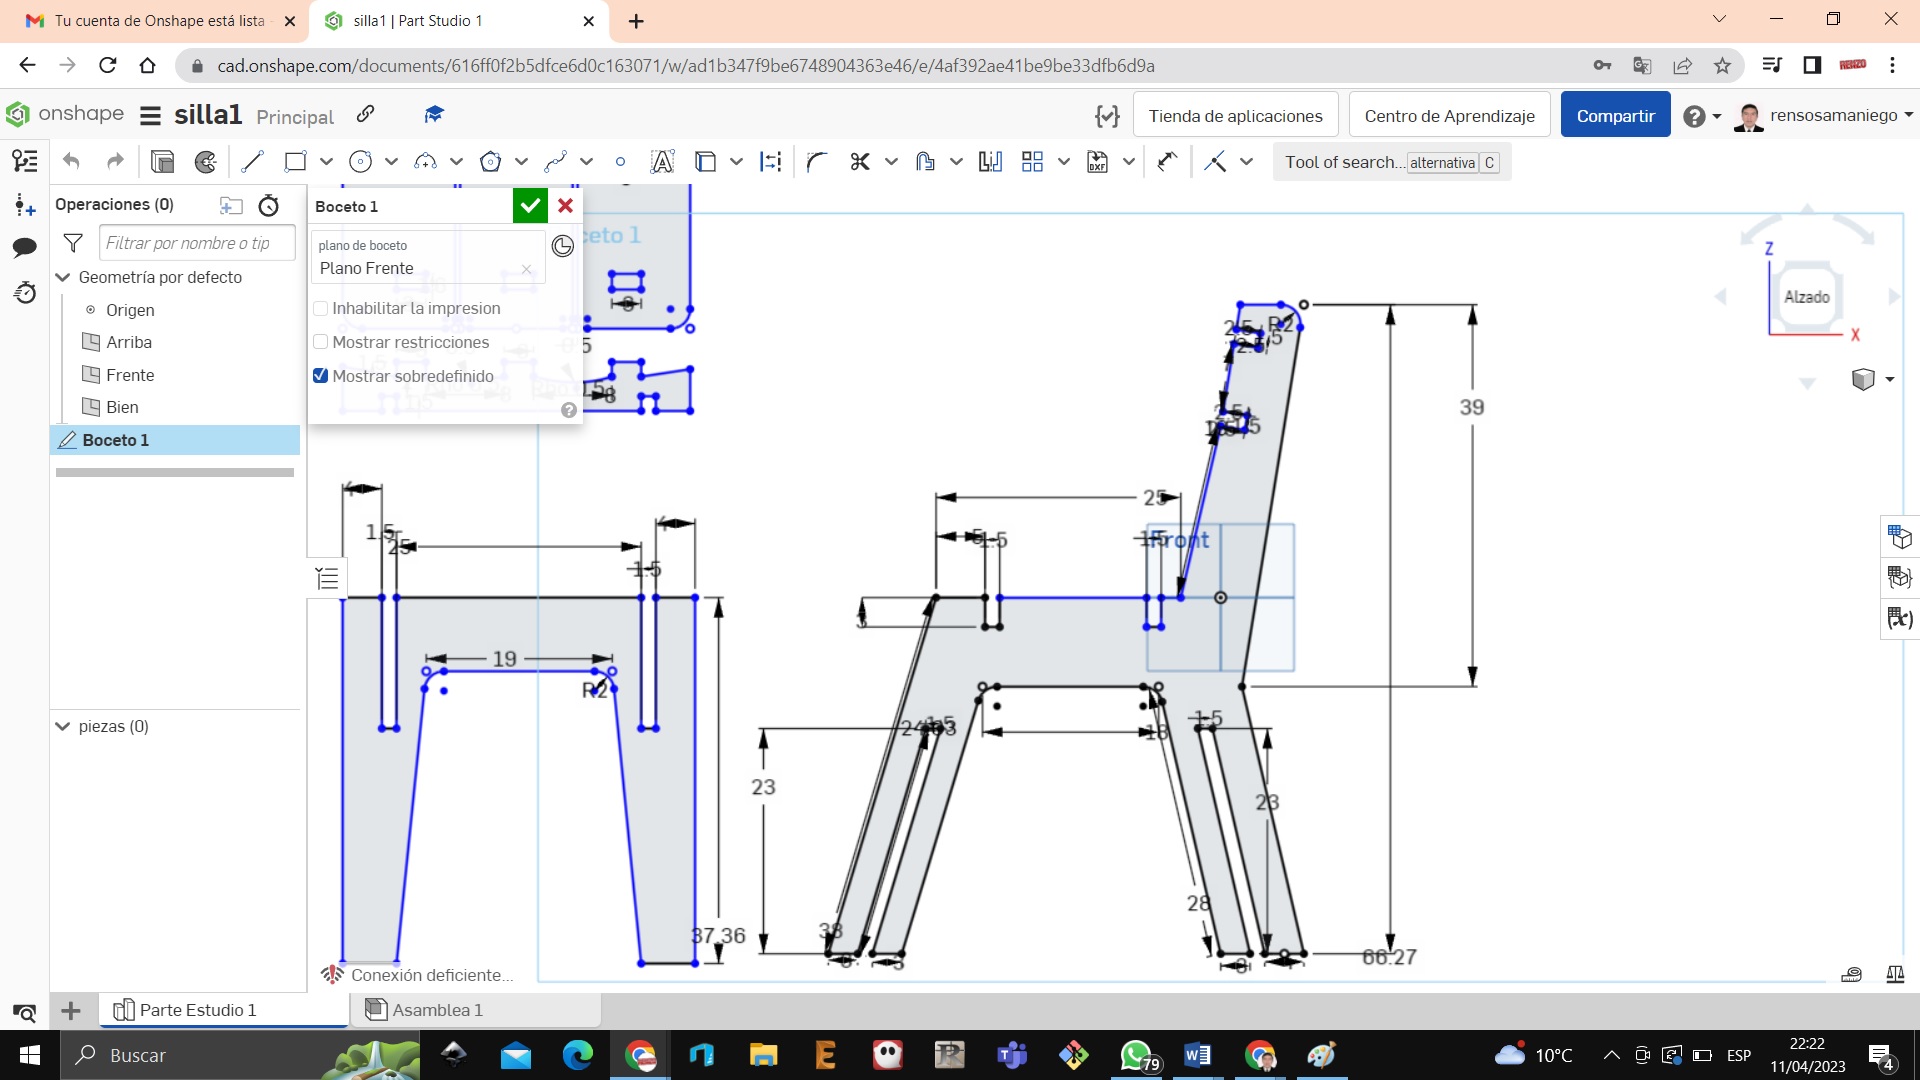 Then we continue with the front legs, taking into account that they will be assembled without bolts.
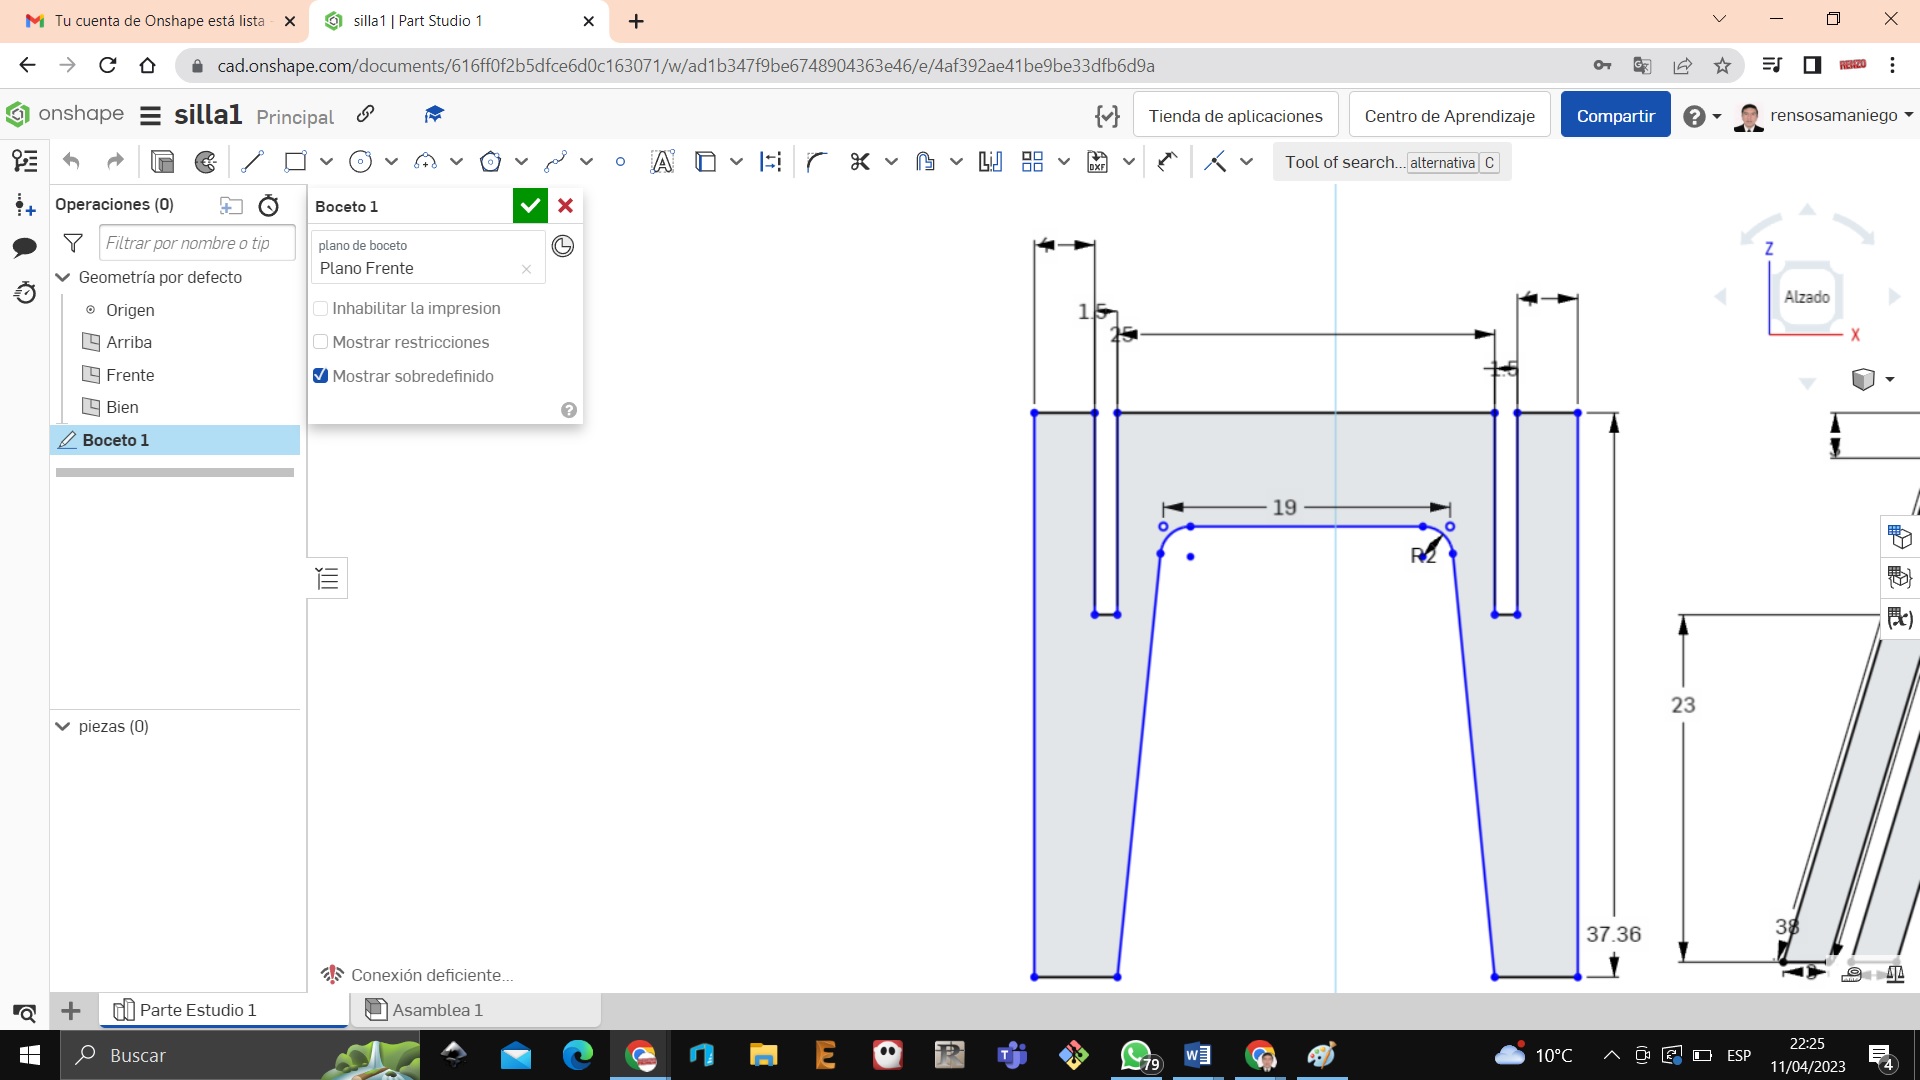 These parts are the support of the chair to sit there are 2 and for the back there are 3 units
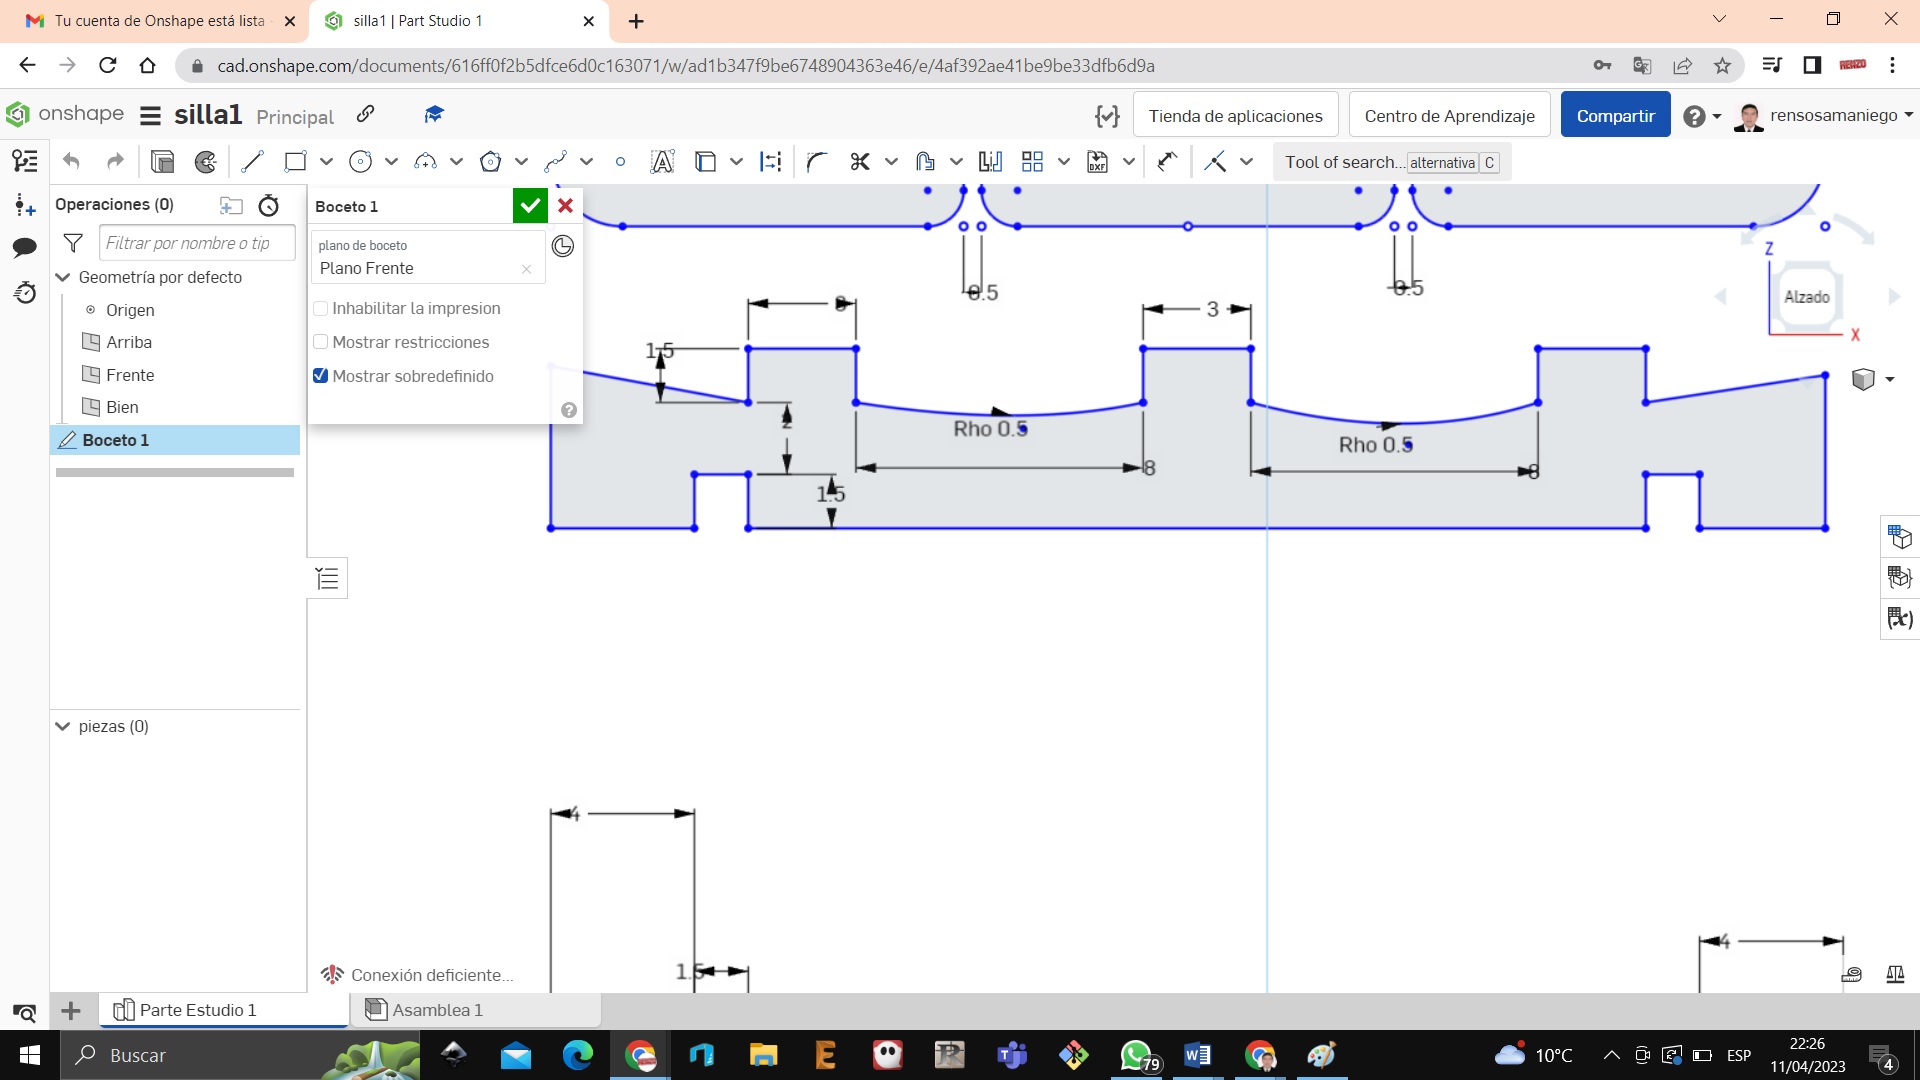 Now it is to make the back of the chair, do it in 3 parts
 Then extrude all the work to 1.5cm
 Assemble the chair entering the molds we need and duplicate it
 Assemble the parts of the chairs with the tangent relationship tool to join the parts
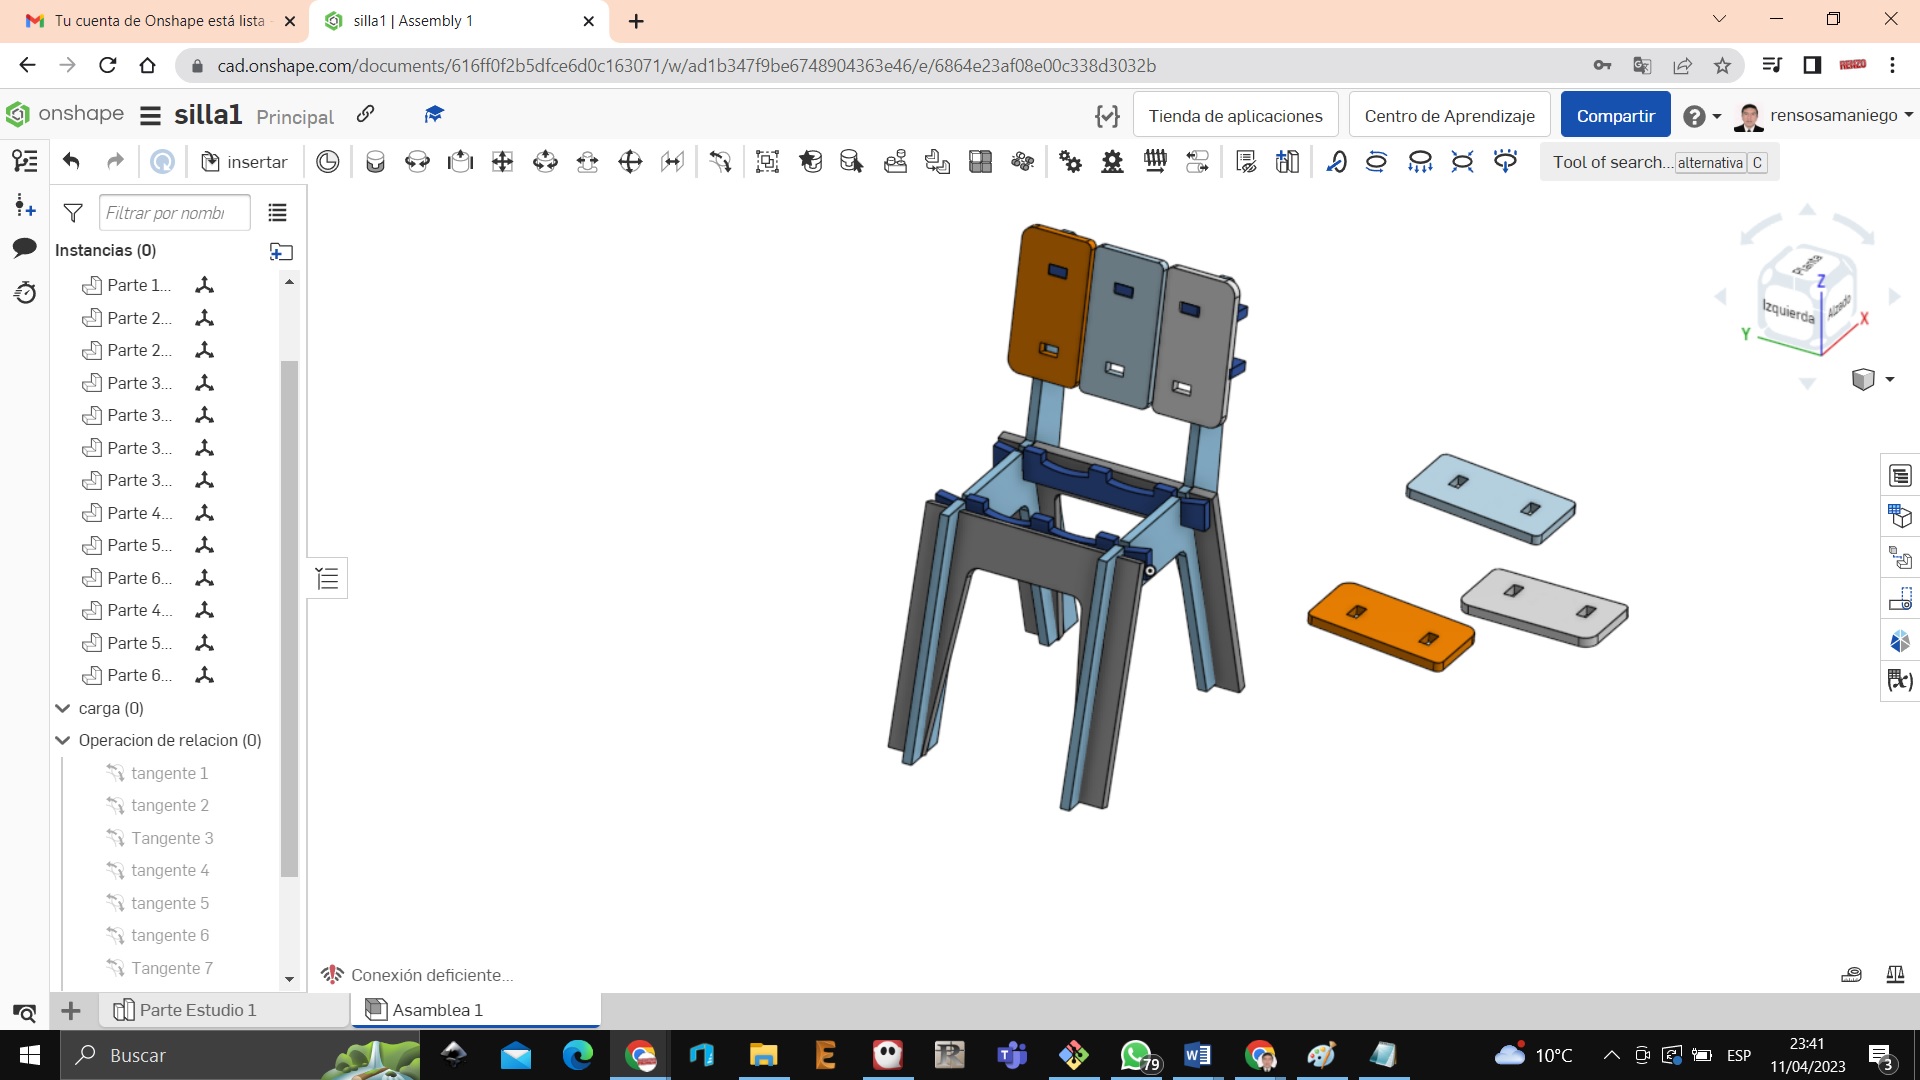

 In the end we couldn’t finish it since we lacked material.
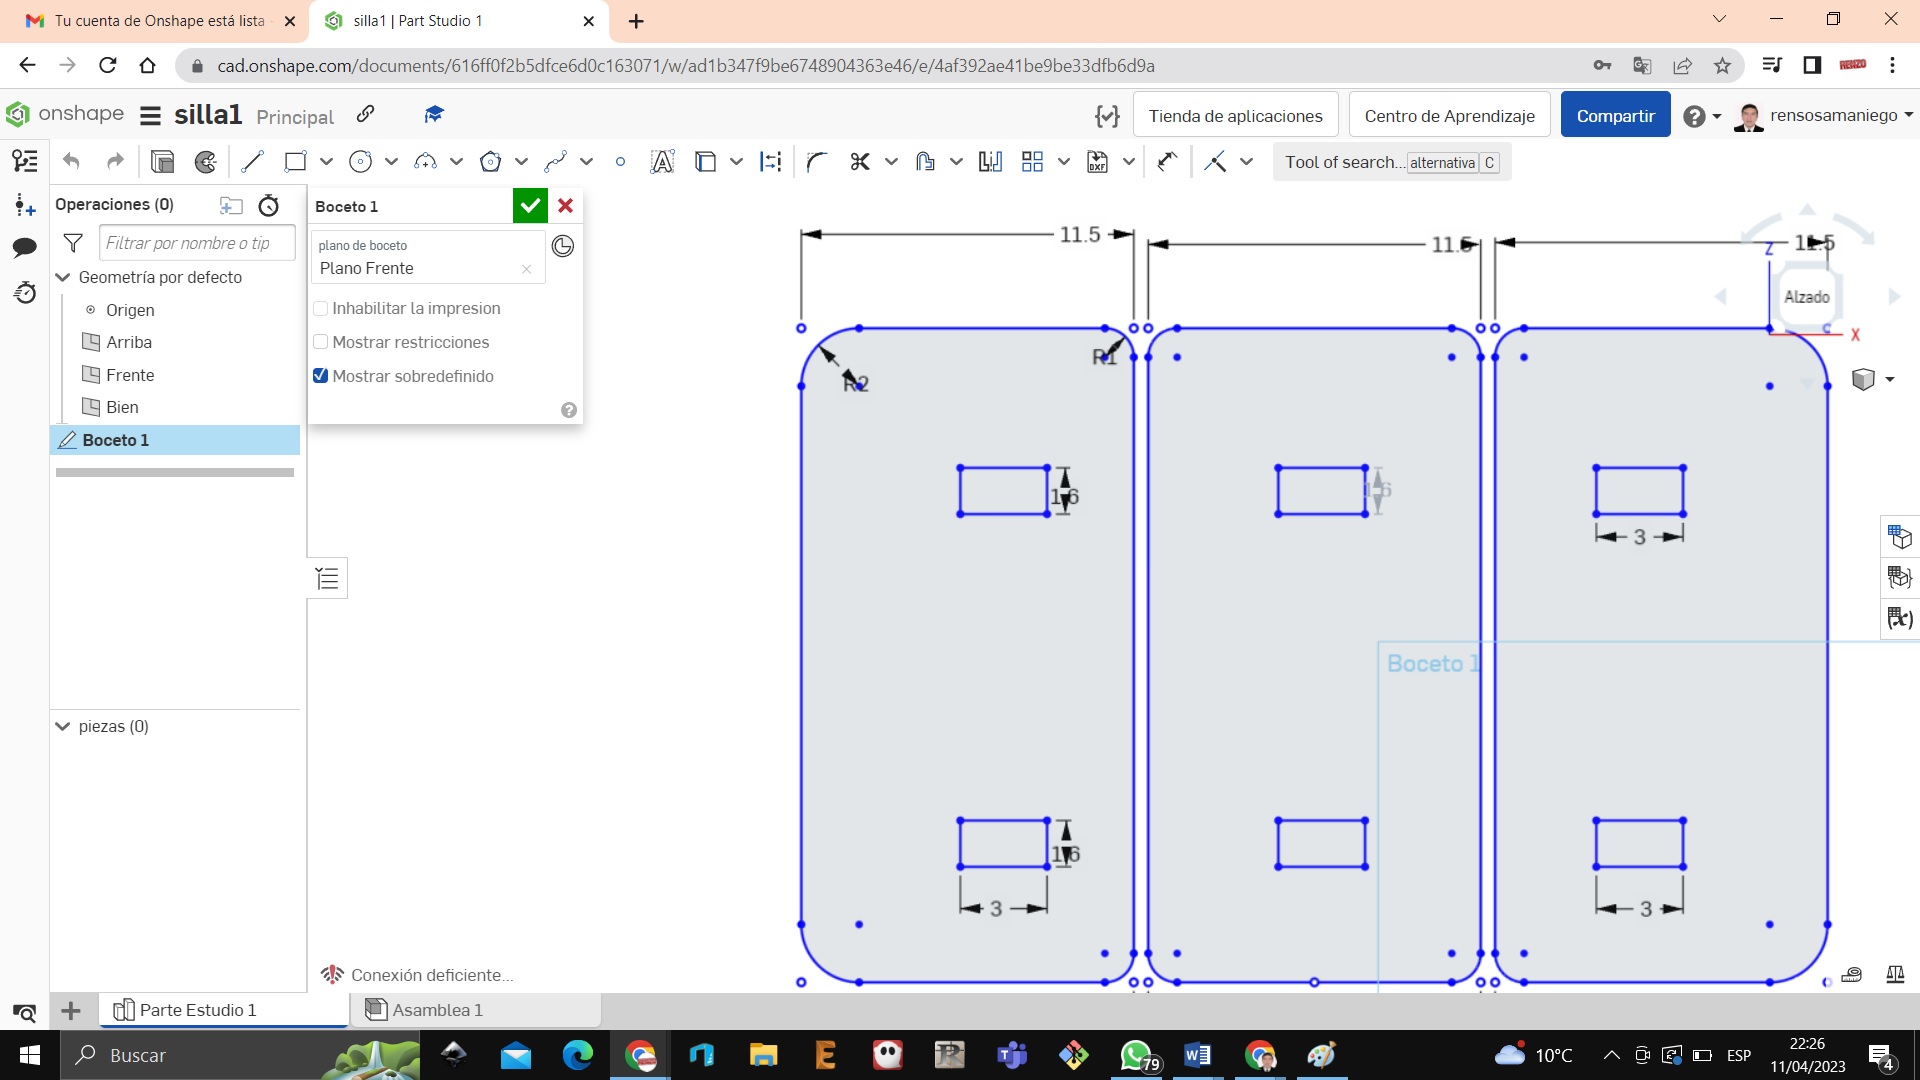
Designing a small shelf
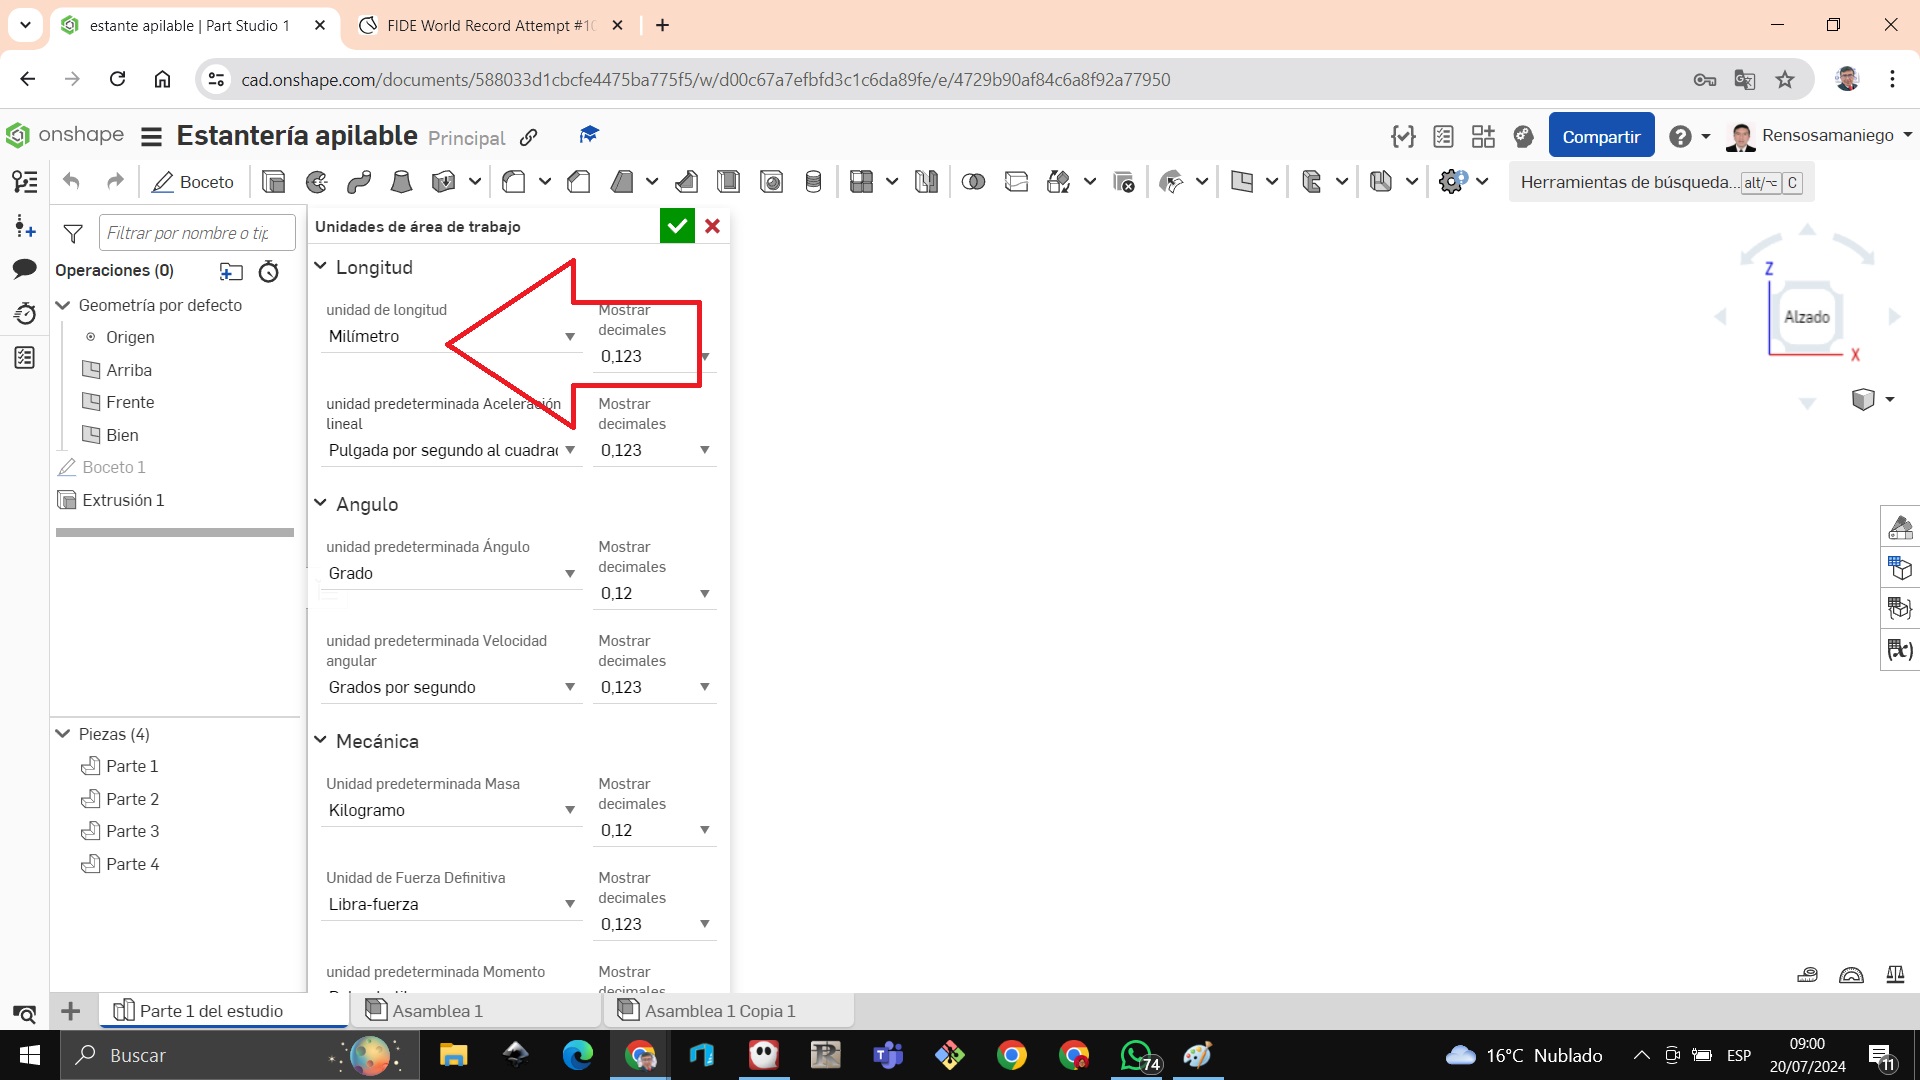
We change work units
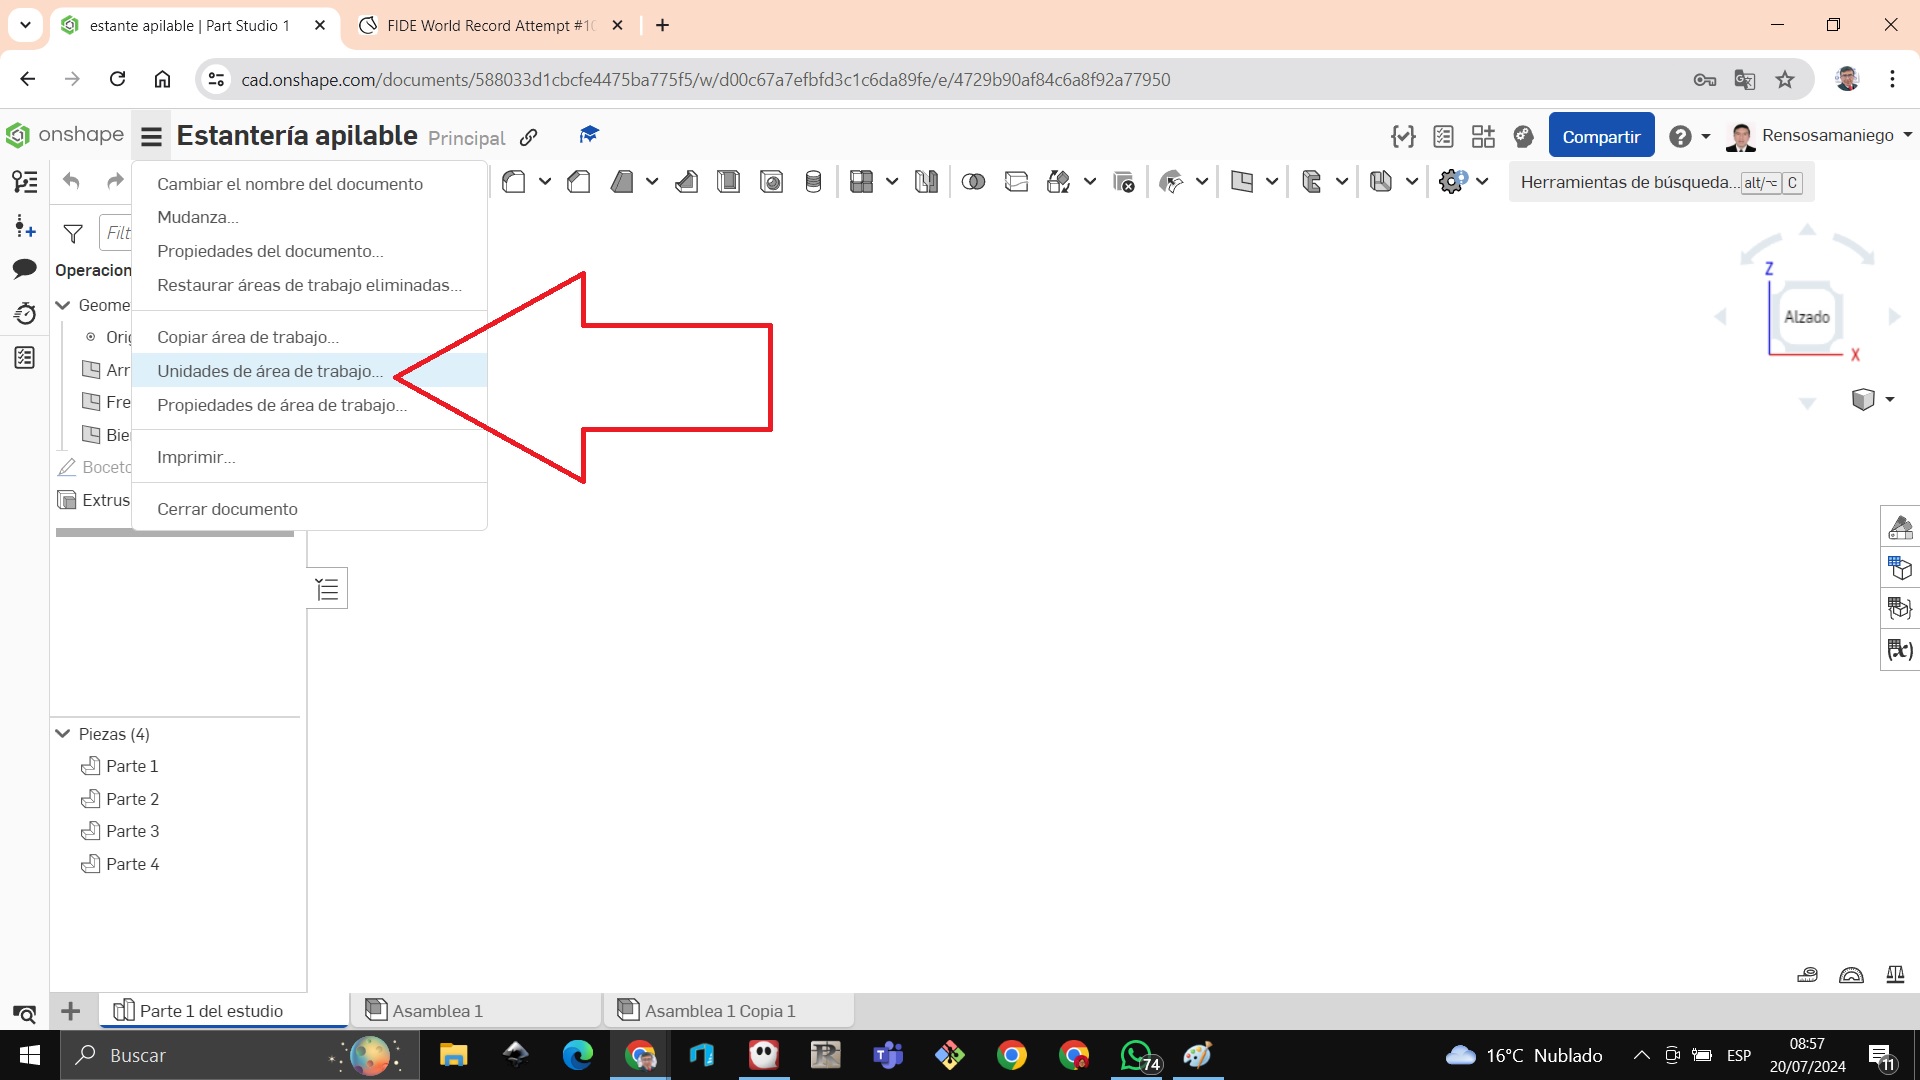
We change to millimeters
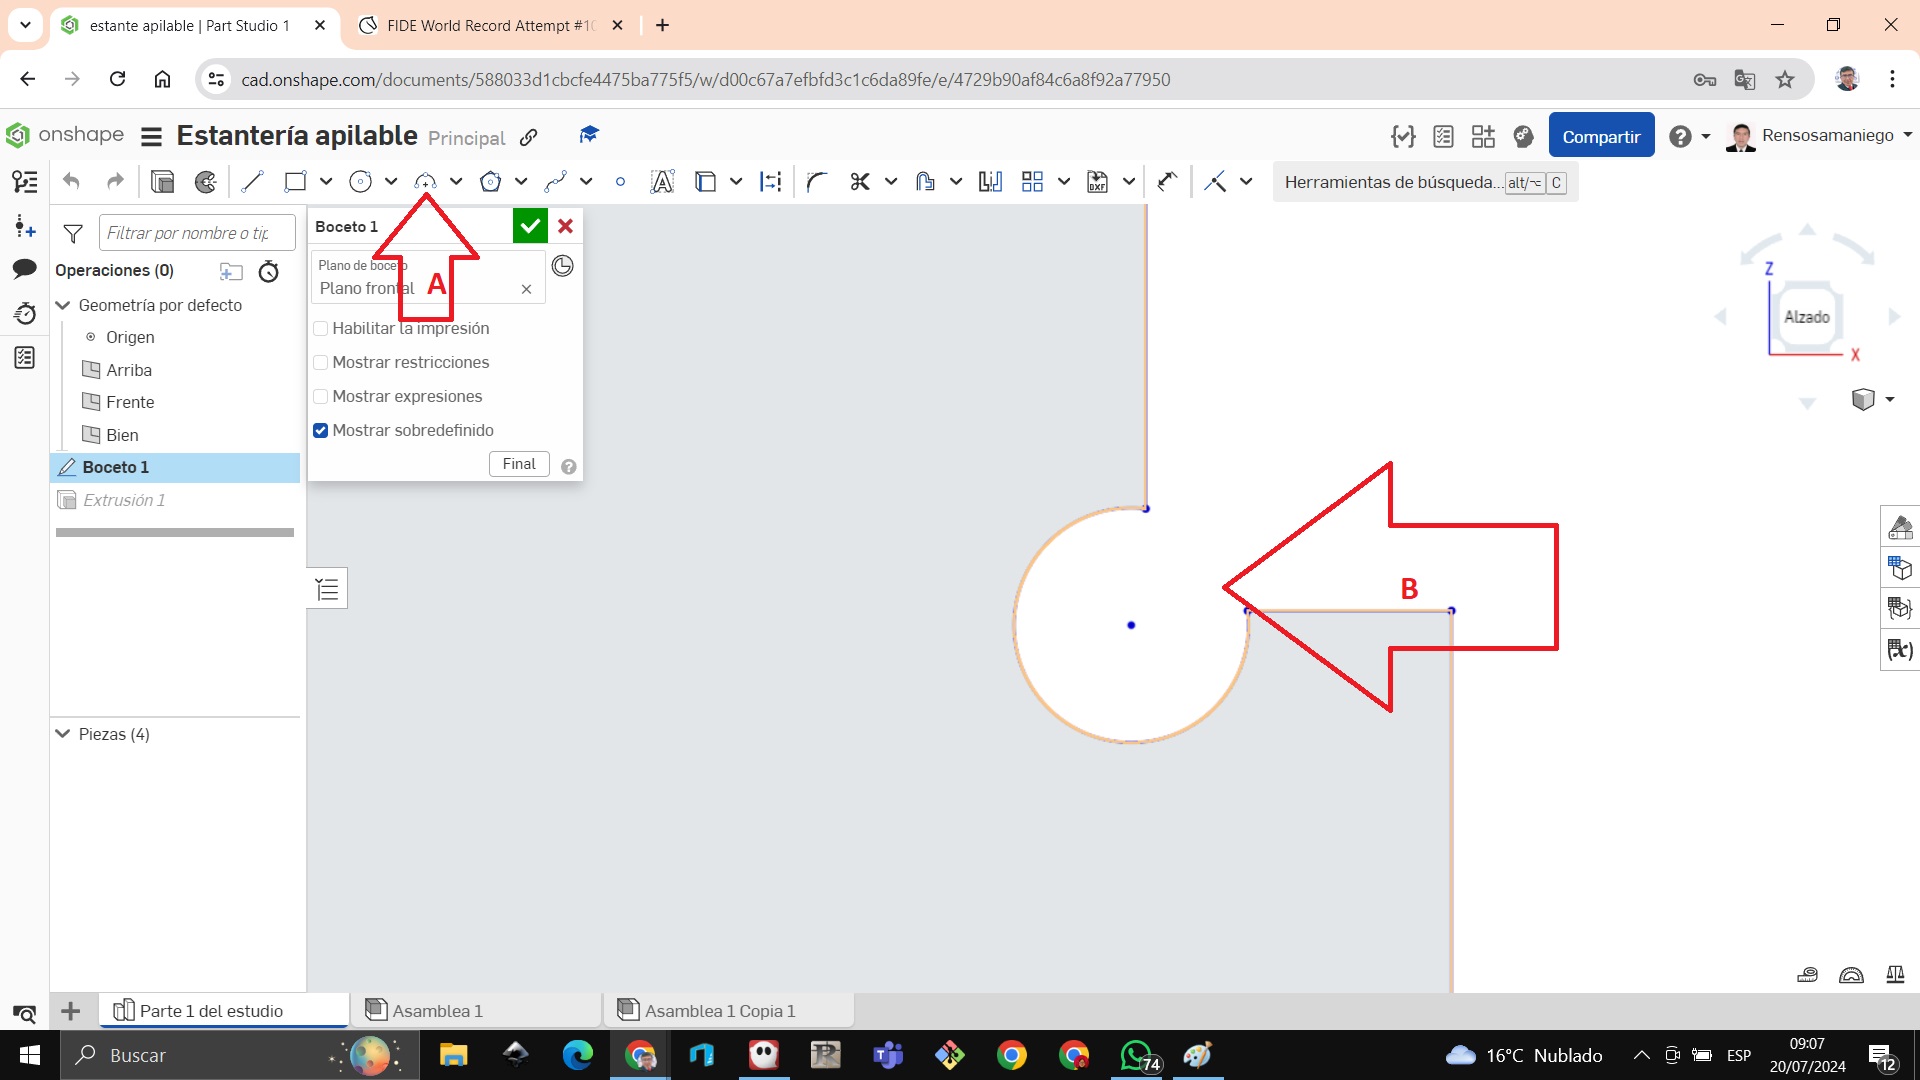
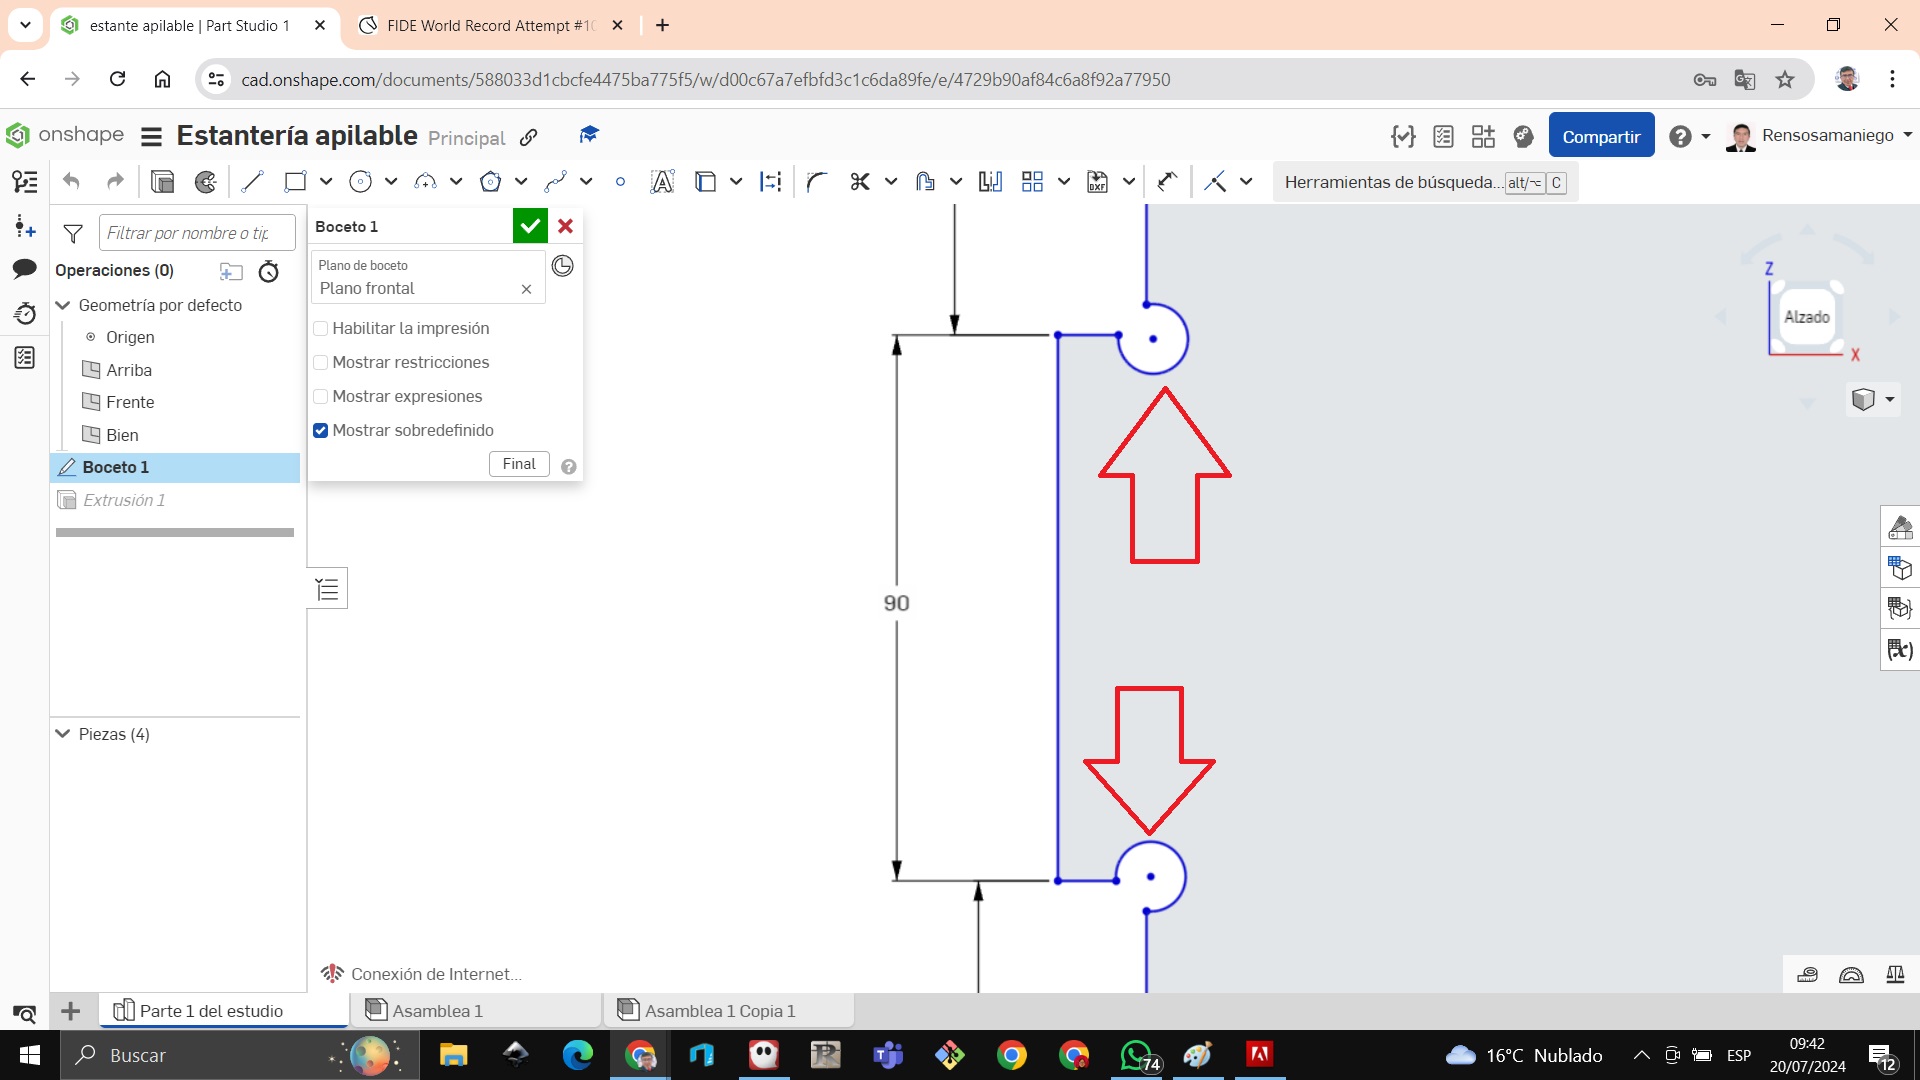
We begin to create the back cover of the small piece of furniture with the line tool indicated by arrow A and we measure the distances of the material with the dimension tool.
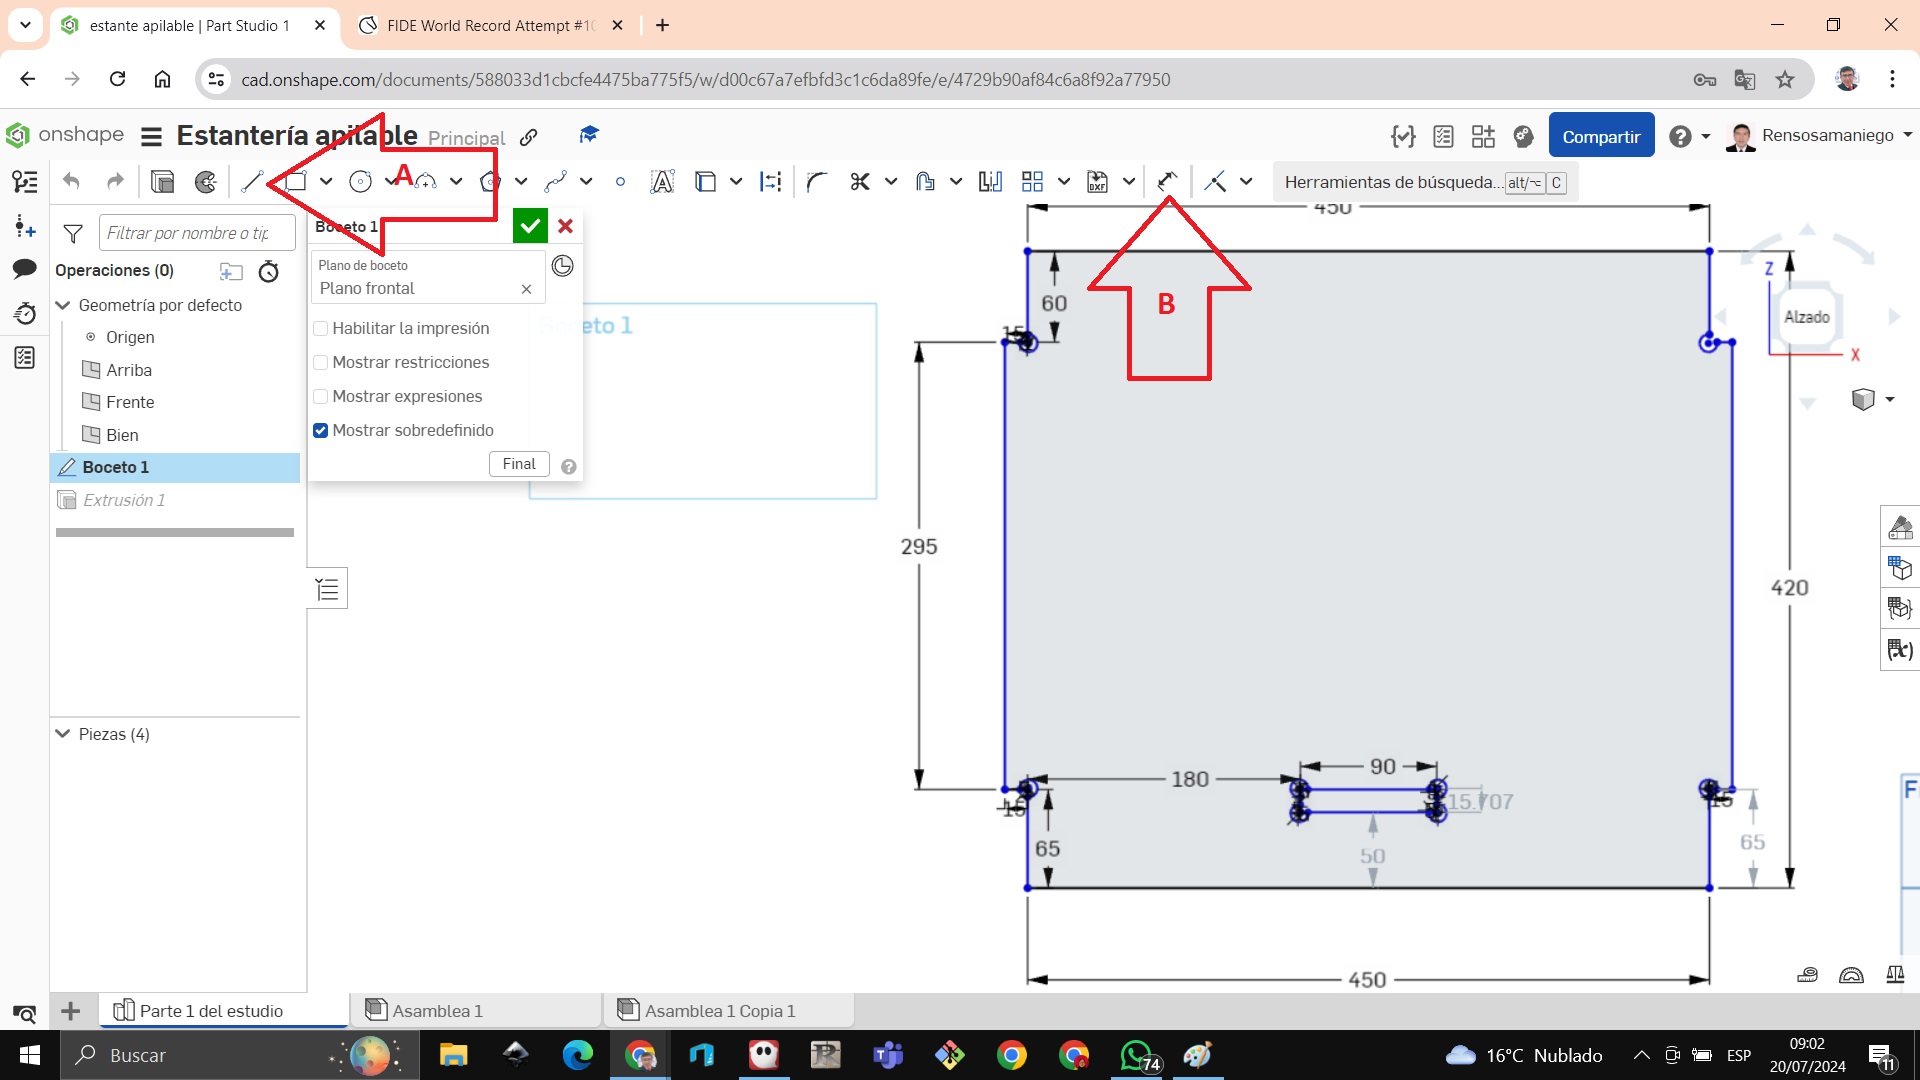
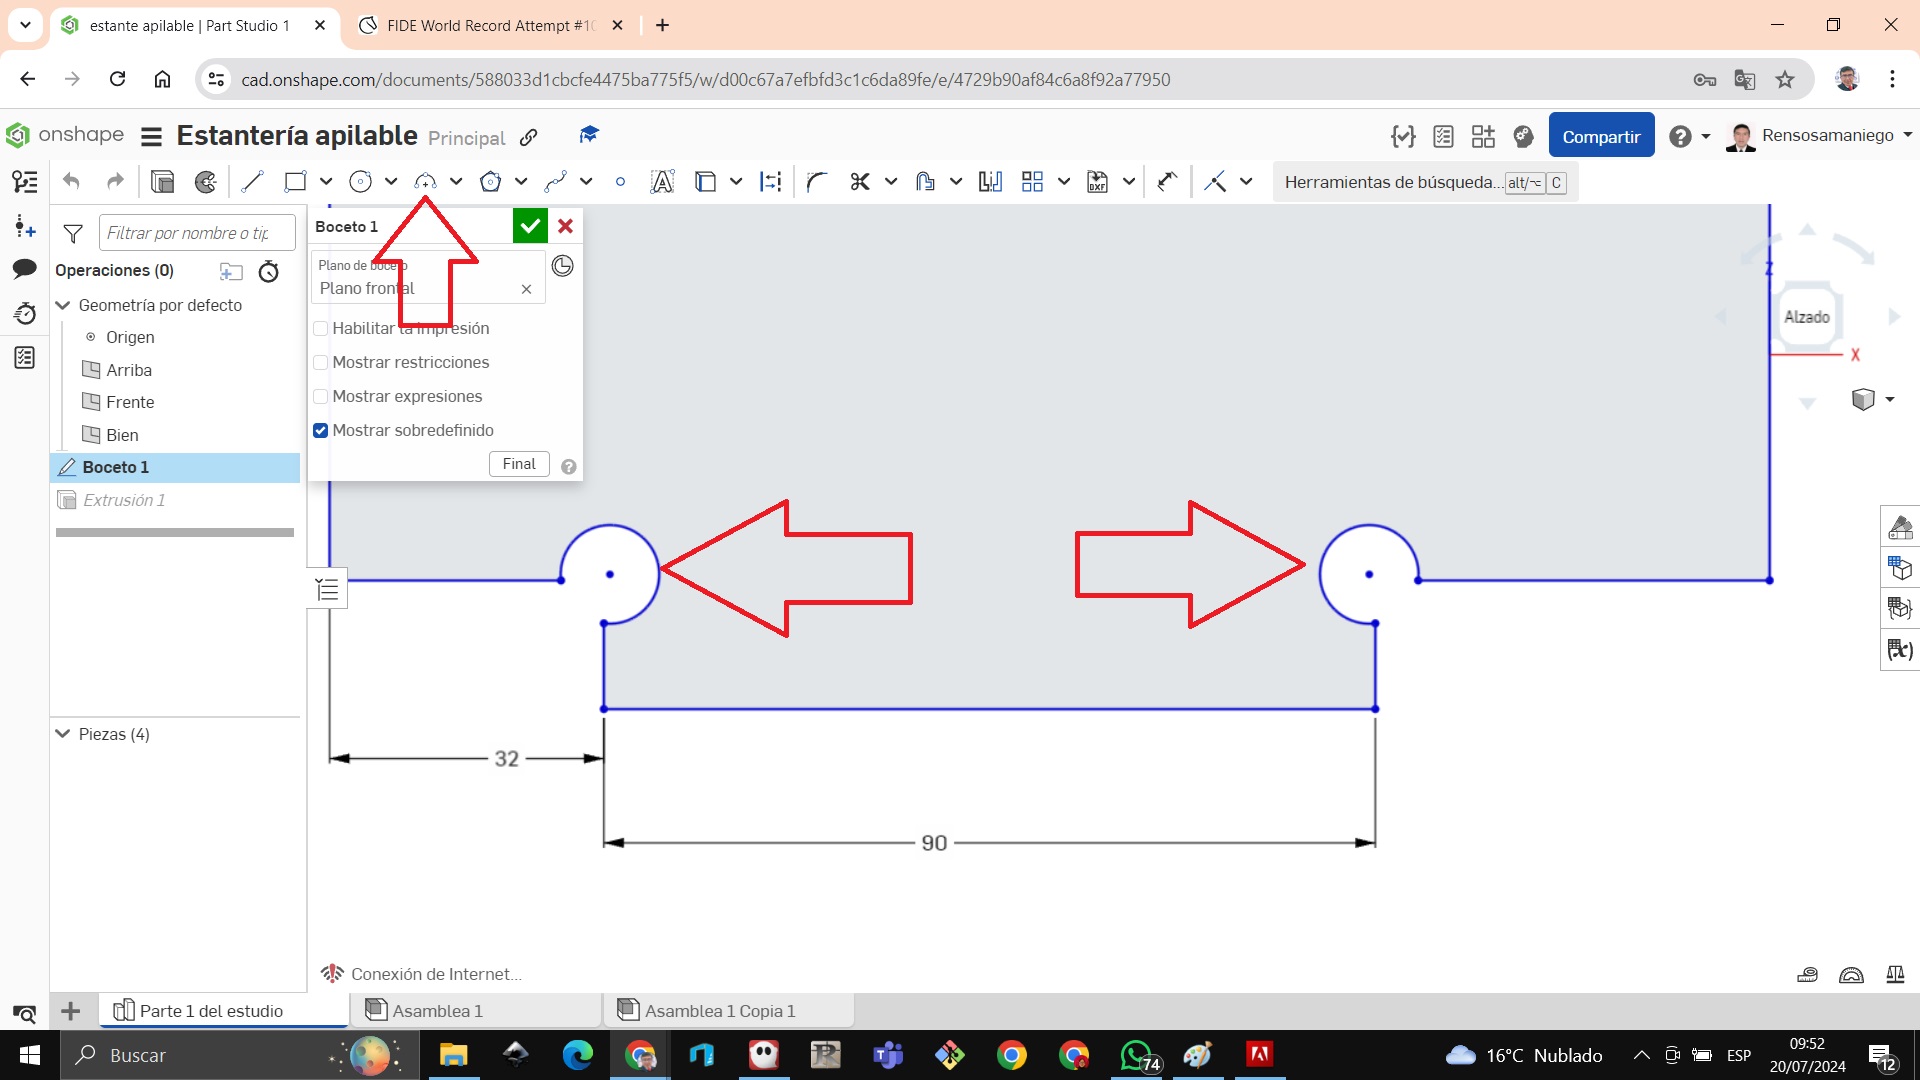
In the corners so that the parts enter, we make circular cuts called dog bones with the 3-point circle tool indicated on arrow A and we locate the part we want to work on on arrow B.
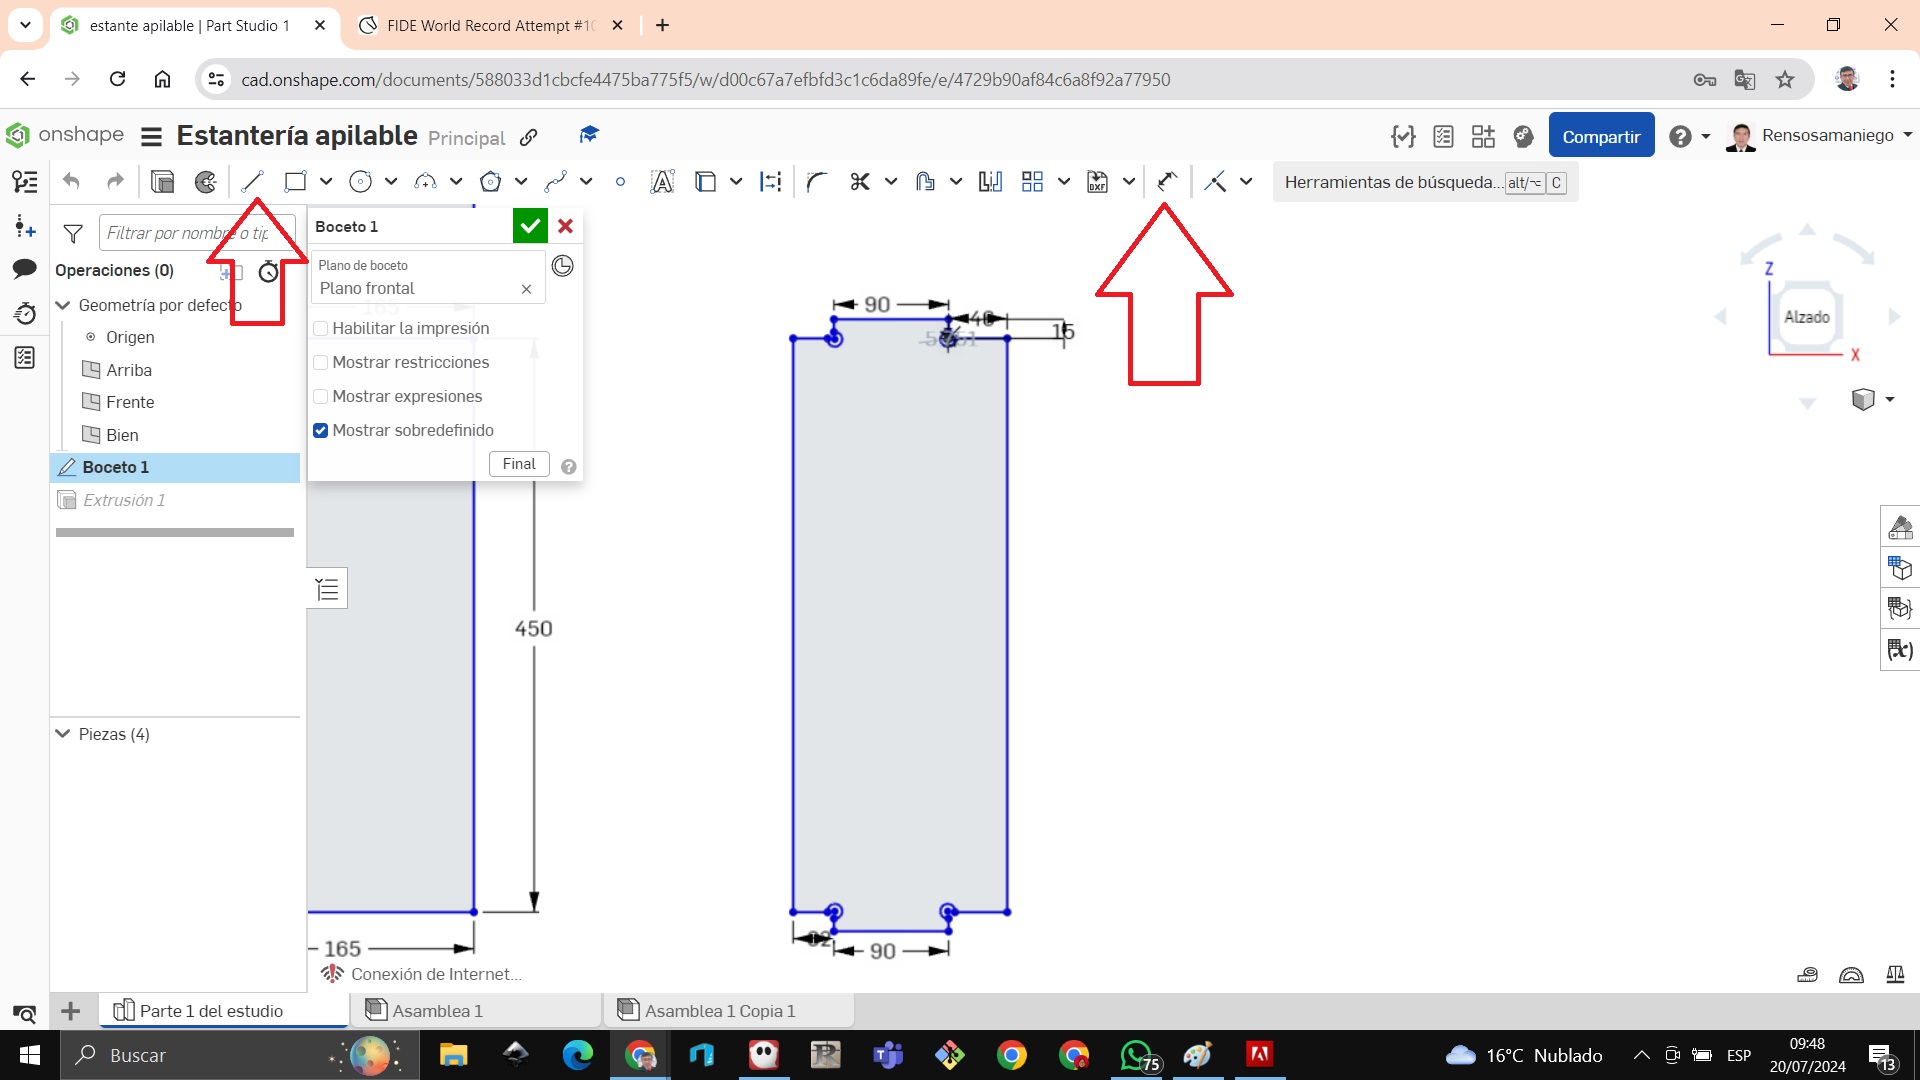
We design the sides of the furniture with the measurements shown in the figure
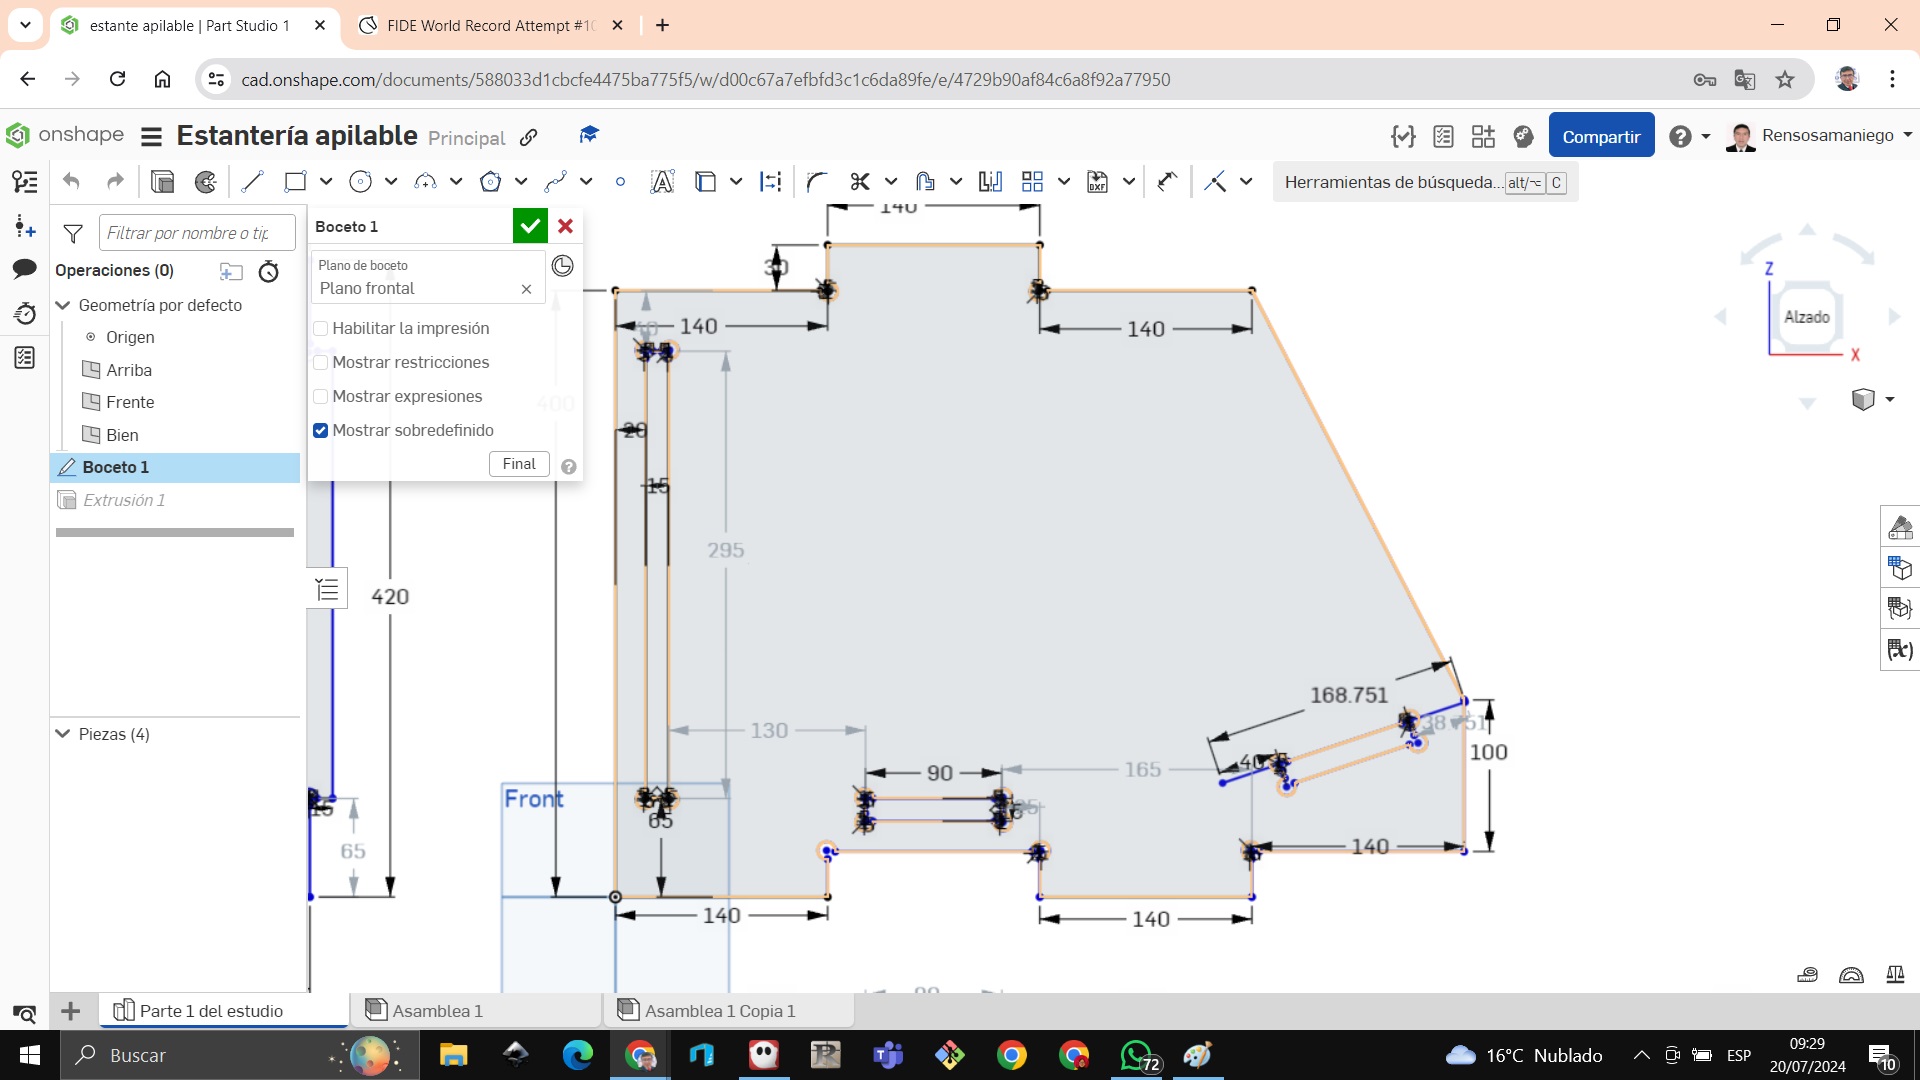
With the 3-point circle tool we make the circles on the edges called dog bones so that it can fit when assembling.
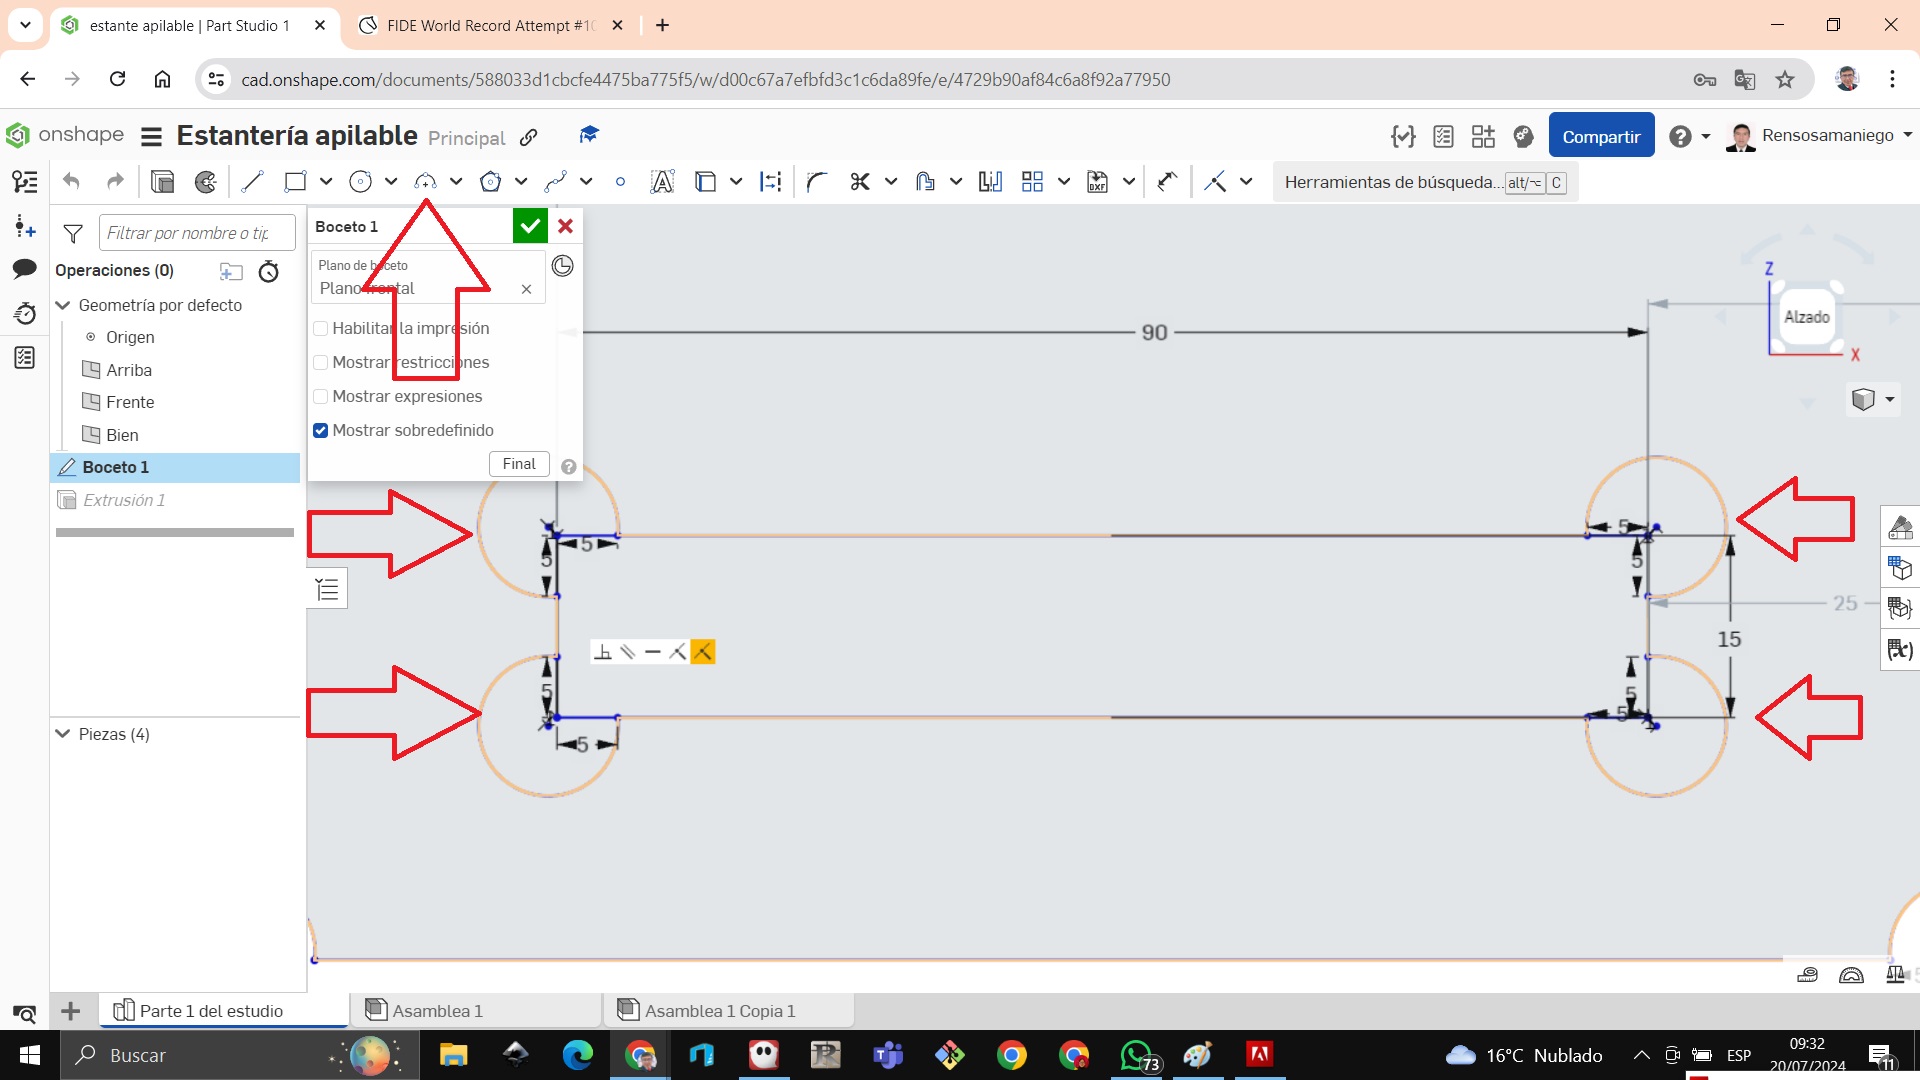
Now we design the base of the shelf
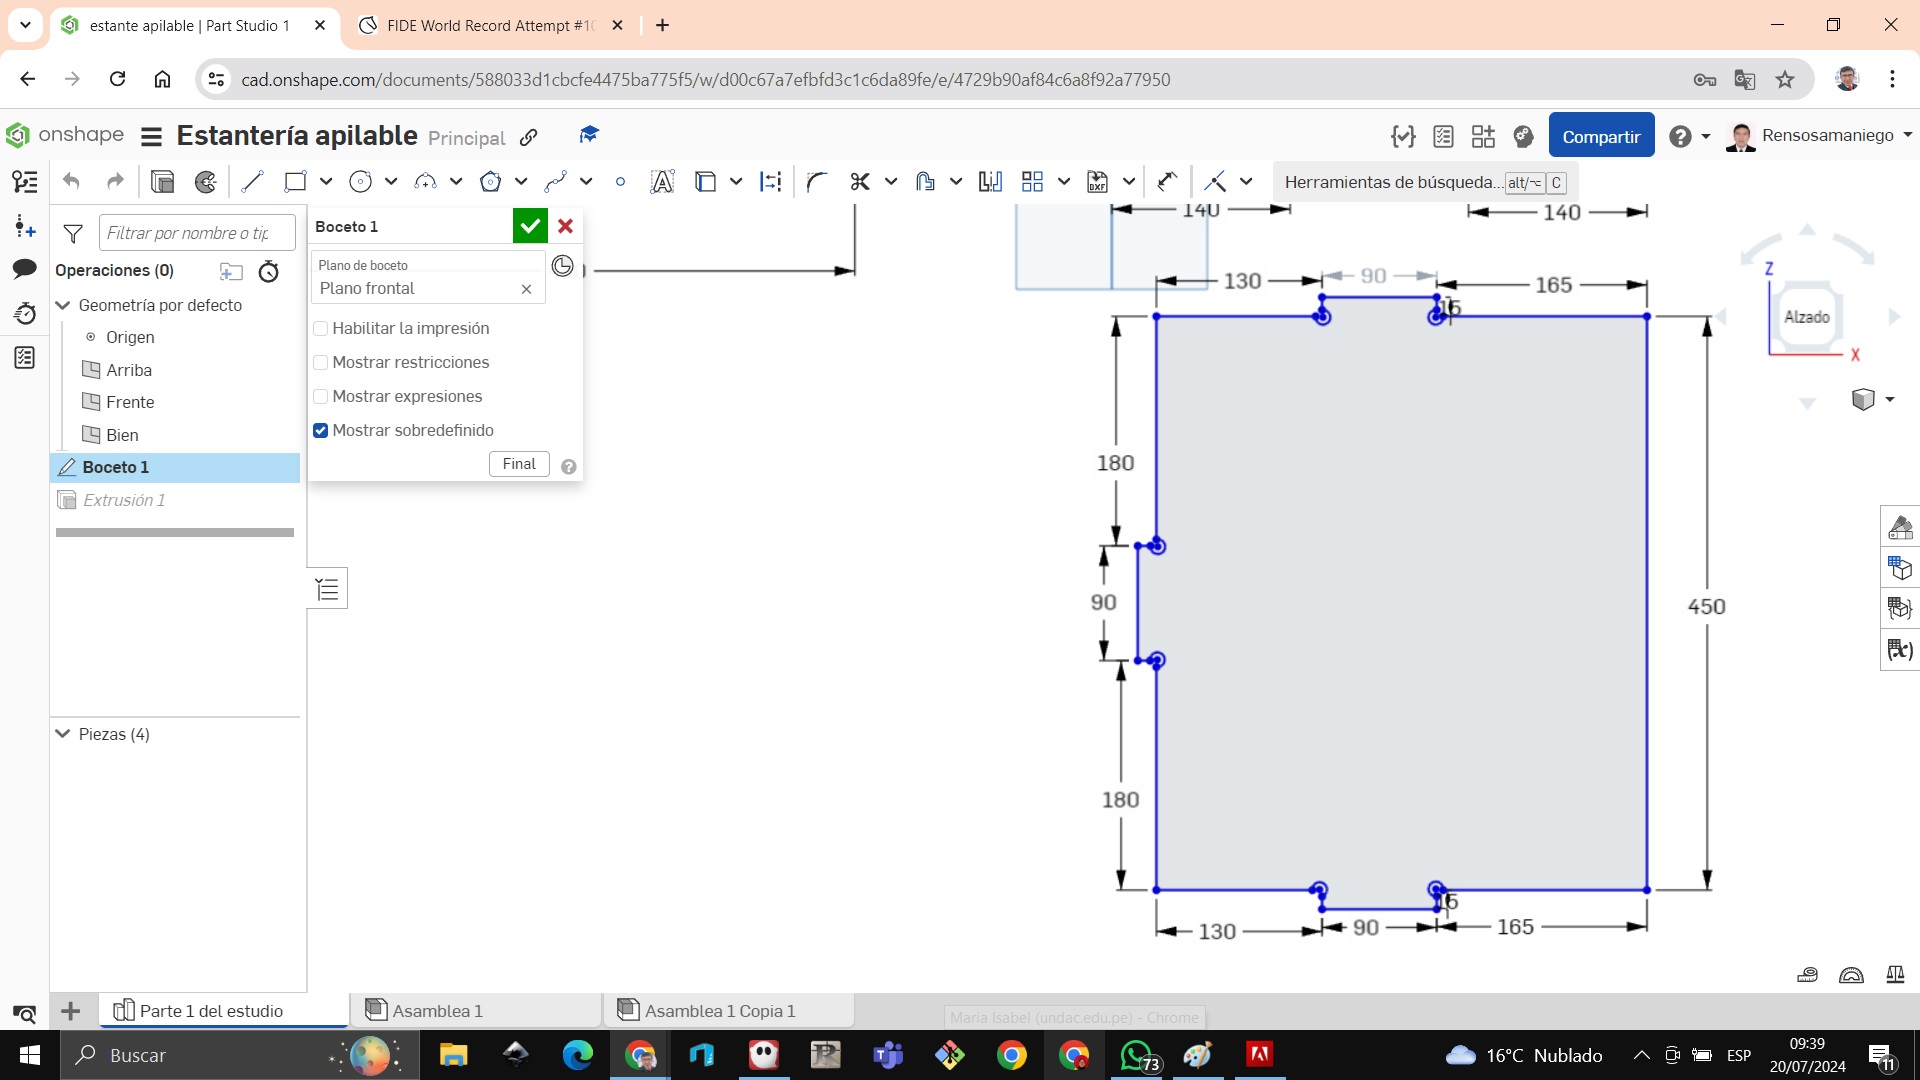
We also design dog bone on the edges to make it fit well
We ended up designing a support so that the things we put on the shelf do not fall.
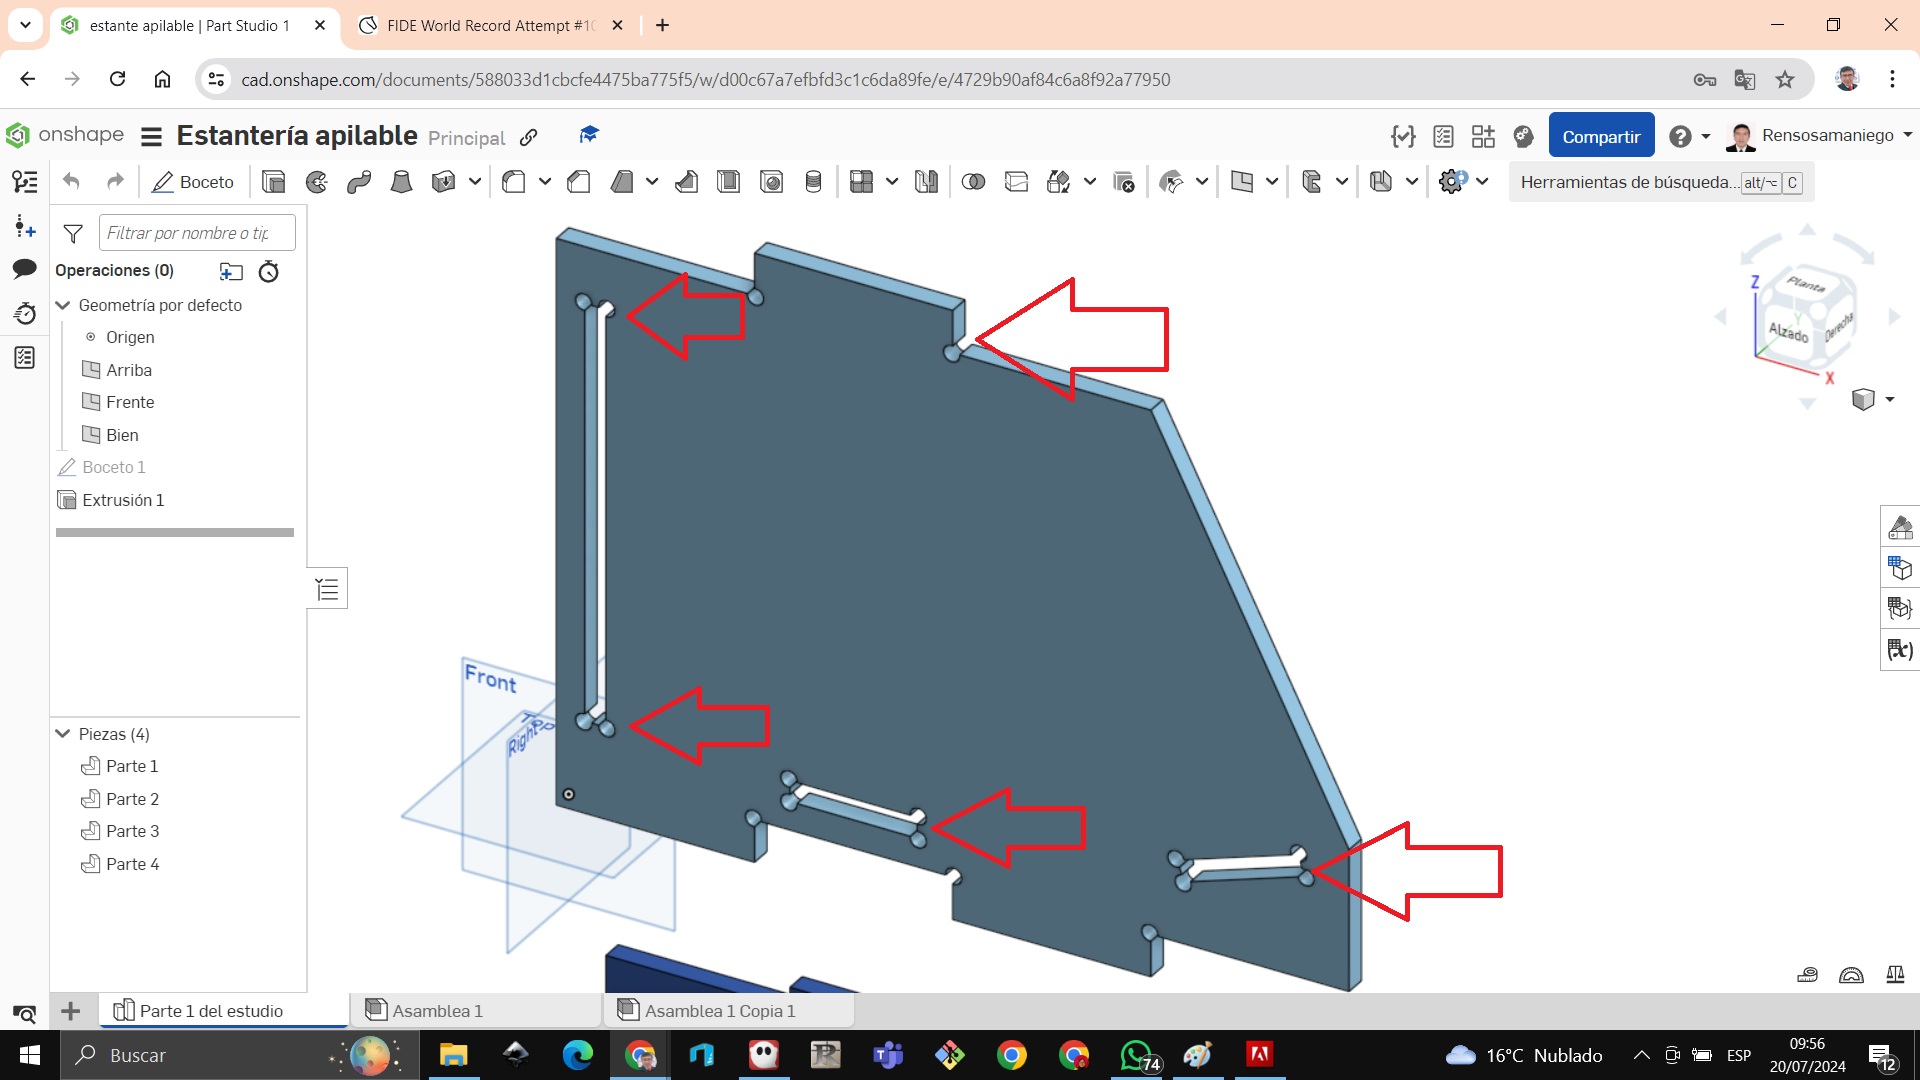
We also cut the edges for the lace in a circular dog bone shape.

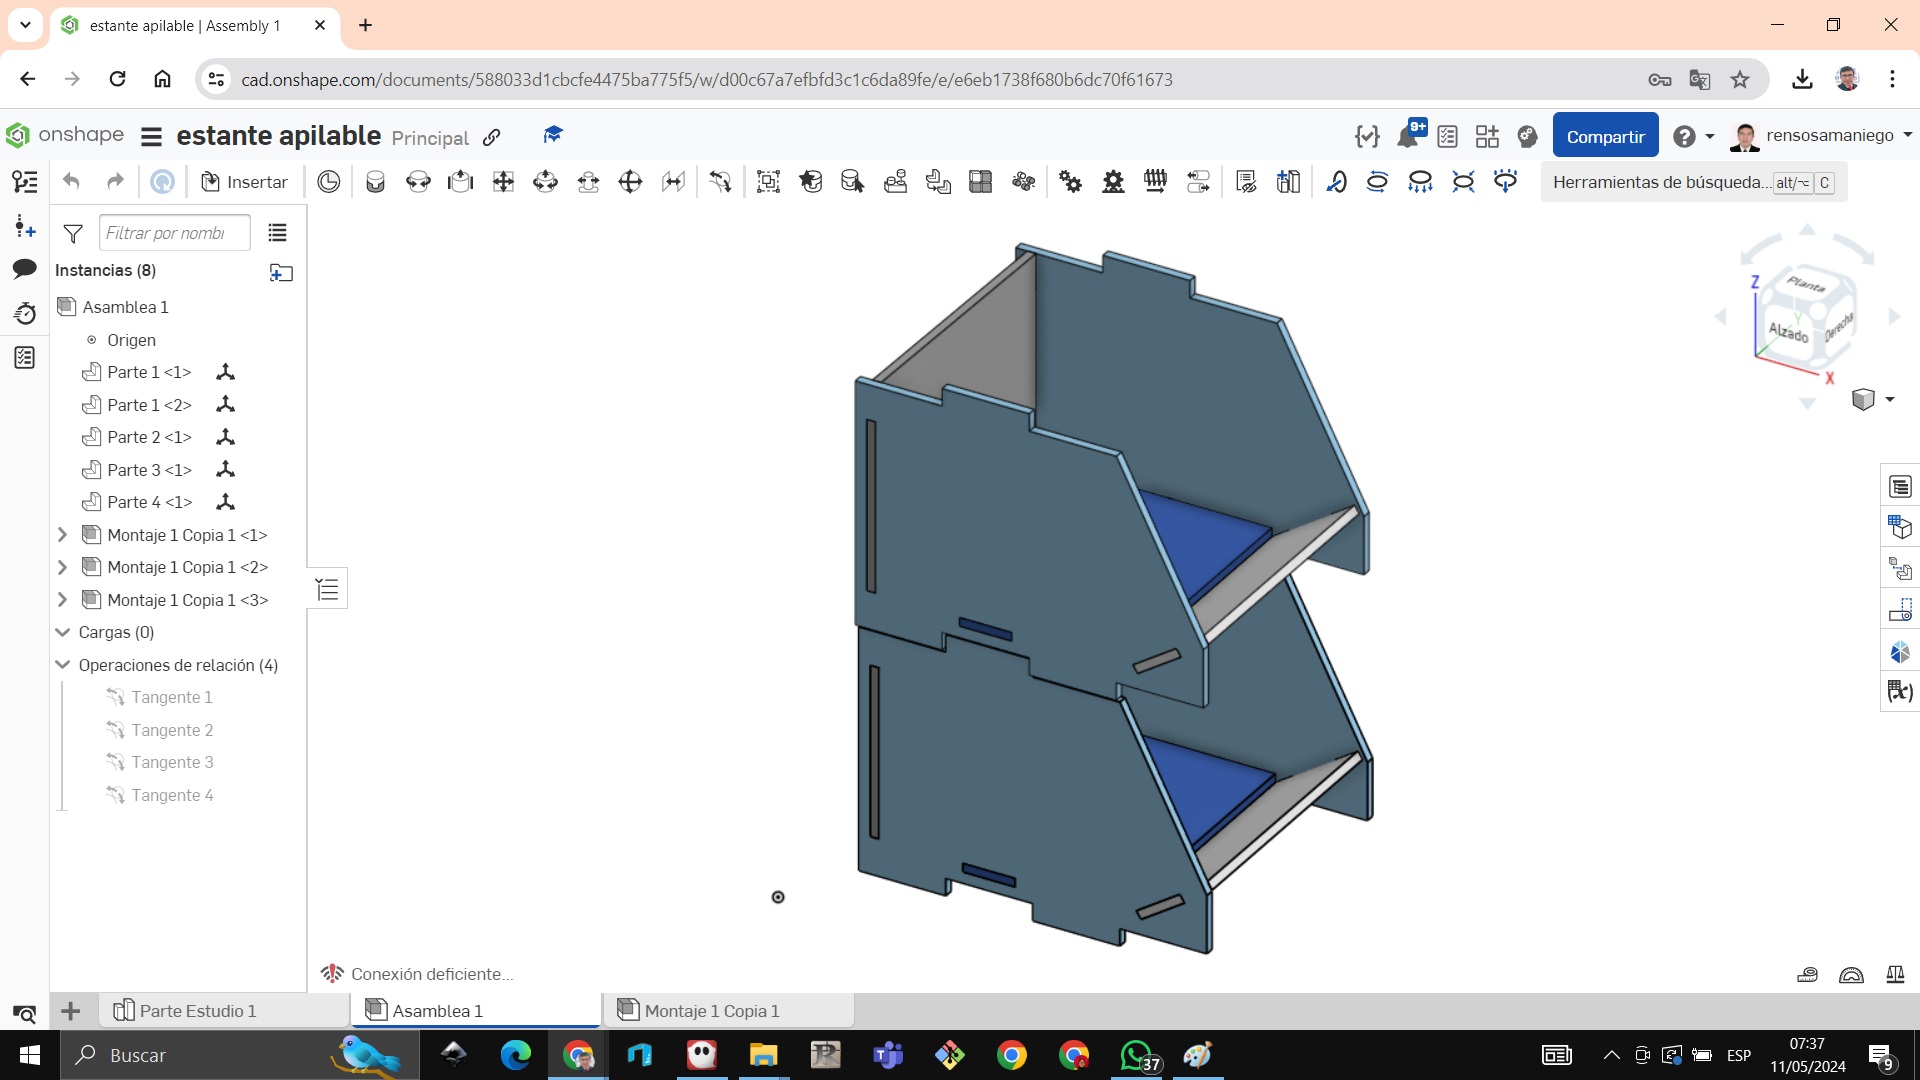
We extrude all parts to assemble
We insert the pieces one by one
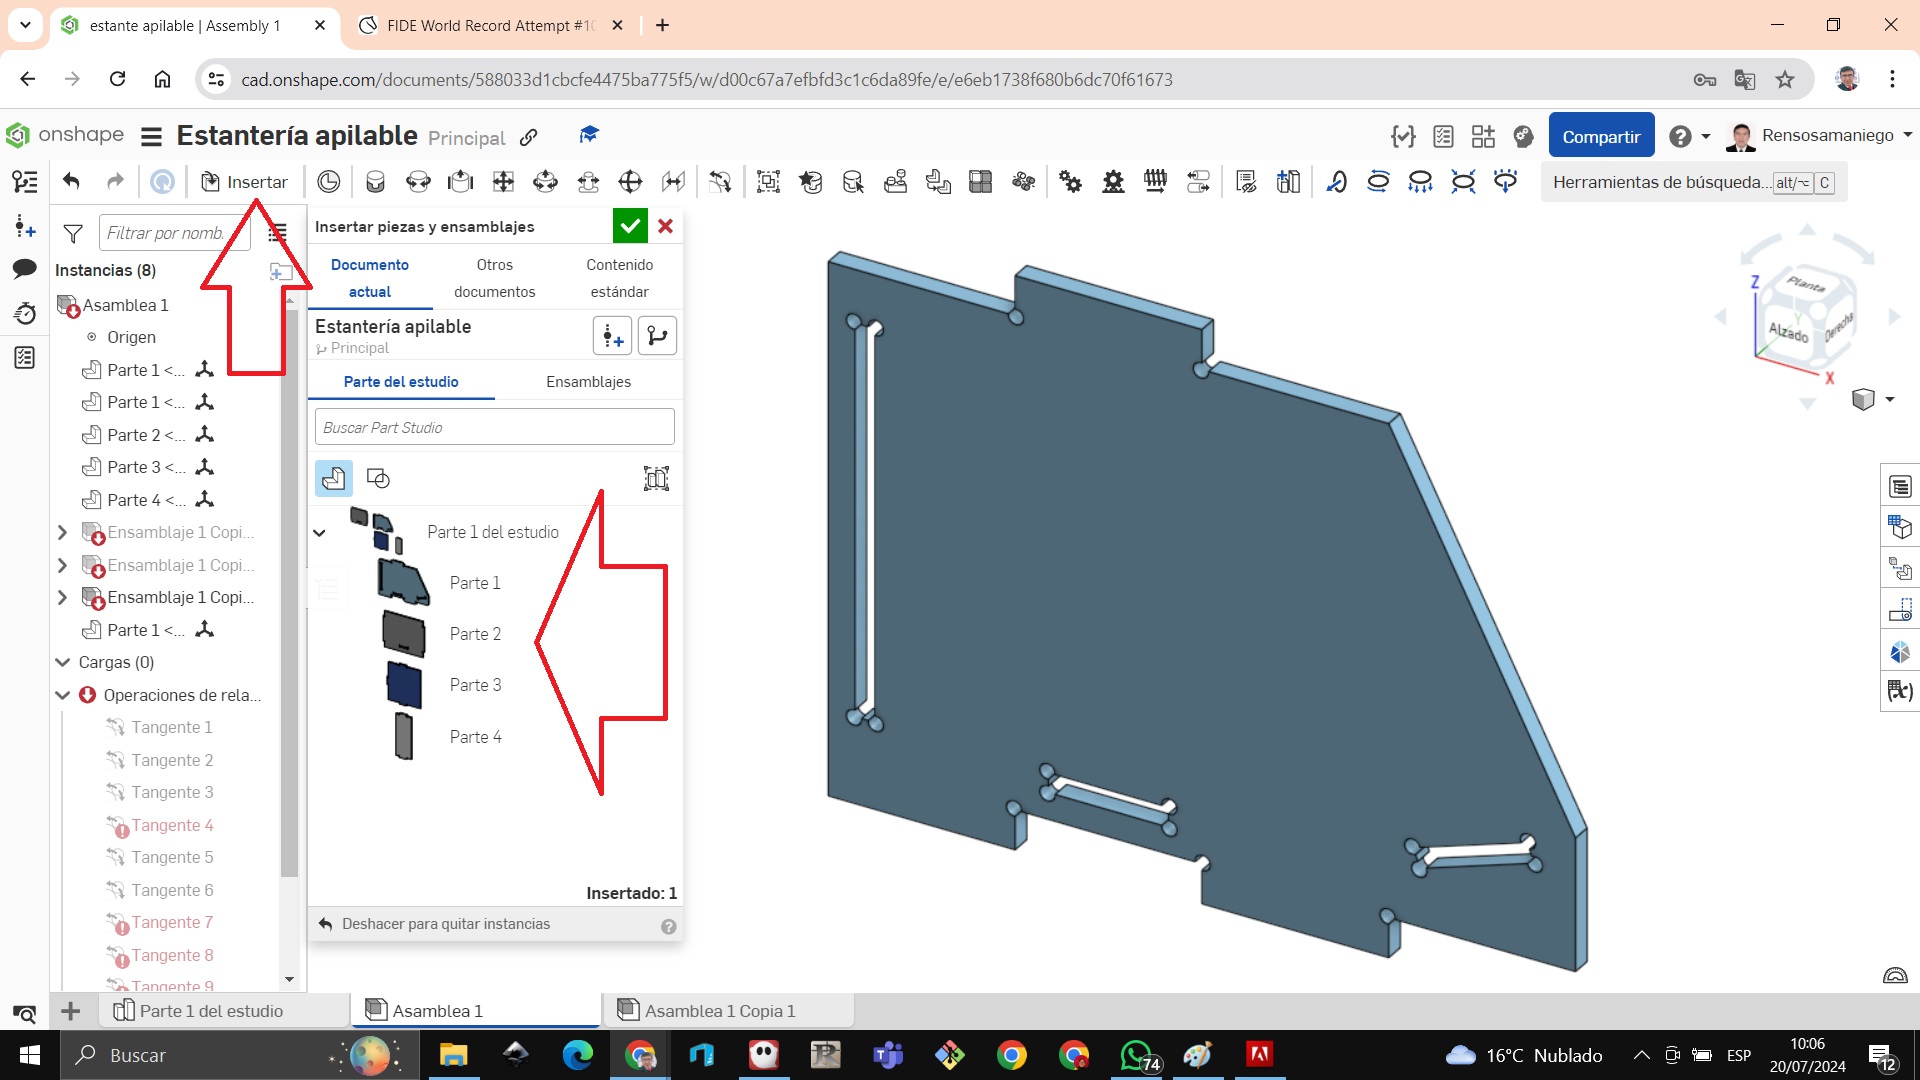
Assembling all the pieces and if we do it on 2 levels it will look like this
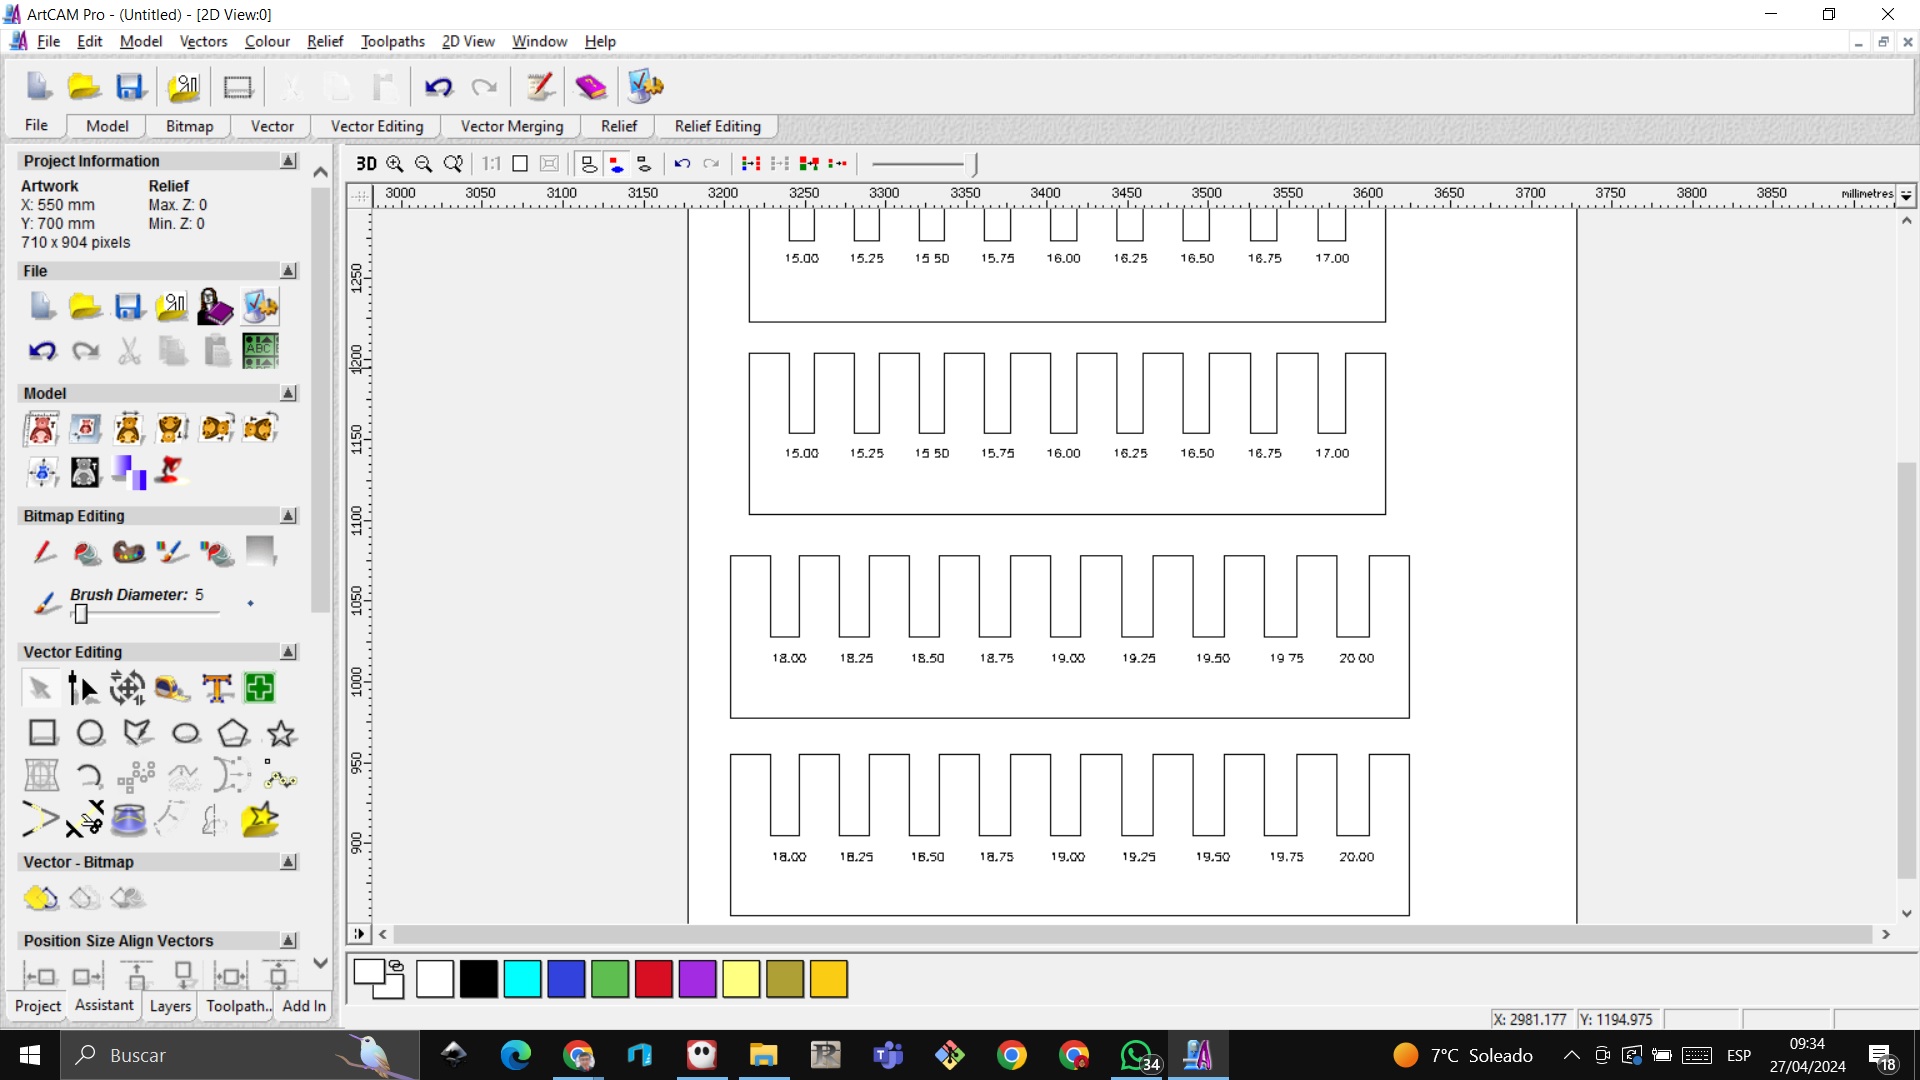
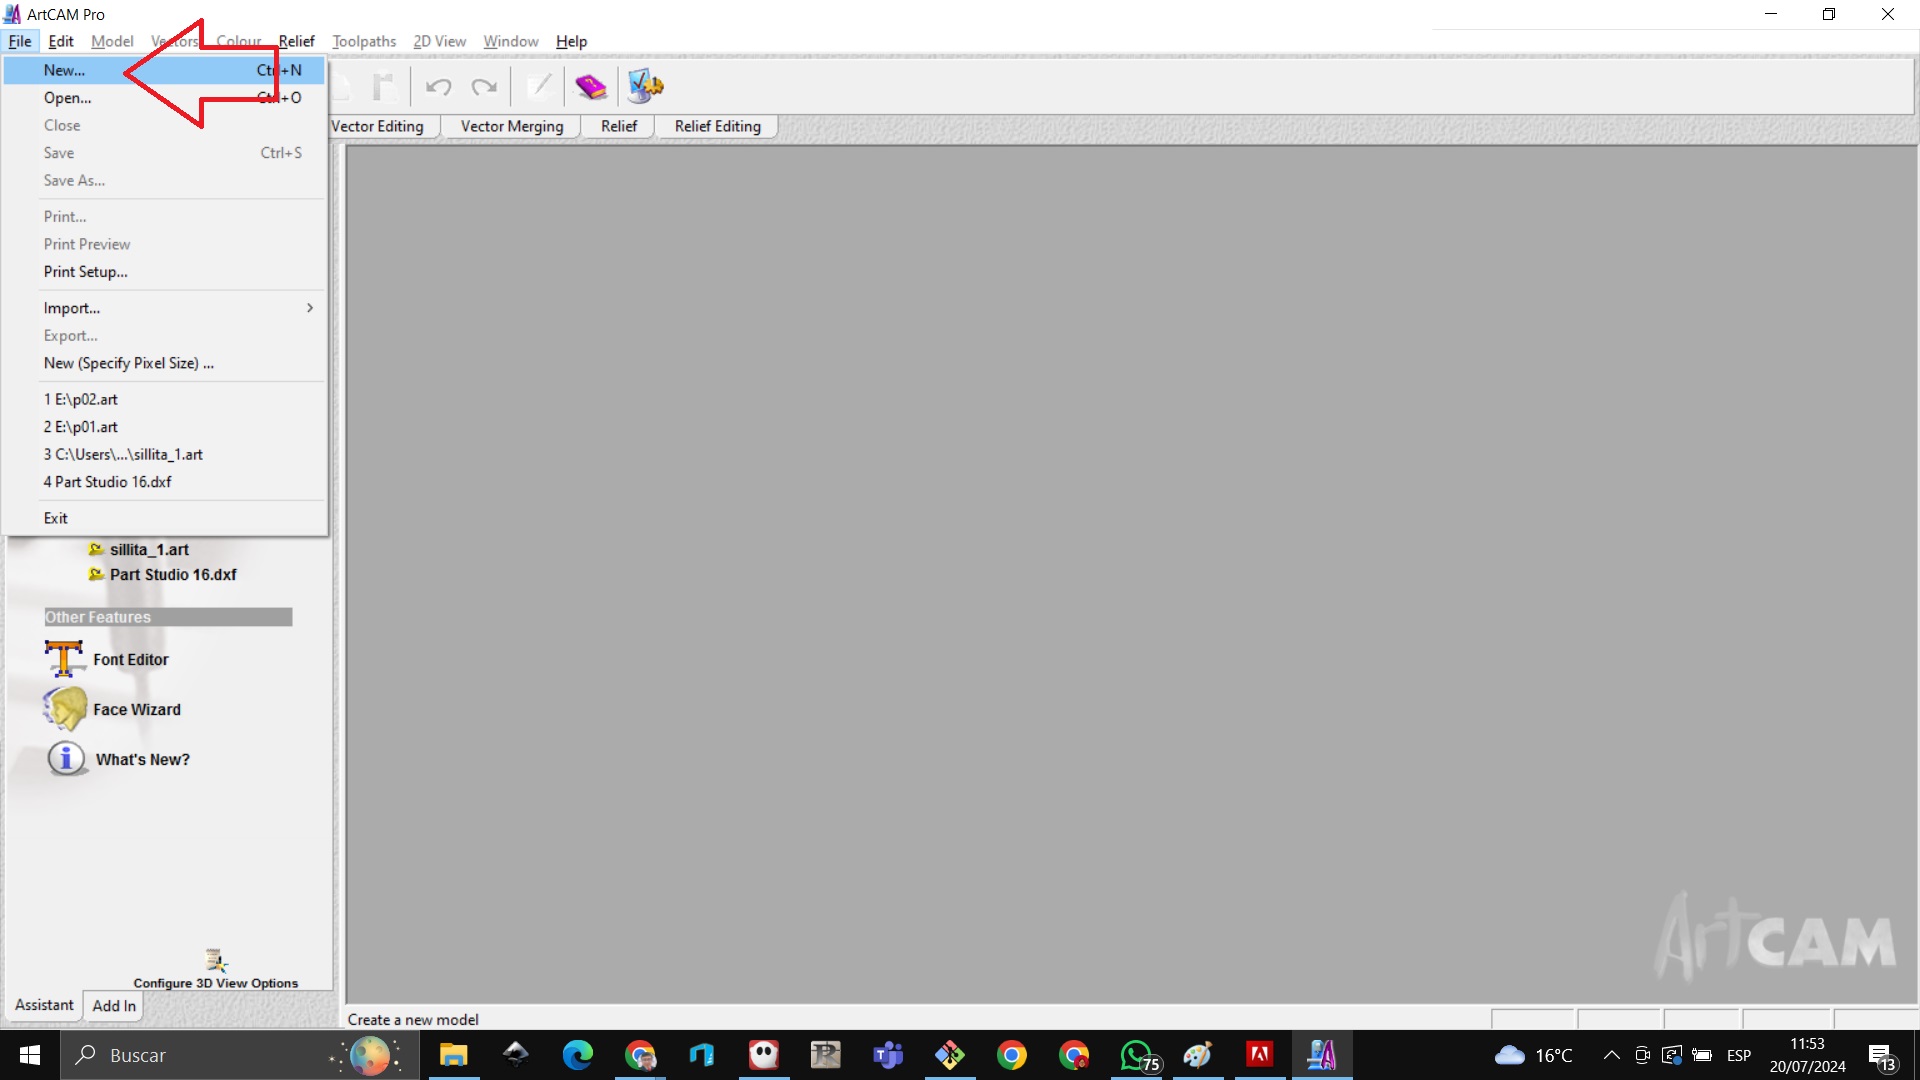
We open ArtCAM Pro
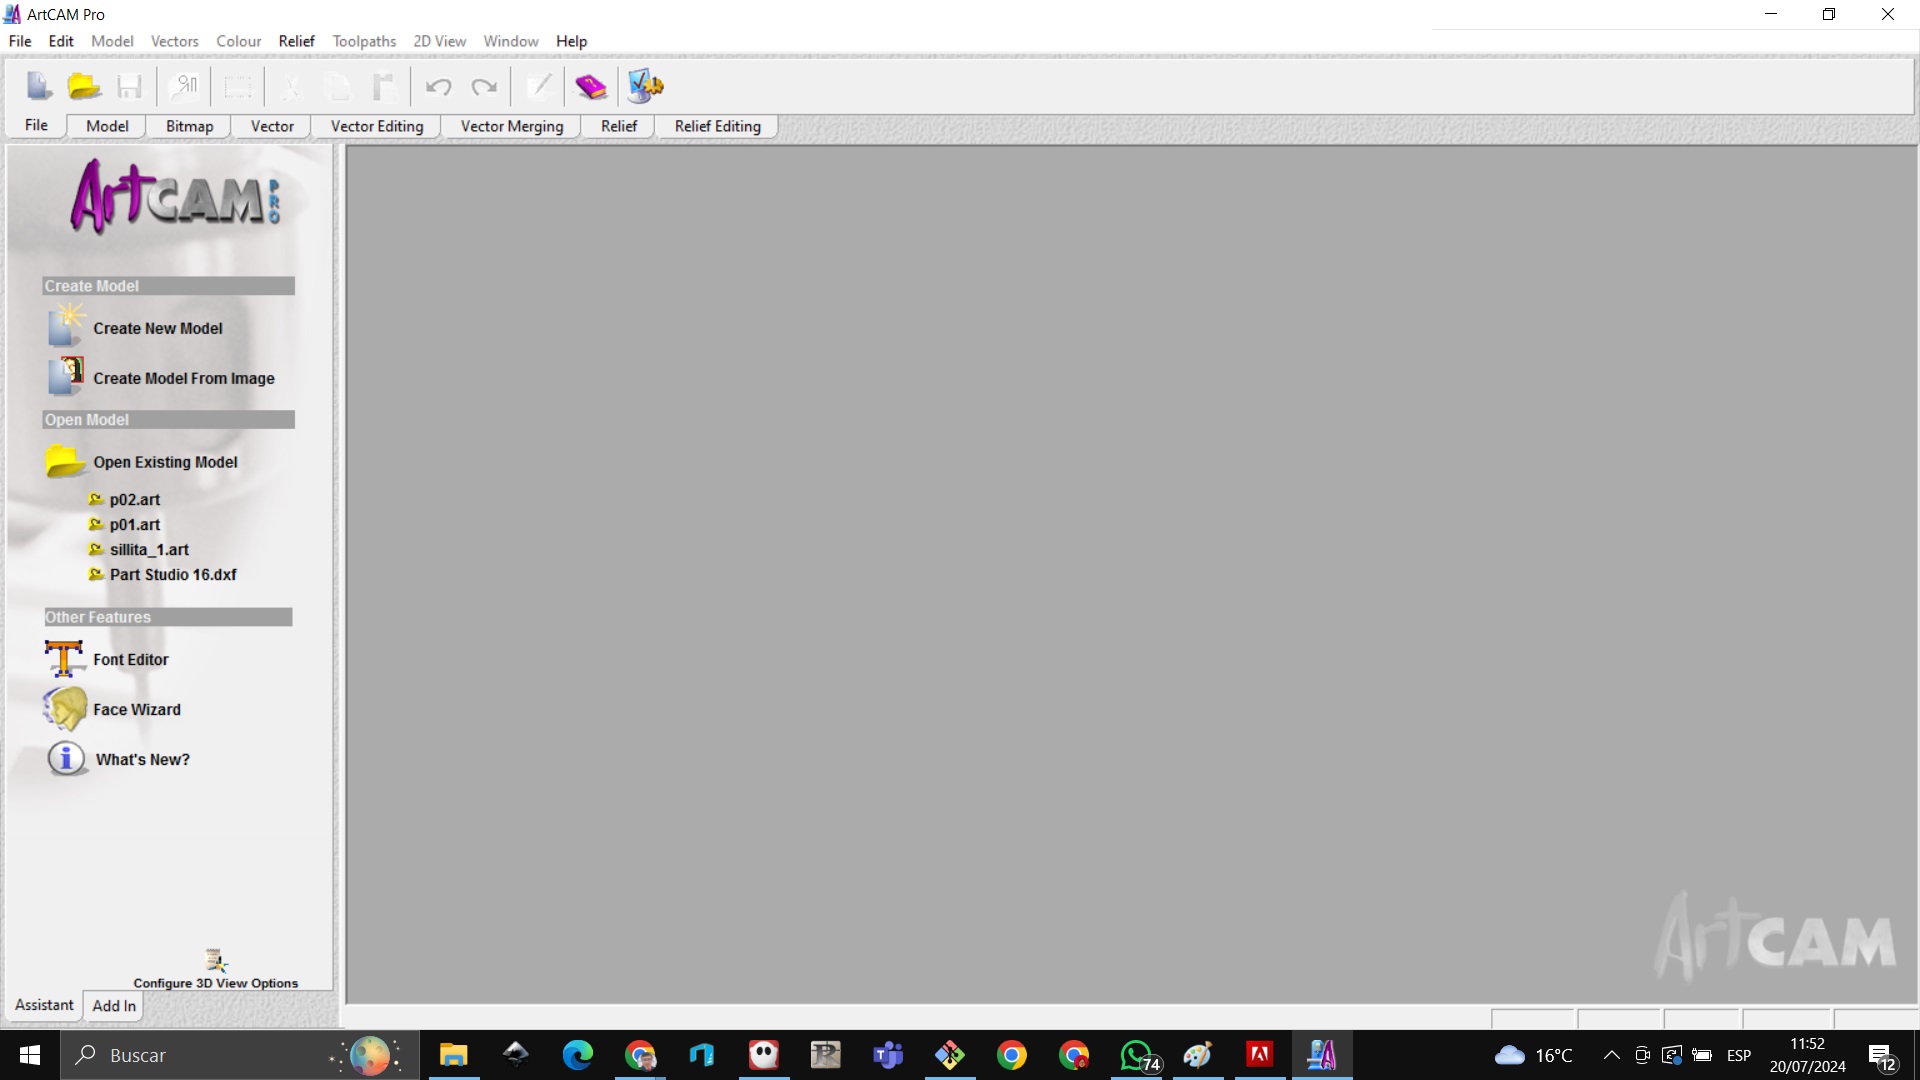
We open a new file
We write the area that we are going to use

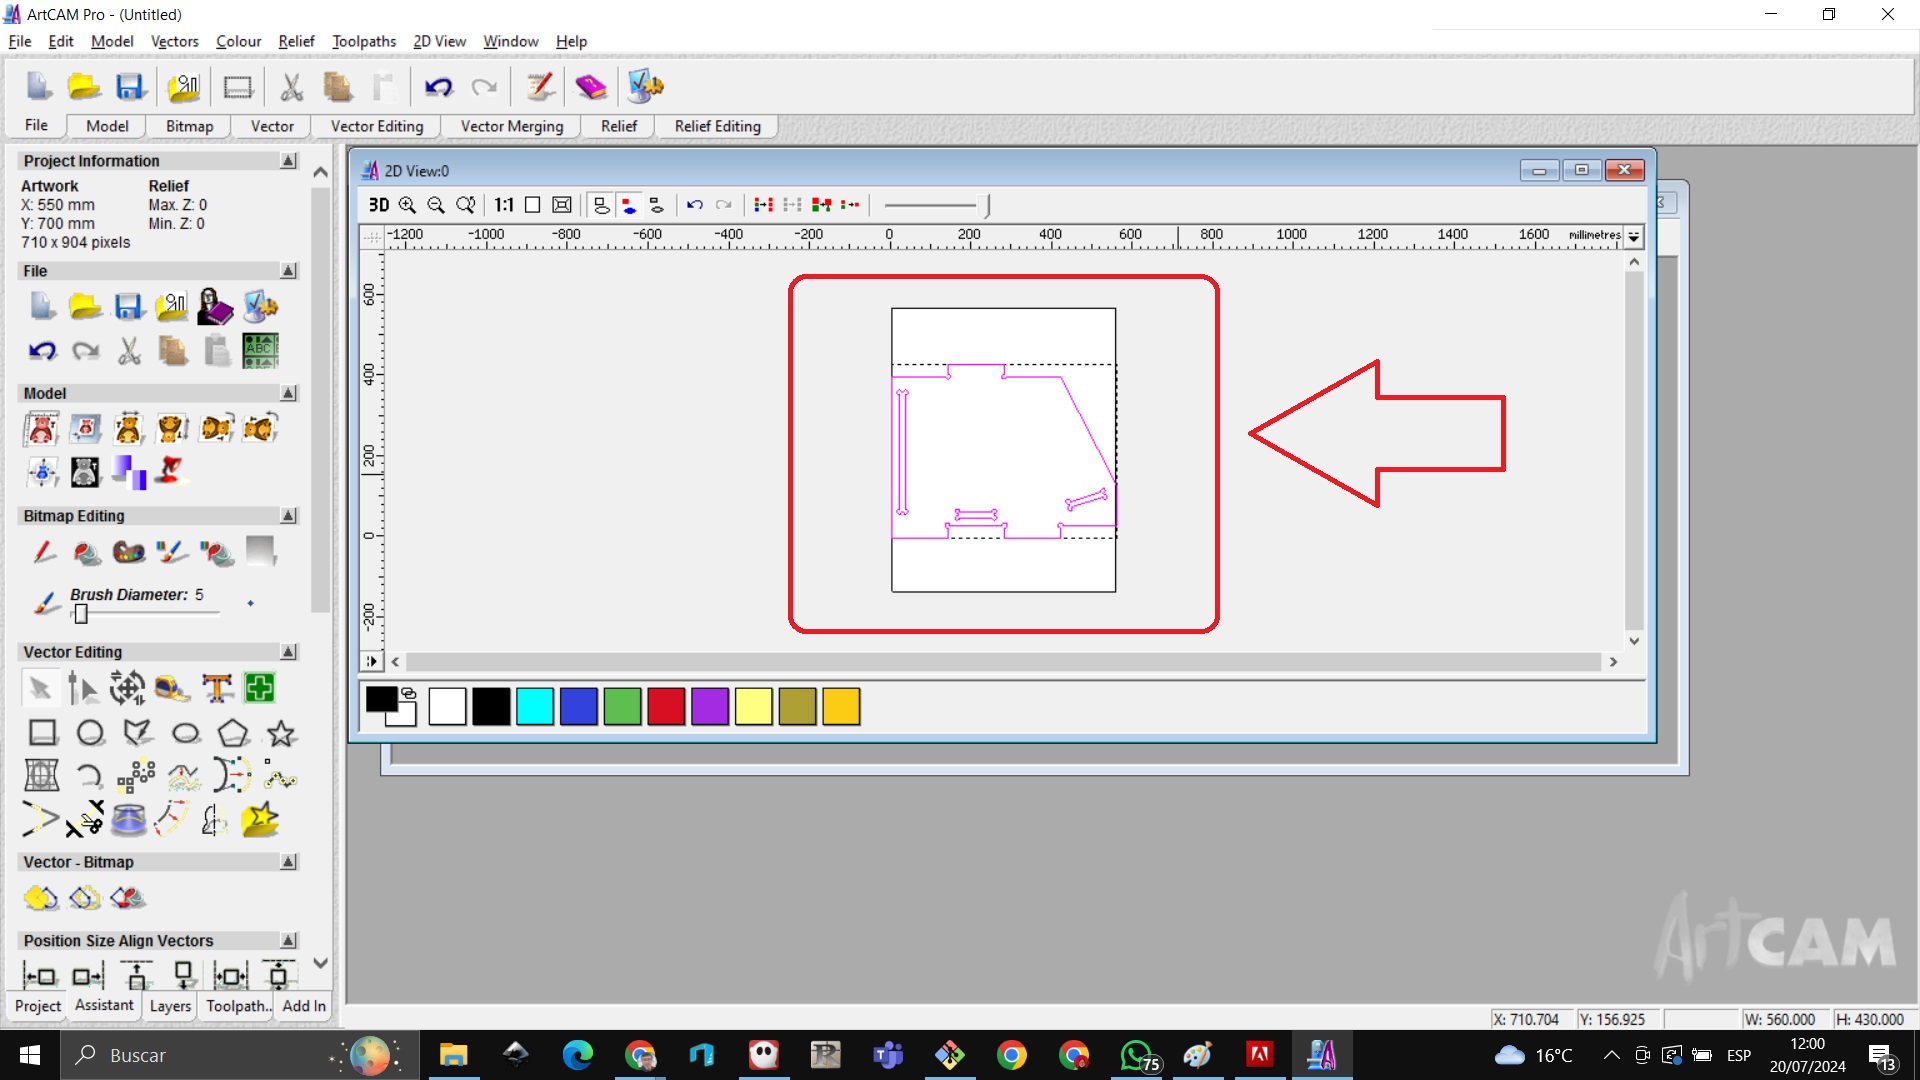
We import our vector
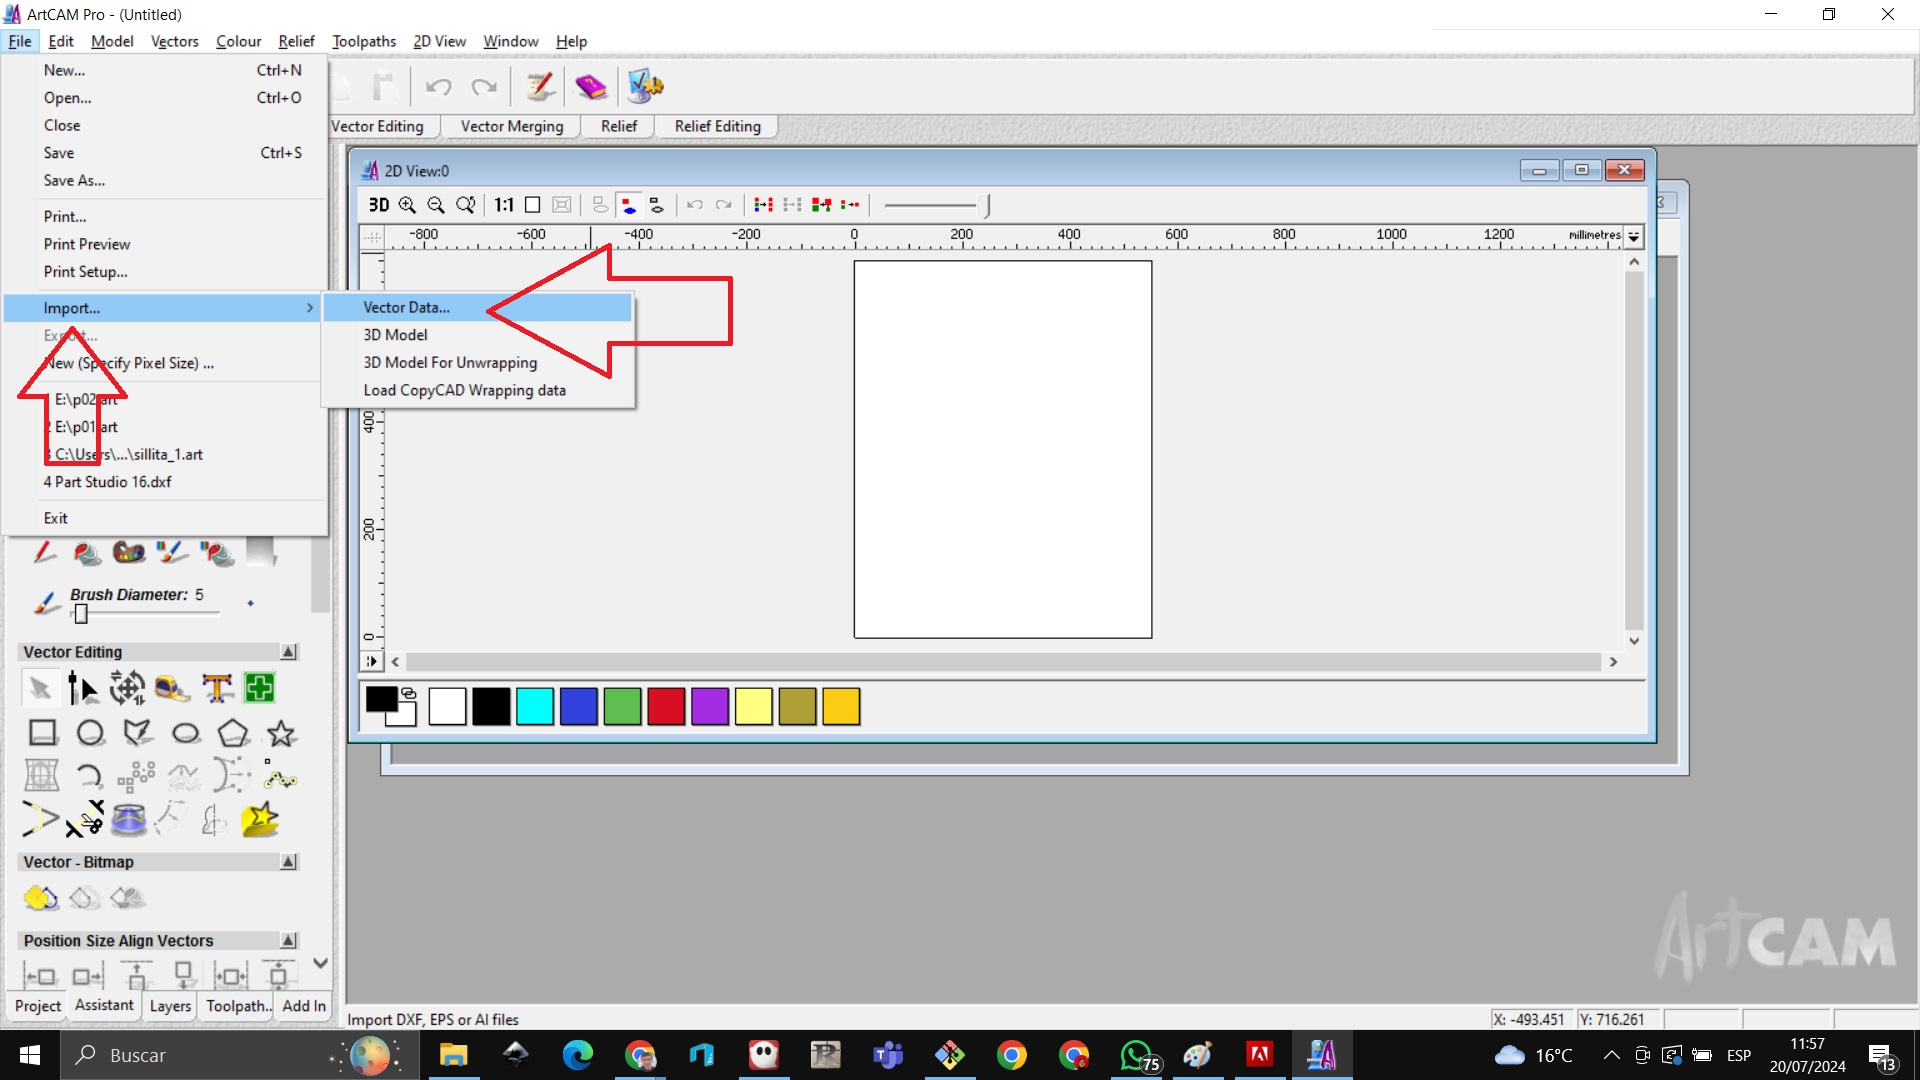
We verify that the file has been imported
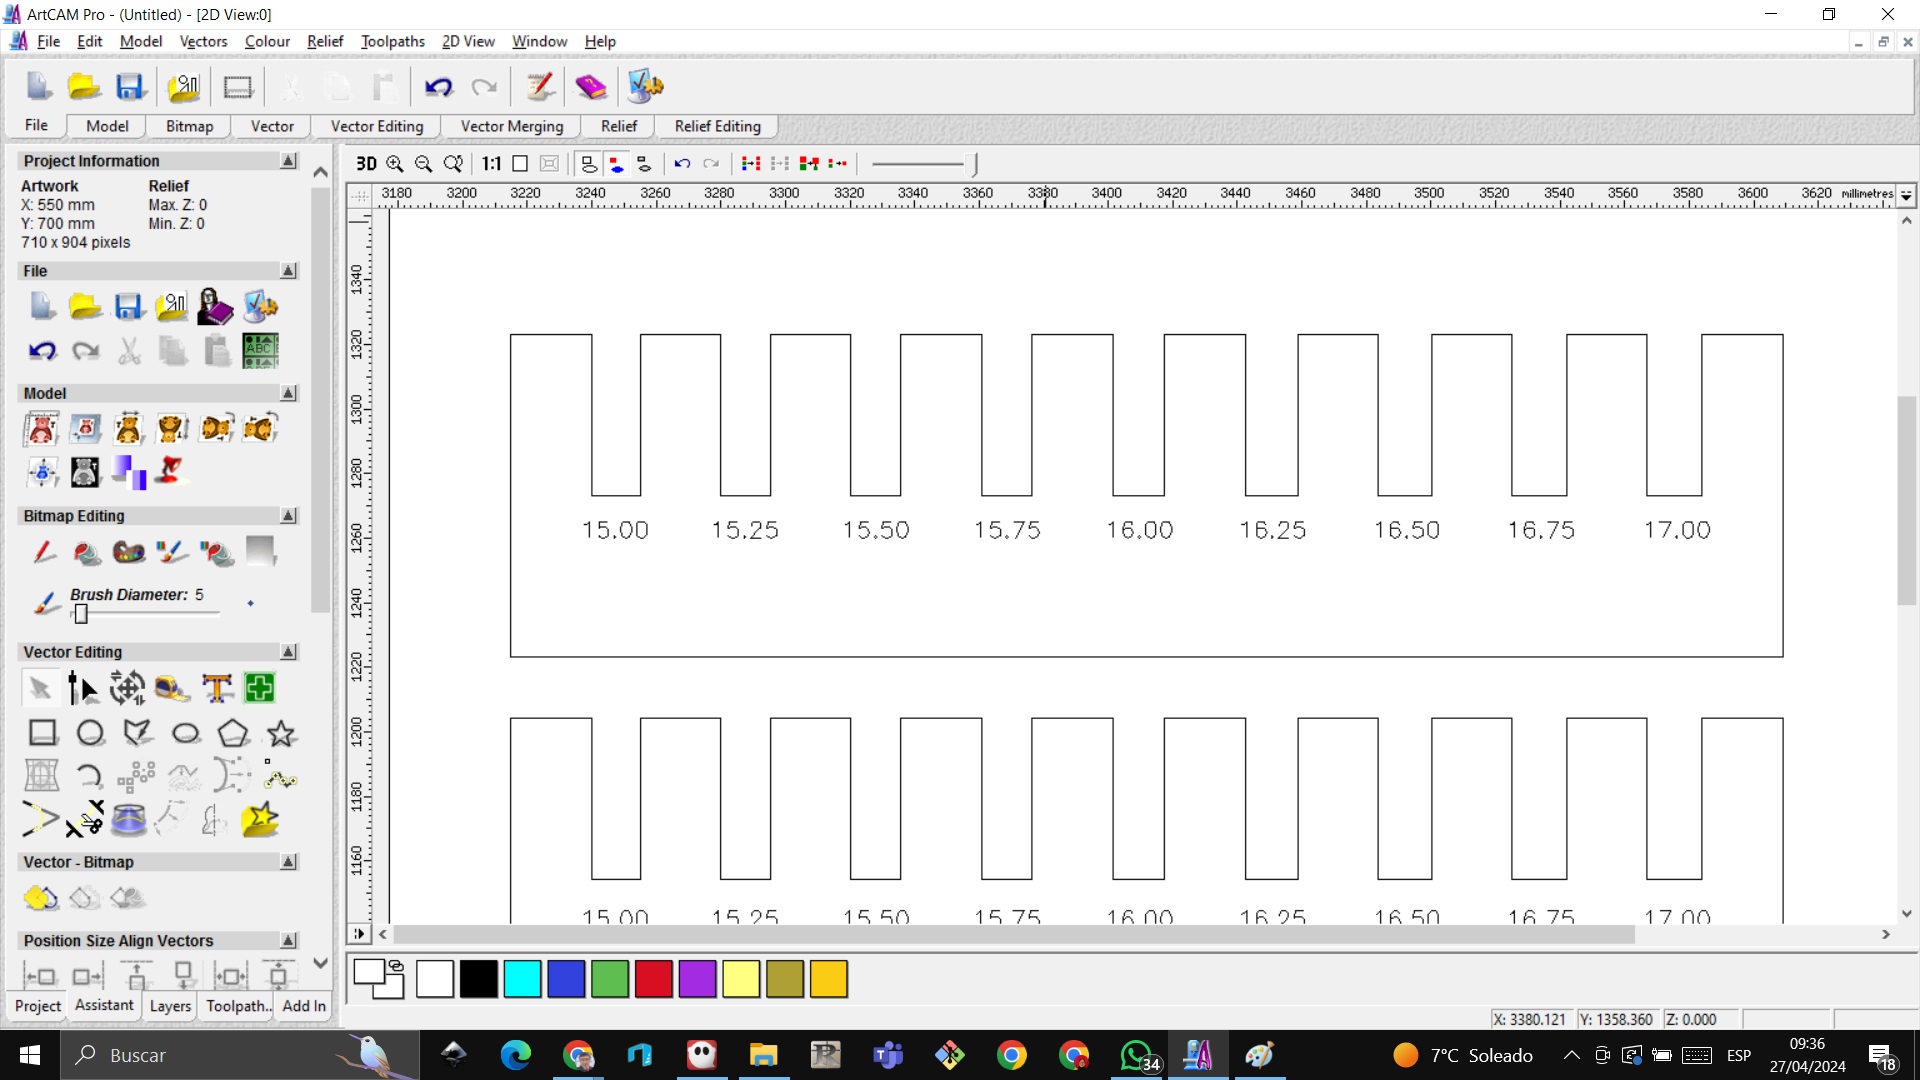
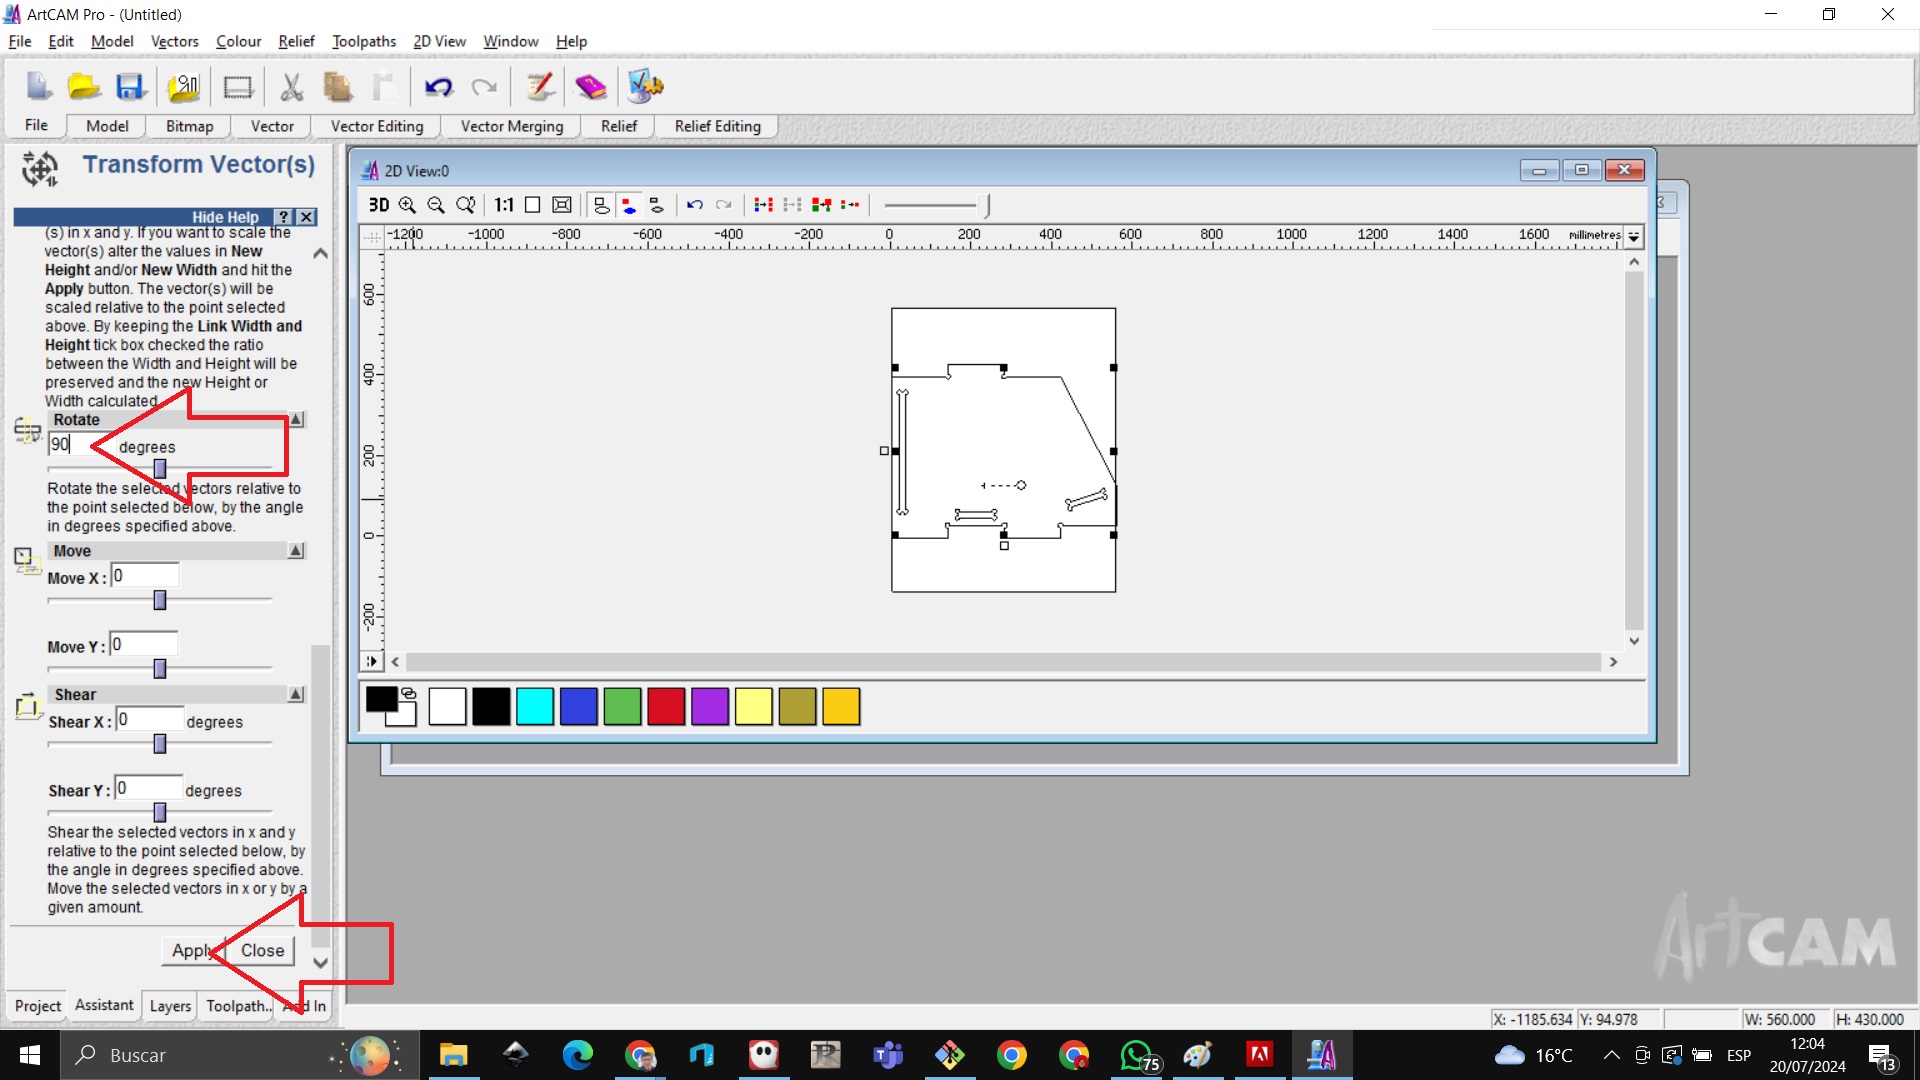
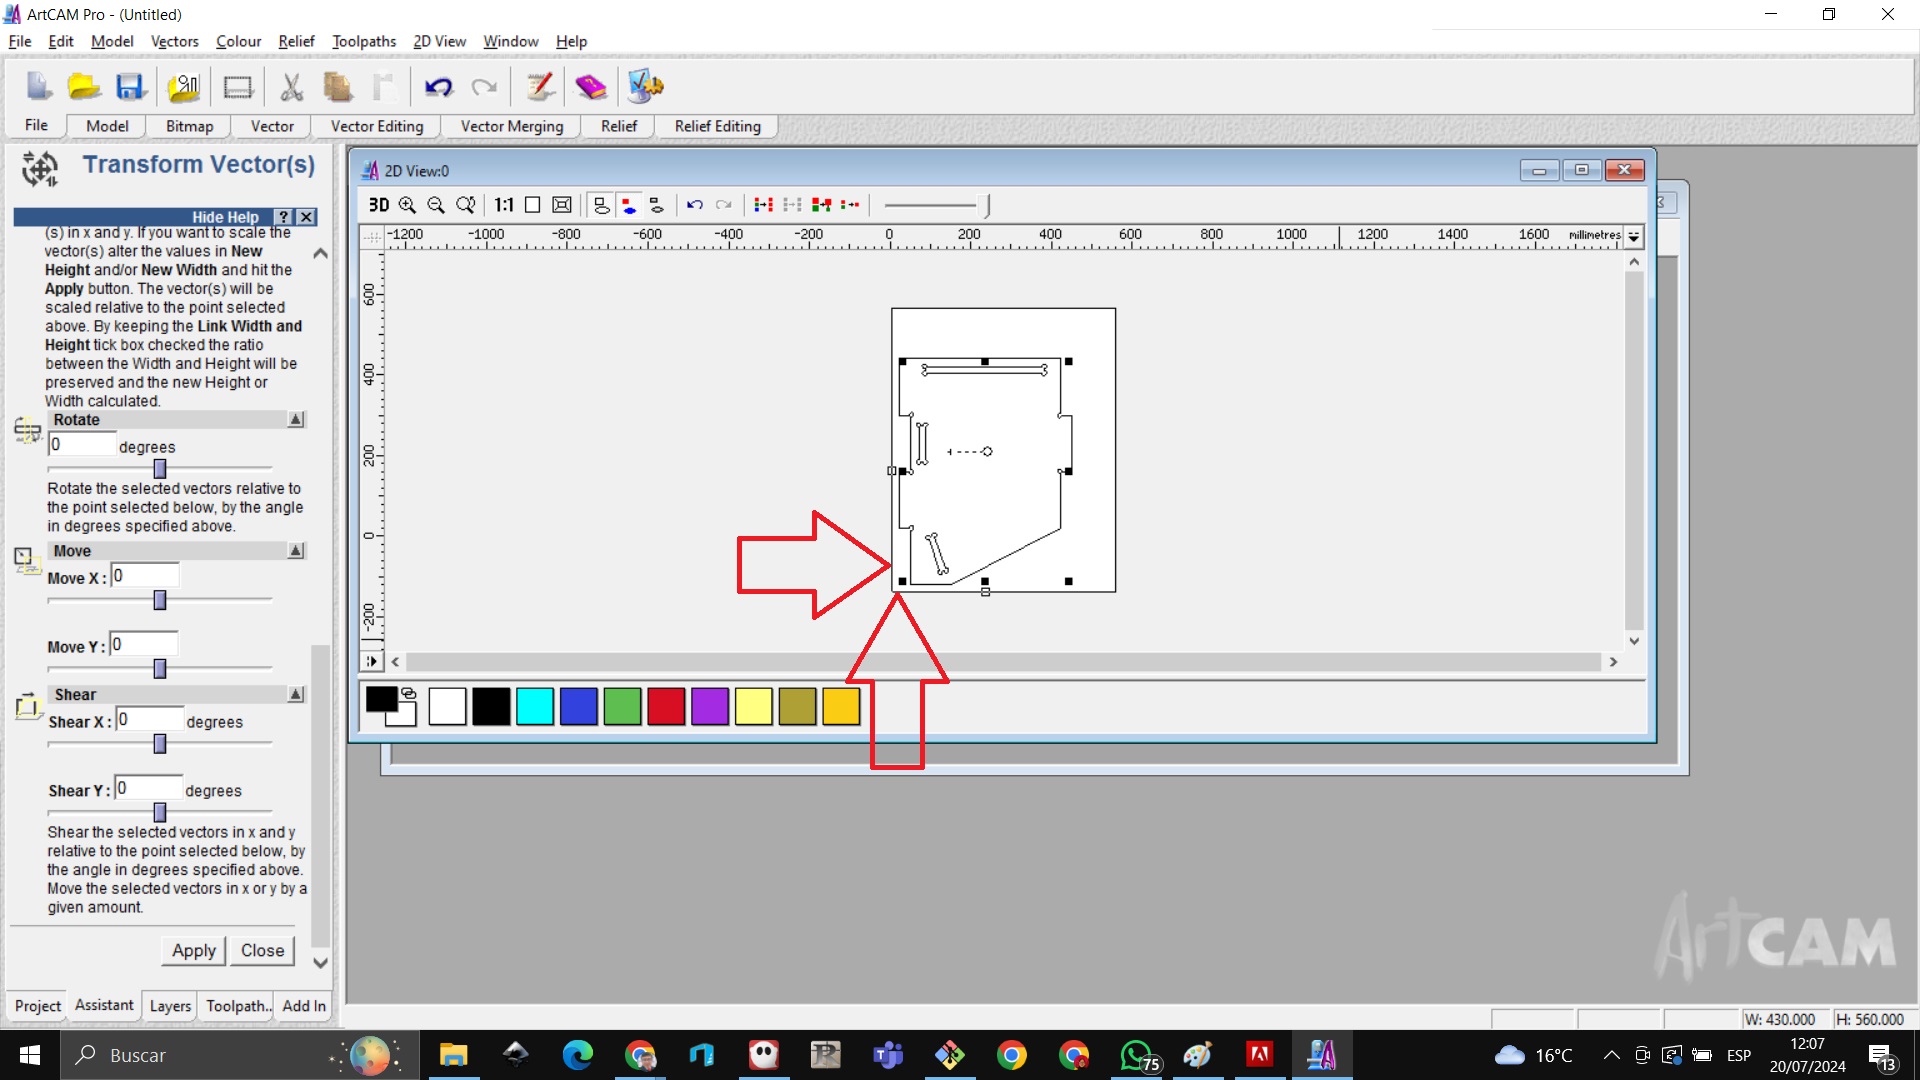
We click on the rotate tool

To rotate we write 90º and click apply
We observe that it turns 90º
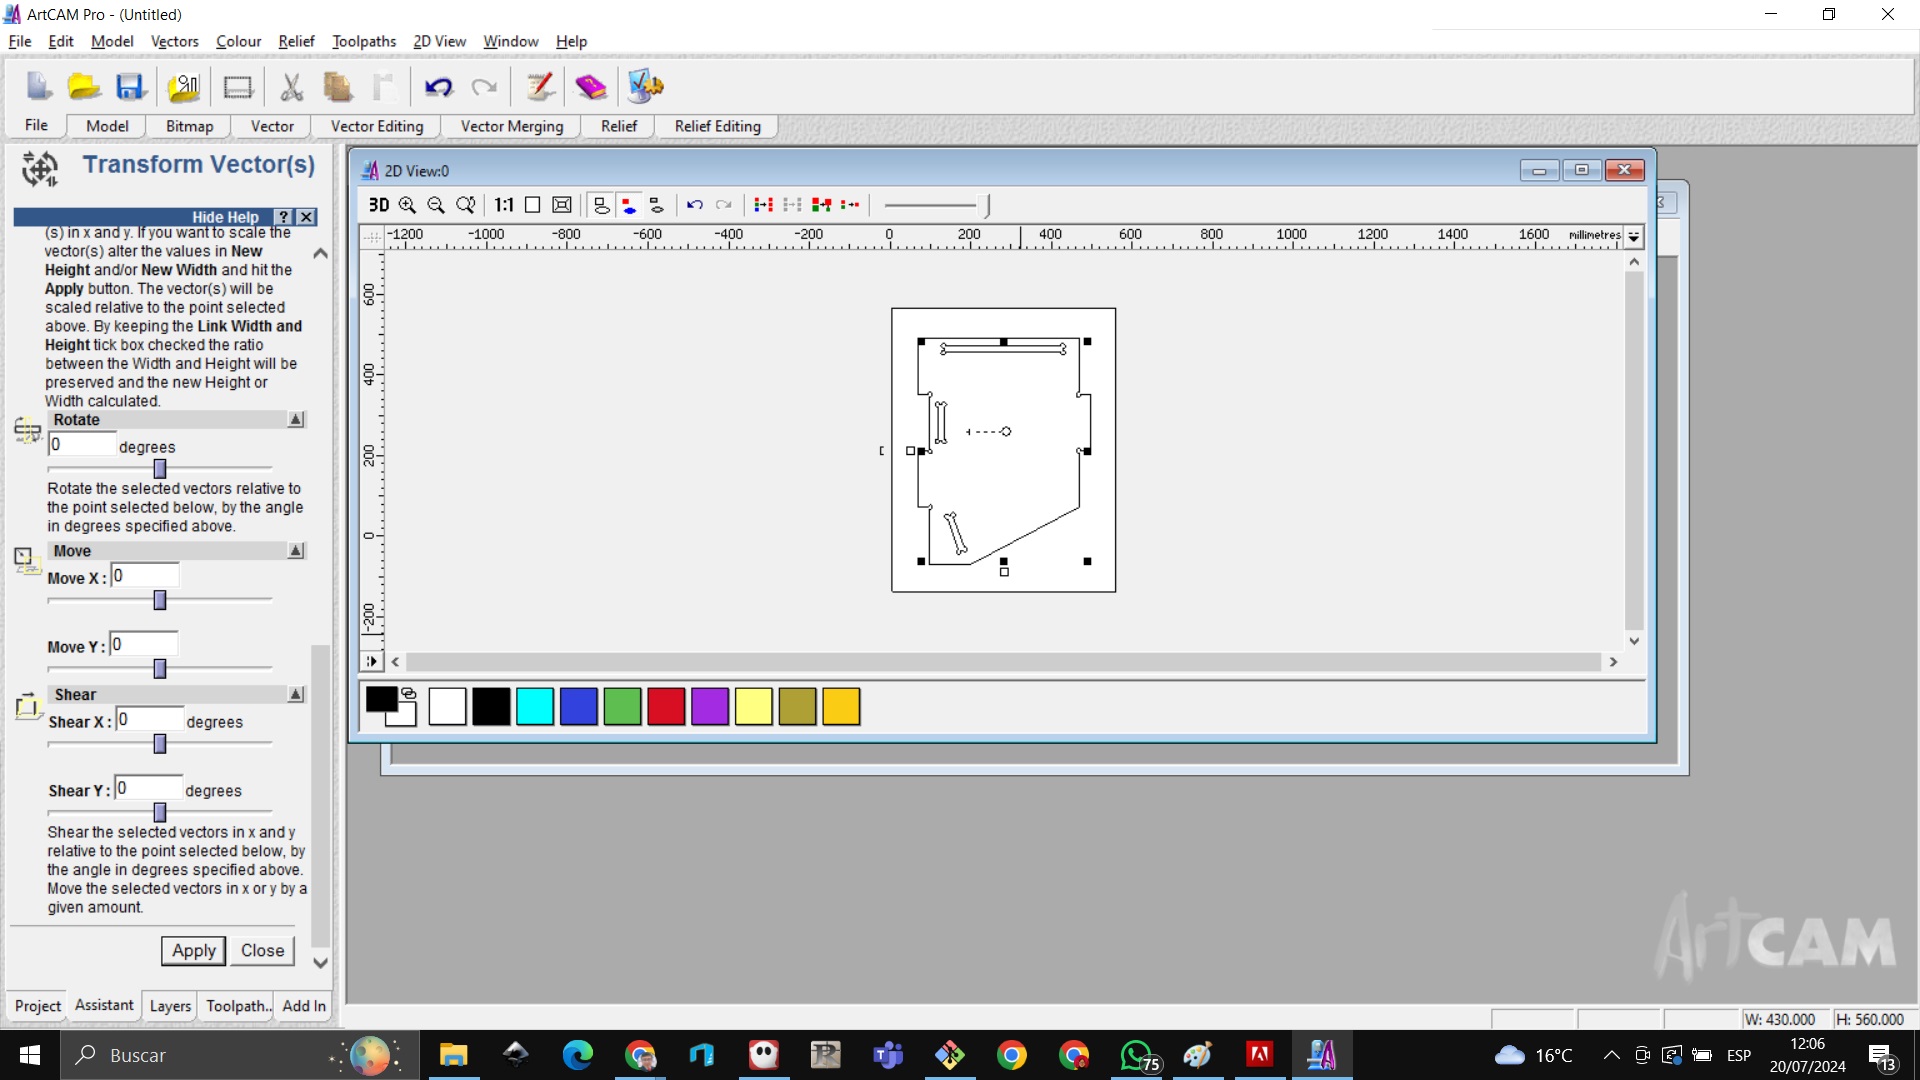
We move to the left to the X and Y axes as shown in the arrows
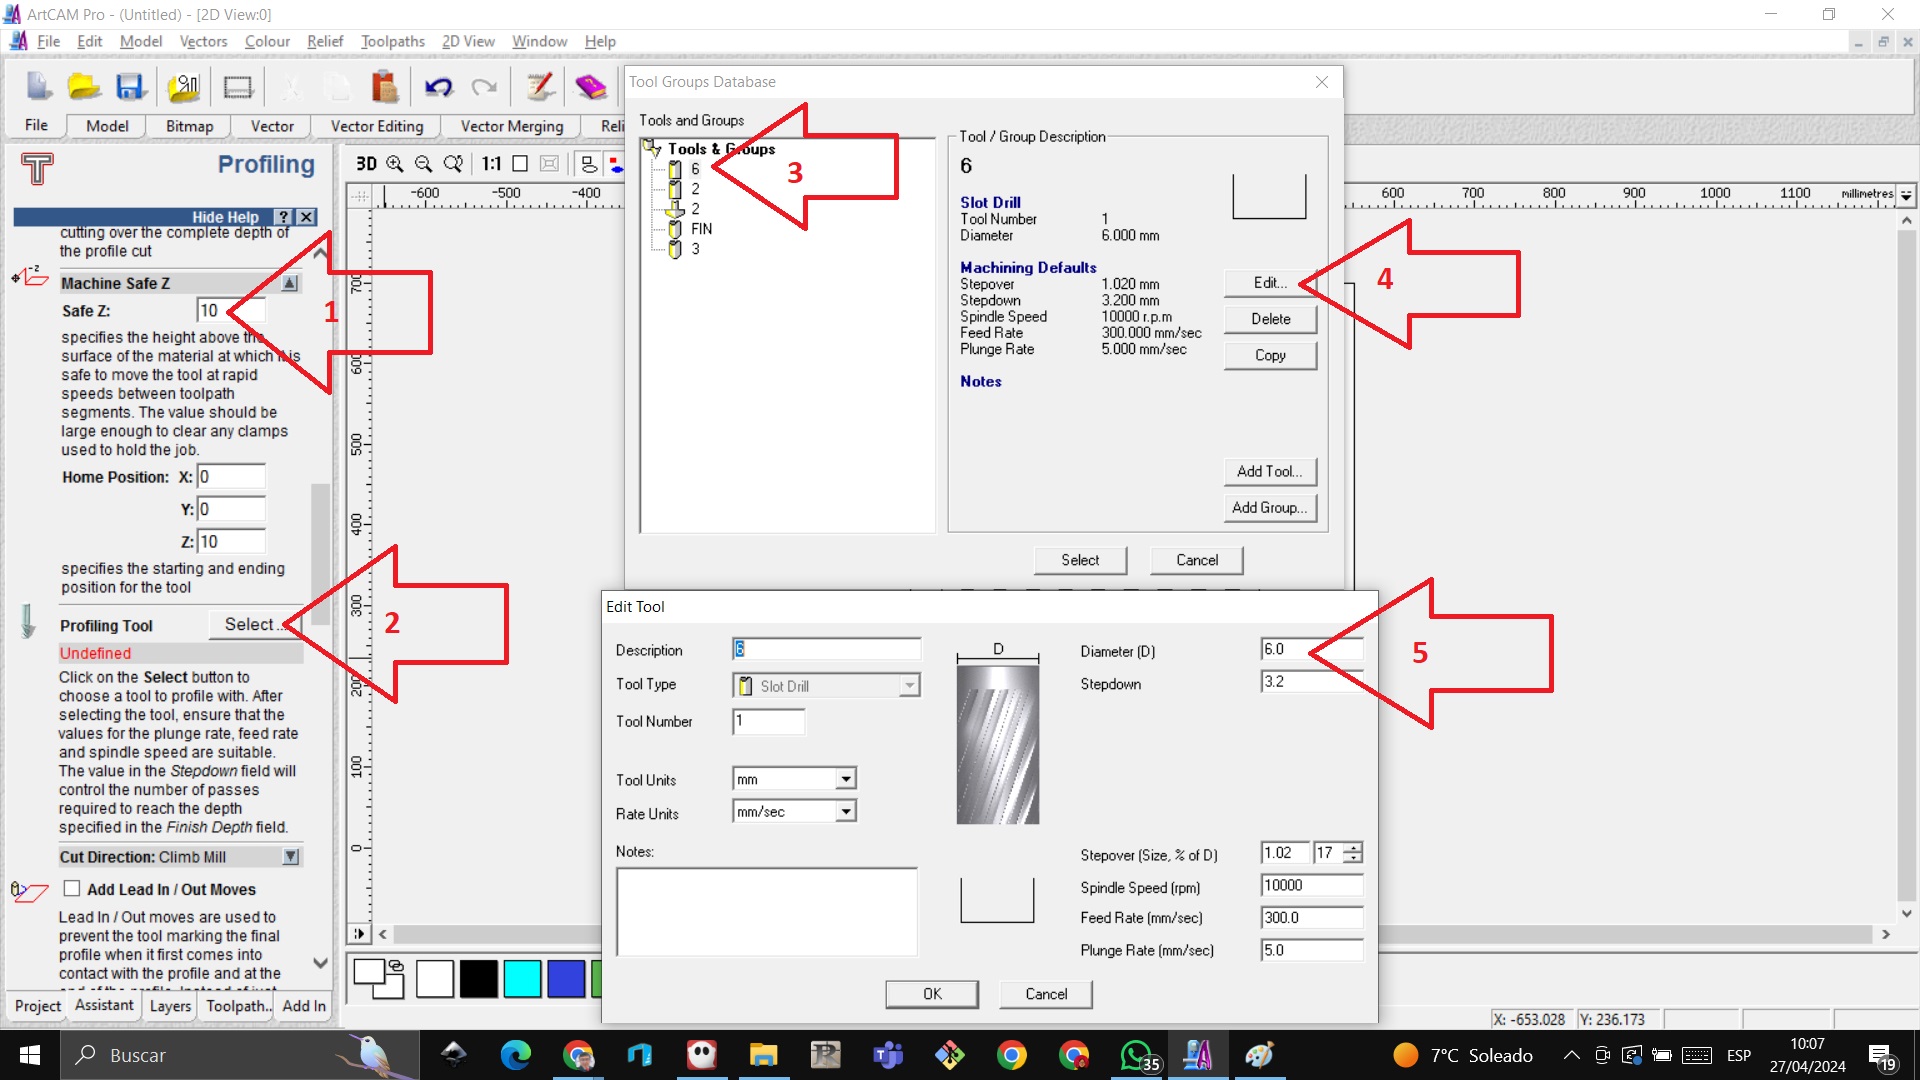
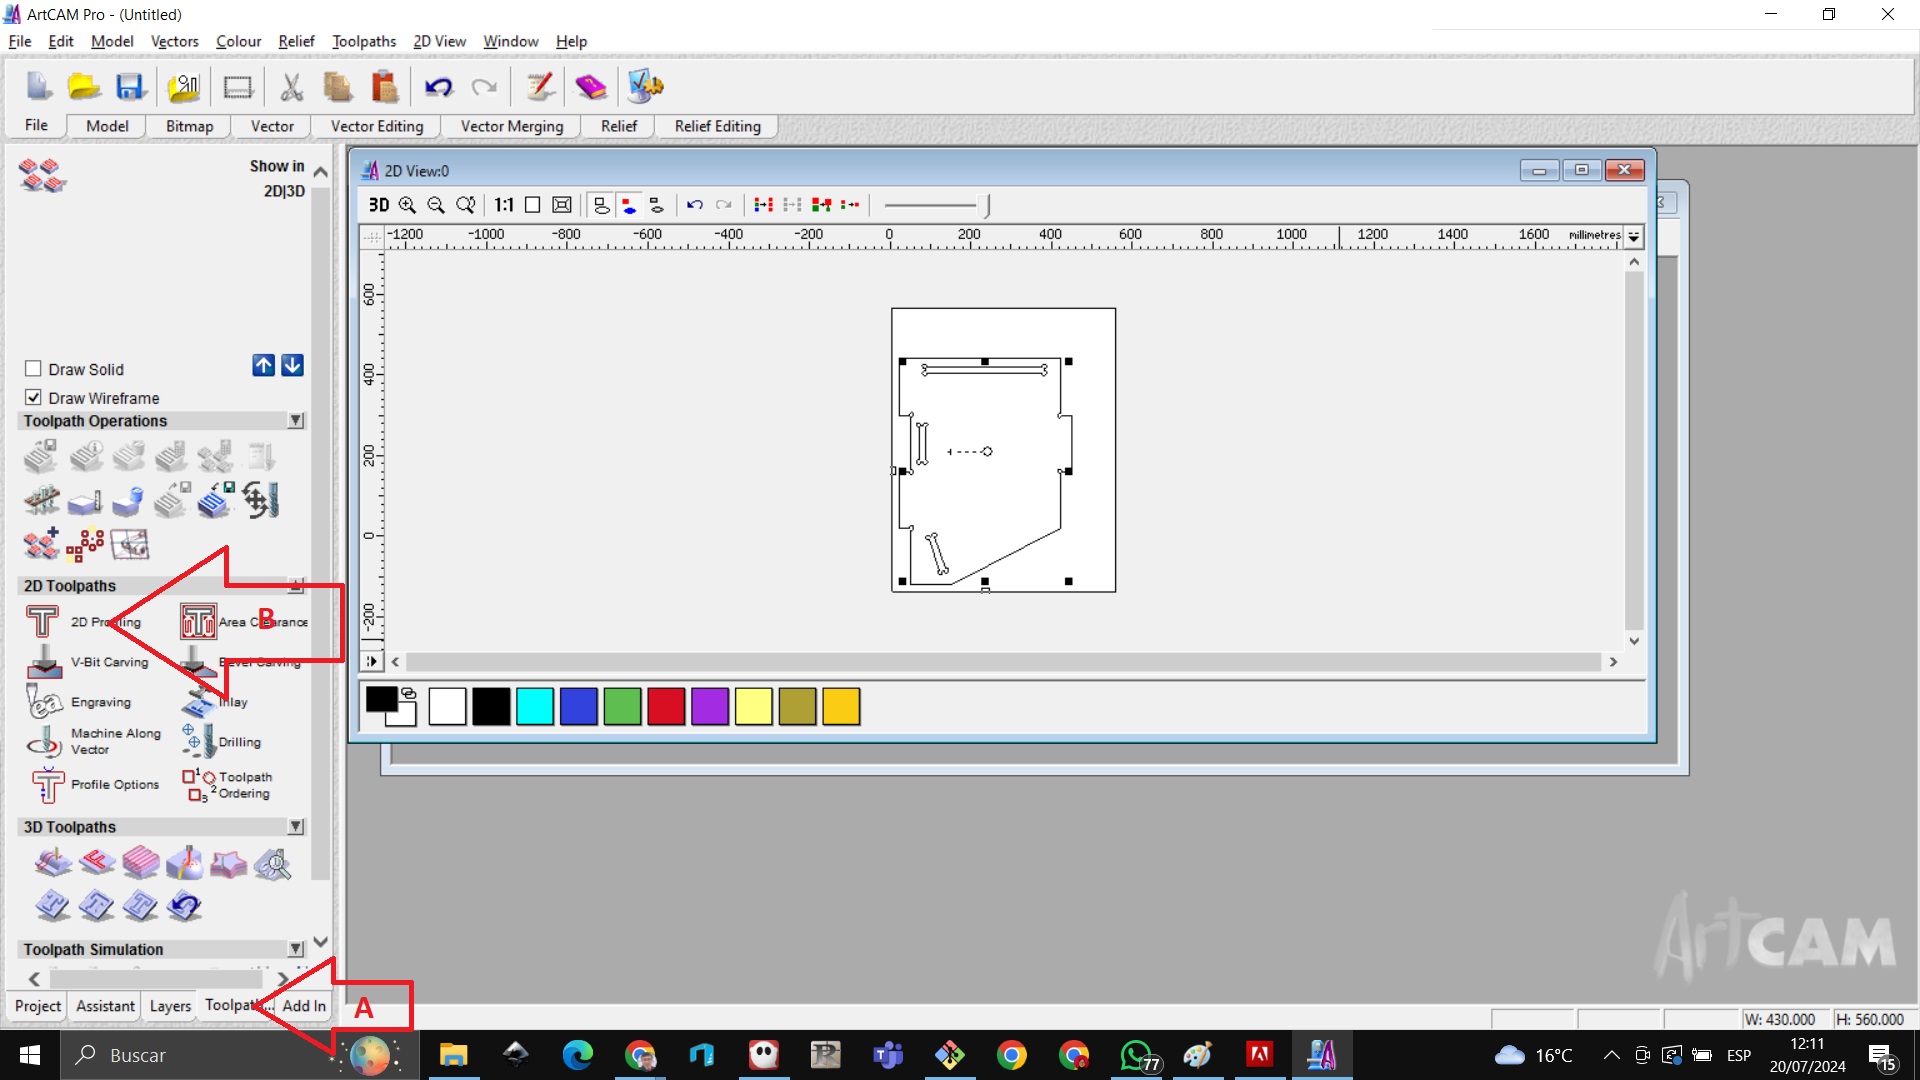
We click on Toolpath and then we go to 2D profiling
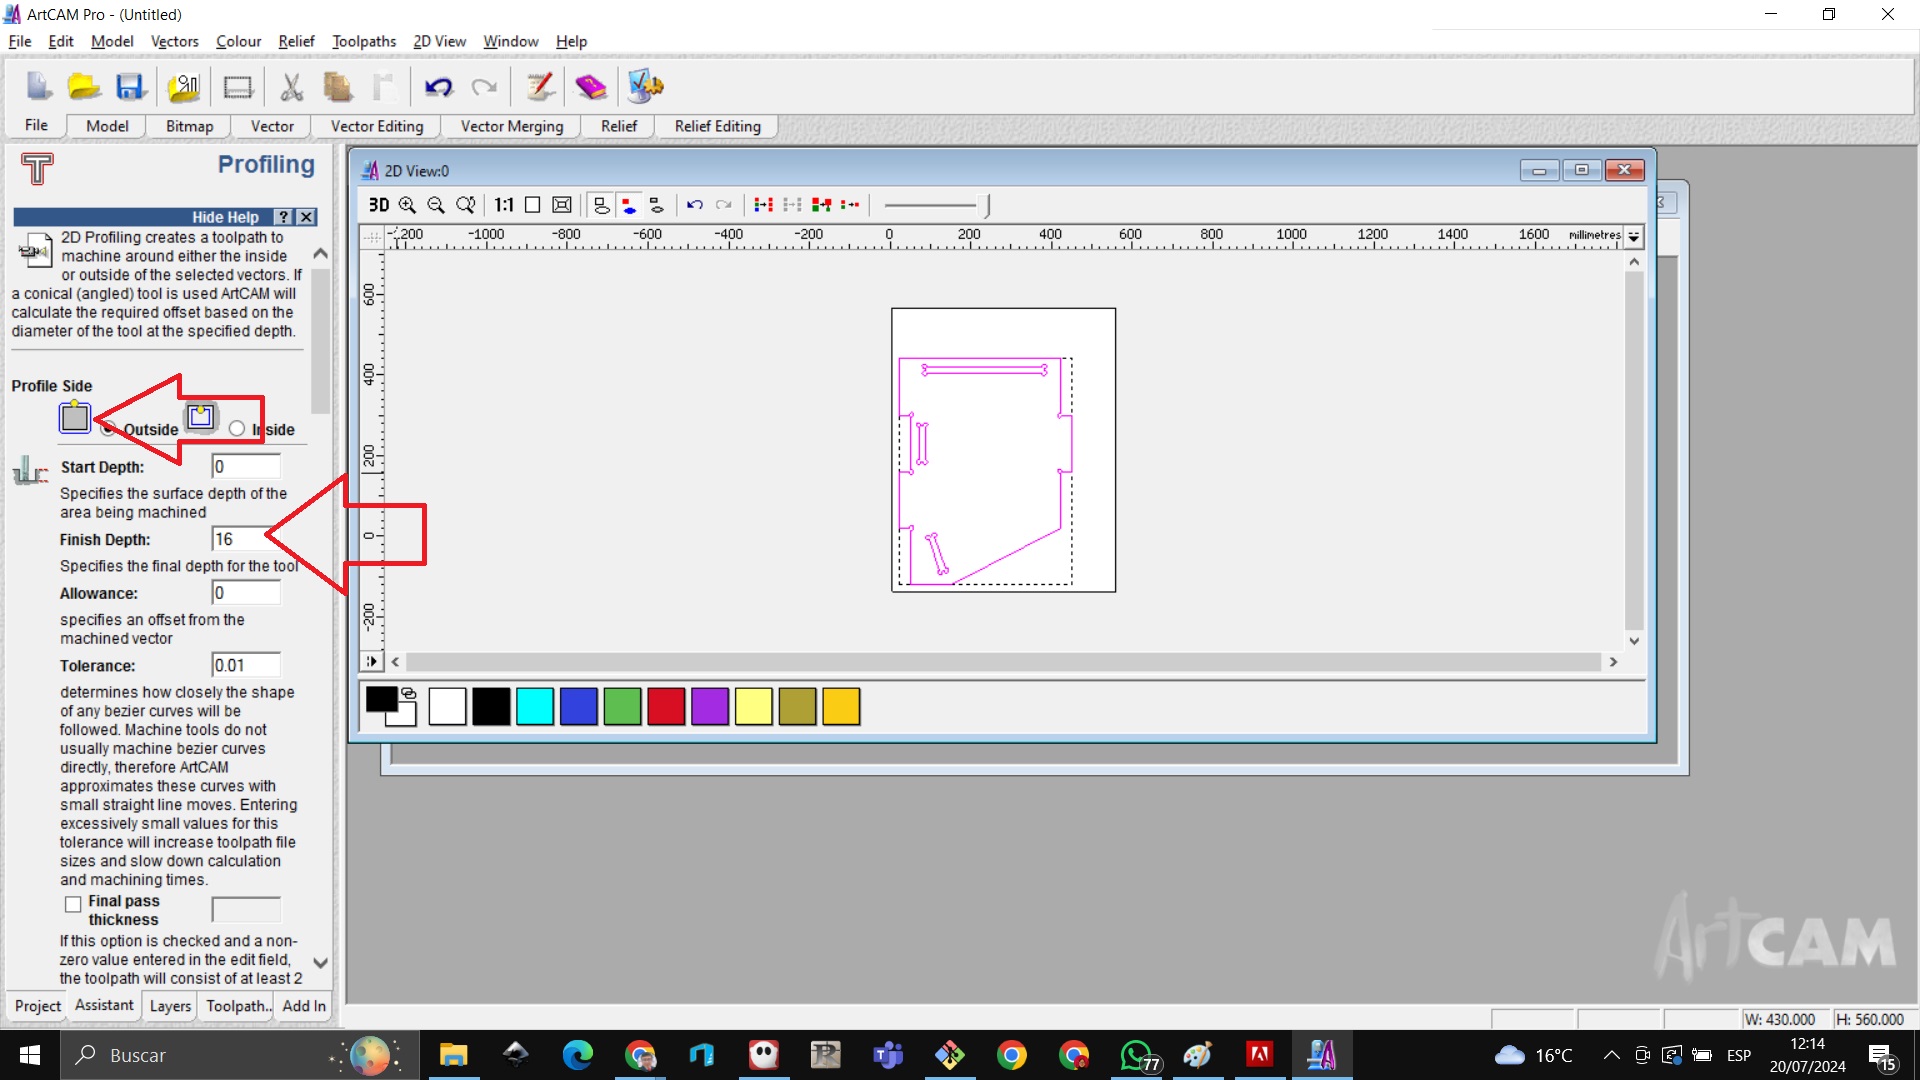
We choose outside and in finish depth we write 16 which means it will cut 16 millimeters
We choose the type of strawberry, we refer to the diameter of the strawberry
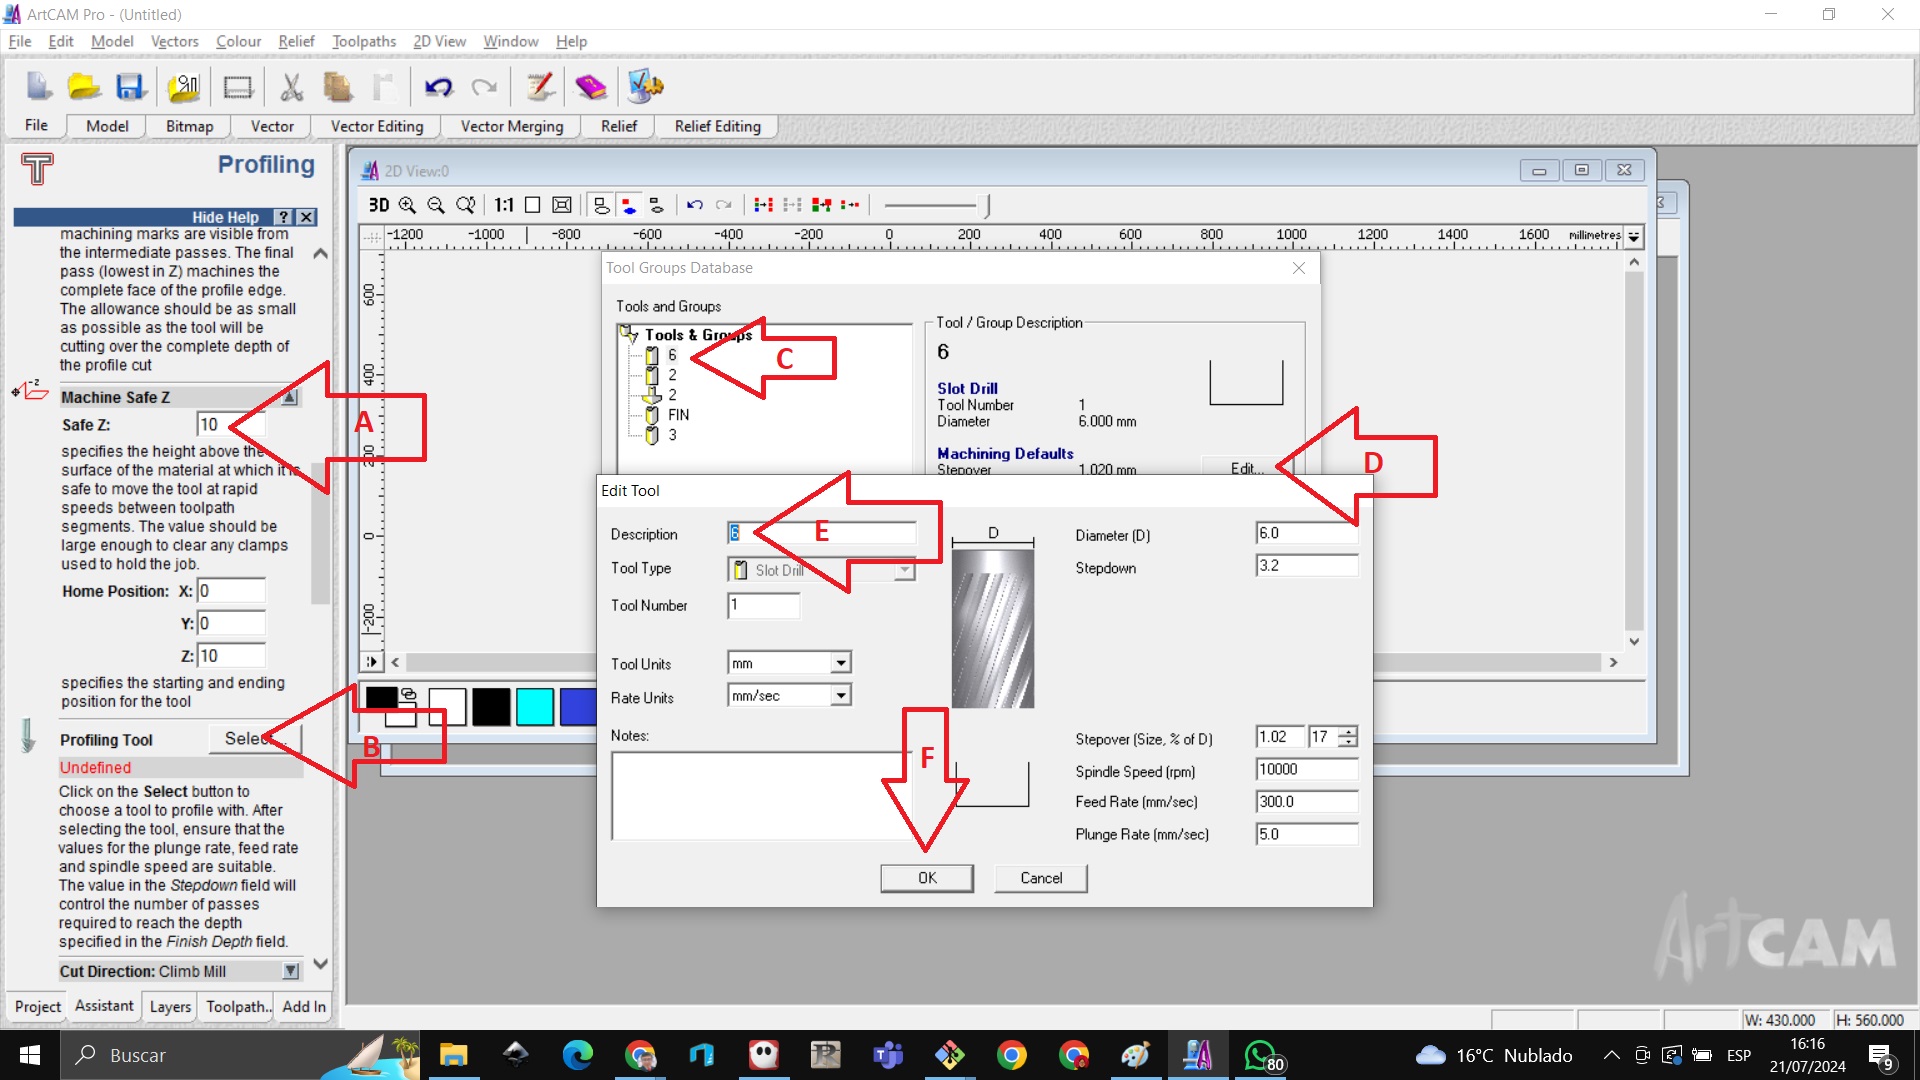
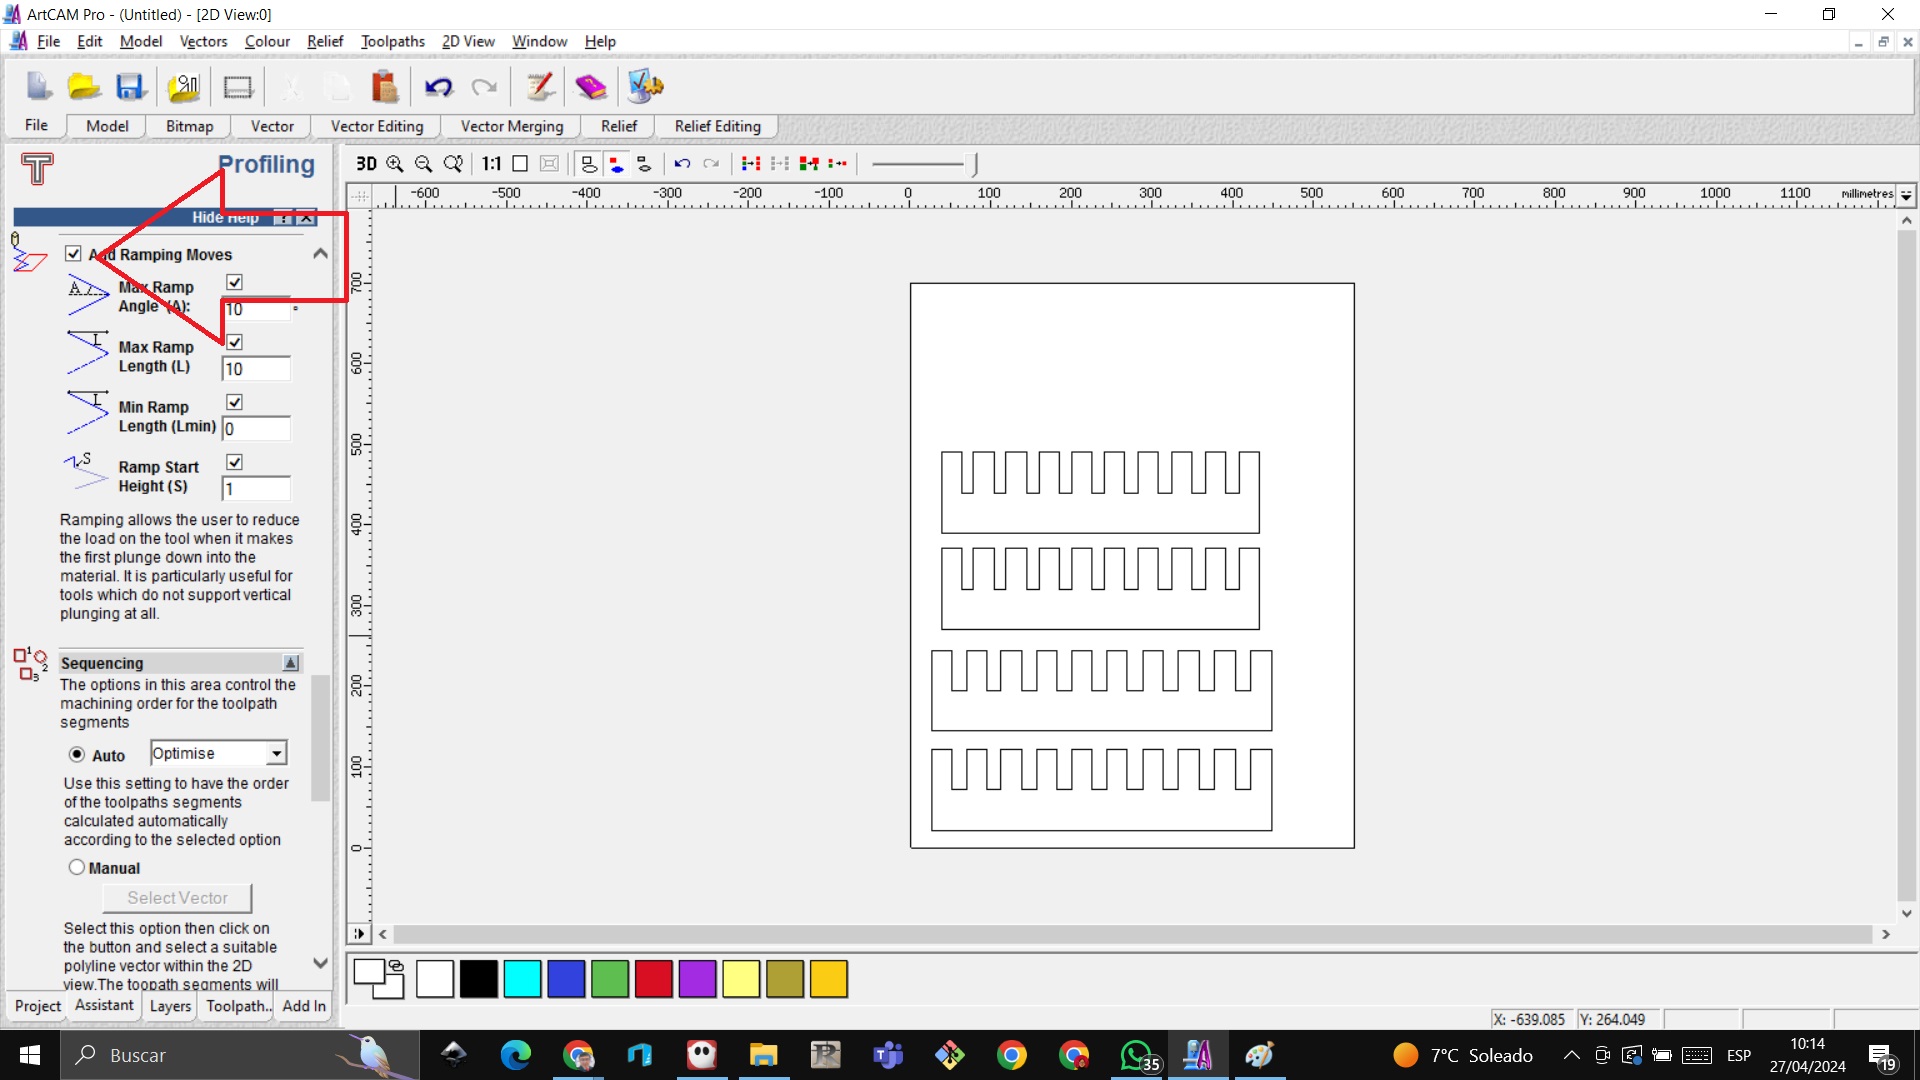
We will indicate the angles that will be inclined when the milling cutter passes
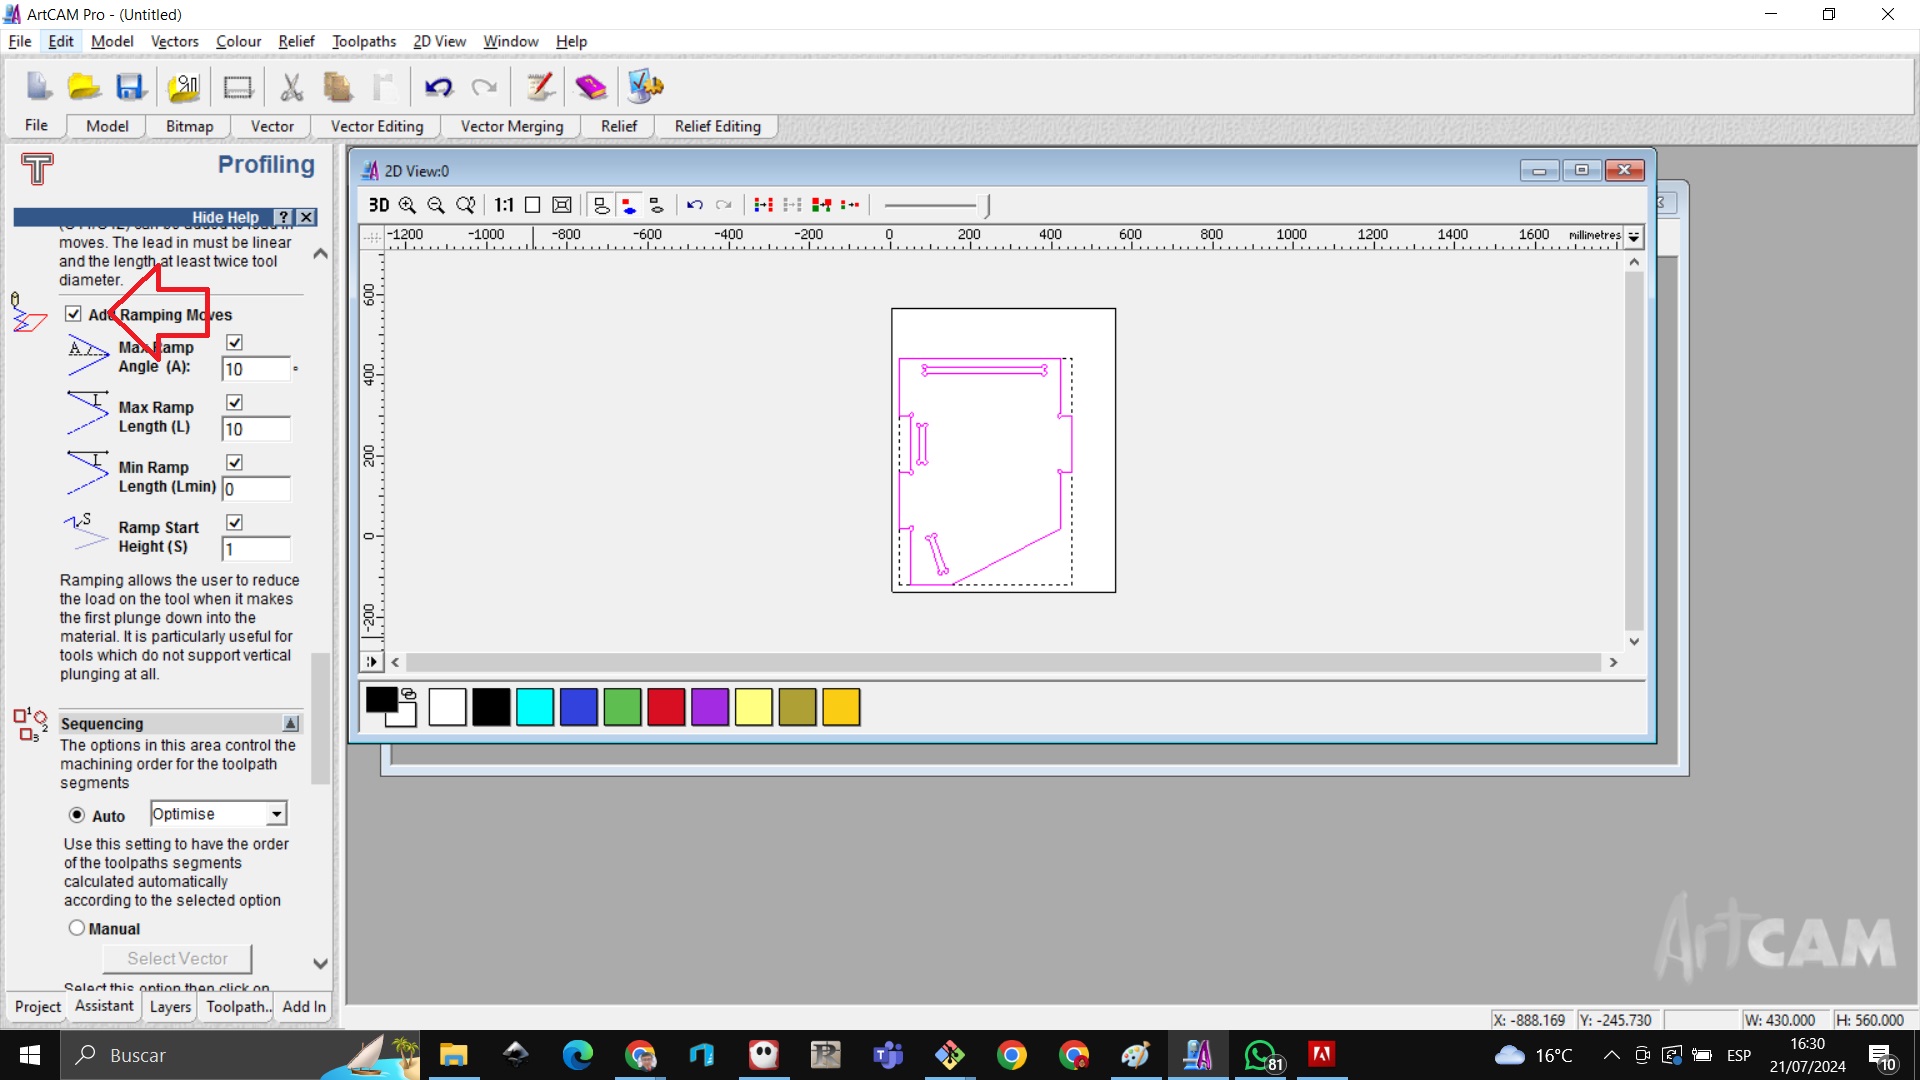
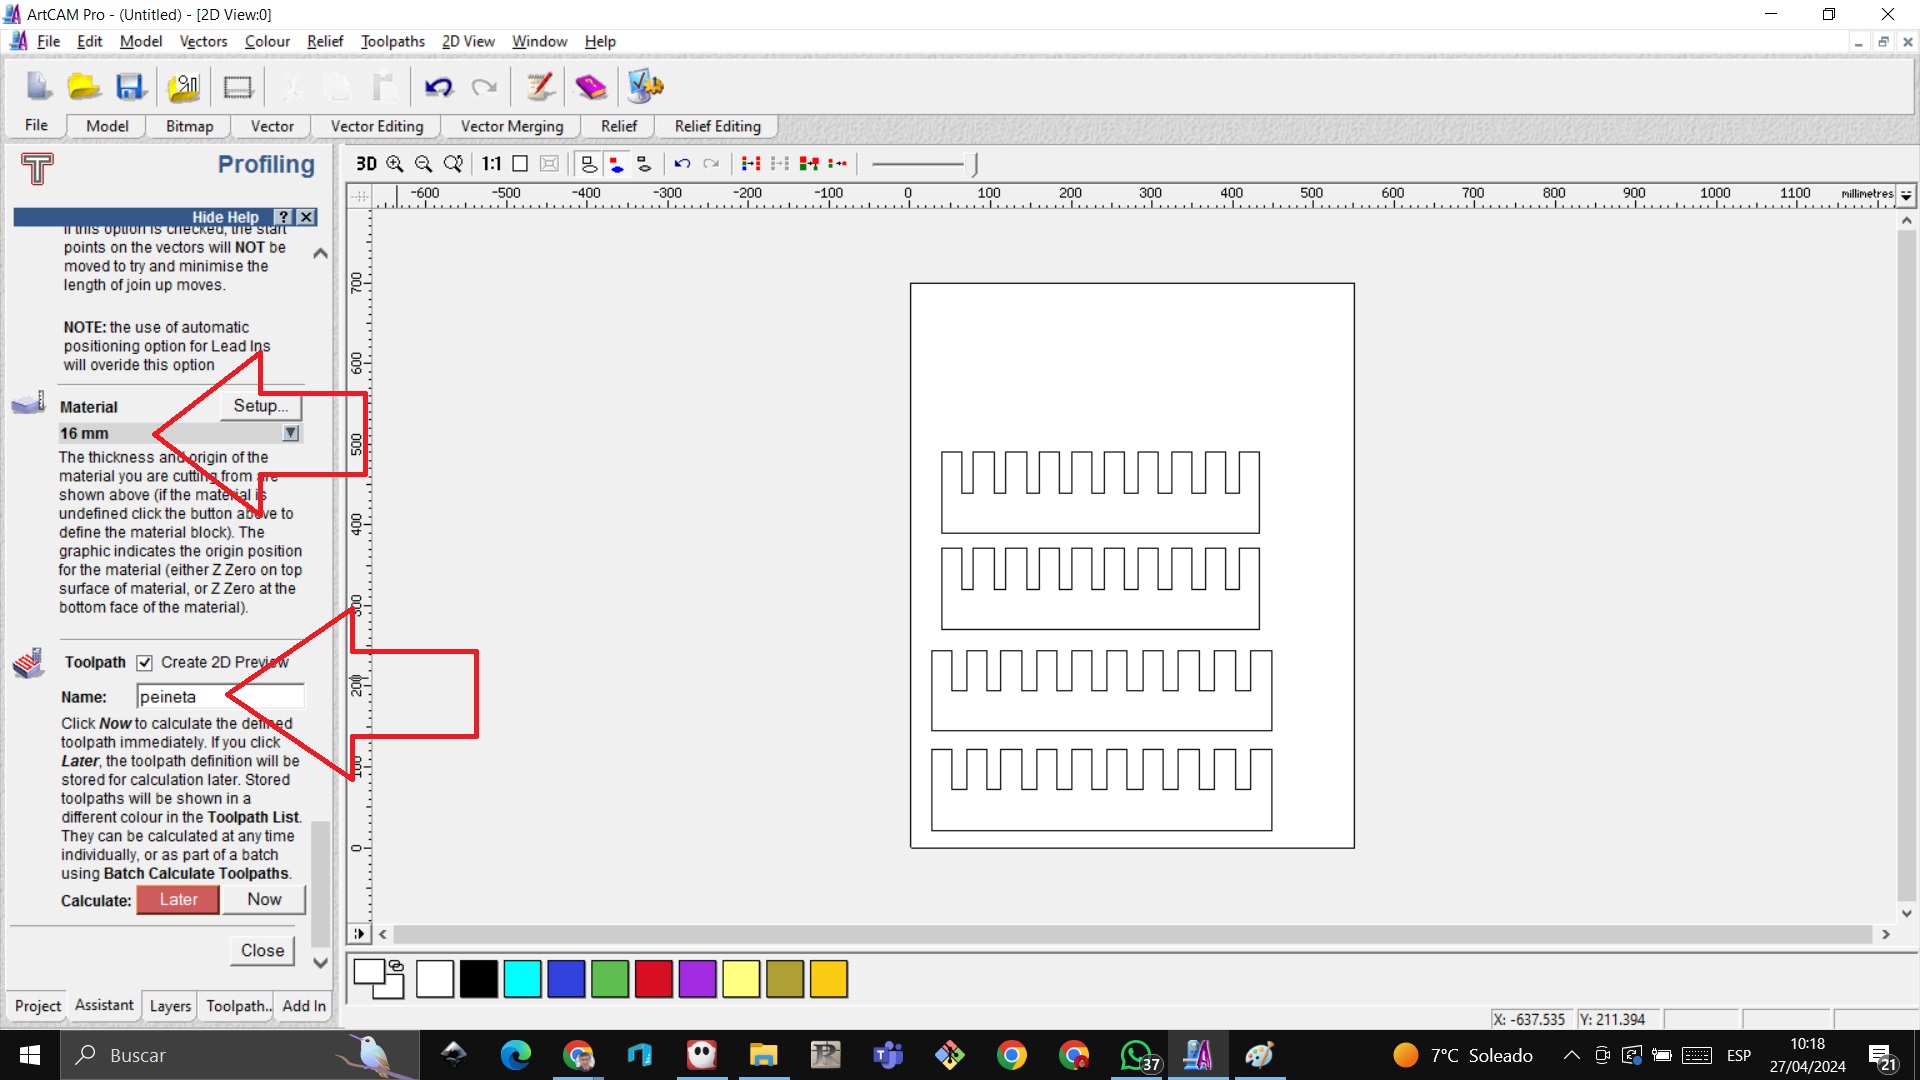
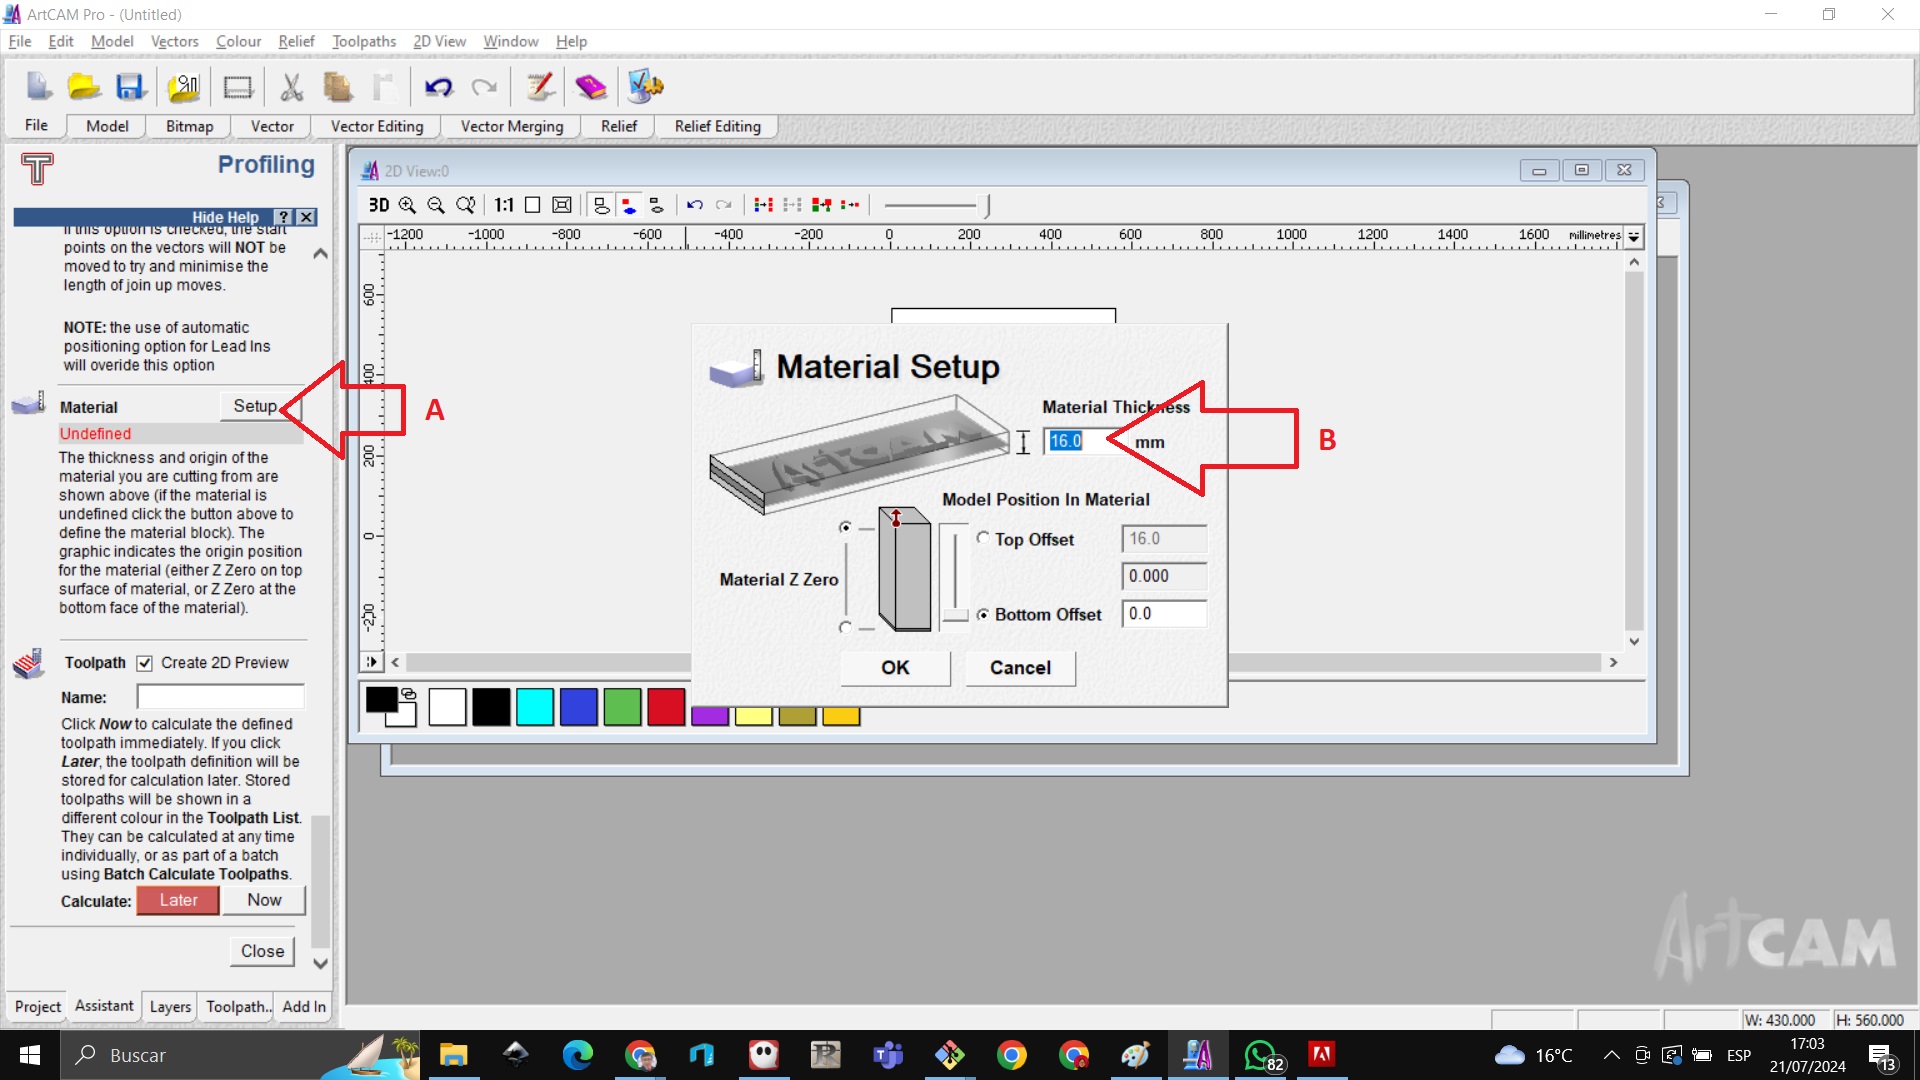
We choose the thickness of the material
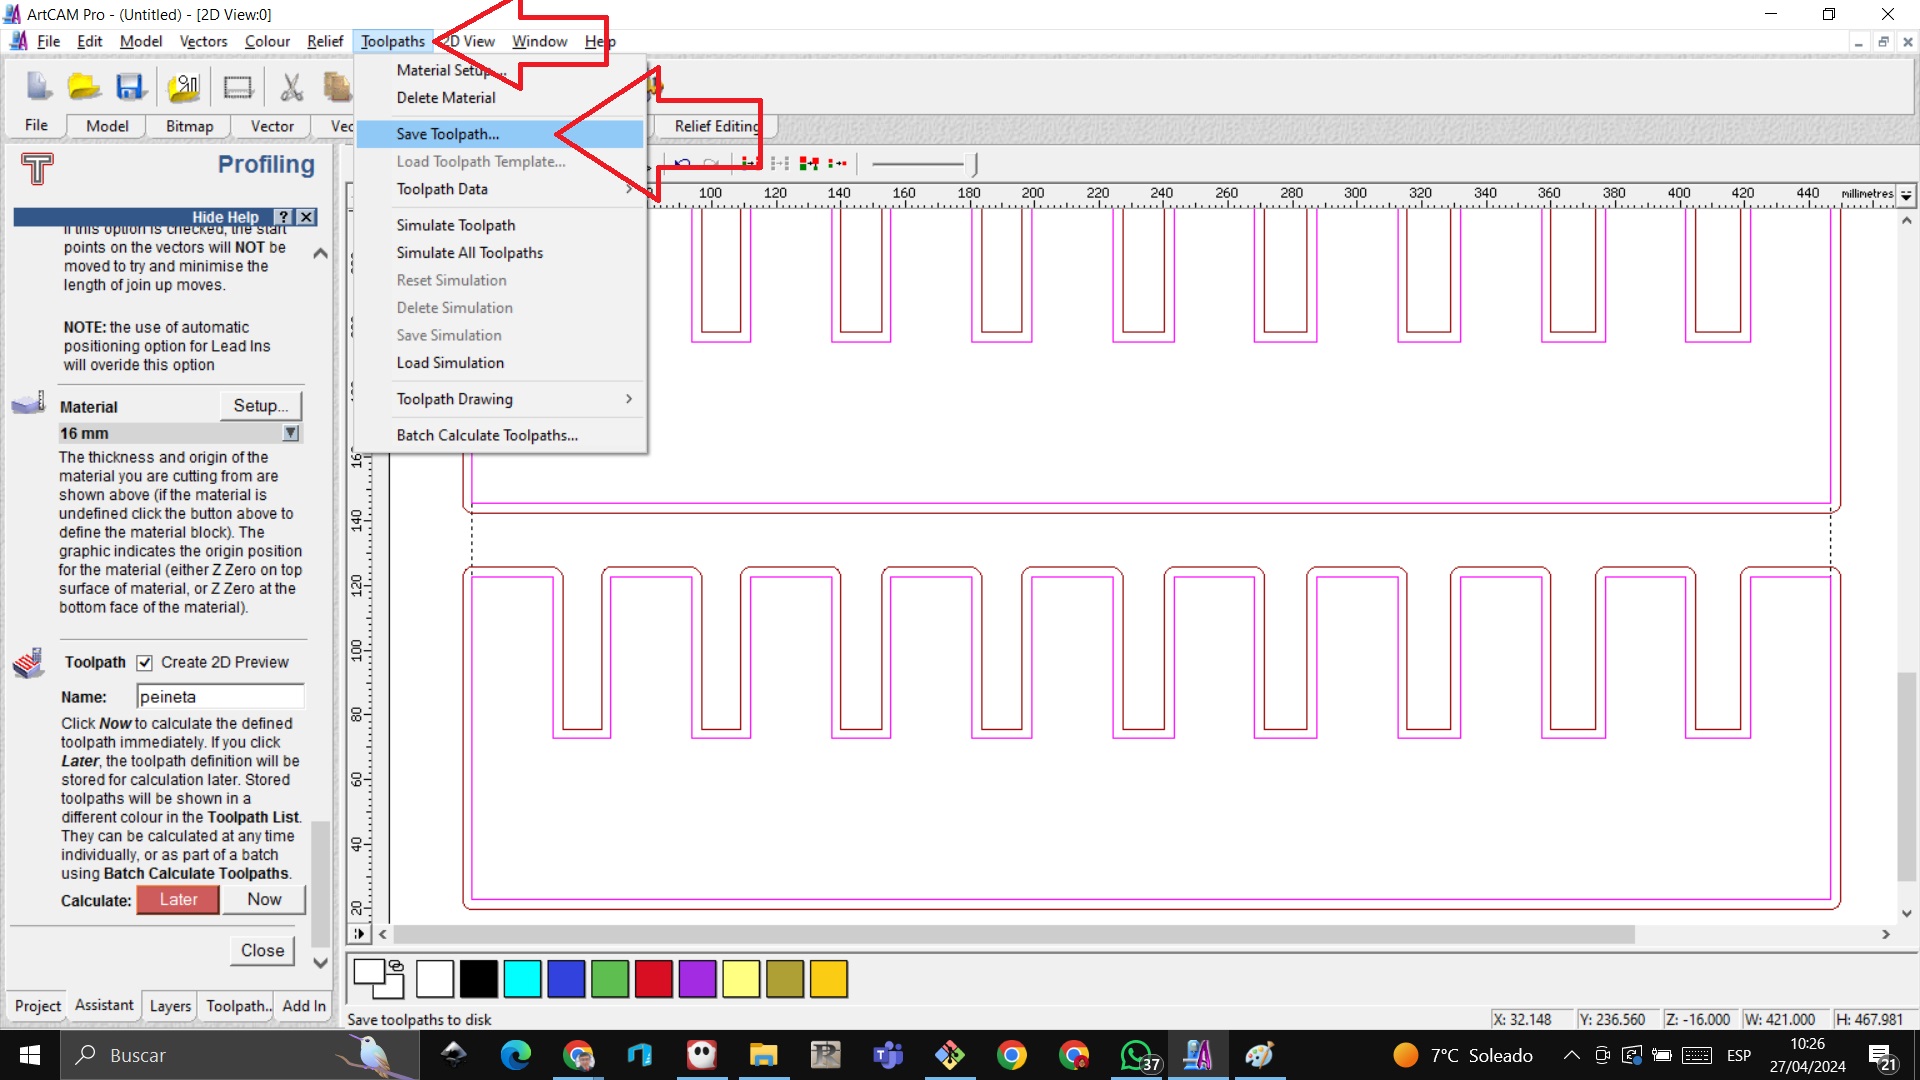
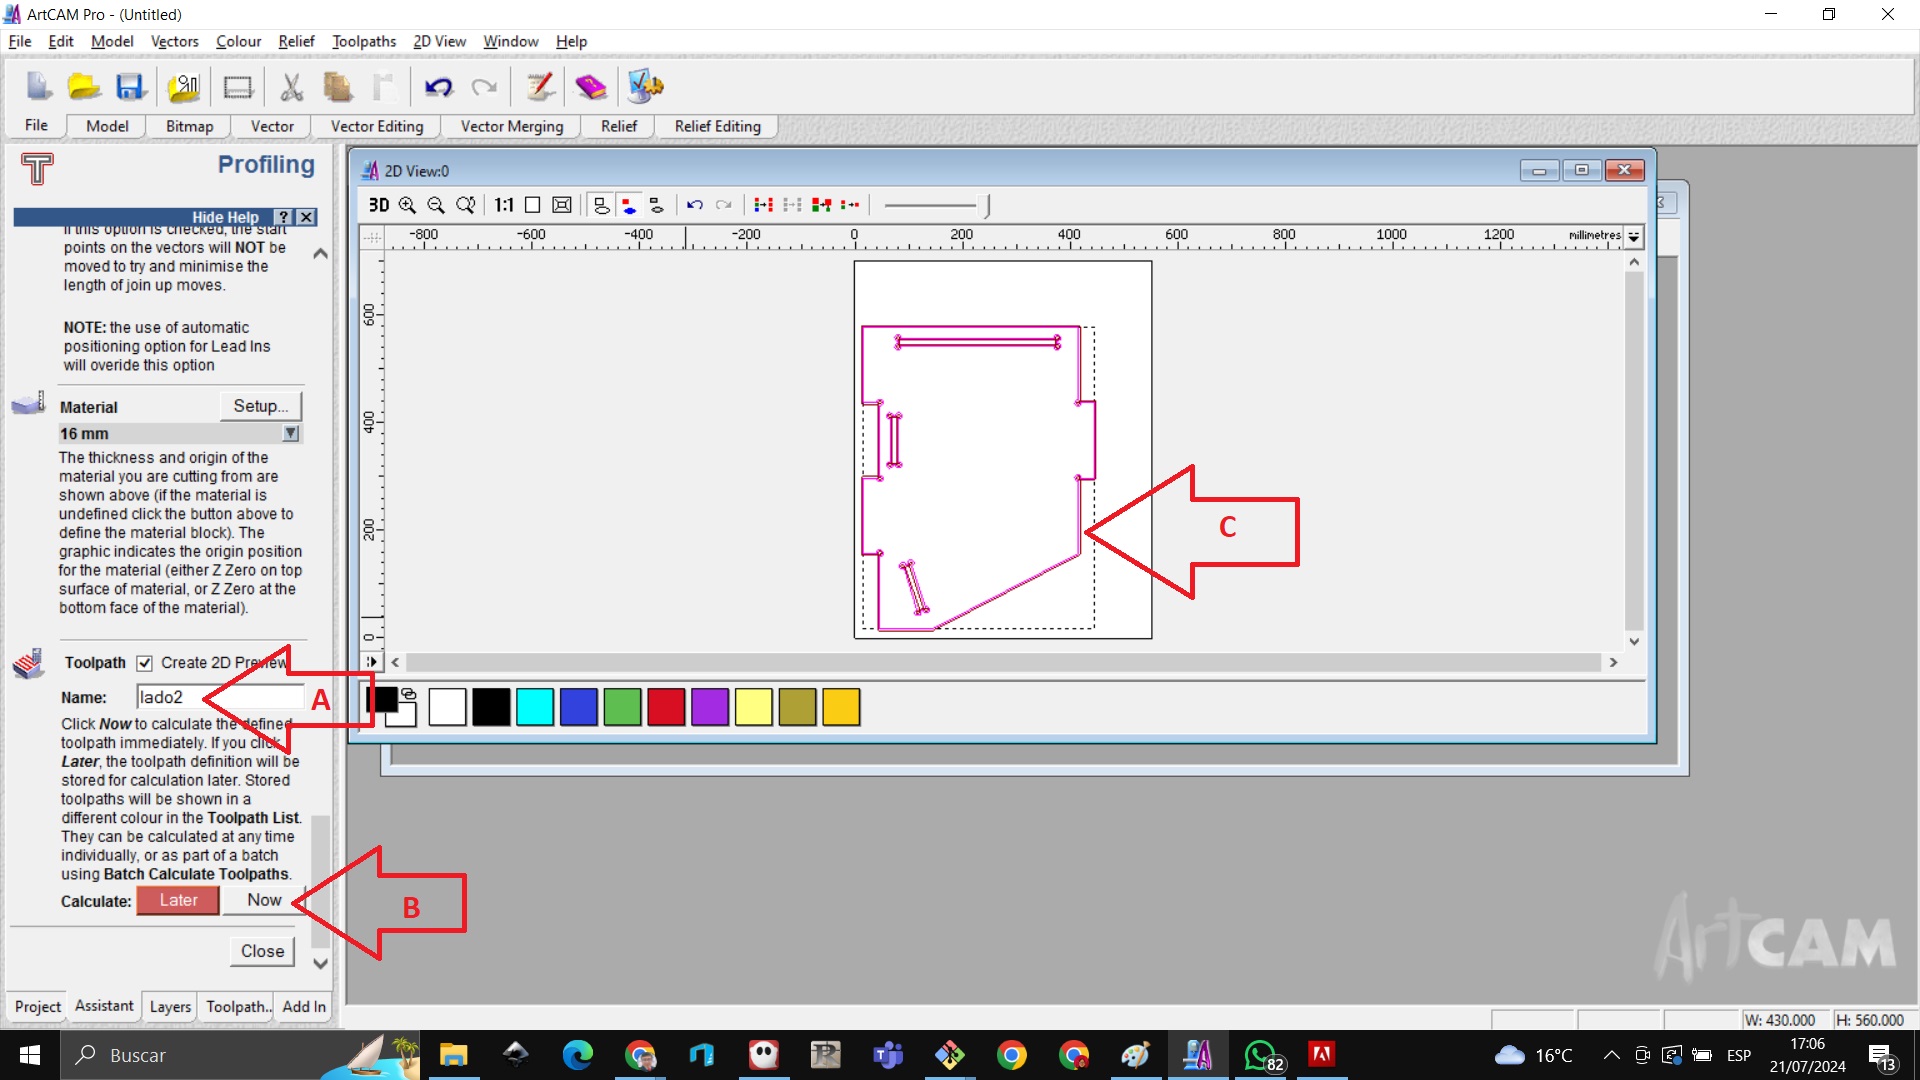
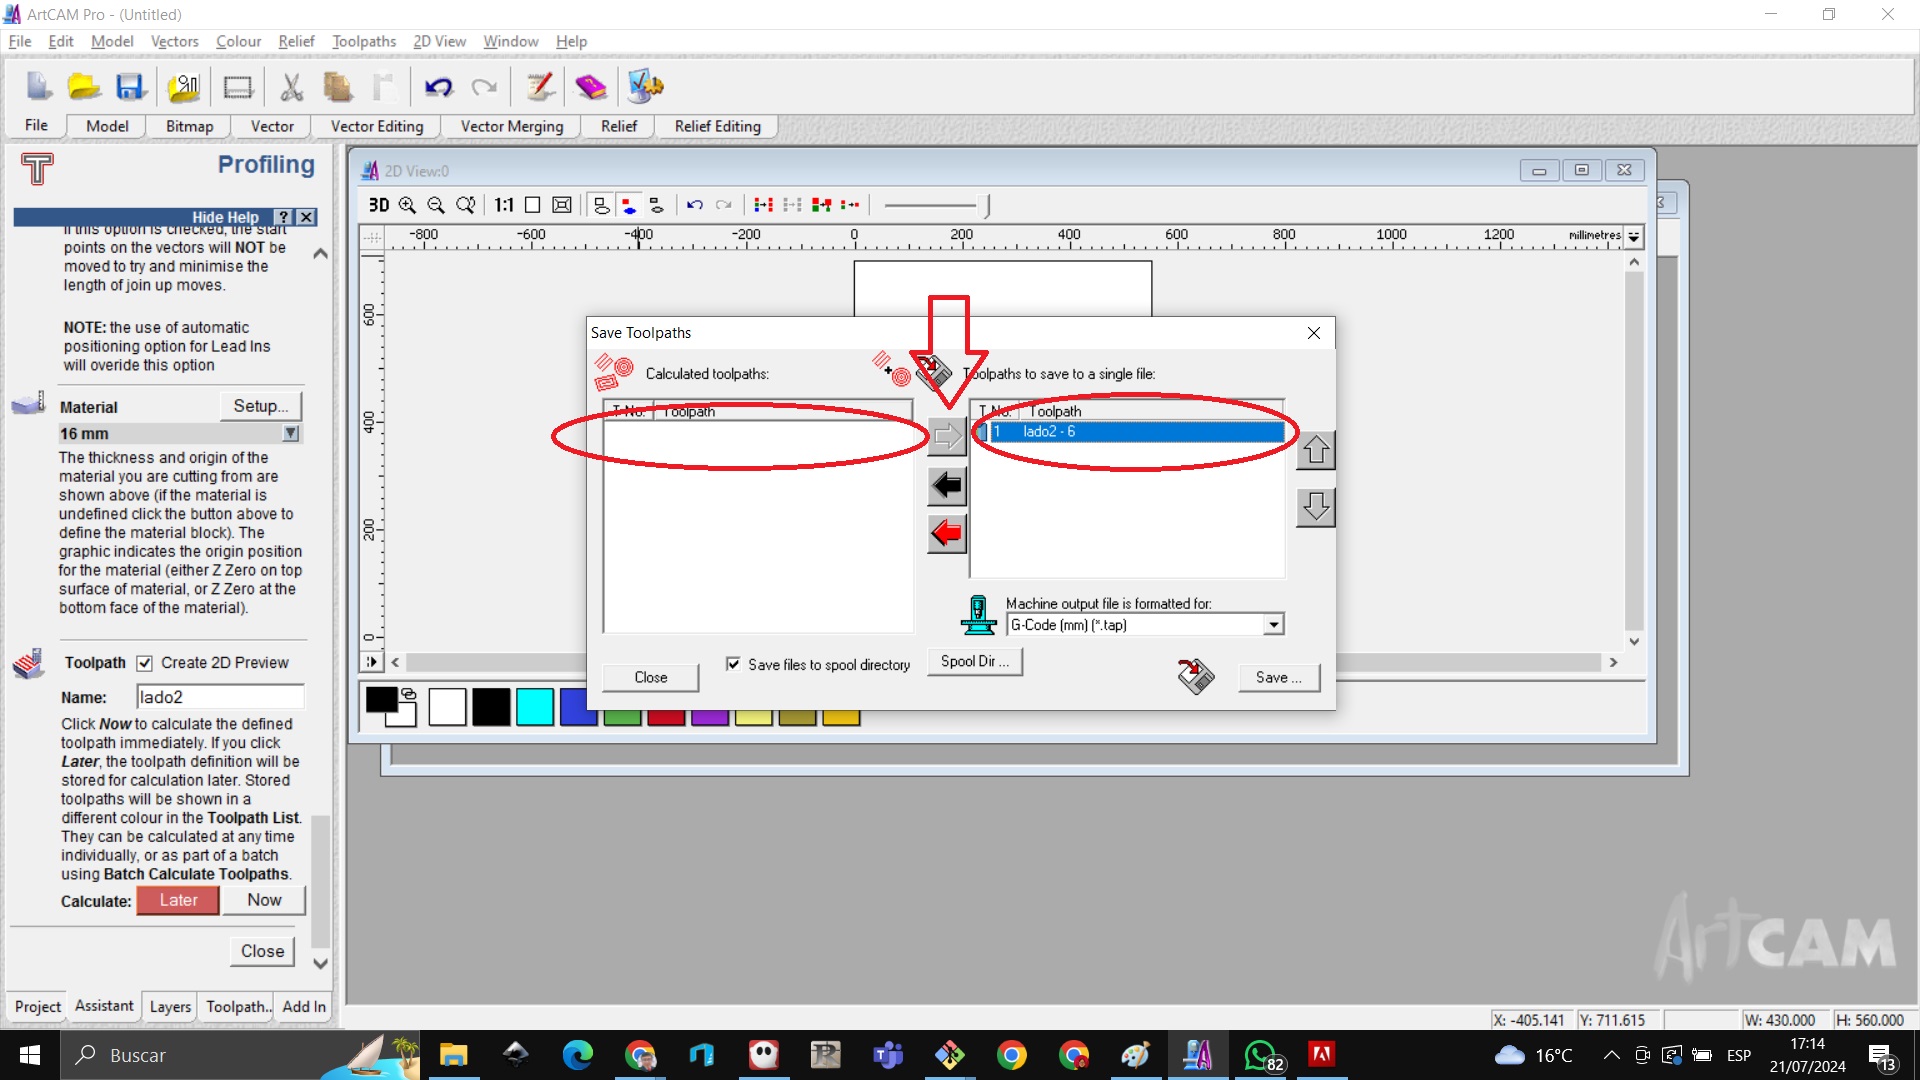
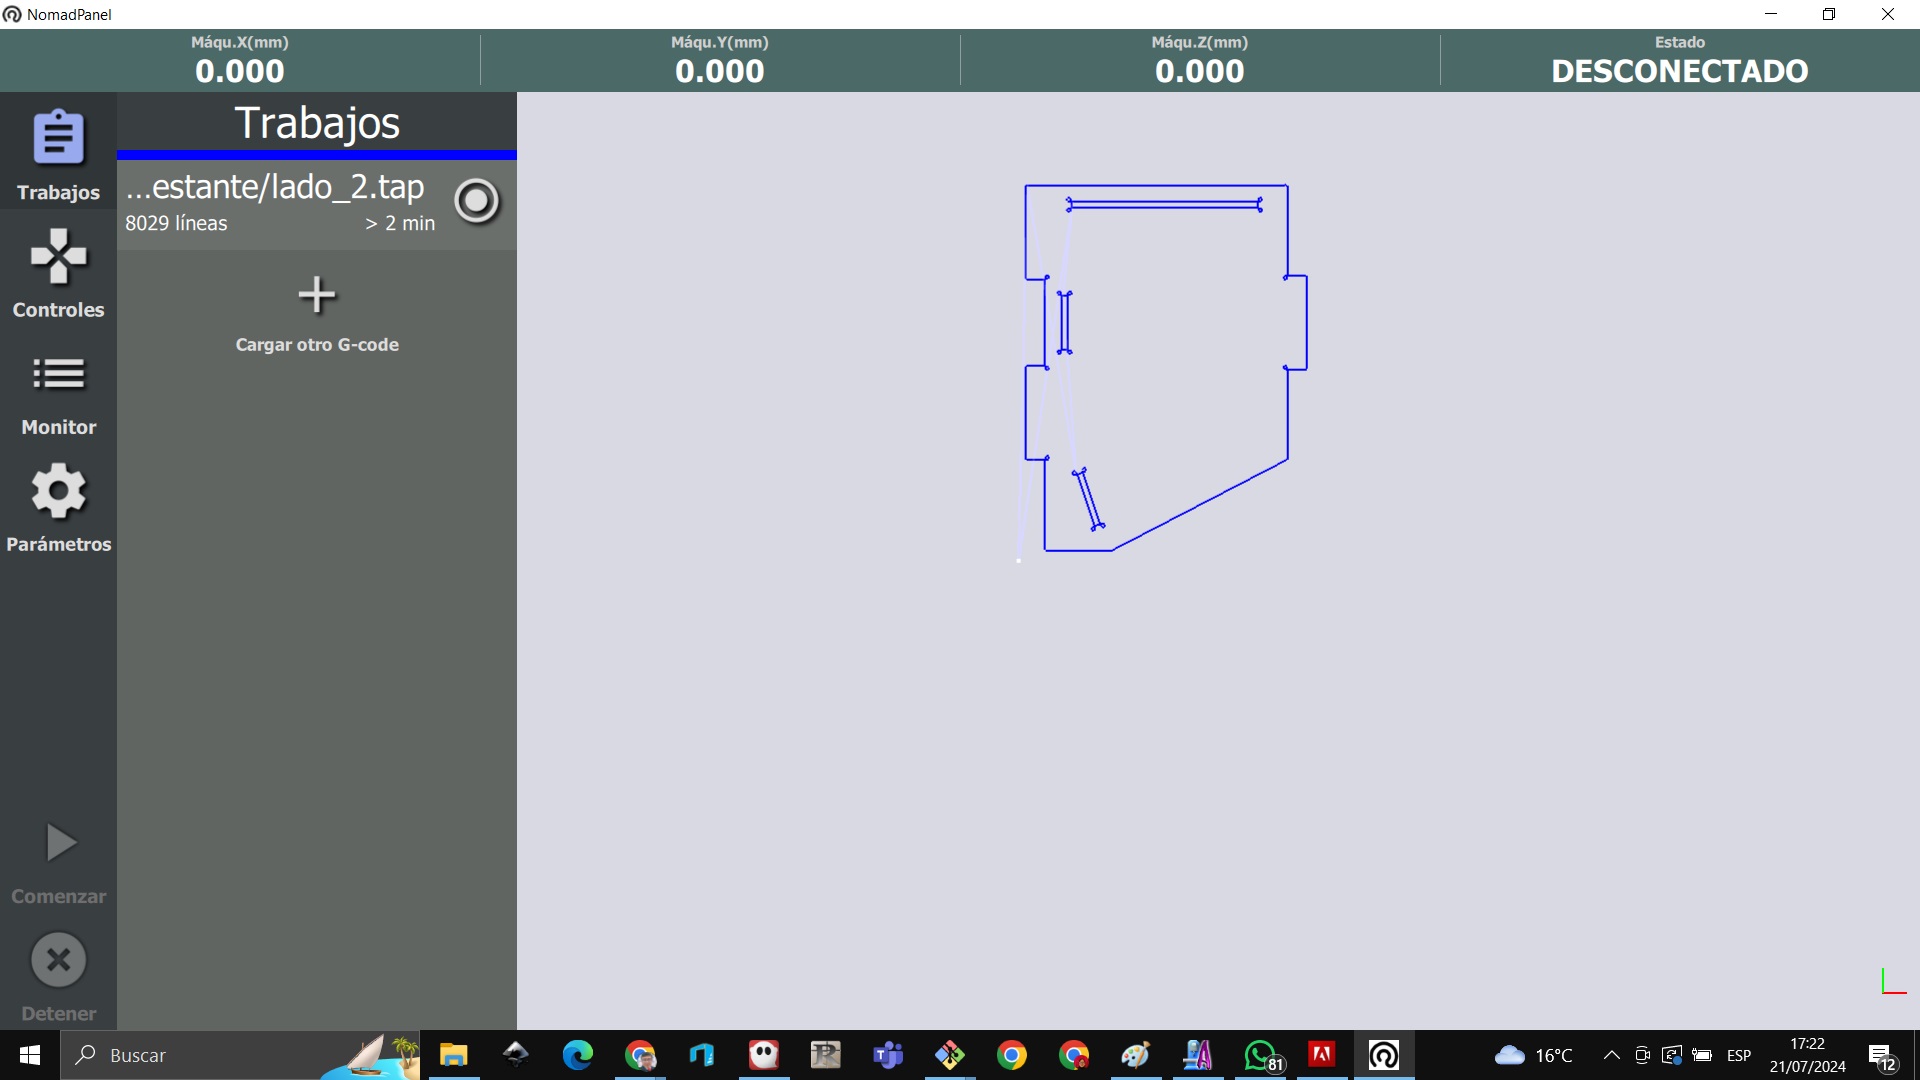
We write the name of our gcode in this case side2 on arrow A and click again on arrow B and verify in the drawing that appears in its outline a lilac image that means that the cut will be made through that route as shown. shown in the image of arrow C
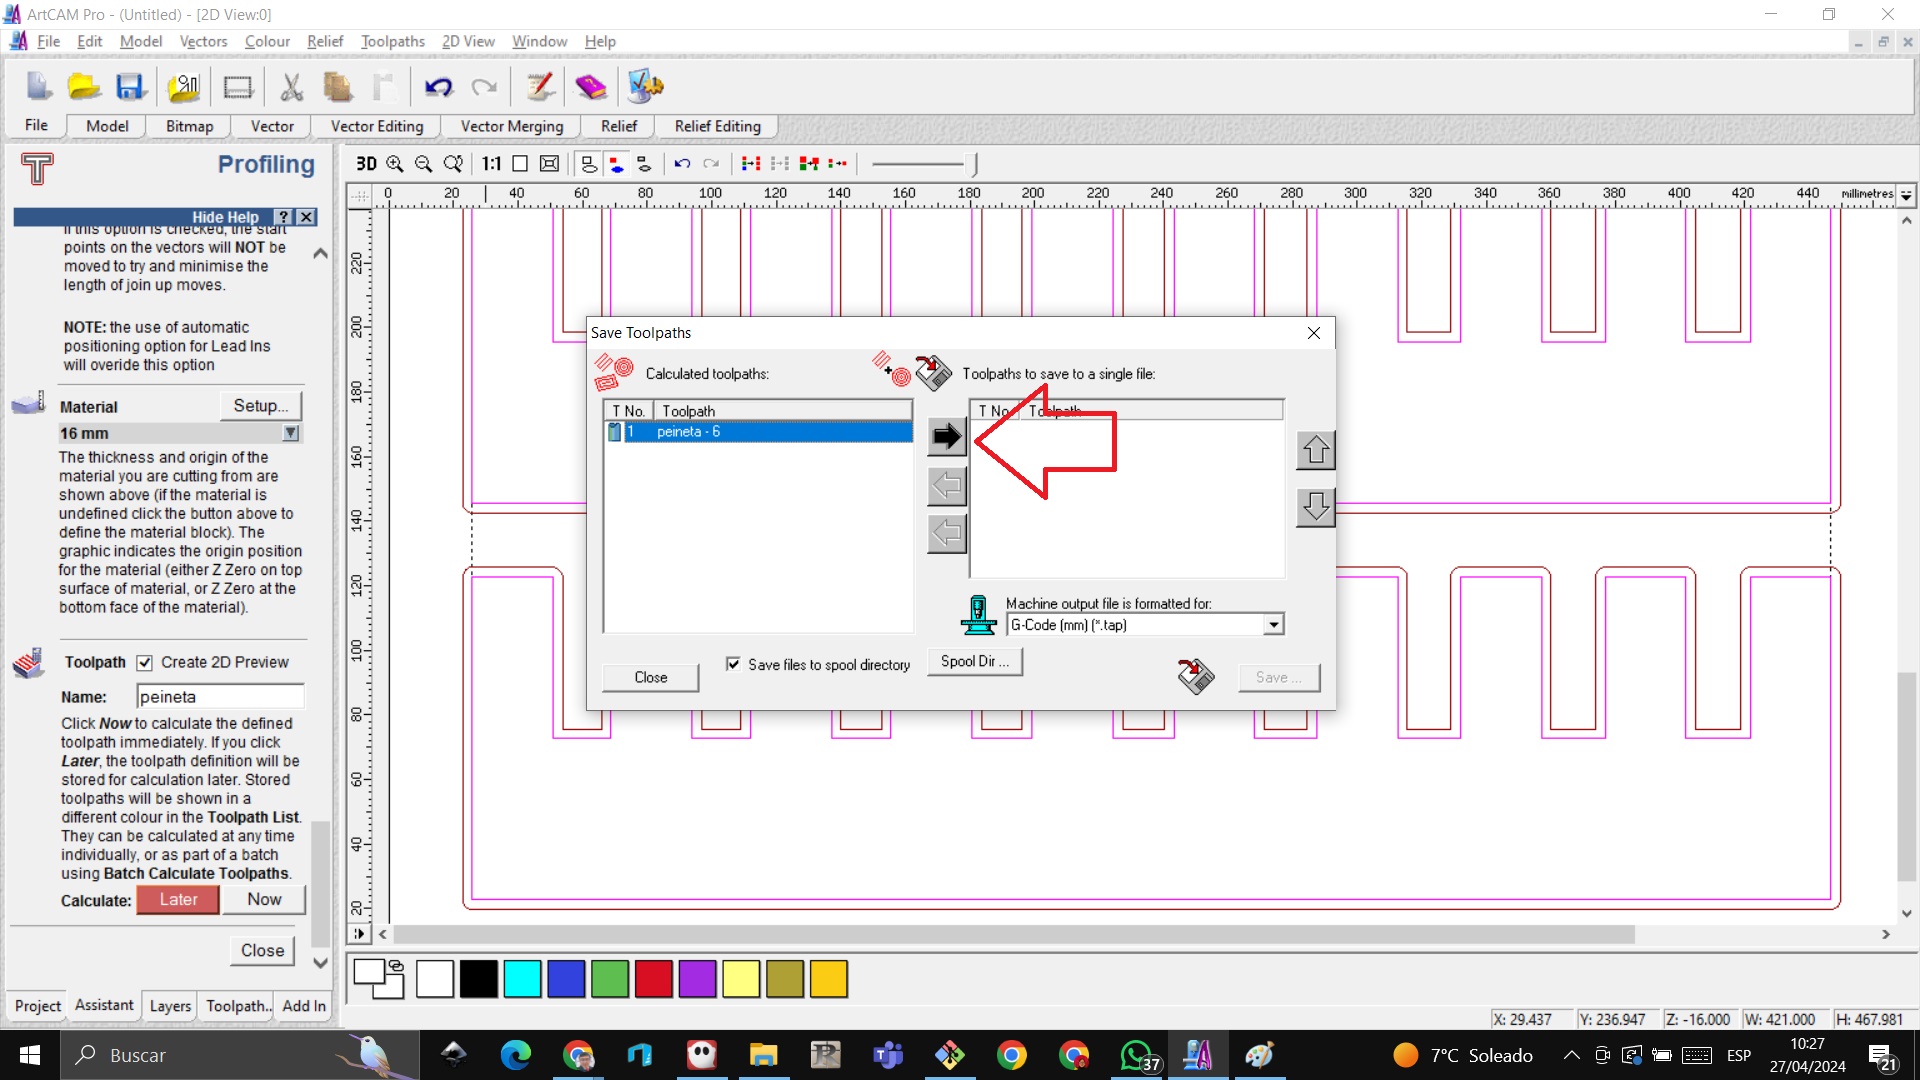
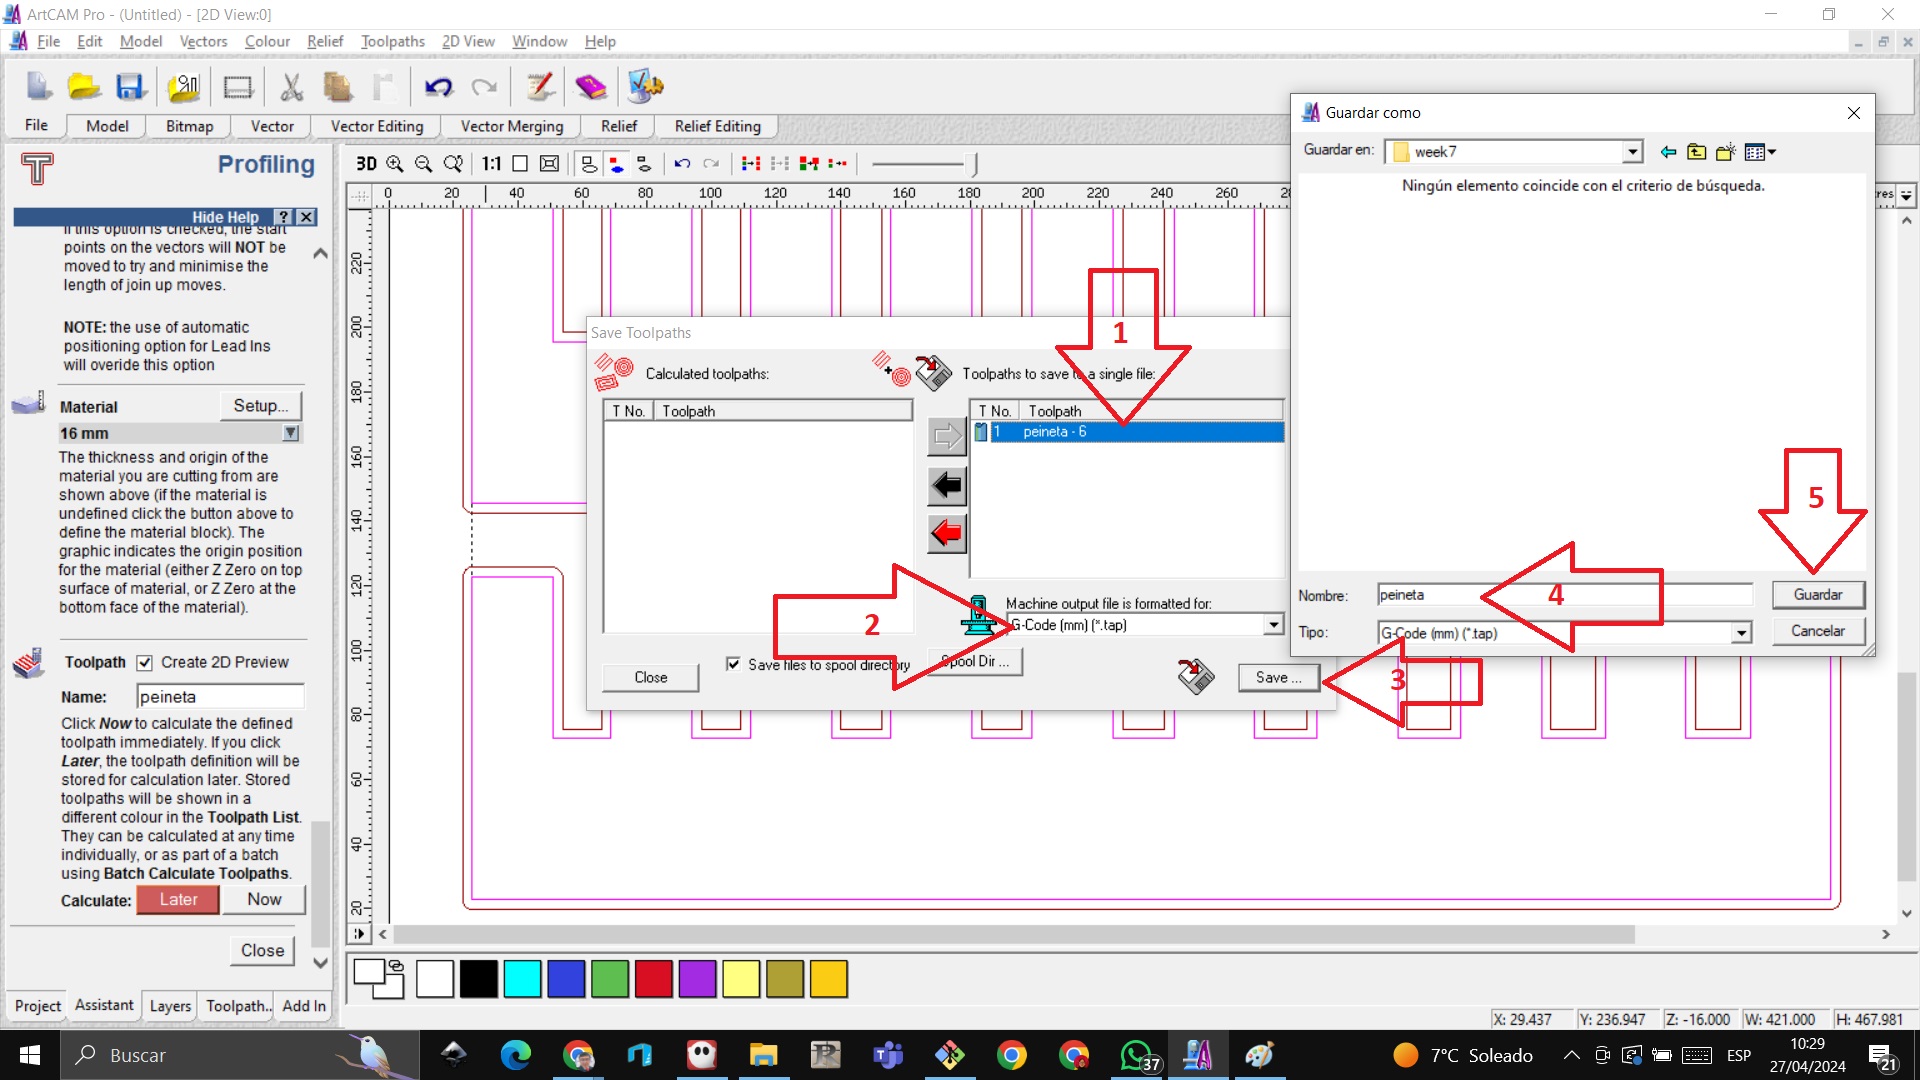
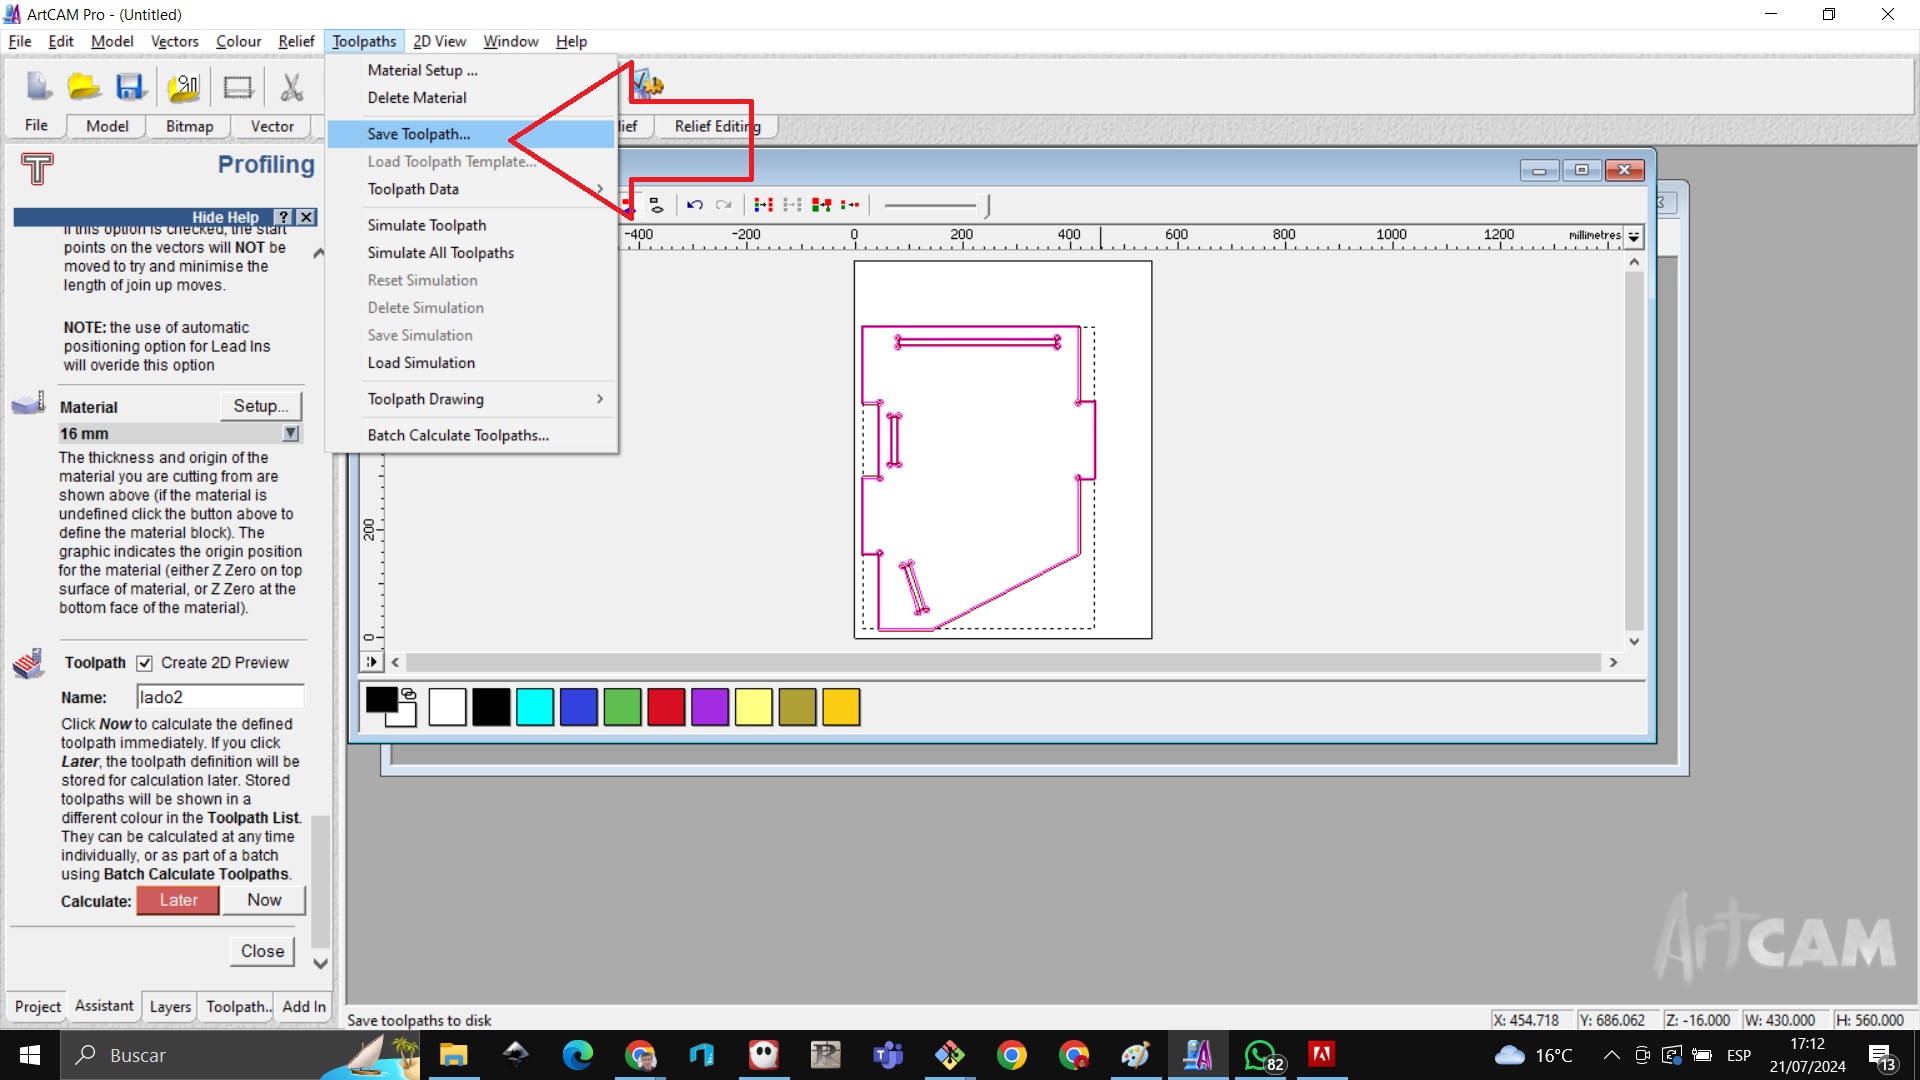
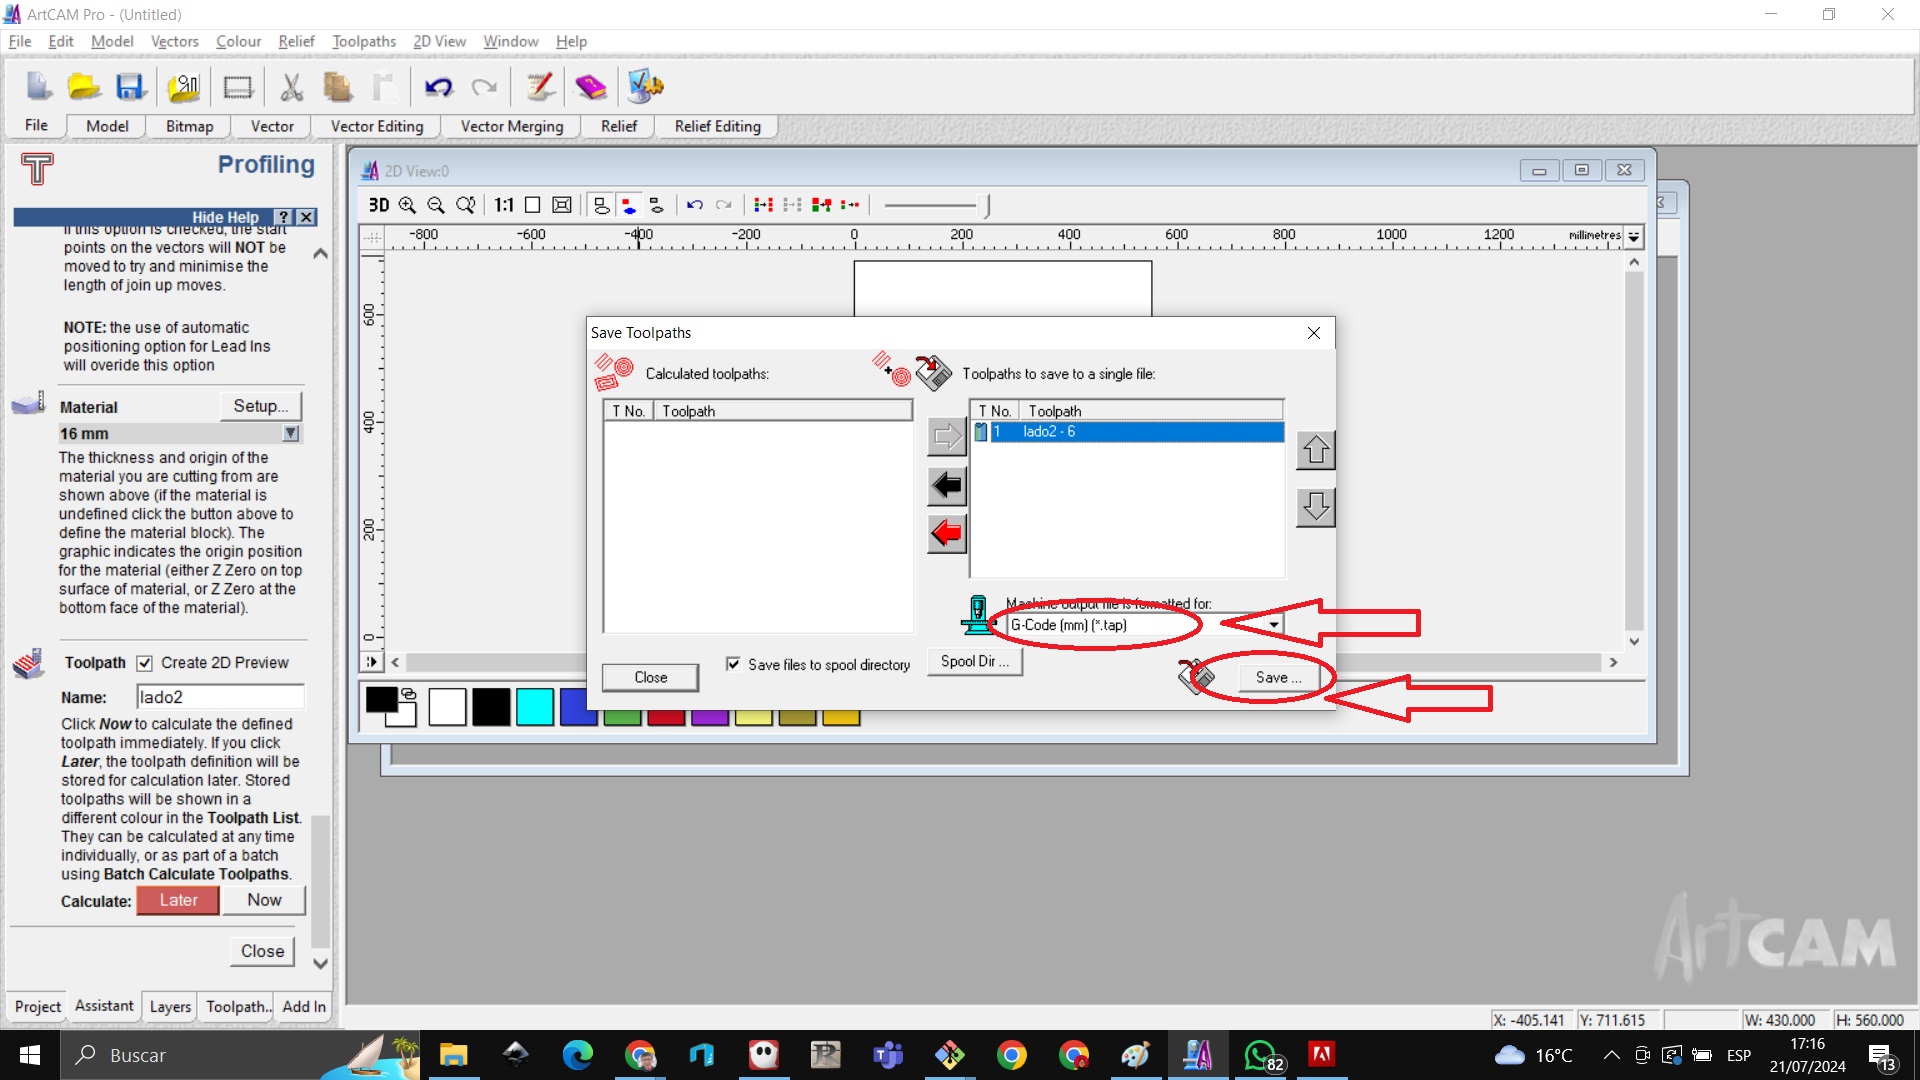
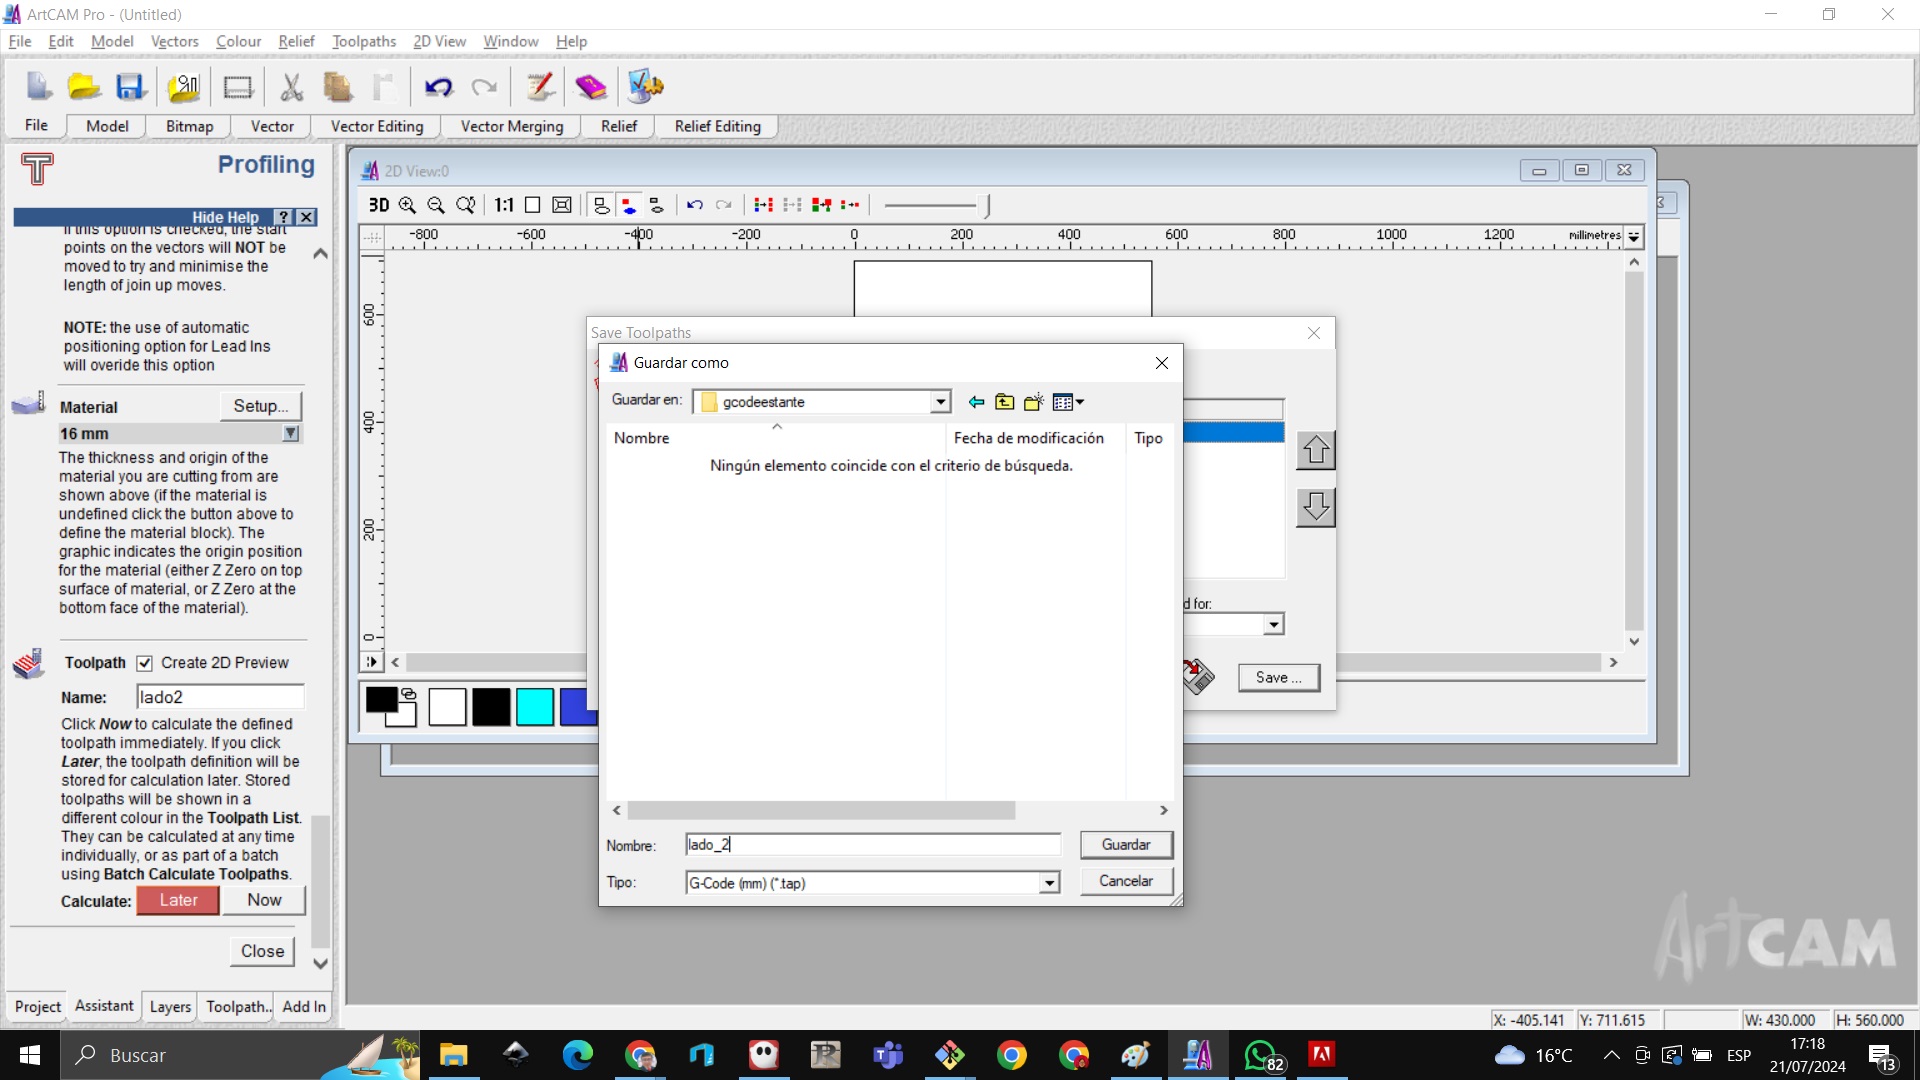
We choose to save the file
We continue exporting the file by pressing the arrow
We choose the gcode with .tap extension and choose which folder to export to
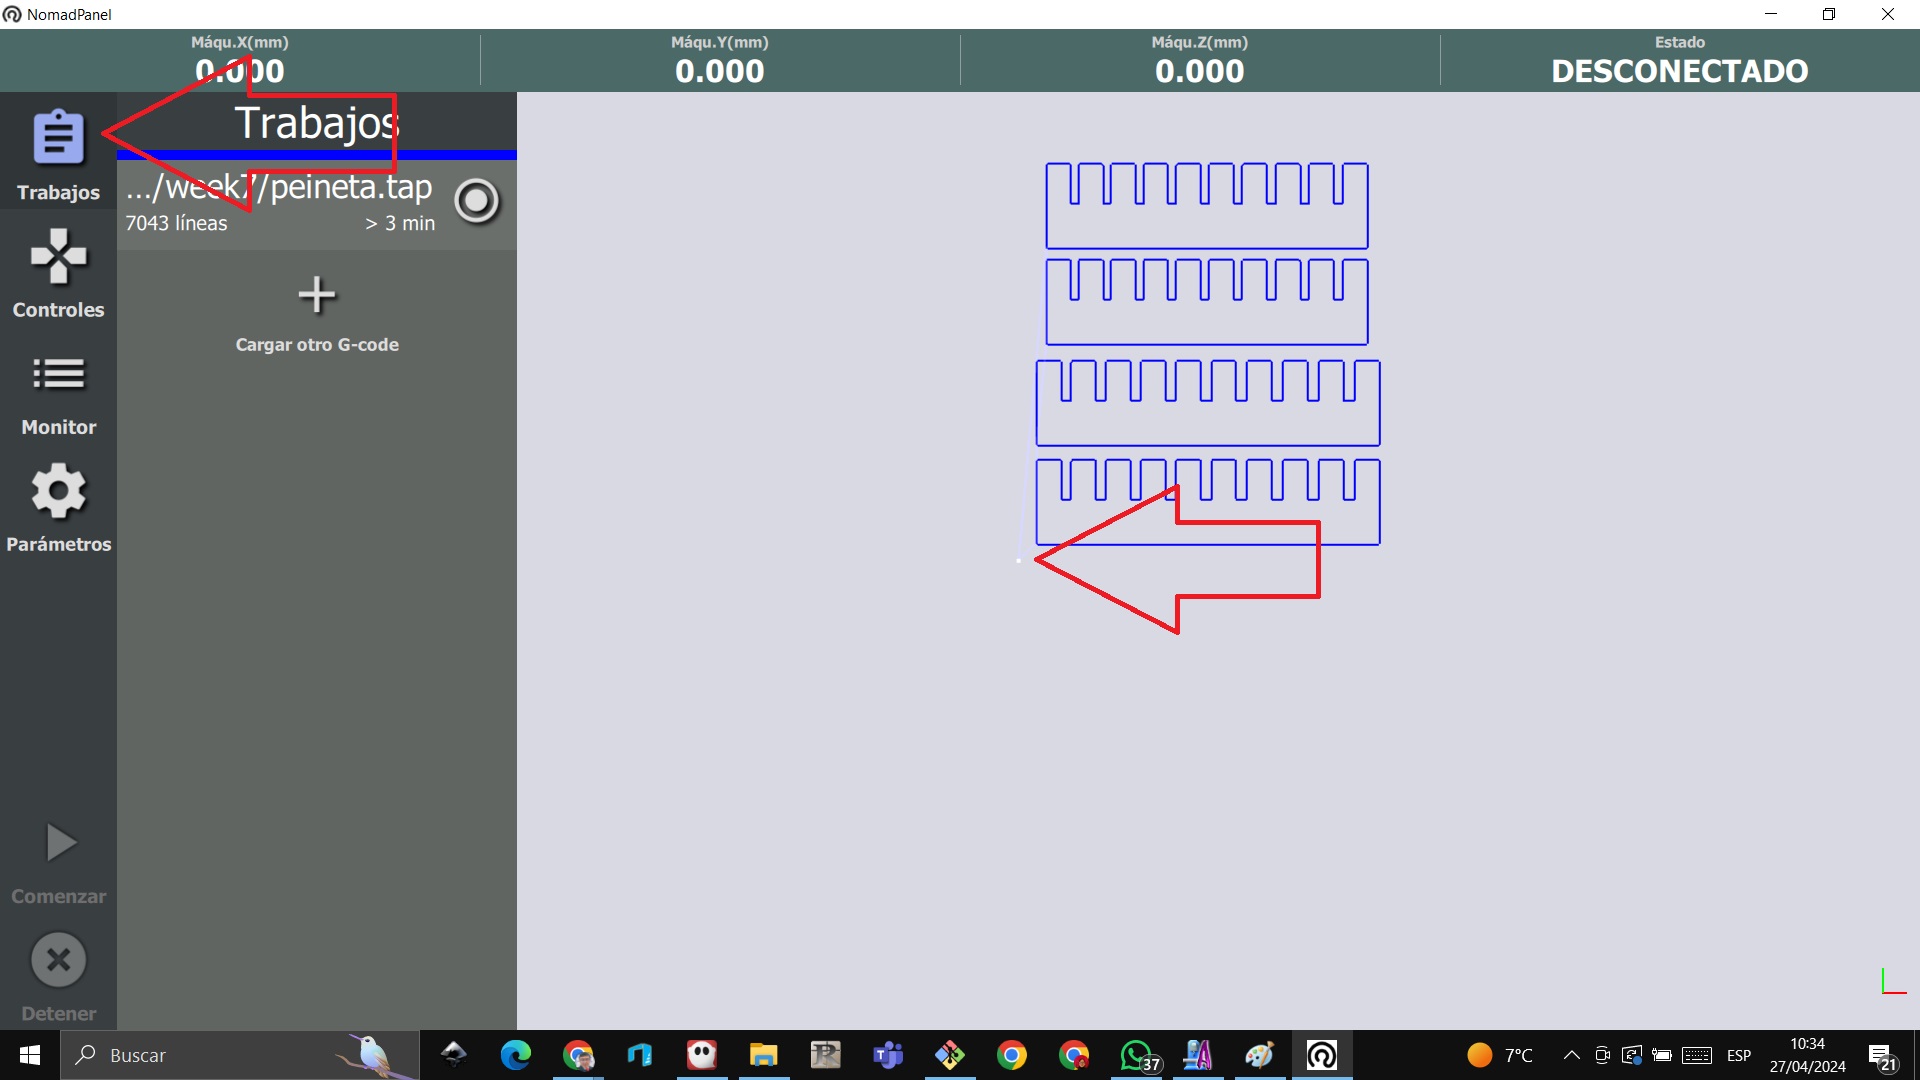
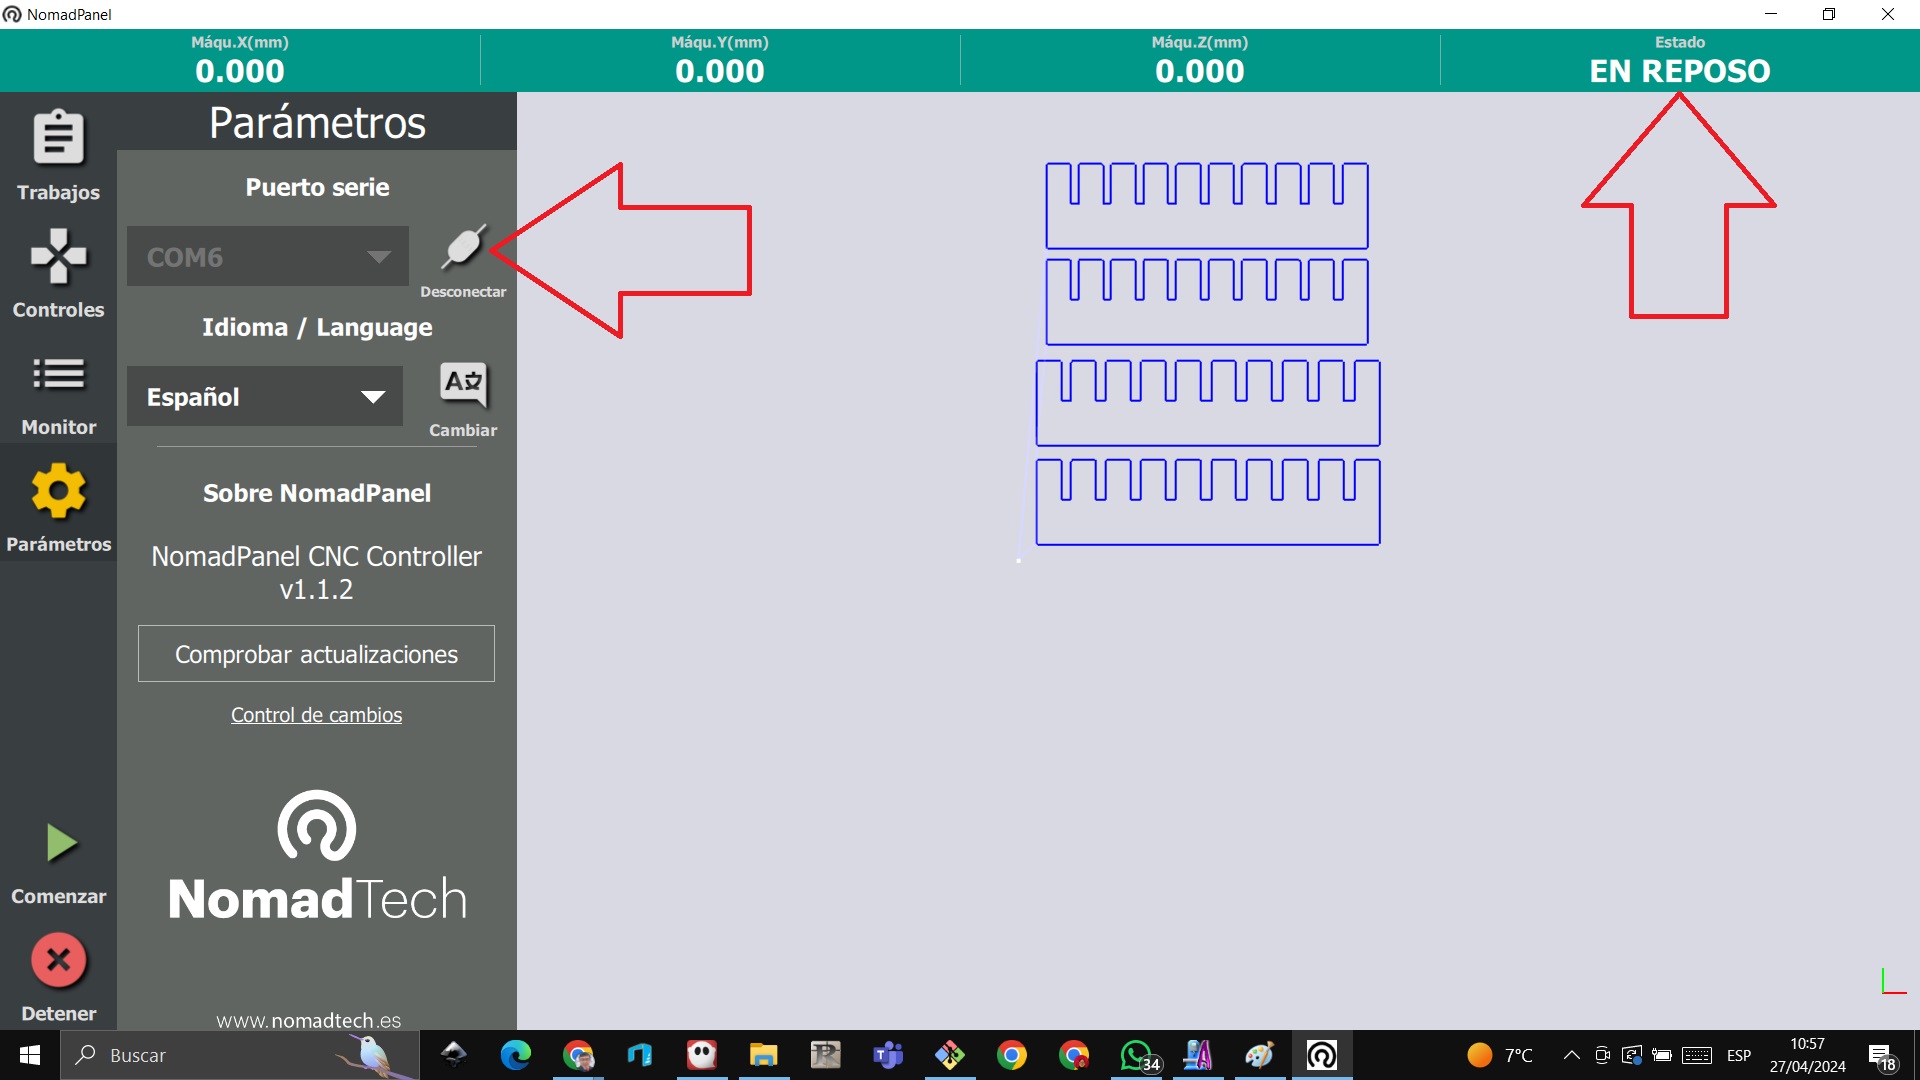
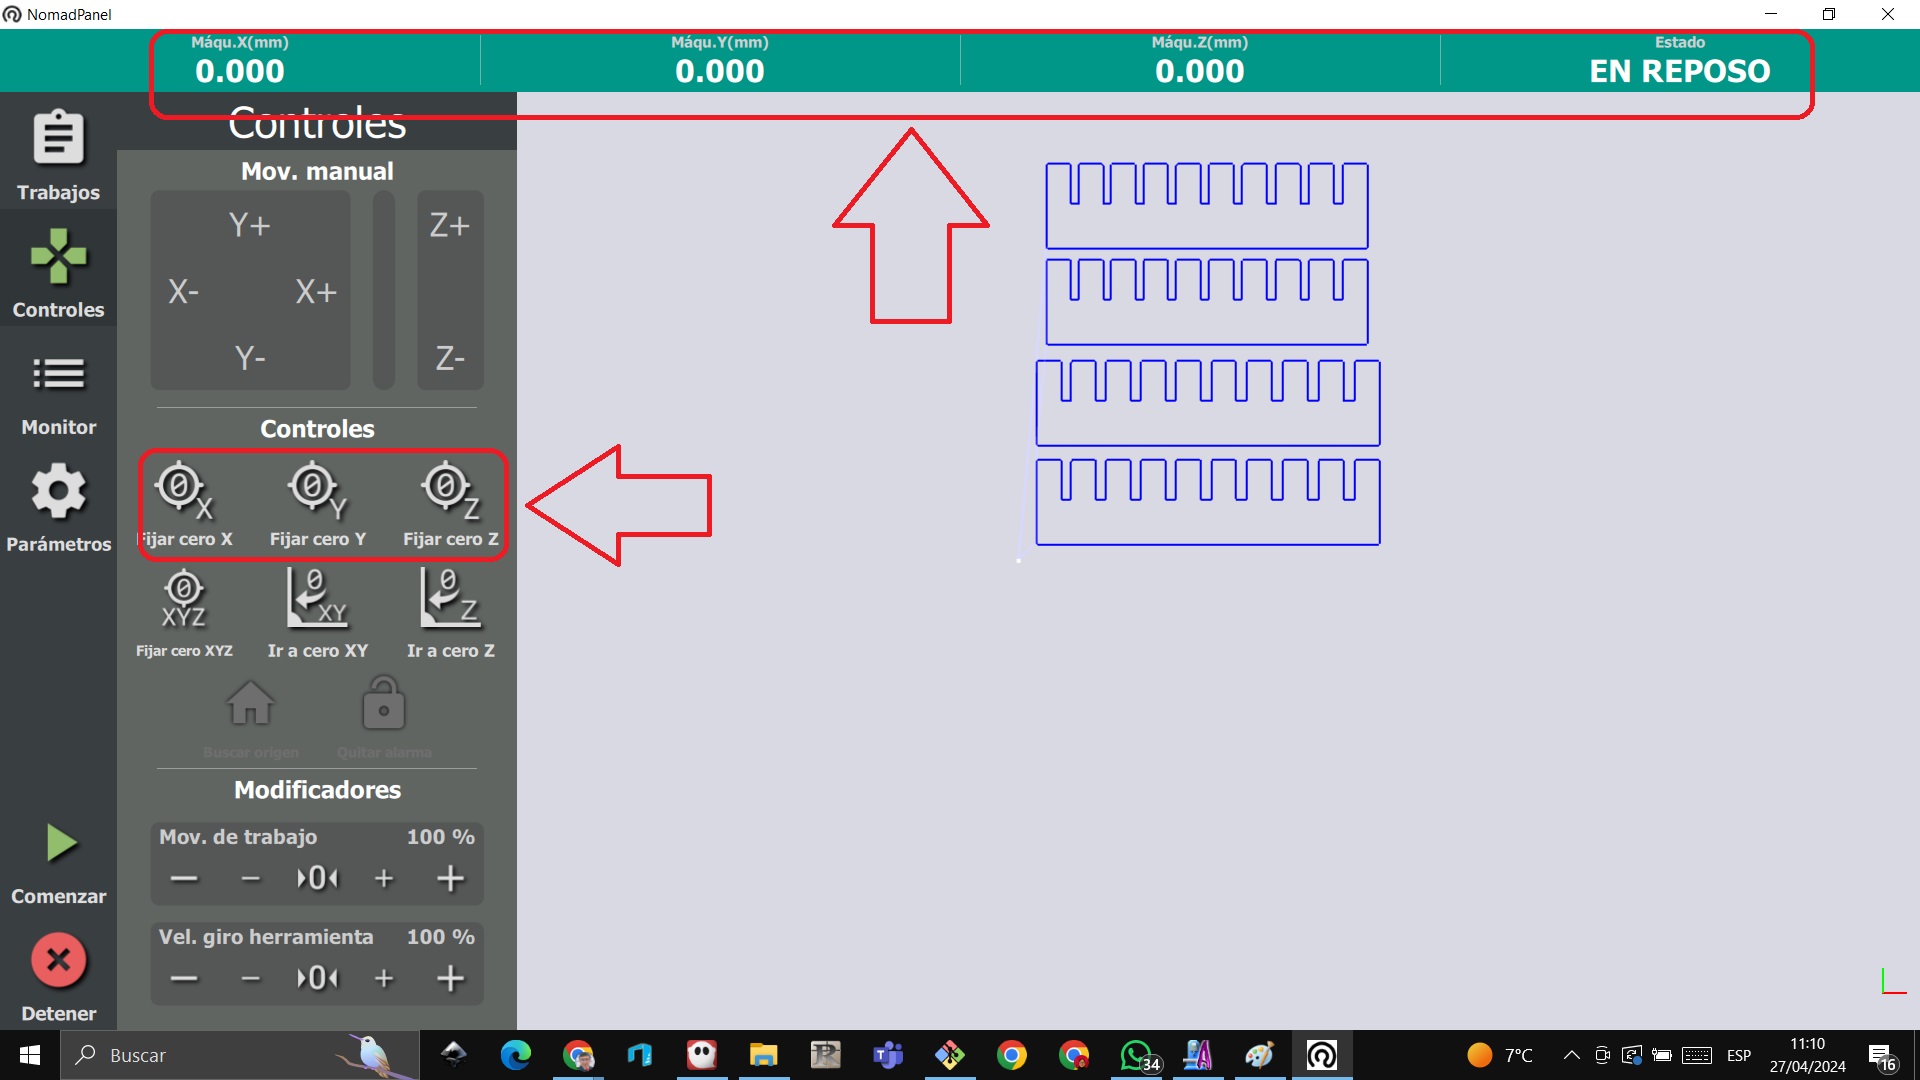
We run the Nomad Panel software and import the file
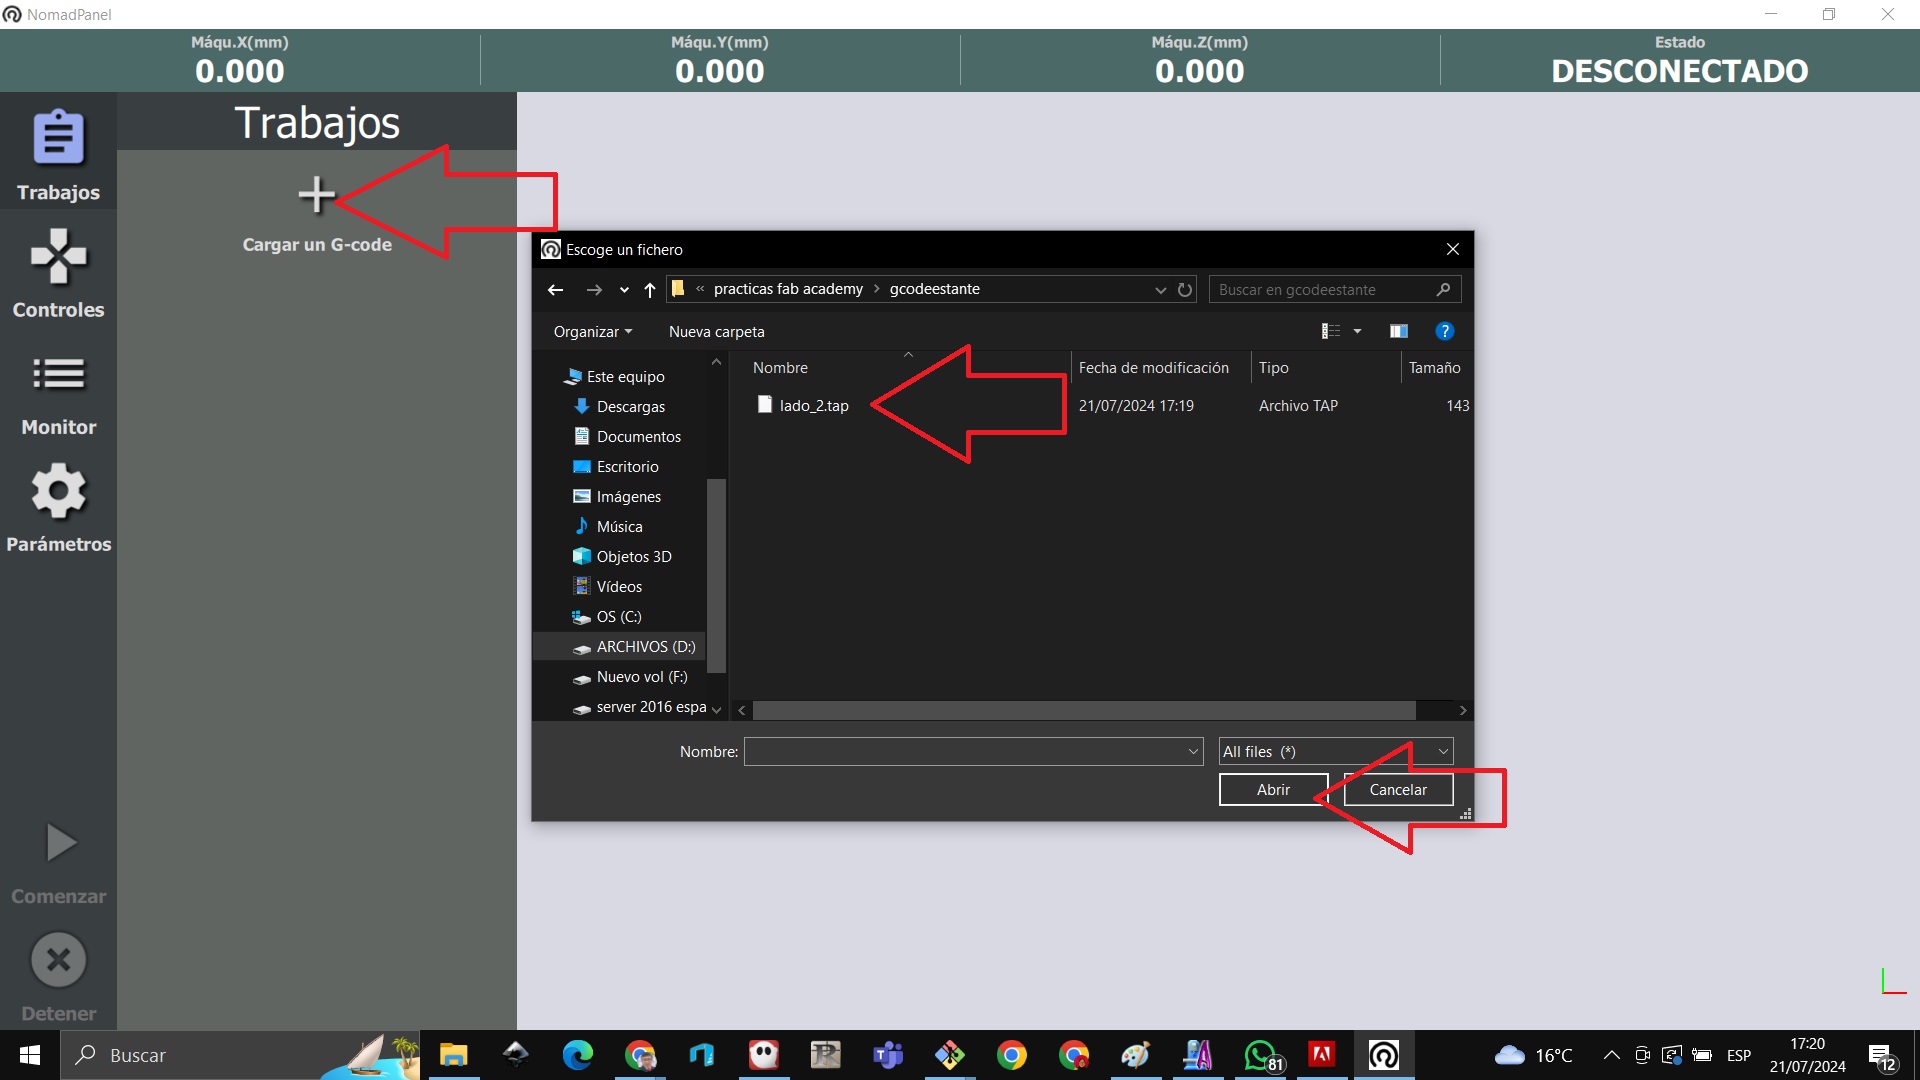
The file is verified for cutting with Red Fox CNC
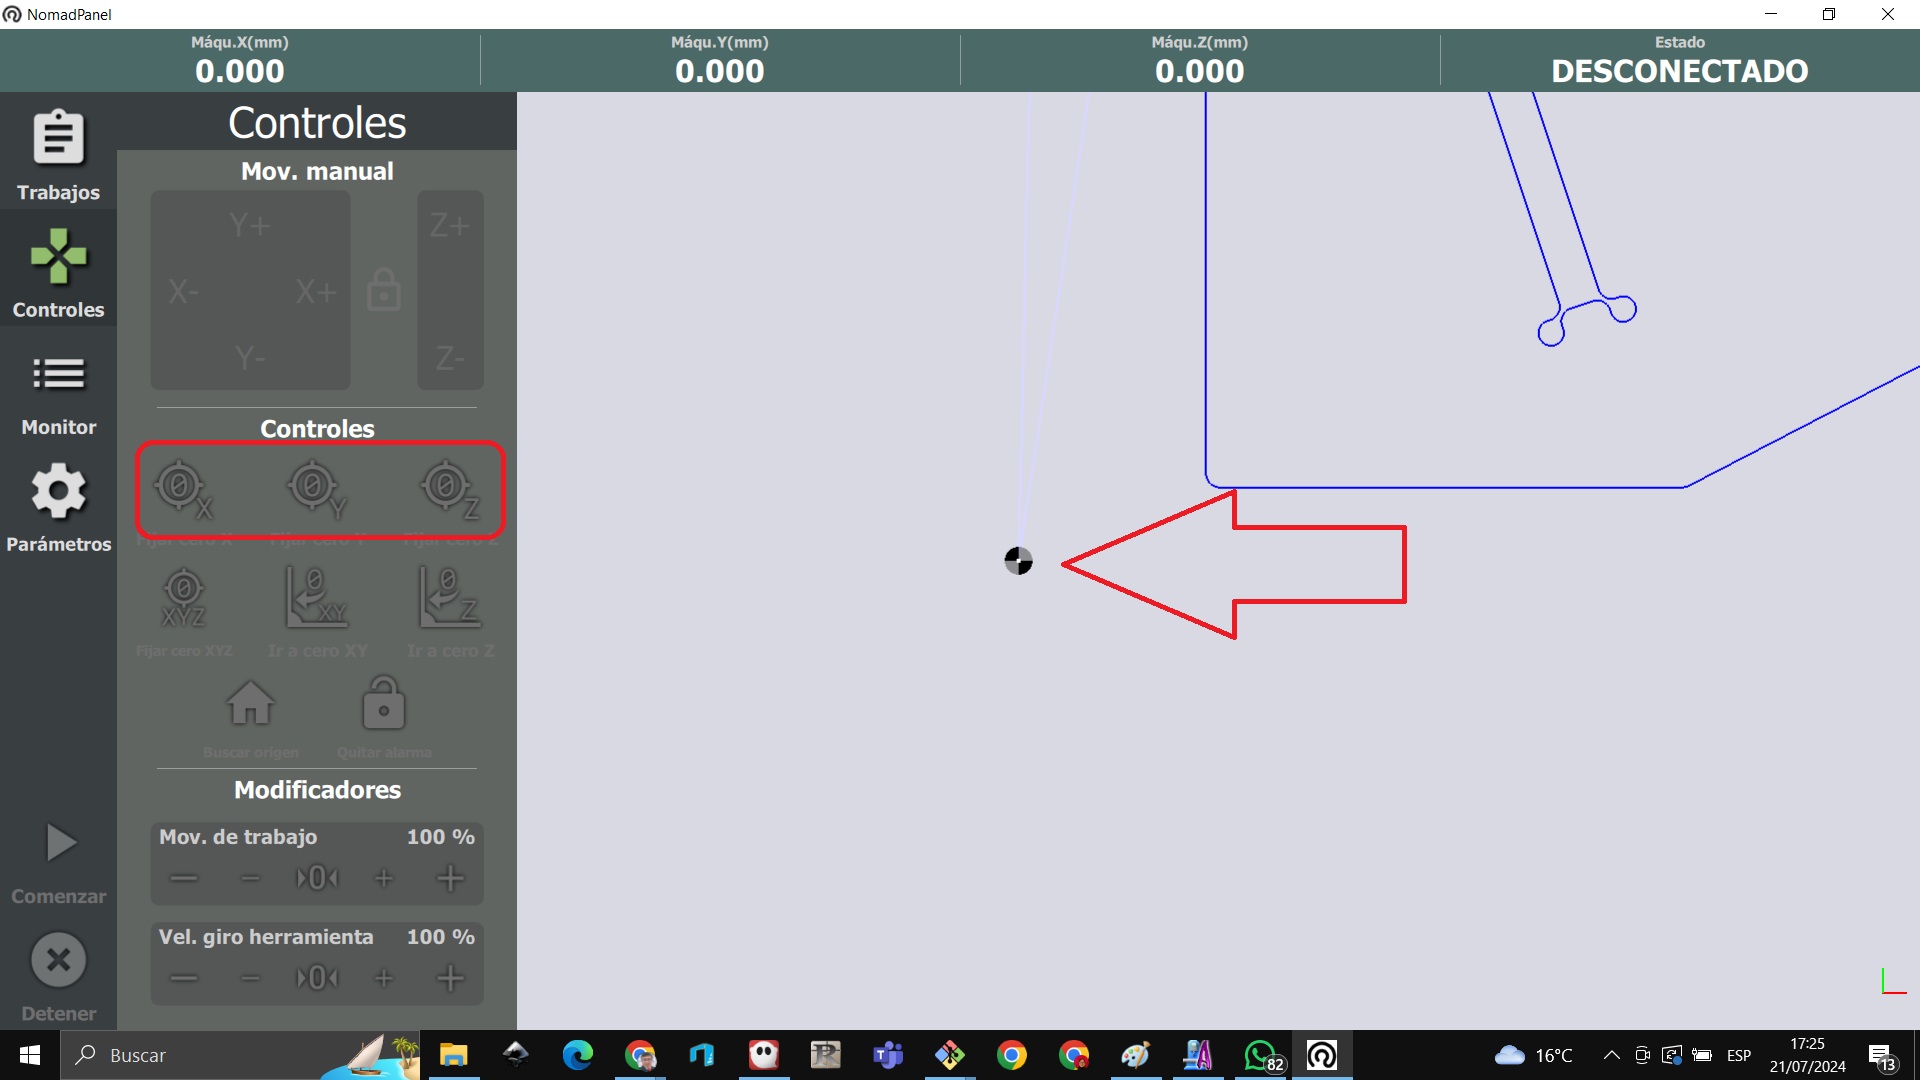
We choose the starting point of the cut for which we give 0 to the X, Y, Z axes and make start to start the cut
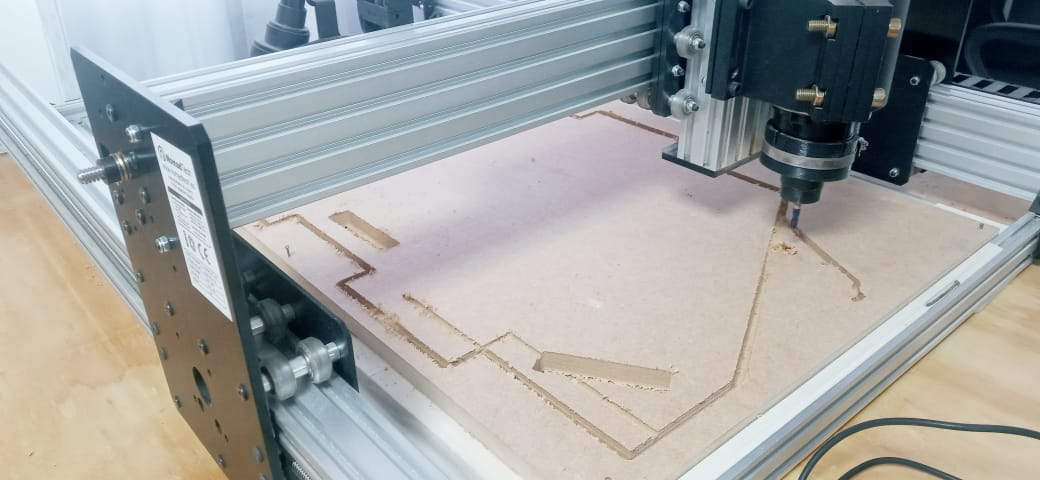
The CNC cut came out
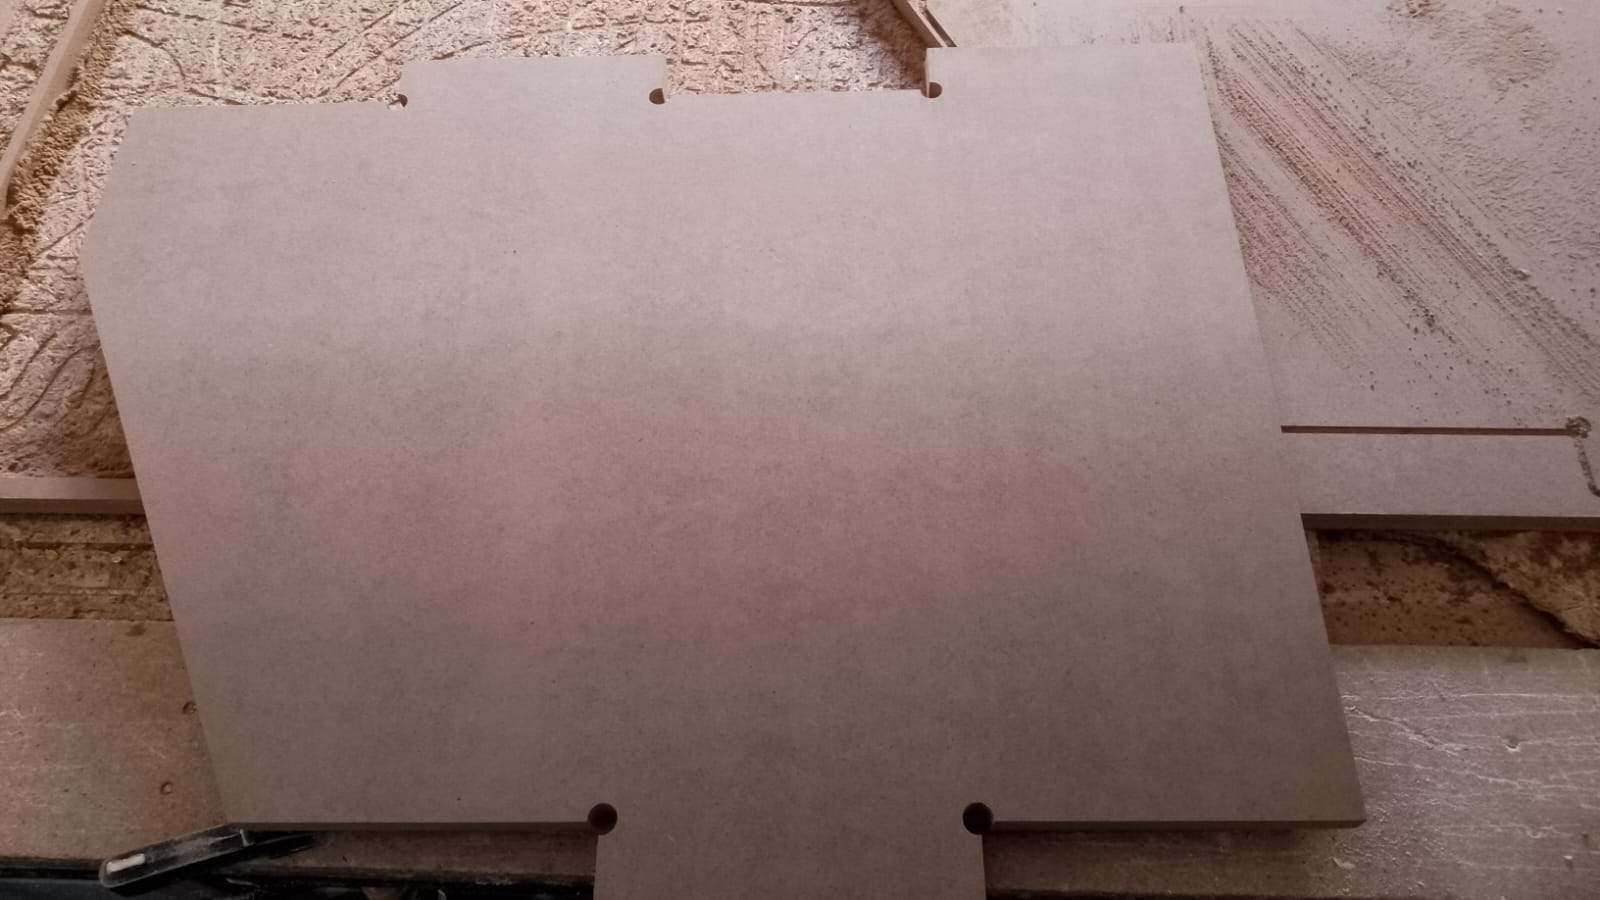
I finished cutting all the sides
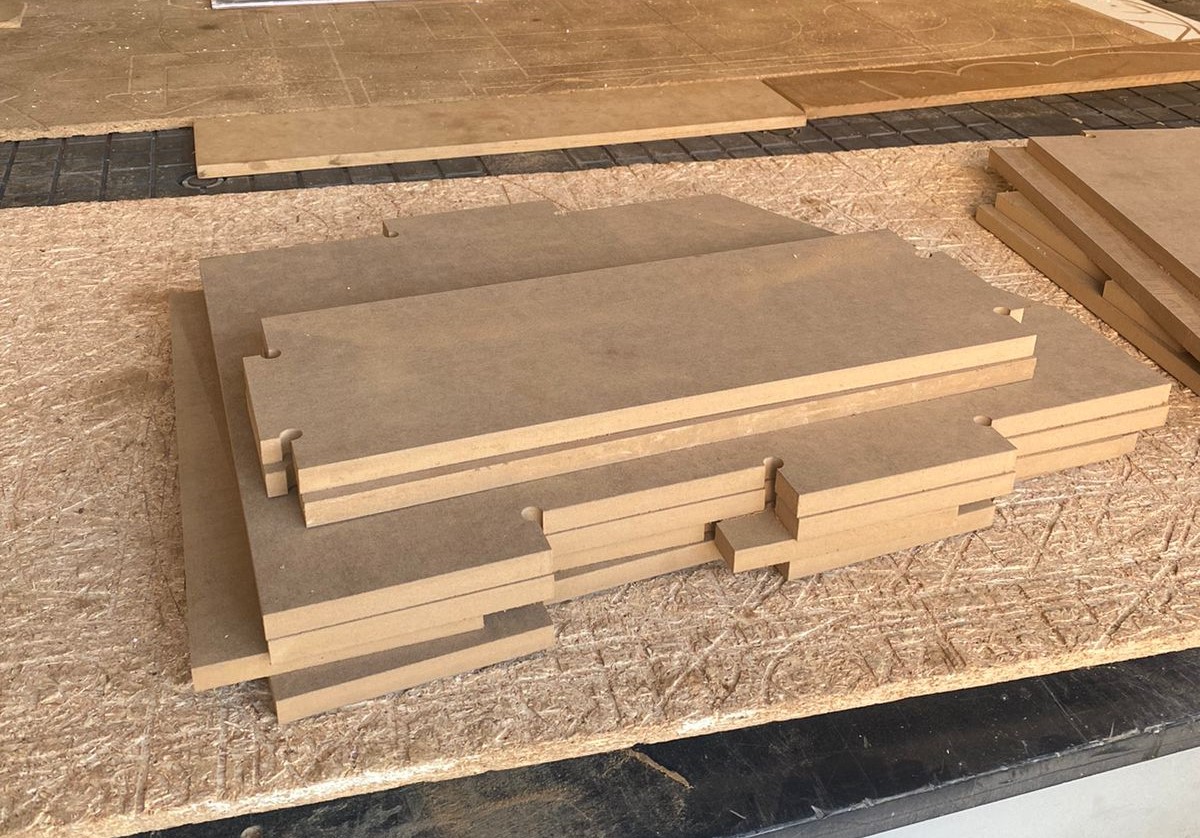
Assembling the shelf
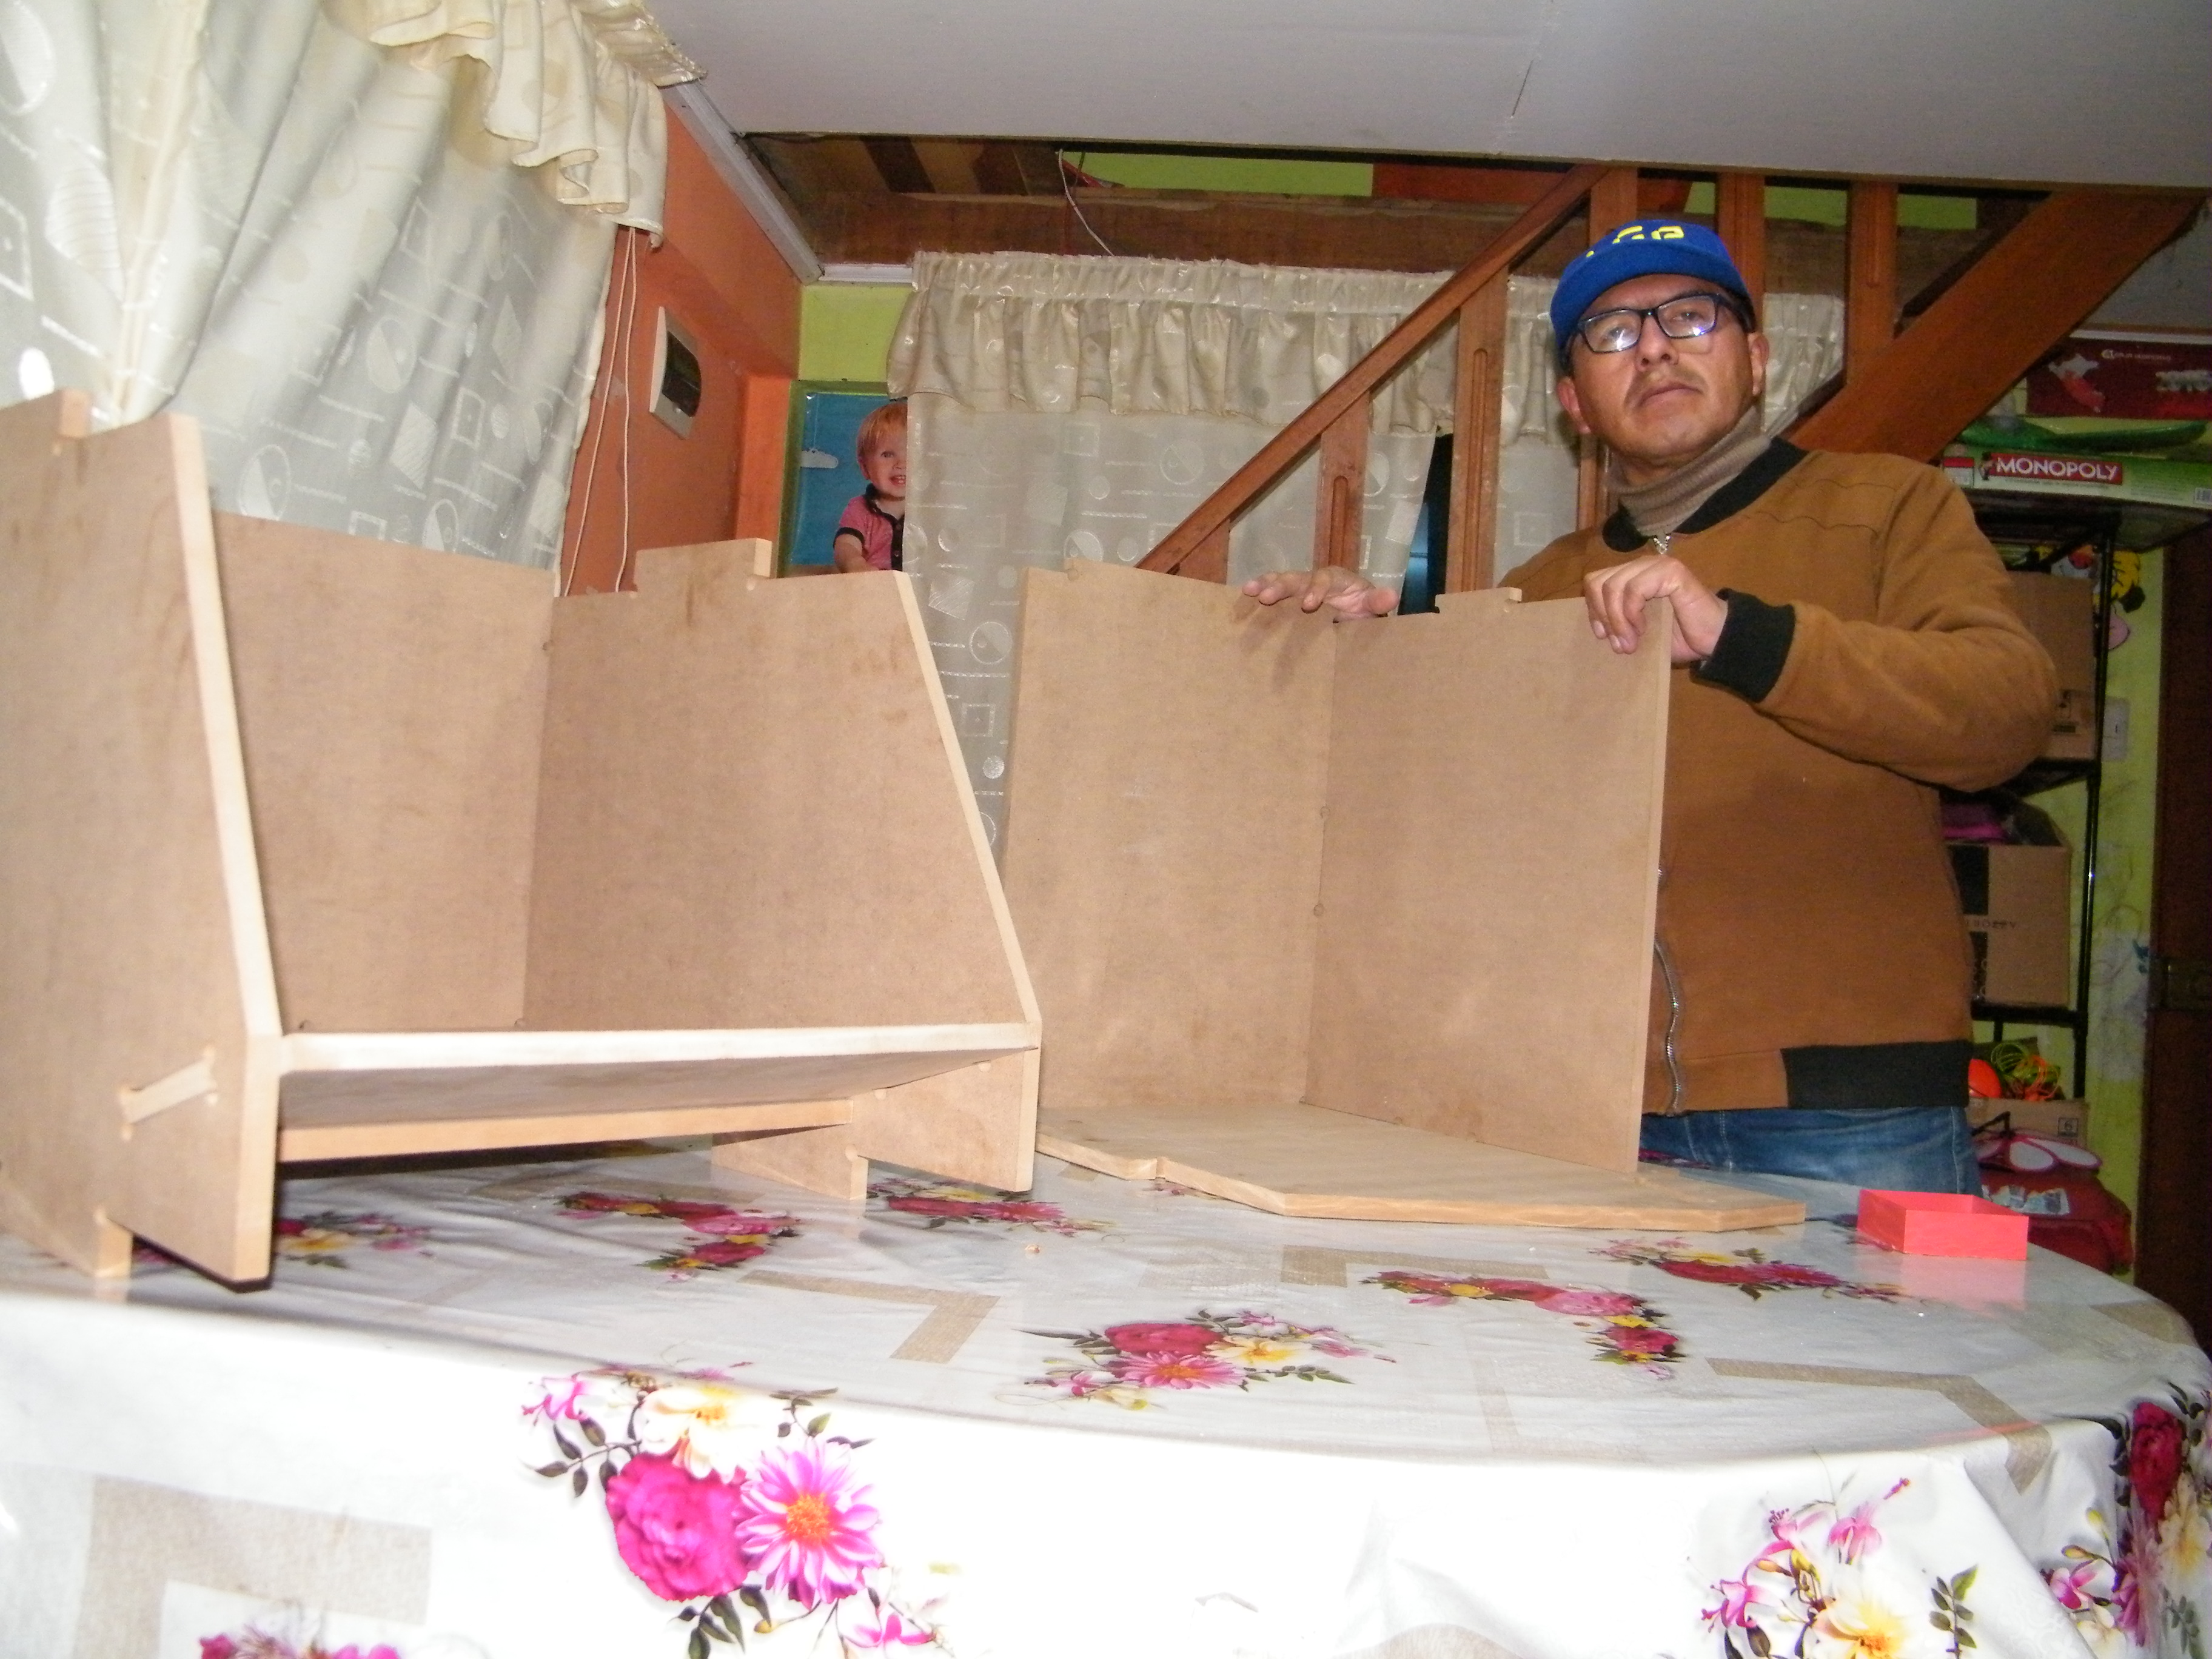
I fit on top of each other
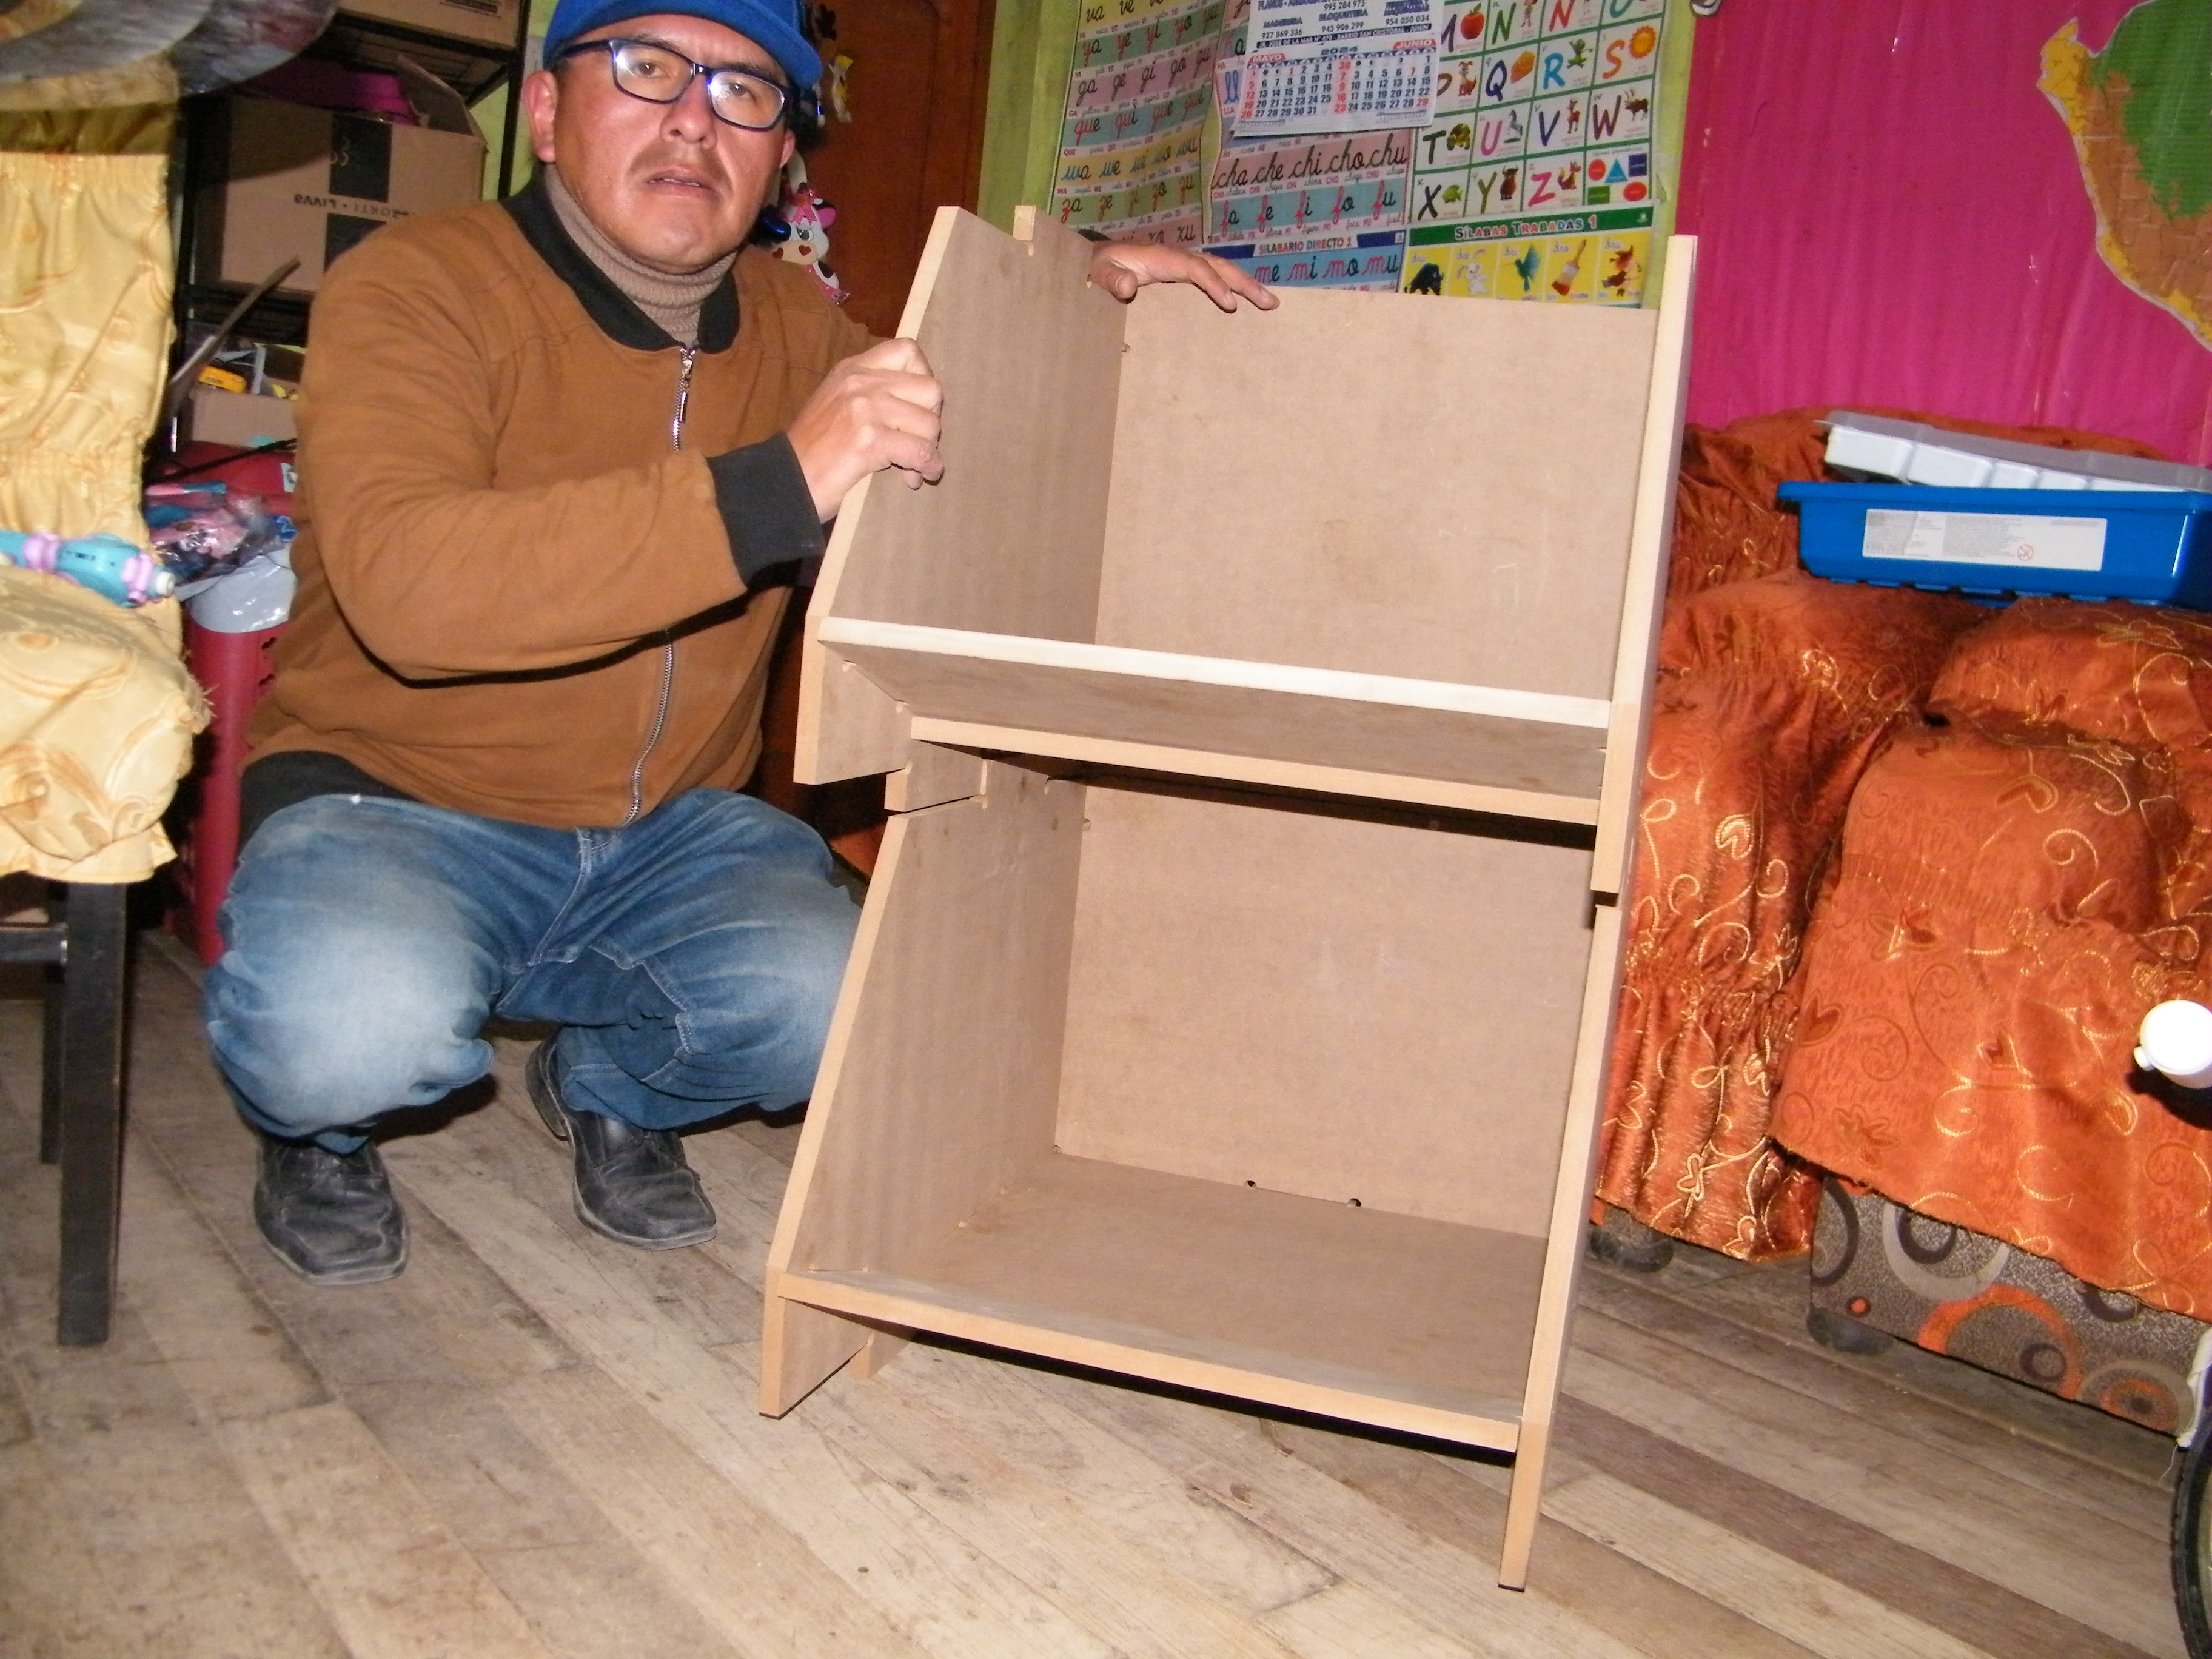
The dog bone notches were exact

We can put a 3D printer and the electronic components on the shelf. I was satisfied, it turned out great…

CONCLUSIONS
Using a CNC wood cutter brings significant advantages in terms of precision, efficiency, safety and design capabilities, making it a valuable tool in modern woodworking and manufacturing: Precision and Accuracy in CNC wood cutters allow cuts and engravings to be made with millimeter precision, which is difficult to achieve manually. This ensures that the parts are consistent and of high quality.
Files Onshape - corte_laser
Files Cut Studio - escudo_instituto
Files shelf - lado_1 - lado_2 - lado_3 - lado_4
ArCAM PRO 8.1 download link