Week 3: Computer-Controlled Cutting
Group assignment:
Characterize your lasercutter’s focus, power, speed, rate, kerf, joint clearance and types. Document your work to the group work page and reflect on your individual page what you learned.
Individual assignments:
Design, lasercut, and document a parametric construction kit, accounting for the lasercutter kerf, which can be assembled in multiple ways. Cut something on the vinyl cutter
GROUP ASSIGNEMENT: Preparing the file to test power
I go to Onshape to design my board and test the powers
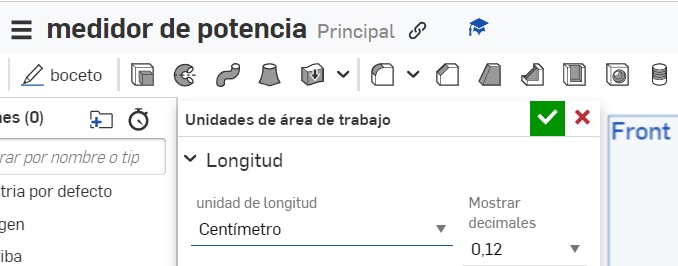
We change the units of work to millimeters in the 3 lines where the name of the document is
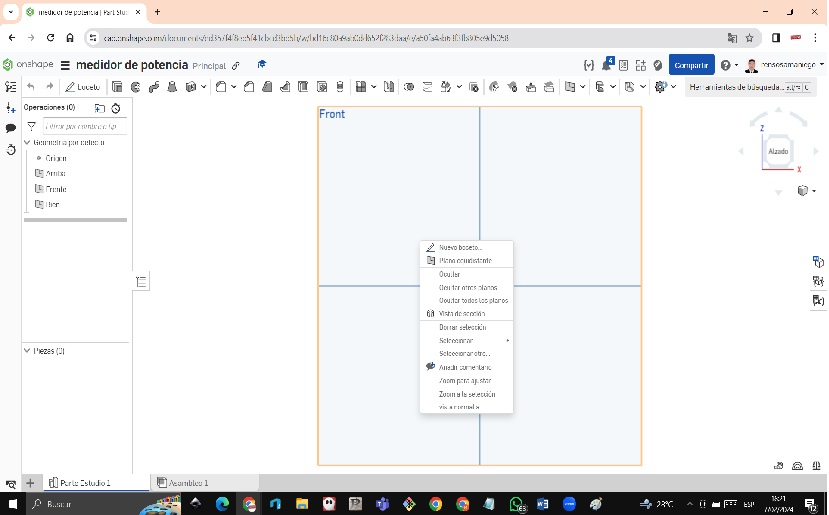
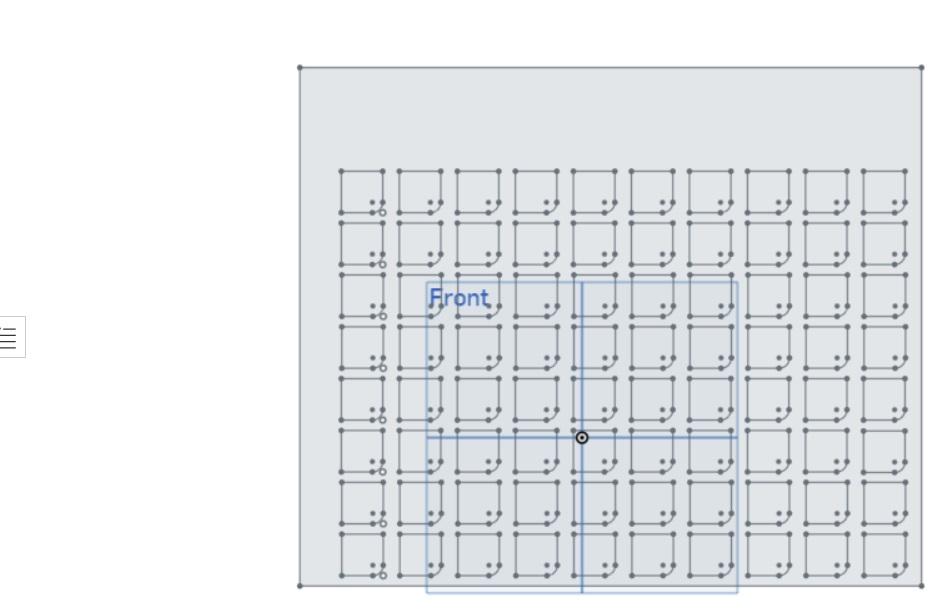
 I make a new sketch by right clicking in the front area
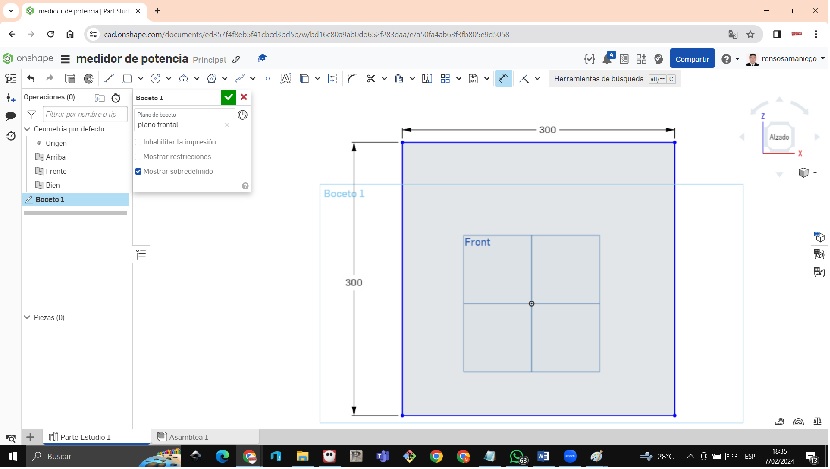
 You choose rectangle by corner and then choose quota to measure from vertex to vertex of the square with a measurement of 300 mm
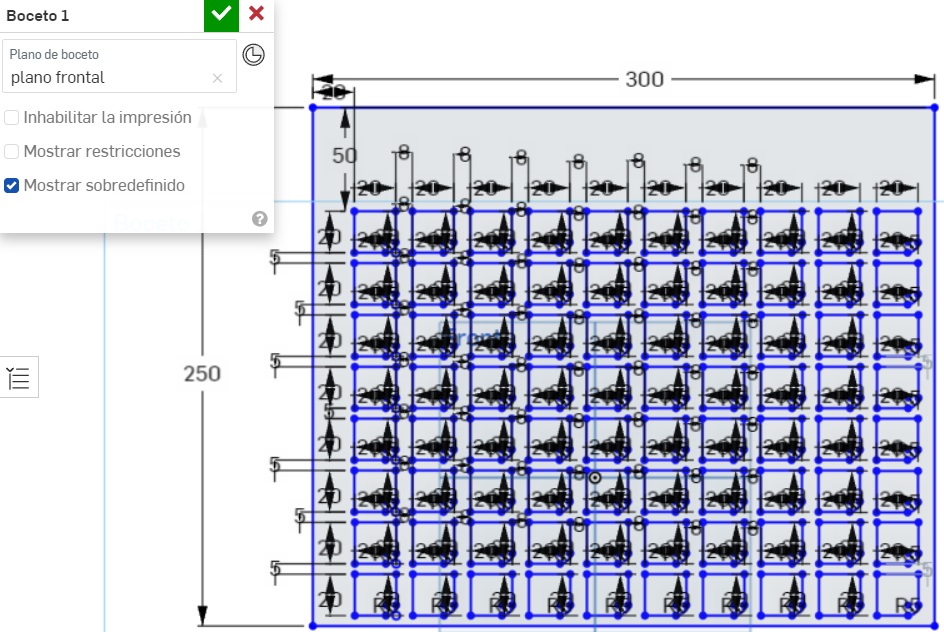
 We enter the squares with measurements of 20mm on each side and choose sketch rounding to 5mm
 duplicate 10 squares of 20cm x 20cm and that row duplicate it by 10 rows by right clicking on copy sketch entities and separating from row to row 5mm and from column to column 8mm with quota
 Export in dxf format

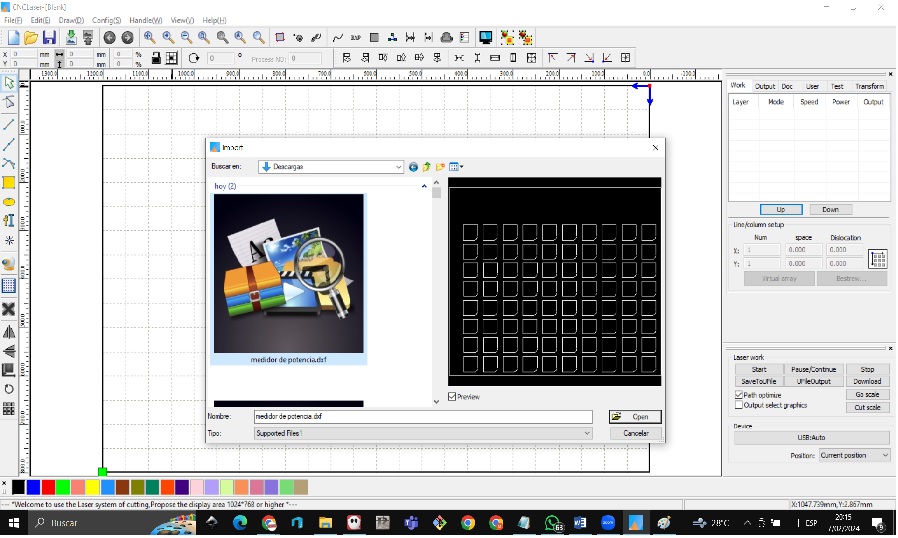
 Open the CNC laser program and import the file
 Write the title by clicking on the f tool
 Write at speed and power from 10% to 100%
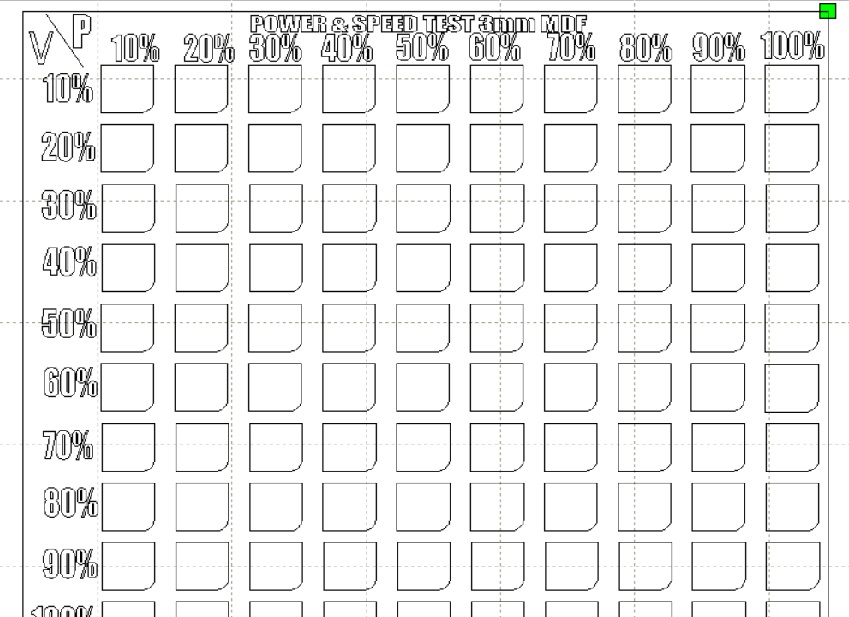 Click on each box and choose the colors for each square
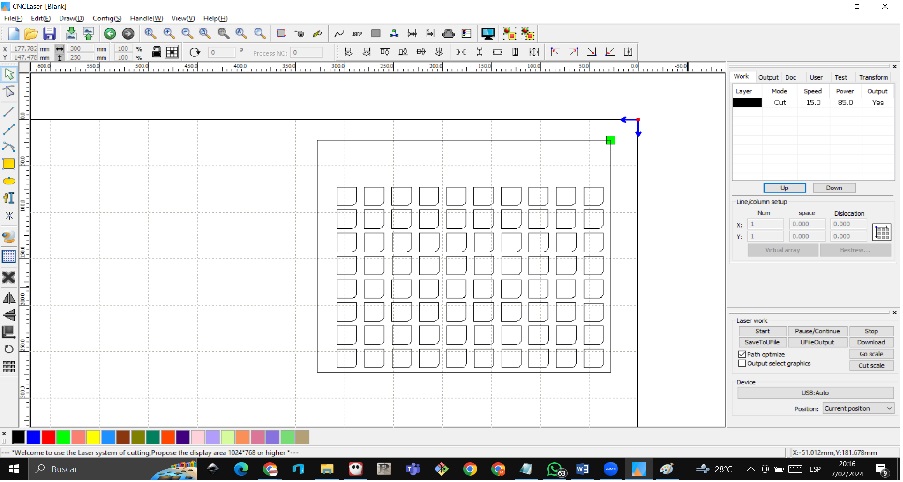
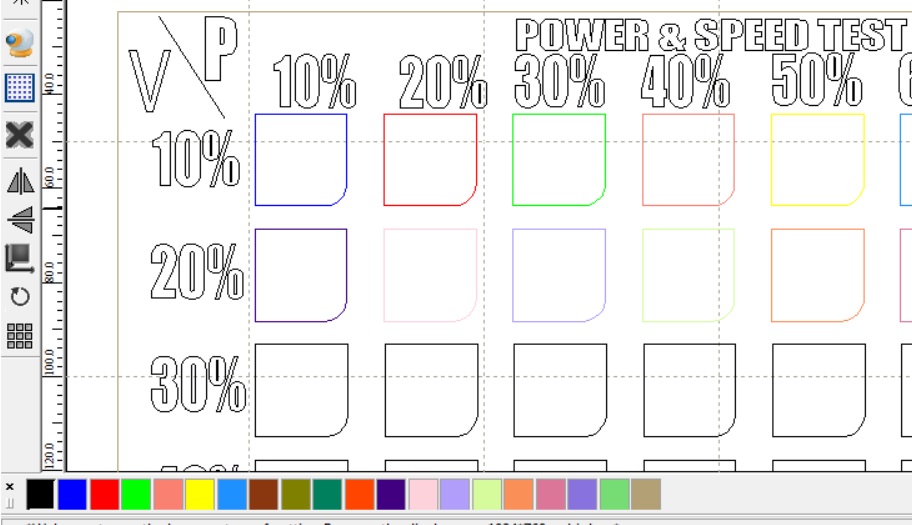 In the upper right part we verify that the speeds and power are activated
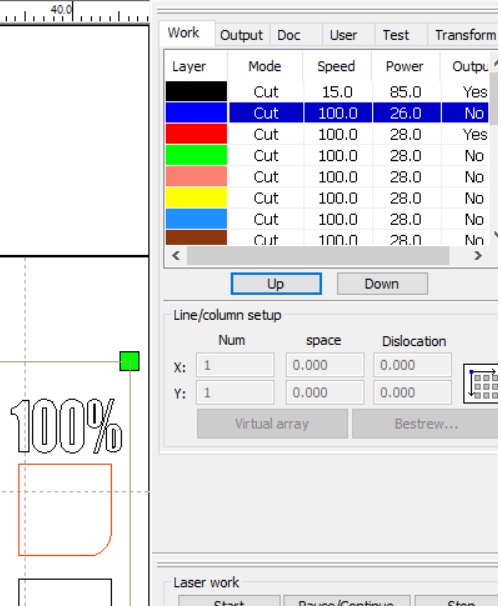 We click on each color and a screen is executed where we change the speed and power as seen in the graph
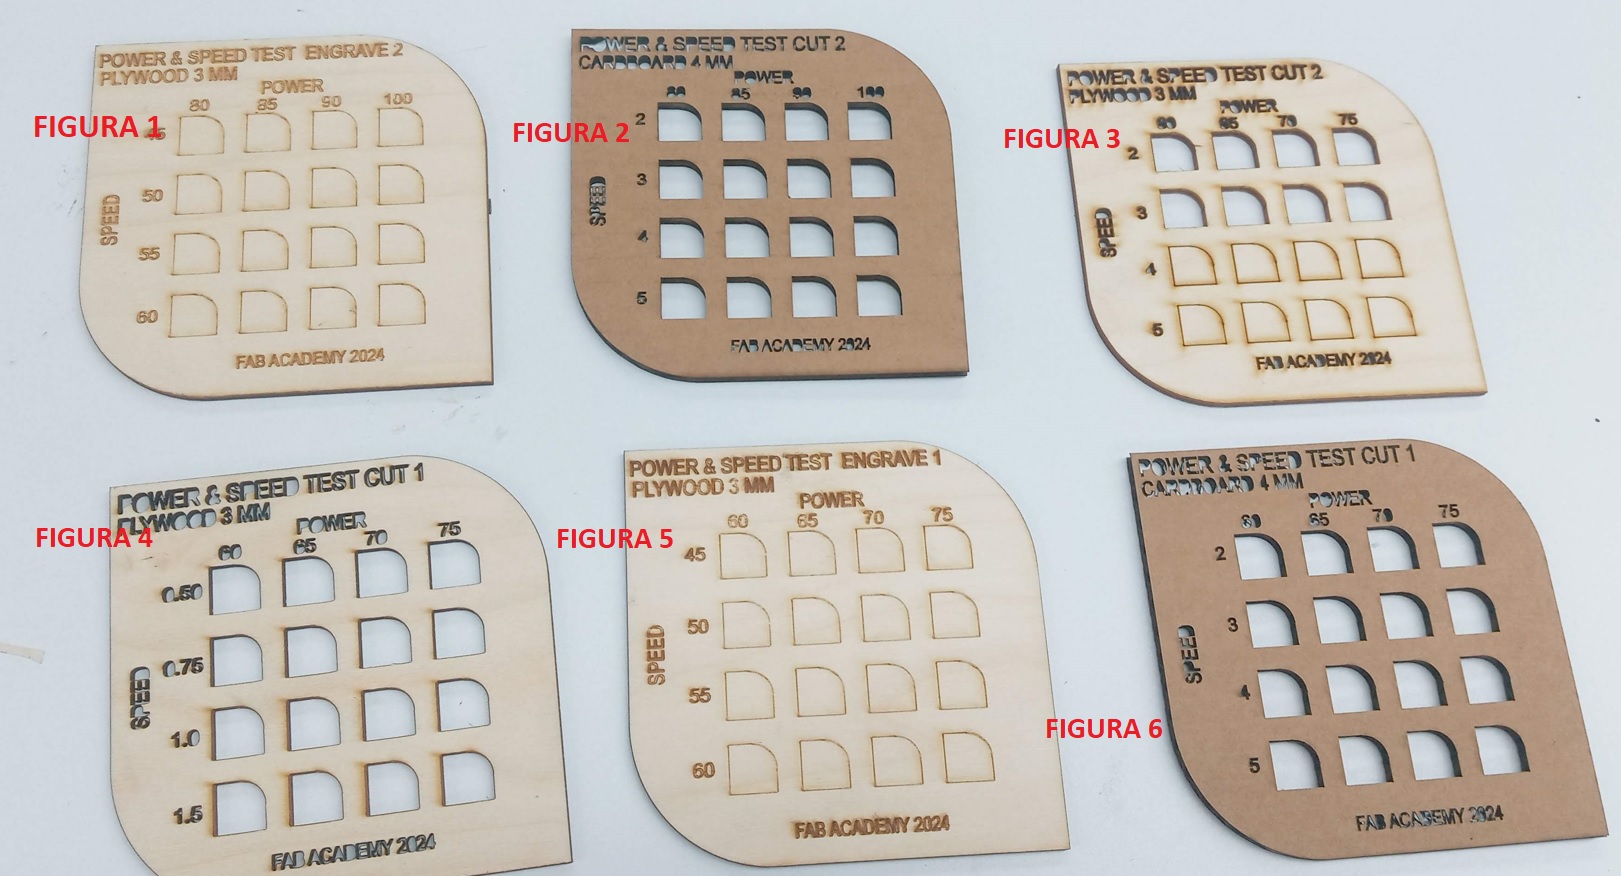
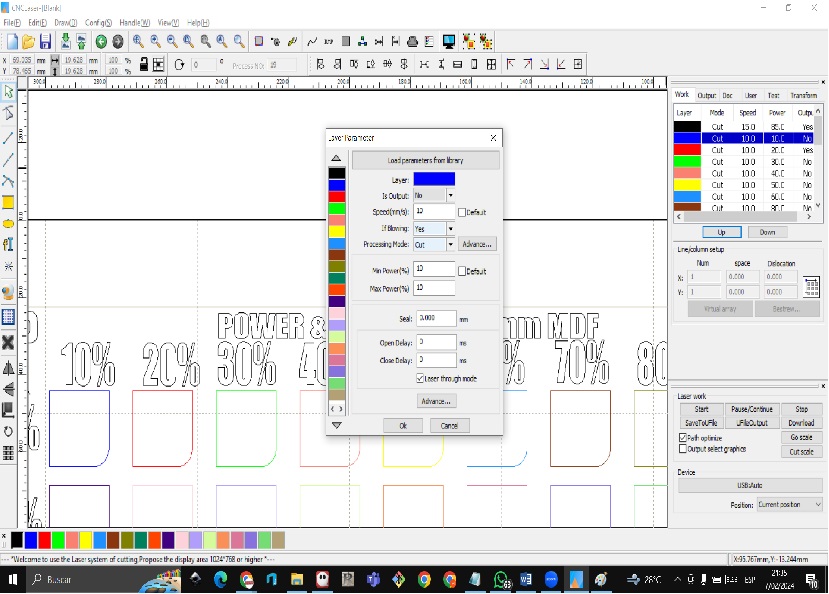 We turn on the laser cutter and put the 3mm MDF material


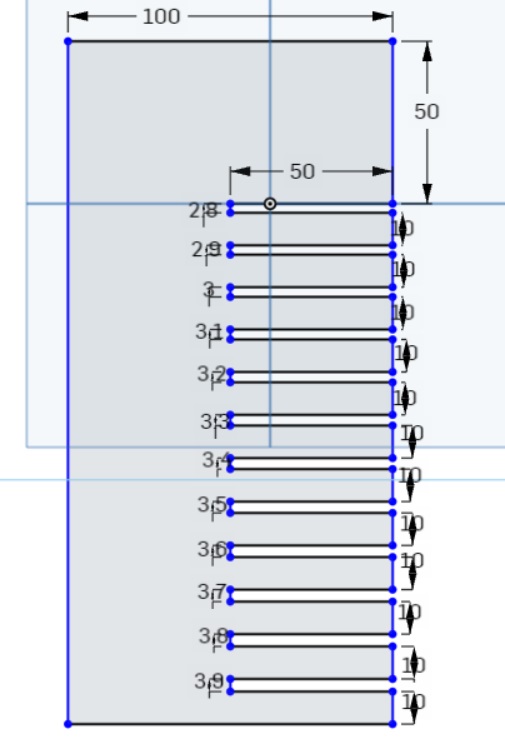
making the comb
We make the comb with a width of 100mm and we have to test it on 3mm thick MDF for which we create a comb document in onshape without first describing the work units that are in millimeters
 With the line tool we begin to make the strokes at the end we will put the values to each of the combs
 We finish the design giving it the necessary heights for the cut
 We write the values on the comb and put the fab lab peru logo with the text too
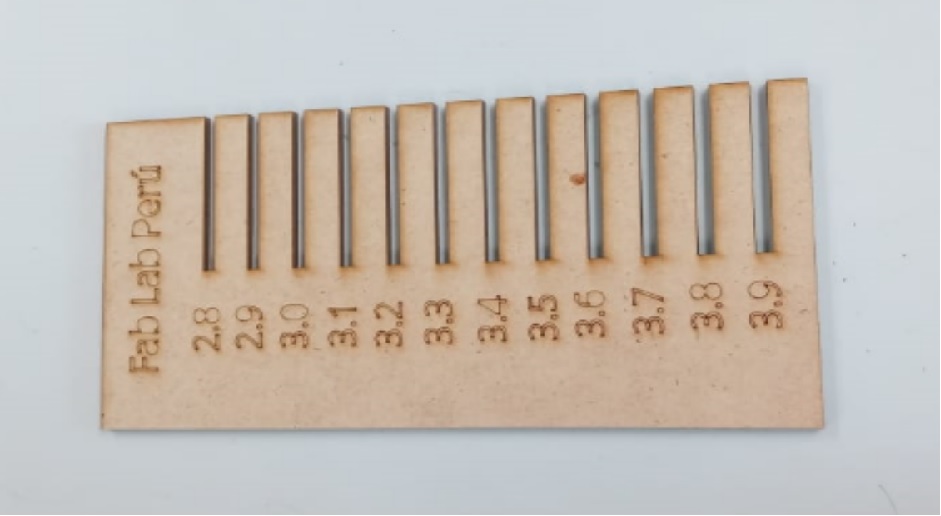
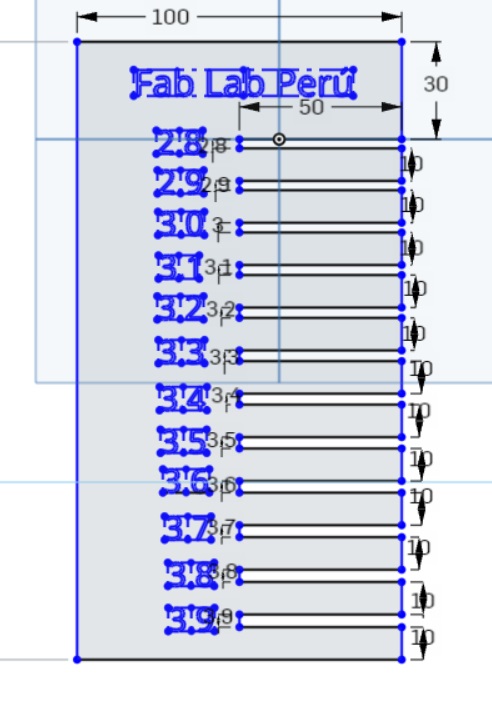 Then we go on to print the comb with speed of 15 and power of 80
 Once the practice is done, we make some reminders, first we design in Corel Draw
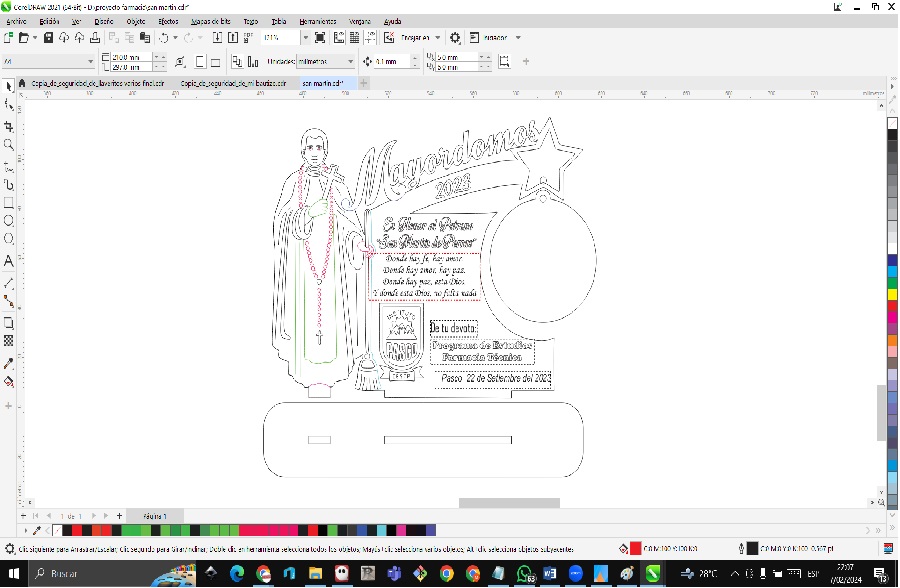 We export in dxf and open in the cnc laser software
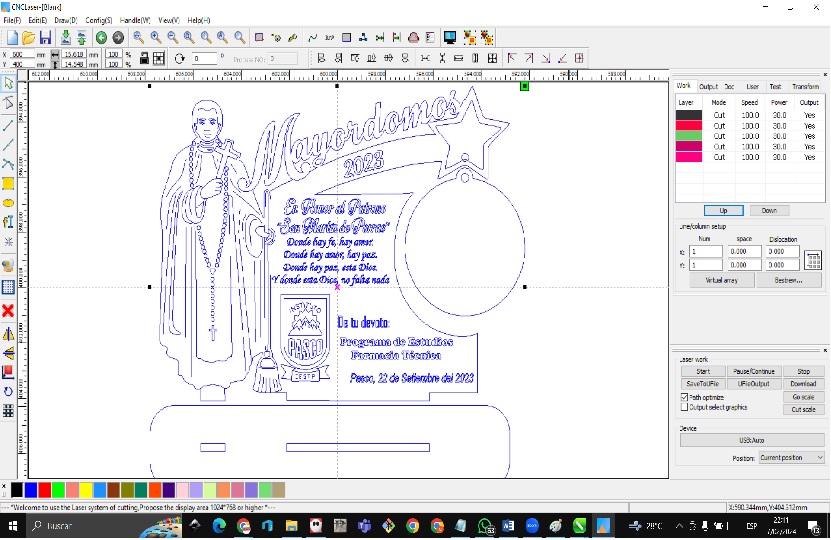 We turn on the machine and start cutting
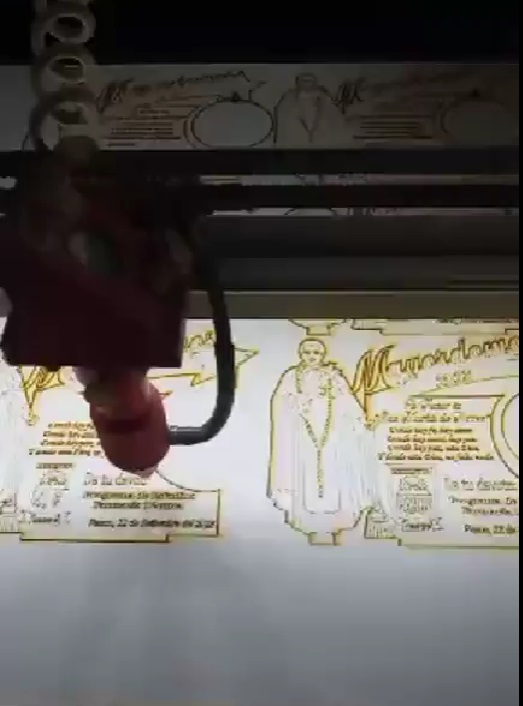
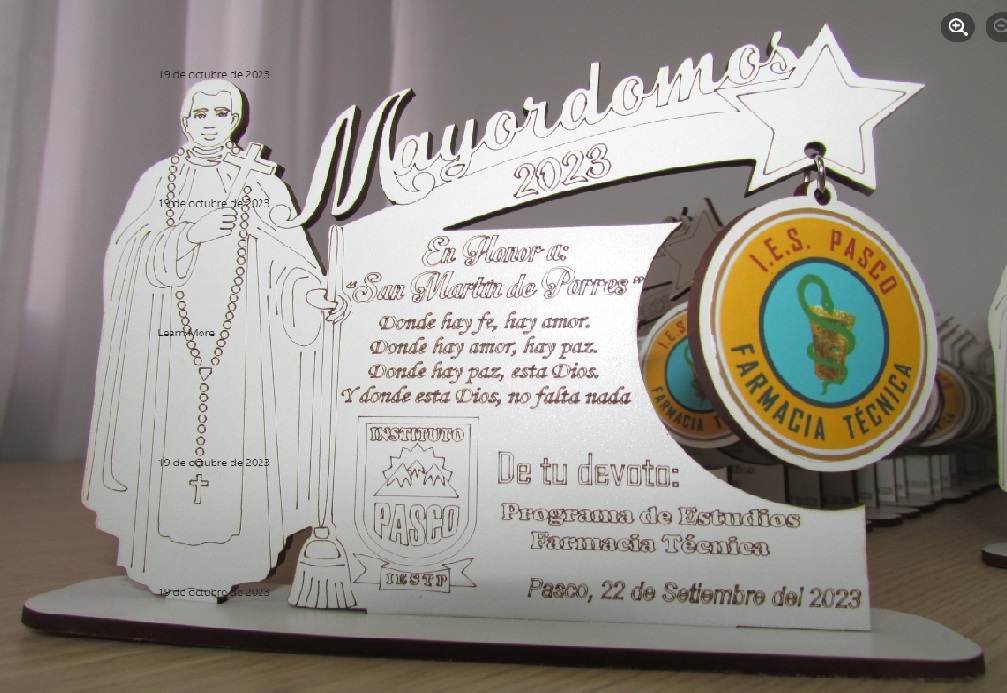
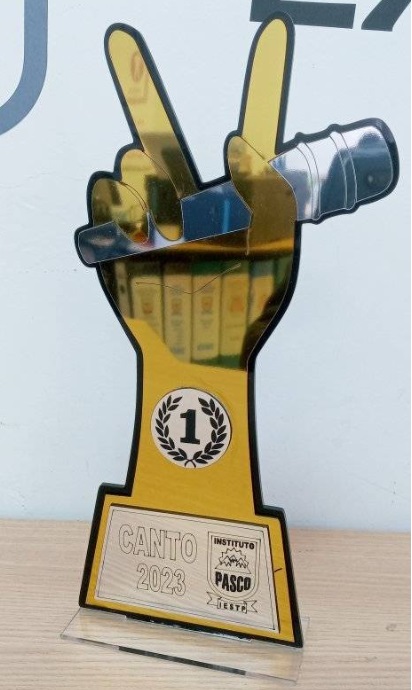
 The following works were also carried out as trophies


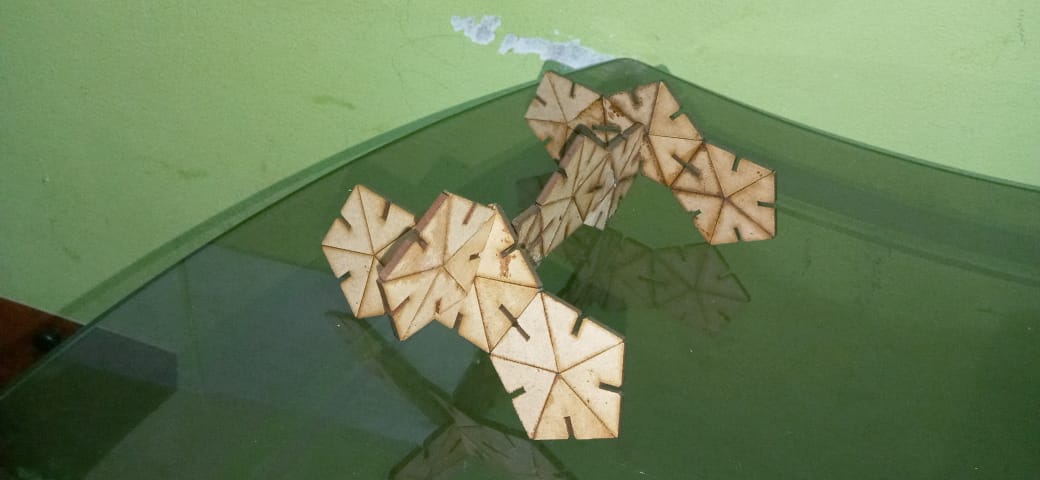
INDIVIDUAL ASSIGNEMENT: Parametric Design
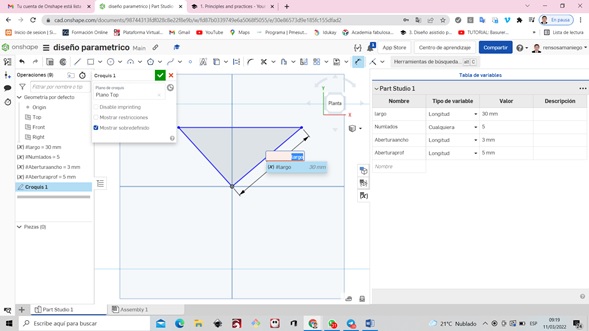
To make a parametric design we create a new sketch by right clicking on the front area of our project and with the line tool we make a triangle
 We click on the variables tool and there we describe our data such as length, number of sides, opening width, opening depth
The measurement is displayed

We find the angle 360 between number of sides
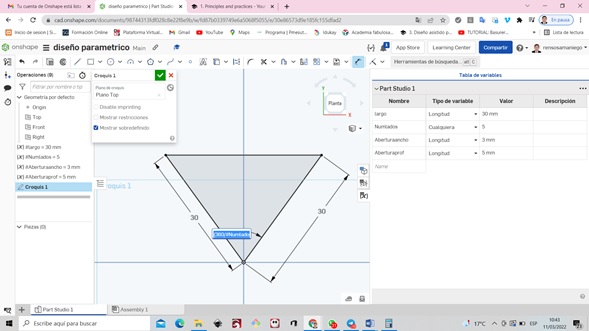
We continue to enter the measurements

The rectangle is located on the midpoint line
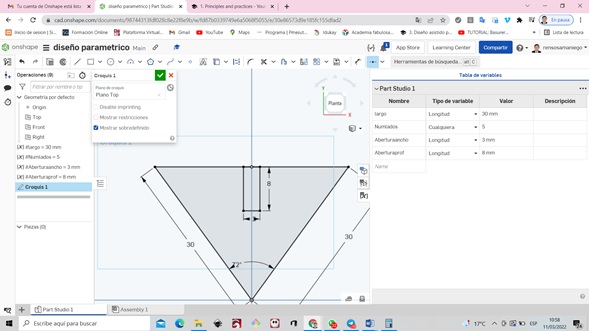
The figure goes out like this

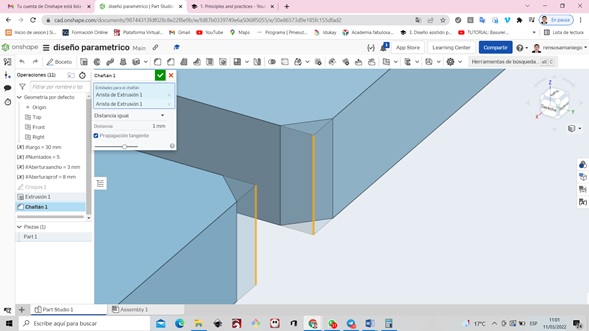
Making chamfers of 1 millimeter
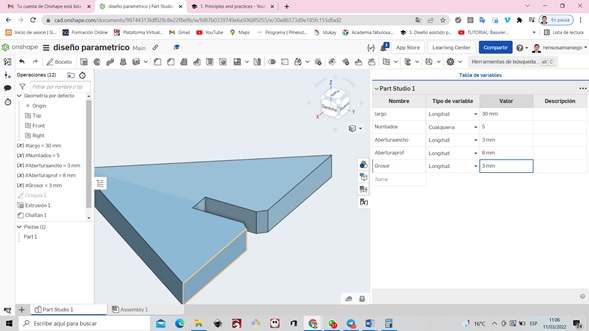
We increase the thickness variable = 3 millimeters
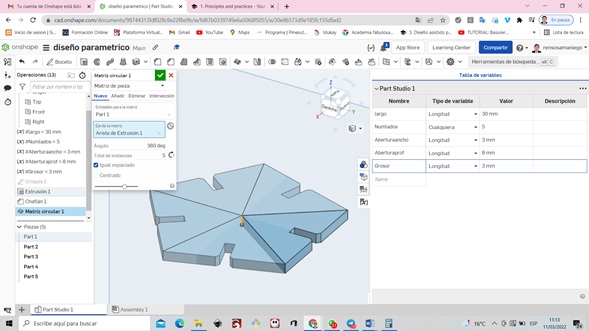
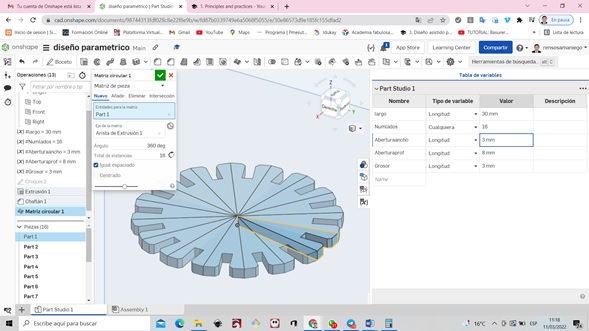
We enter the circular matrix tool by default we get 4 sides

We can change number of sides to 5
We enter the variable number of sides we can and there we can change the quantity for example we put in the table of variables number of sides = 8
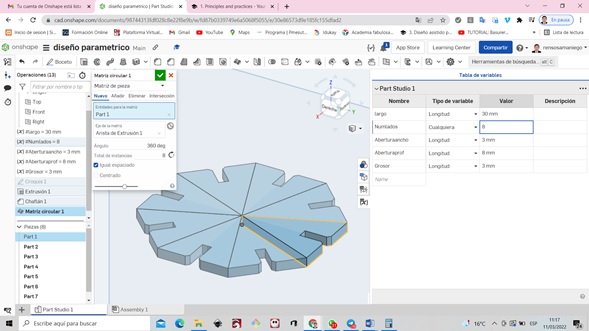
We change to the variable number of sides = 16
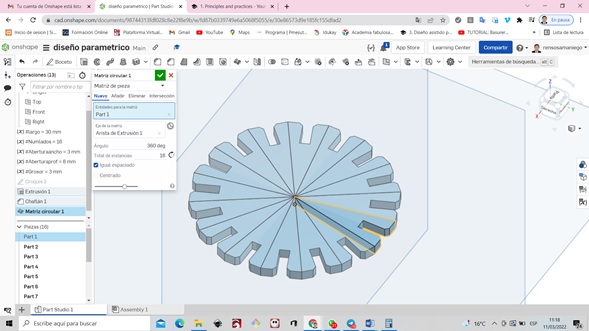
simulating it comes out as follows
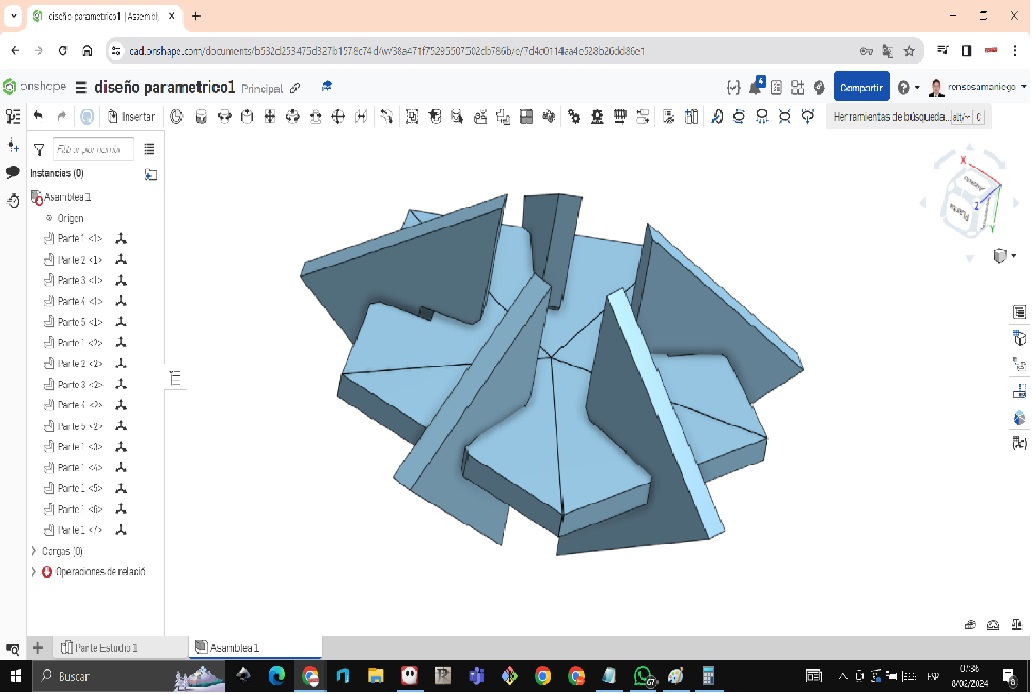
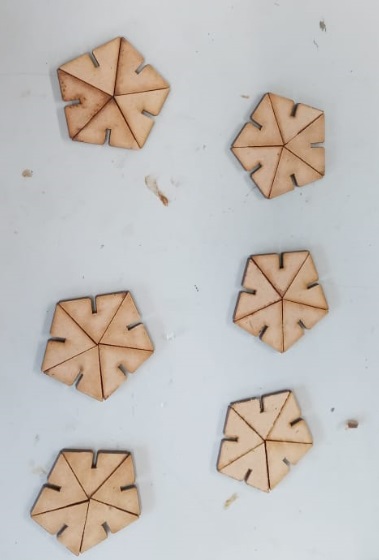
Now we start printing our prototypes


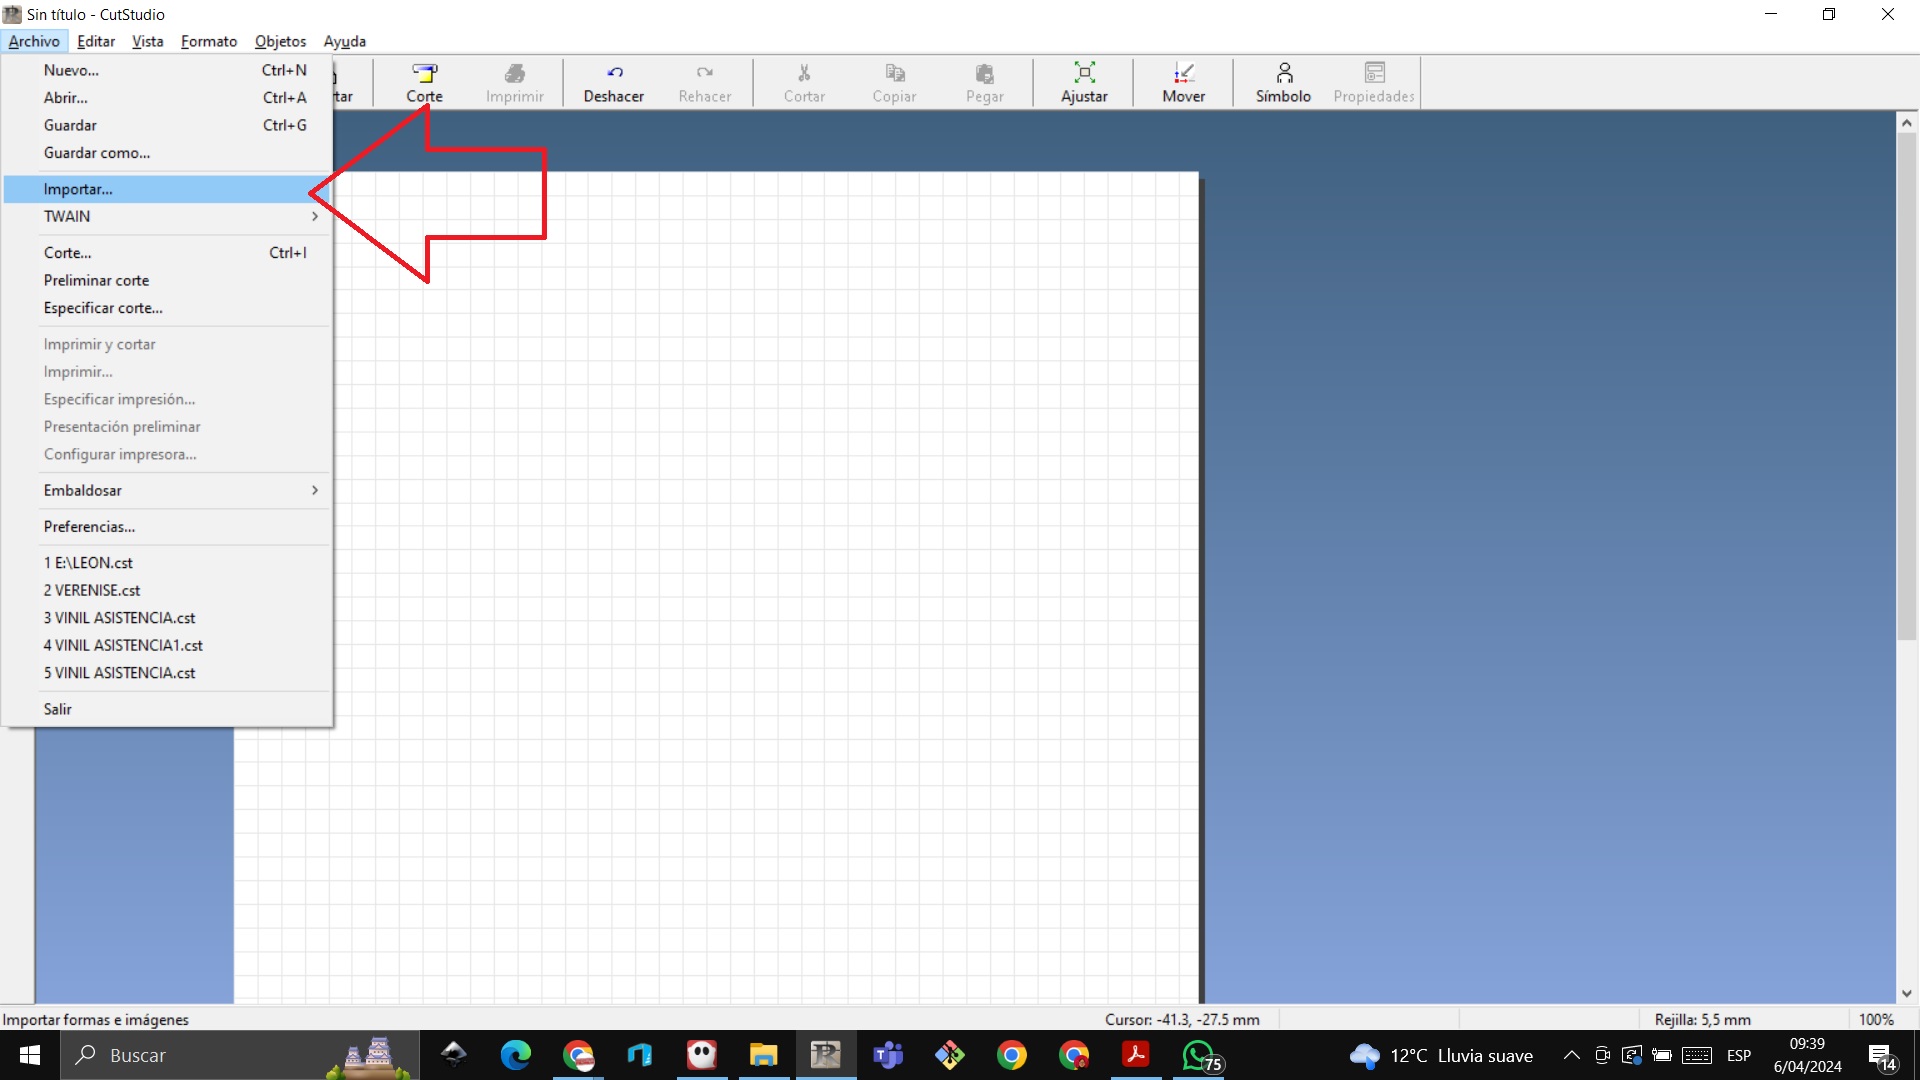
INDIVIDUAL ASSIGNEMENT: VINYL CUTTER
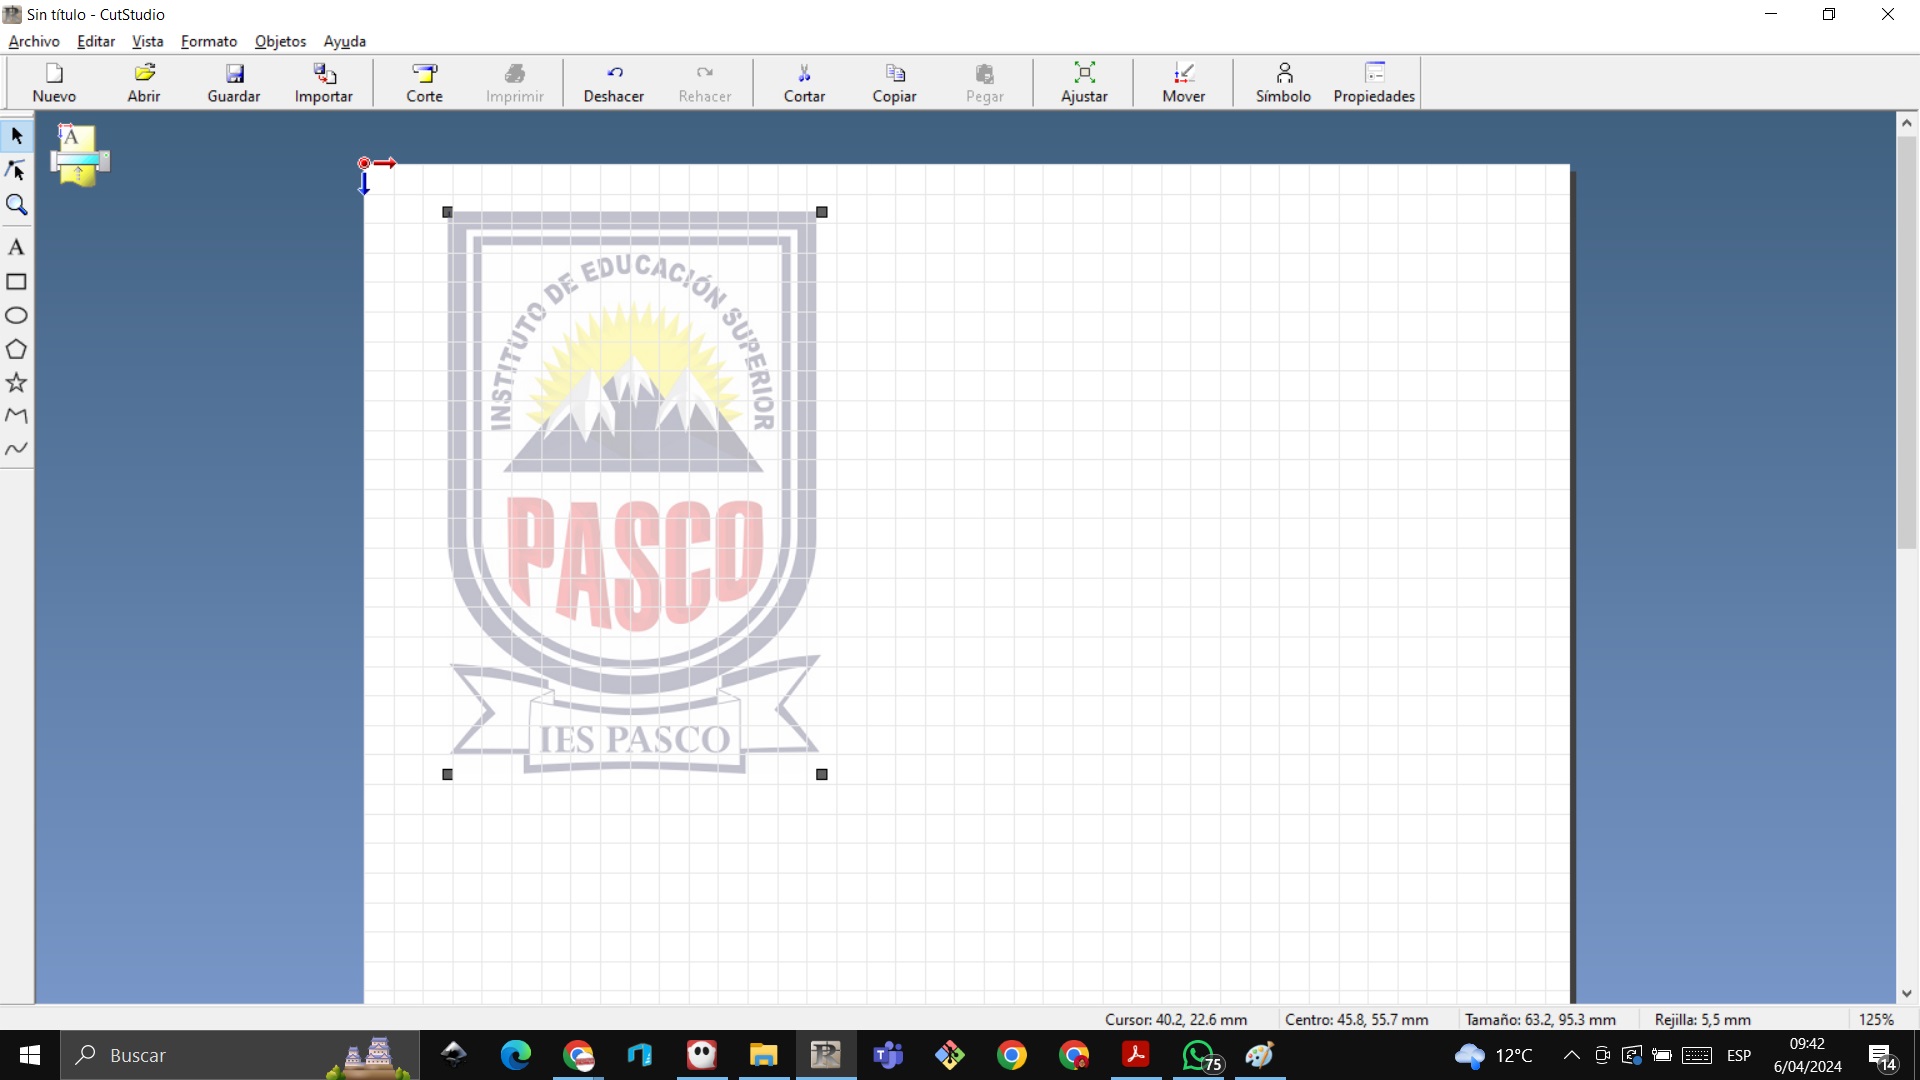
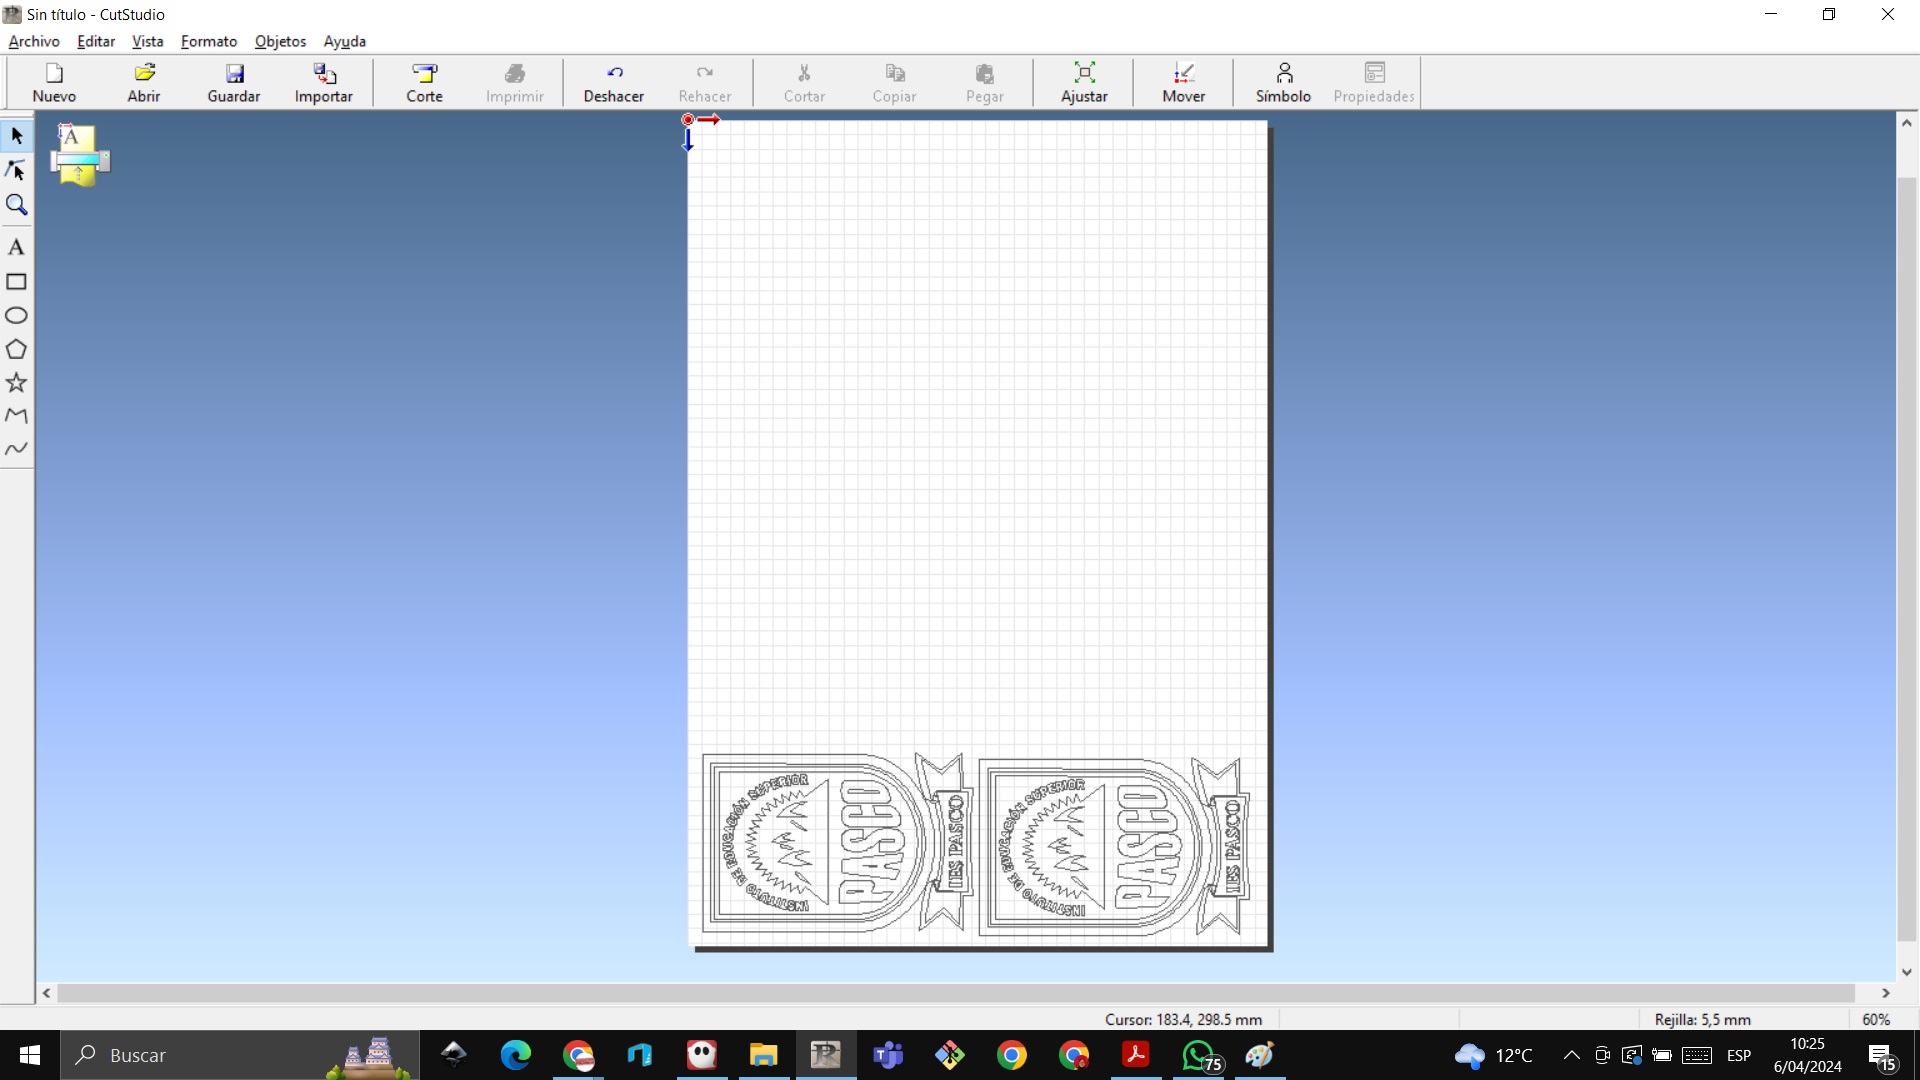
We will design the shield of the Pasco Institute
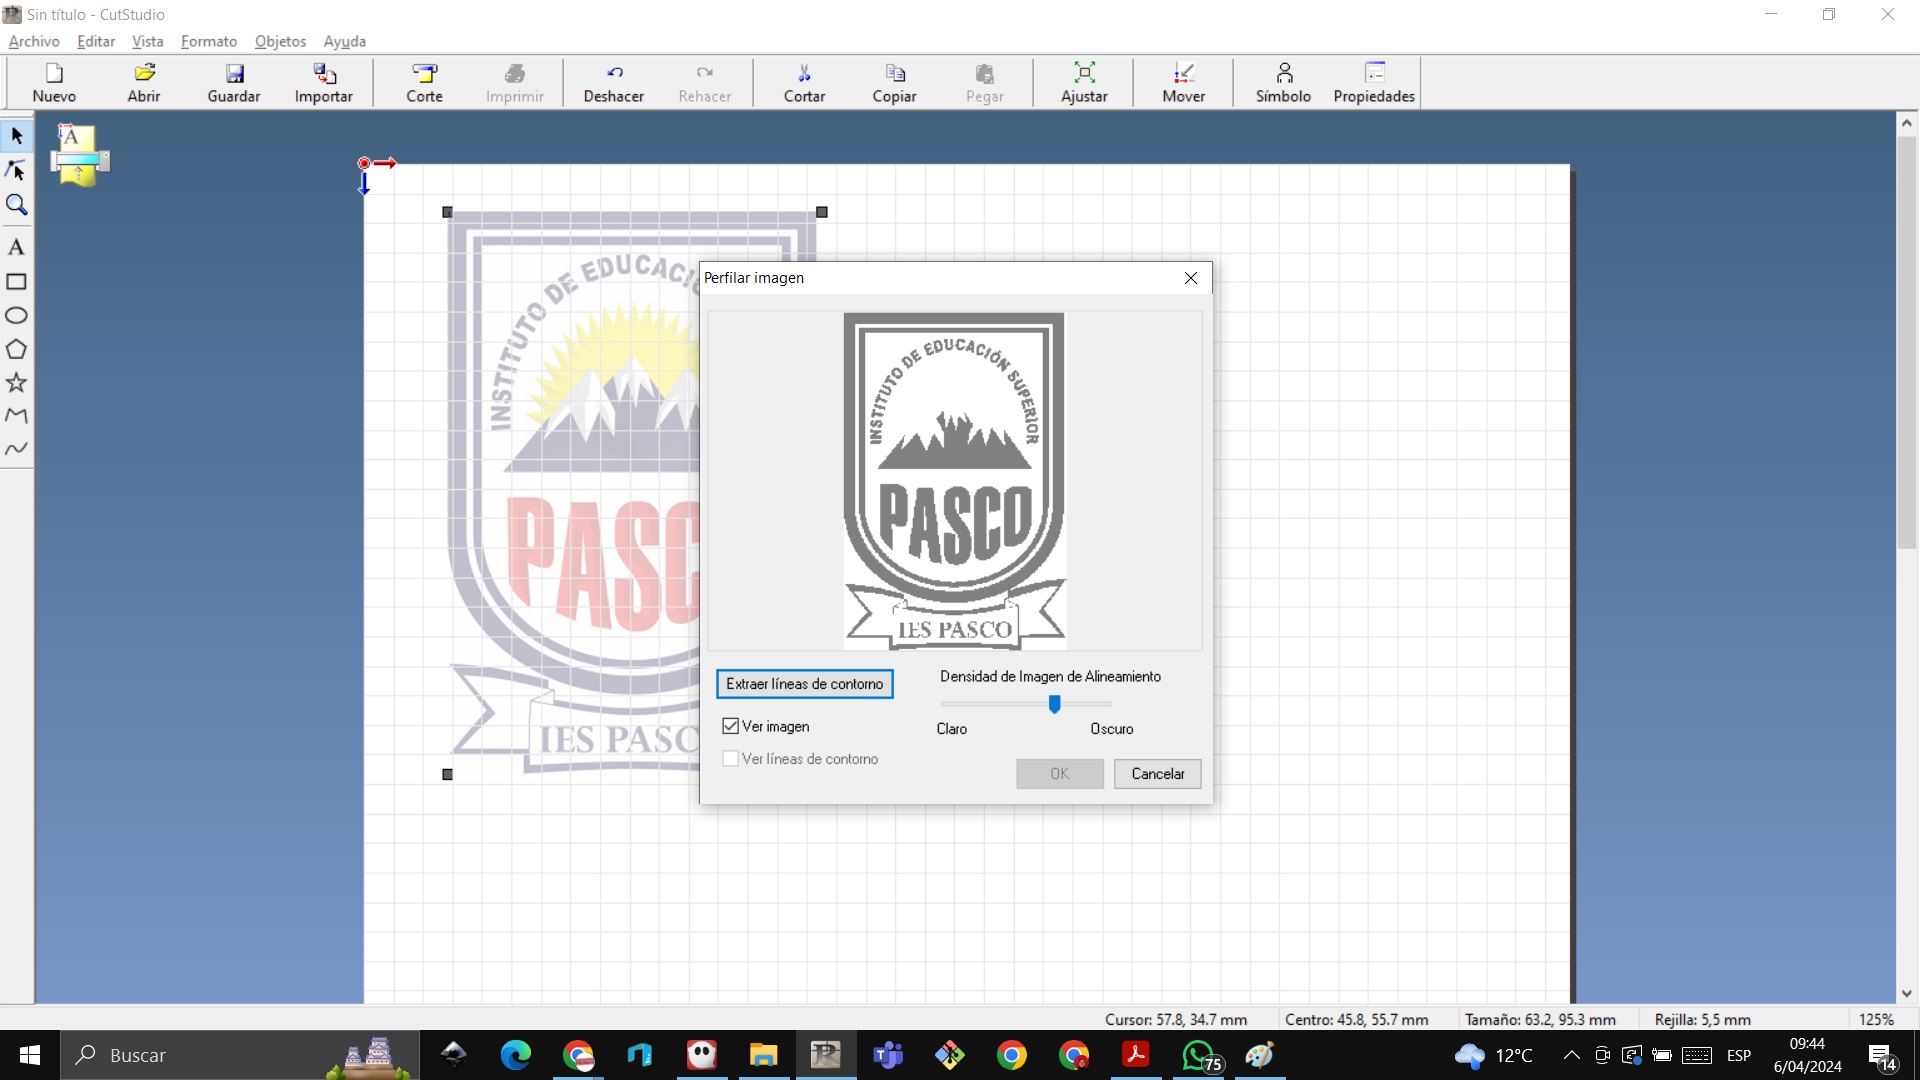
STEP 1: We open the CutStudio software and import the file
 STEP 2: We right click and choose outline image
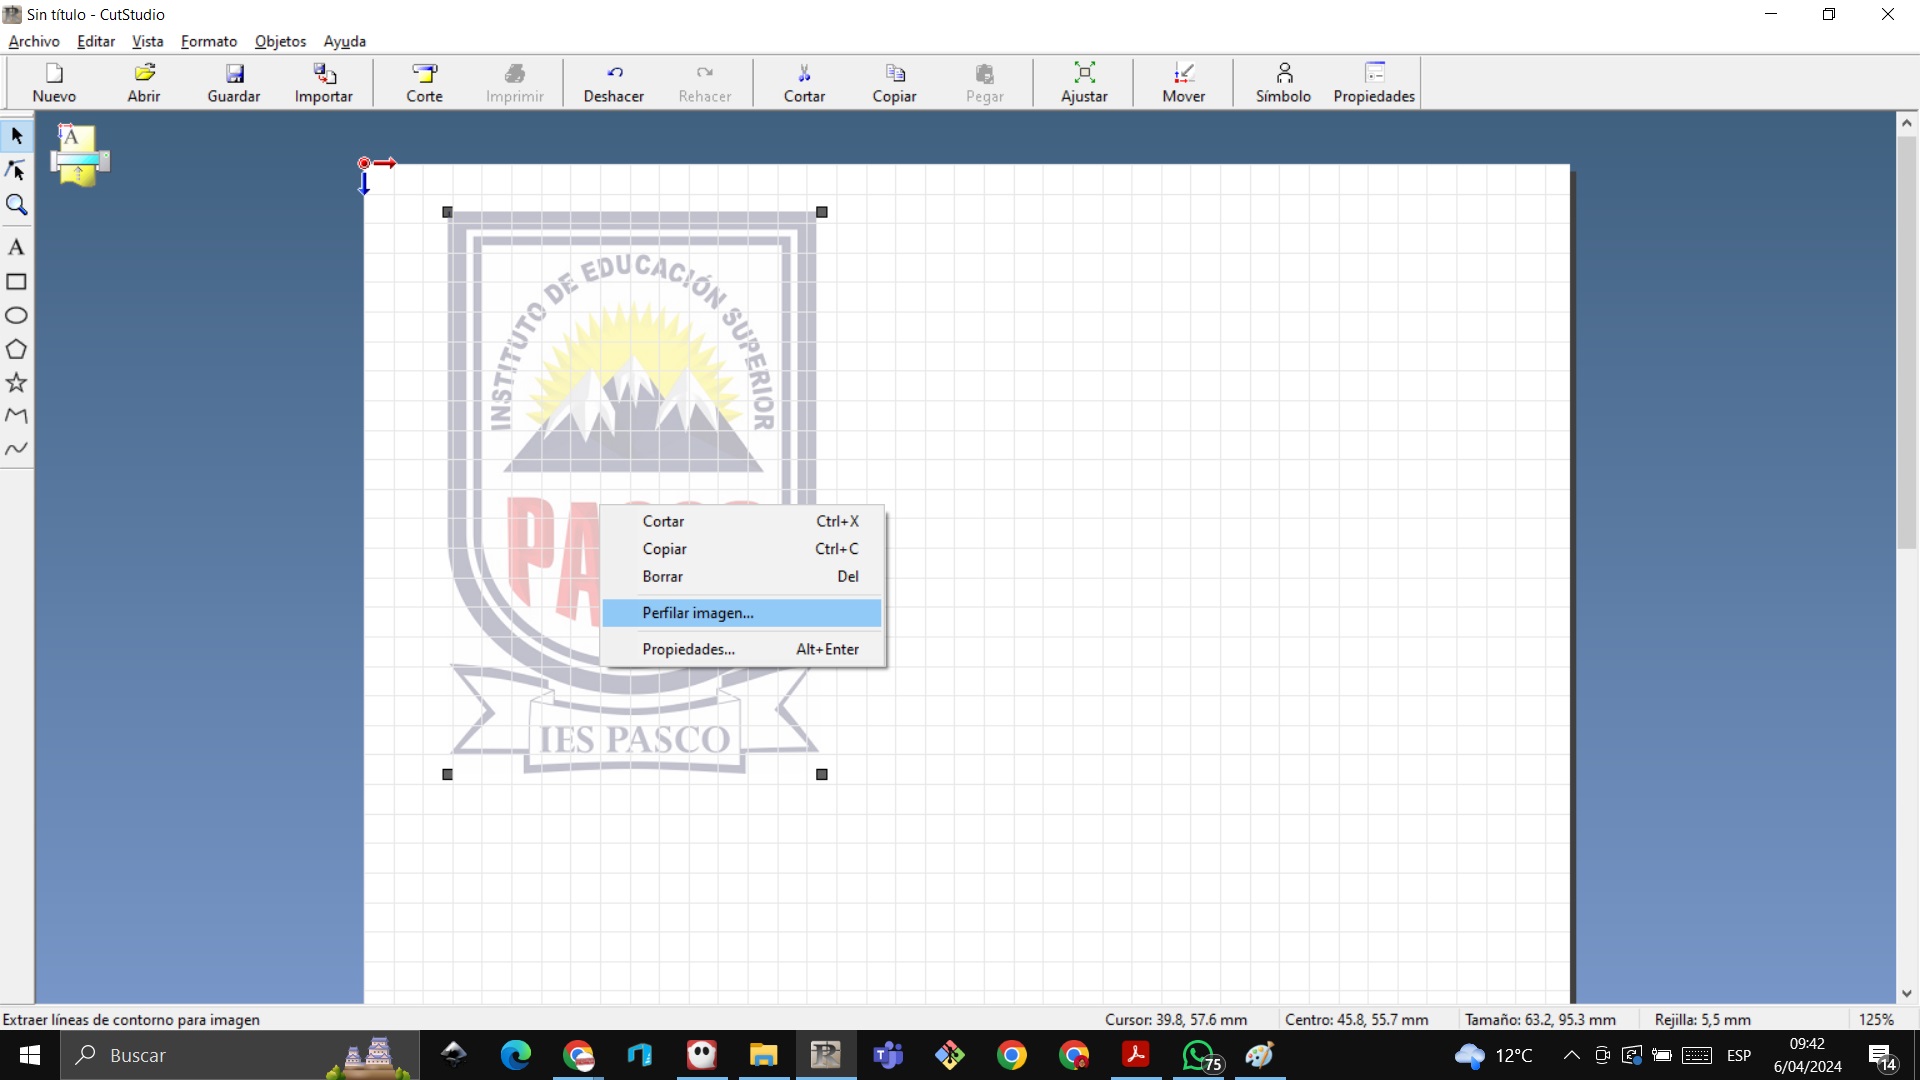
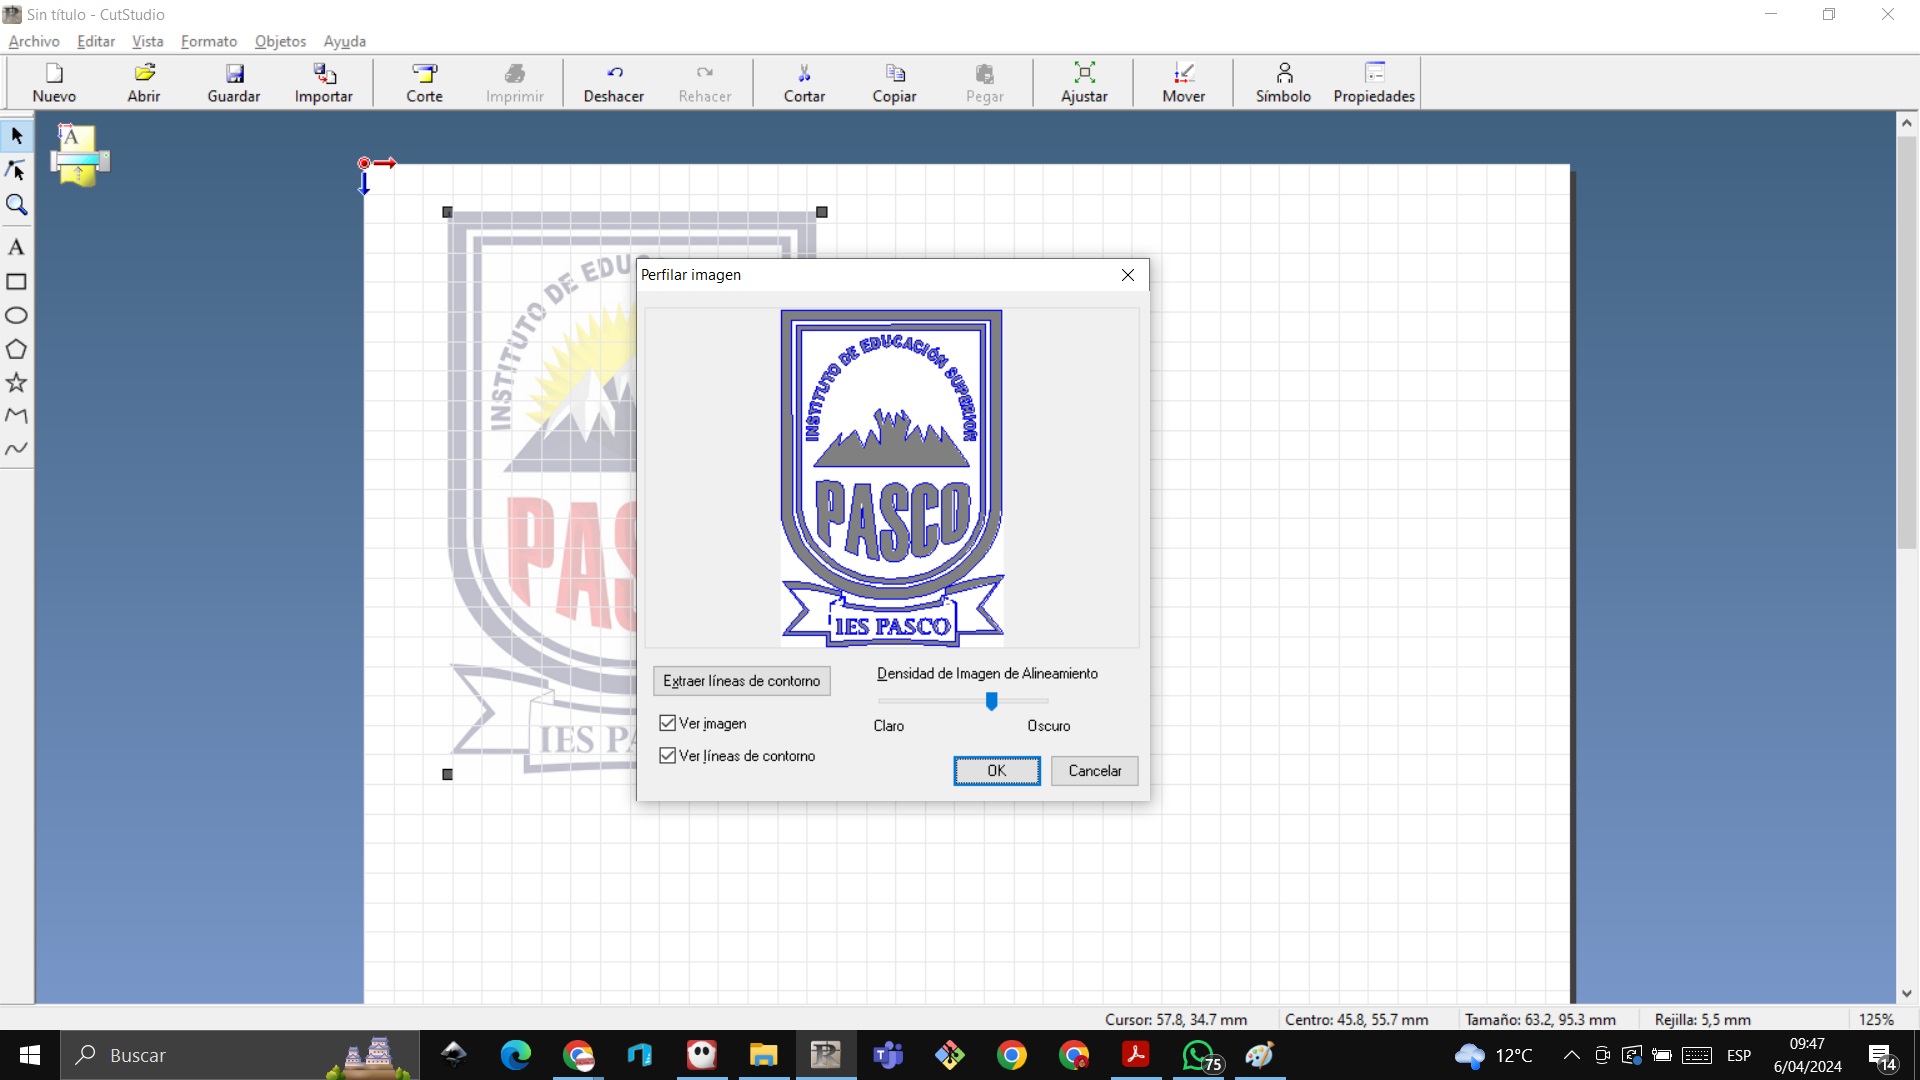
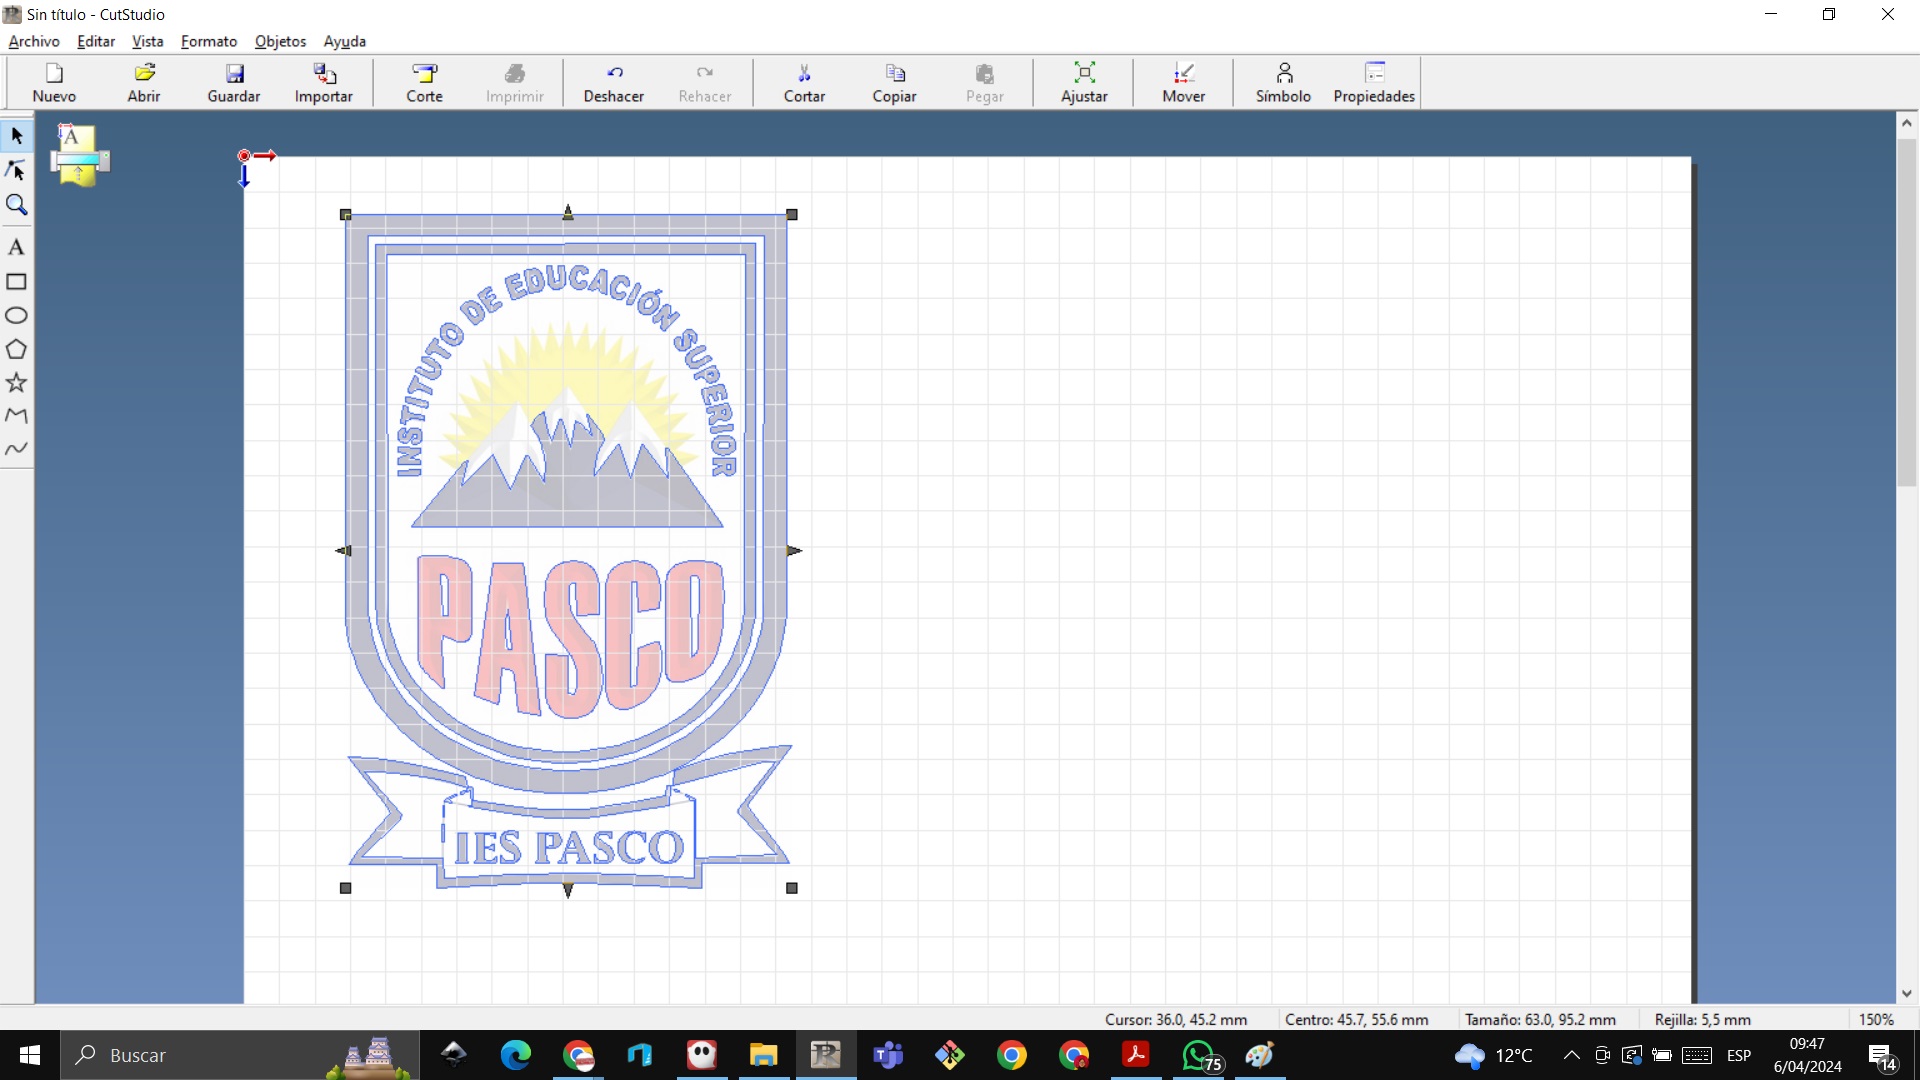
 STEP 3: We choose to extract contour lines and verify that the image becomes blue lines
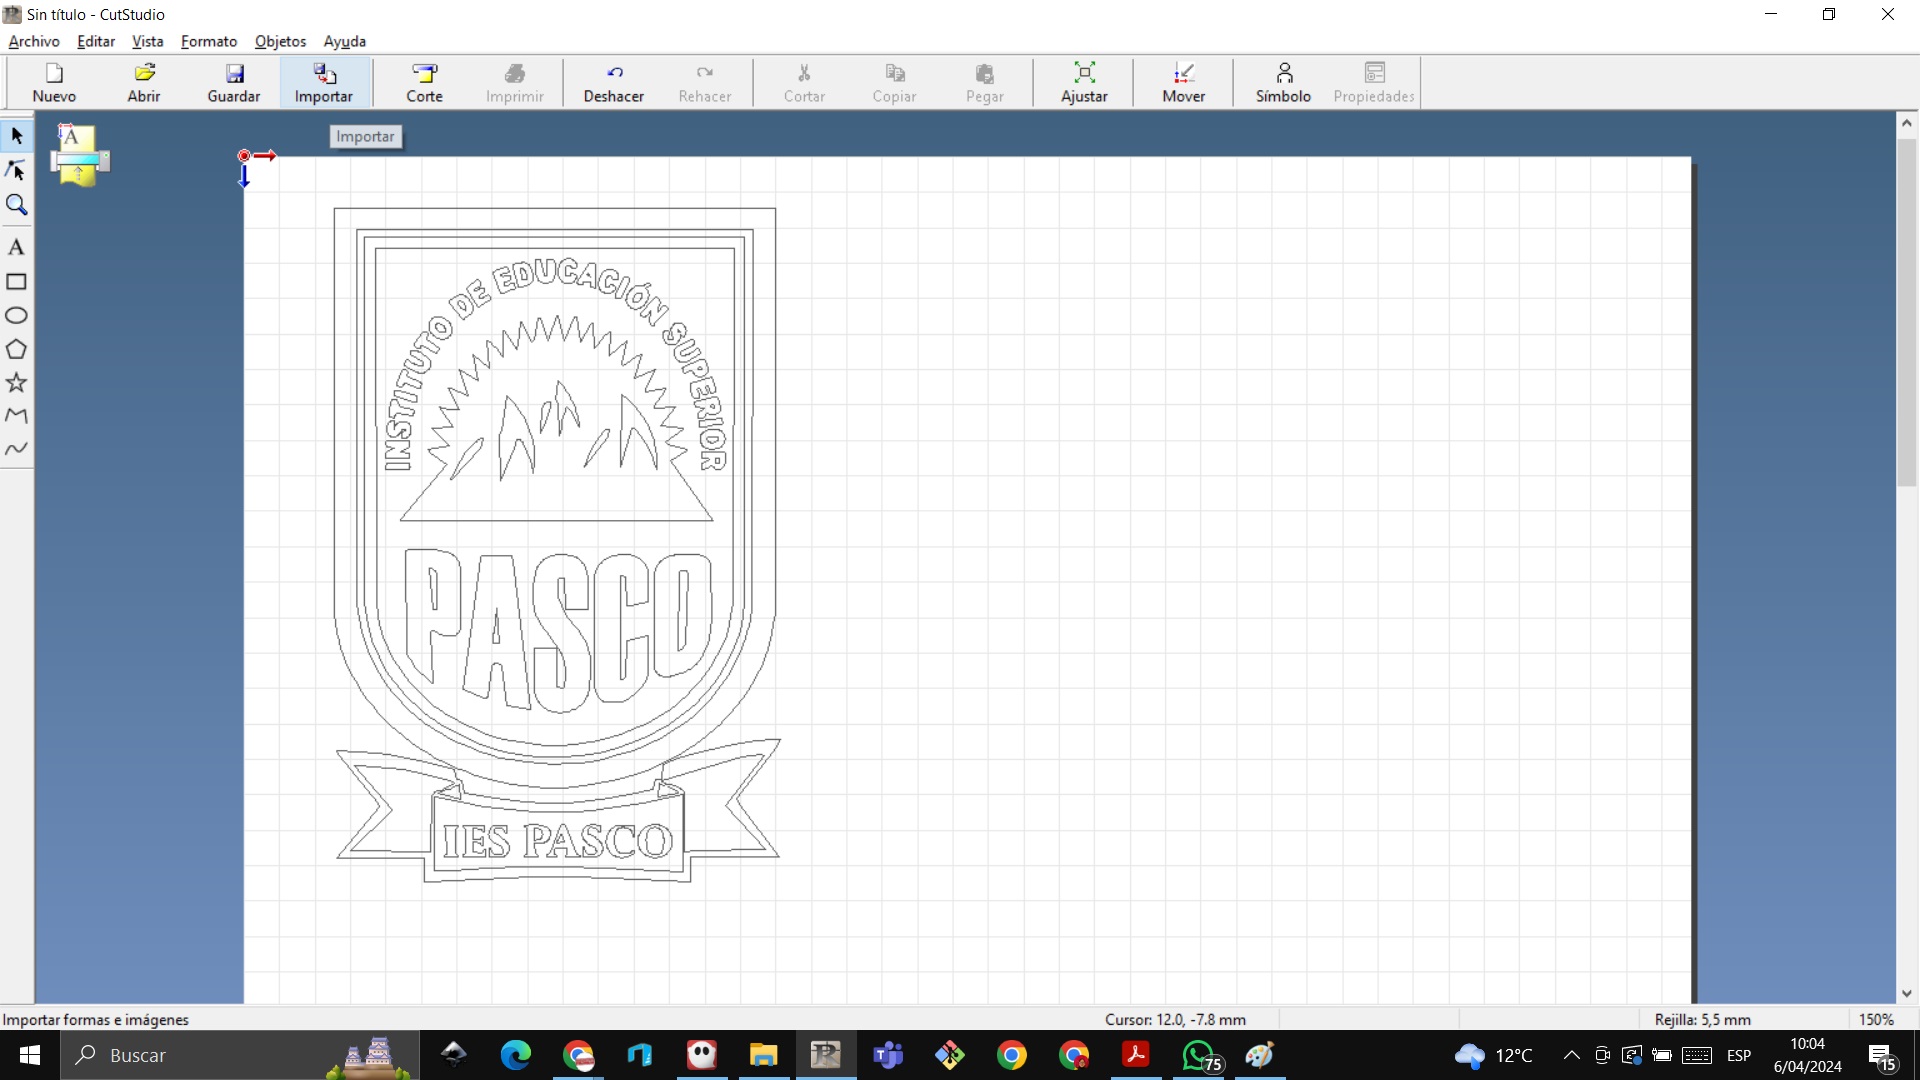
 STEP 4: We delete the image and are left with the vectorized

 STEP 5: We send to print on the vinyl cutter always placing it at the bottom of the sheet
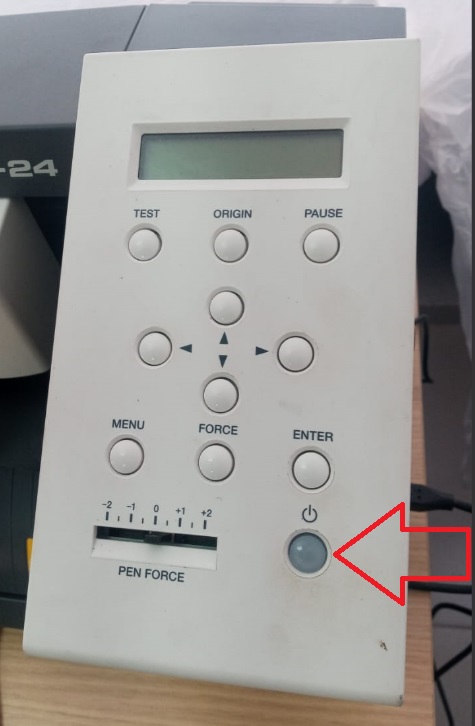
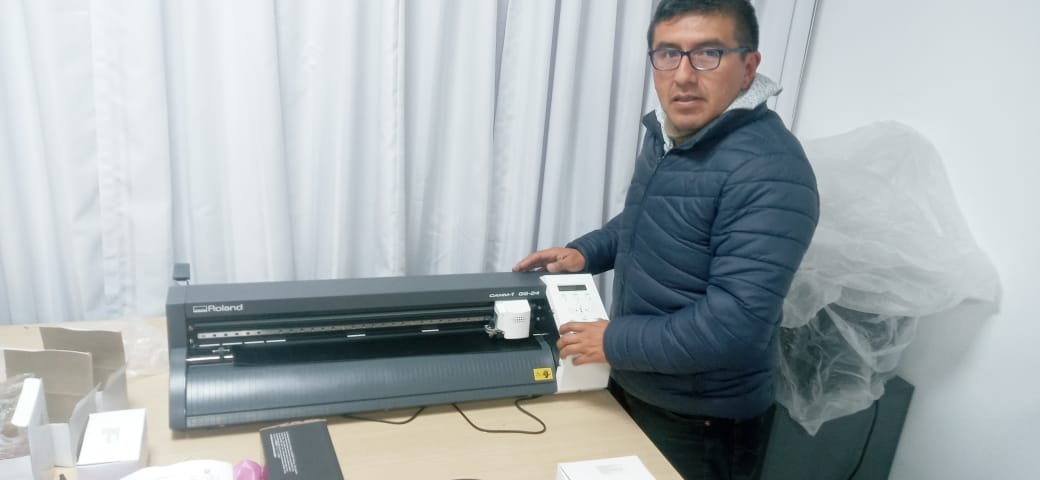
 STEP 6: We turn on the Roland brand vinyl cutter
 STEP 7: We place the vinyl on the edge and adjust the rear lever so that the vinyl is tight and we start cutting
 STEP 8: Once printed, we remove the parts that we do not want from the vinyl, we paste the mankintape and paste where we want it to be.
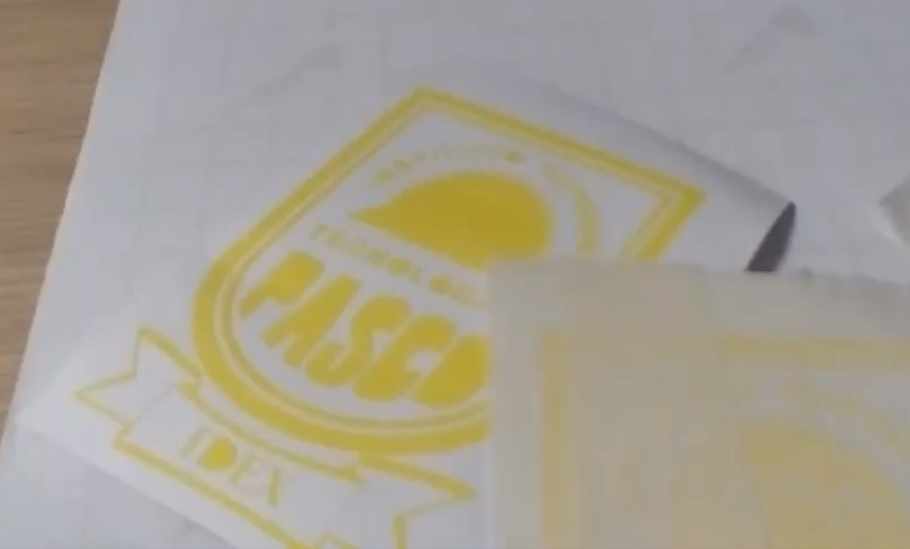 STEP 9: The remaining result is:


FILES
Files Onshape - corte_laser - trofeo_corel - trofeo_corel_1
Files Cut Studio - escudo_instituto
CONCLUSIONS
CONCLUSIONS OF USING THE LASER CUTTER
When using the laser cutter you have to see that there is a balance between speed and power and it also depends a lot on what material you will cut to use 3mm MDF the speed has to be 20 and the power 75 that also depends a lot on whether the The lenses are dusty and we don’t clean them every day, so we’re going to have to increase the power.
CONCLUSIONS OF USING THE VINYL CUTTER
When using the vinyl cutting machine, it is very practical and you can do endless jobs with images, just when printing, put the images at the bottom so as not to use a lot of vinyl.