Week 2: Computer-Aided Design
Small animal portable house with Corel Draw
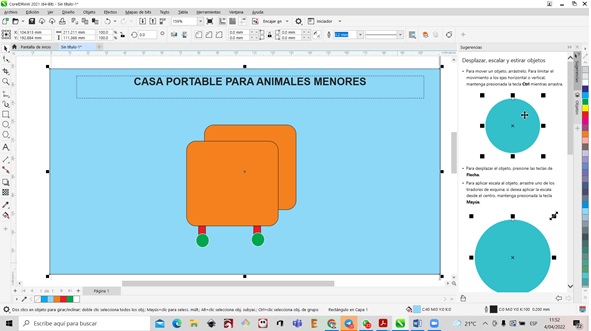
We entered Corel Draw and designed the portable house for small animals

We go to the color palette section and choose the light blue color
We click on text to be able to write the title of the project
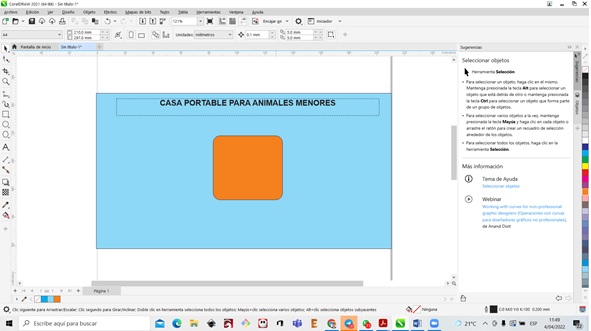
The result we obtain is:

We enter rectangular tool to create the house
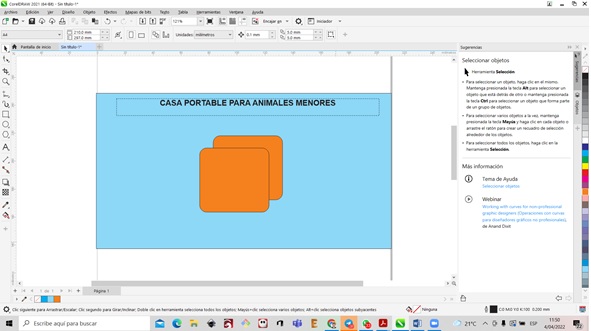
We duplicate the square to make the other part of the house
We create your tires
Creating the divisions with a 2 point line
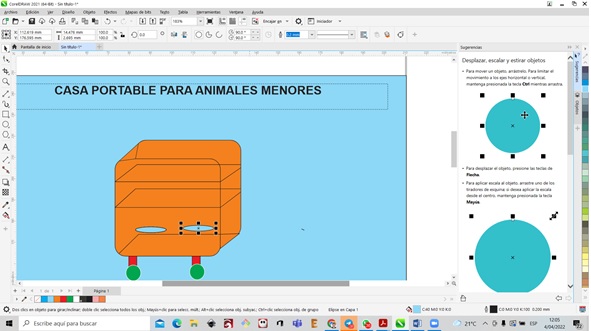
We create the containers

Creating the portable house handles

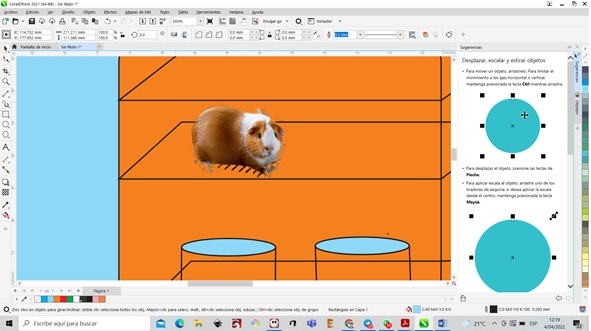
We enter the image of the guinea pig
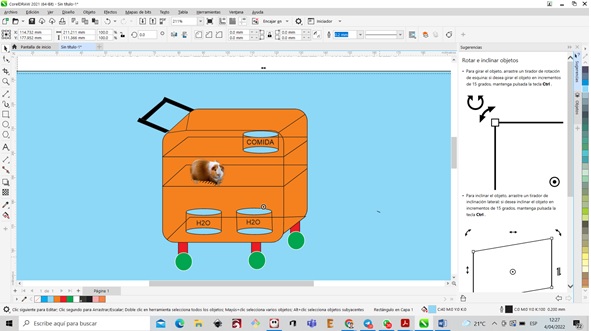
We increase the food container
Portable Small Animal House with Inkscape
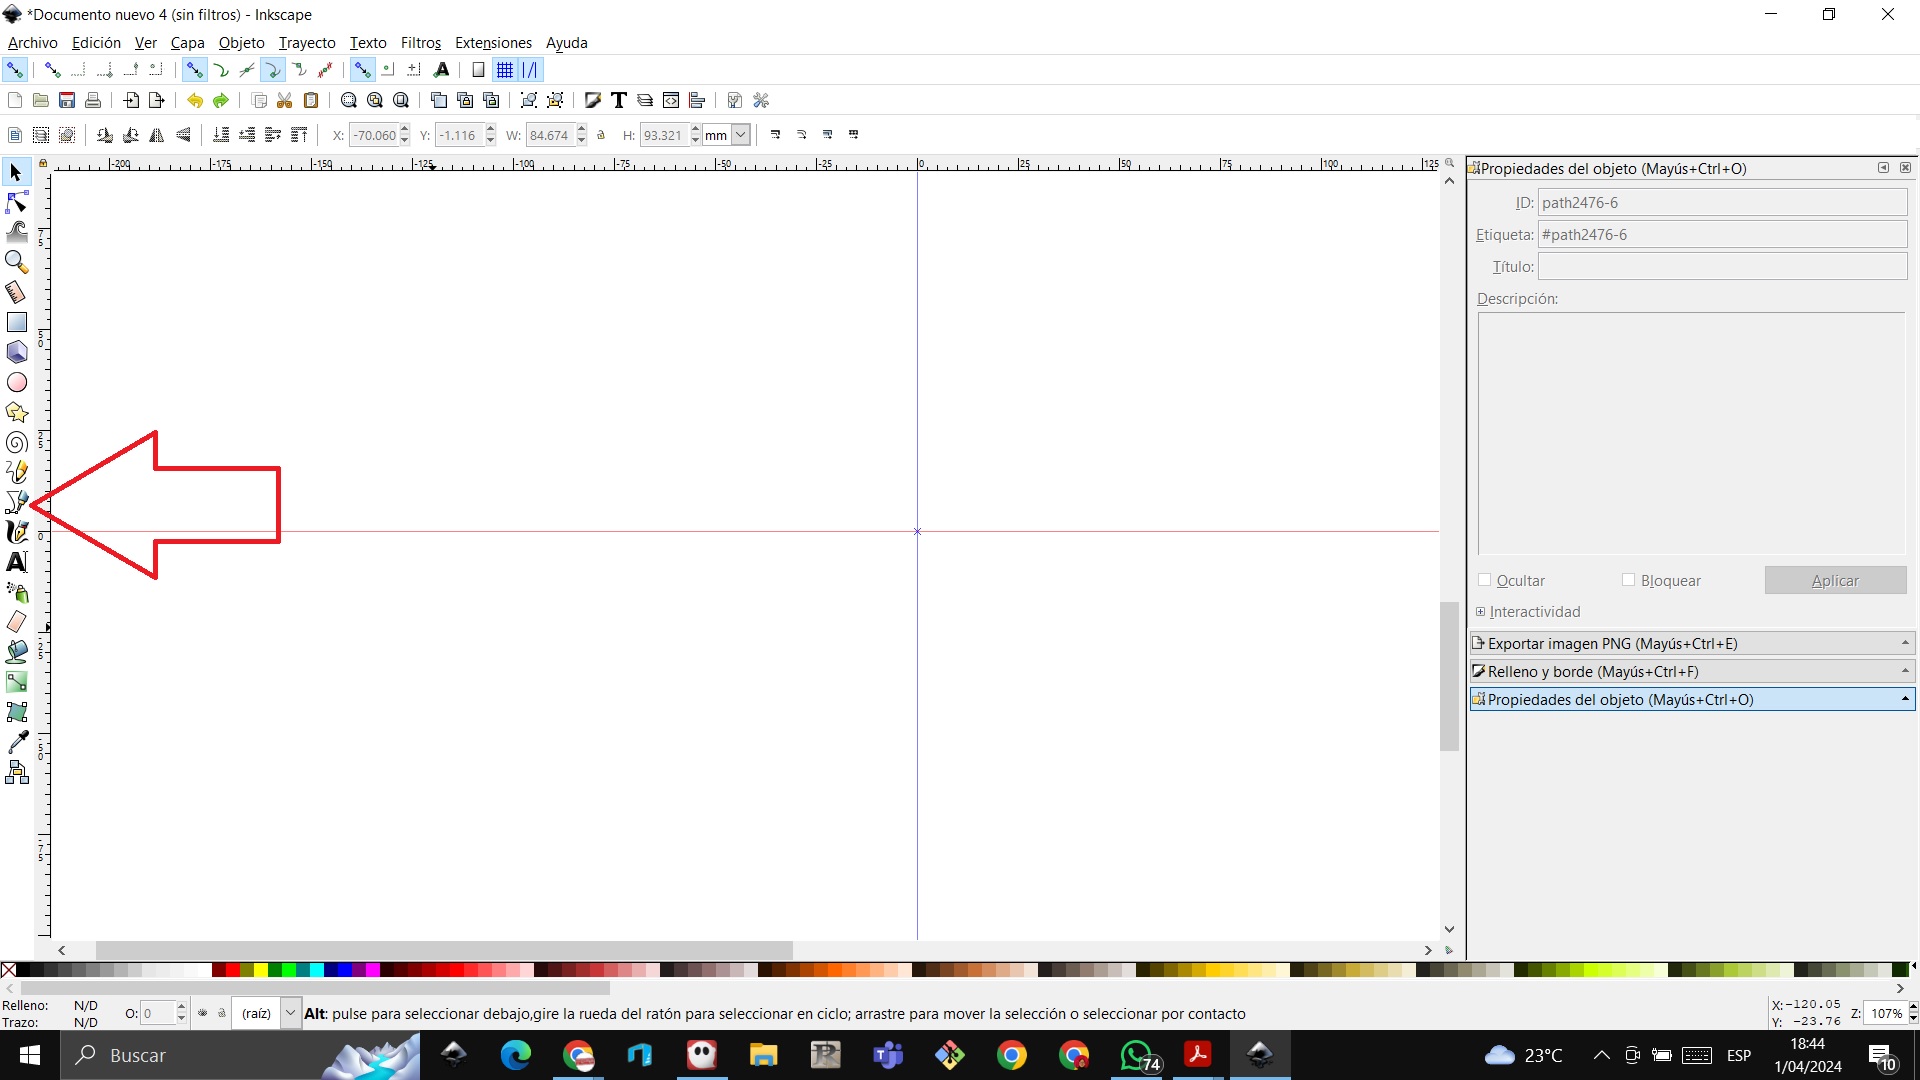
STEP 1: We click on the bezier tool
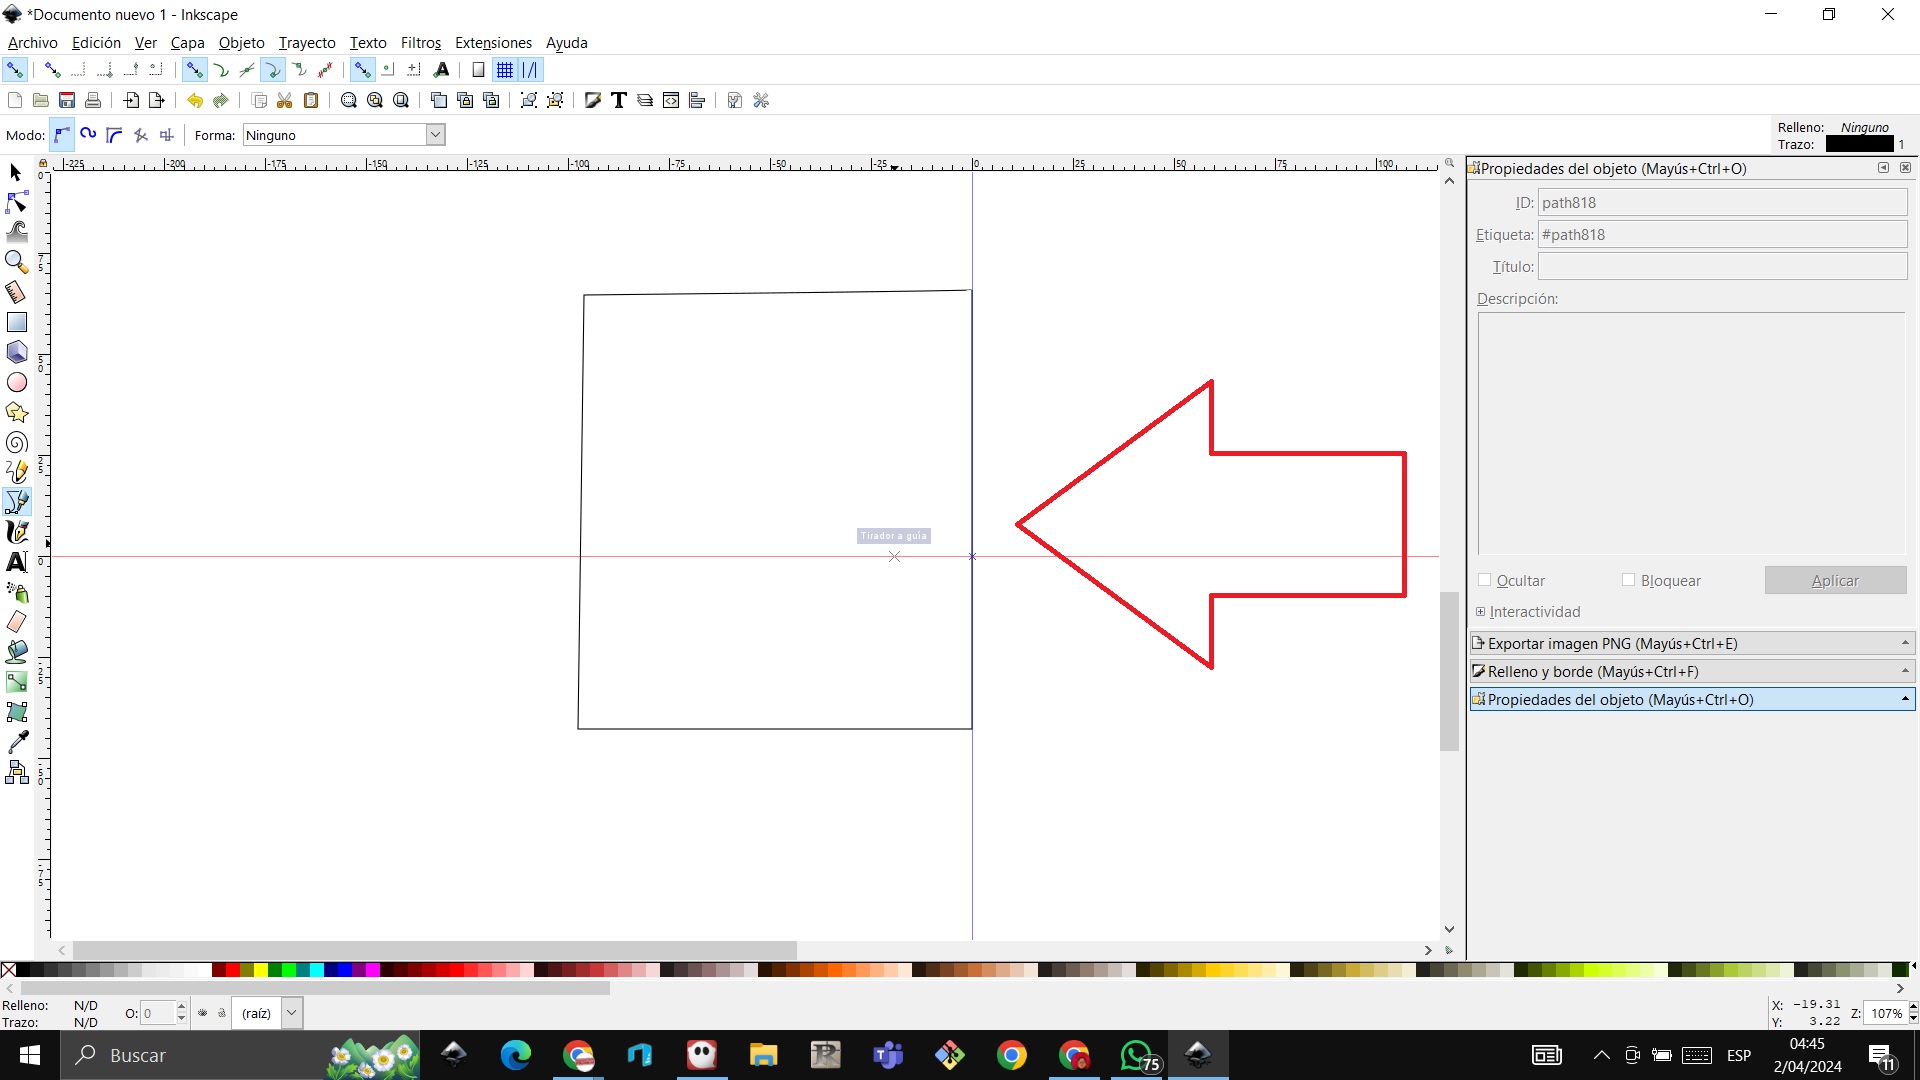
 STEP 2: We frame a square to make the cage for the smaller animal
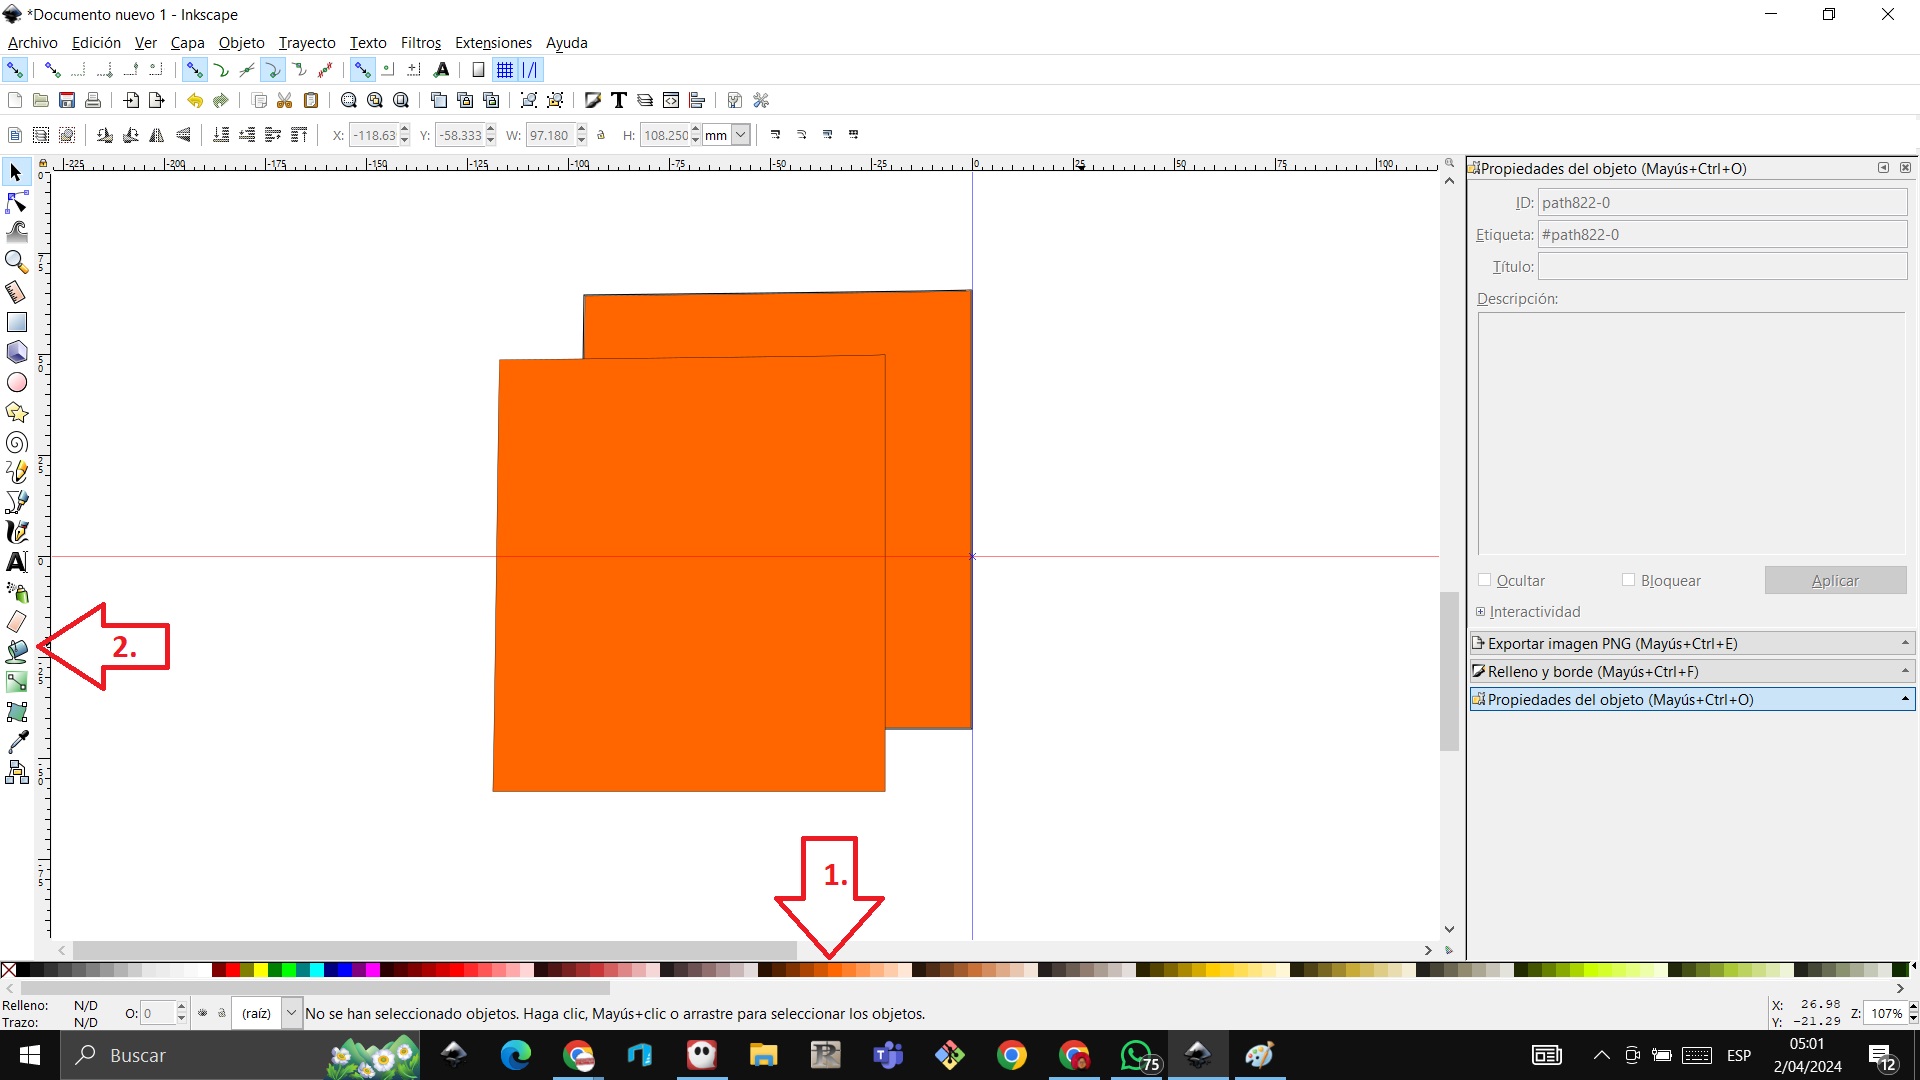
 STEP 3: We paint the area with the fill tool, choose the color and replicate the graphic
 STEP 4: With the bezier tool I make the traces of the cage
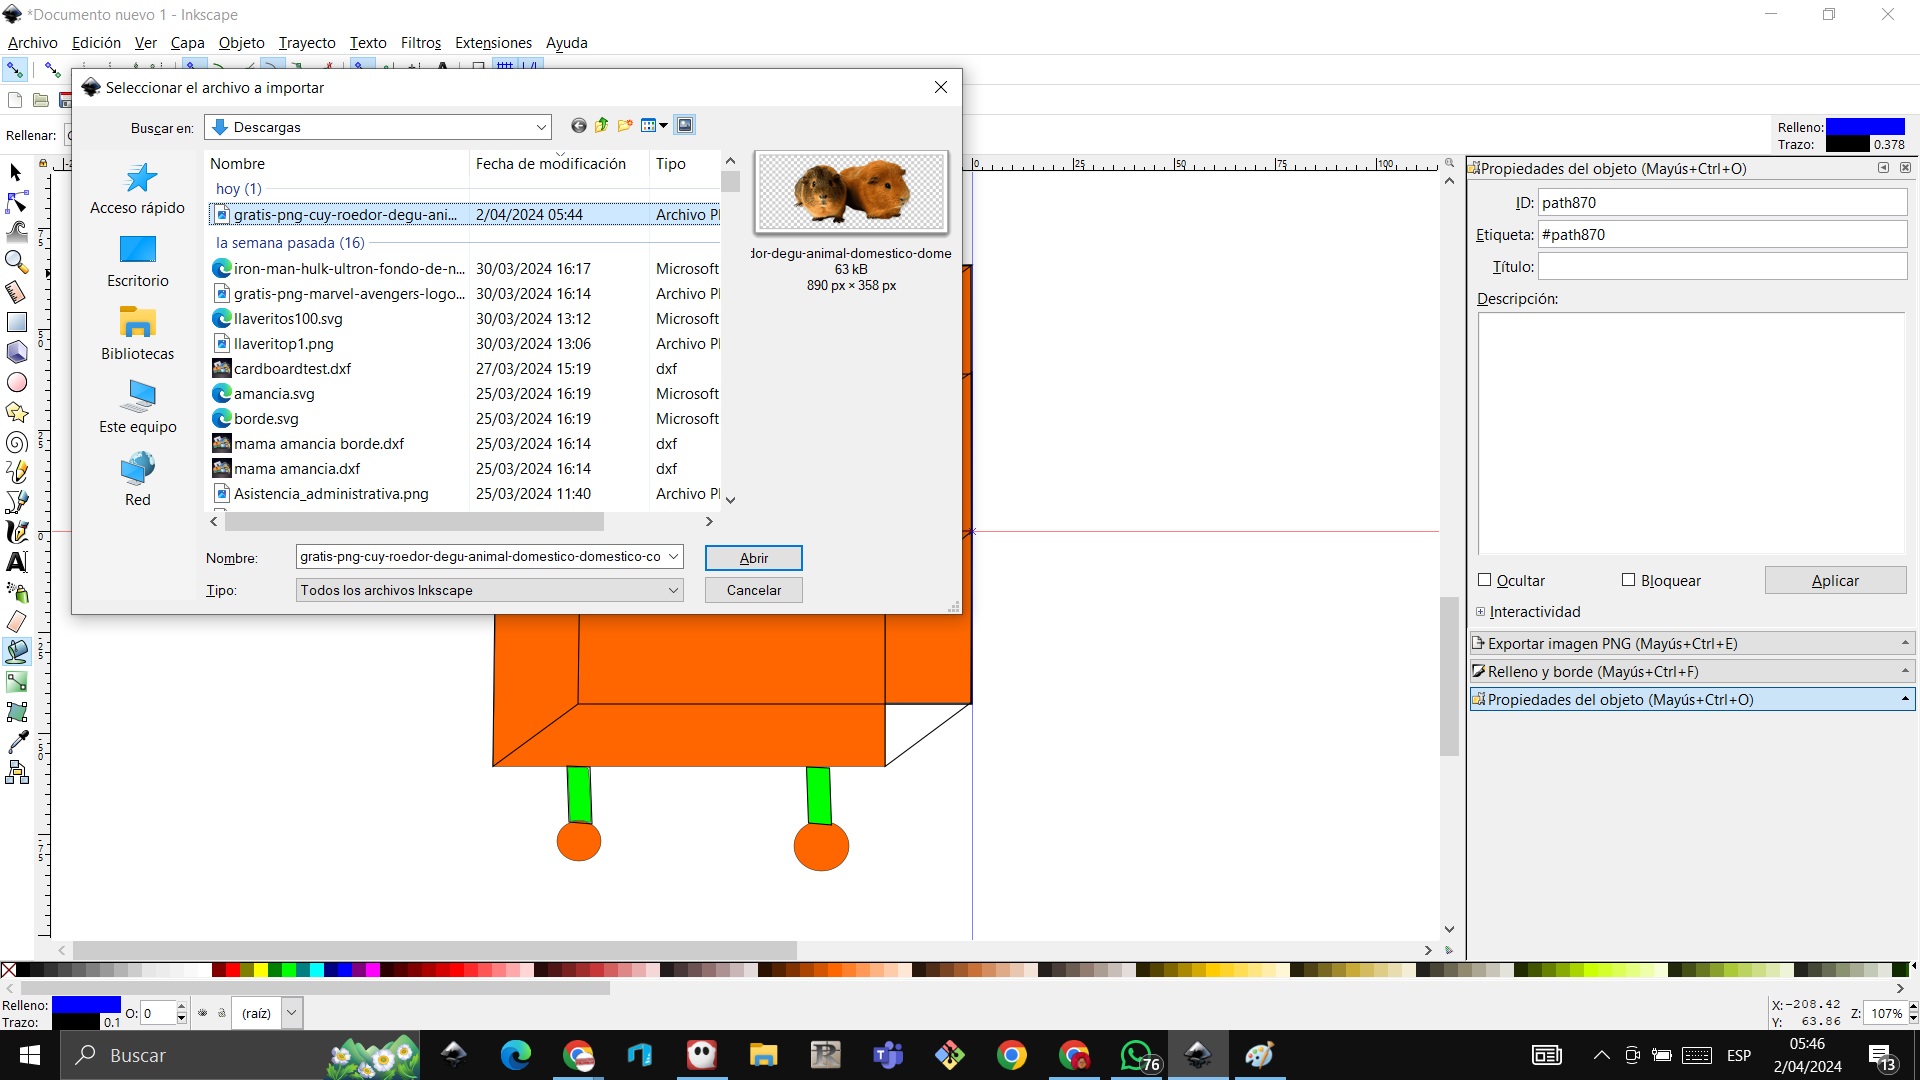
 STEP 5: We import the image of the guinea pig to the work table
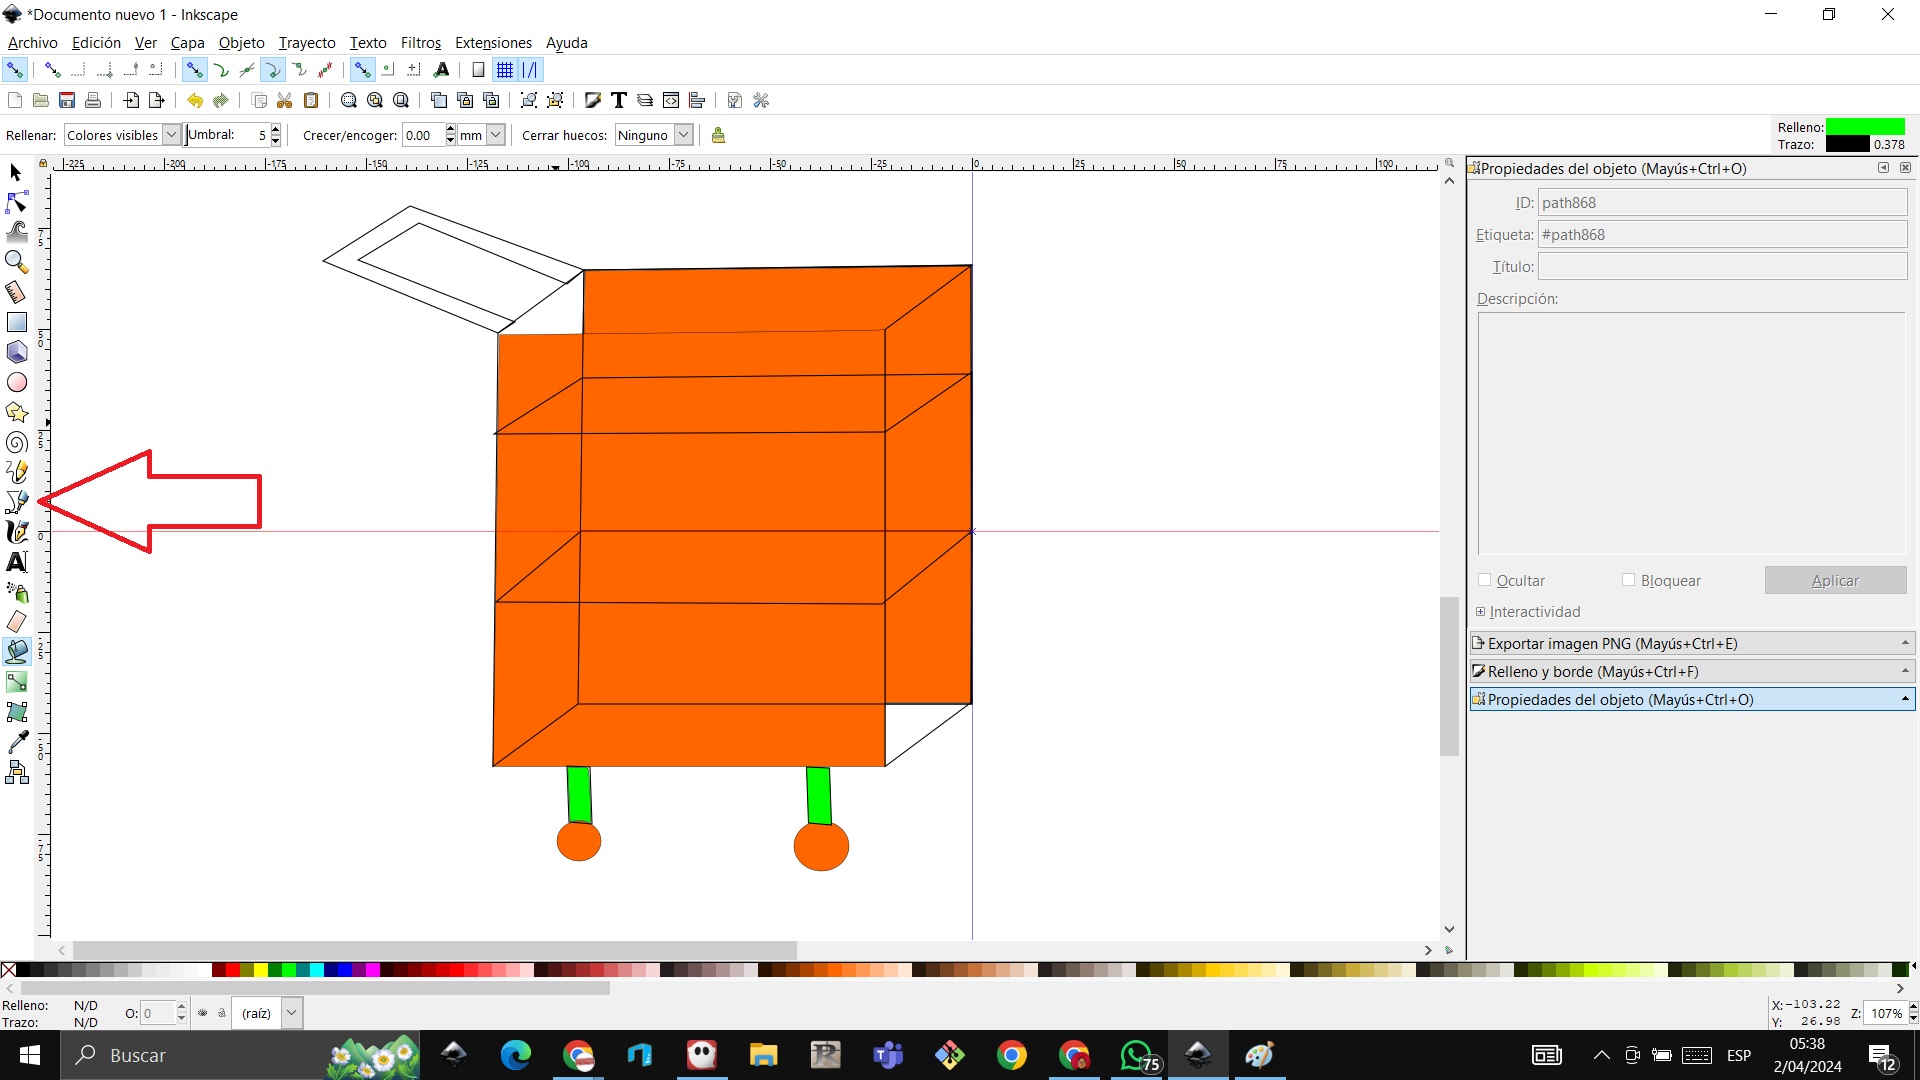
 STEP 6: We complete the work with circles and color
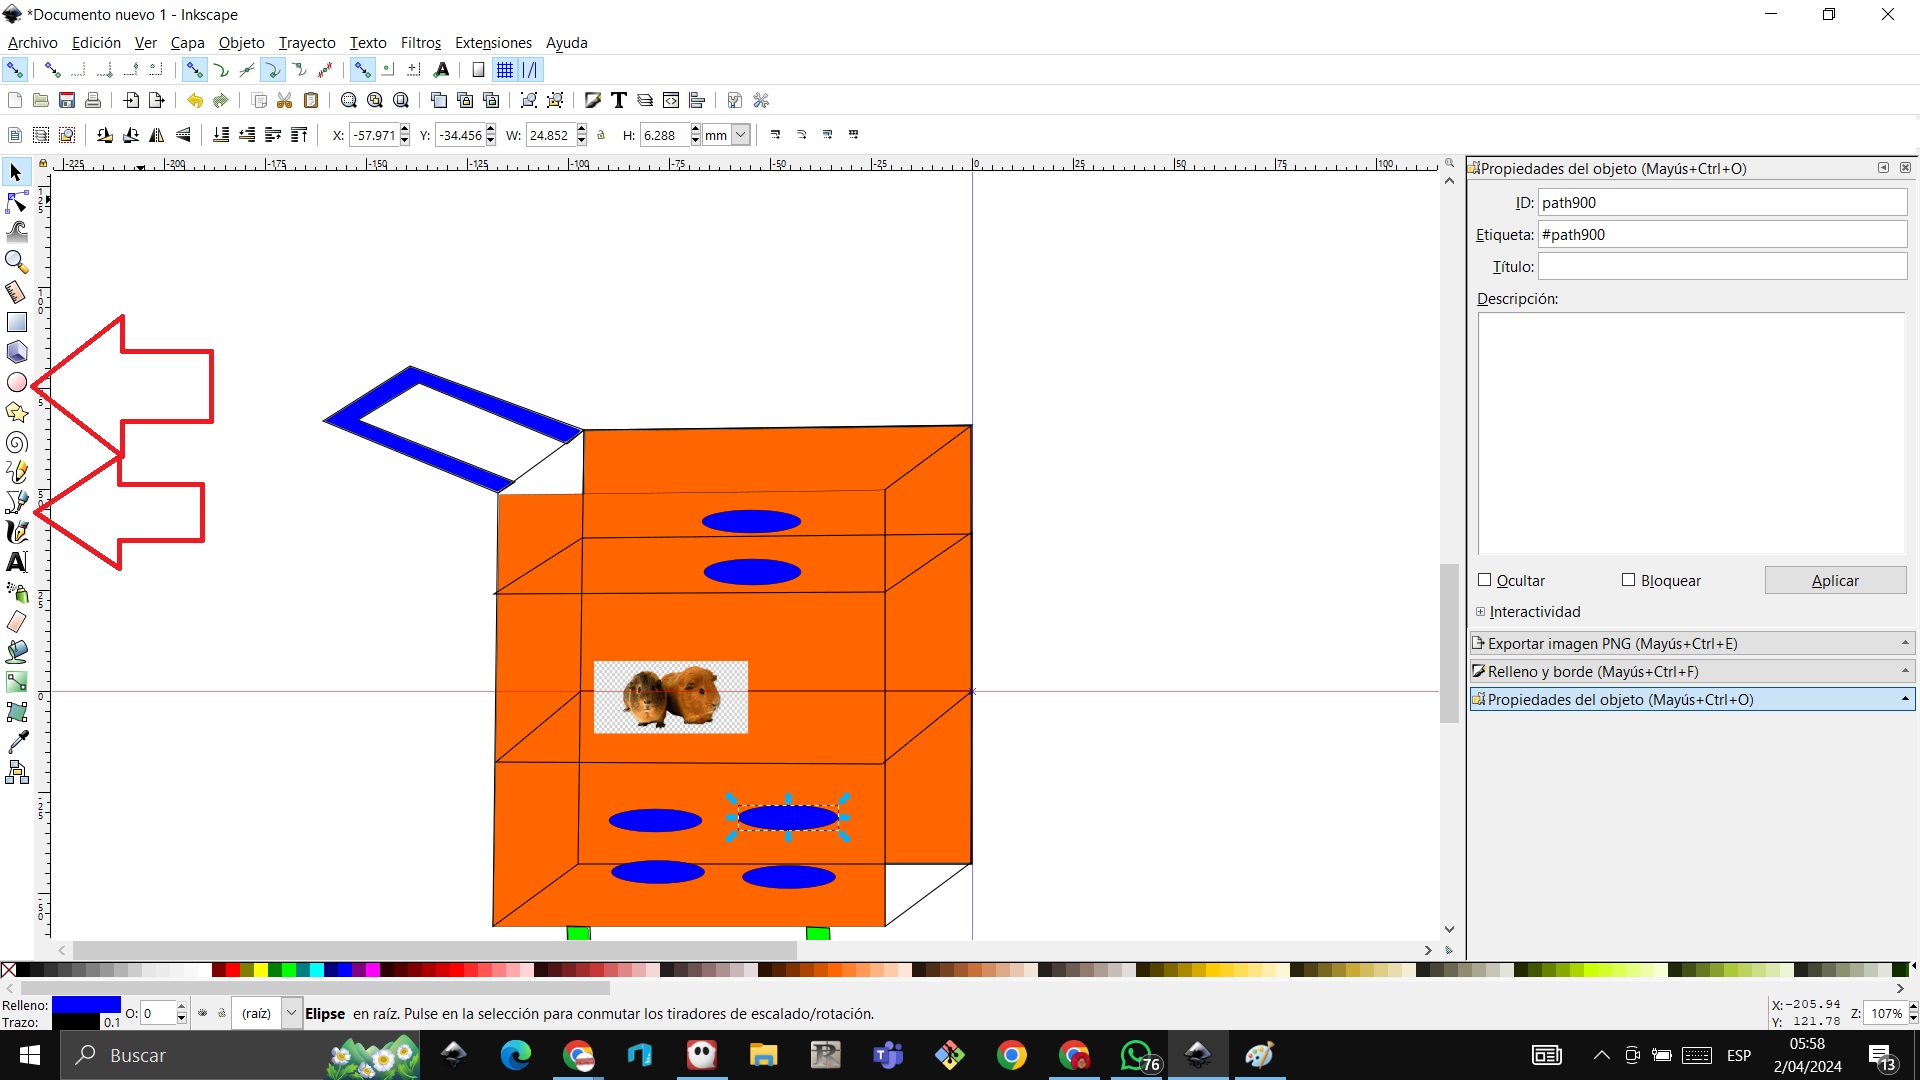 STEP 7: The cage is left this way

Comparing Corel Draw with Inkscape
The results are similar. Personally, I like Corel Draw better because of the simplicity of its tools
Using GIMP
GIMP is a Free Software application covered by the General Public License version 3 (GPL) [GPL]. The GPL gives users the freedom to access and modify the source code from which programs are built.
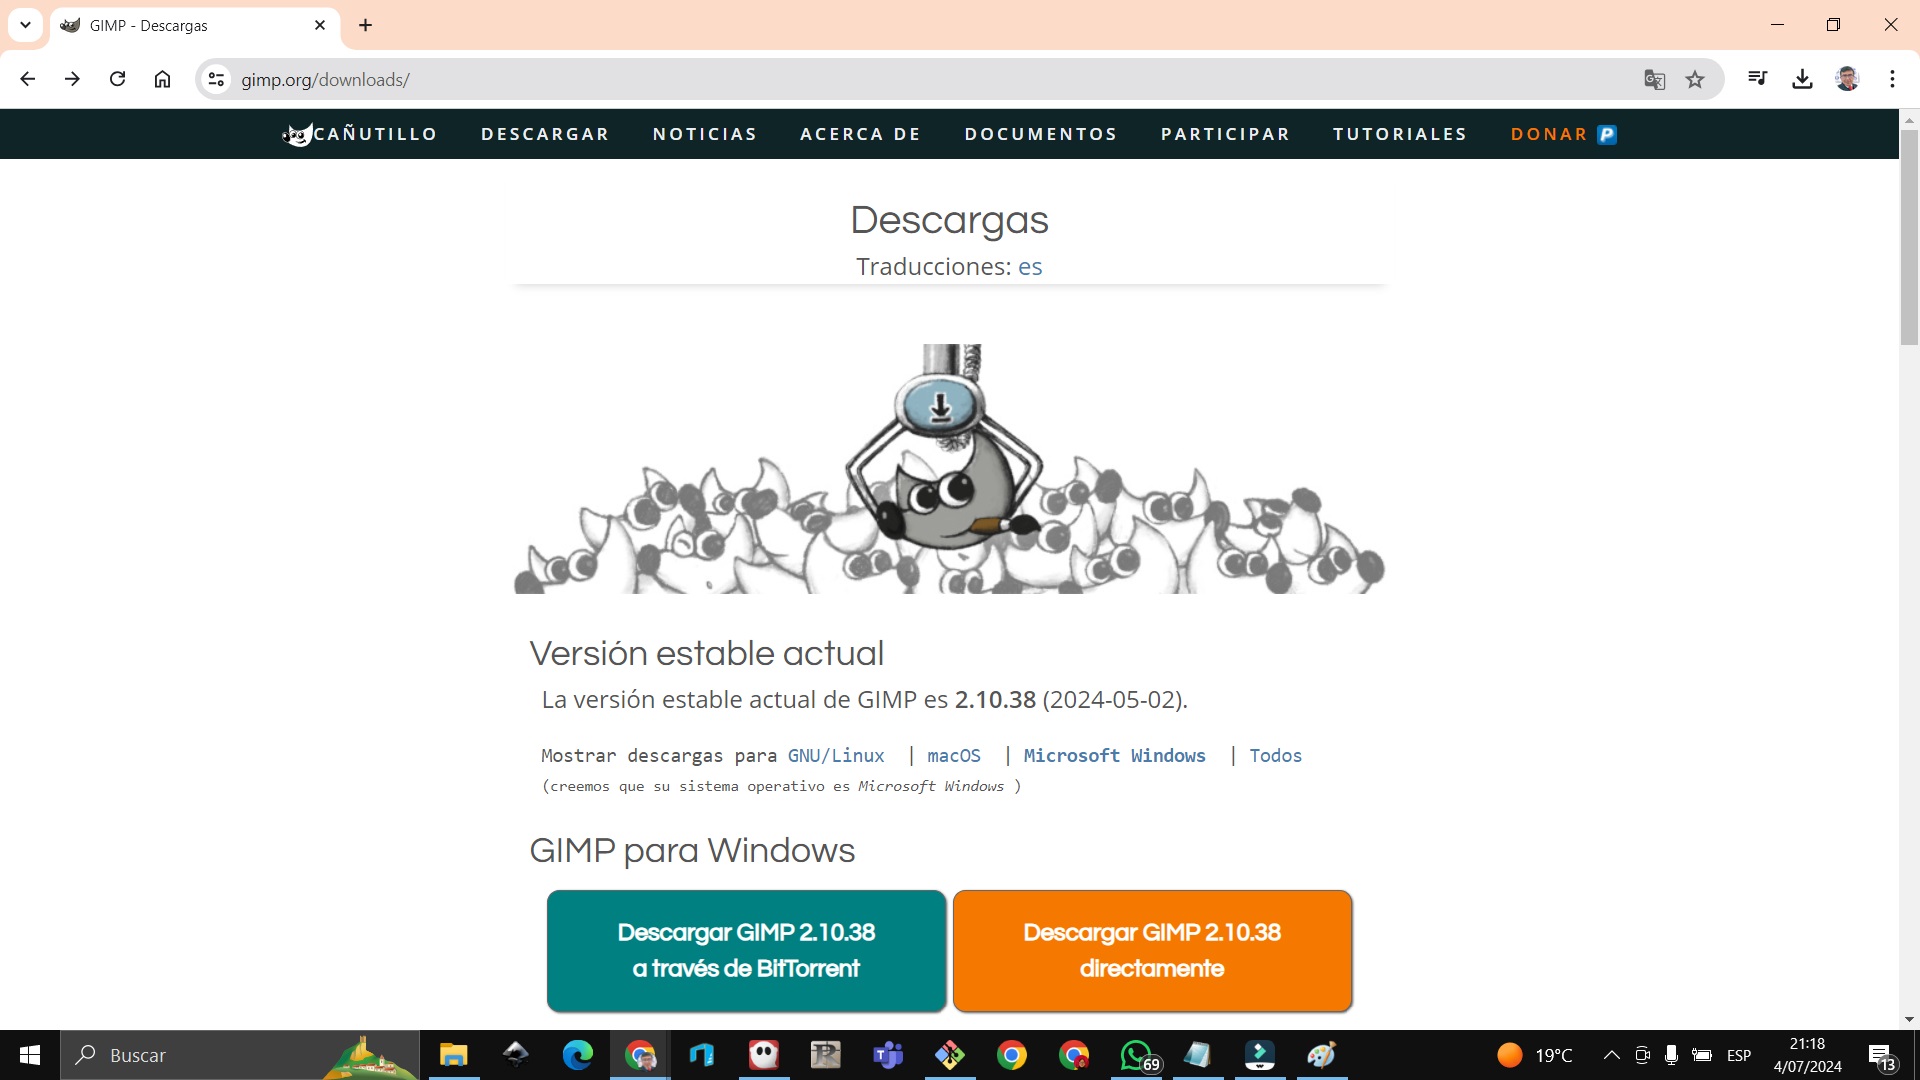
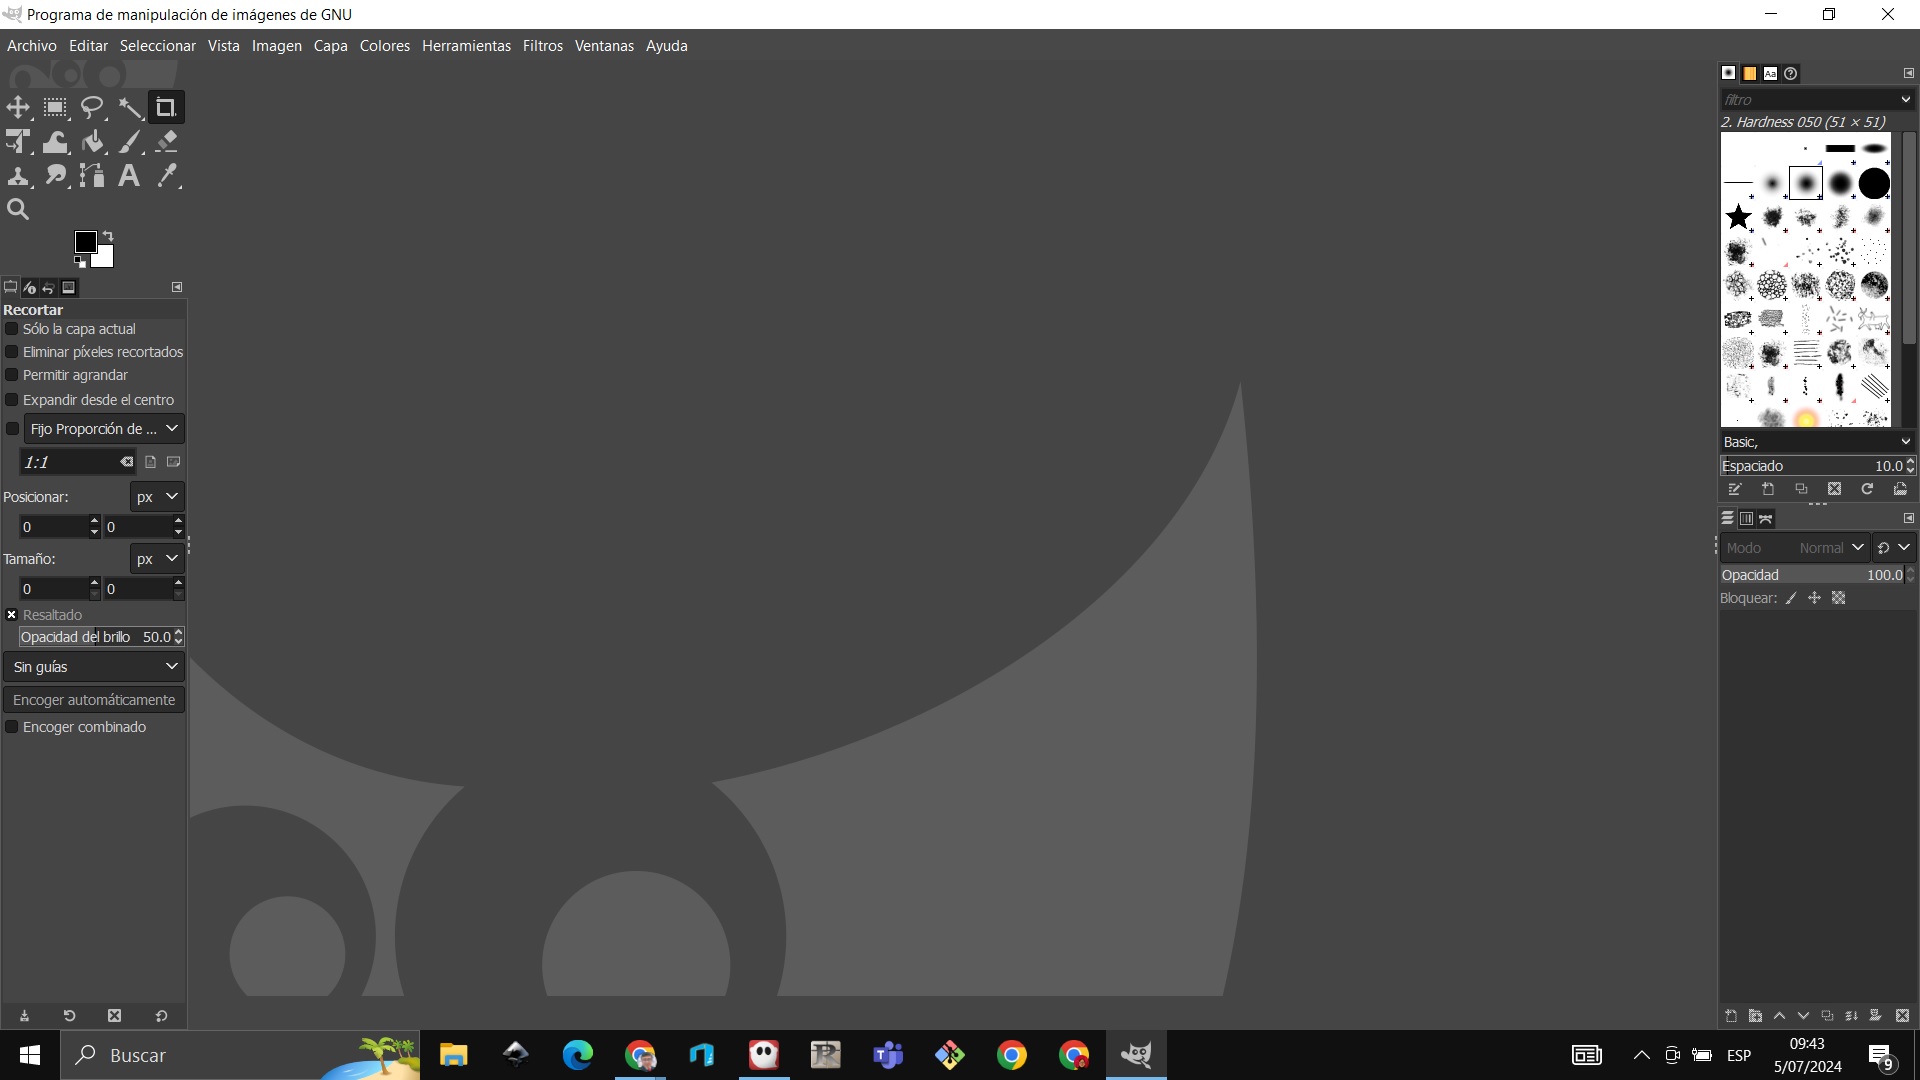
We open the GIMP software
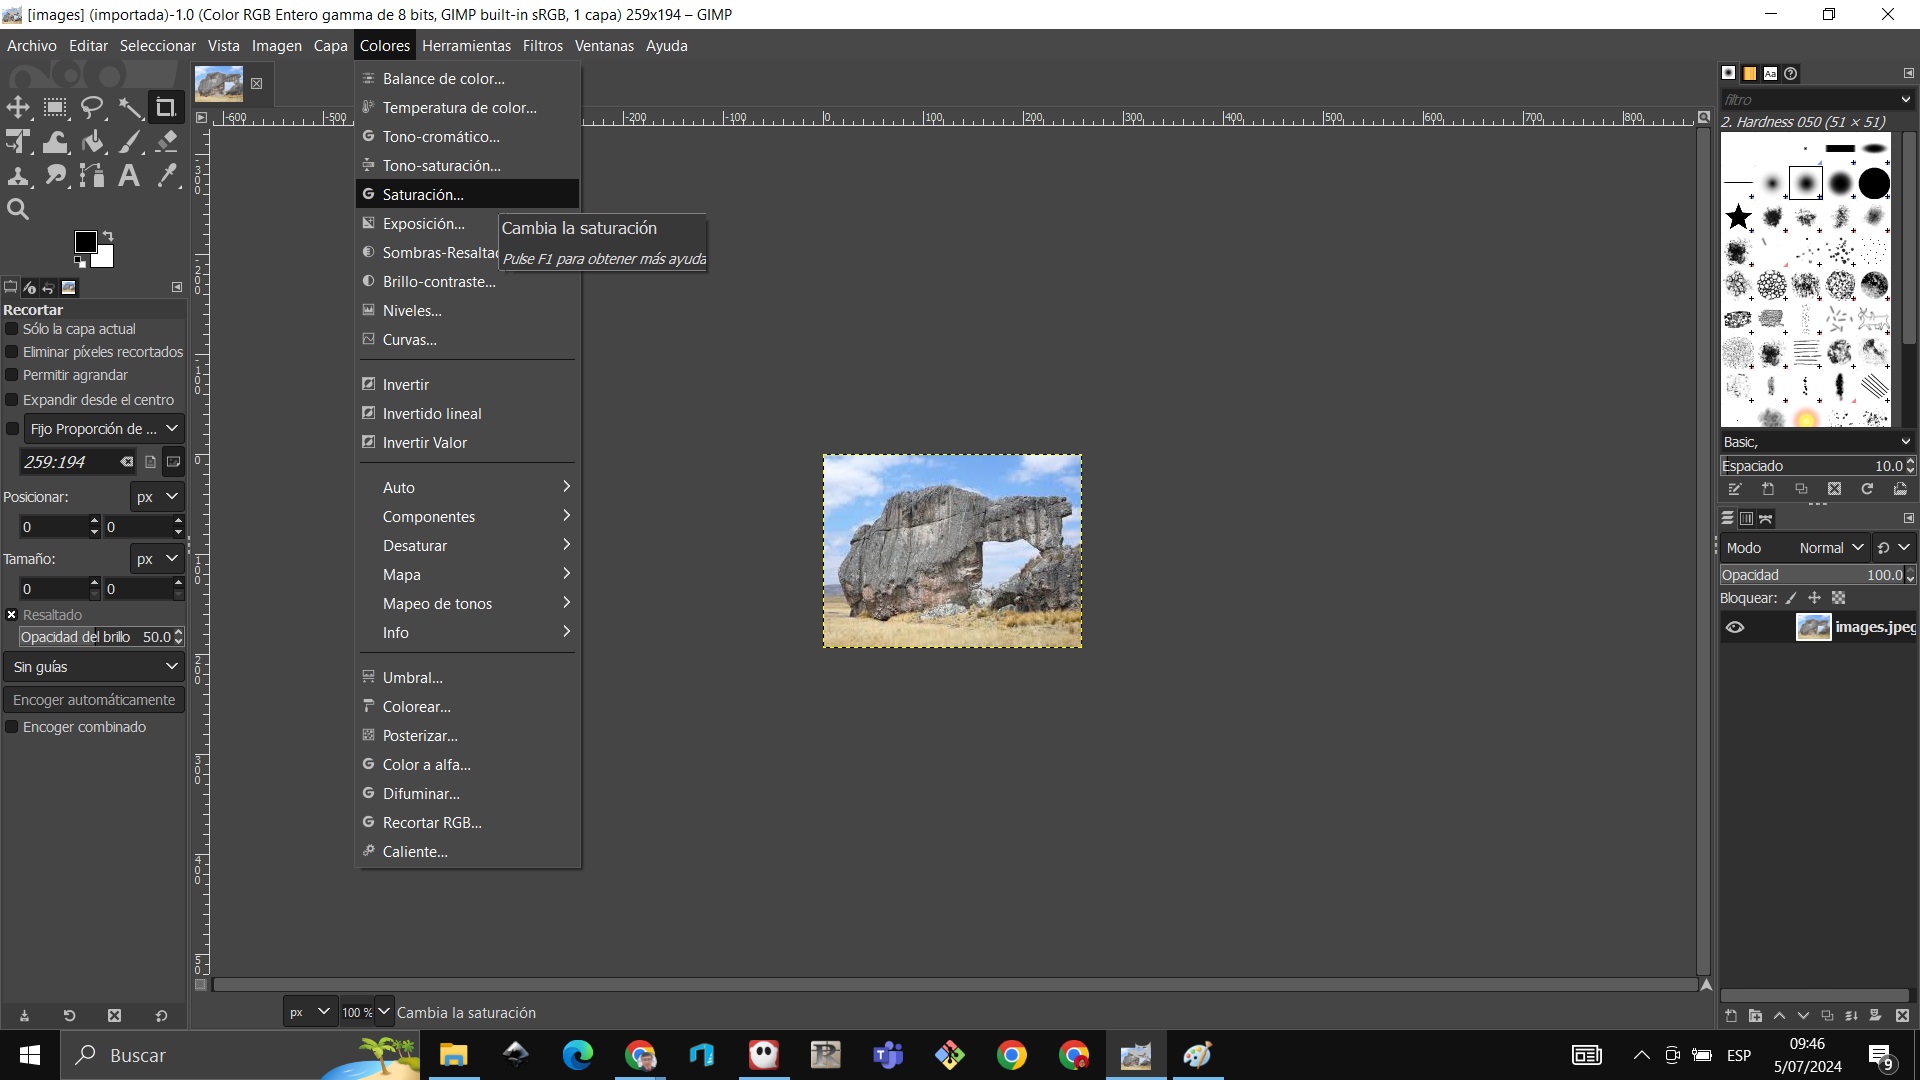
Now to saturate the image, for that we go to color and saturation
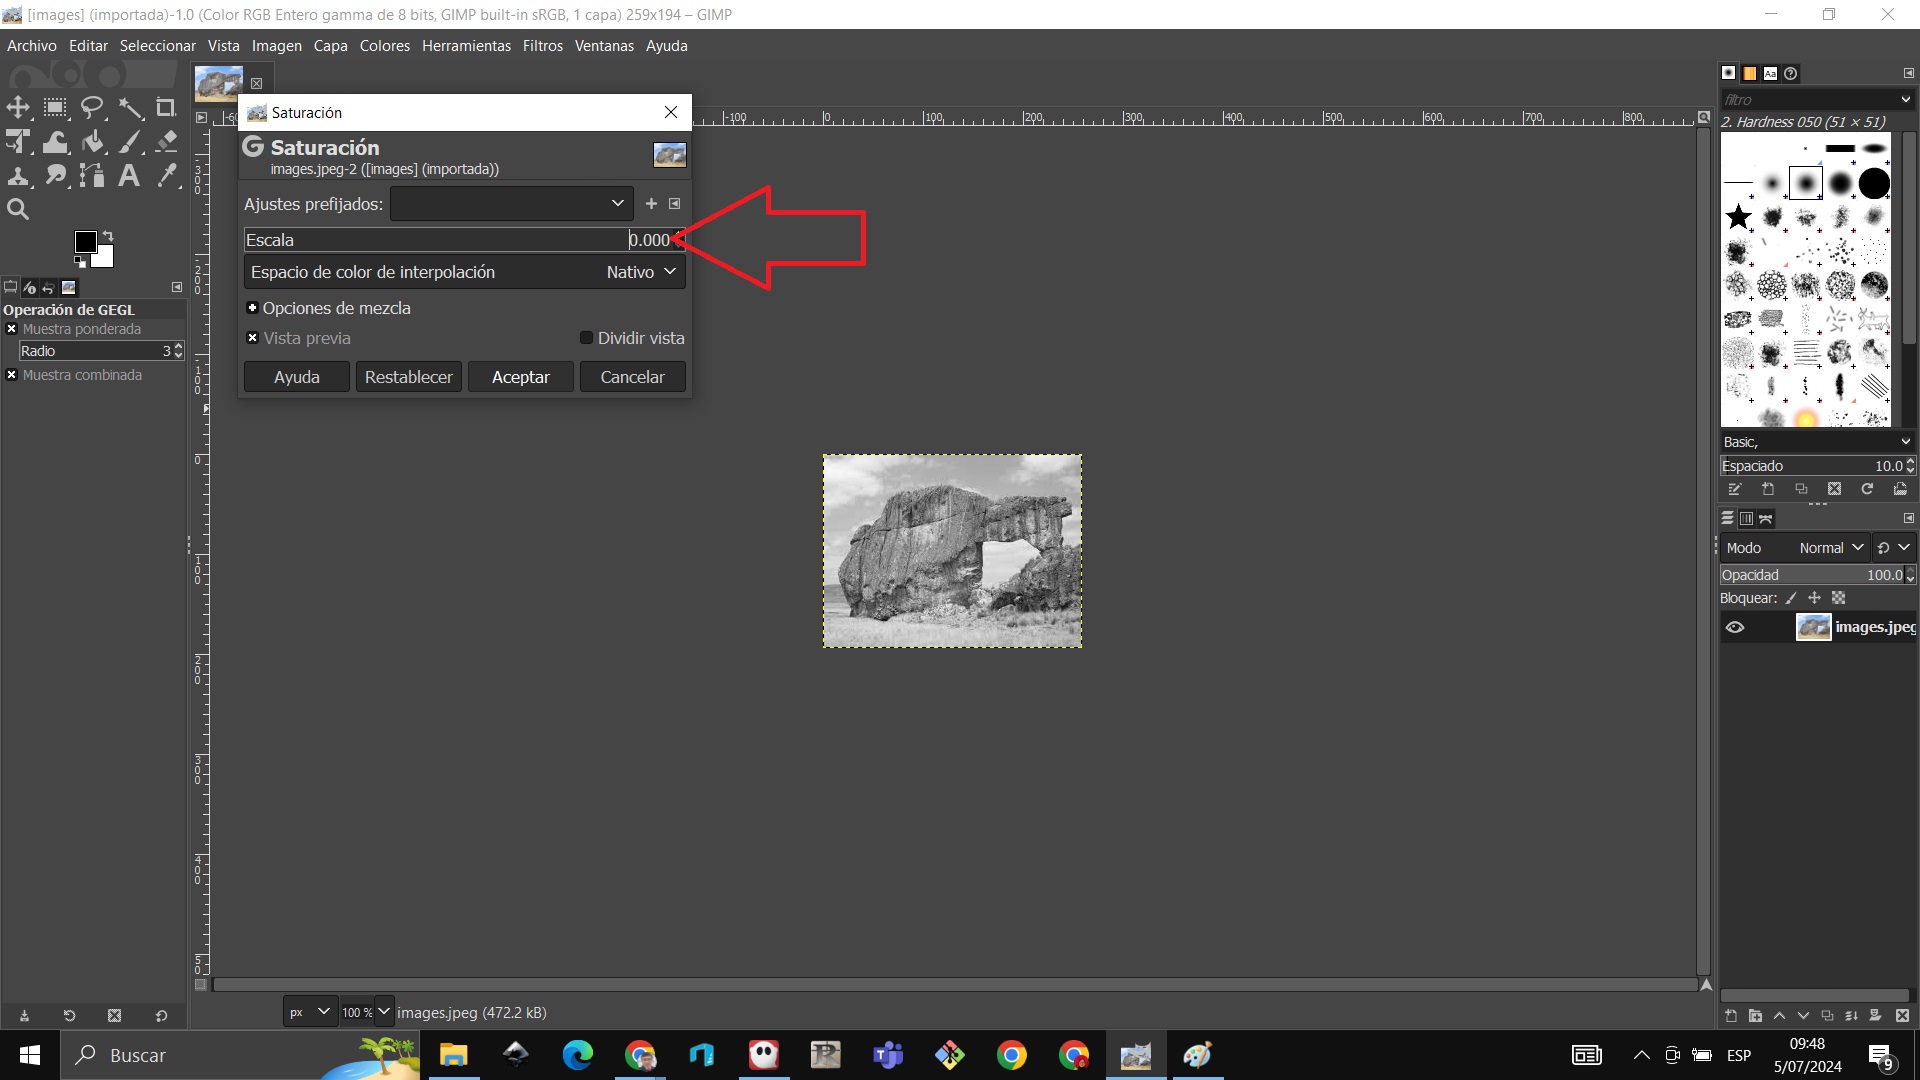
We set the scale to 0 and accept
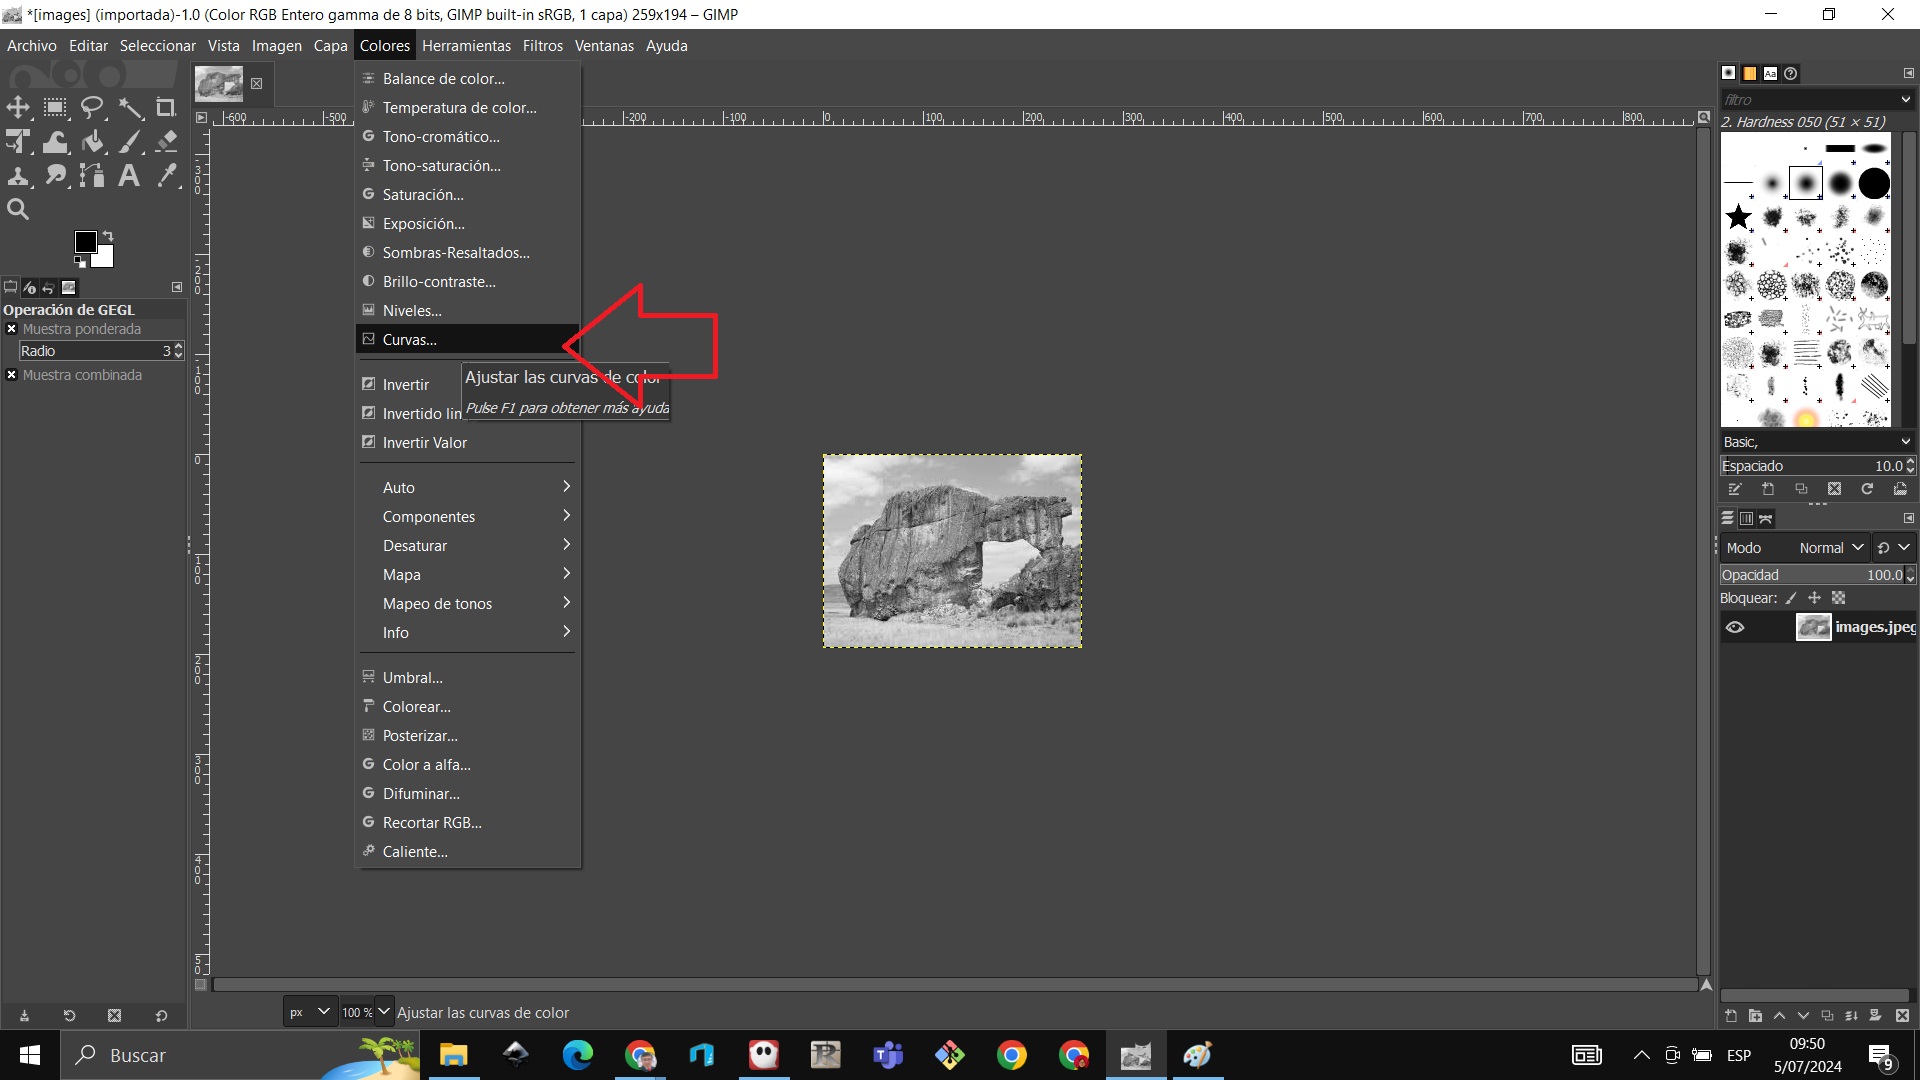
We are going to colors and curves
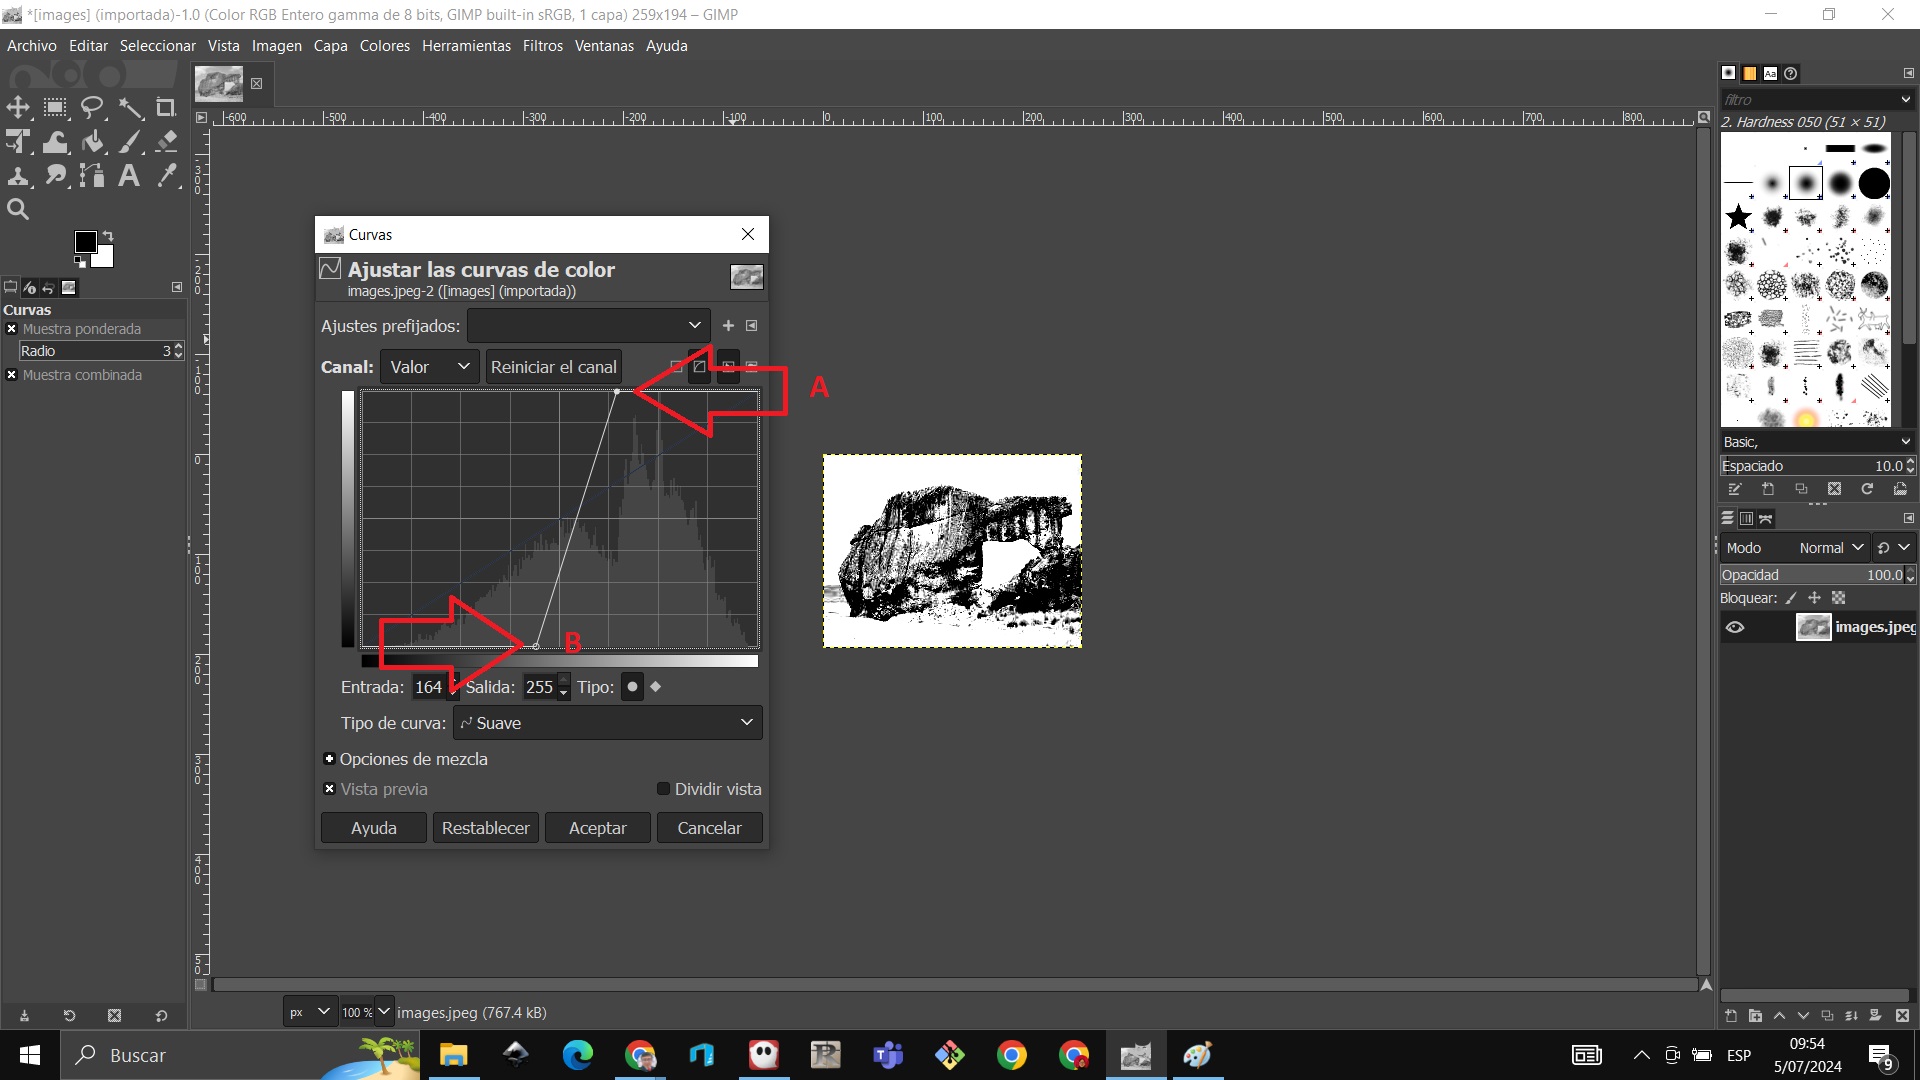
We look for the color white at point A and at point B we look for the color black
Create a transparency layer
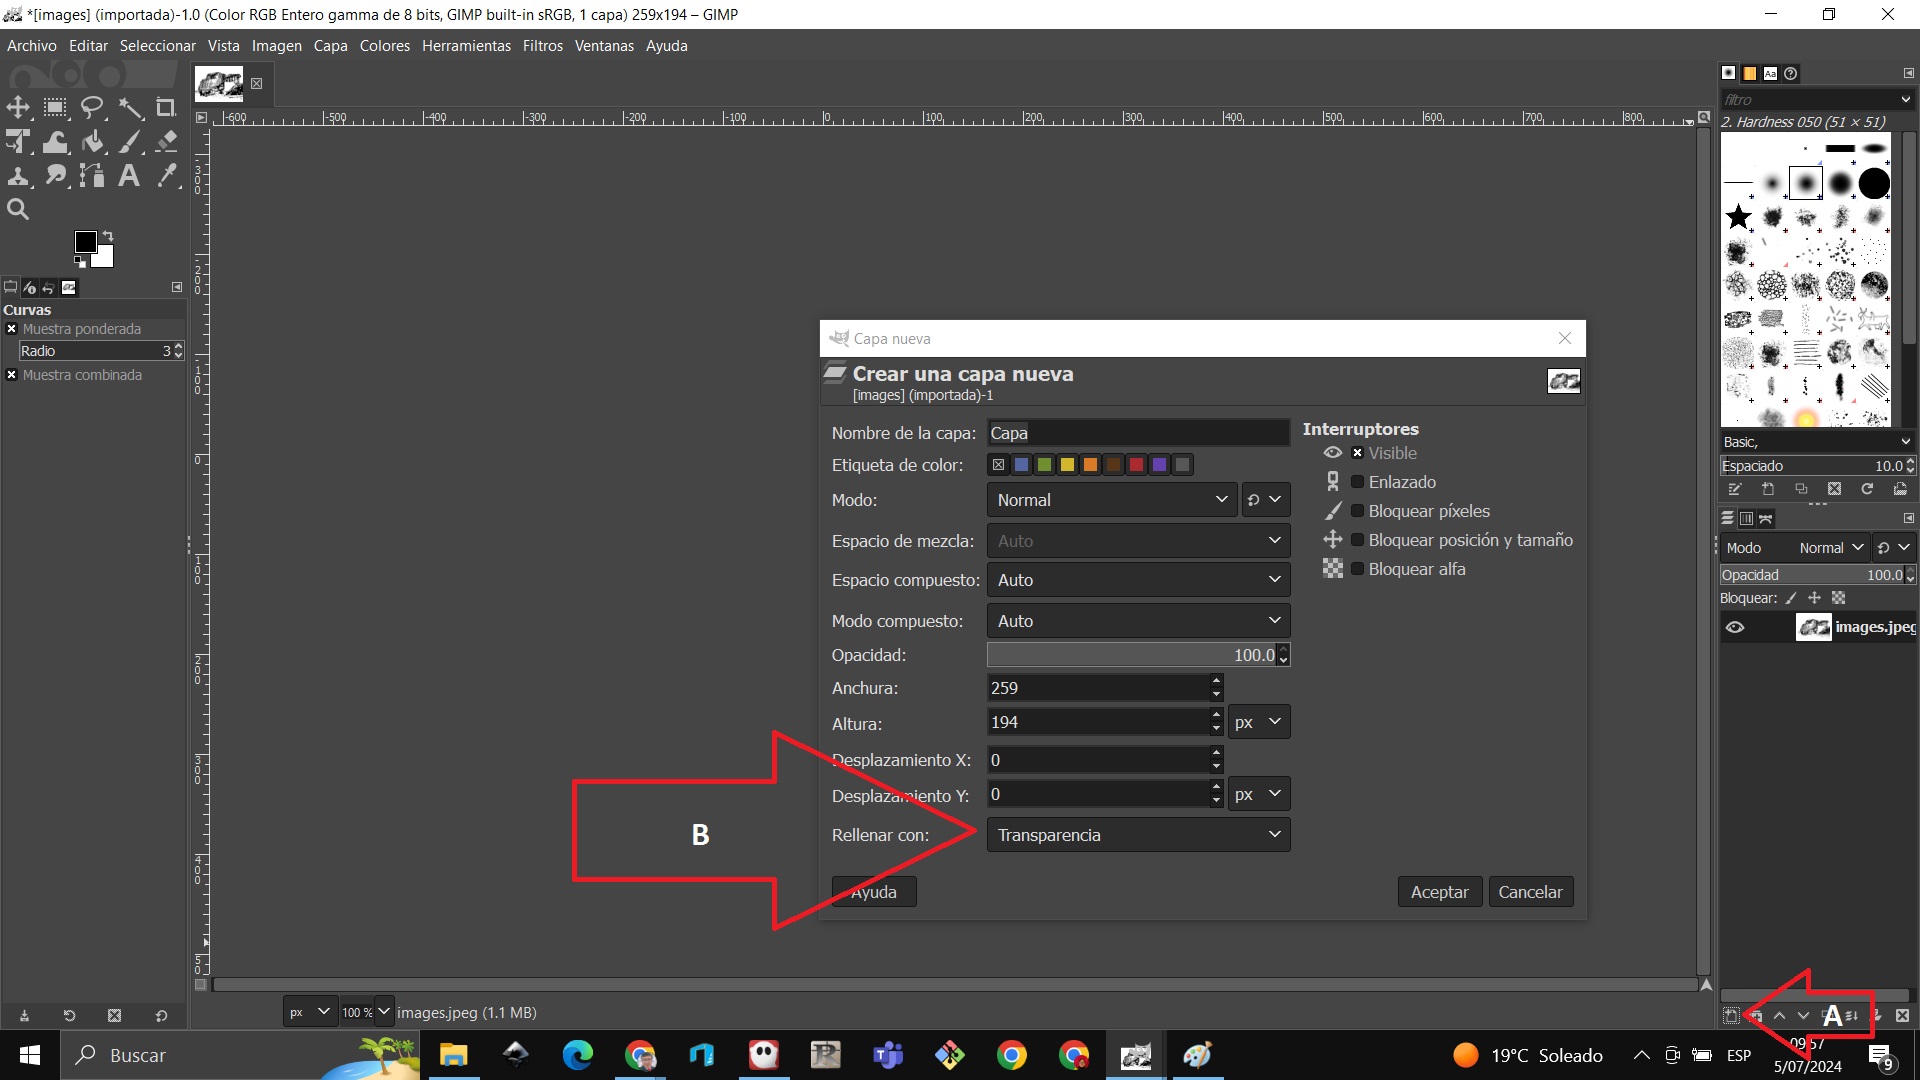
We verify that transparency was created

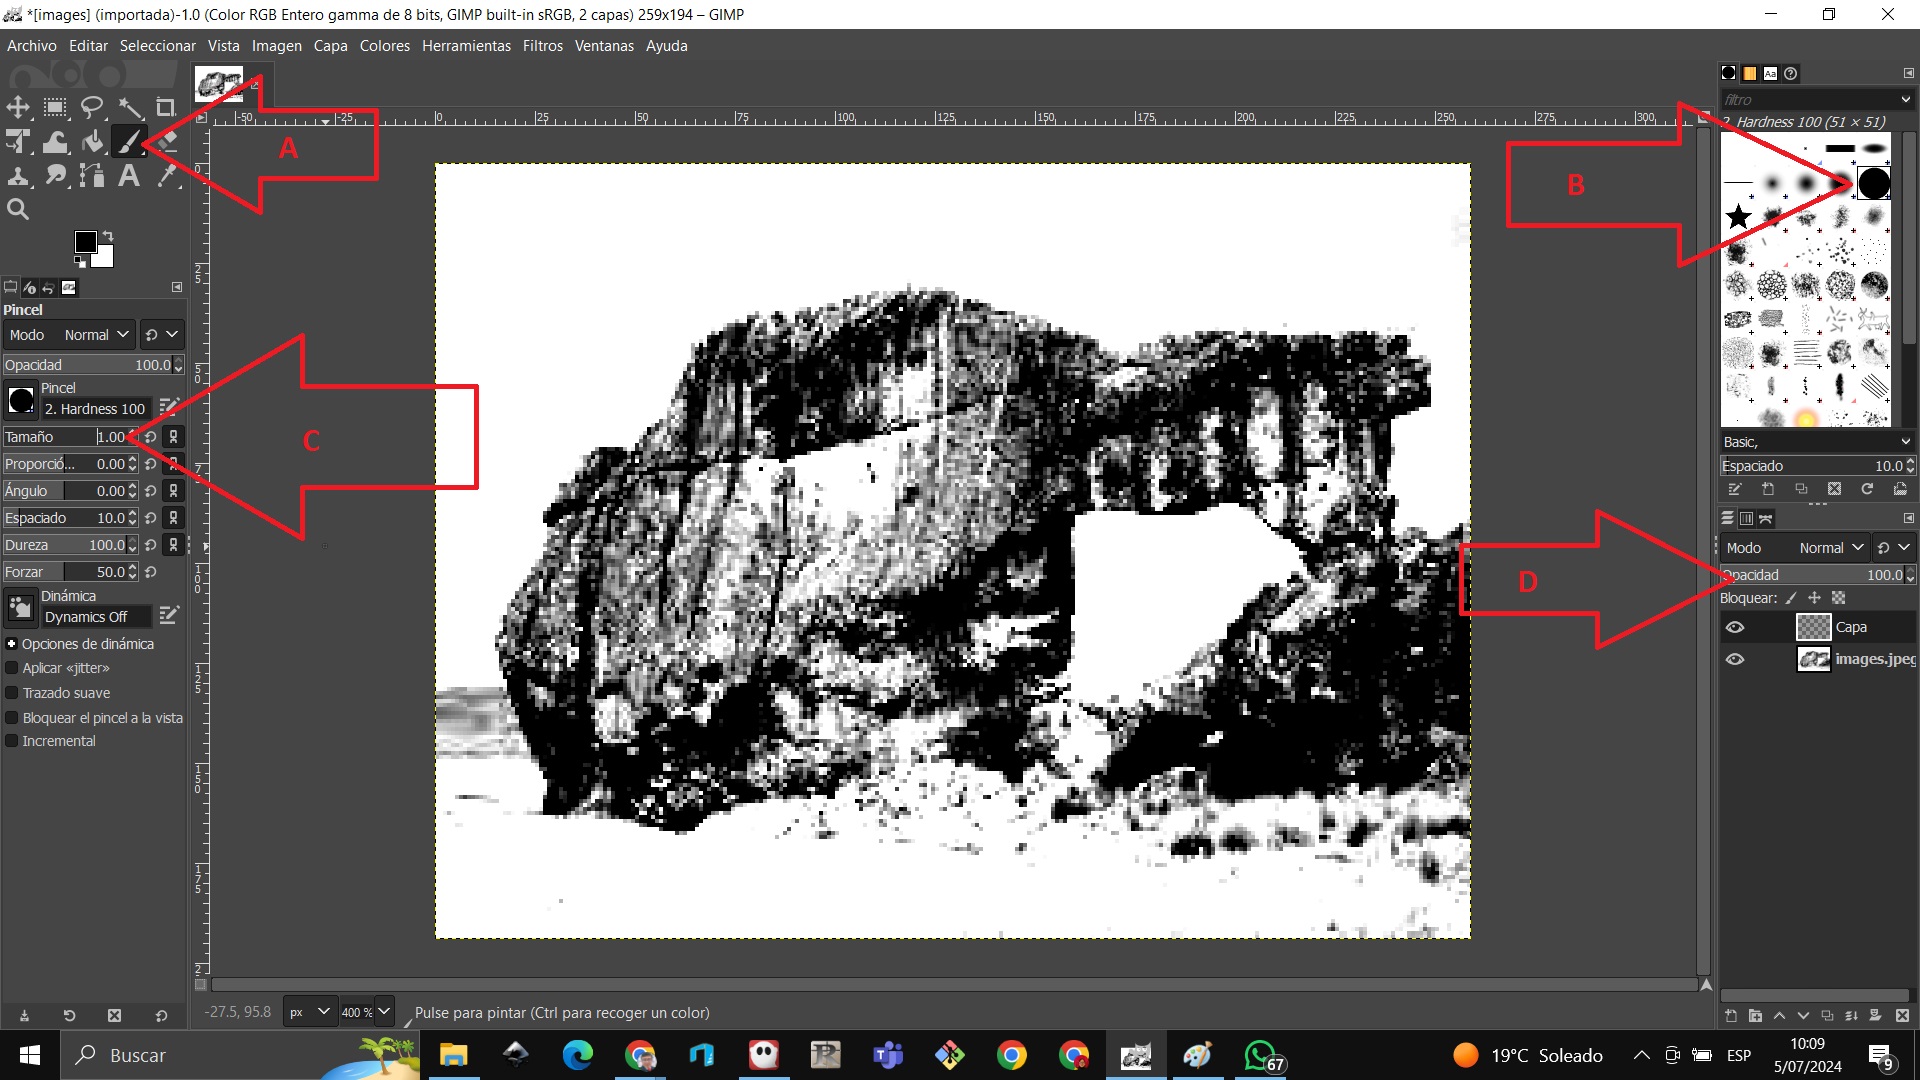
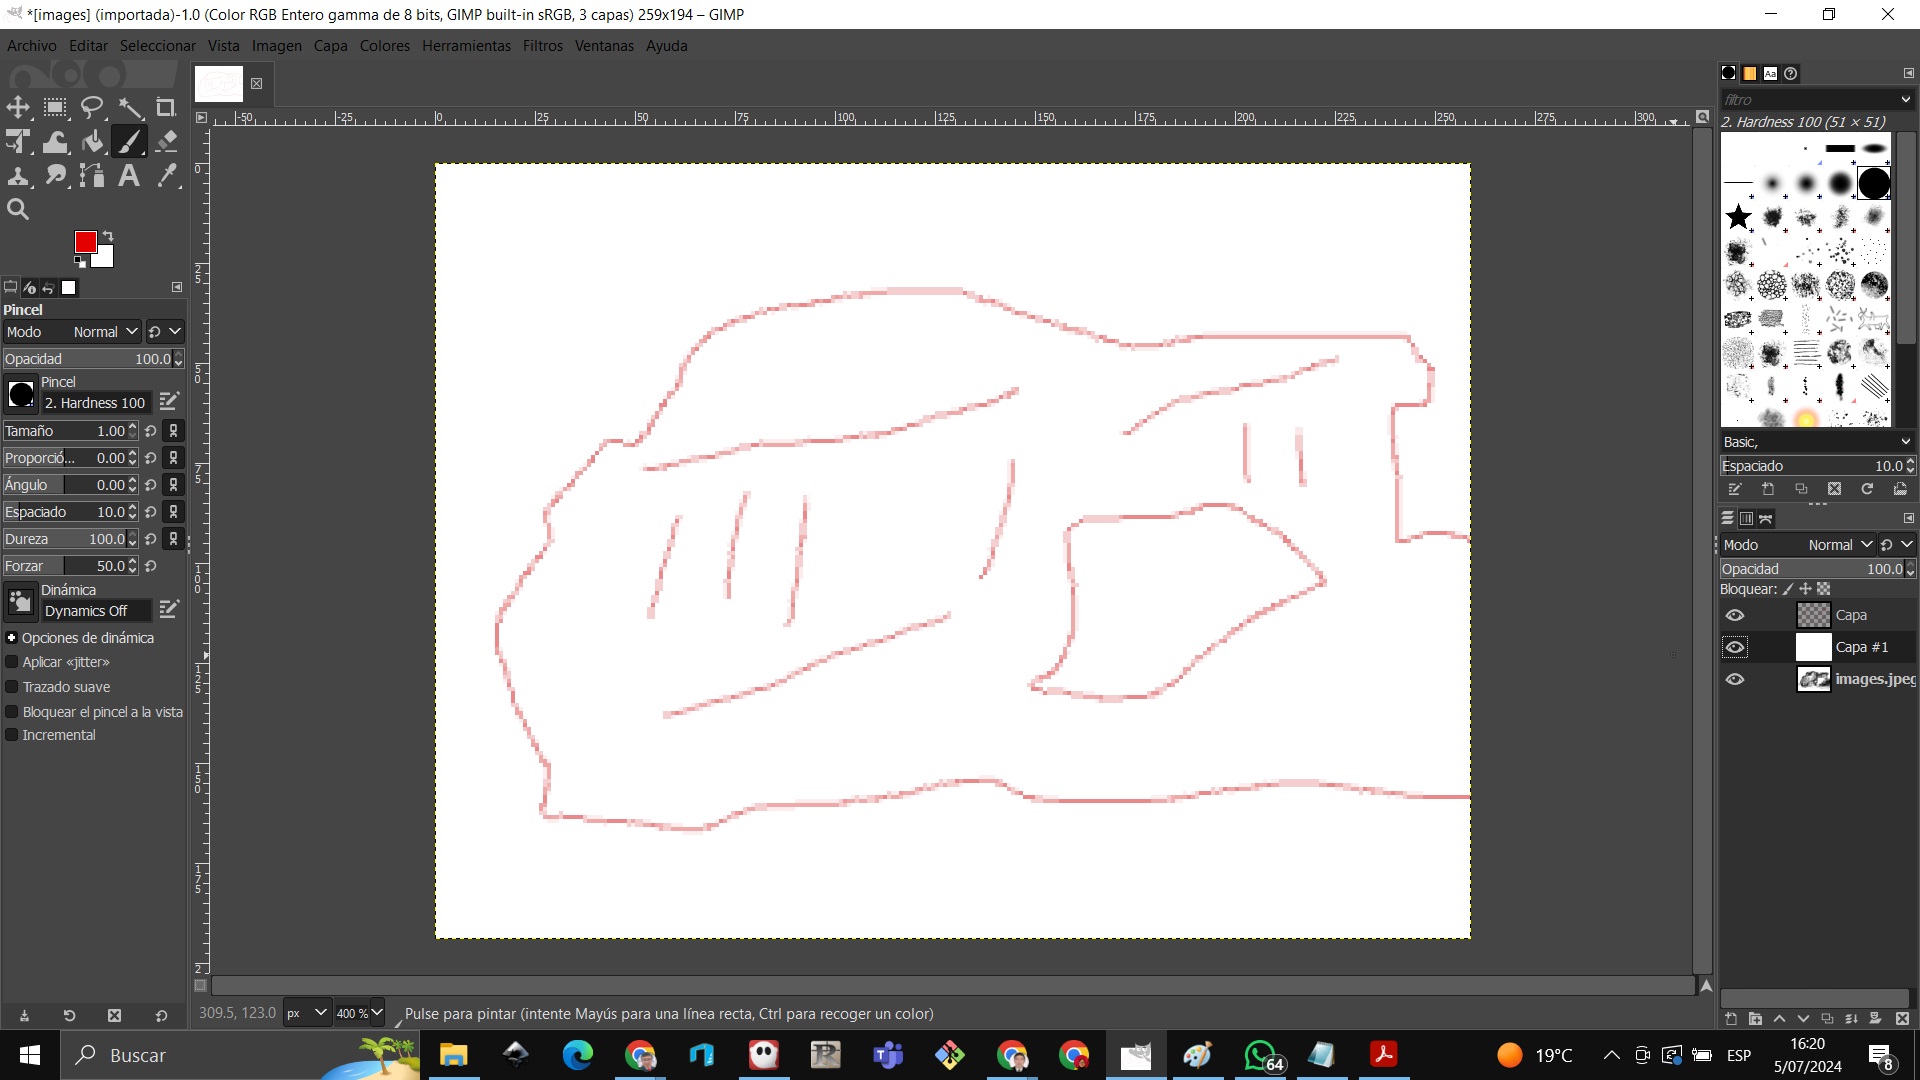
Select a brush on arrow A, choose the sharpest color on arrow B, set the brush size to the smallest one on arrow C, and set the opacity to 75% on arrow C.
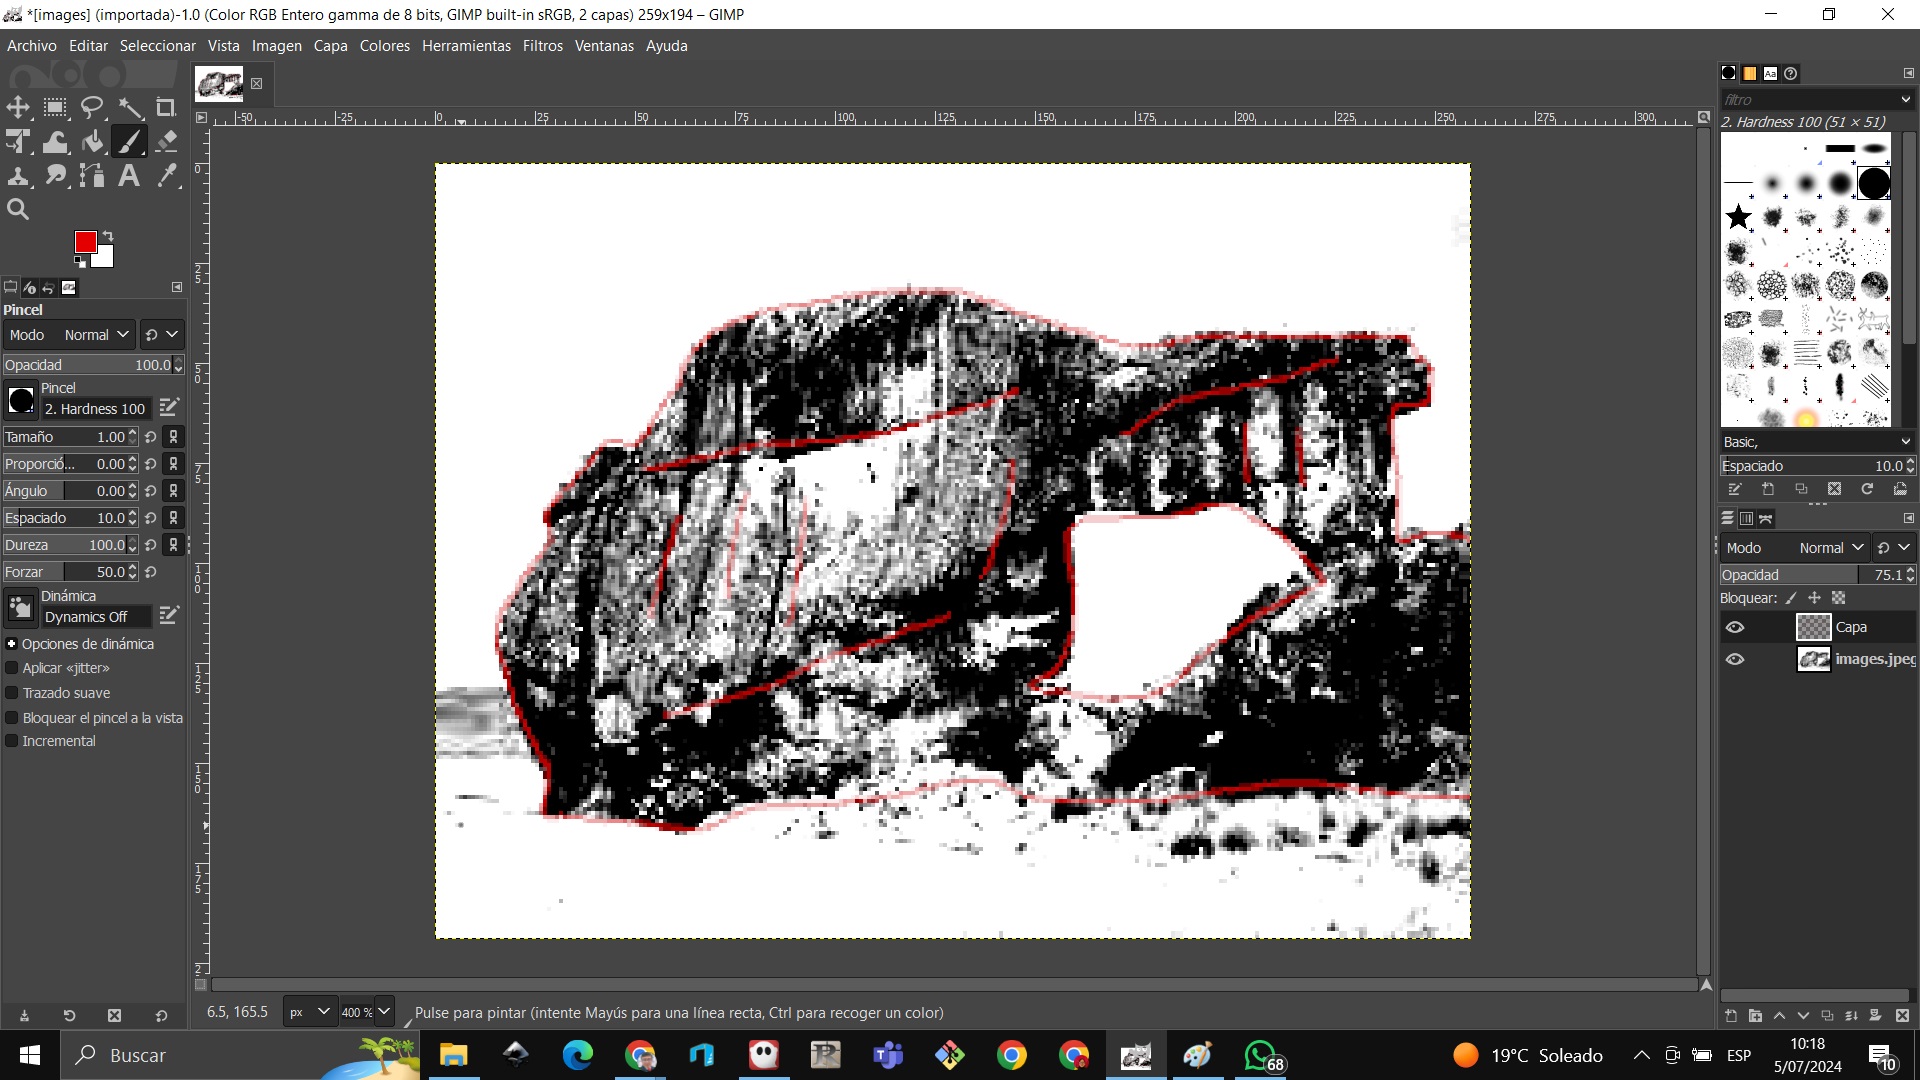
We begin to outline the entire image with the brush
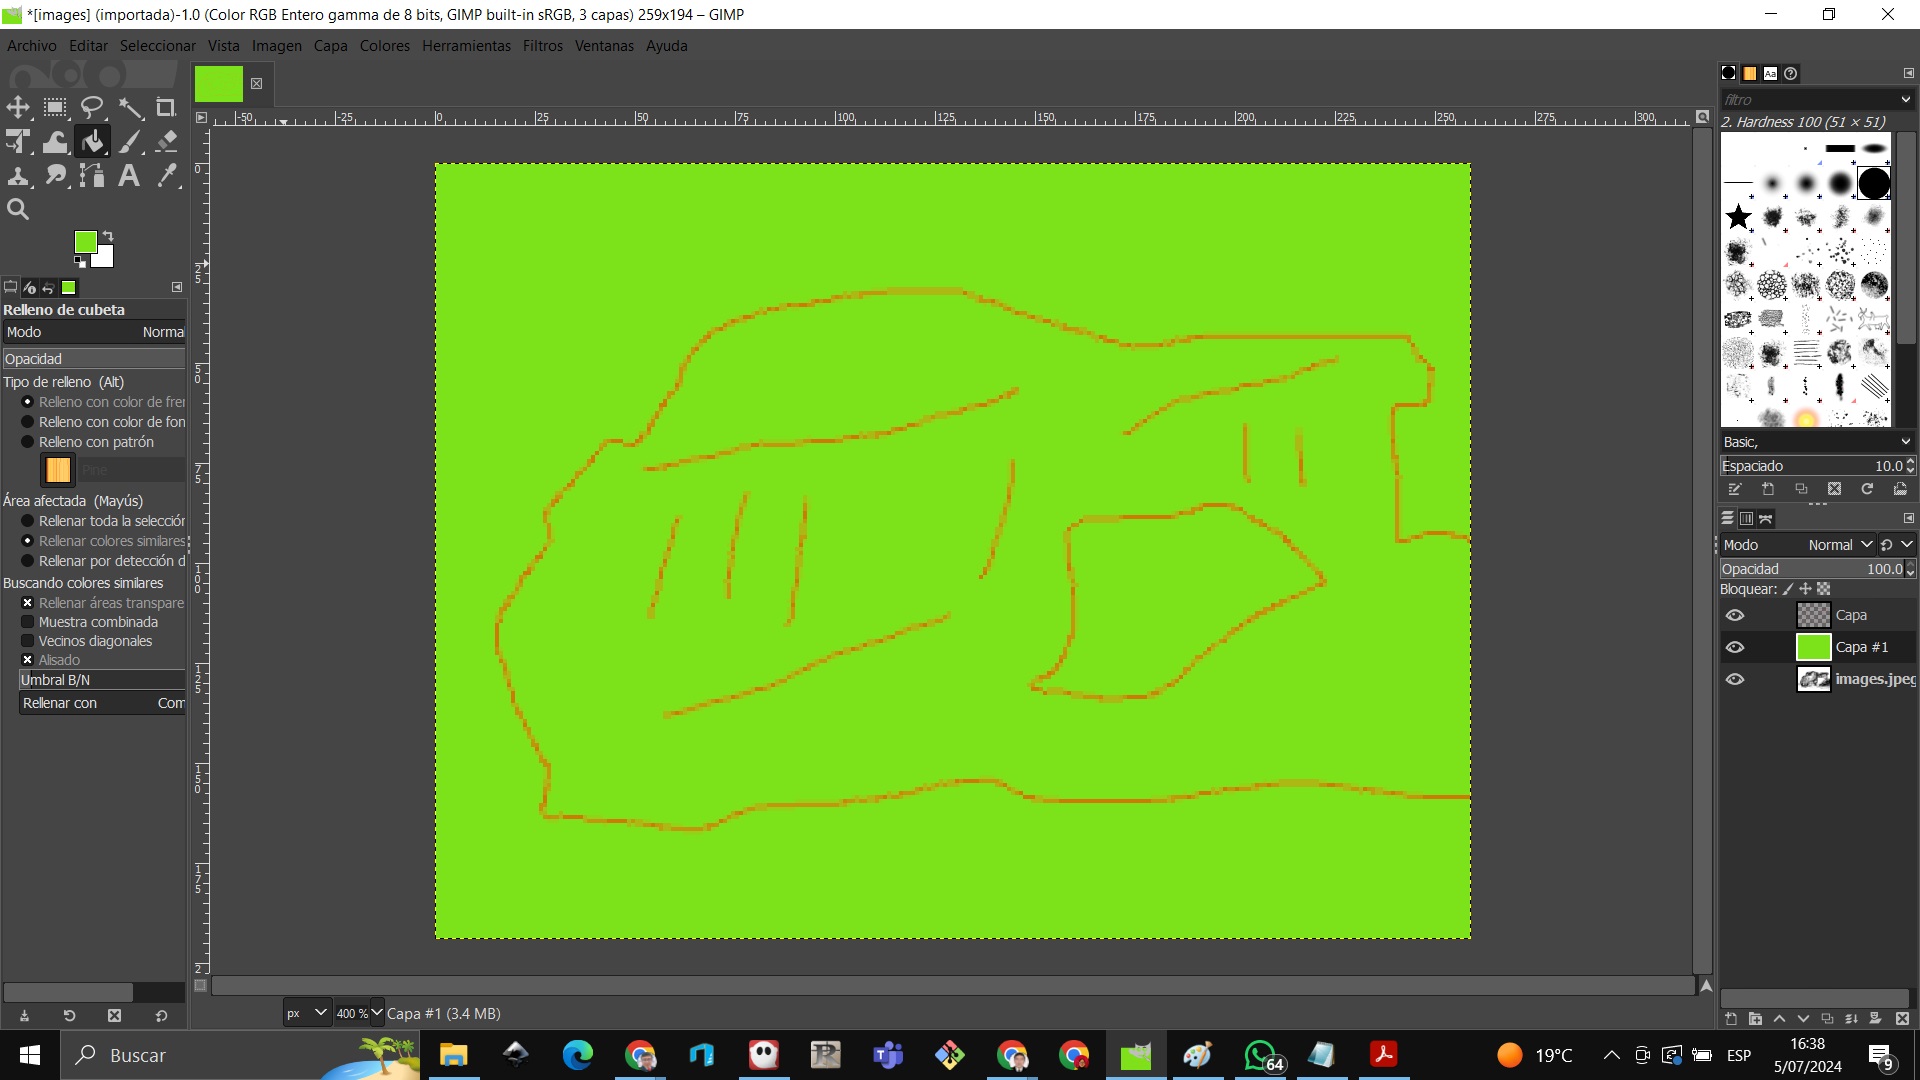
We add a white layer
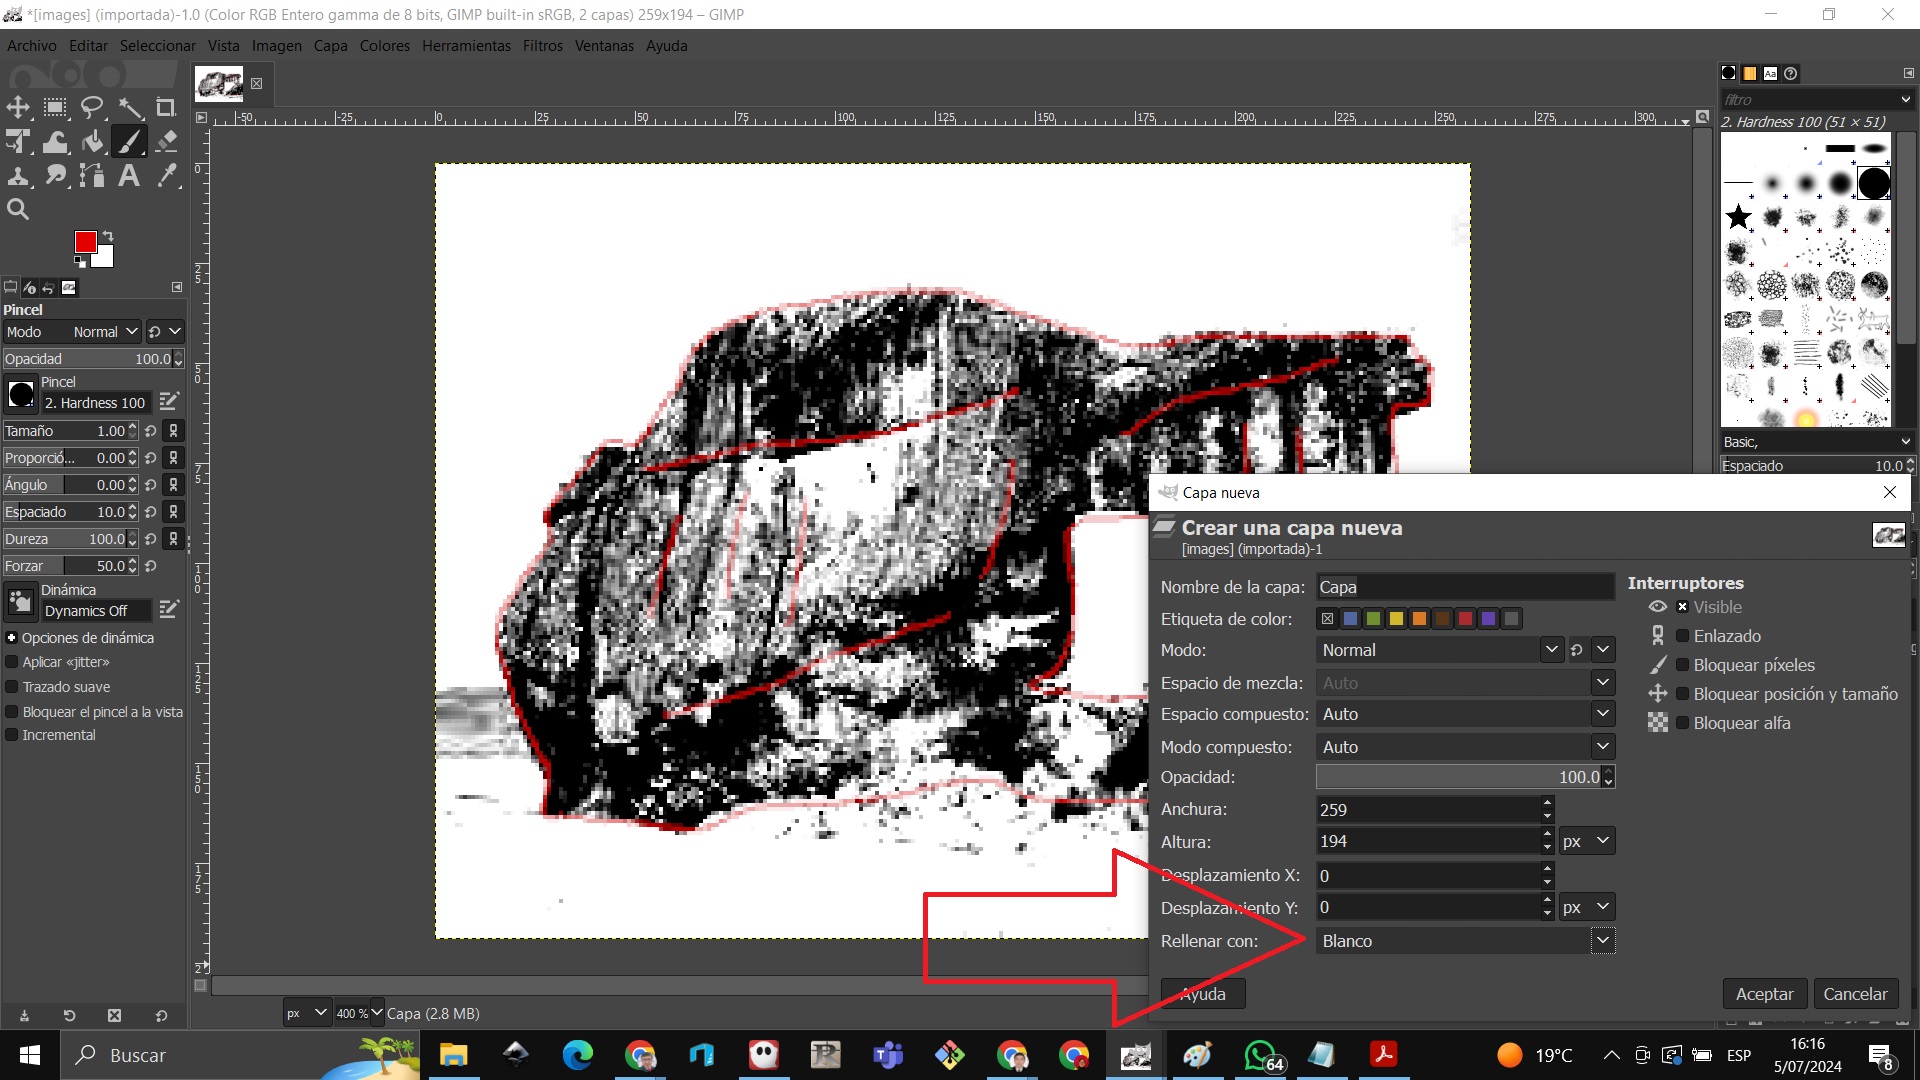
We put the white layer under the transparent layer
At the end it looks like this
Rasterize in Photoshop
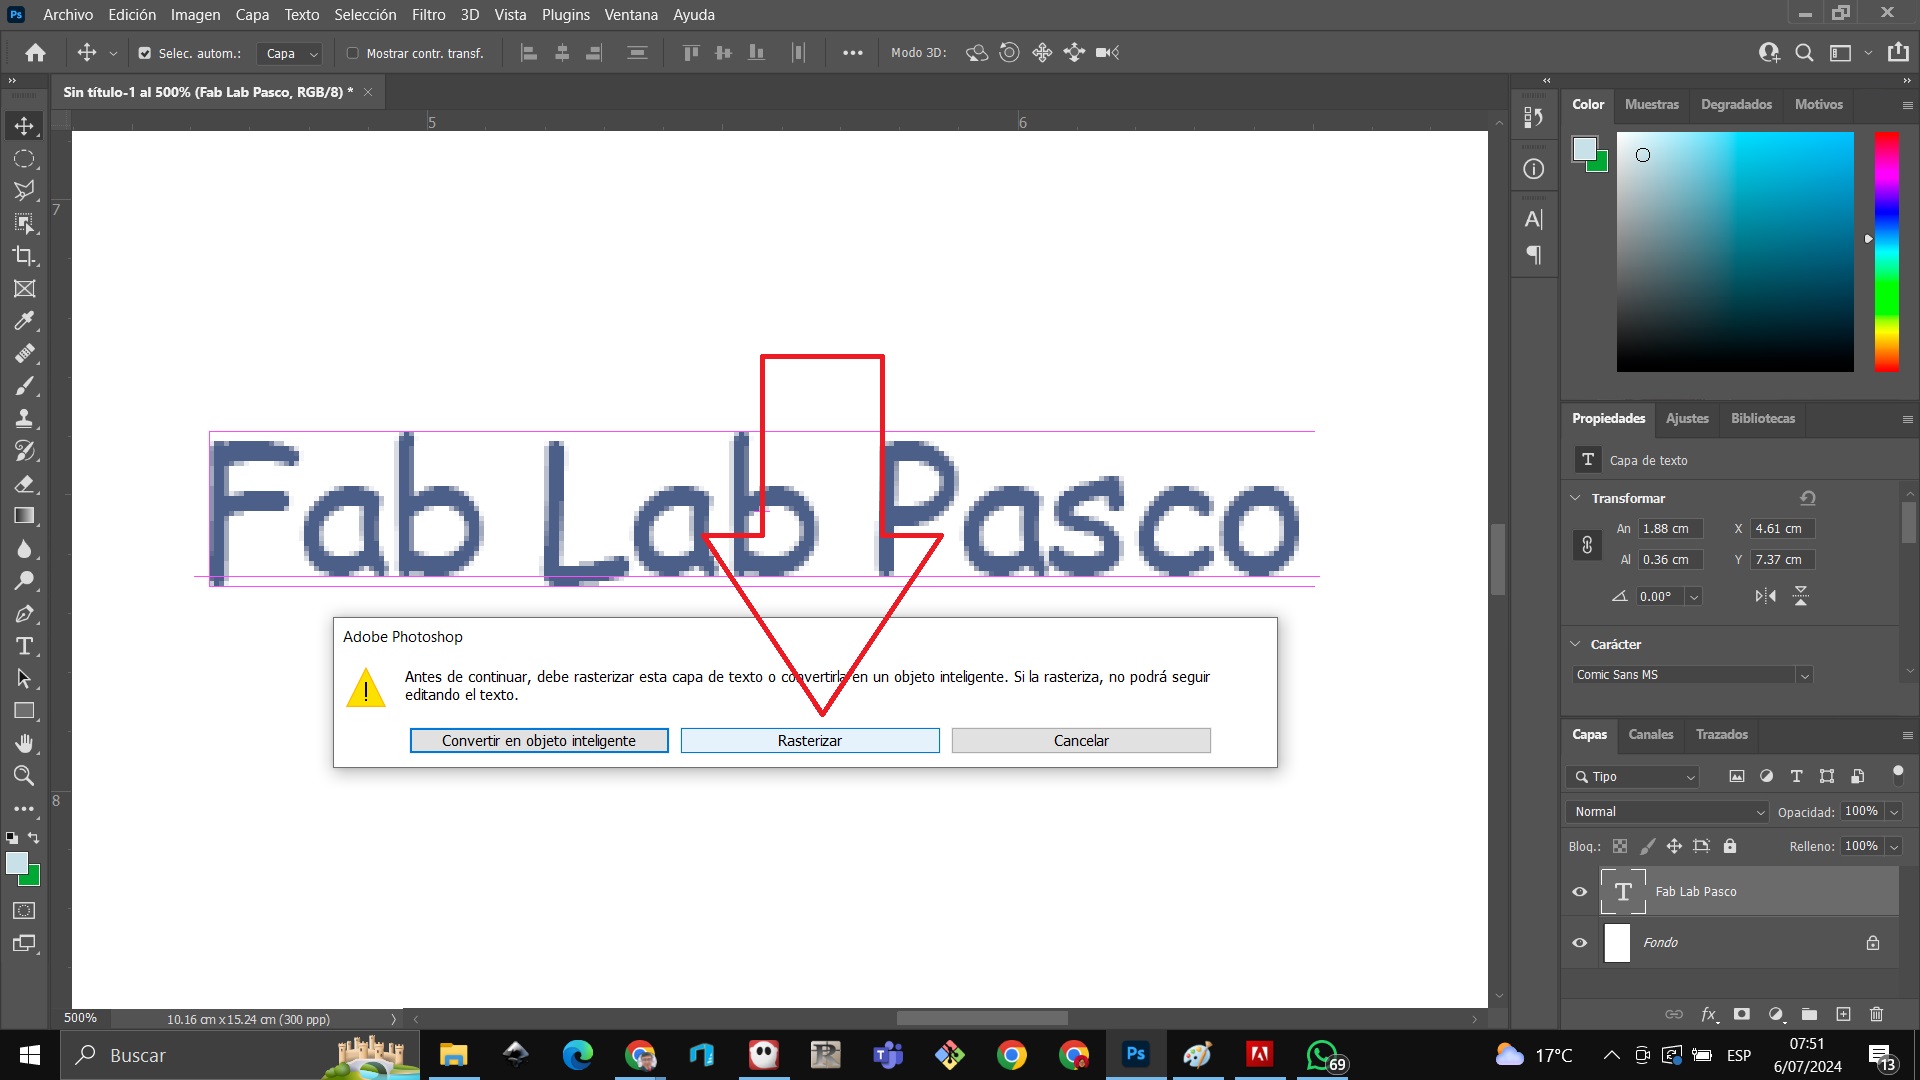
Open Photoshop and write a text like Fab Lab Pasco

Enter filter and focus edges

We get a message asking us to convert to a smart object and rasterize
Now that we have rasterized we can put effects on the text since now it is not a vector but an image and again we put a filter and focus
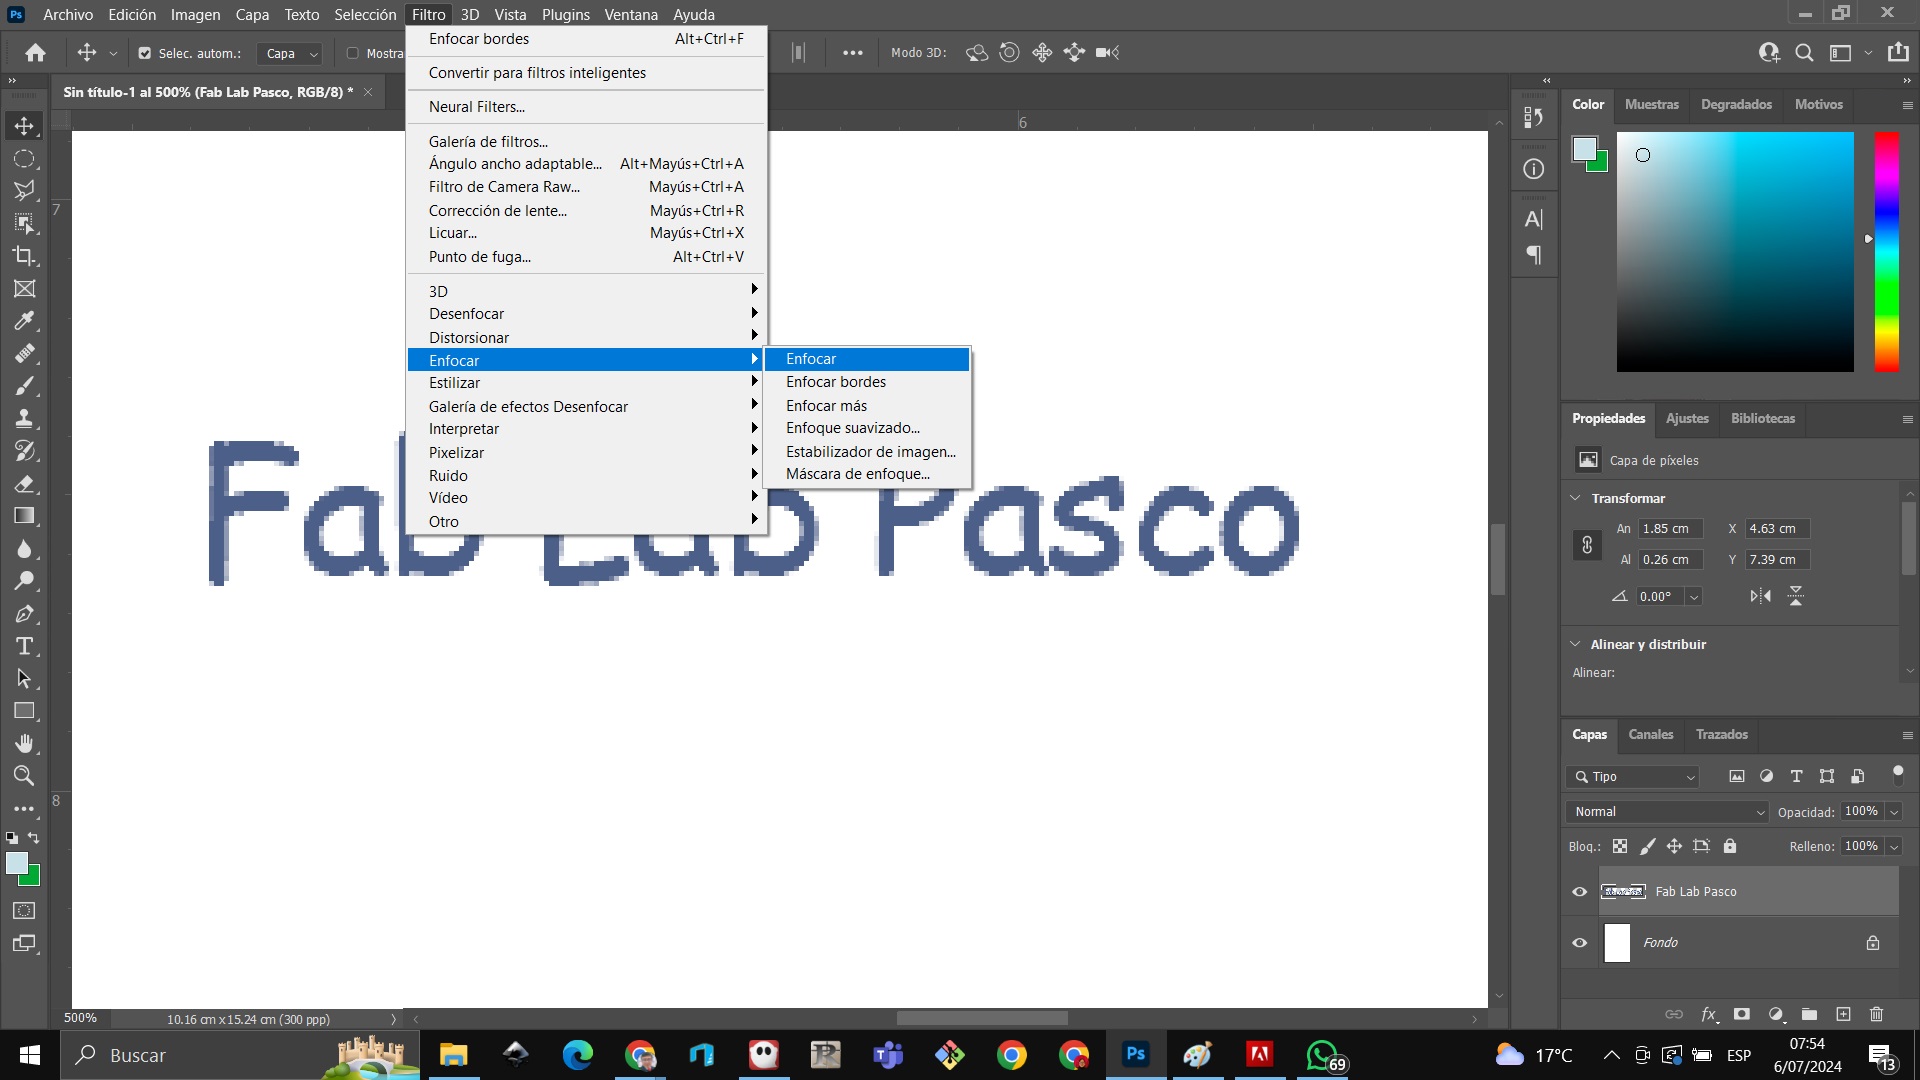
Now we can edit the image, for example, we can make a soft focus and thus edit the image further.

Chess board made with onshape
we change the configuration to millimeters
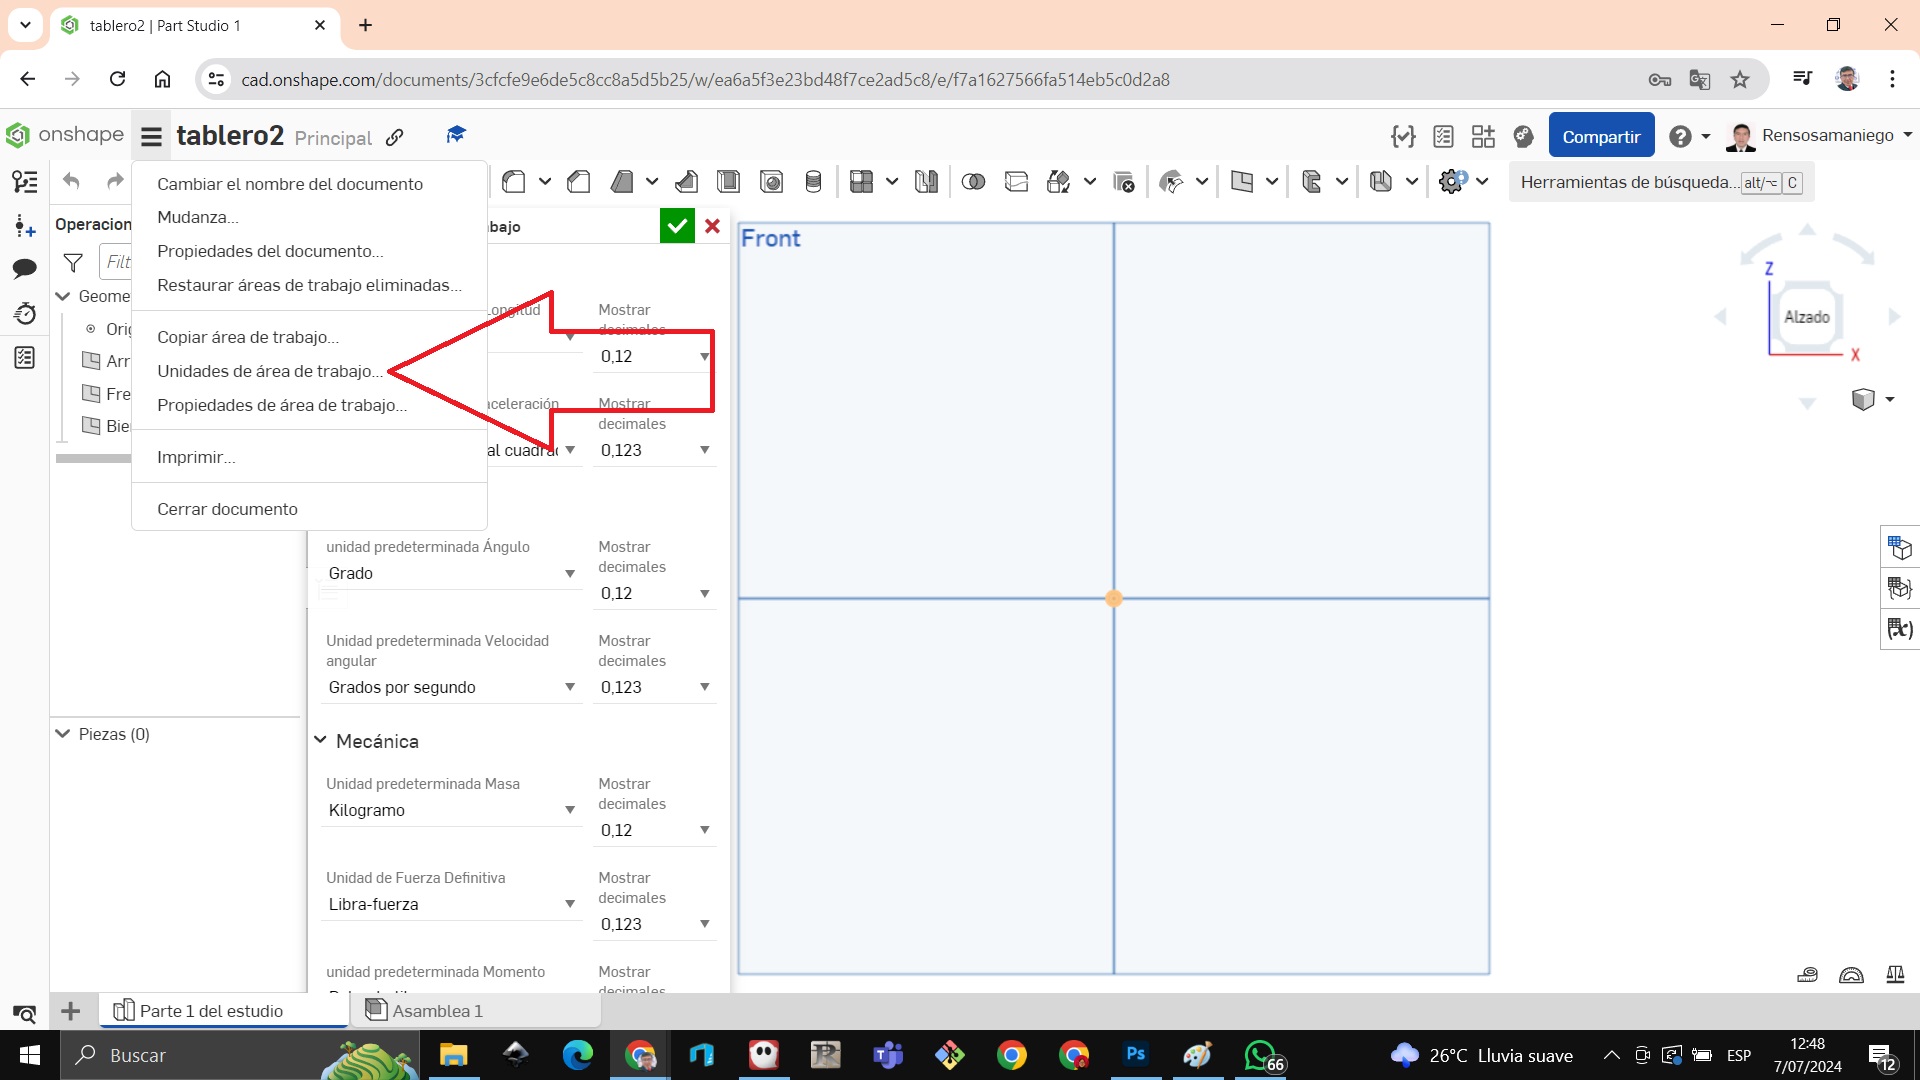
We choose millimeters

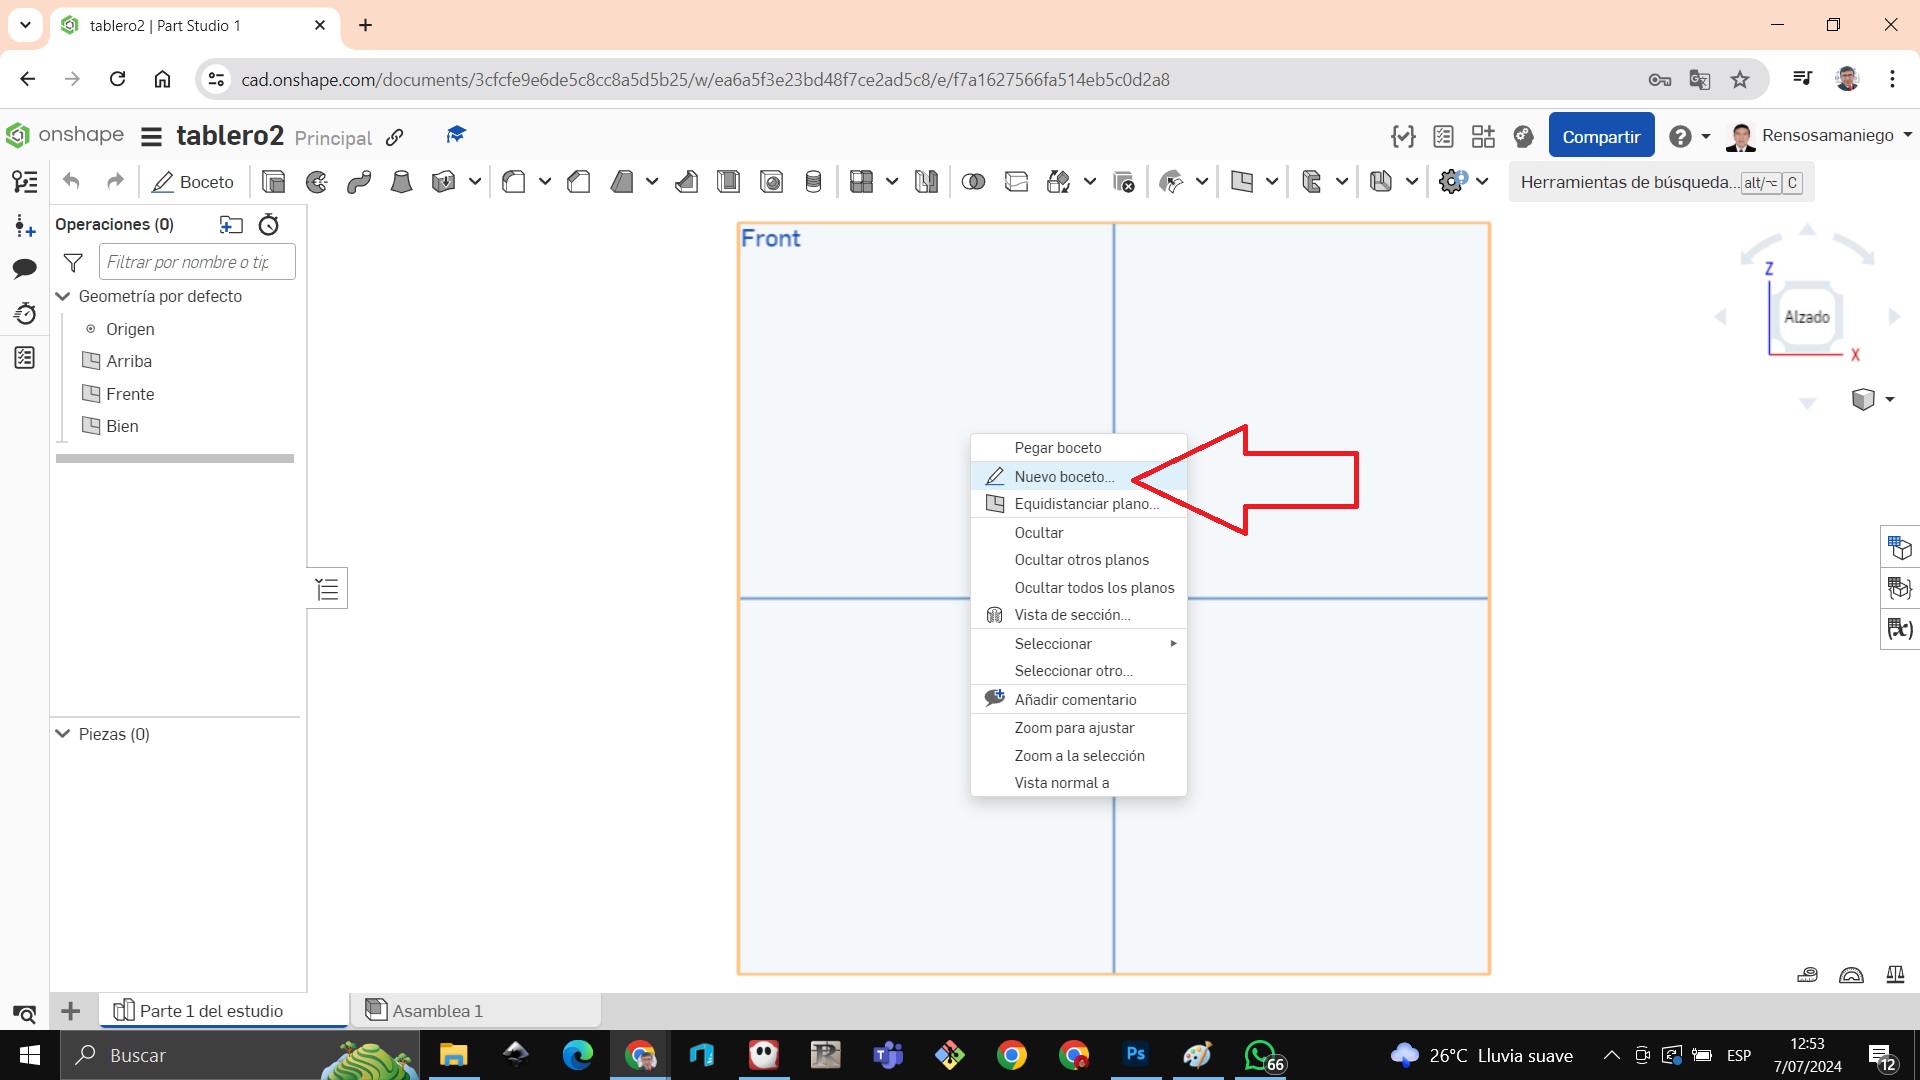
Right click and choose new sketch
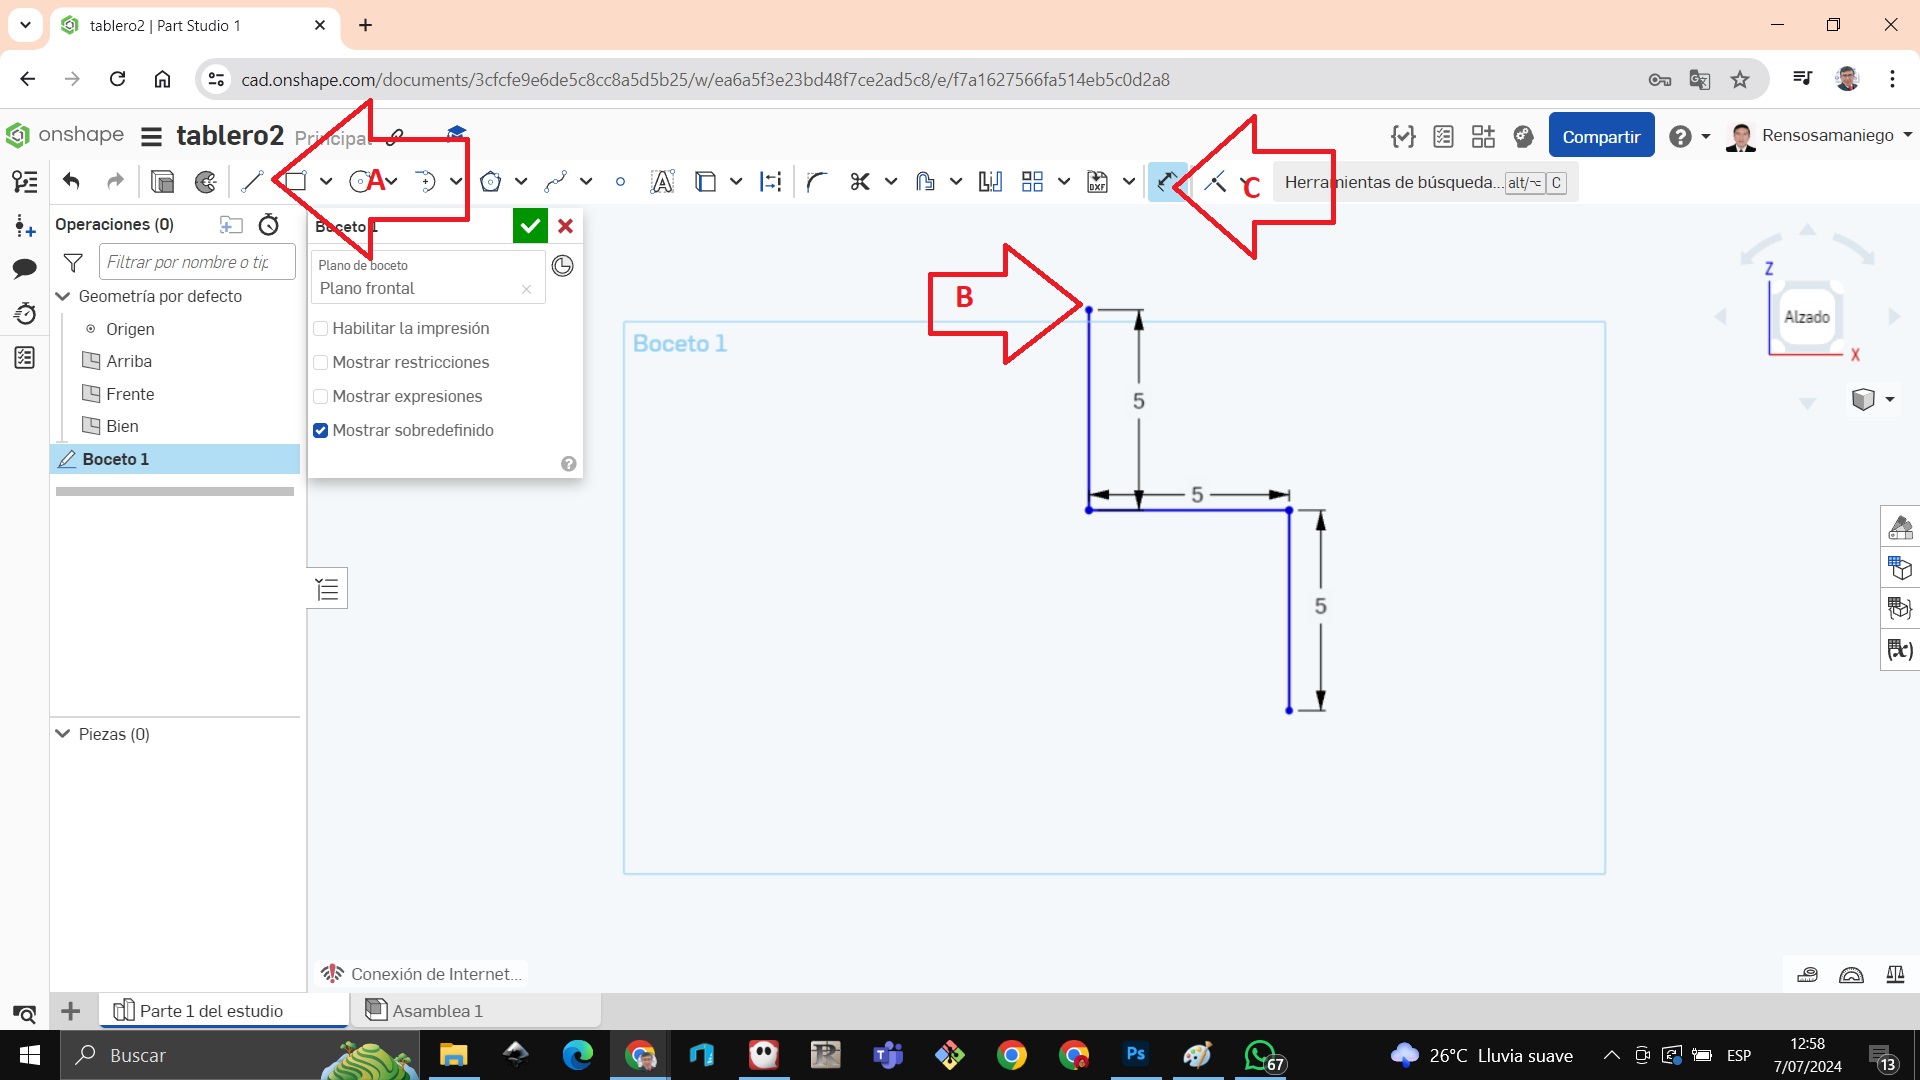
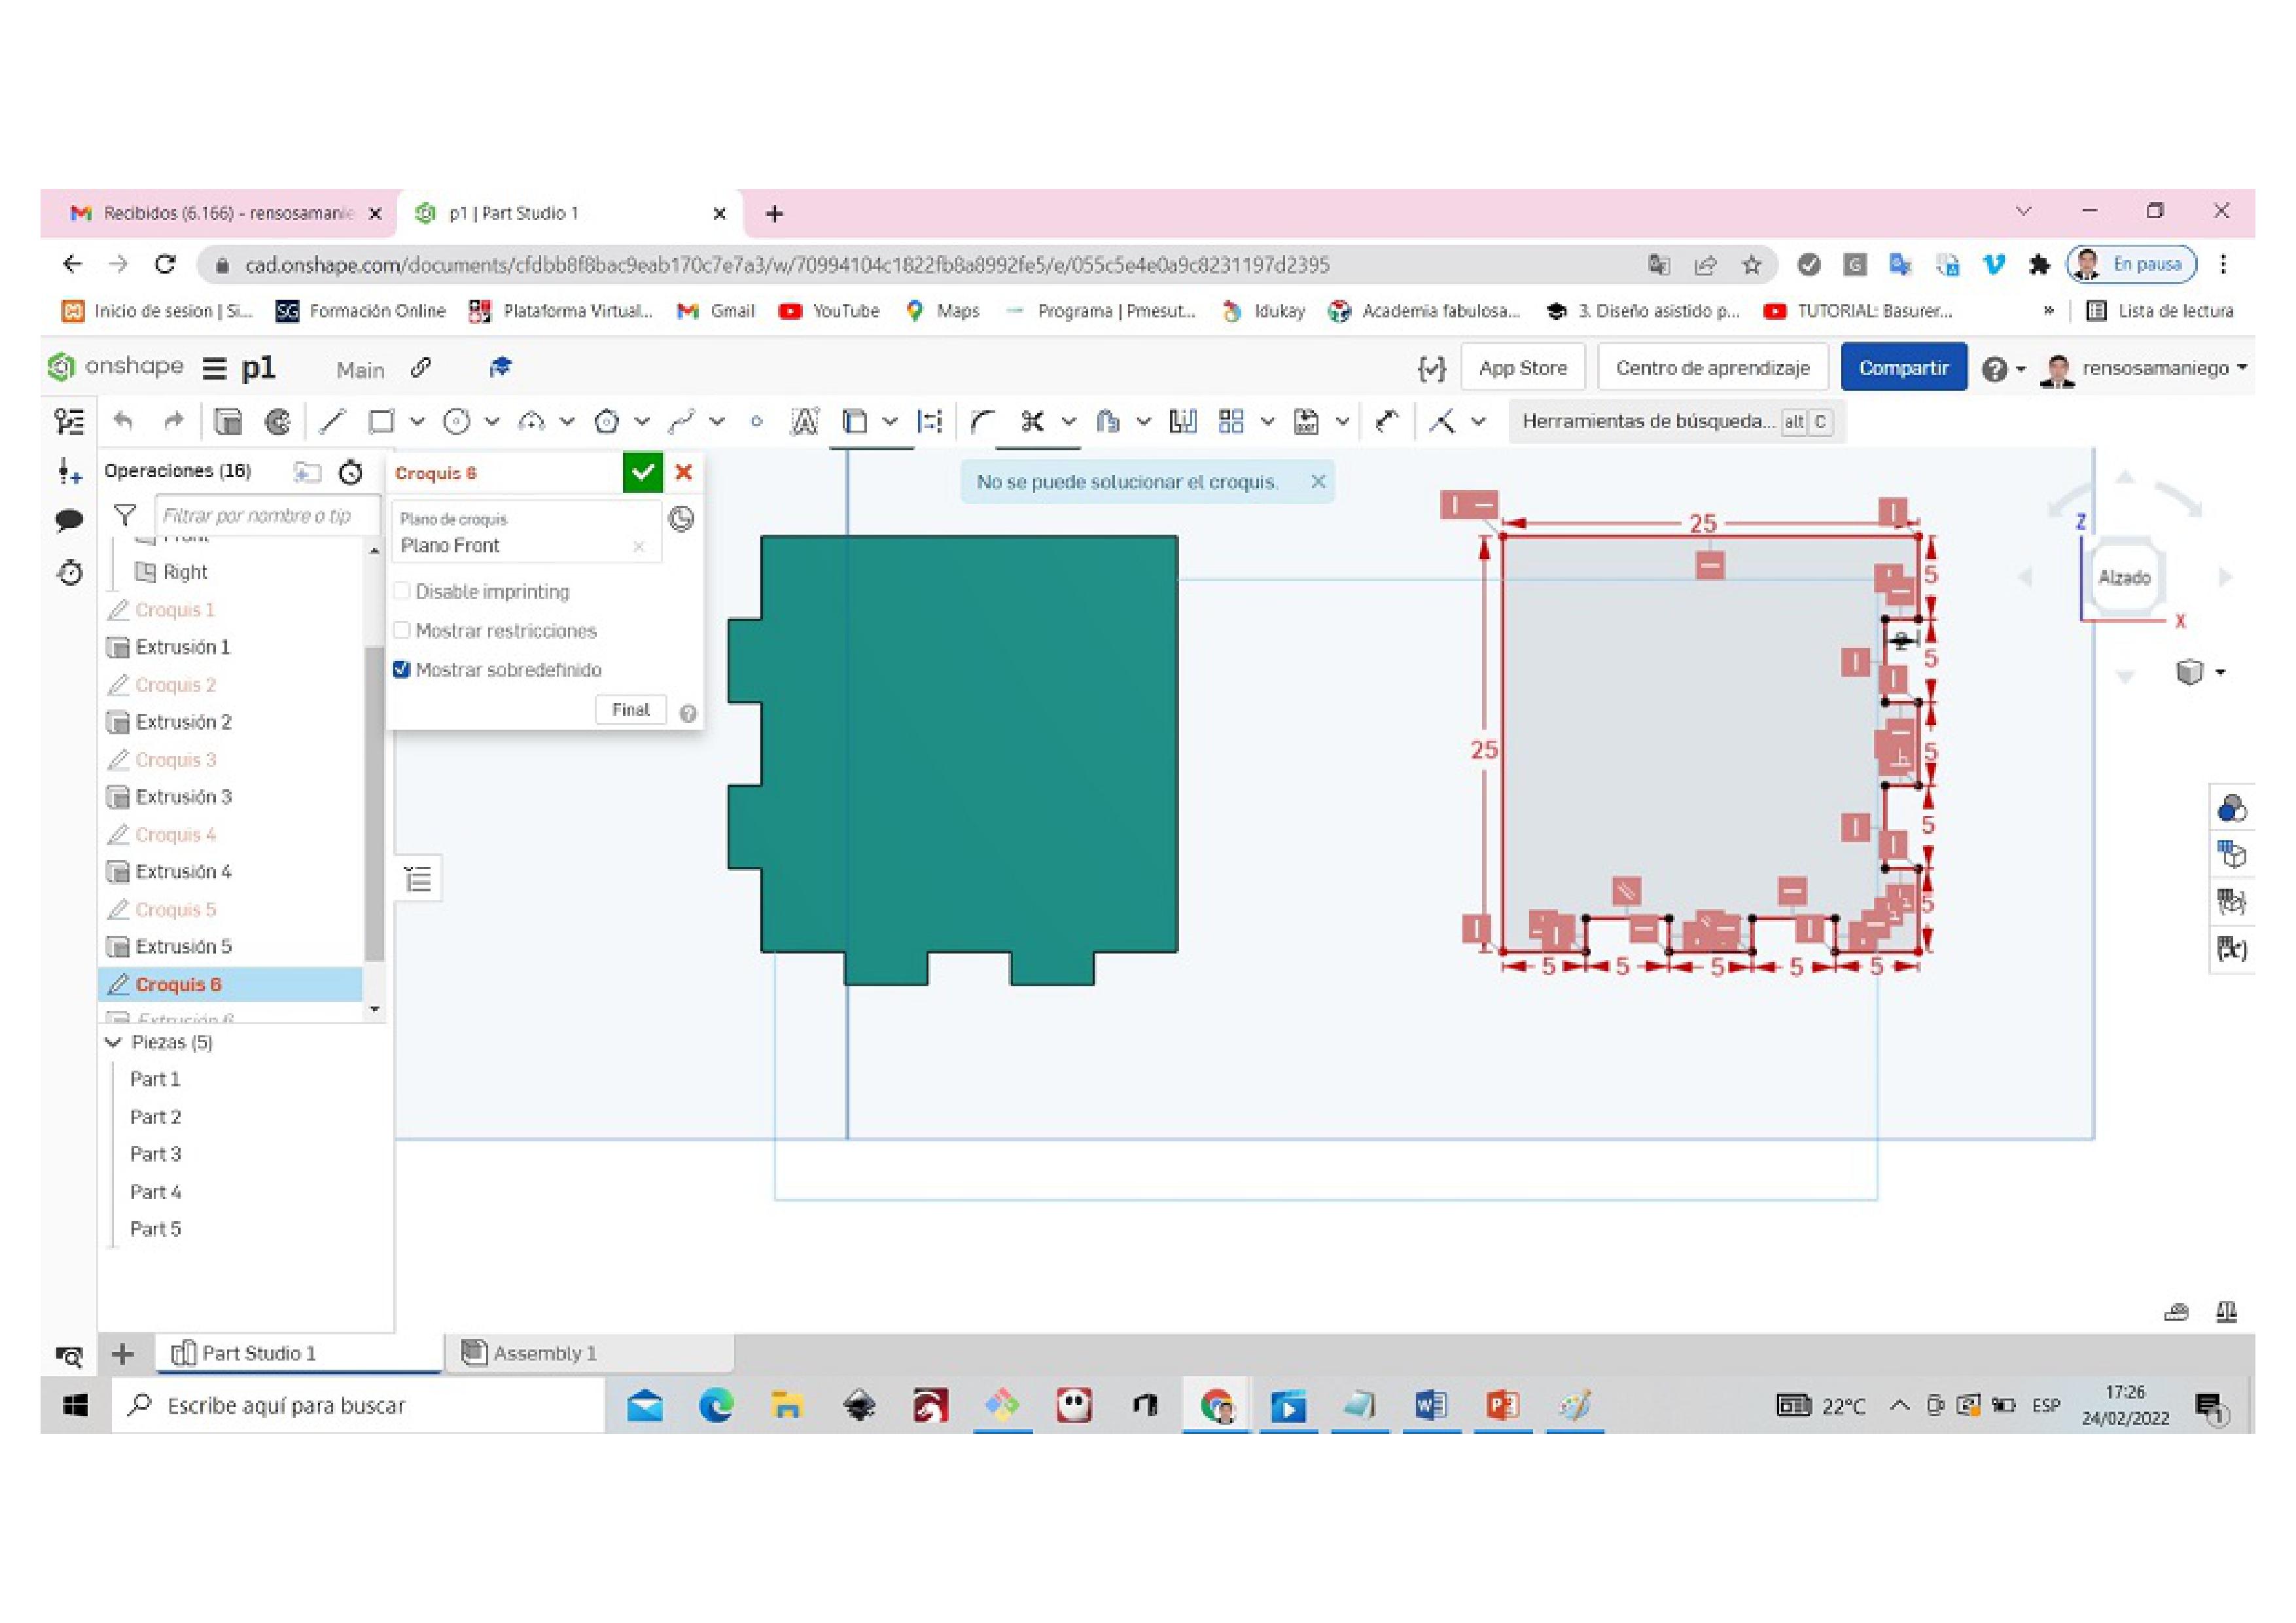
We click on line on arrow A then in the sketch we begin to outline the lines on arrow B and with the dimension command on arrow B we can measure the distance from point to point there we write 5 millimeters.
We continue moving forward if we wish at the end we can just put the measurements of 5 millimeters
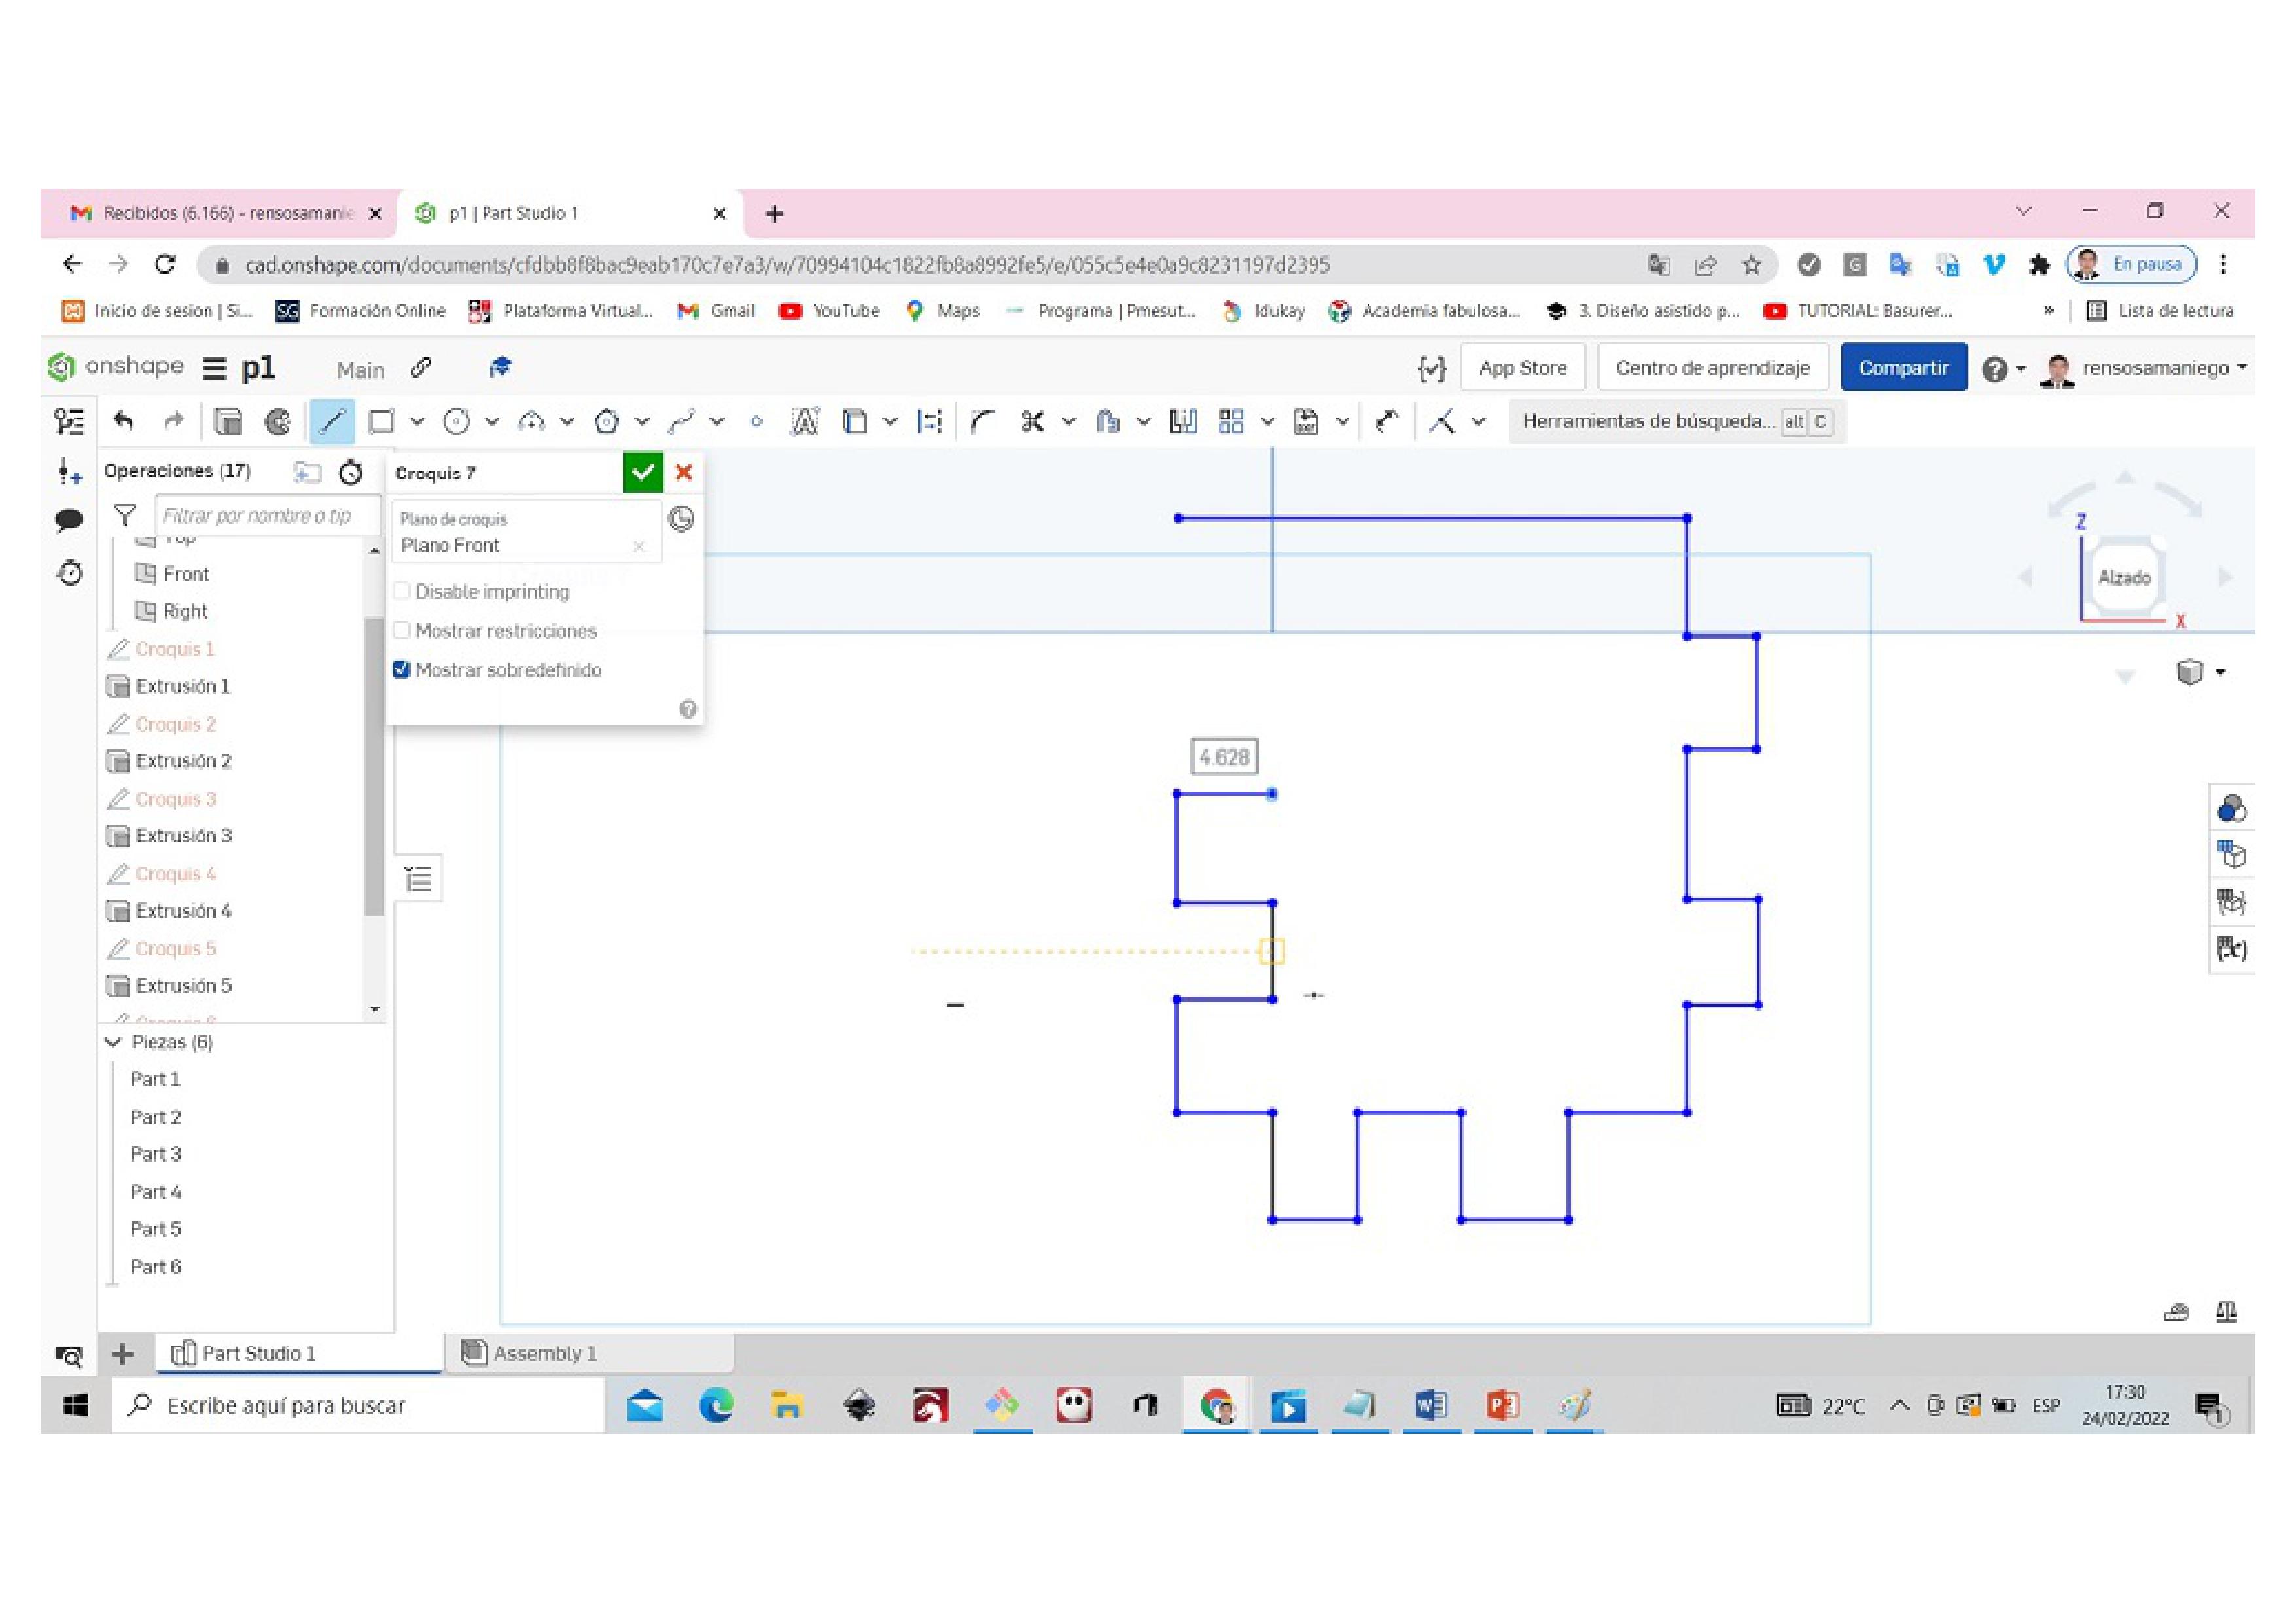
When we finish with the dimension tool we can start measuring from point to point that is 5 millimeters.

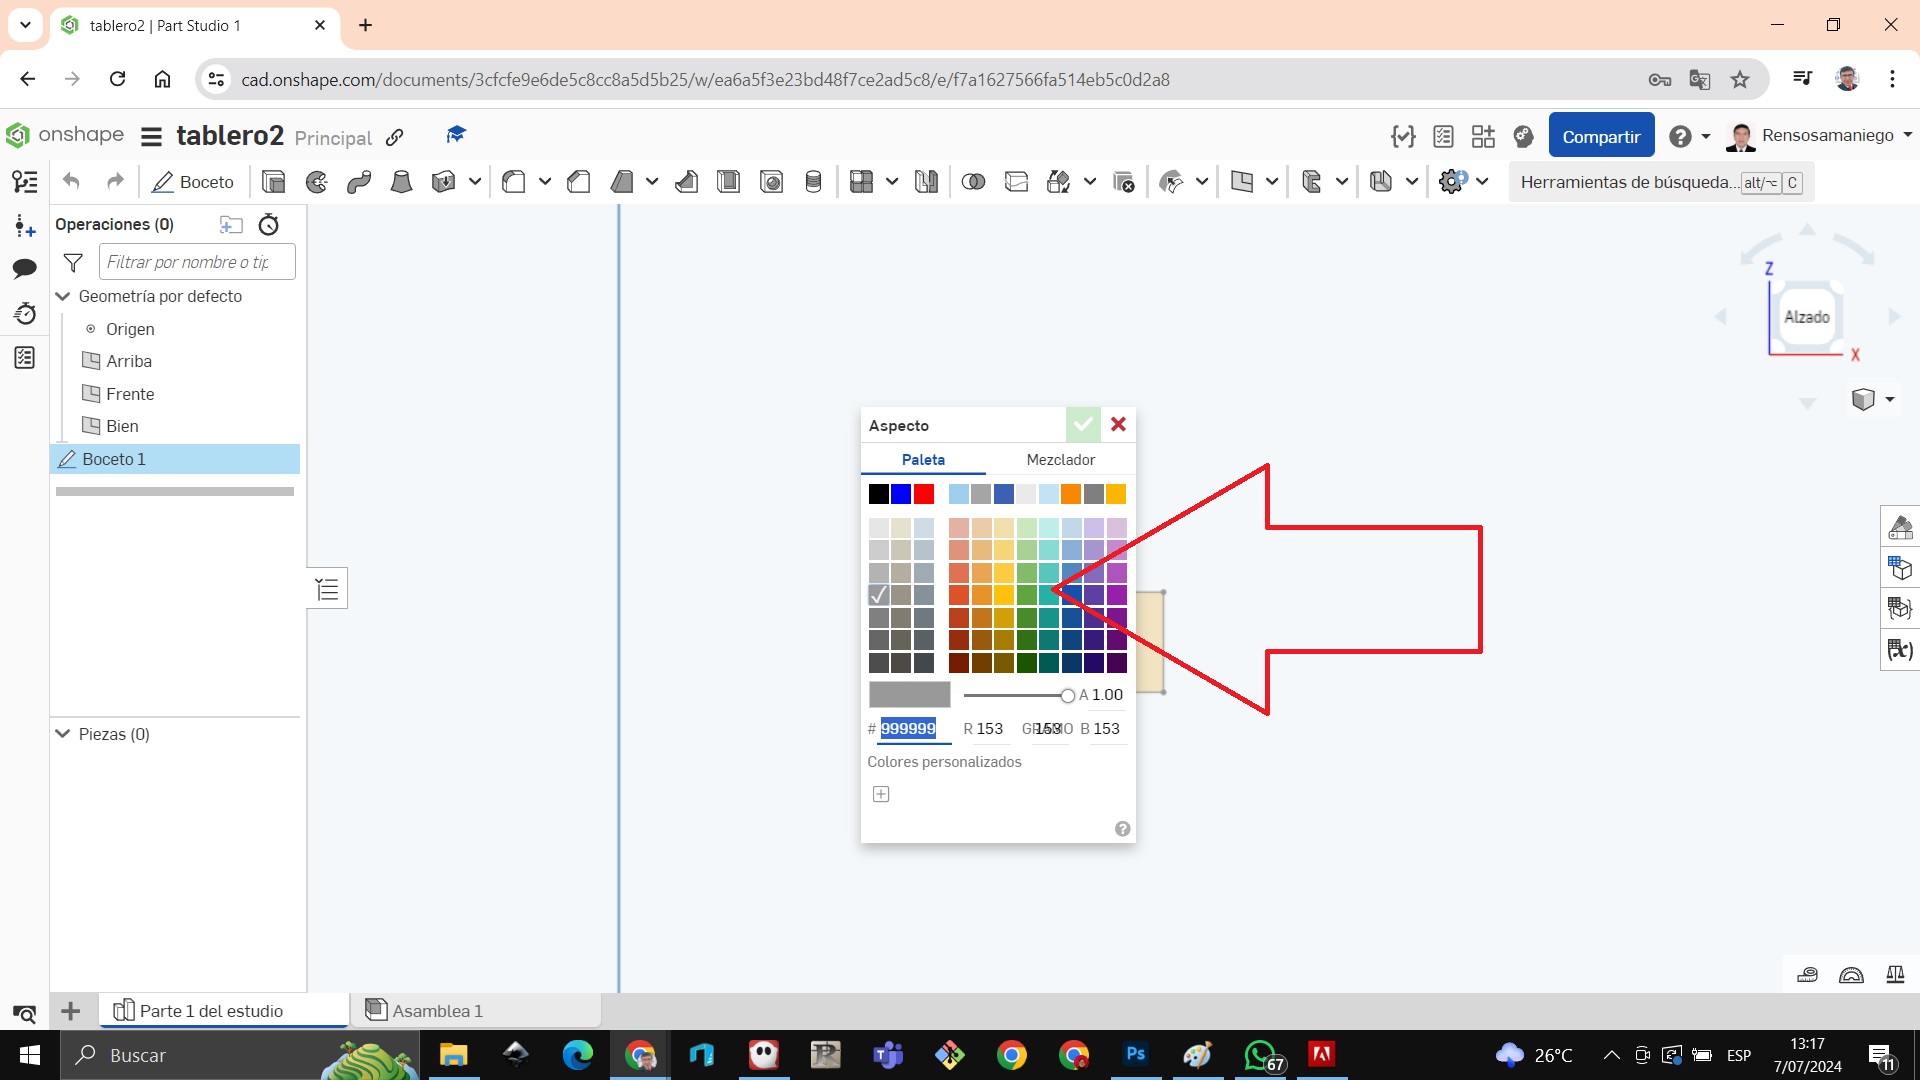
We add color by right clicking and choose to edit appearance of sketches
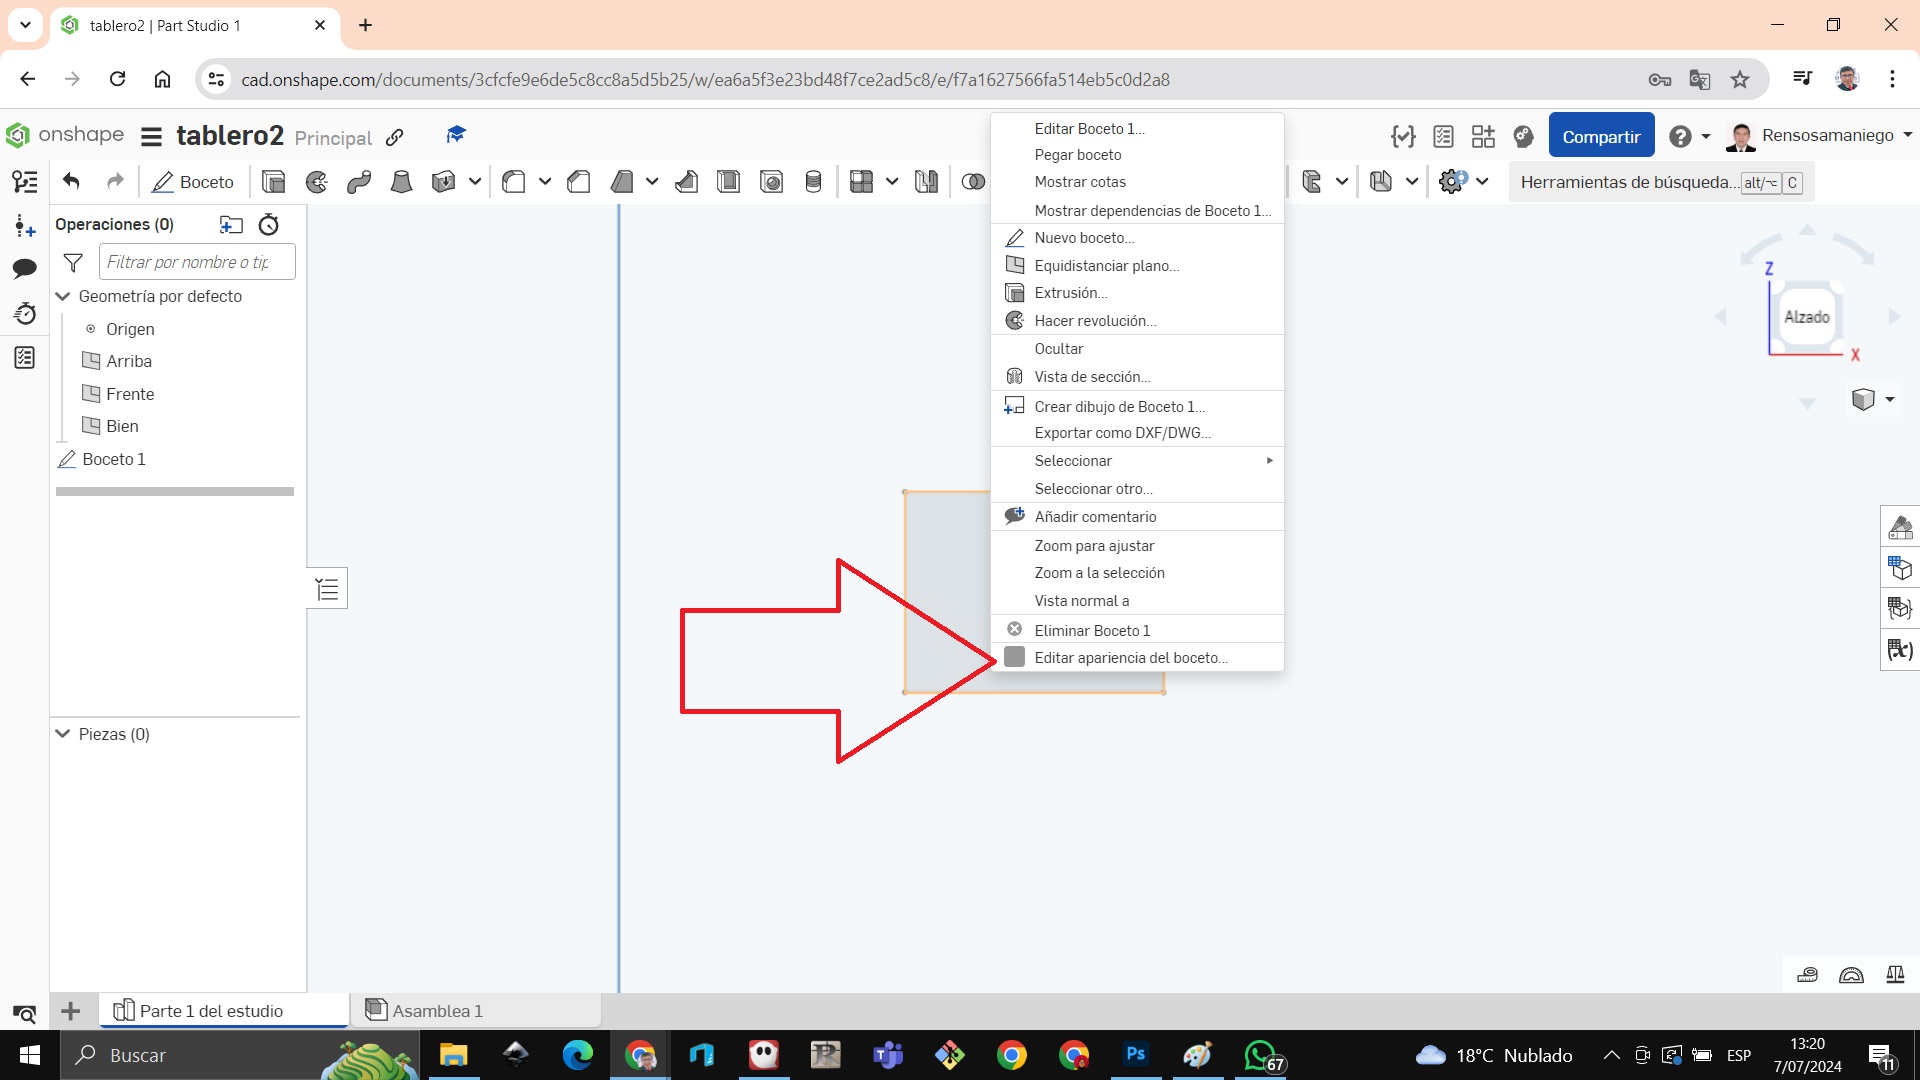
We choose the color we want
The image looks like this
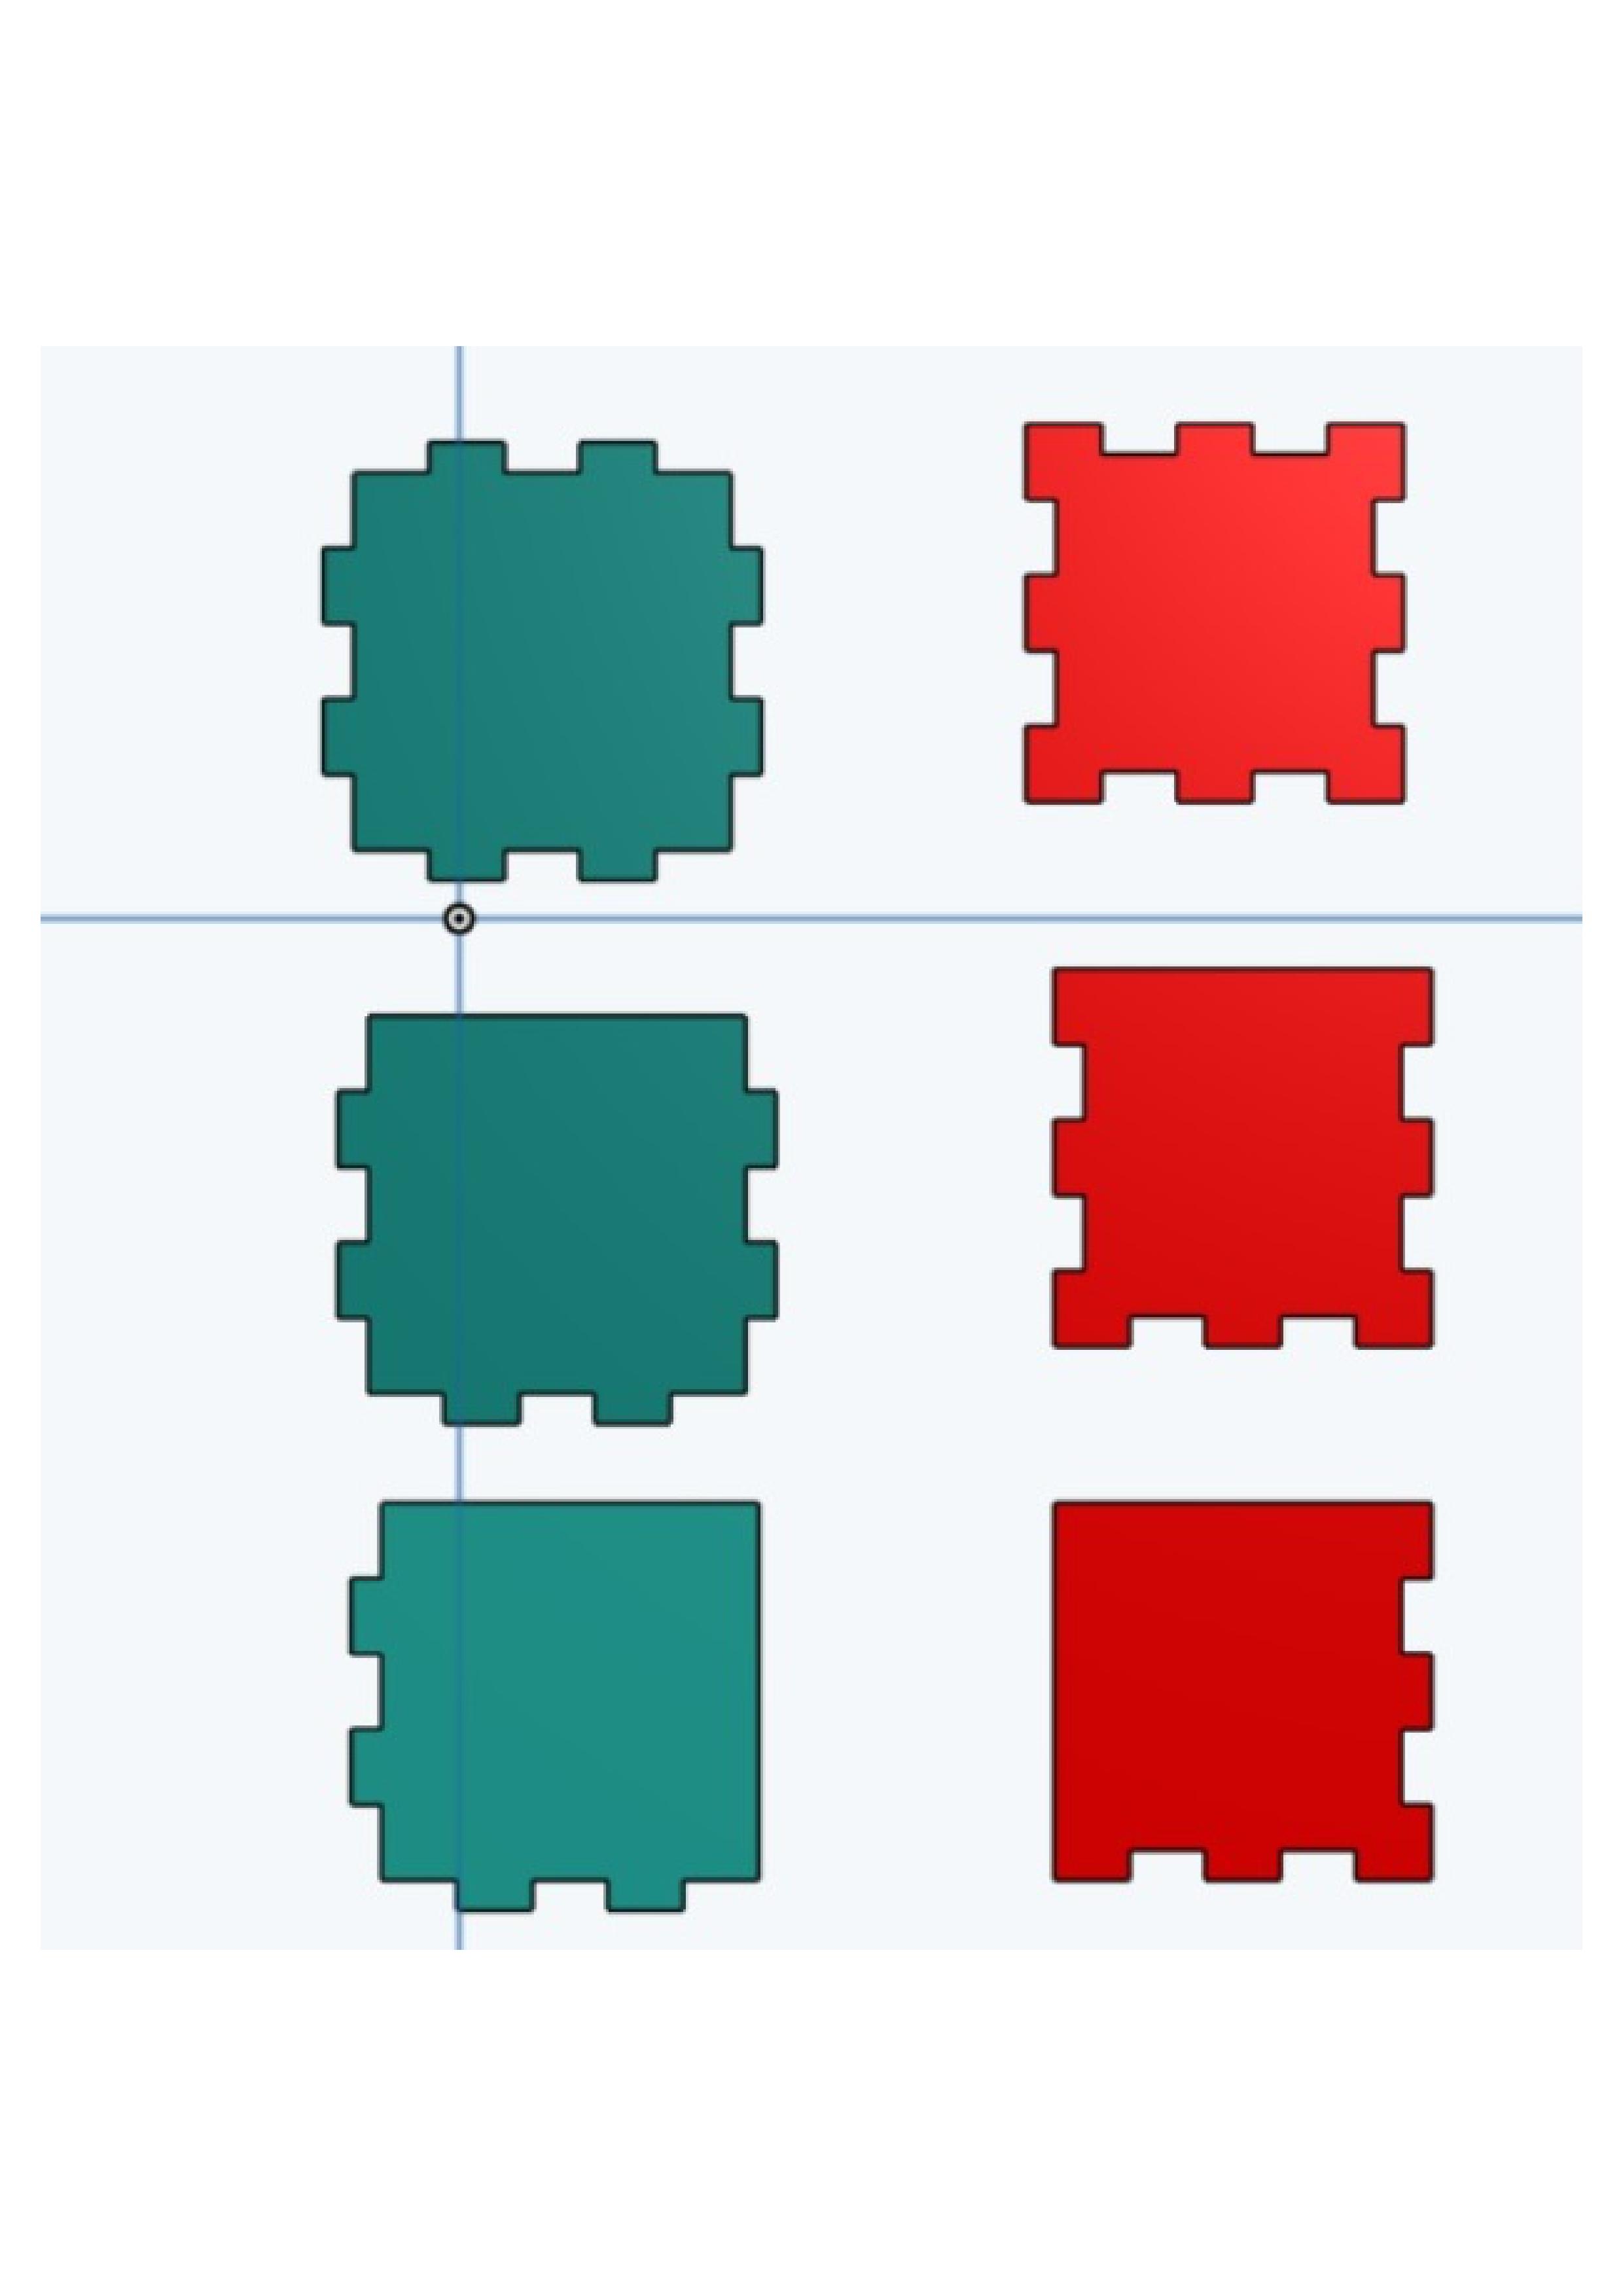
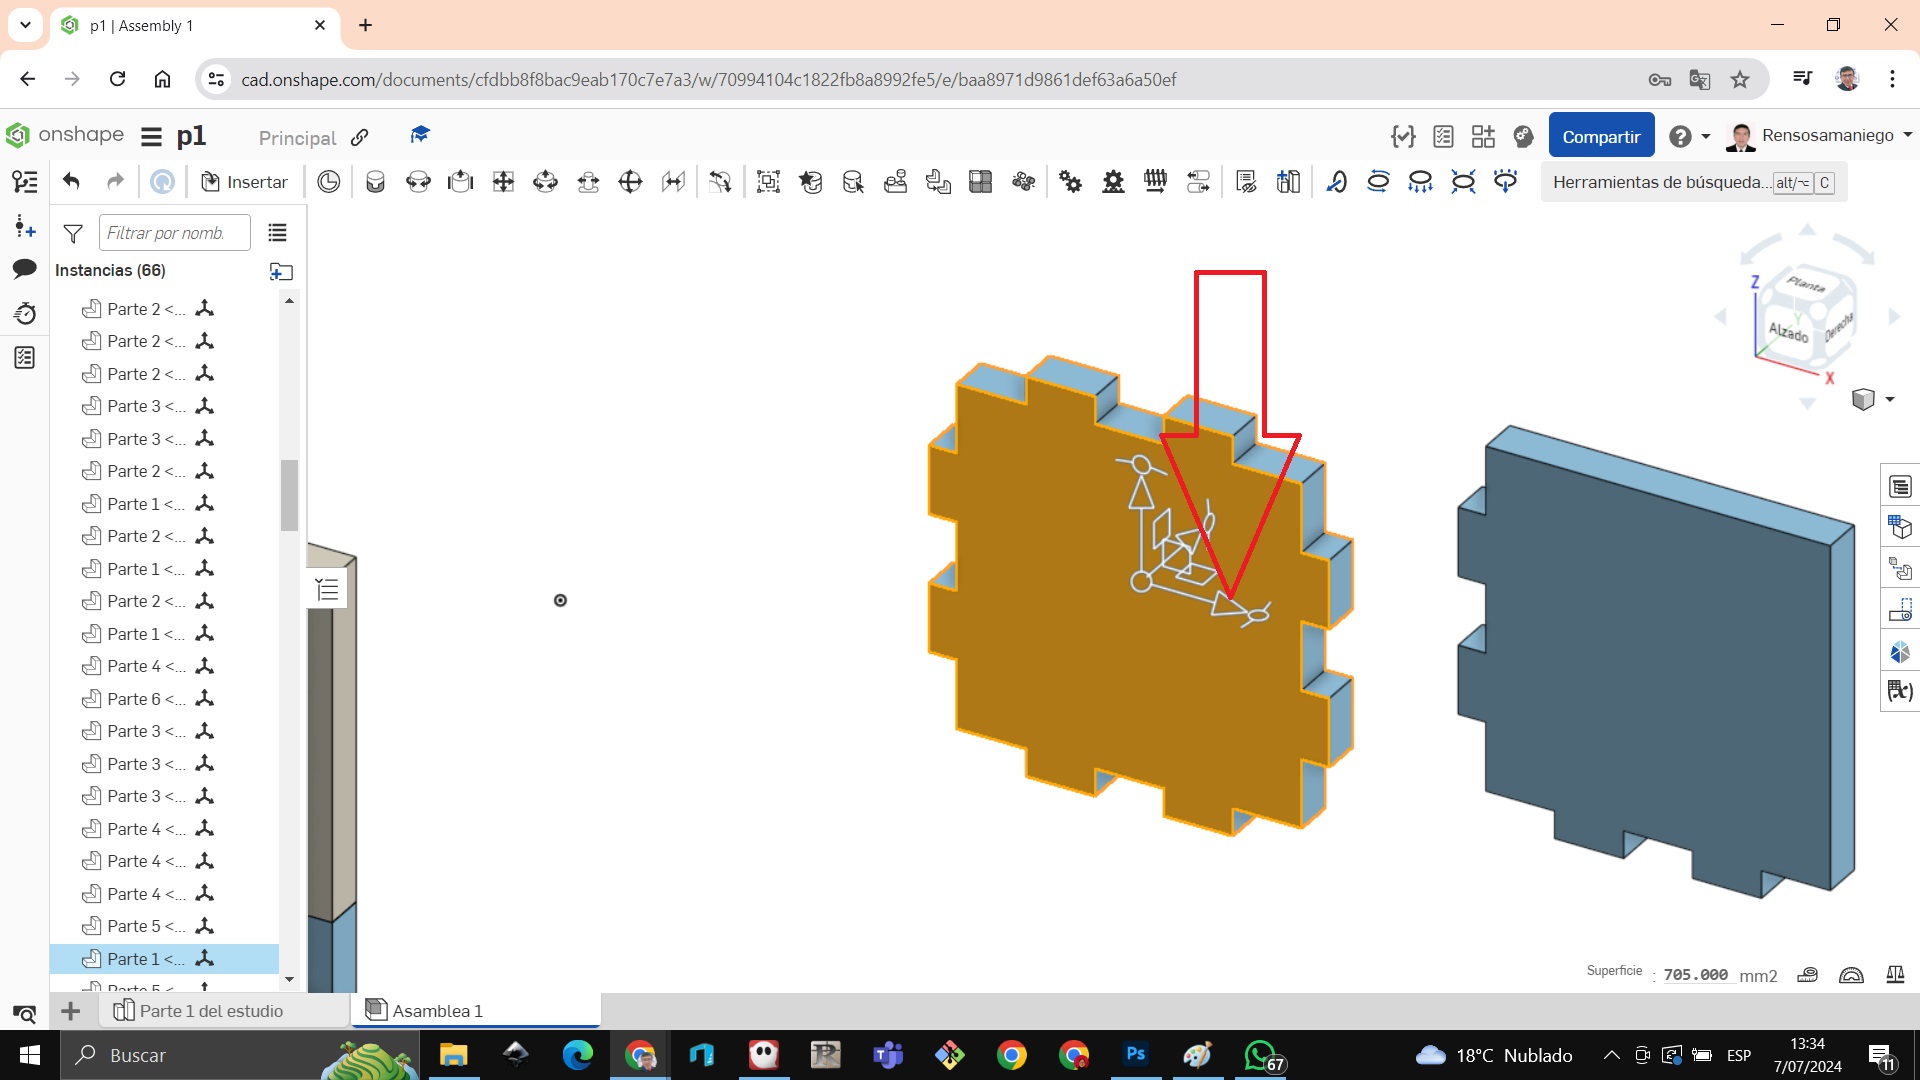
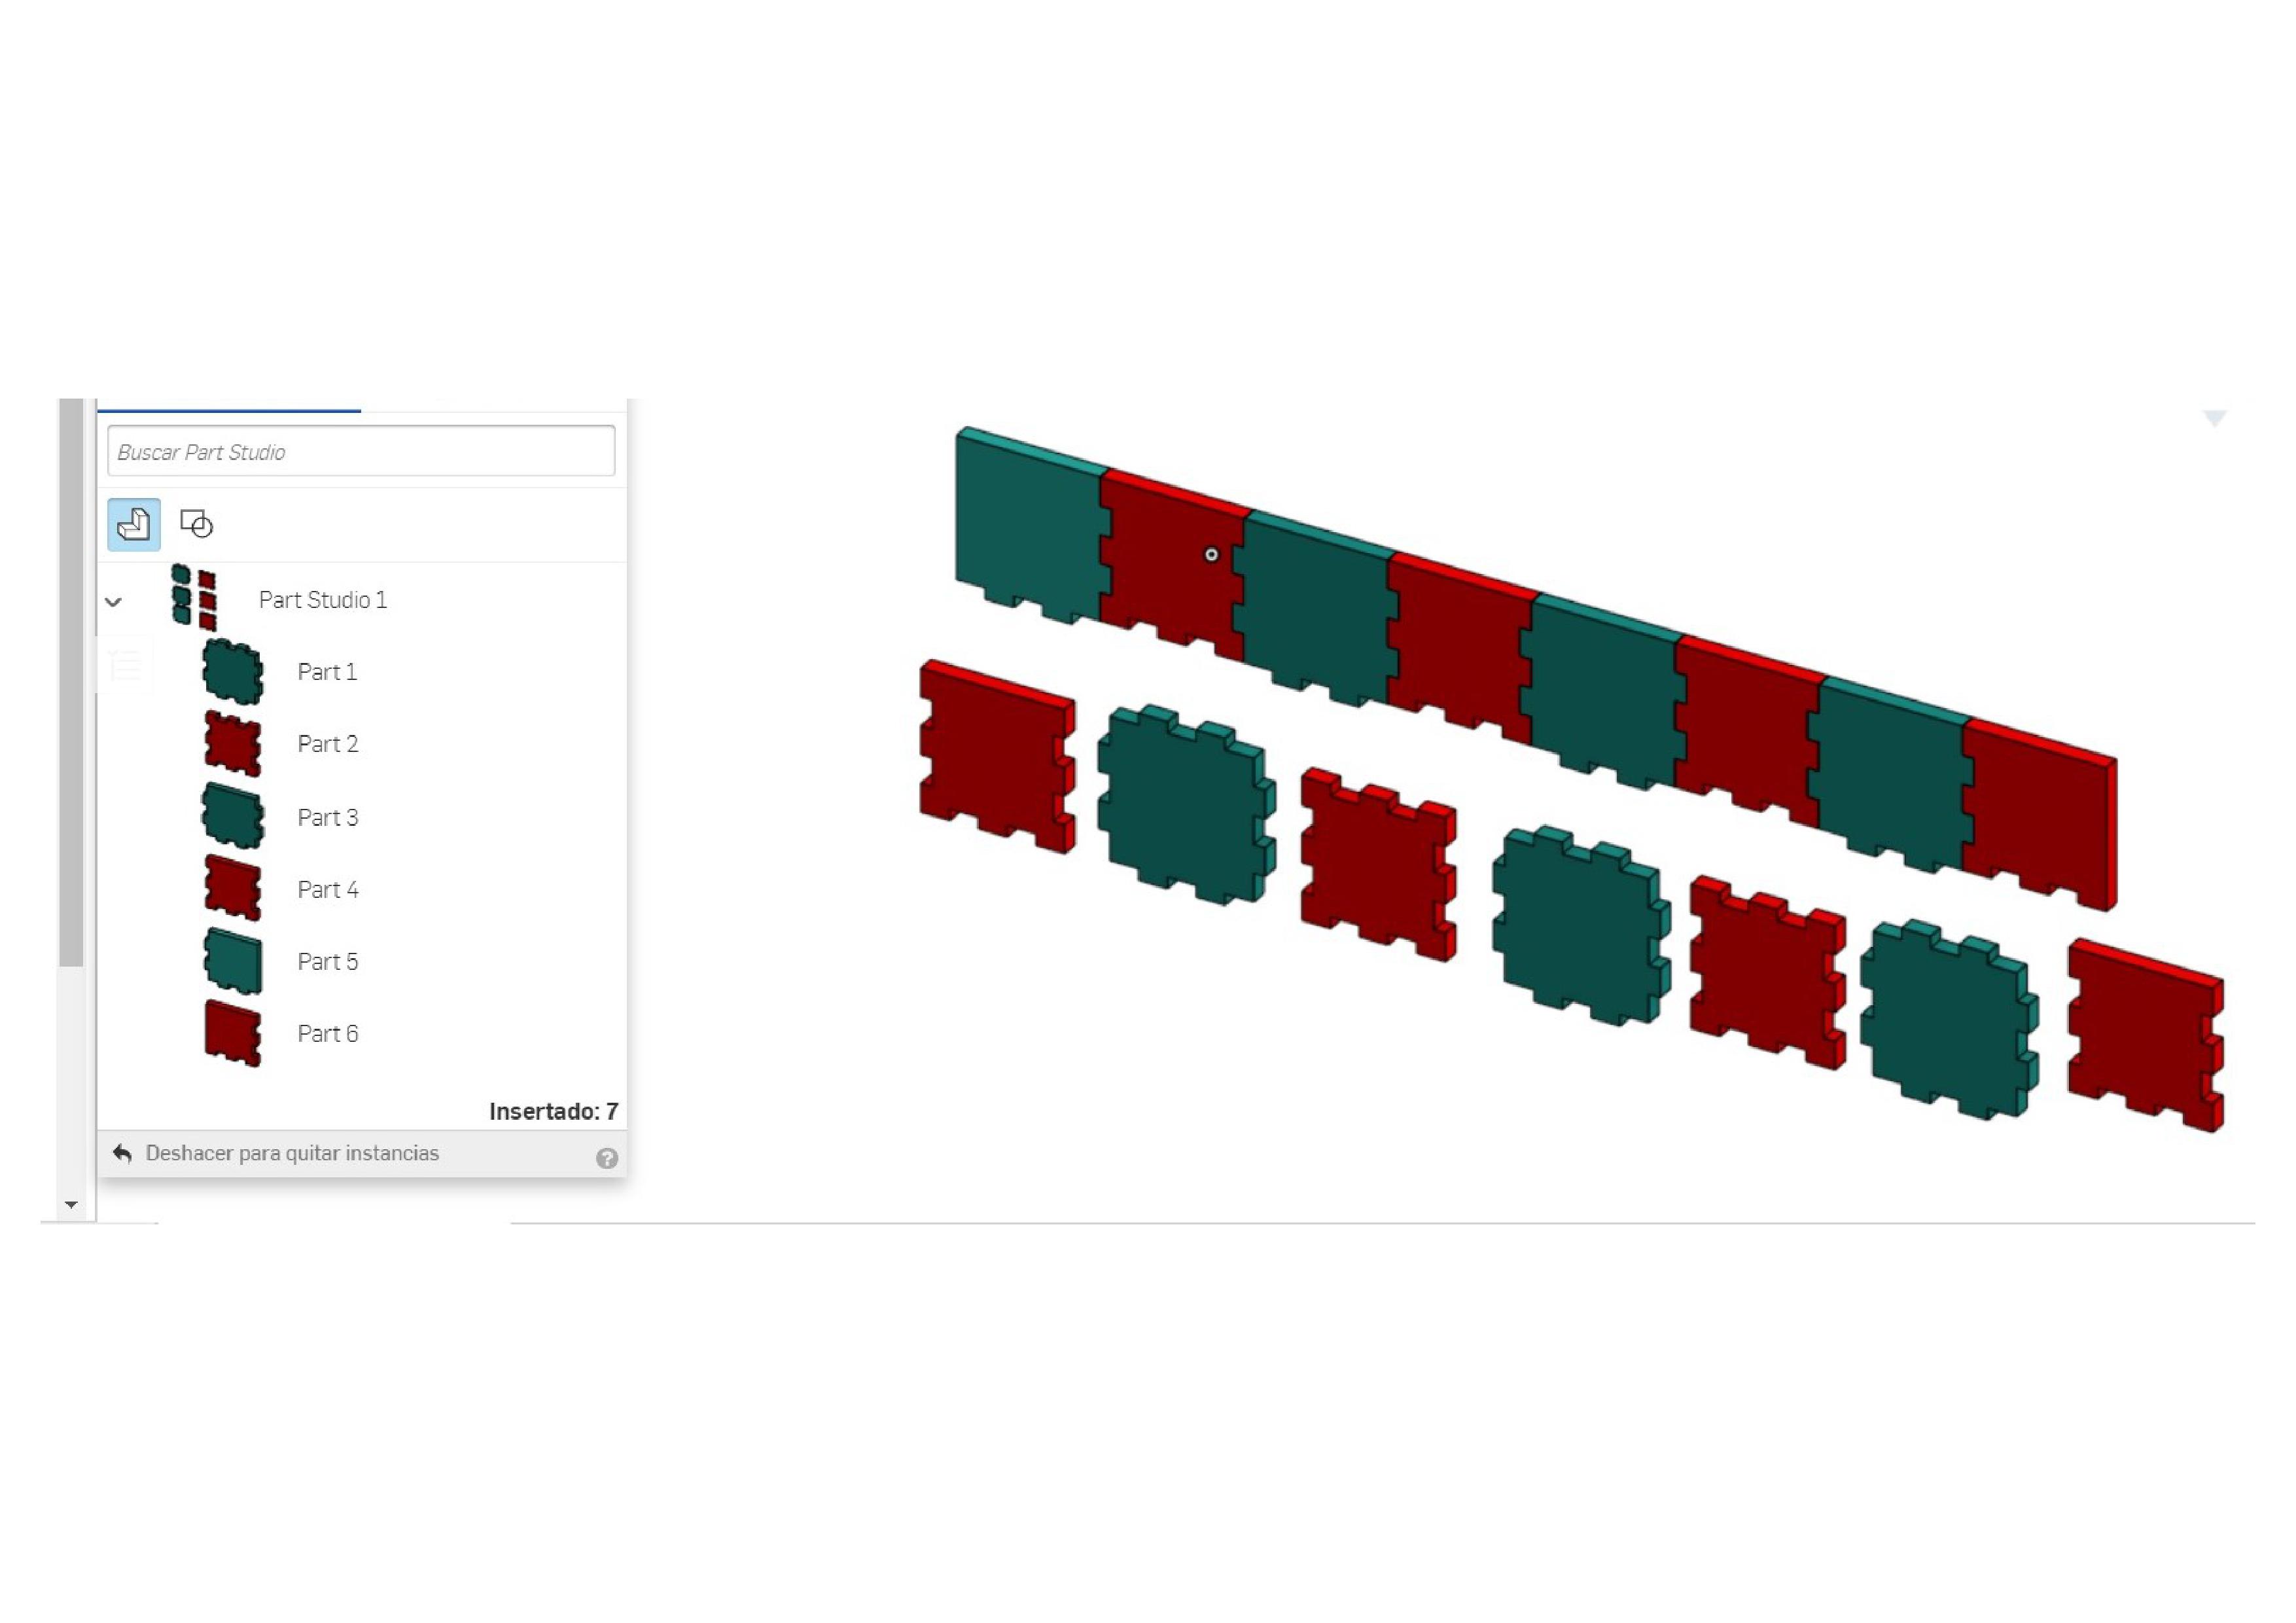
We make 6 types of square models and begin to assemble 64 squares in a row to make the chessboard

Now we are going to assemble on arrow A and then enter the chess parts one by one to assemble.

Entering one by one it looks like this

we begin to join the pieces or assemble them one by one and change the color of the squares

When we click on the image, some directional arrows are activated and we move in the direction we want

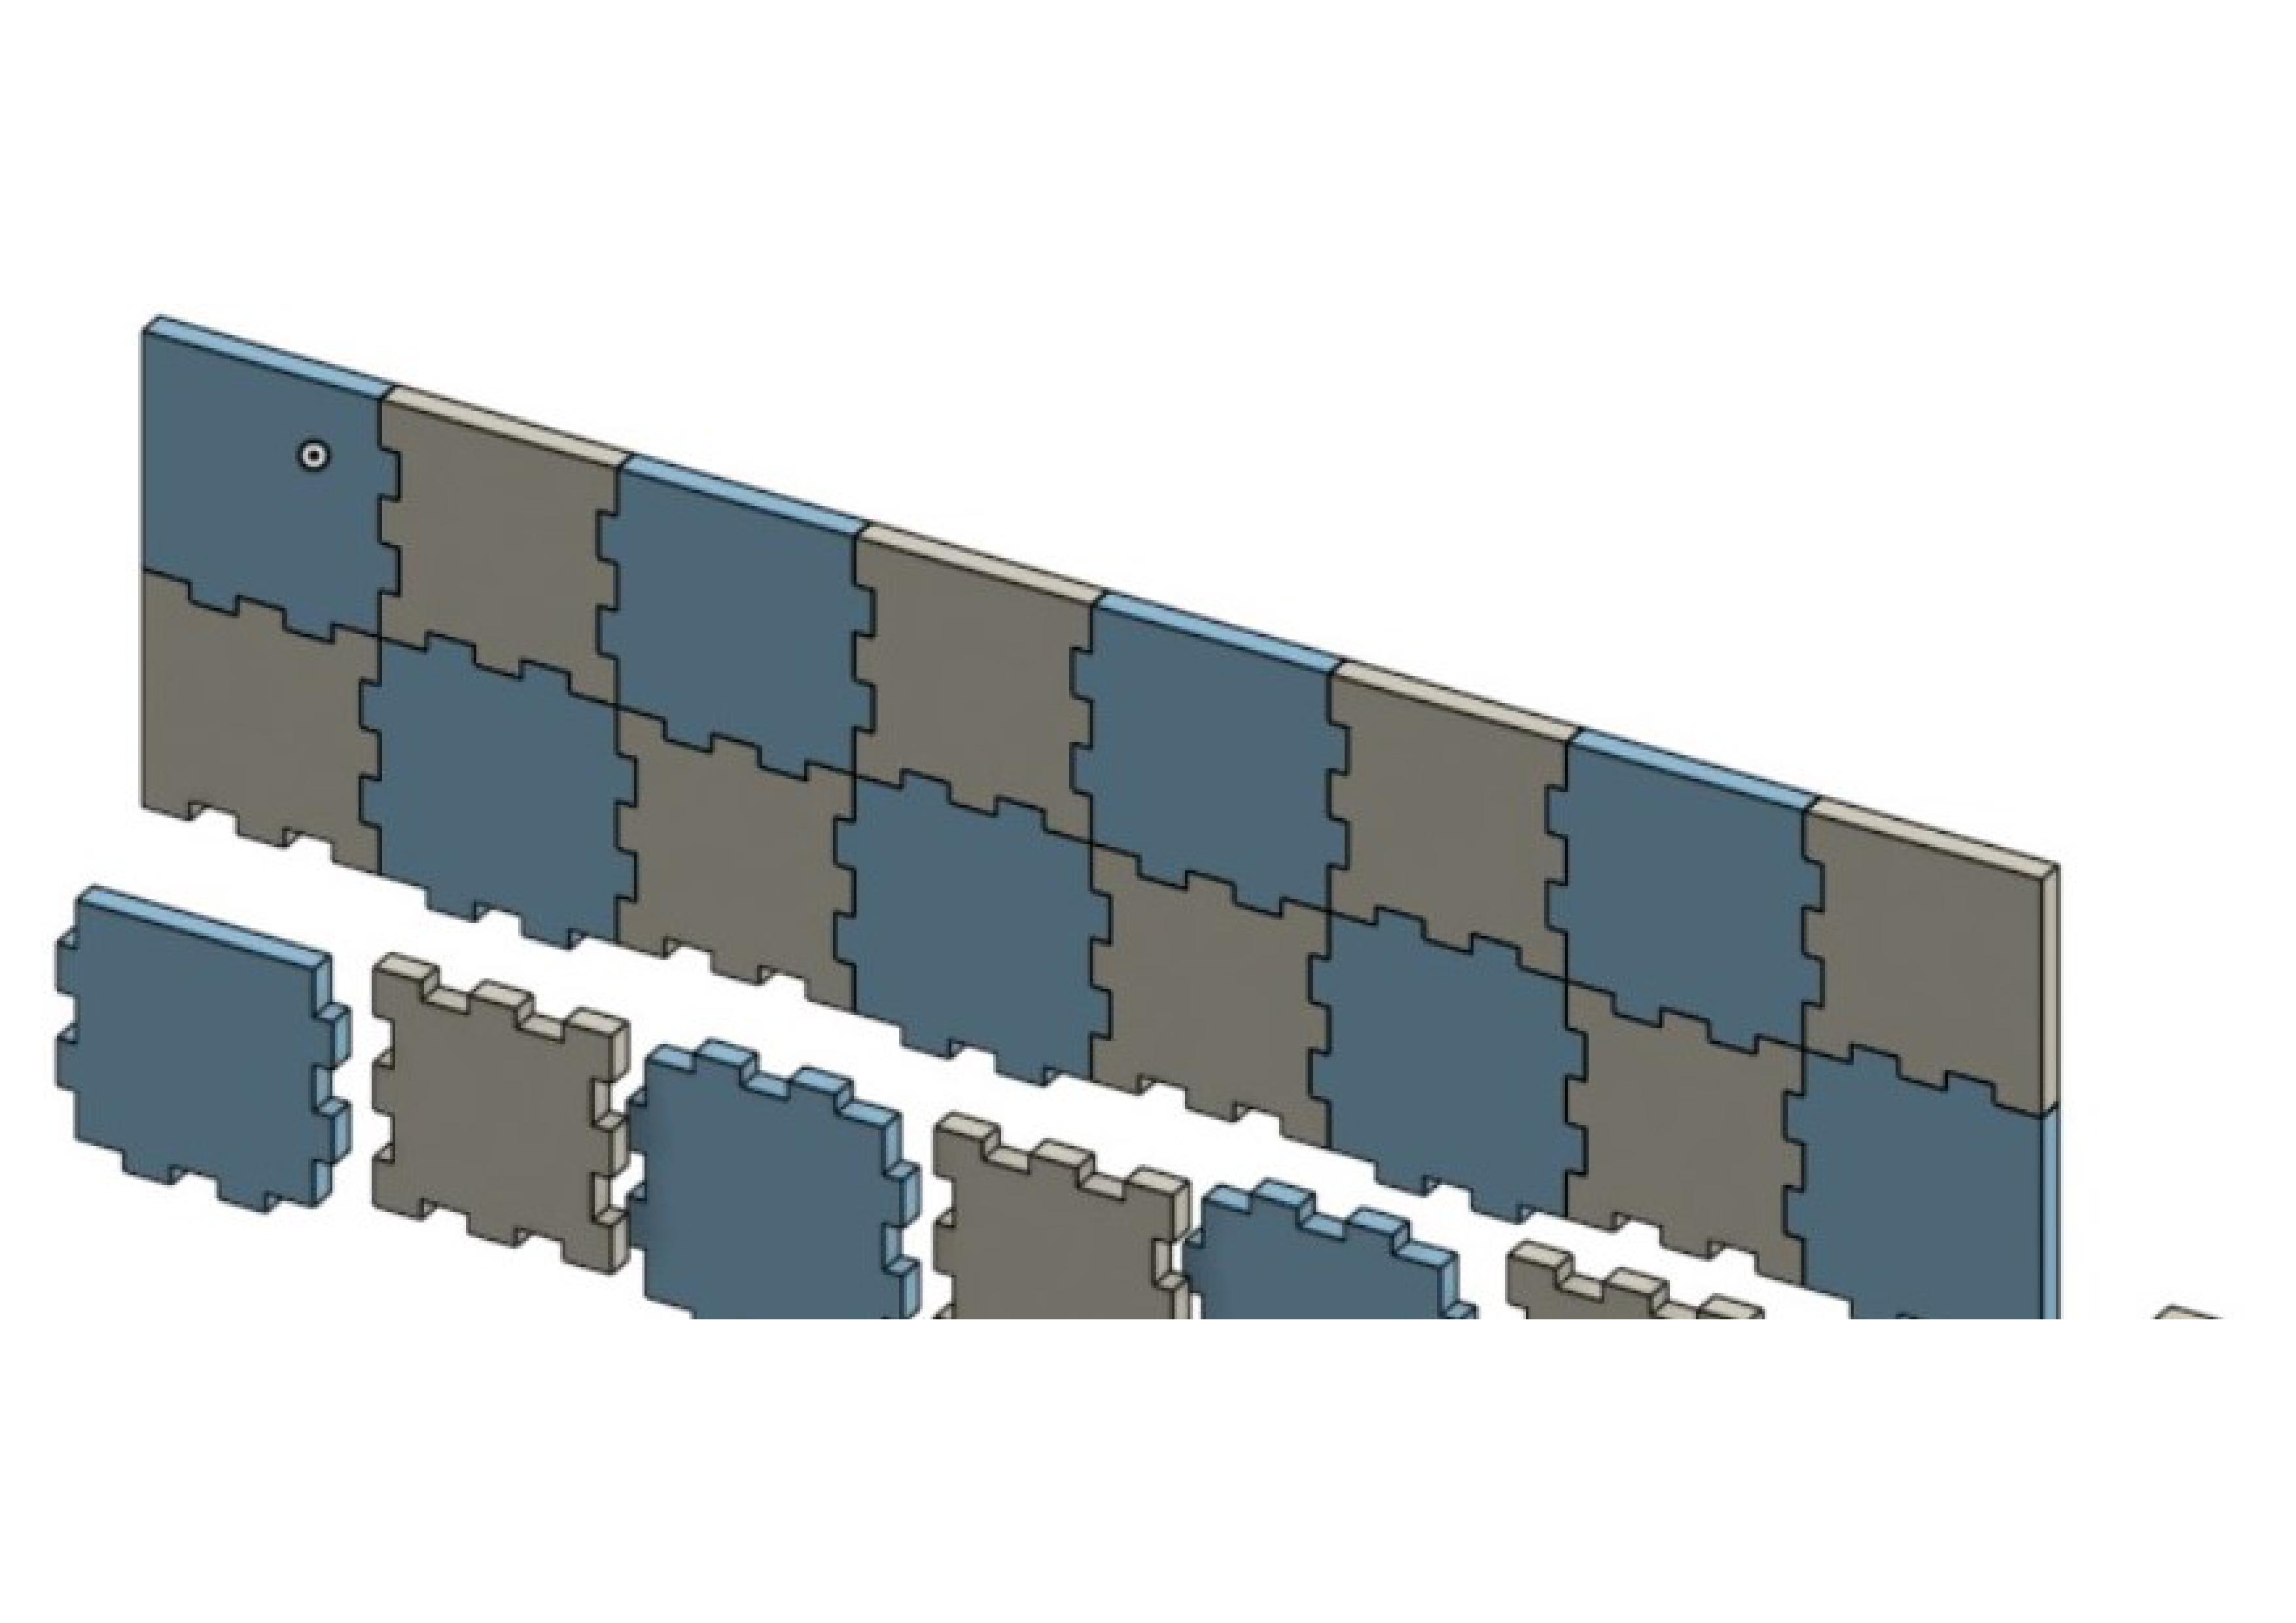
When we finish joining all the pieces, the chessboard is taking shape
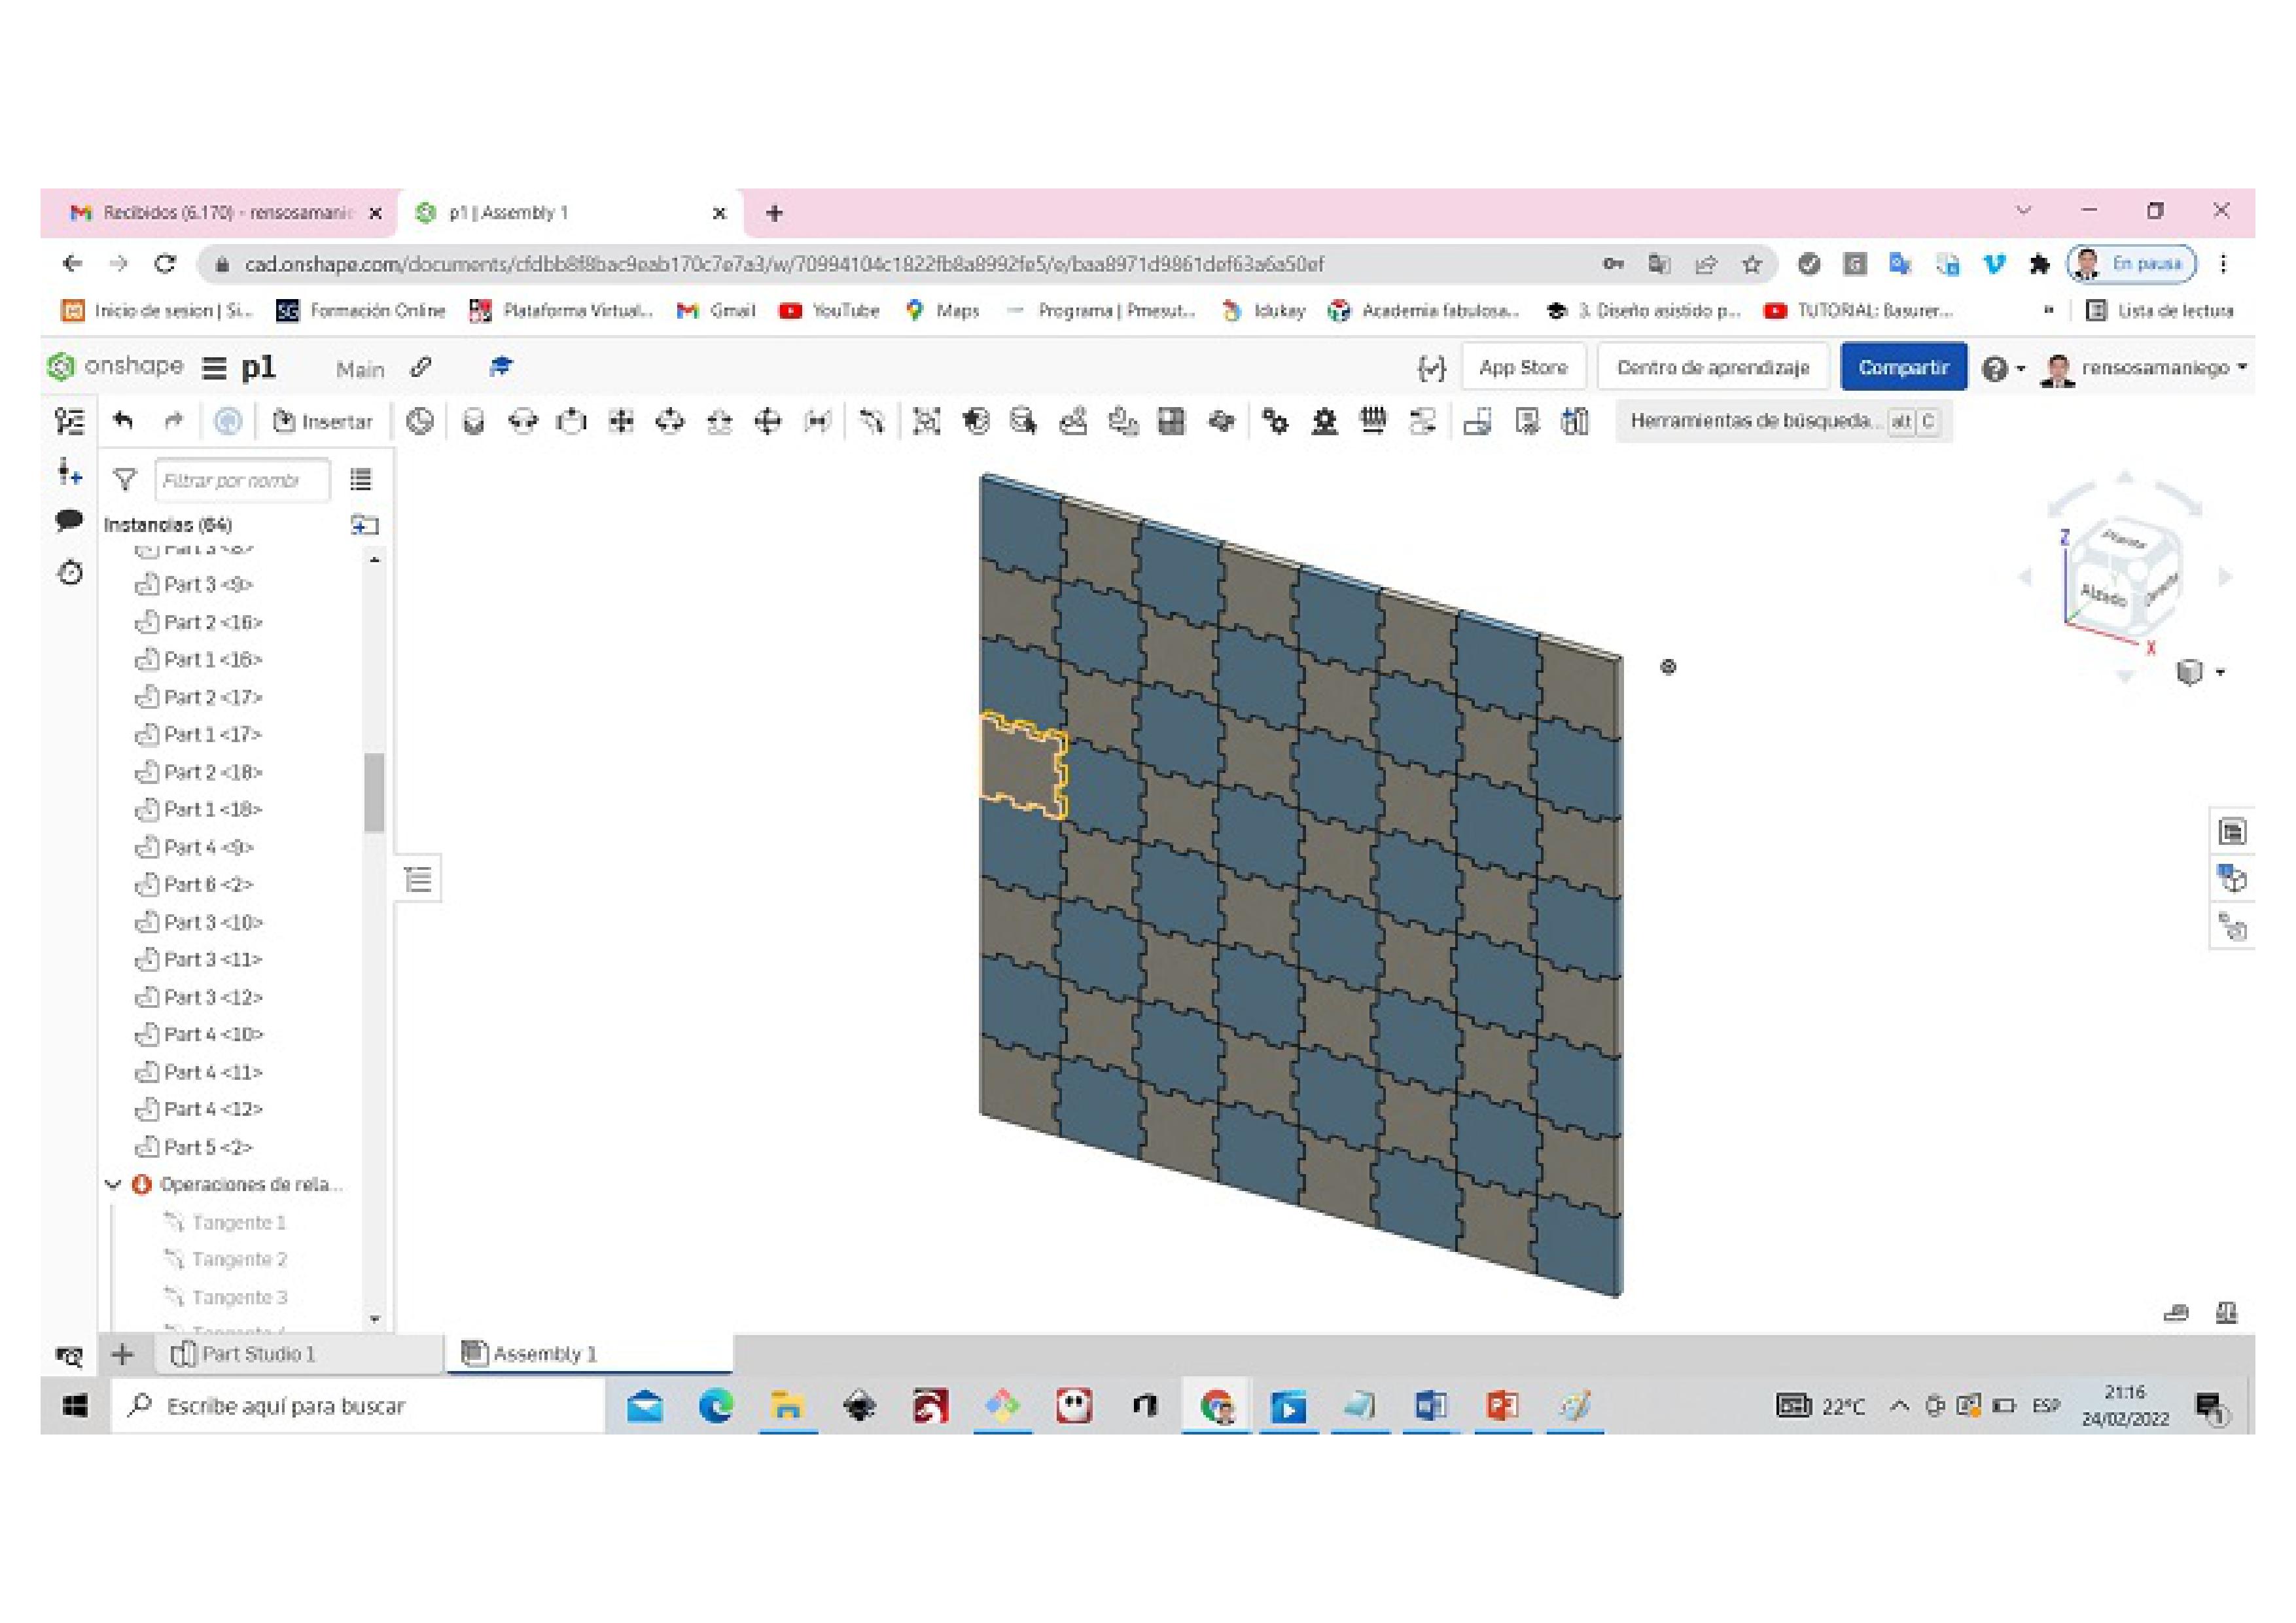
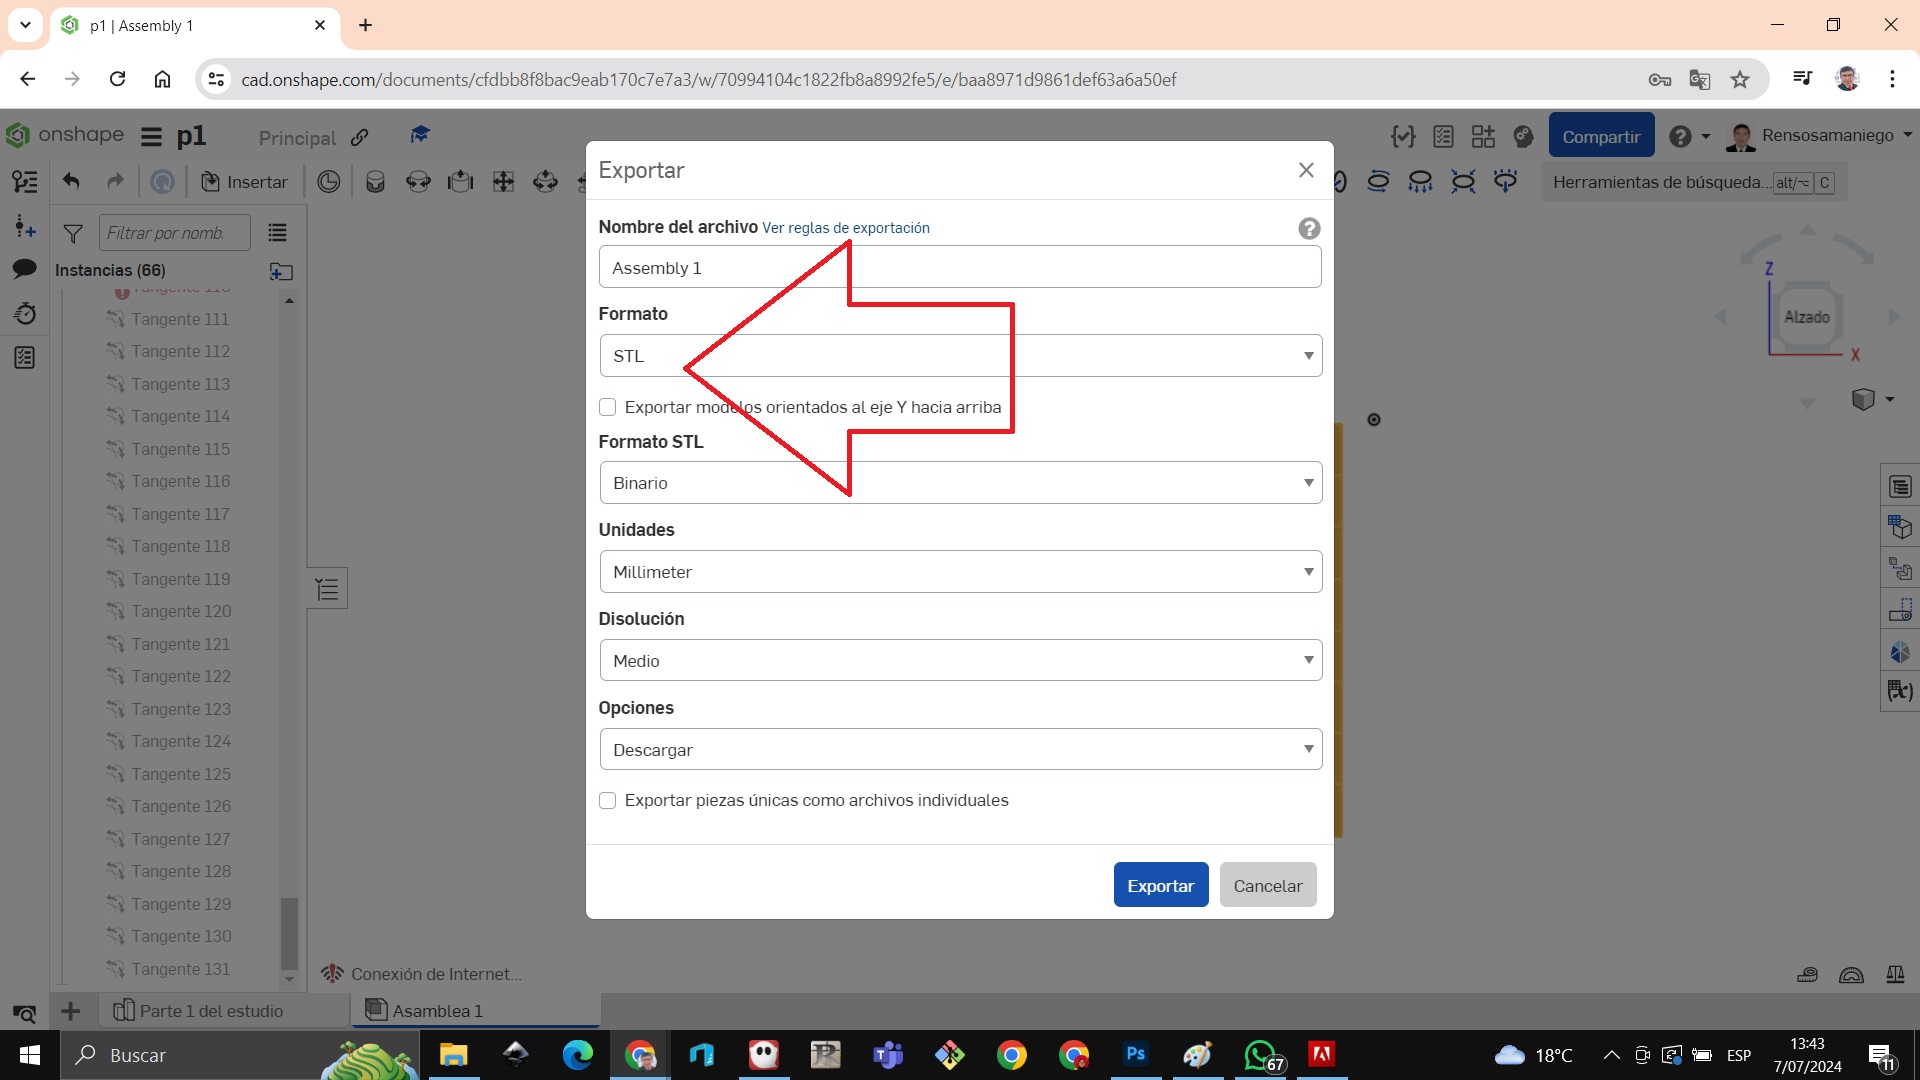
We put it in elevation view and have it ready to be exported and printed on a 3D printer.
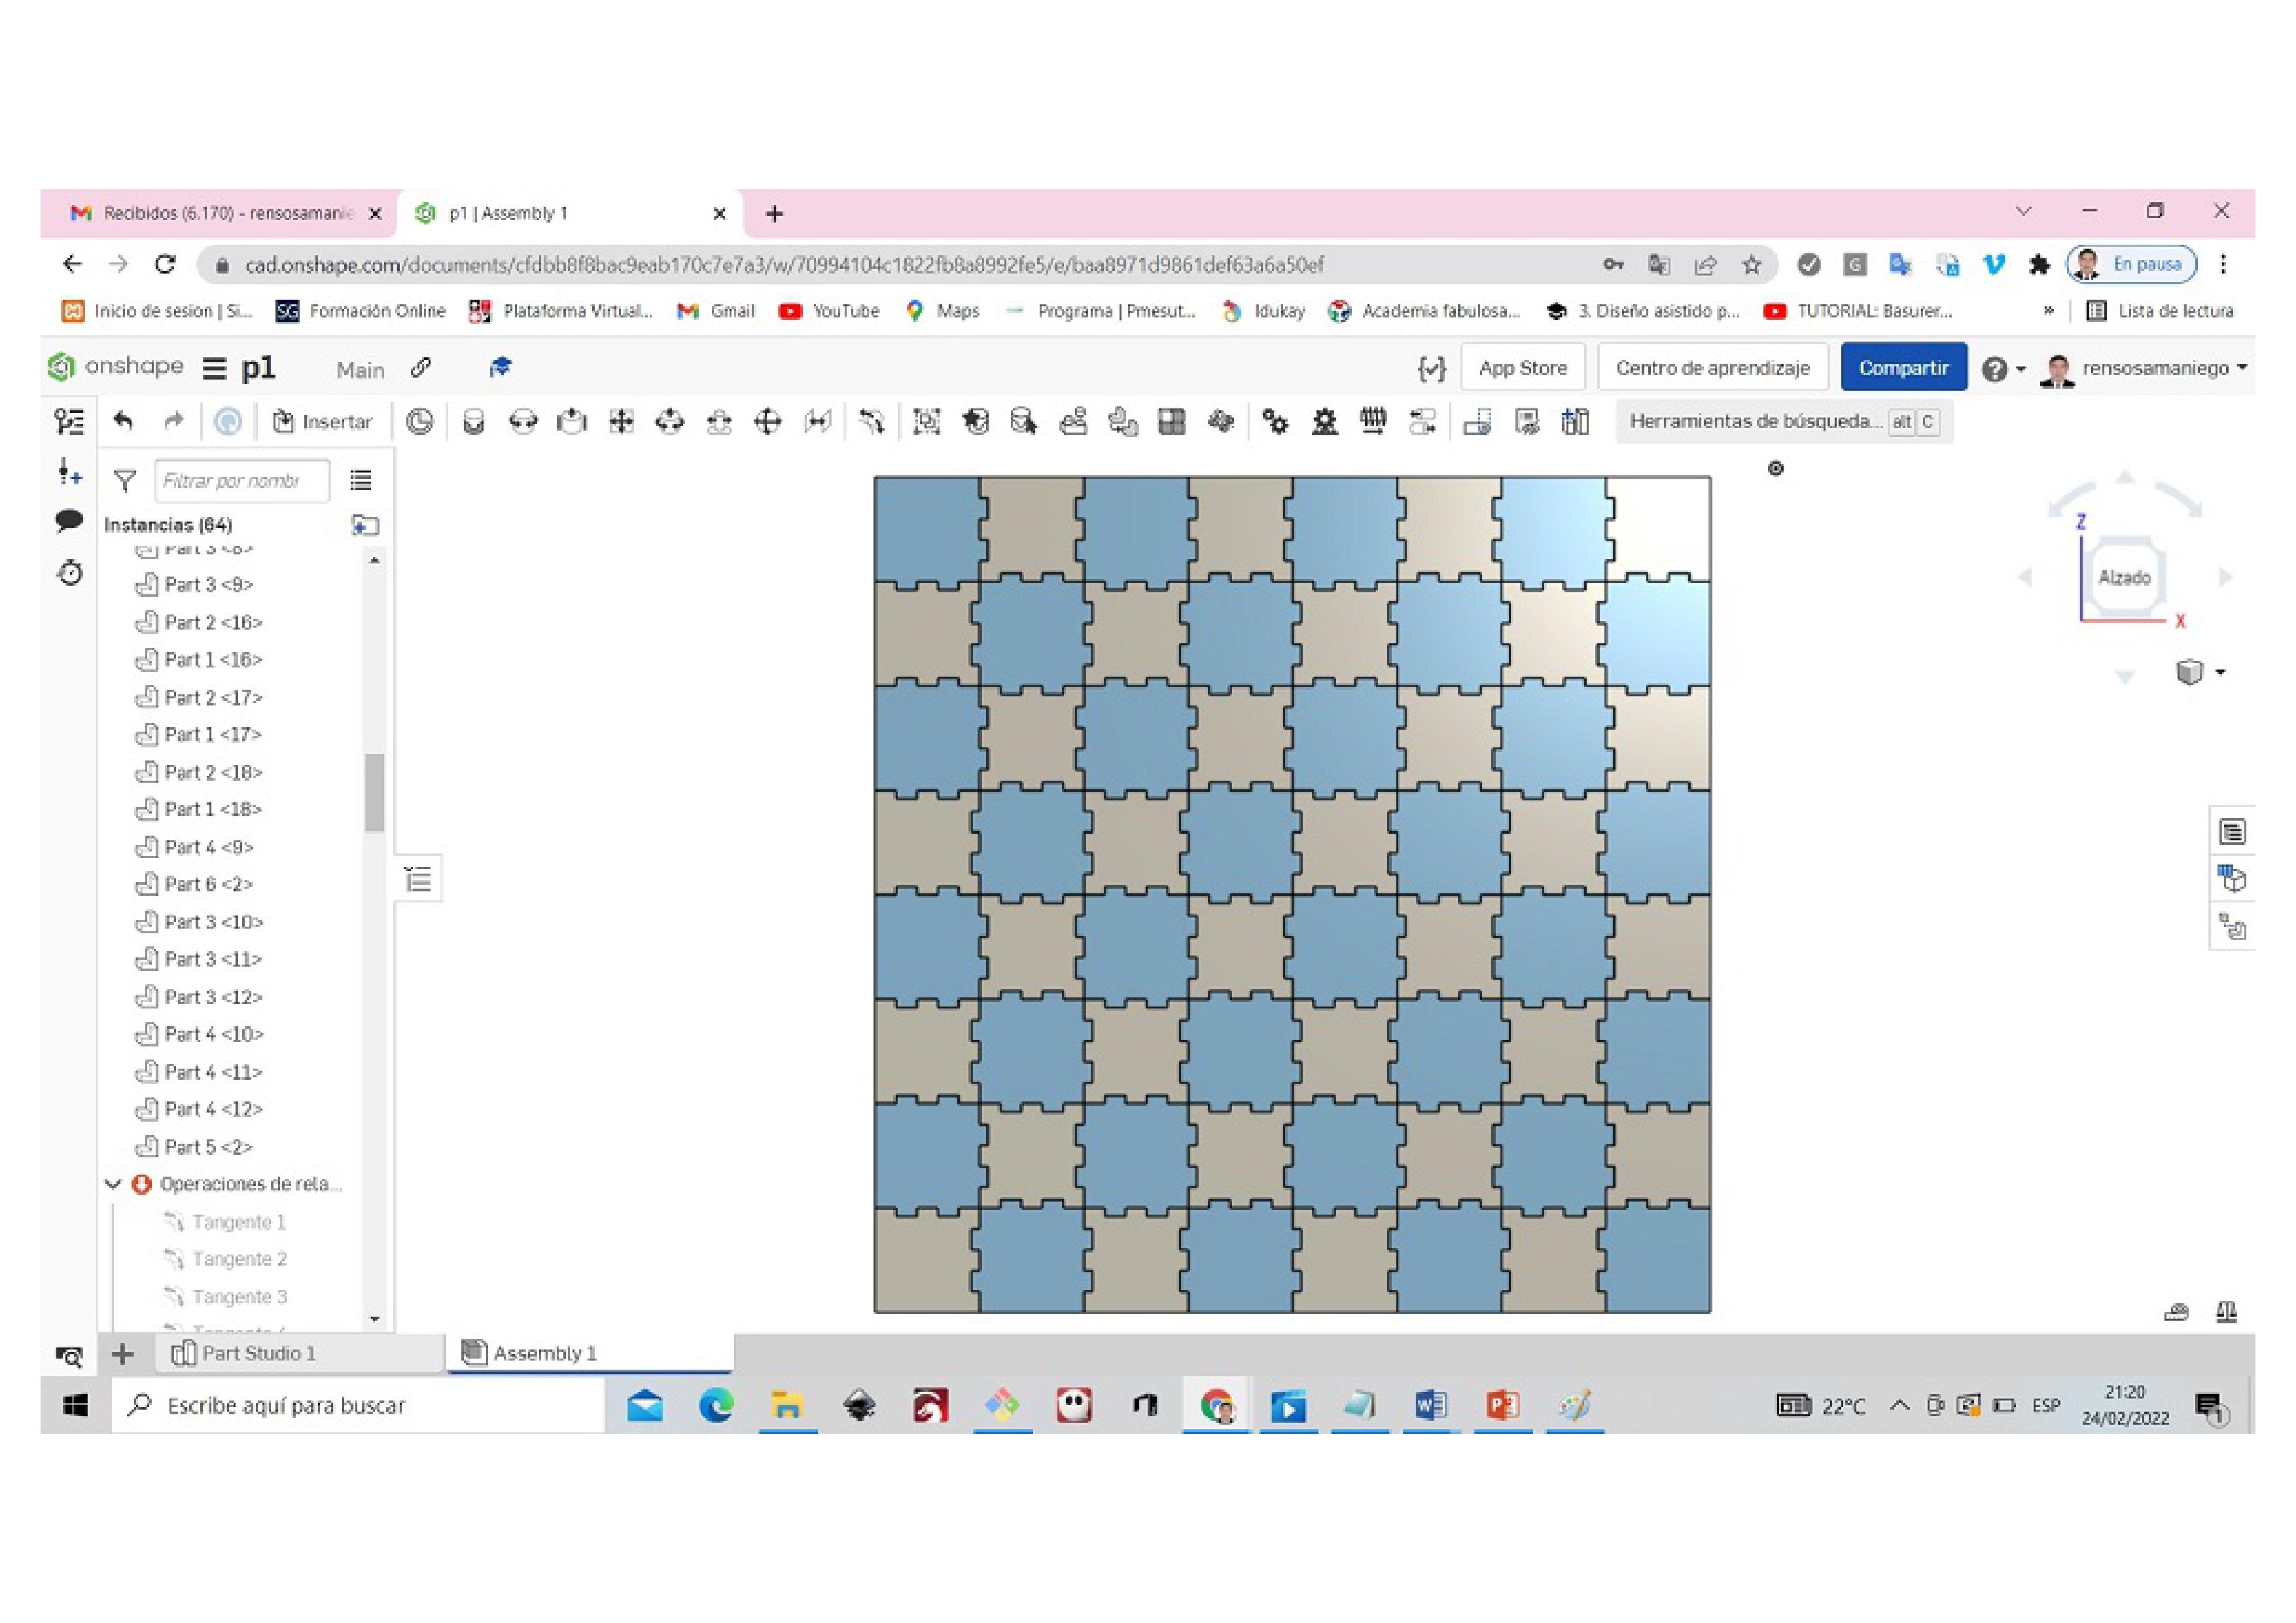
When exporting it has to be in STL file type so that Ultimaker cure reads it and converts it to a gcode file
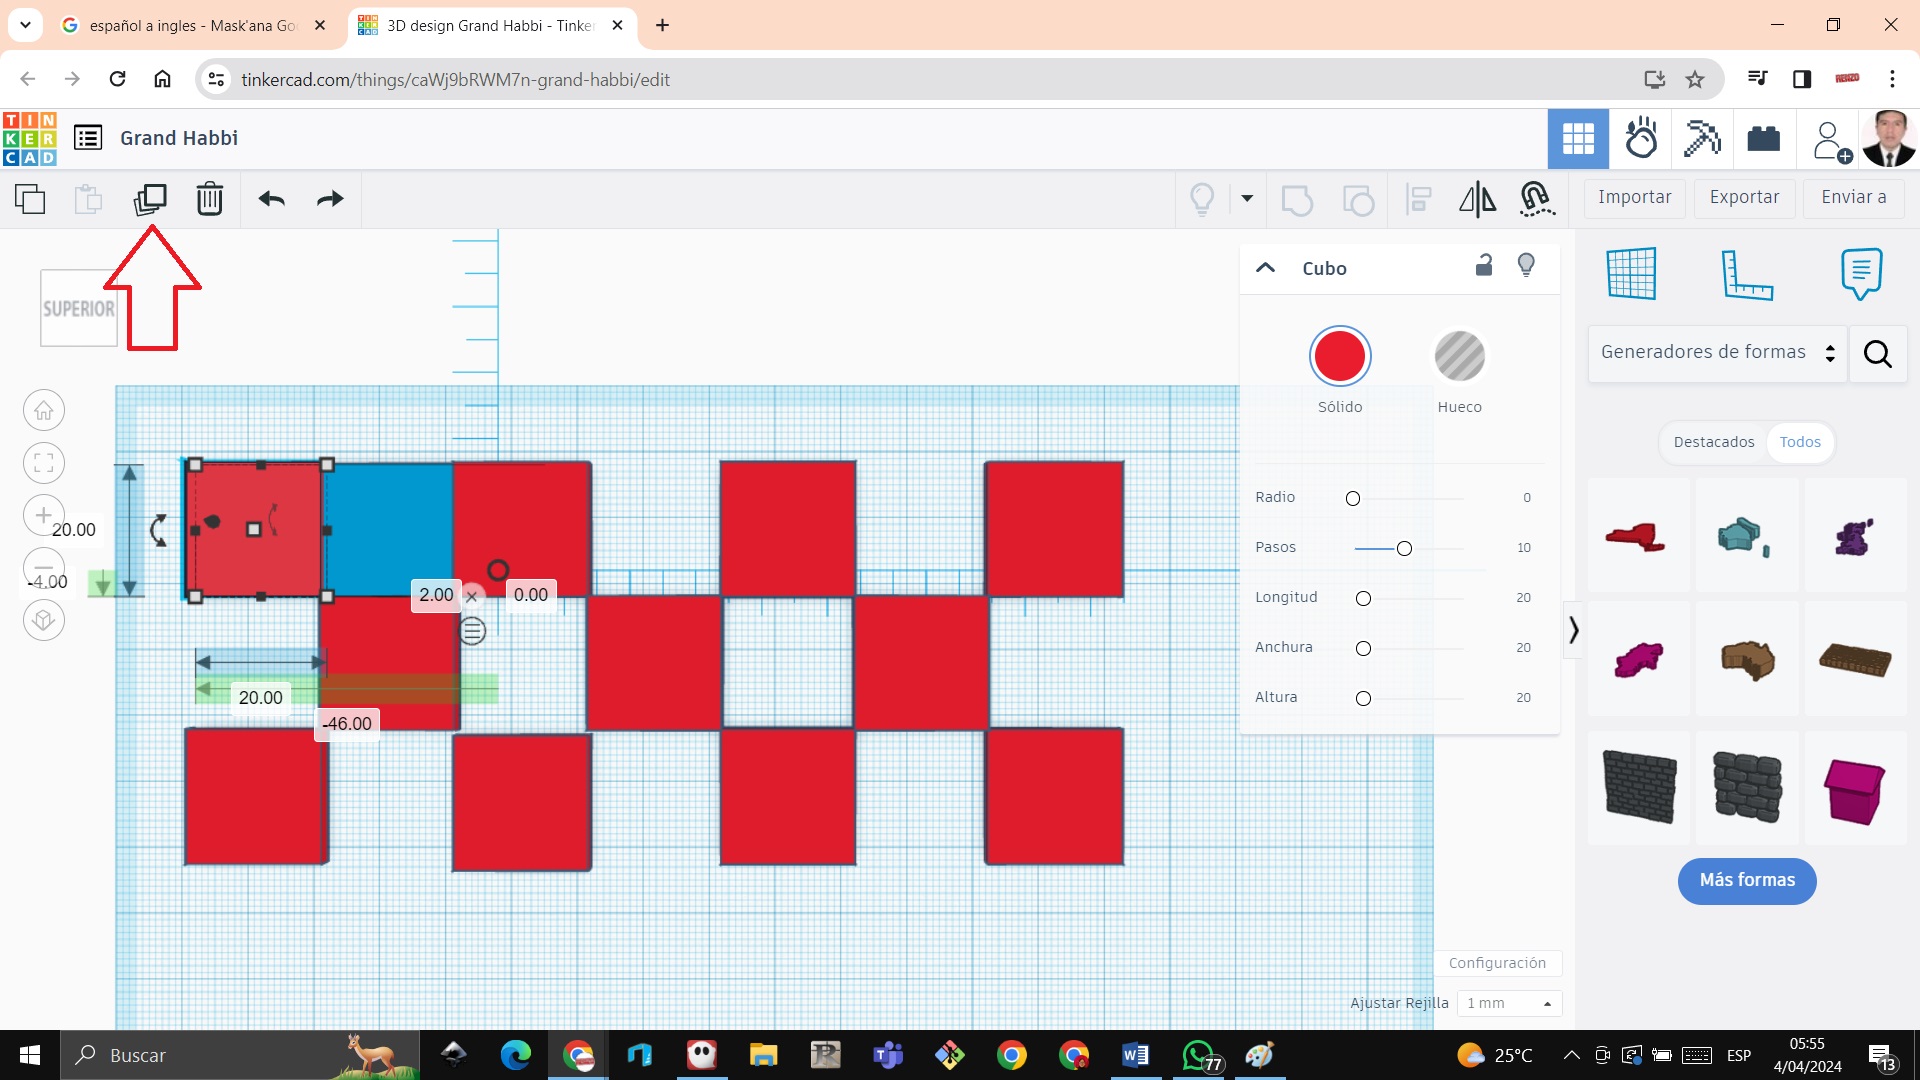
Chess board made with tinkercad
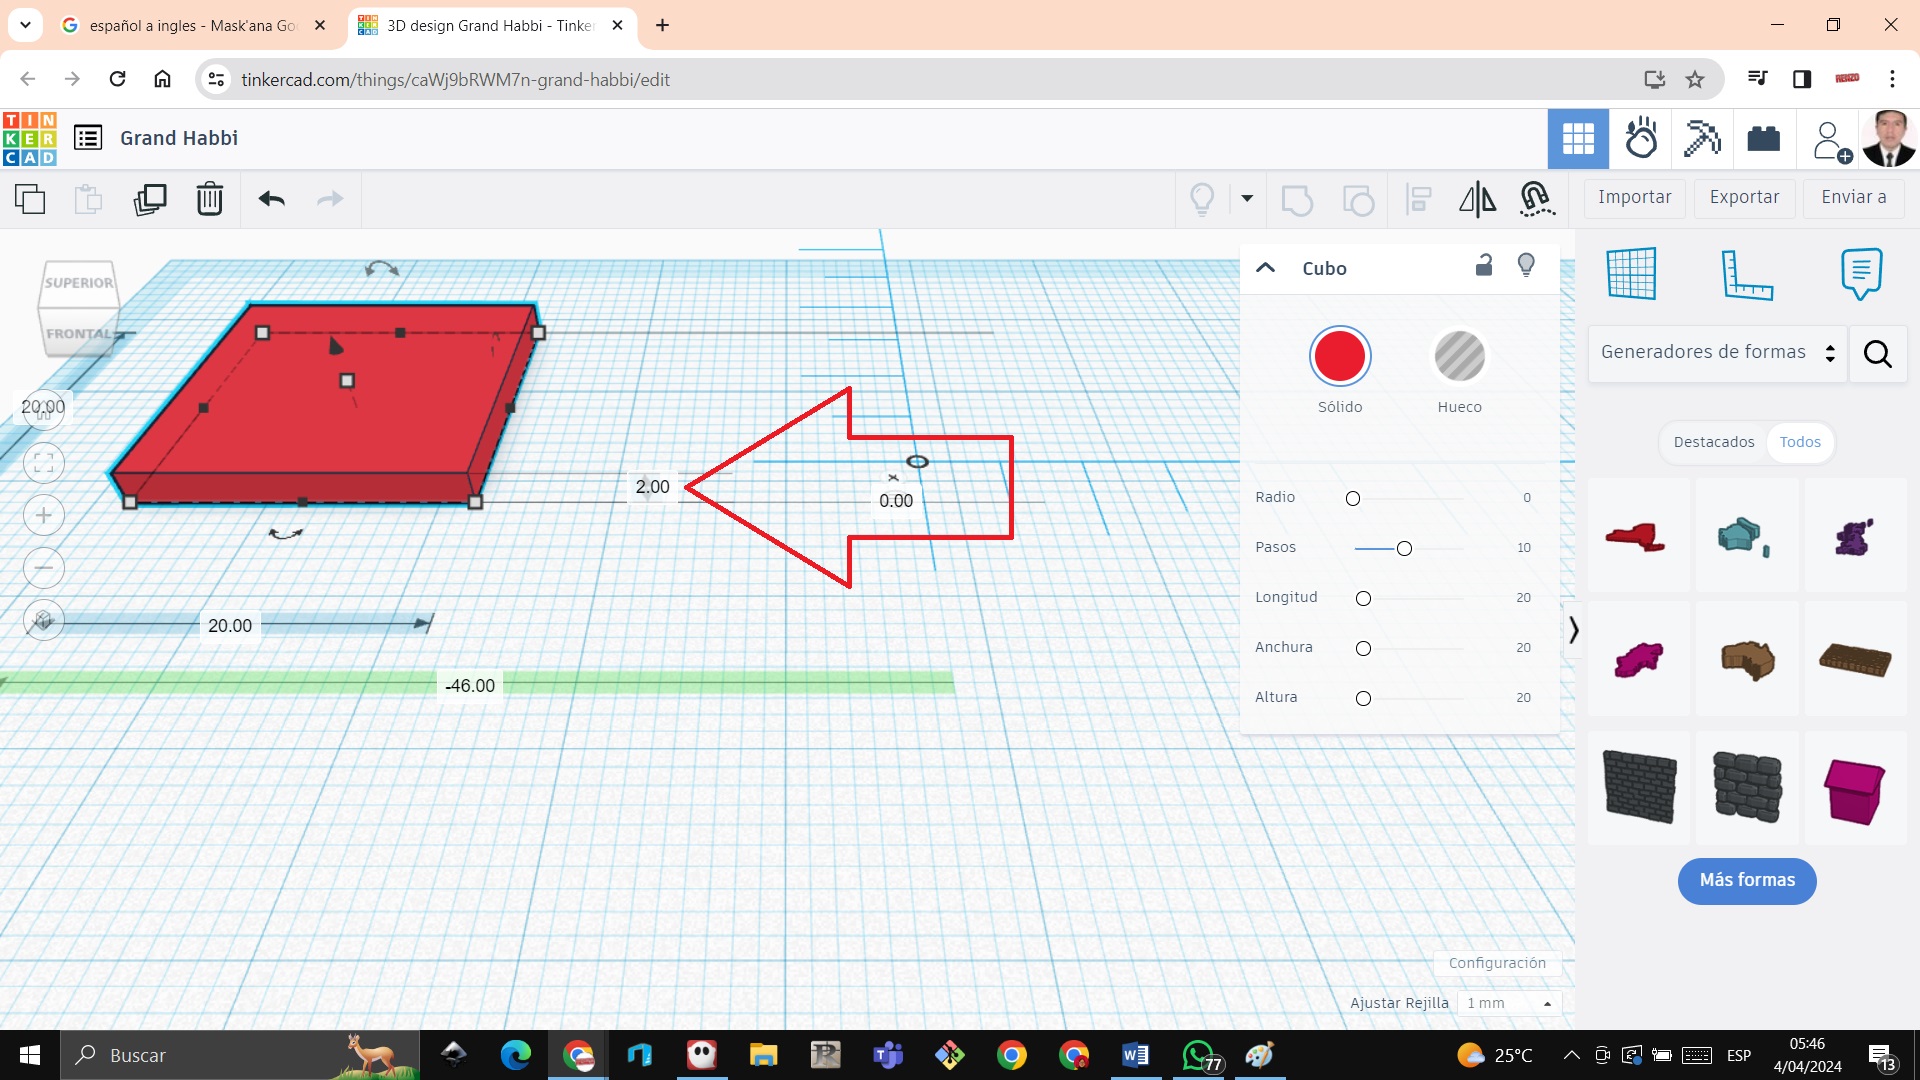
STEP 1: We click on the cube and drag it into the work box
 STEP 2: The squares are 20 mm so the thickness has to be 2 mm
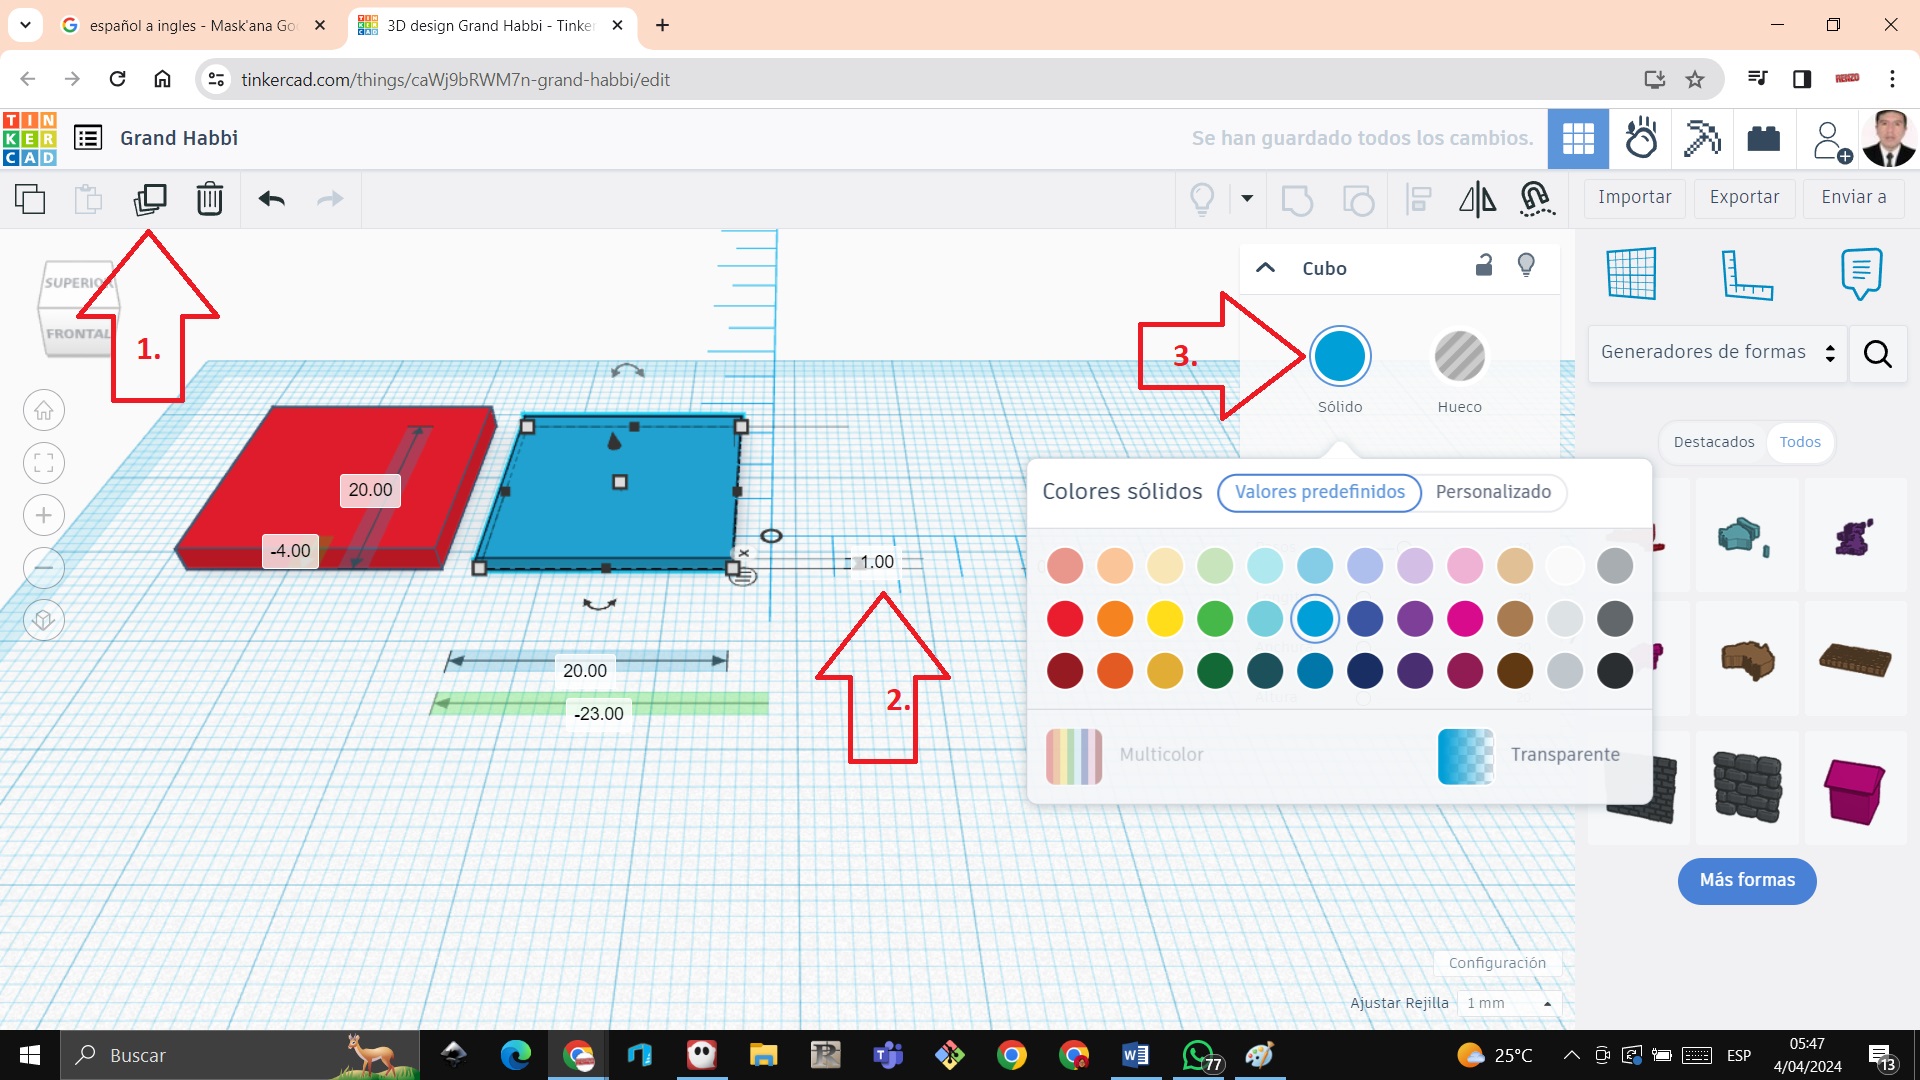
 STEP 3: Duplicate with the duplicate tool on arrow 1 then set the thickness to 1 mm on arrow 2 and change the color with arrow 3
 STEP 4: Duplicate and start forming the chess board
 STEP 5: Complete the board in total with 64 squares, some of them 2 millimeters and others 1 millimete
 STEP 6: The difference of 2 millimeters and 1 millimeter is shown

Other related works
Let’s watch the video of the creation of materials with Onshape
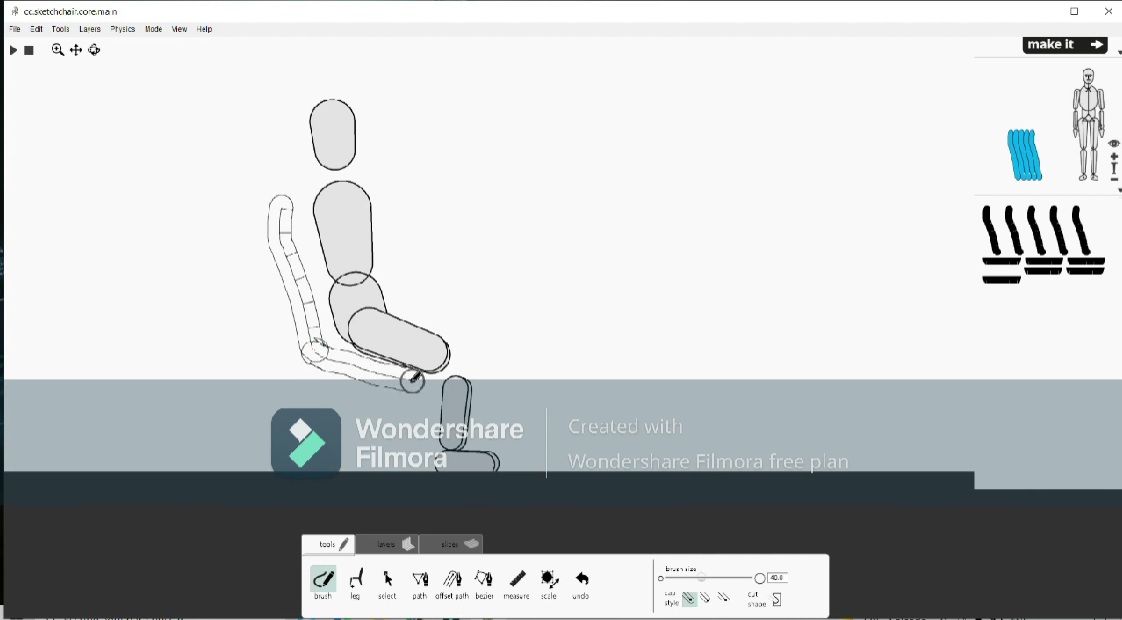
Creating chair with Sketchchair
We create with the brush command the chair but not the legs
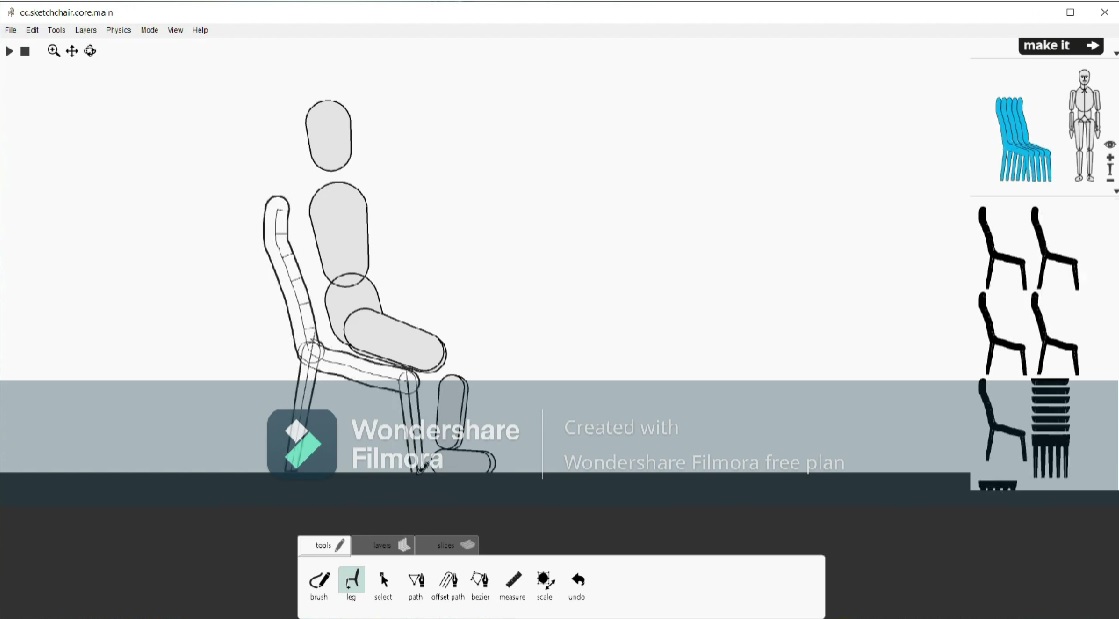
We create with the leg command the legs of the chairs
We play and verify how comfortable the silhouette can si
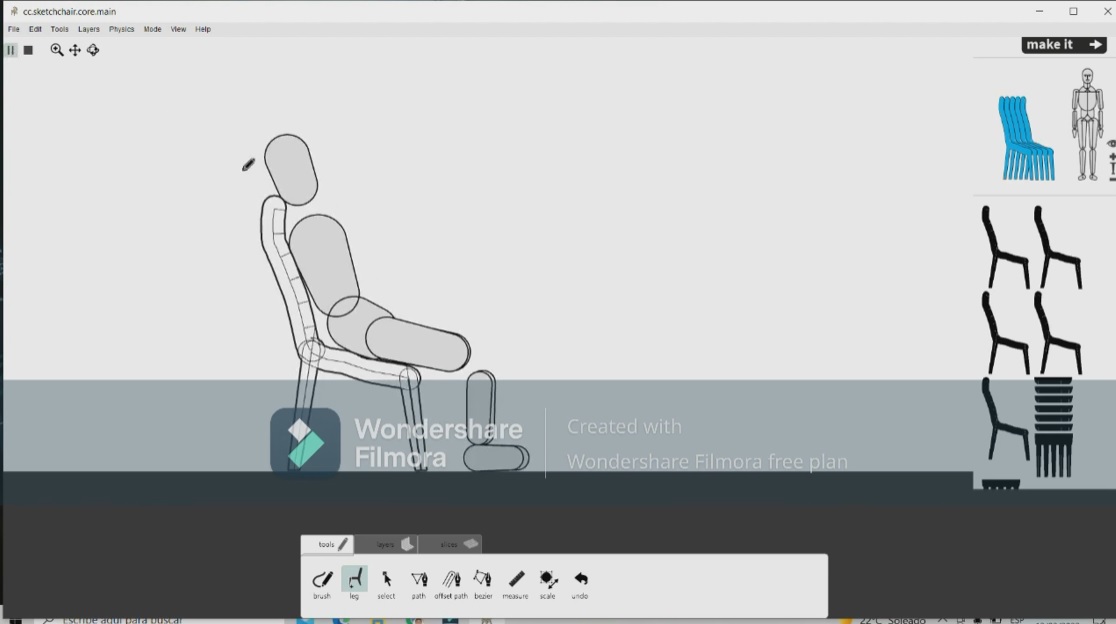
we can rotate to be able to see how the chair is looking
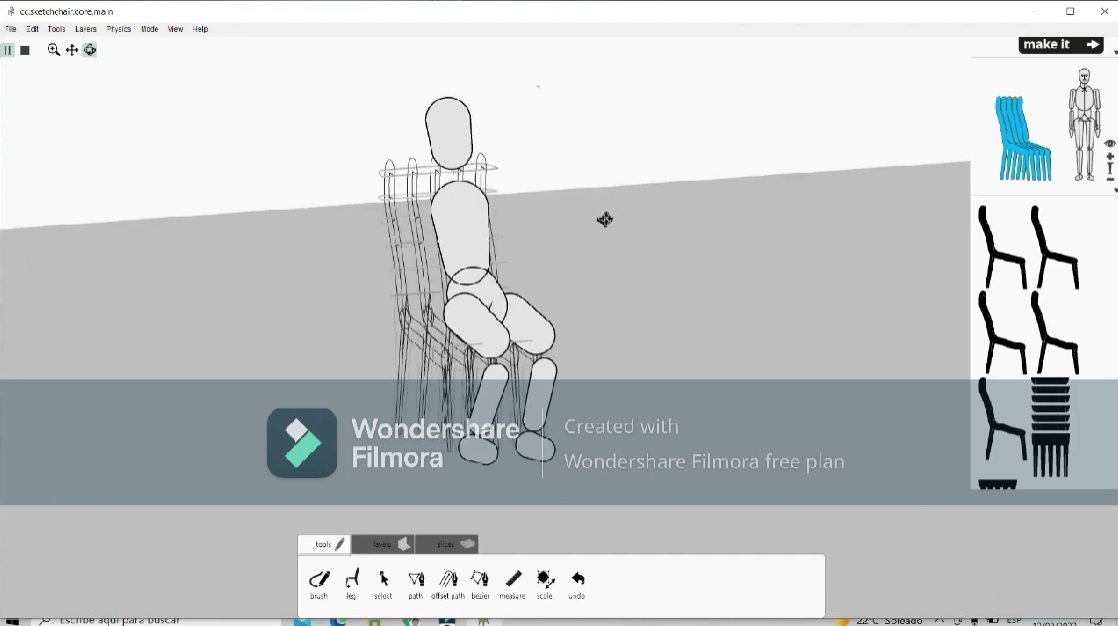
with the select button we can modify the seat for the comfort of the client
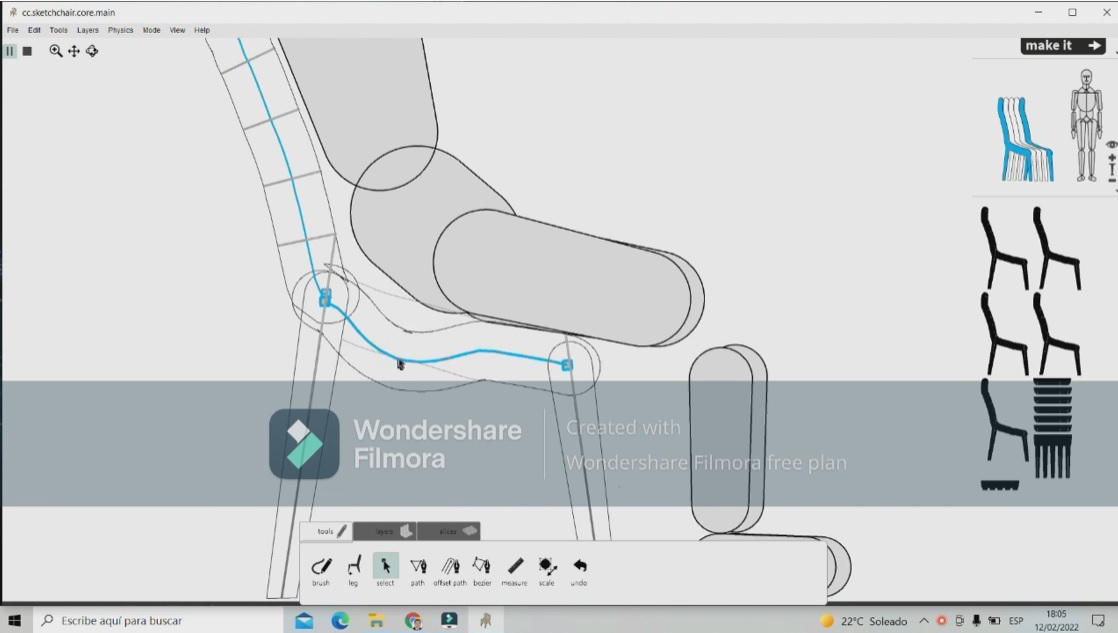
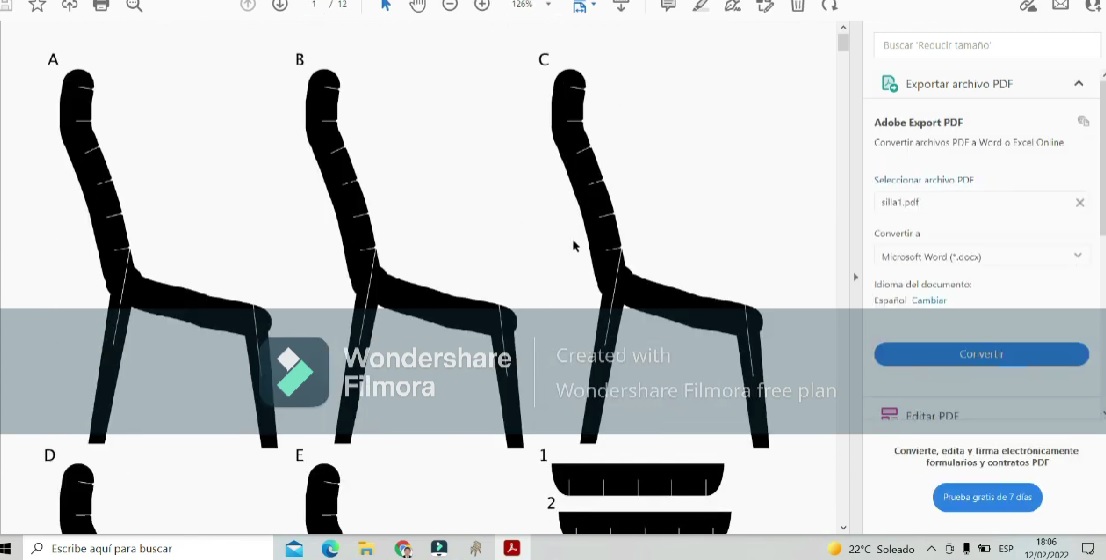
In the upper right part, click on make it to go to the model and we can see how the plans are to be able to print

we export to pdf and it comes out like this
We made the video of the creation of the chair with SketchChair
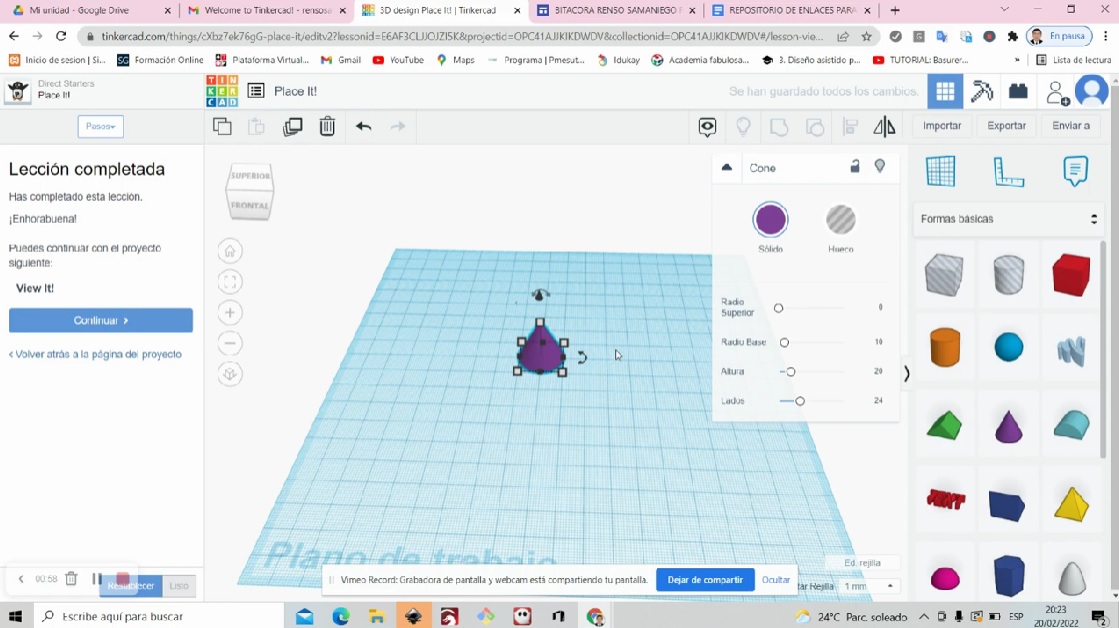
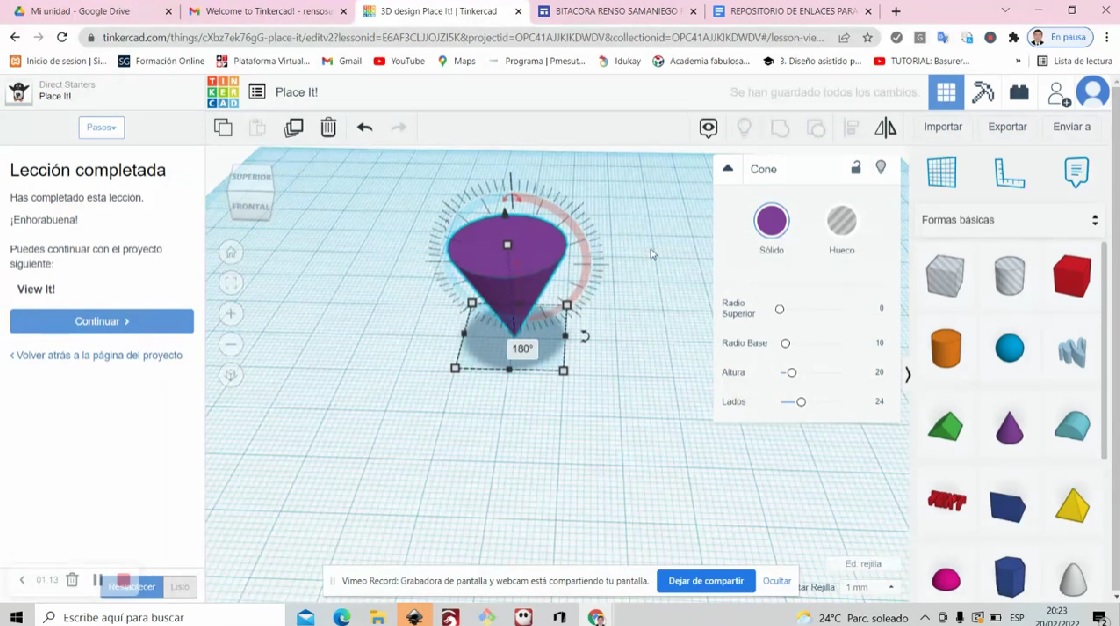
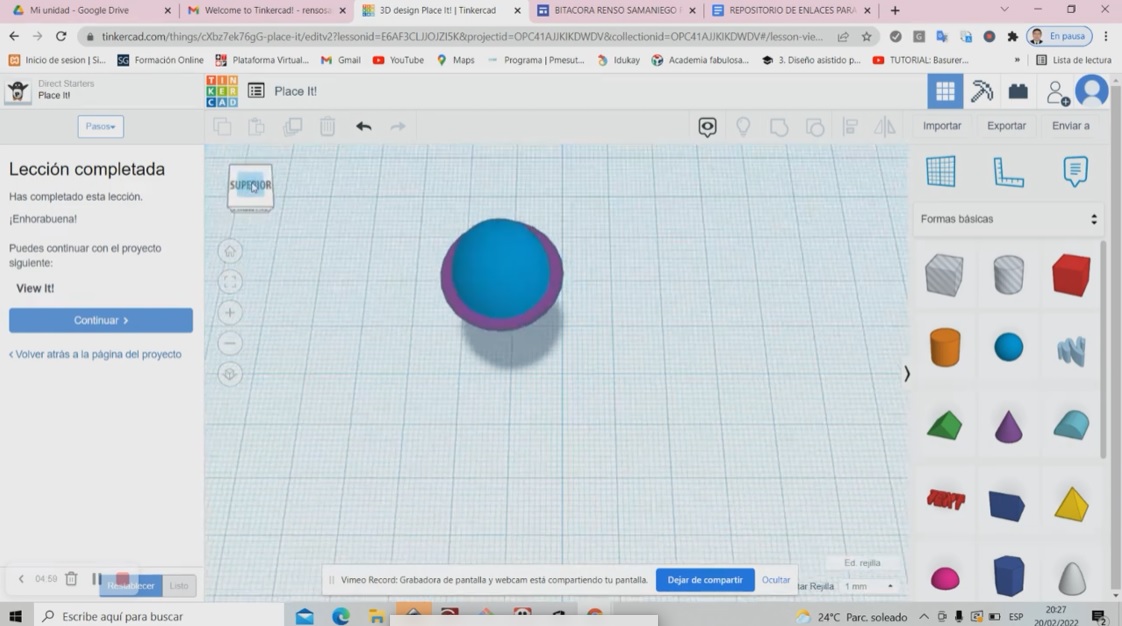
We make an ice cream with Tinkercad
We open the program Tinkercad

we click on the cone and drag it to the artboard
We make a 180 degree turn
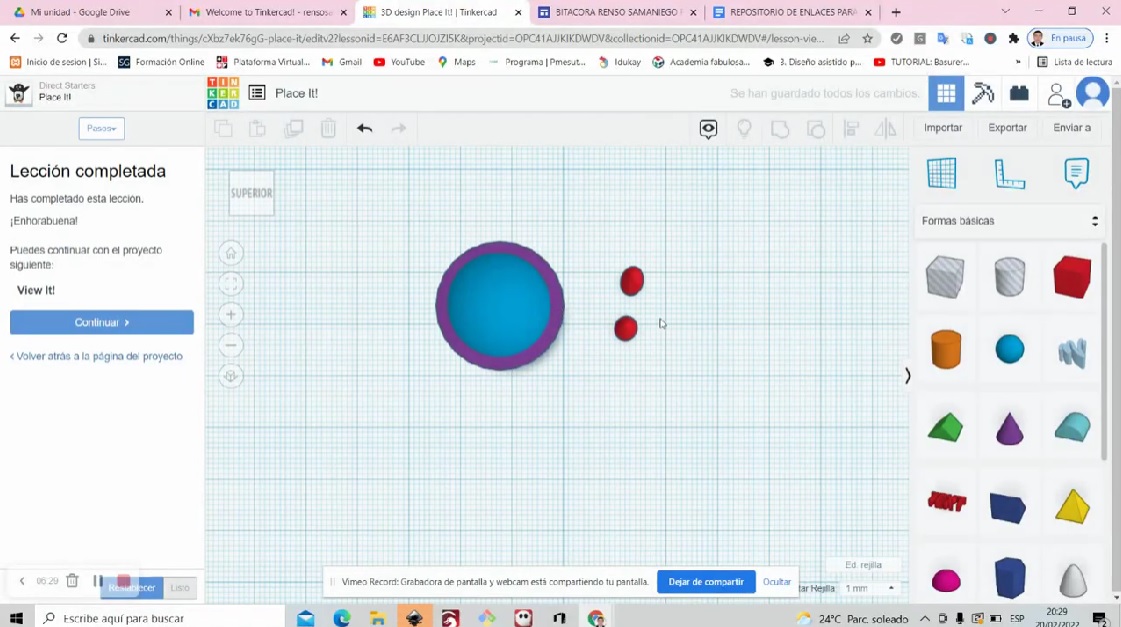
We put it in top view and enter the circle
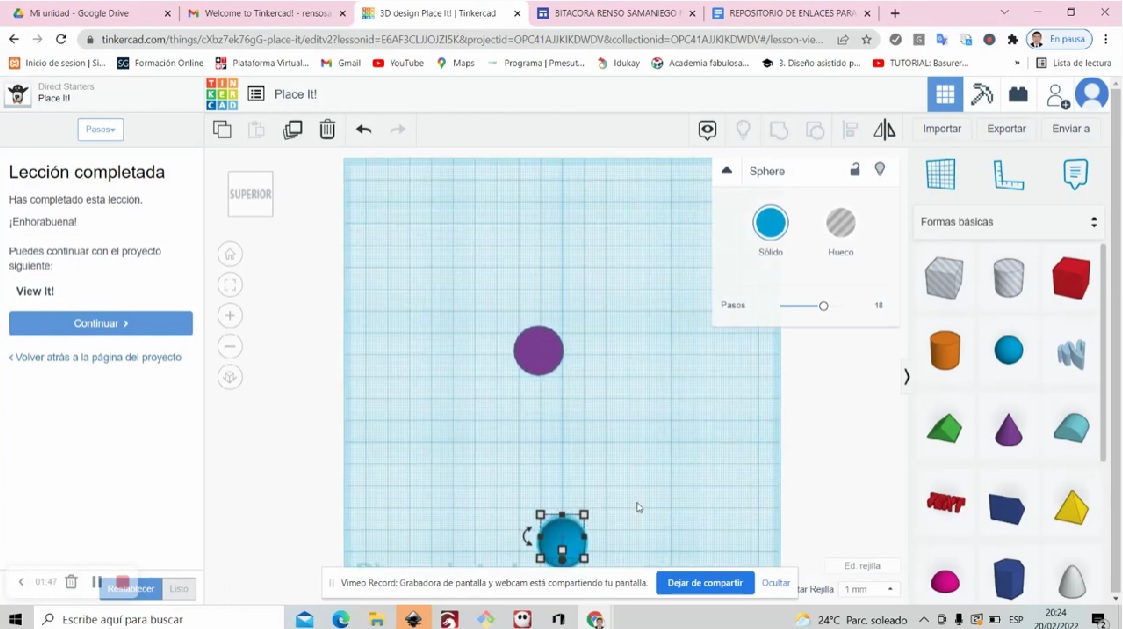
We translate the circle so that it intersects the cone
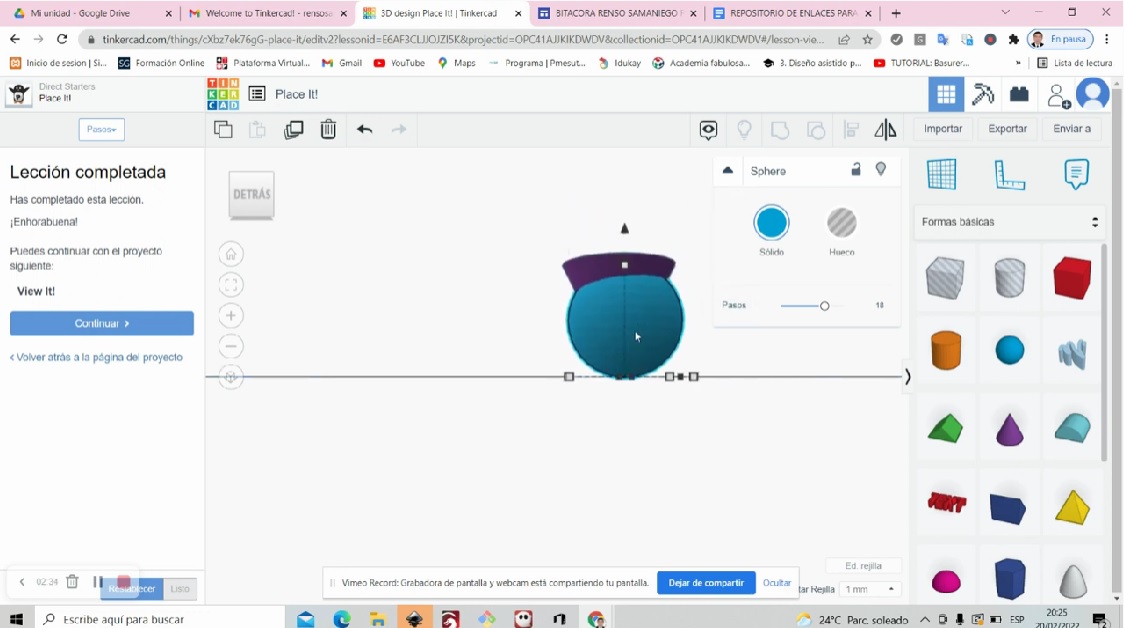
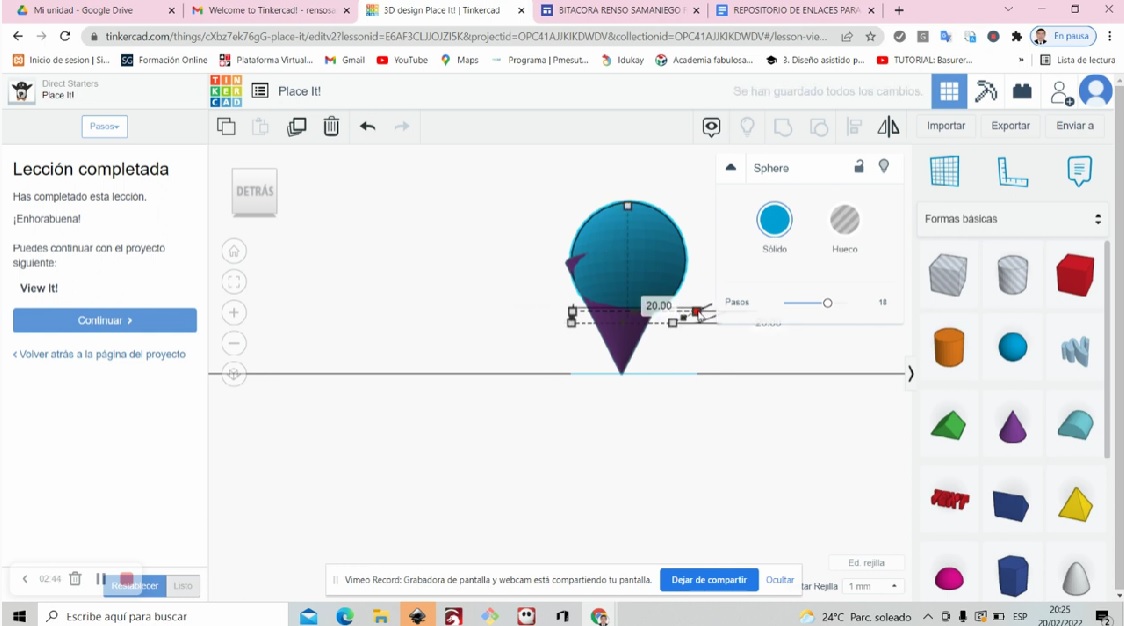
we can climb the circle up
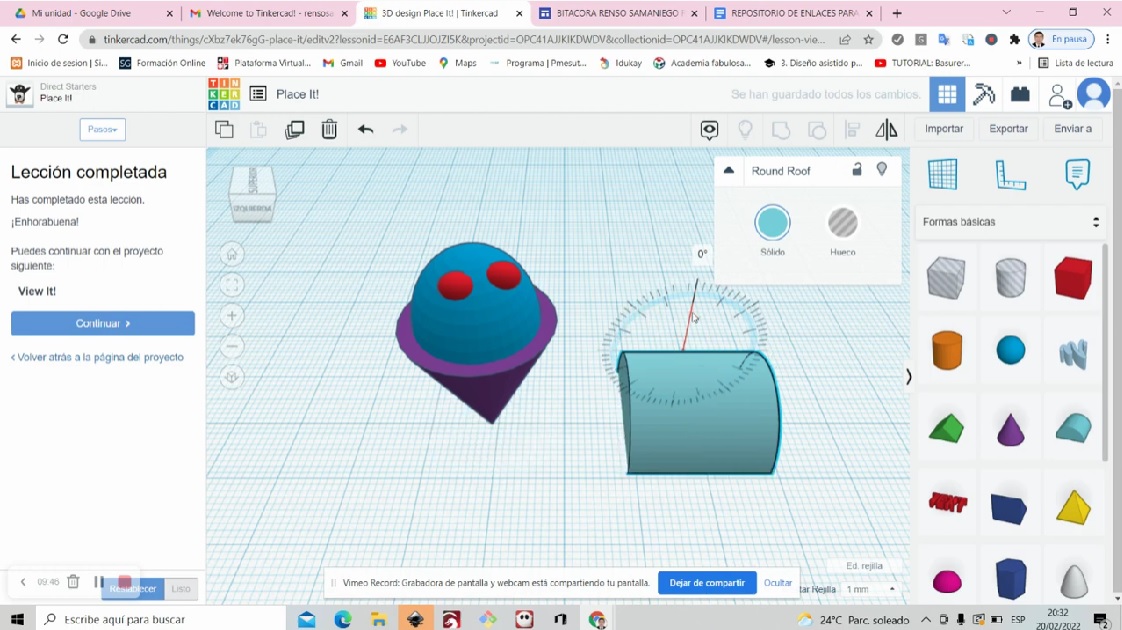
we create 2 small circles for his eyes

we enter the curved roof icon for the mouth of the ice cream
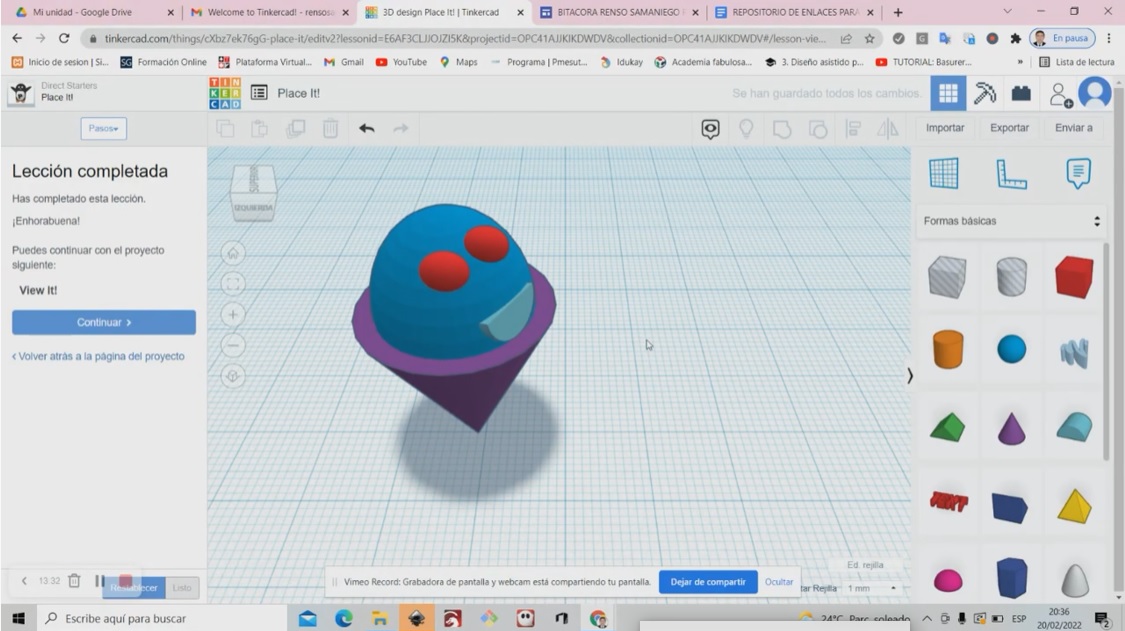
let’s watch the video of the ice cream creation with Tinkercad
Comparison of GIMP with Photoshop
With the GIMP software I have been able to work with vectors and there I cannot use a filter but using Photoshop I use a vector and I rasterize it to the image and I can put a filter on it and it works excellent
Files GIMP - alpaca
Files Photoshop - Fab_lab_pasco
Comparing Onshape with Tinkercad
When making the chess boards in the 2 programs, it is observed that in the tinkercad software it is more intuitive, unlike onshape, you can do more detailed work. In the end, I loved using the 2 software
Files Corel Draw - casa_cuy
Files Inkscape - jaulita
Files Onshape - tablero_1
Files Tinkercad - tablero