Week 5: 3d Scanning and Printing
Group assignment:
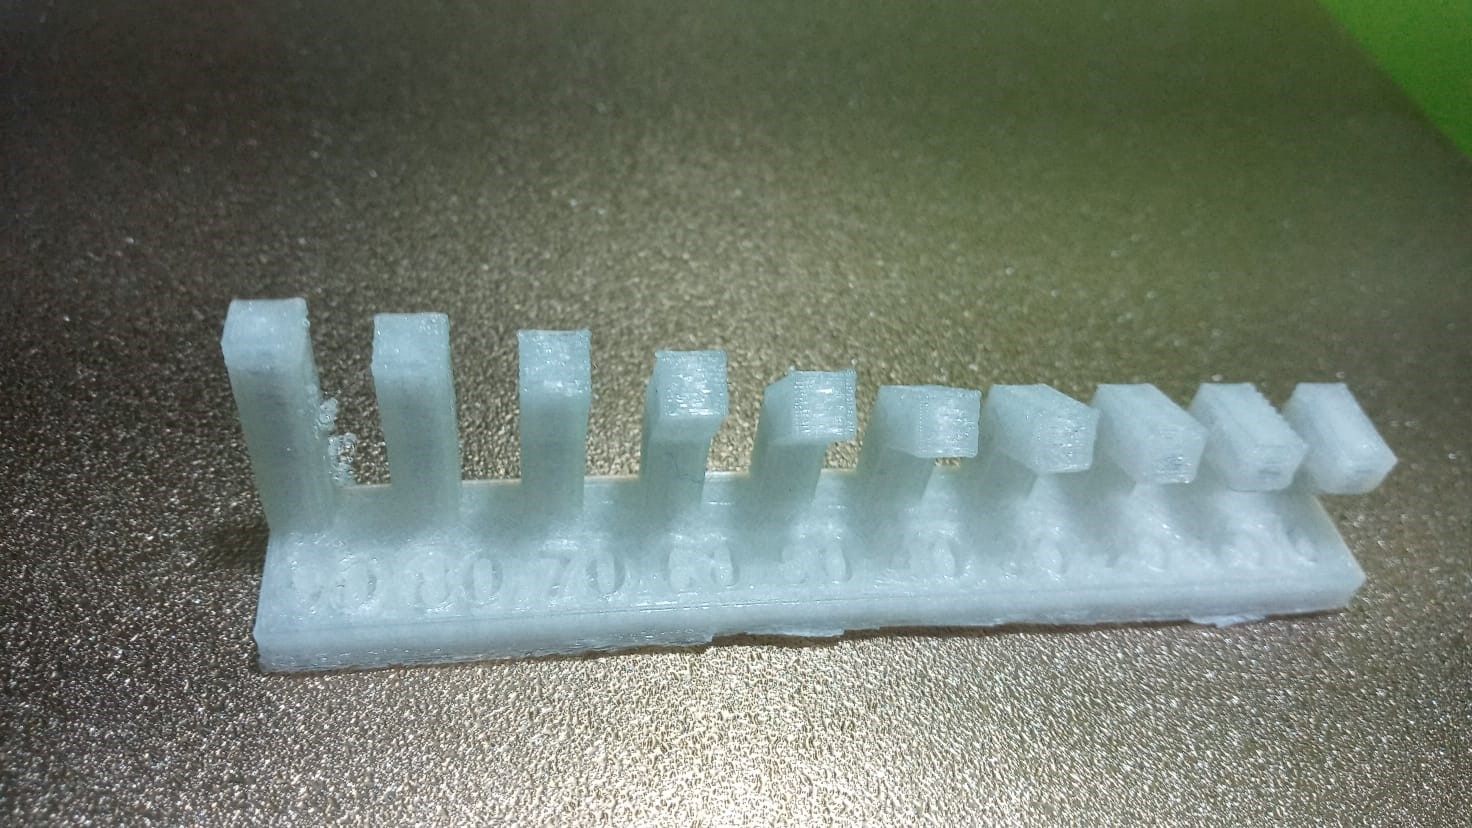
- Test the design rules for your 3D printer(s)
- Document your work on the group work page and reflect on your individual page what you learned about characteristics of your printer(s)
Individual assignment:
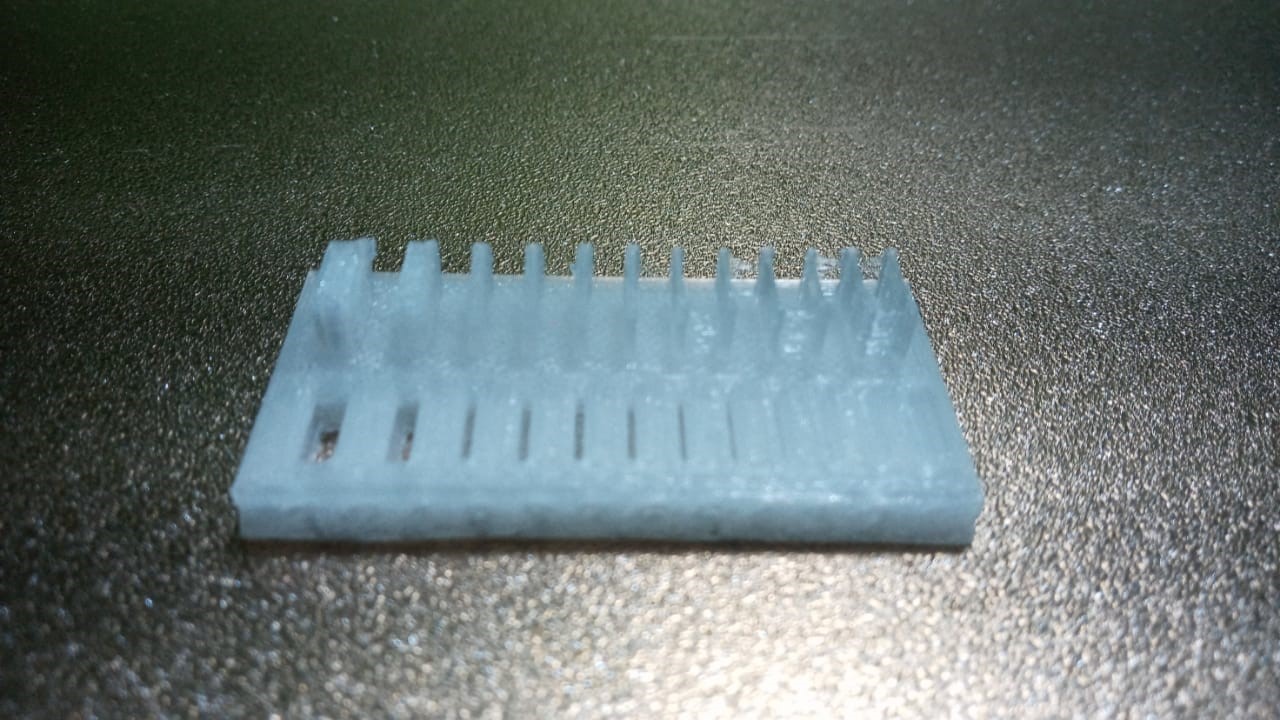
- Design and 3D print an object (small, few cm3, limited by printer time) that could not be easily made subtractively>
- 3D scan an object (and optionally print it)
Group assignment:
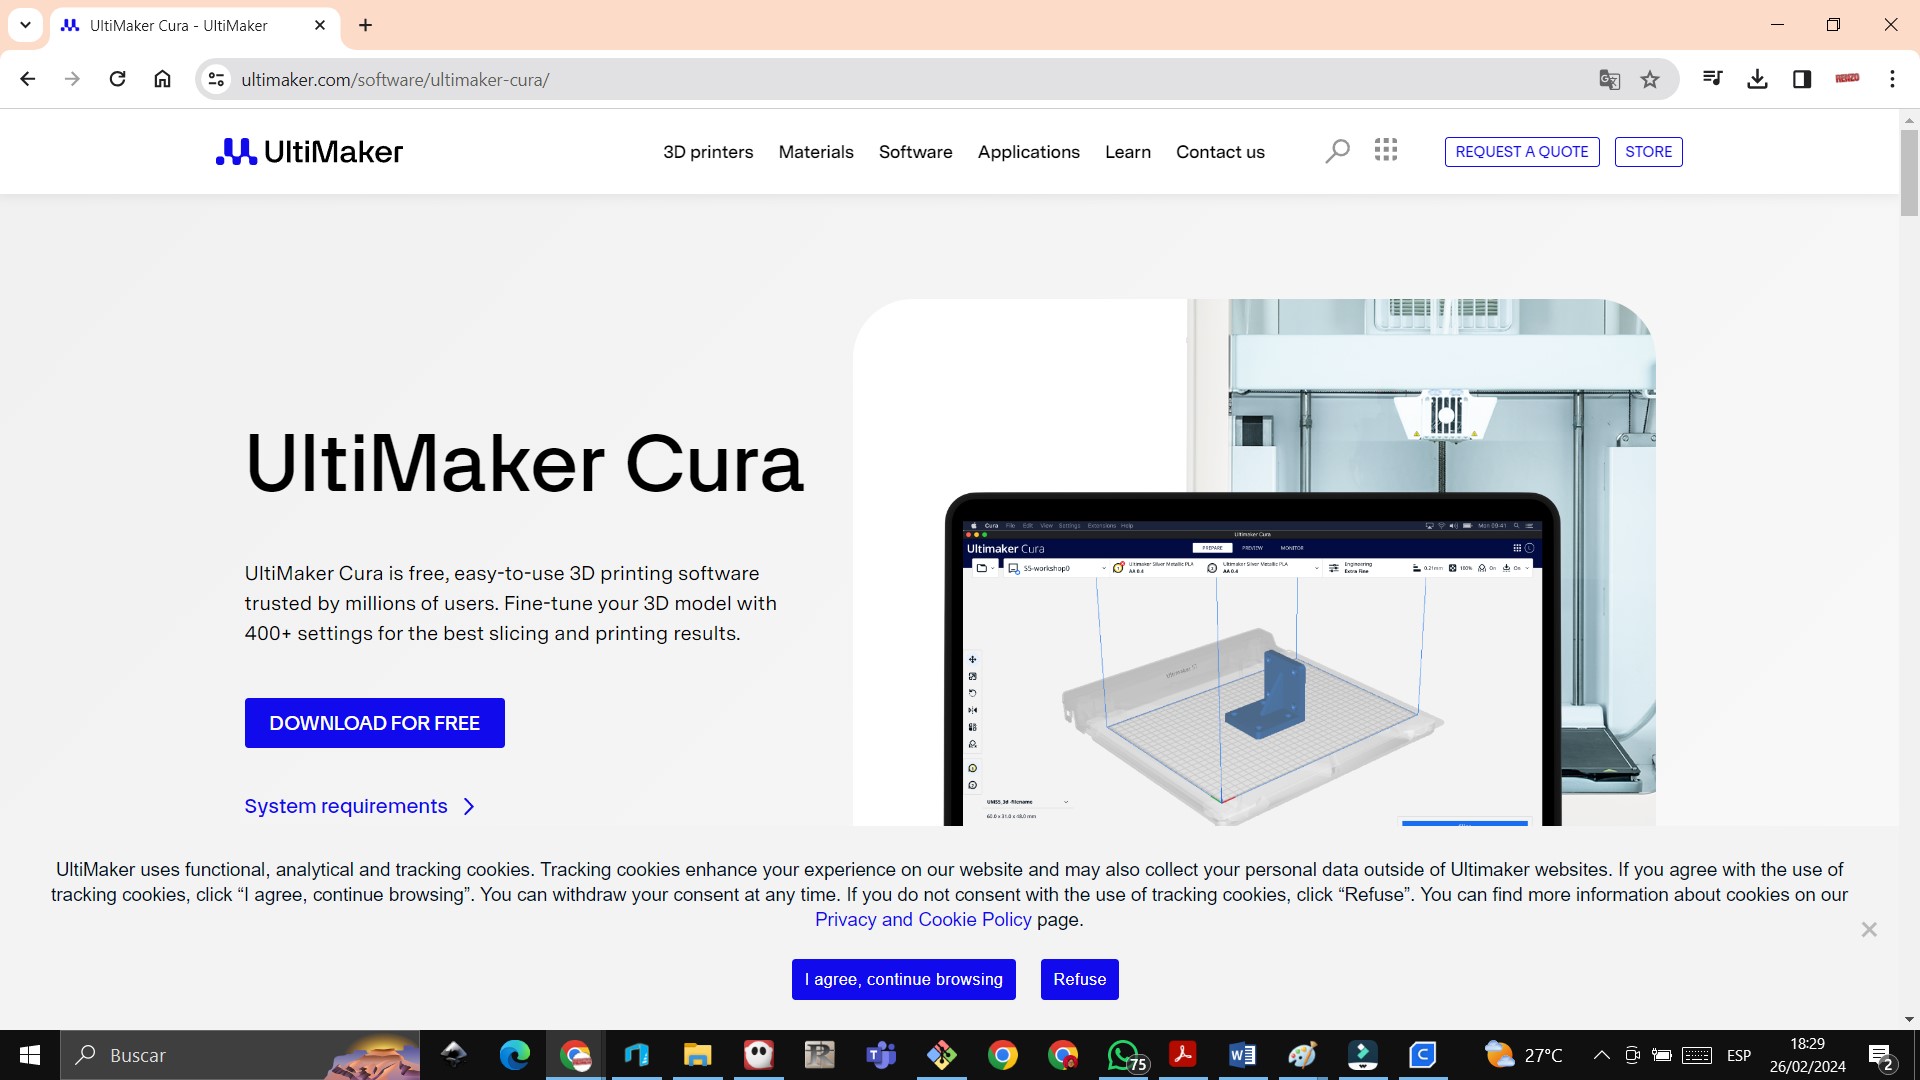
We enter the Ultimaker Cura page and download the software
 We click on download ultimaker cure
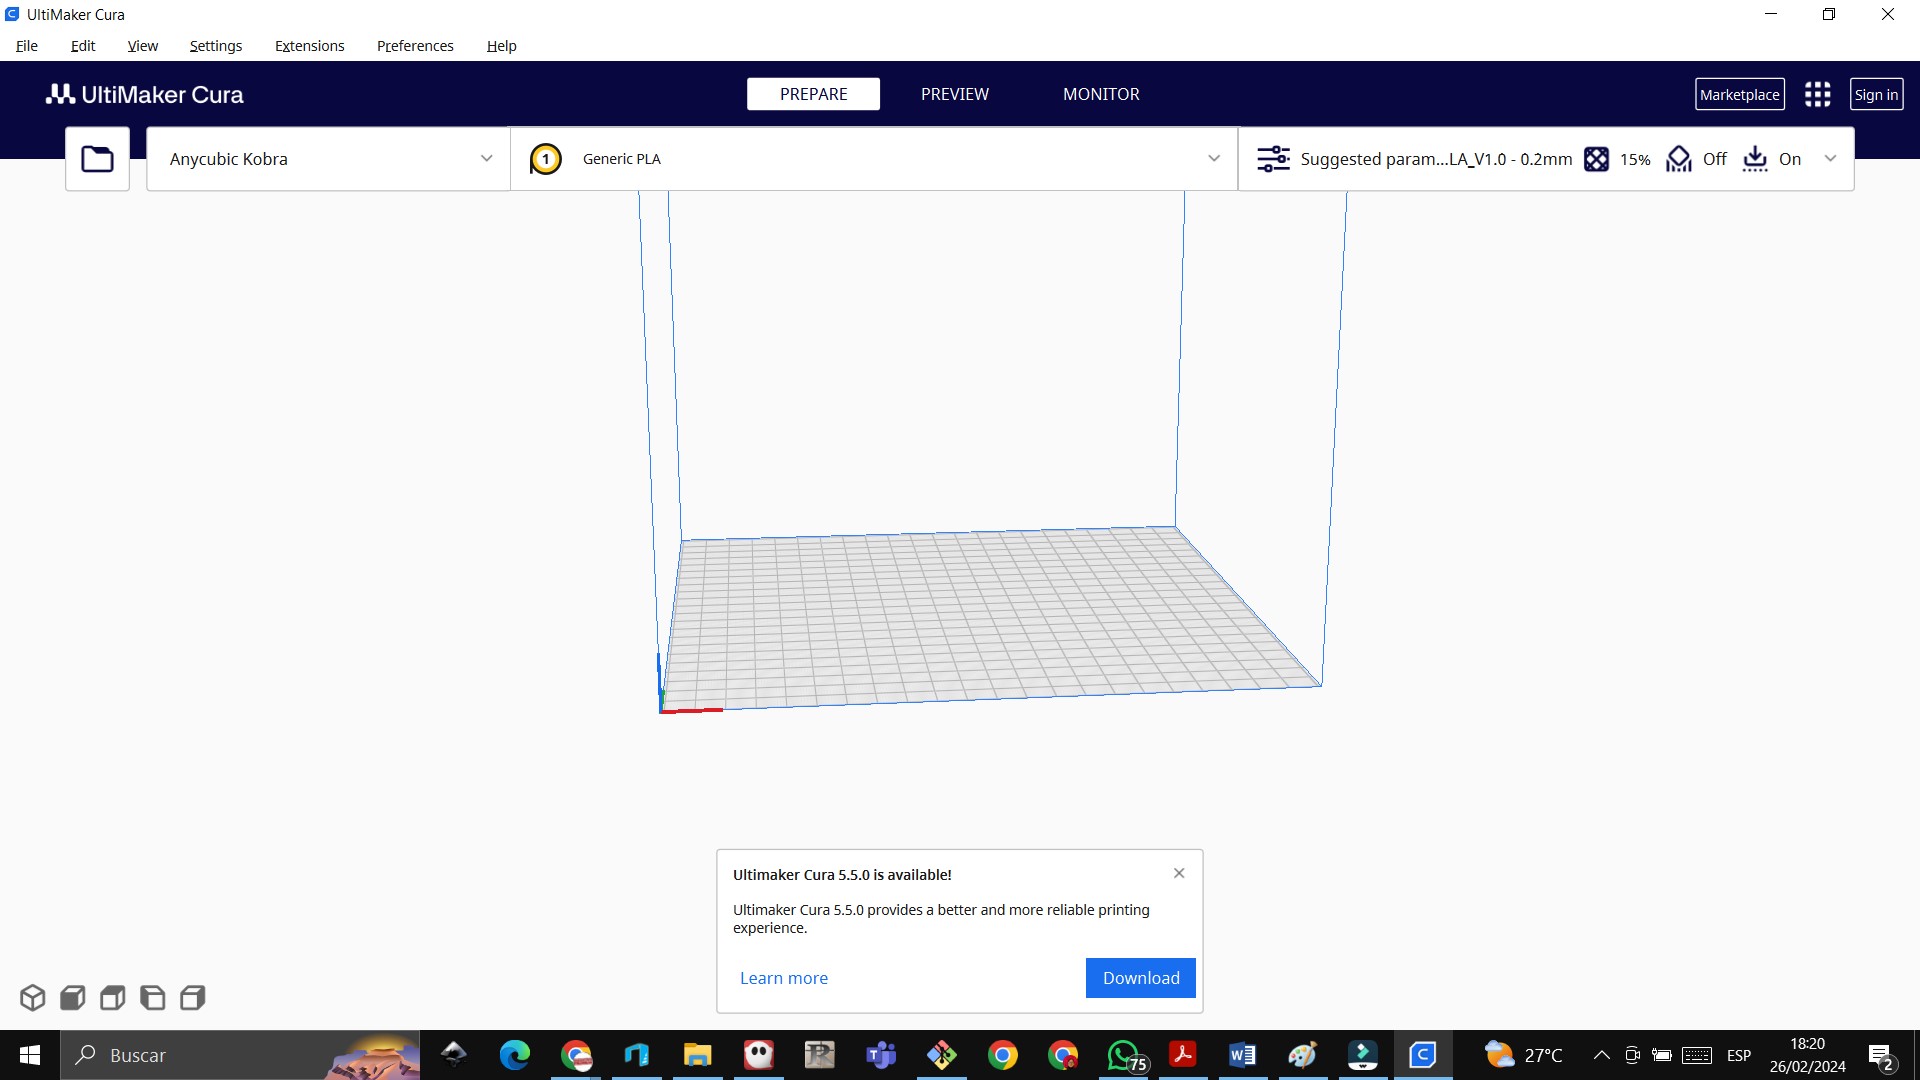
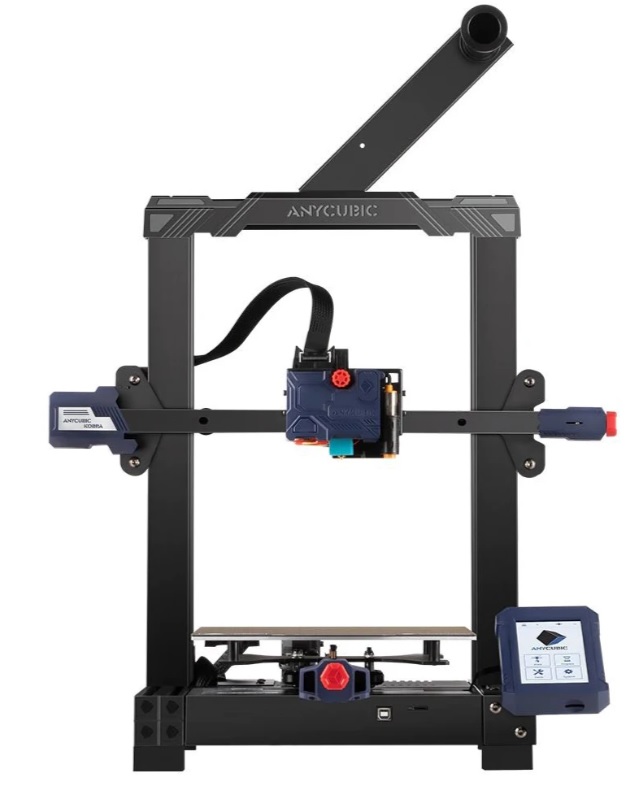
 We install the Ultimaker Cura software and choose the type of printer, which is Anycubic Kobra
 We are located in the repository to download the files in .stl format
https://academy.cba.mit.edu/classes/scanning_printing/index.html
We are located in the repository to download the files in .stl format
https://academy.cba.mit.edu/classes/scanning_printing/index.html
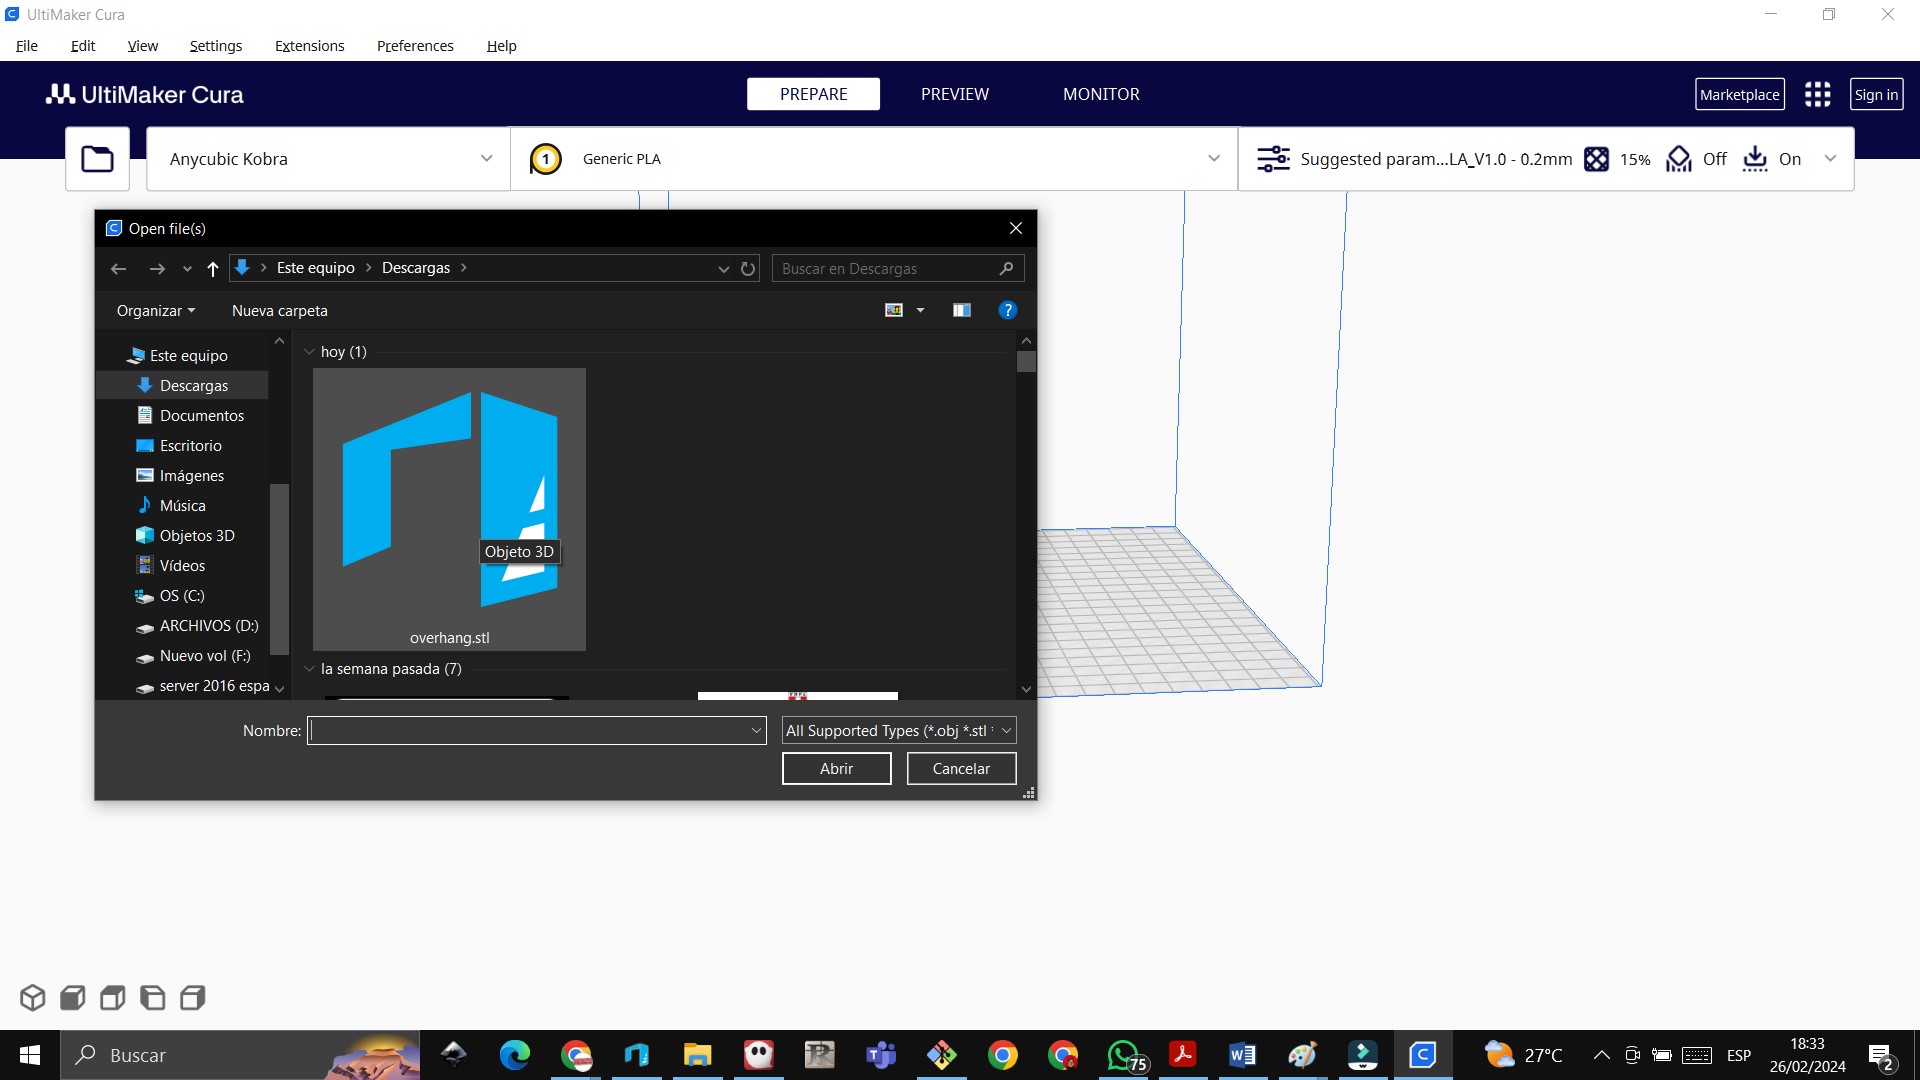
 We load the file from downloads
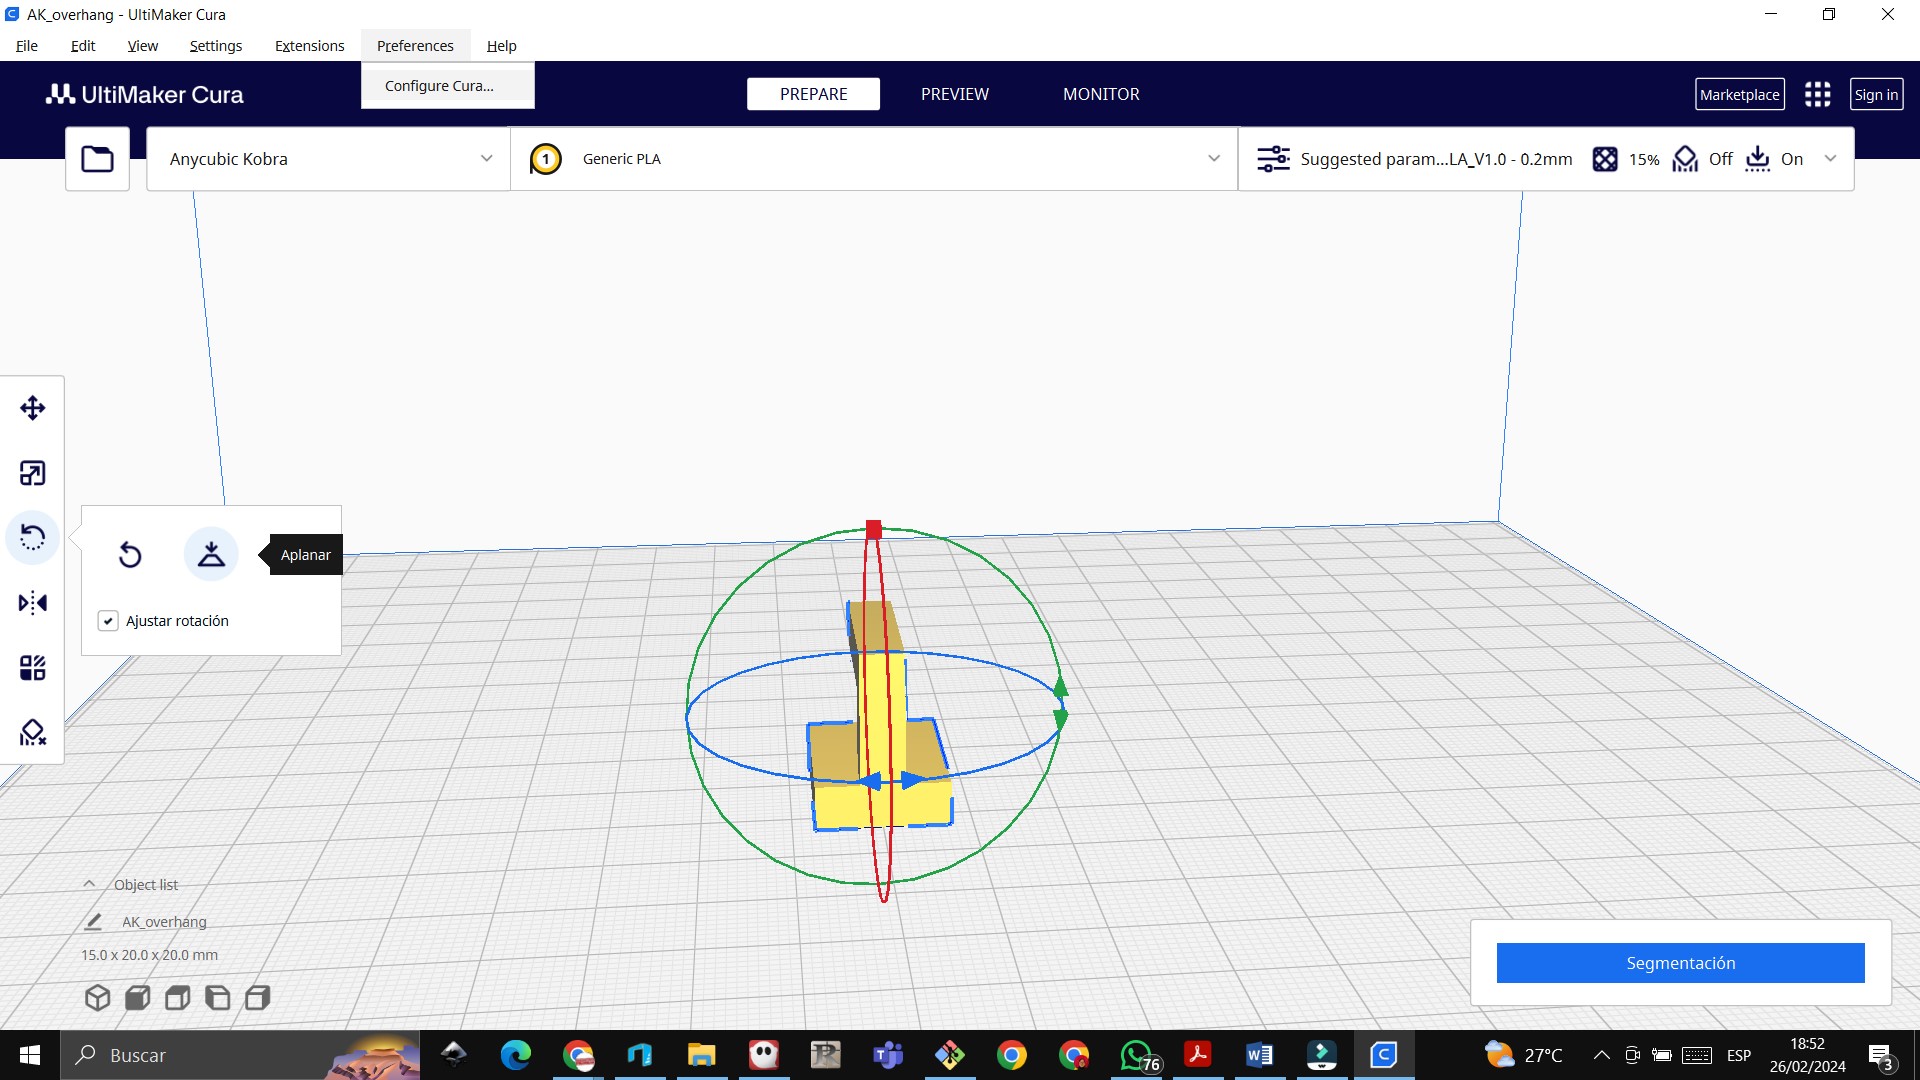
 We press the flatten command so that the object is flattened on the bed
 We choose the material that we are going to use, which is PLA
 We verify the scale where the parameters in the z axis are 2 cm, y axis 1.5 cm and z axis 2 cm
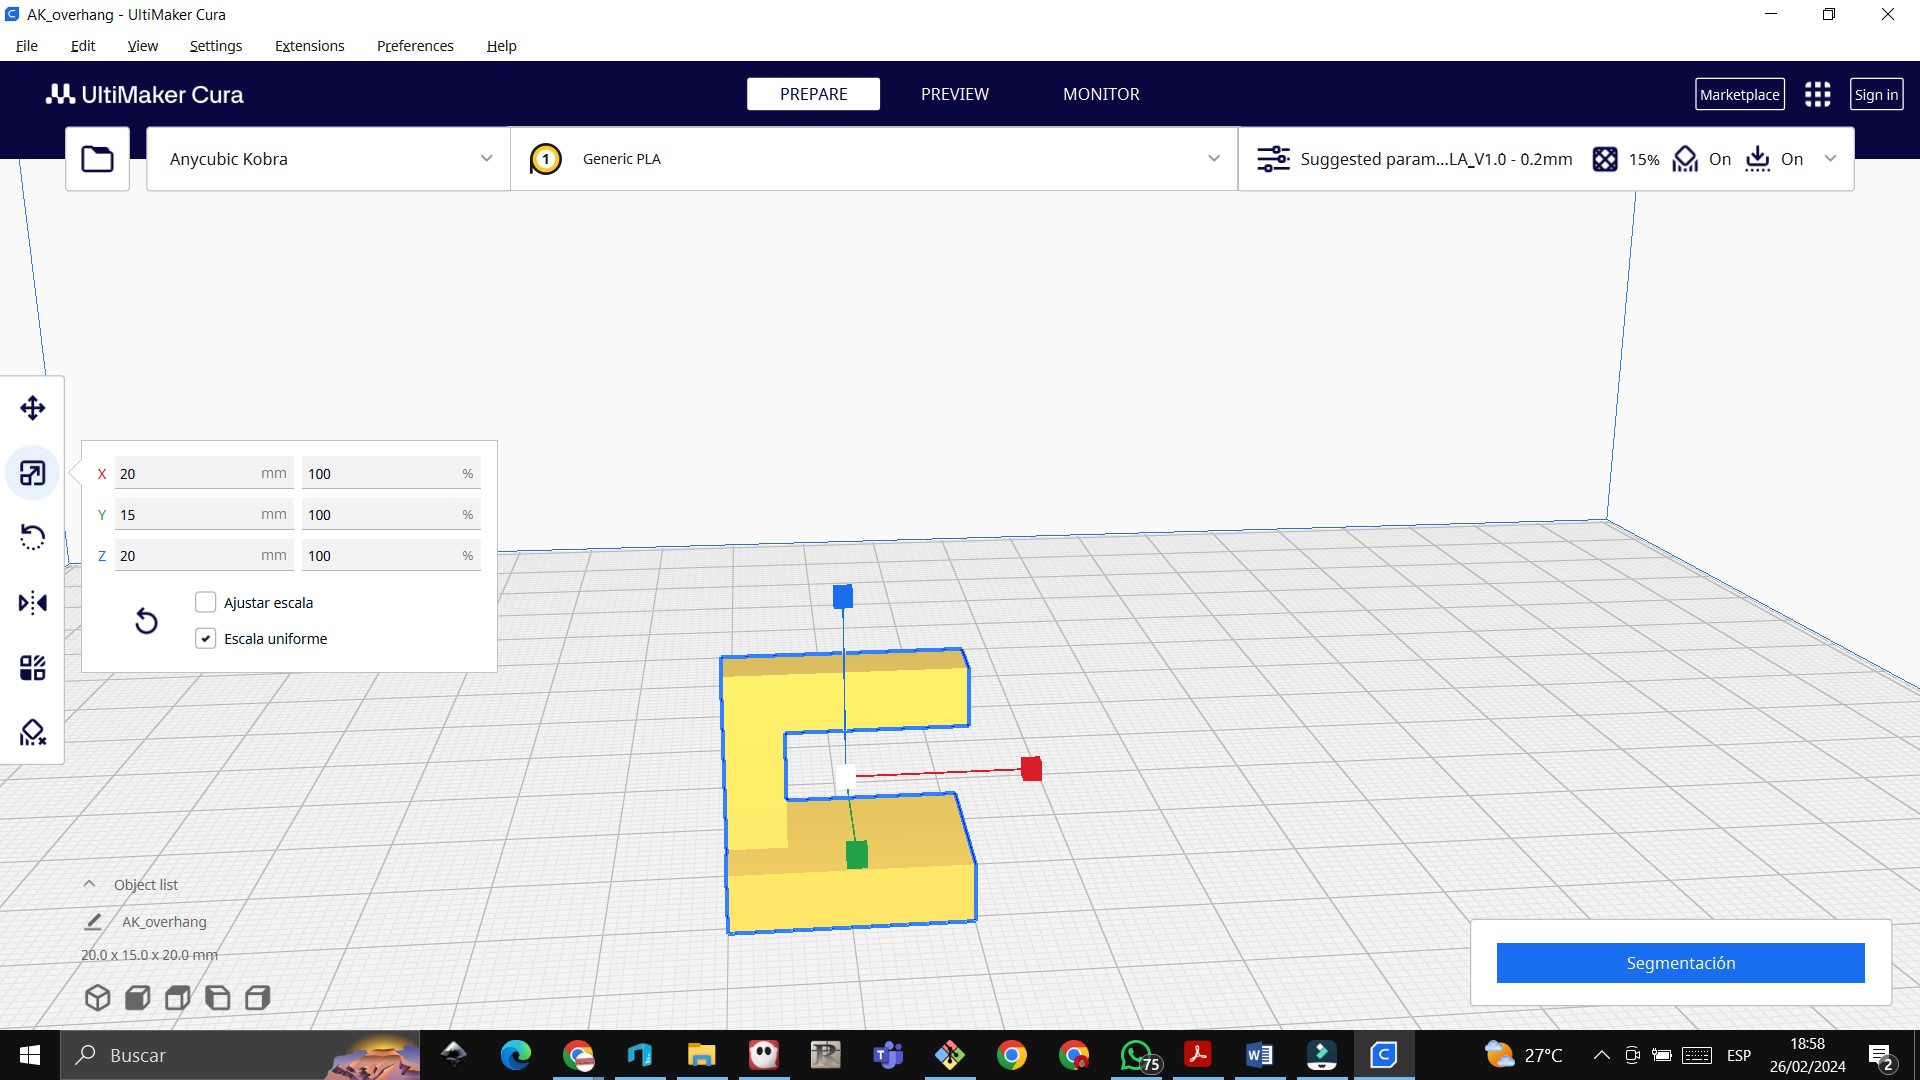 We activate support
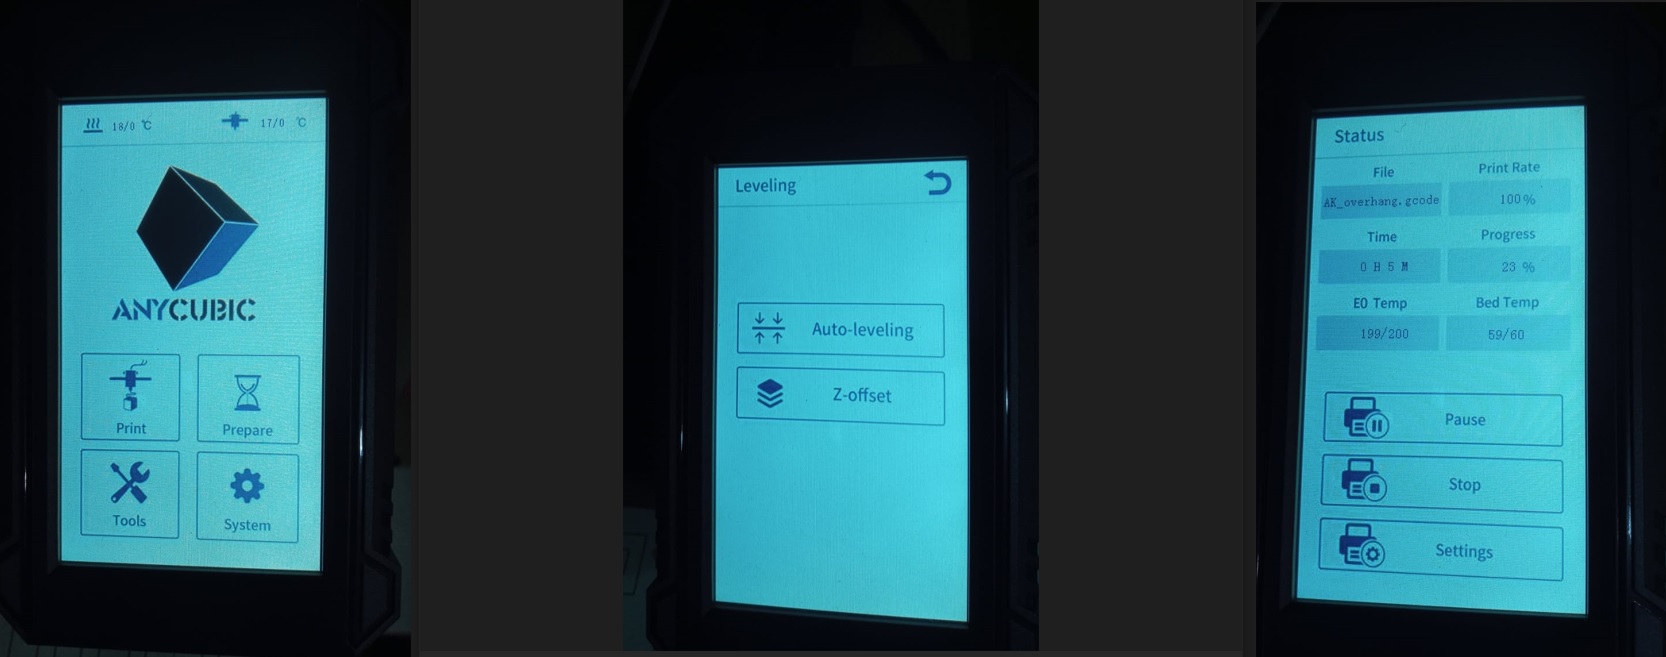
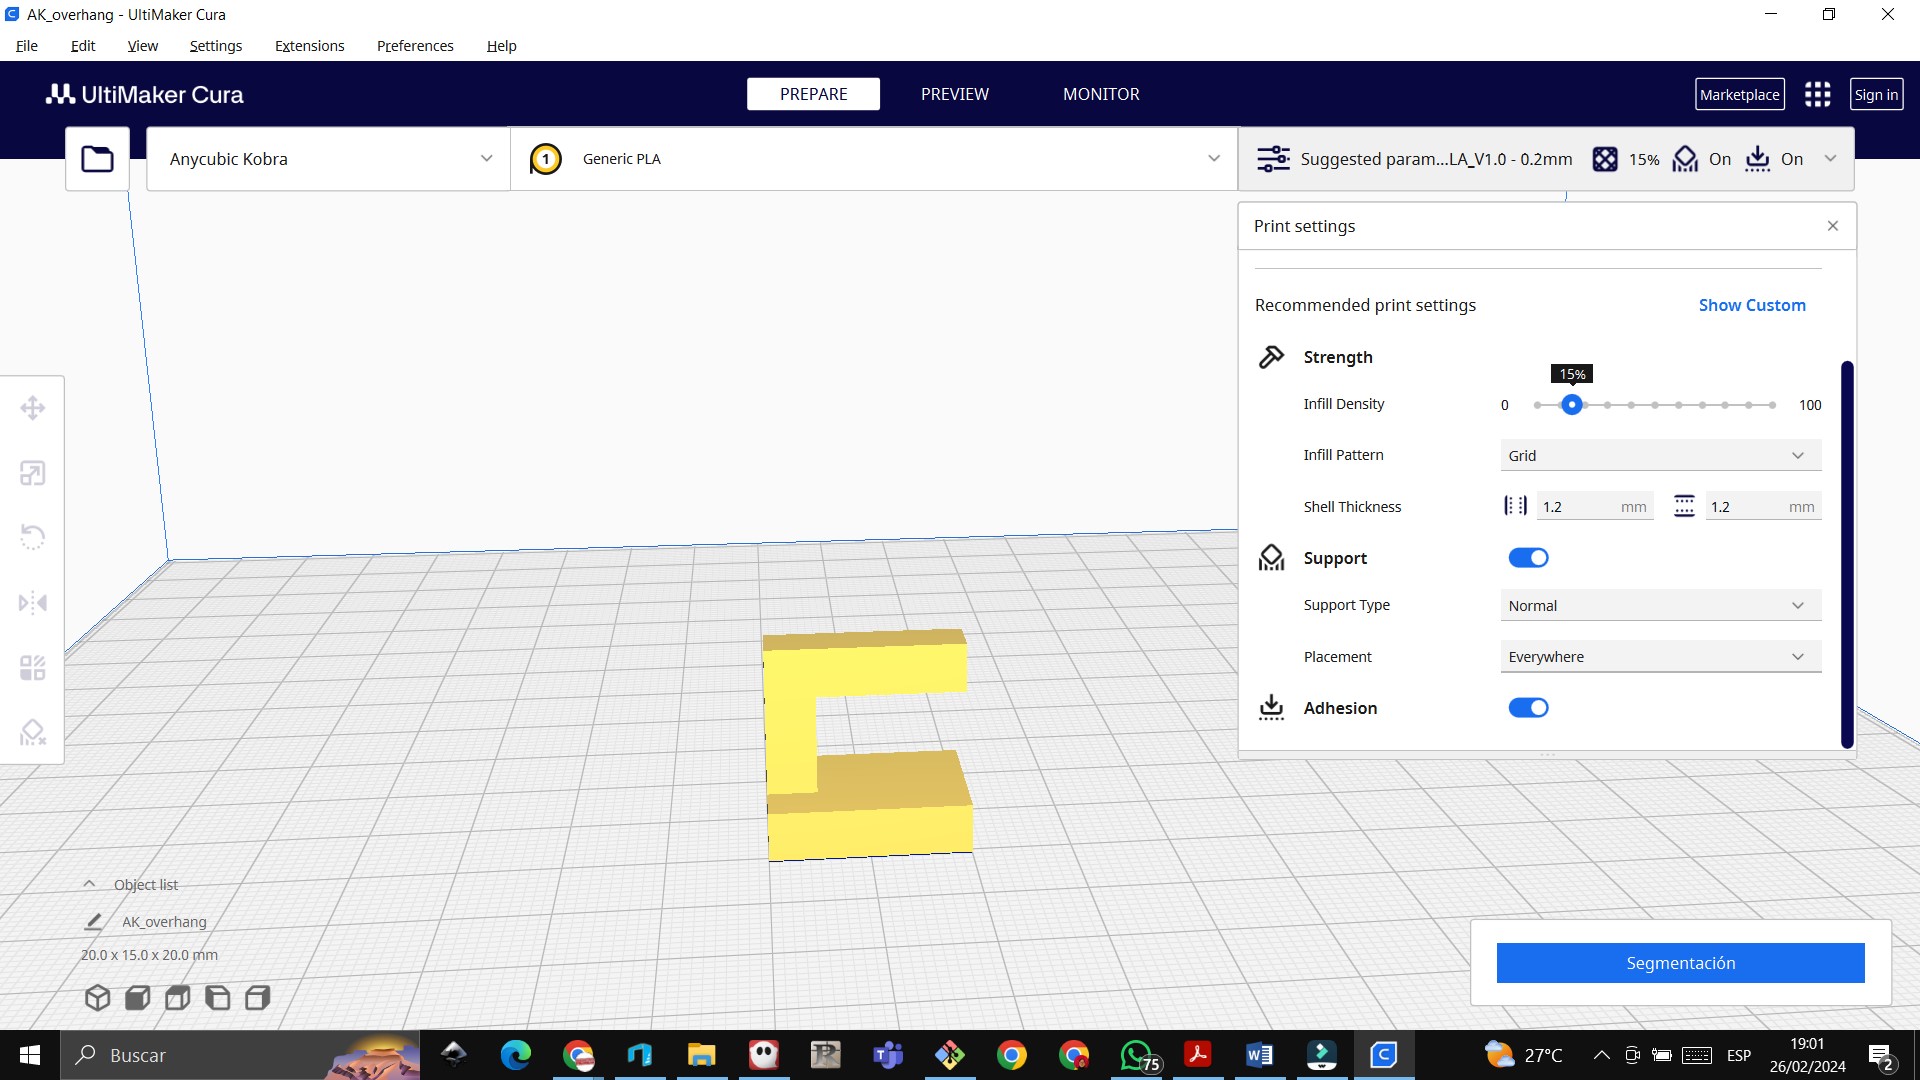 We click on segment and we see that the printing time is 16 min and we save the file in gcode format
 We load the gcode to the 3D printer
 We carry out the same process with the other files


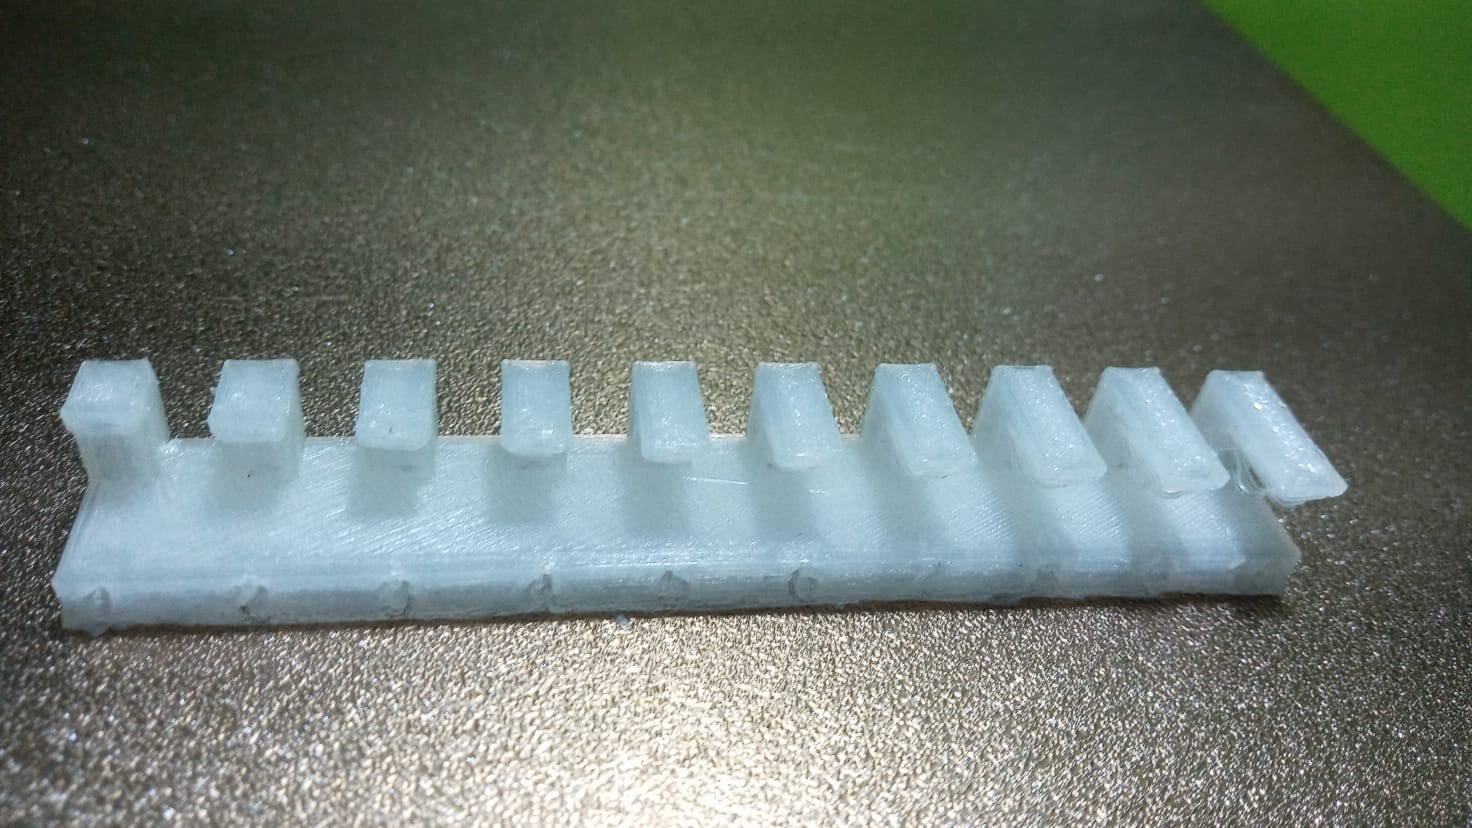
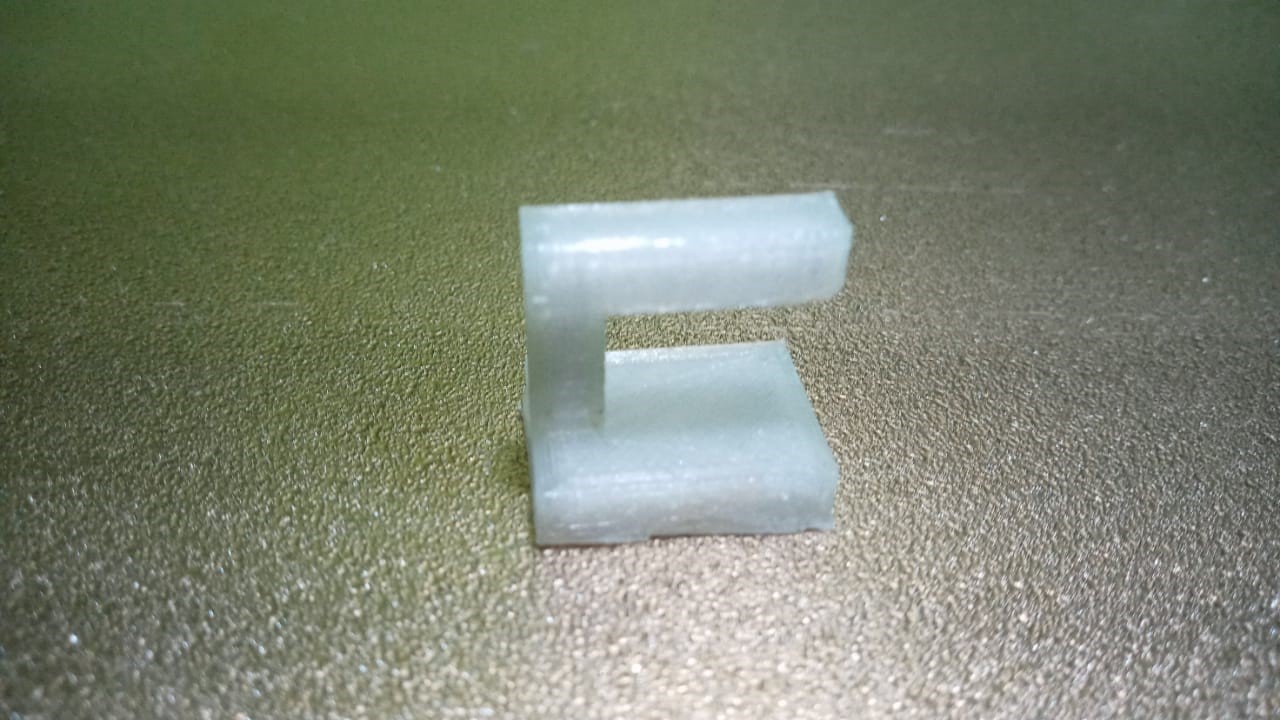
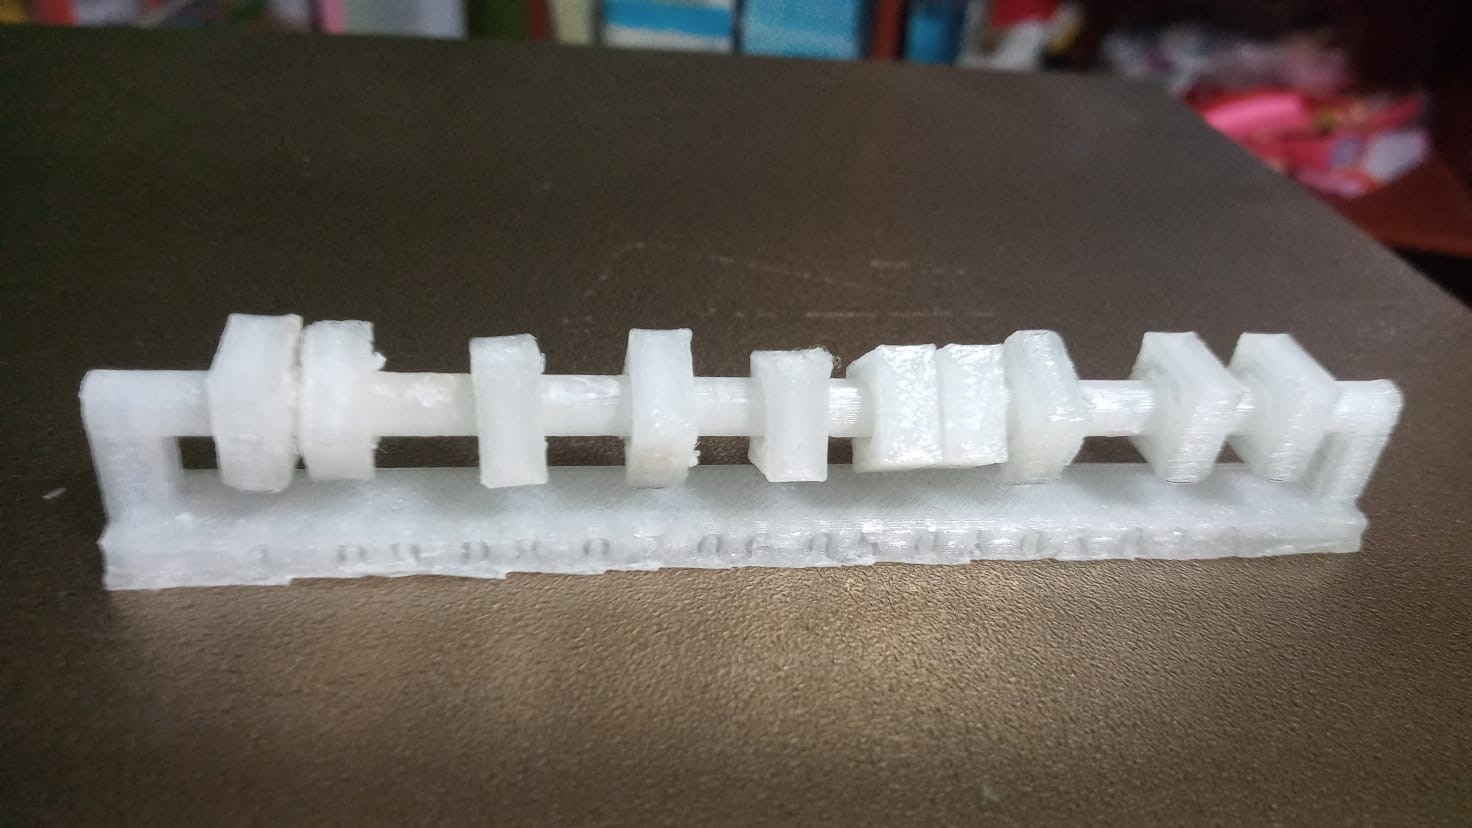 We have made the print with luminous PLA and at night it stands out green, it is fabulous.

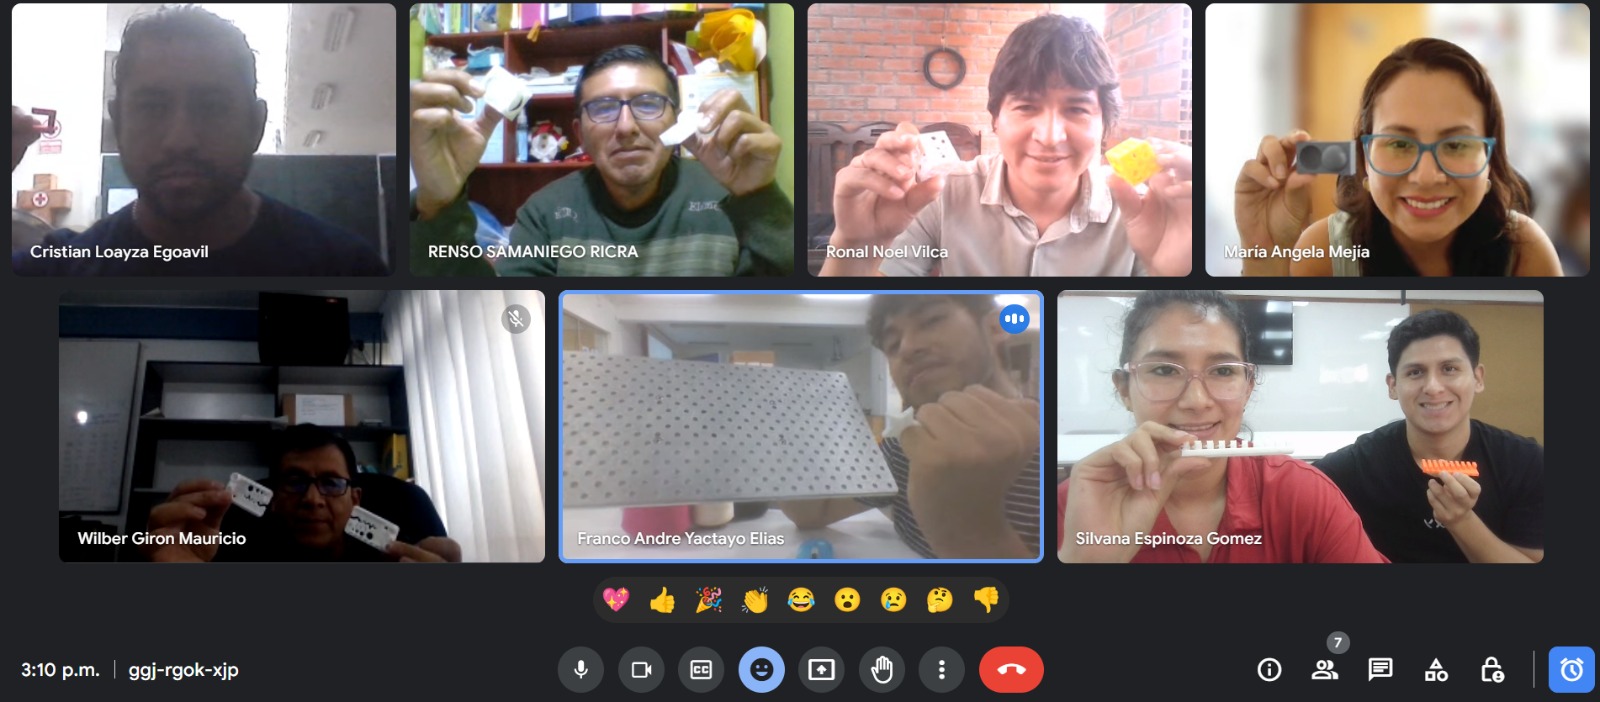
 collaborative work with colleagues
CONCLUSIONS
- When printing our parts we have to keep in mind that we have to heat the bed to approximately 60 degrees Celsius.
- We have to heat the extruder to approximately 200 degrees Celsius.
- We have to level the extruder 1 millimeter to the bed
- When we work with elevated images, for example with a chess knight, we have to put support in the cura software.
- When printing in 3D, verify that we have enough PLA to be able to print, verify in Ultimaker Cura how much PLA we will use.
Individual assignment:
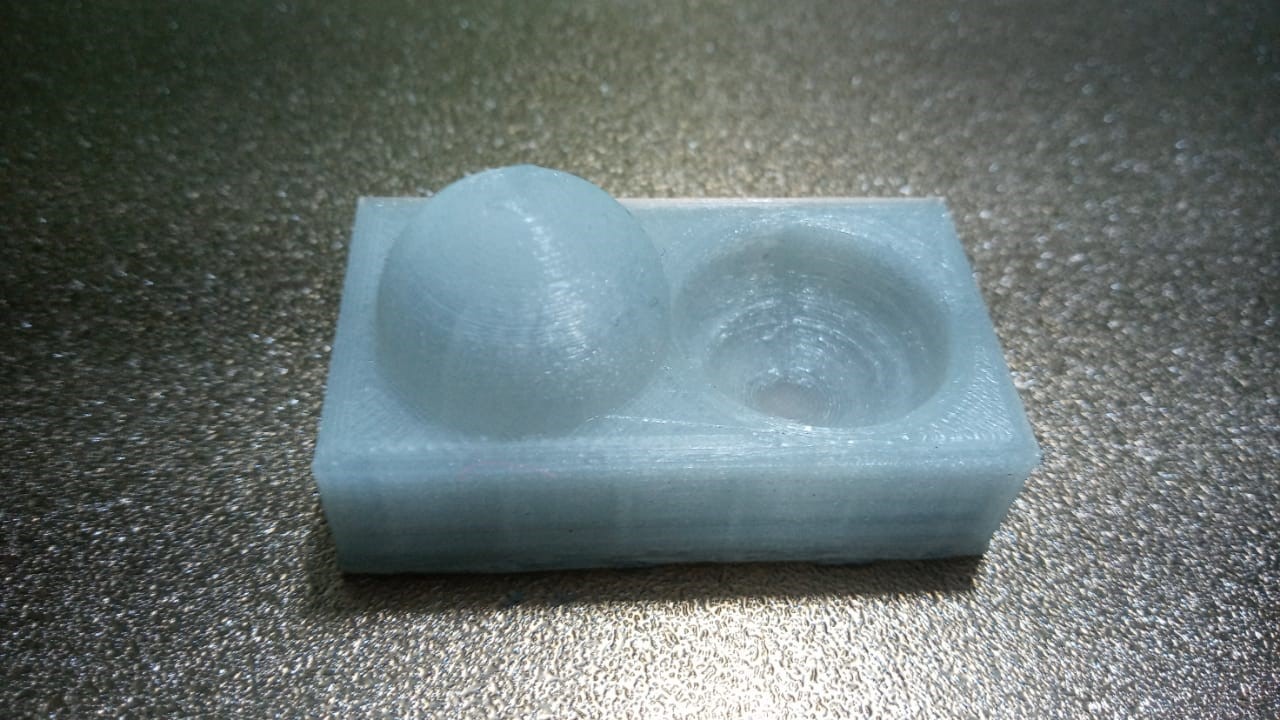
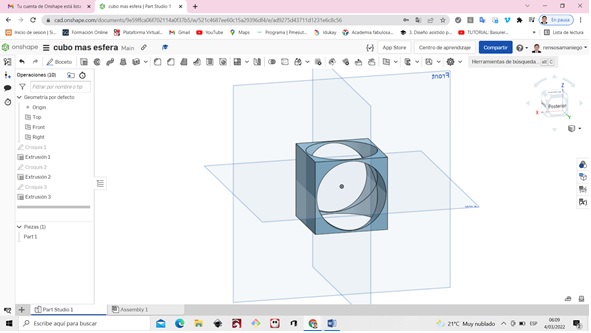
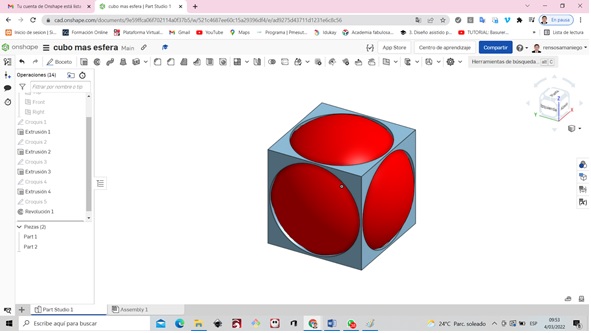
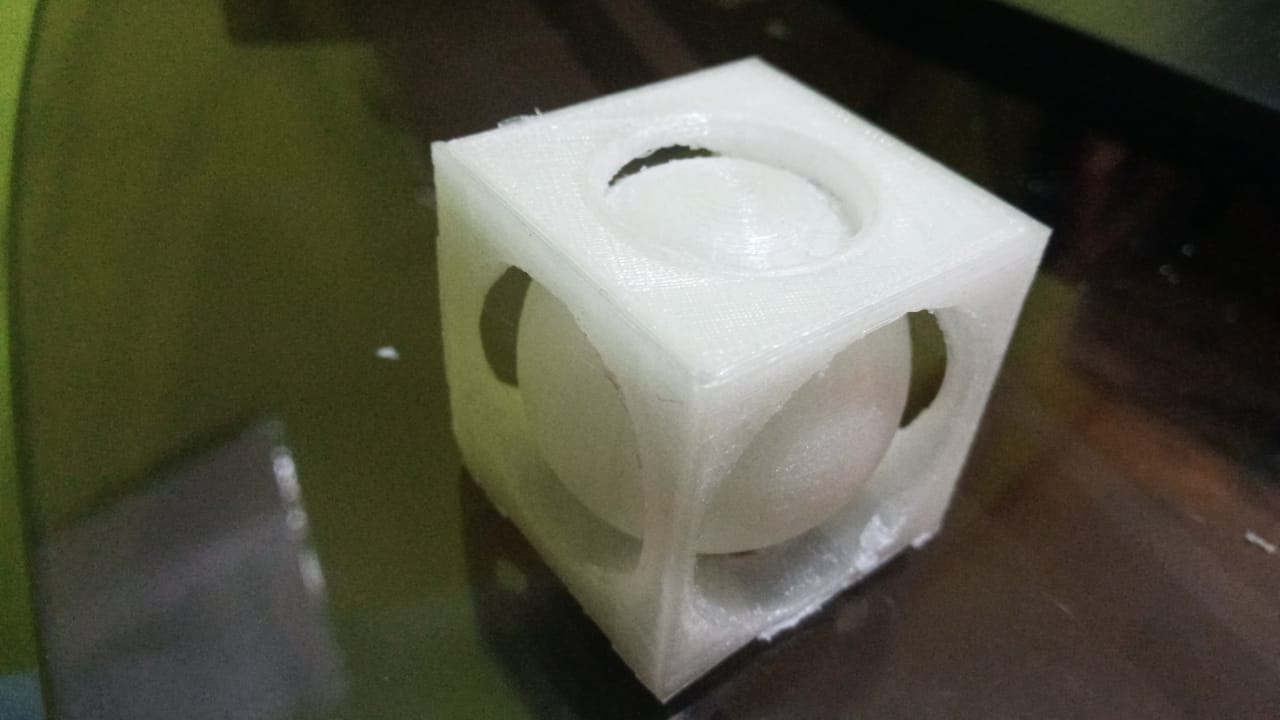
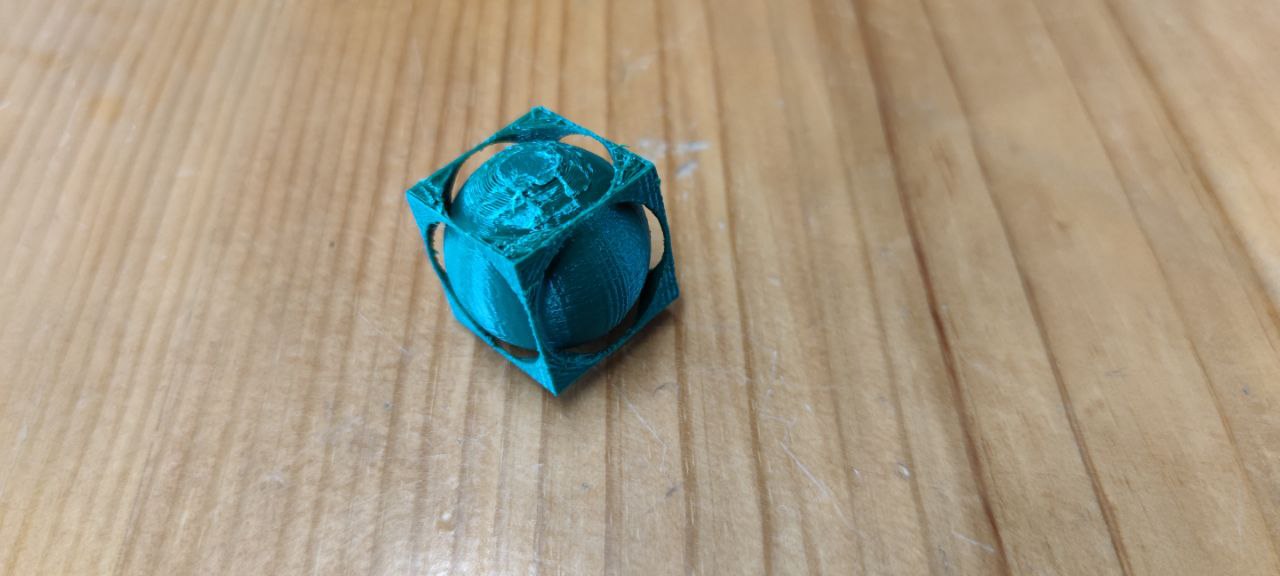
The onshape program was used to create a sphere inside a cube
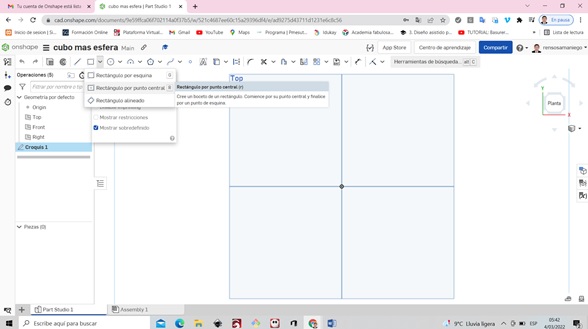
first a square of 50 millimeters was created

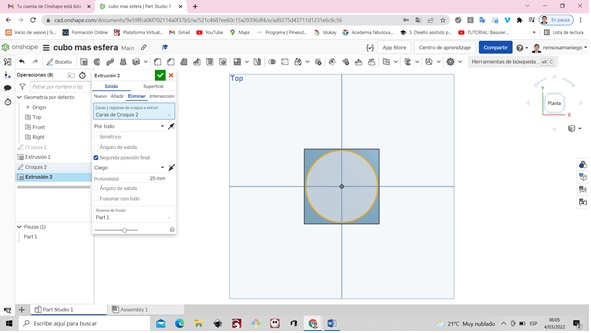
We apply extrusion to the cube and put 25 millimeters

We generate a new sketch and we create a circle then we extrude there we put delete for everything and second final position
if we rotate it it is displayed in this way

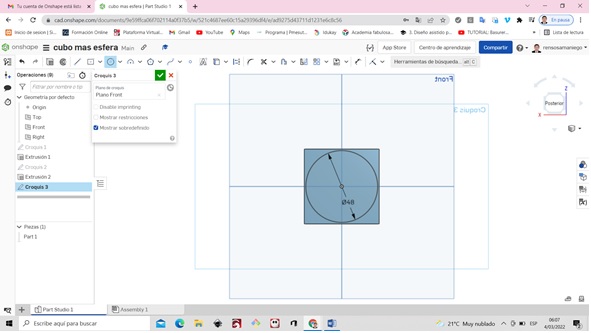
Again we create another sketch we put a distance of 48 millimeters
We generate a new sketch and we create a circle then we extrude there we put delete for everything and second final position
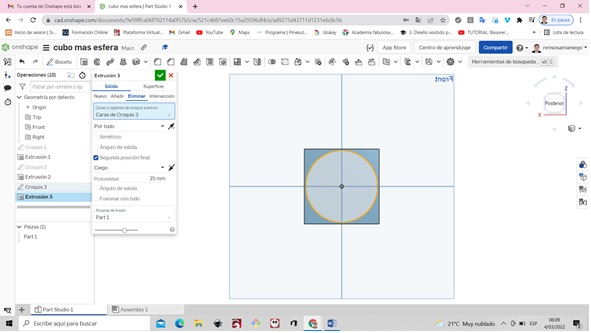
We generate a new sketch and we create a circle then we extrude there we put delete for everything and second final position


Then we create a circle inside the cube of 50 millimeters
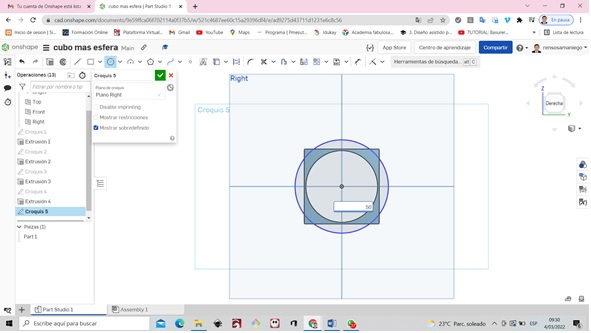
Set axis of revolution to line
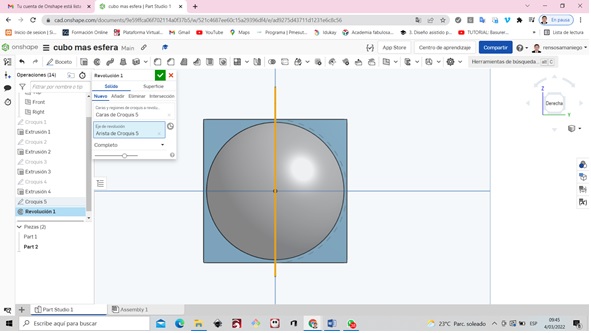
changing color looks like this

We enter the Ultimaker Cura page and download the software
We click on download ultimaker cure
We install the Ultimaker Cura software and choose the type of printer, which is Anycubic Kobra
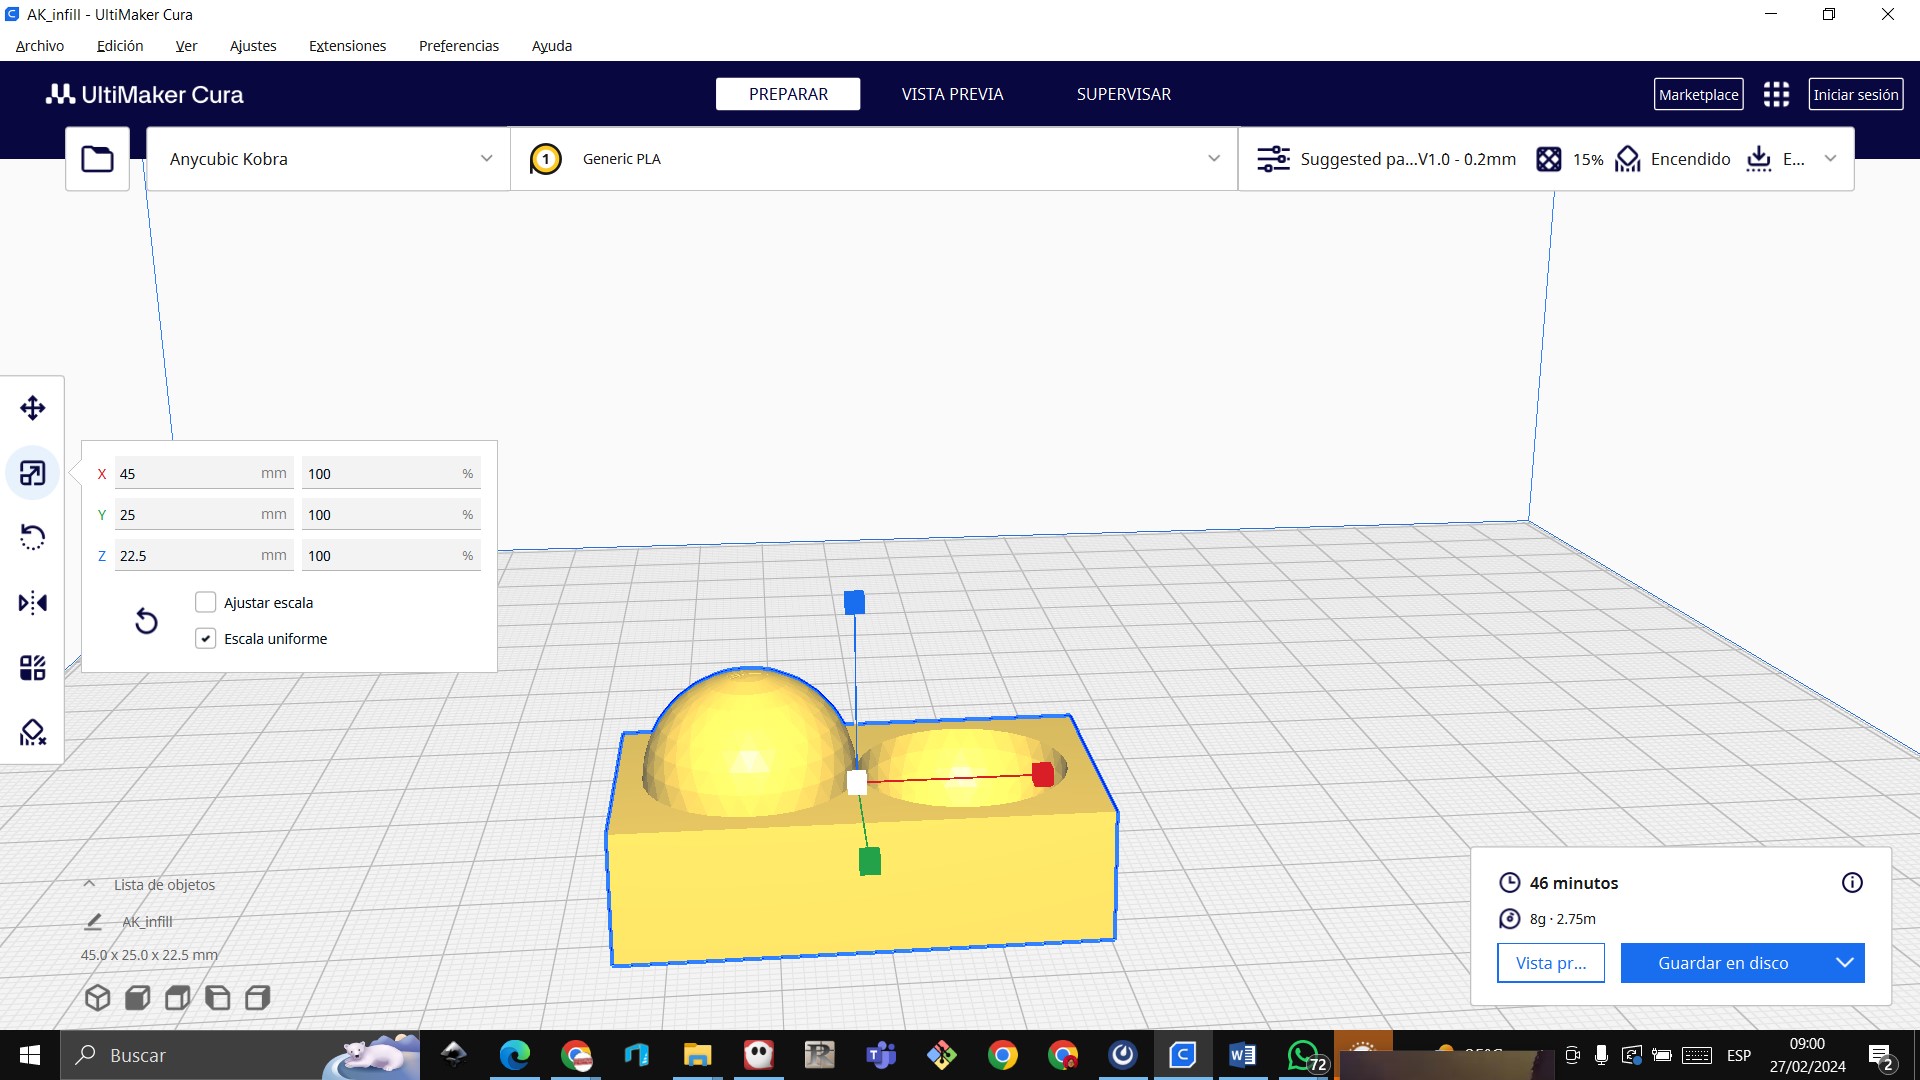
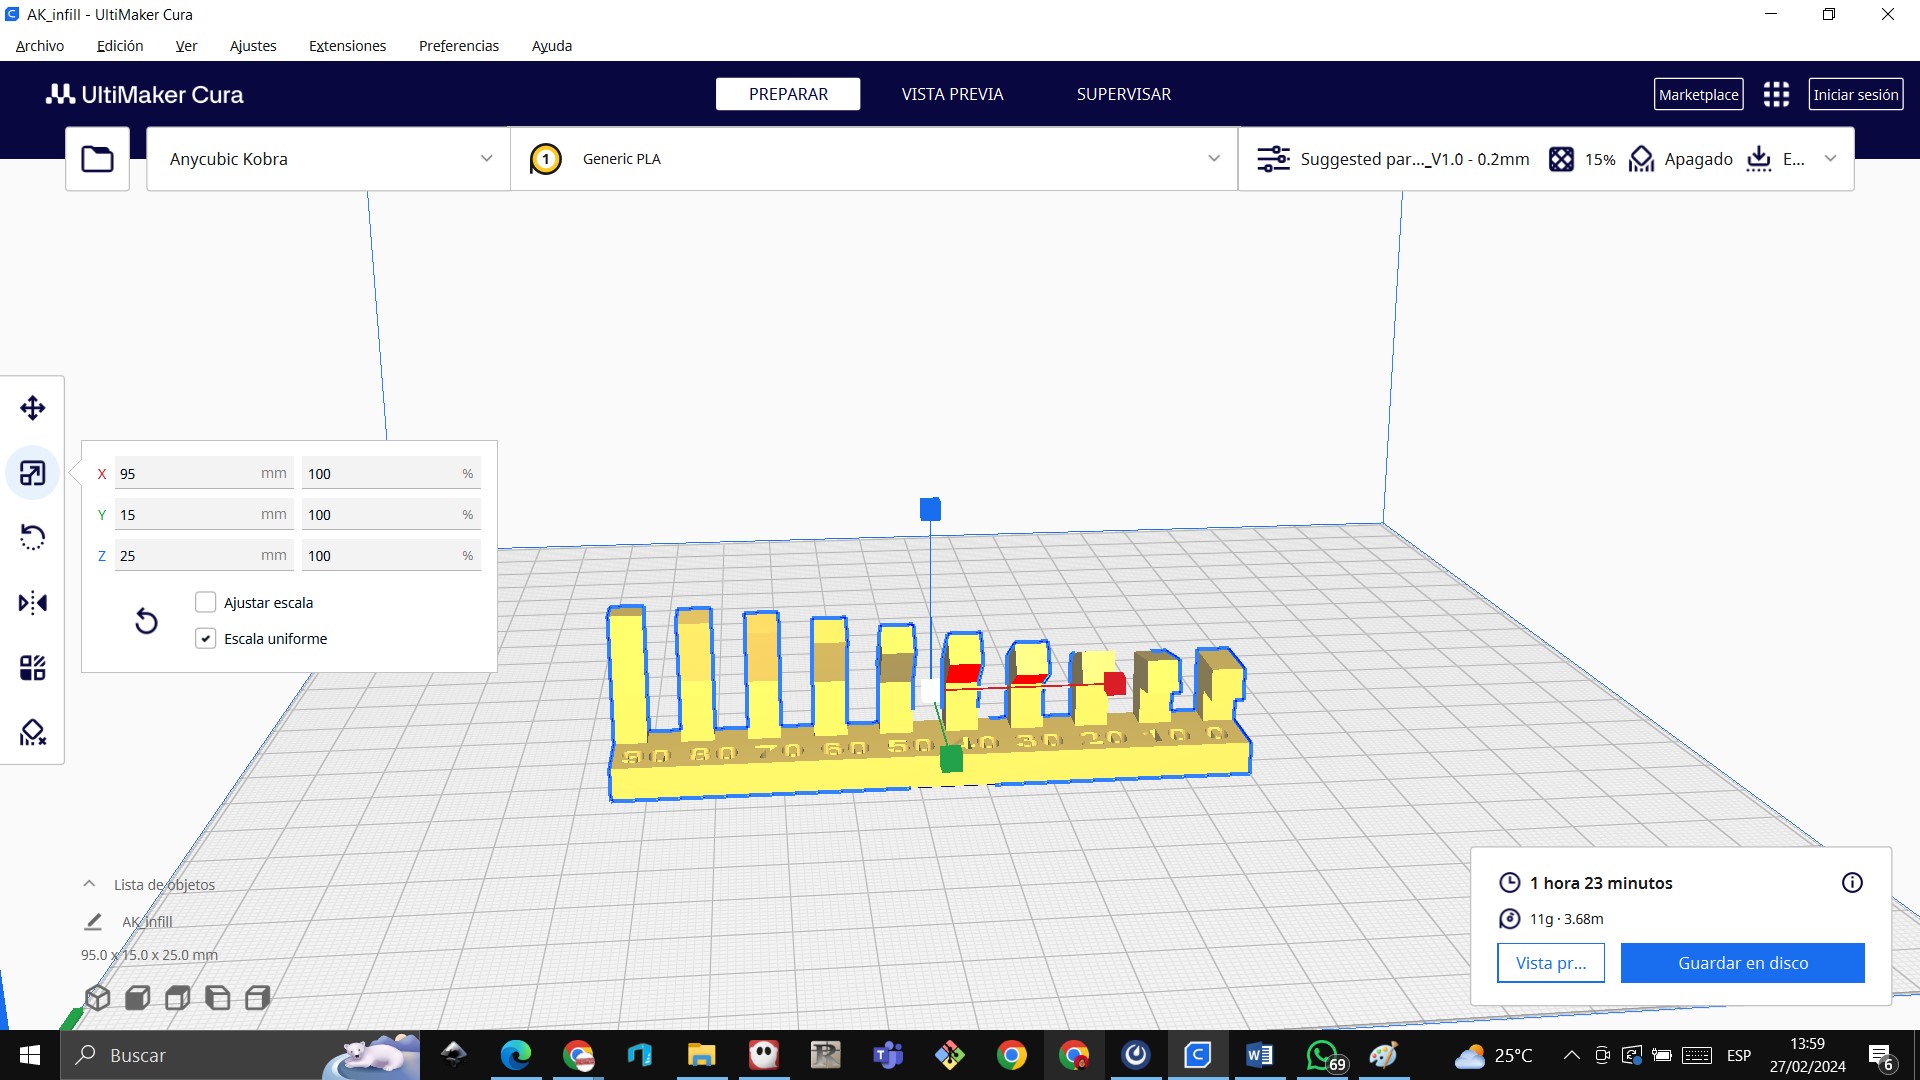
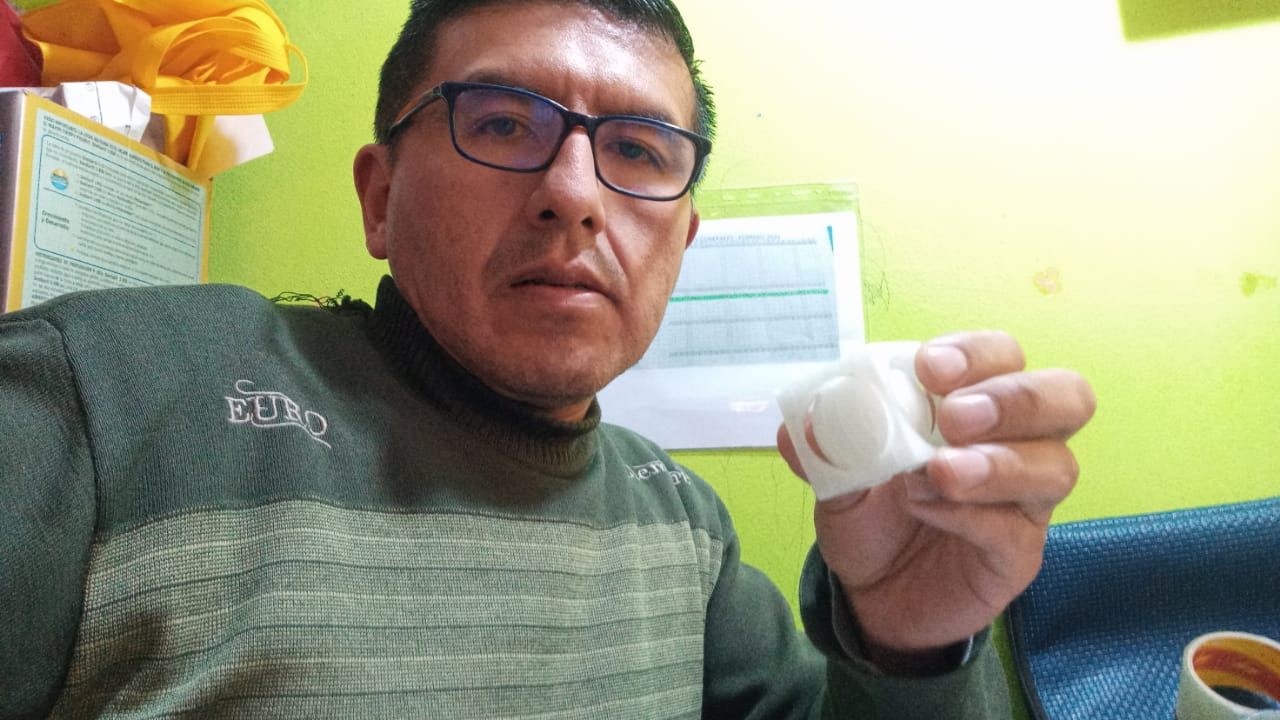
I import the exported file in stl format. Here we can modify the dimensions, for example, the size percentage is lowered to 70% and the printing time is 2 hours 11 minutes
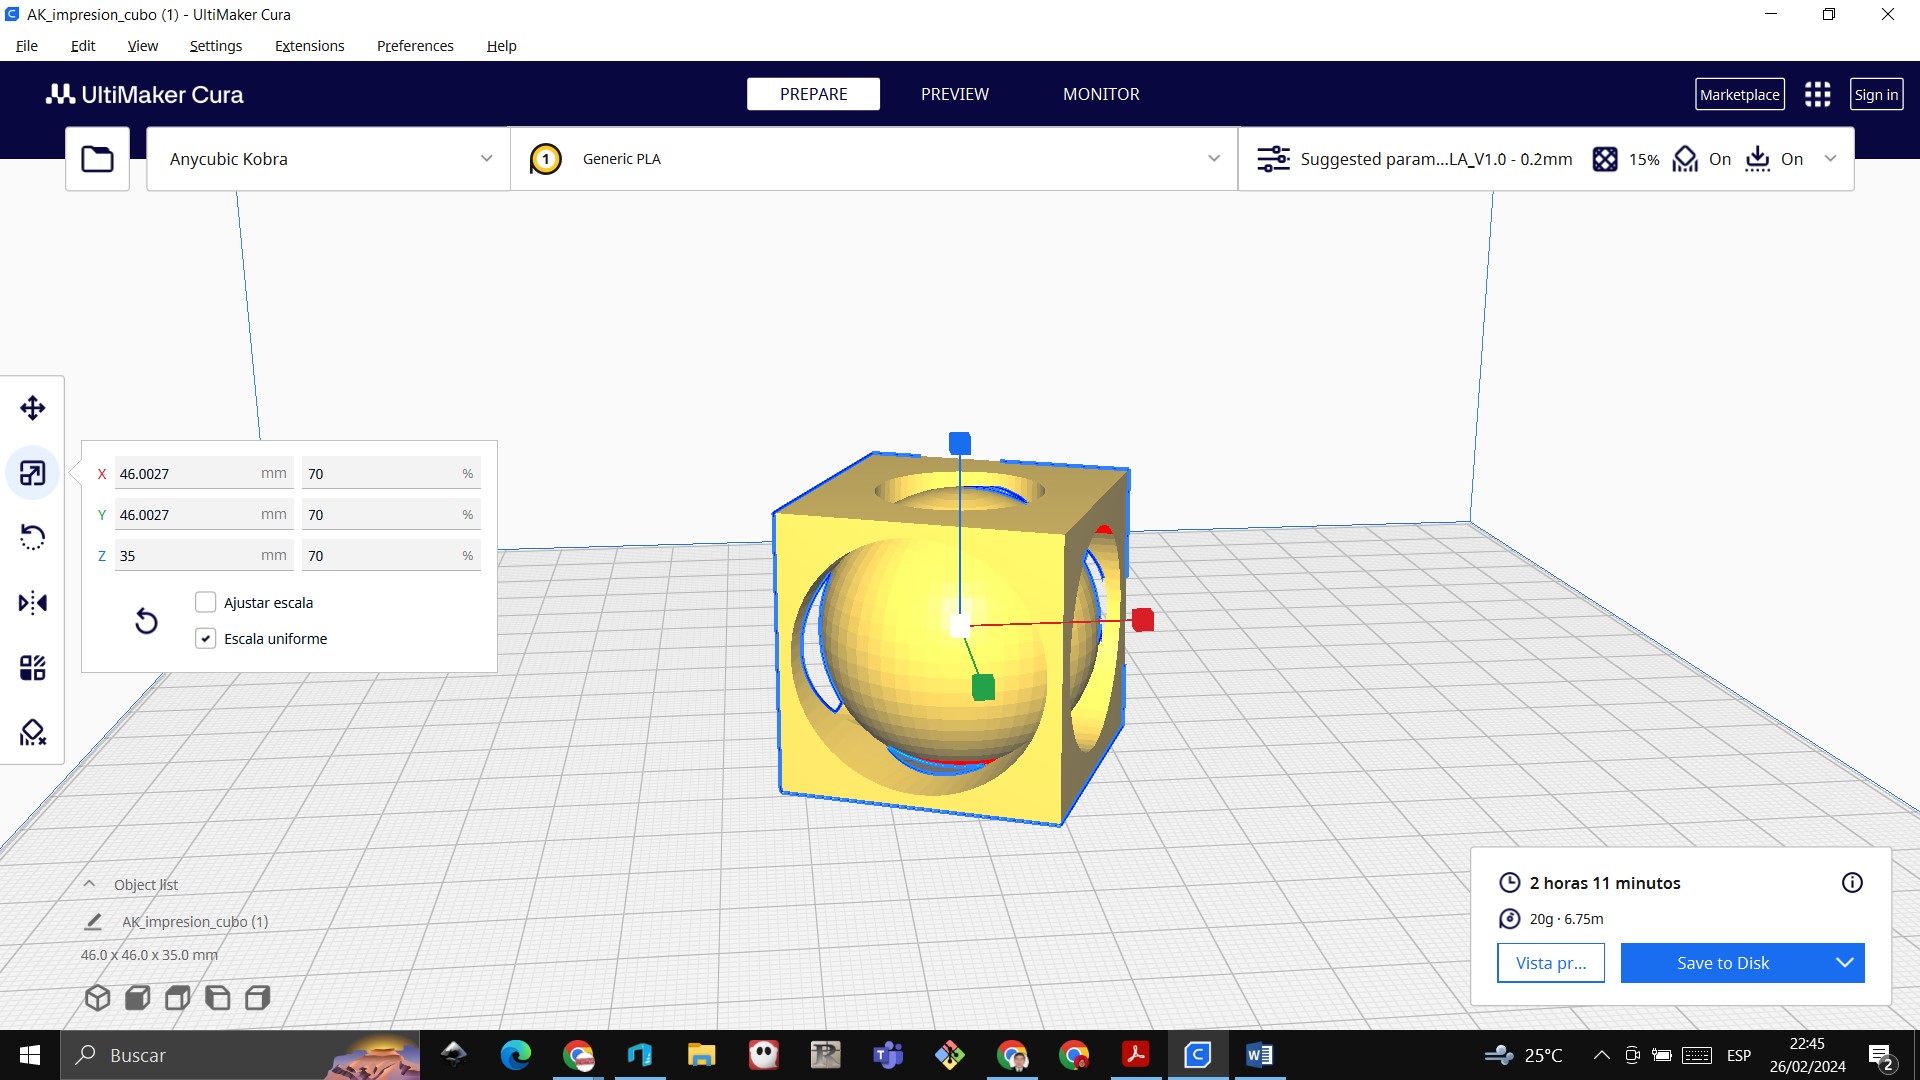
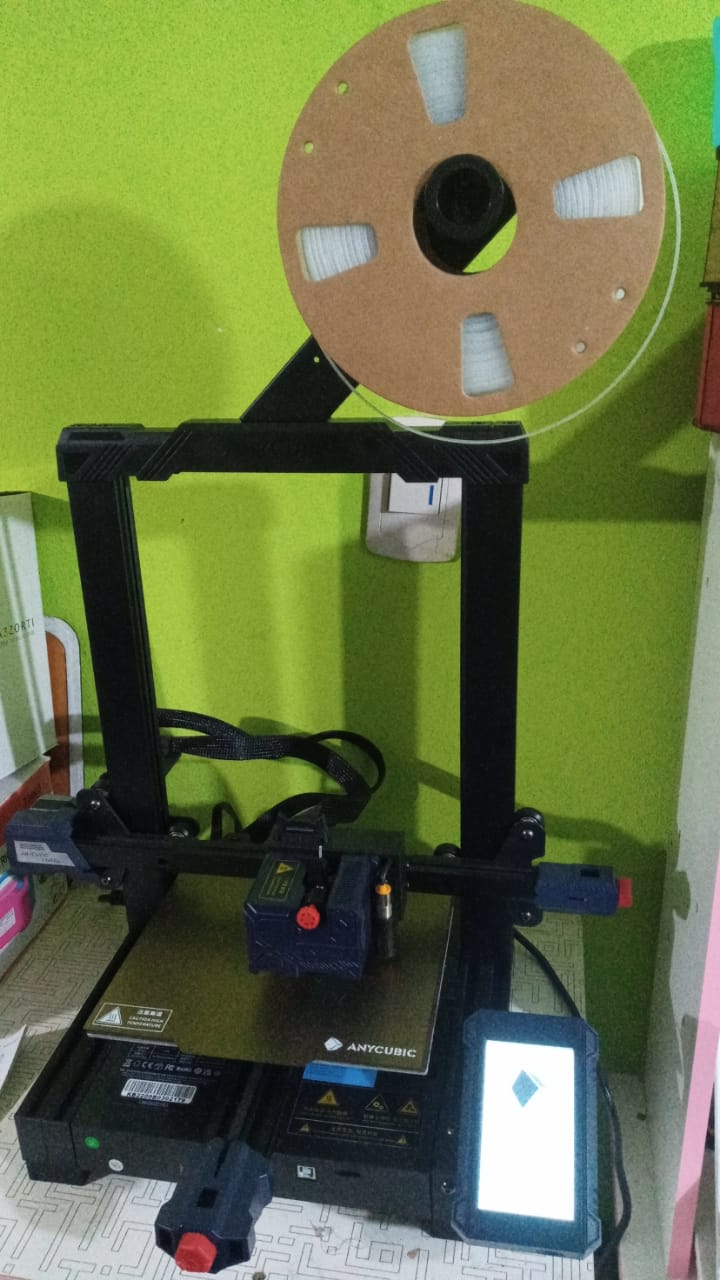
Now we use the anycubic cobra 3d printer

In our case, the extruder was heated to 200º Celsius and the bed to 60º Celsius. Start of printing
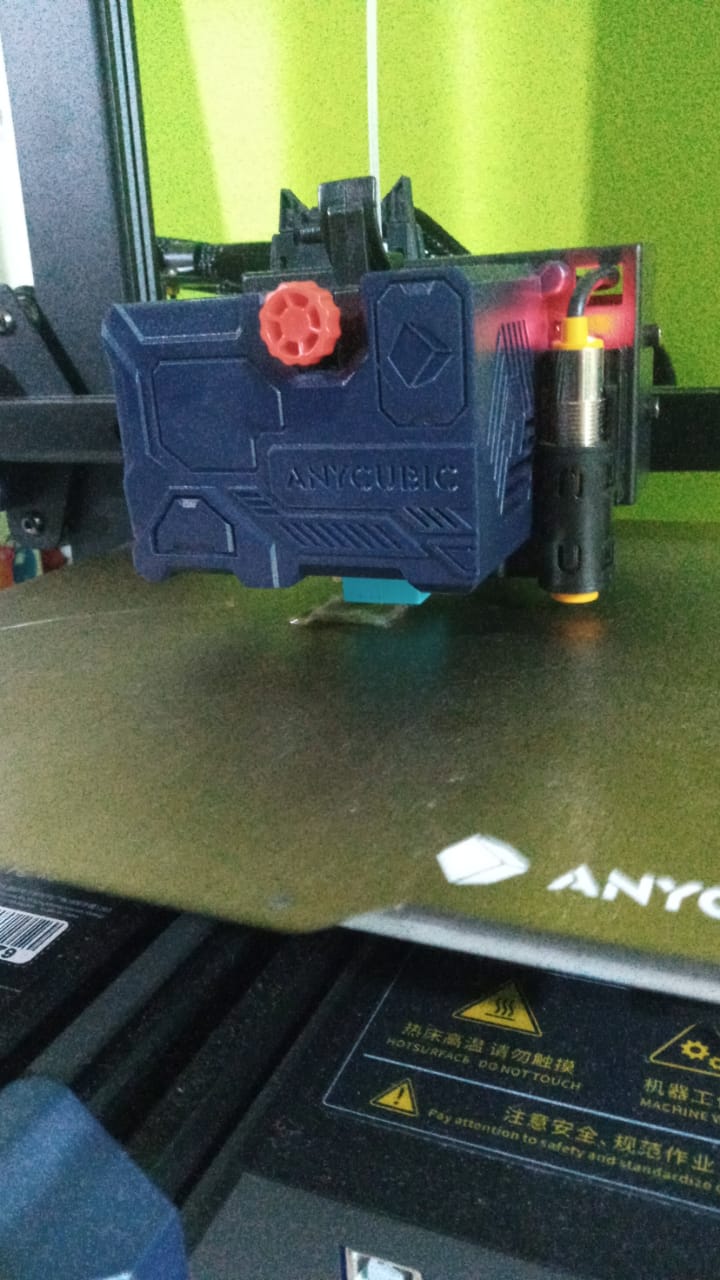
The 3D Printer turns on, then you press the Ready tool and click on automatic leveling and we choose the z axis in offset, we go down until it is 1 millimeter above the bed, you level it with a piece of paper
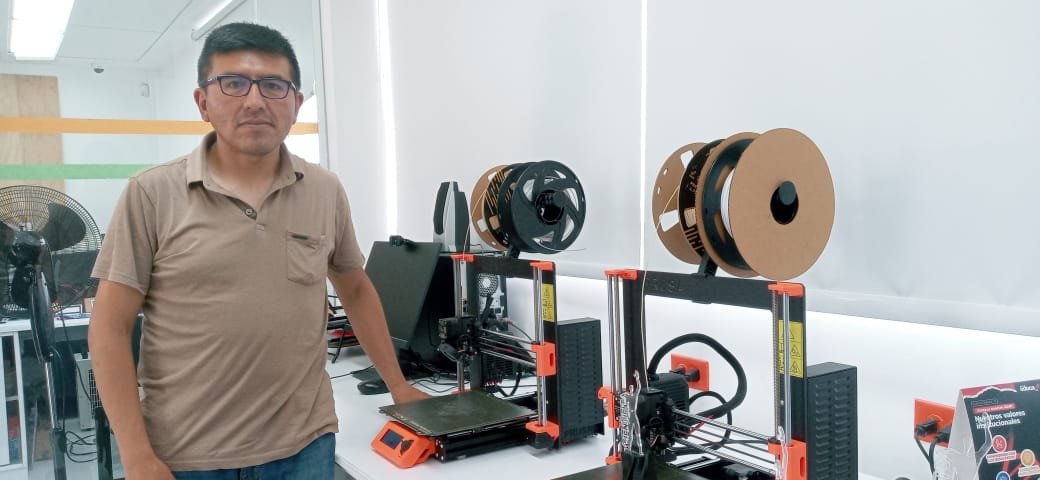
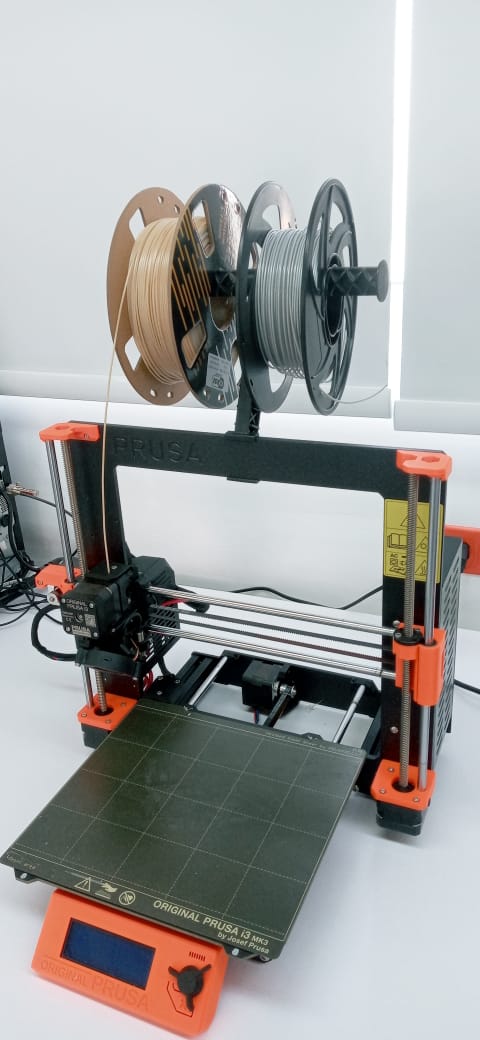
The printing was tested in the Fab Lab of the Scientific University of the South using the Prusa printer
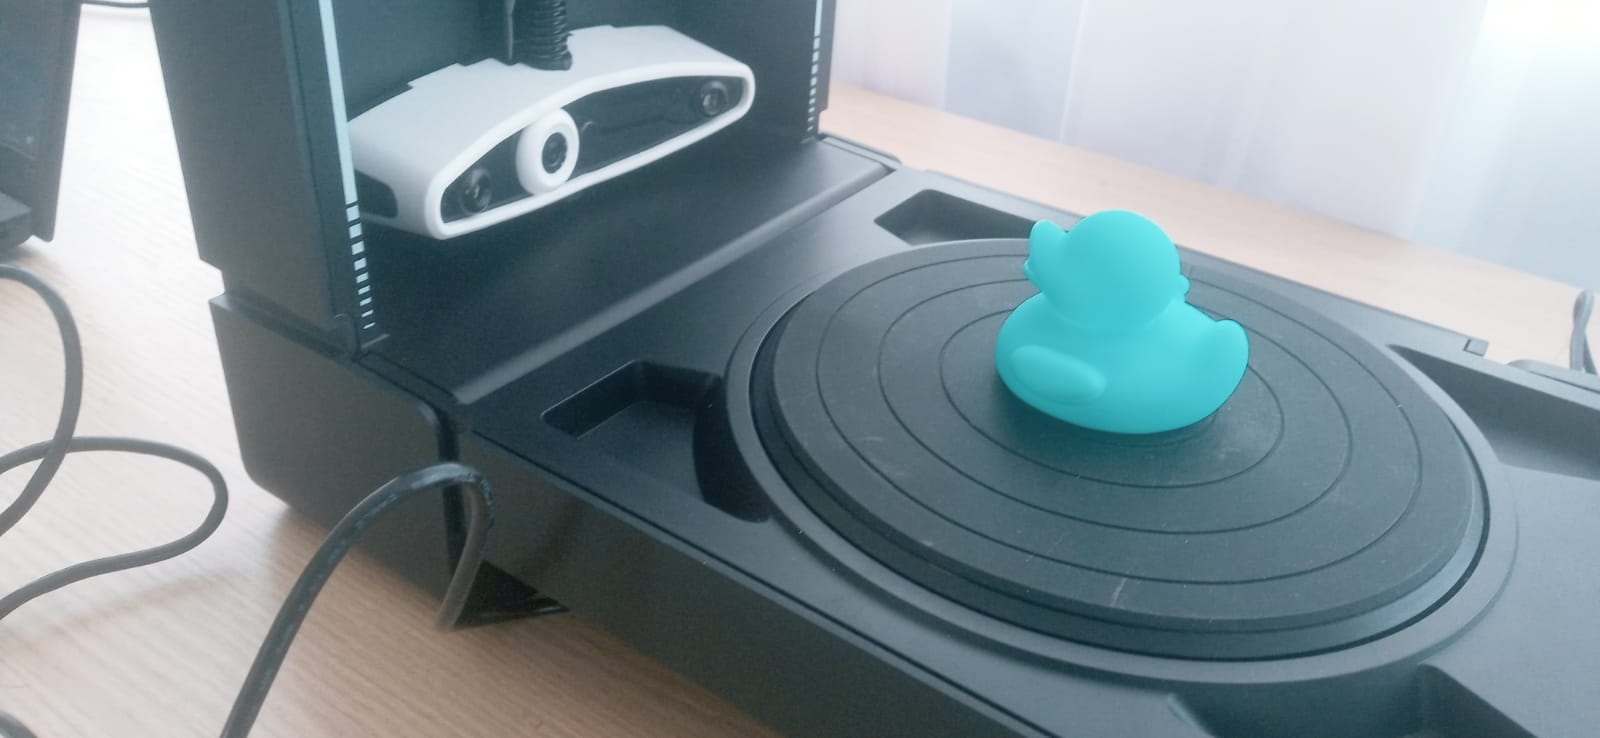
To scan use my cell phone with 100 photos then install the Meshroom program
3D scanner
For the scan we will use a Matter Form brand 3D scanner for which once we install and turn on and place the object on top
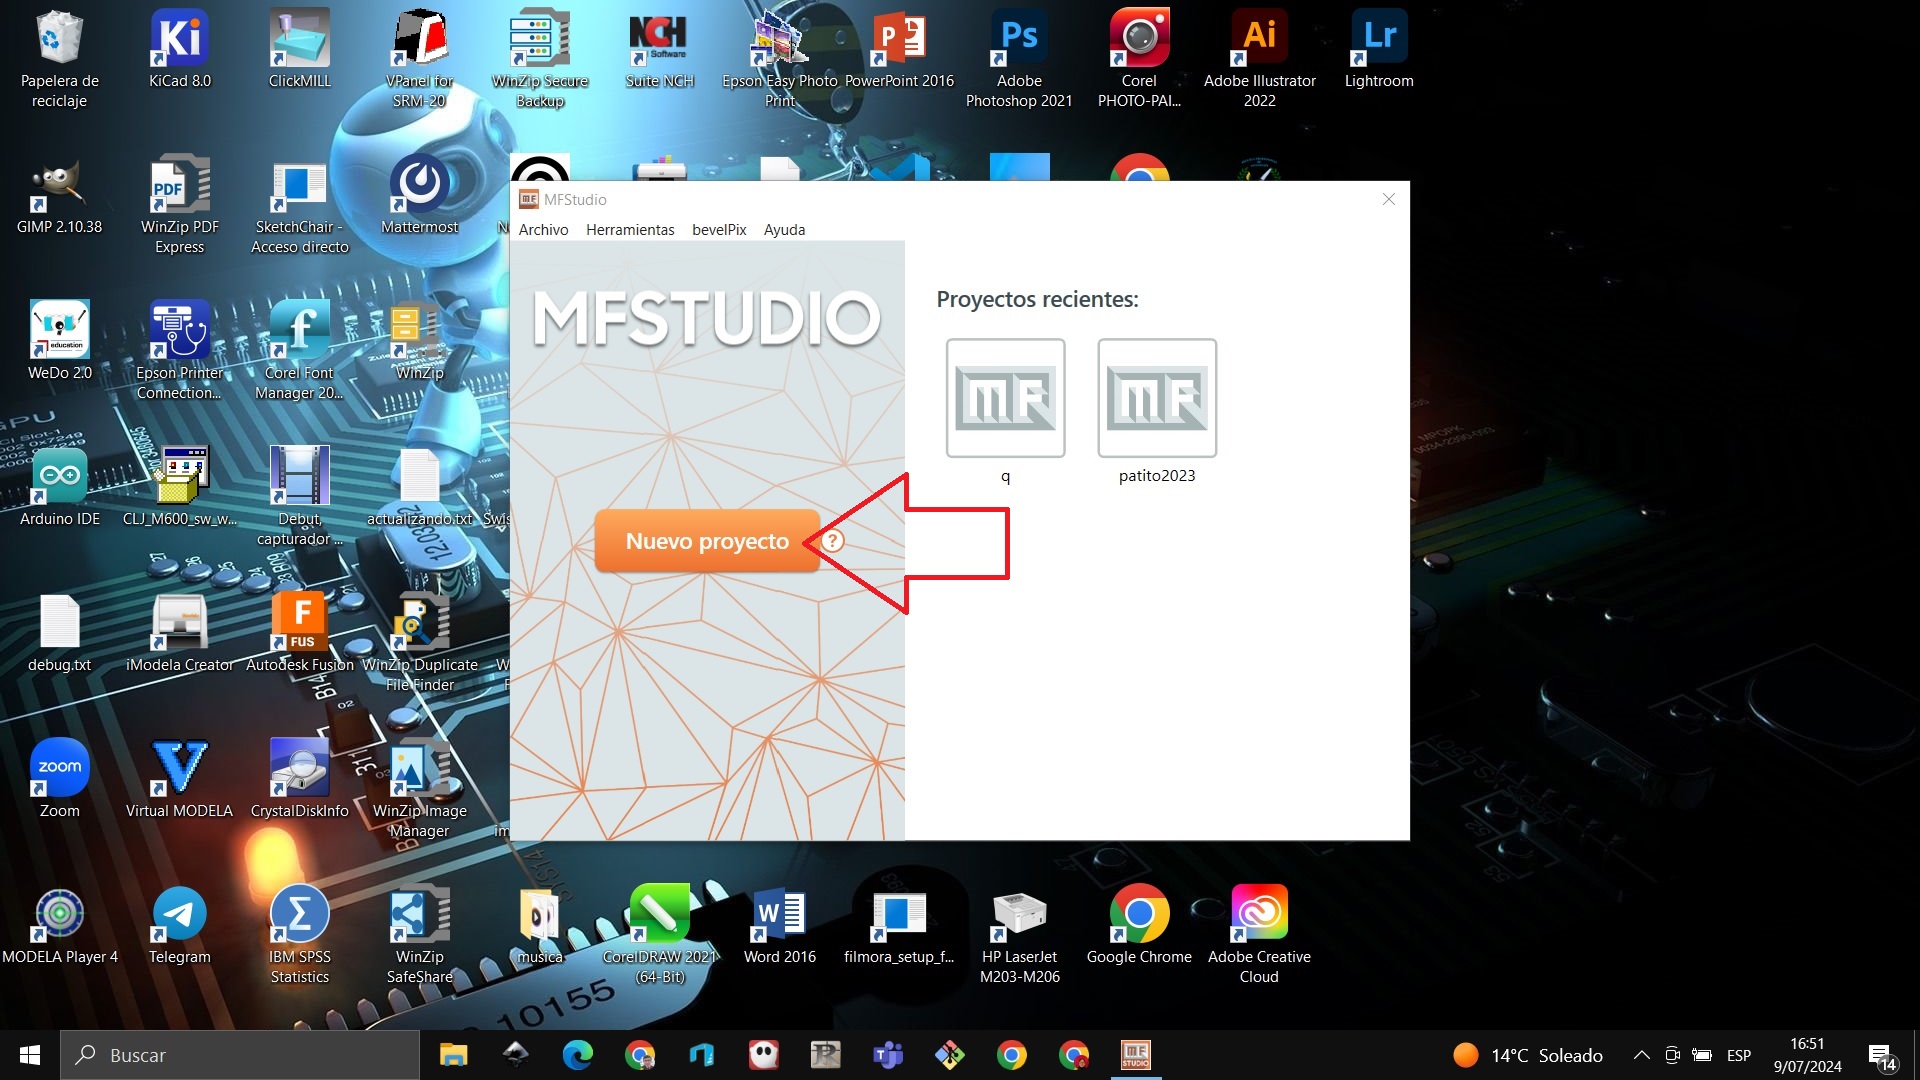
 We open the program and create a new project
We connect the scanner to the laptop
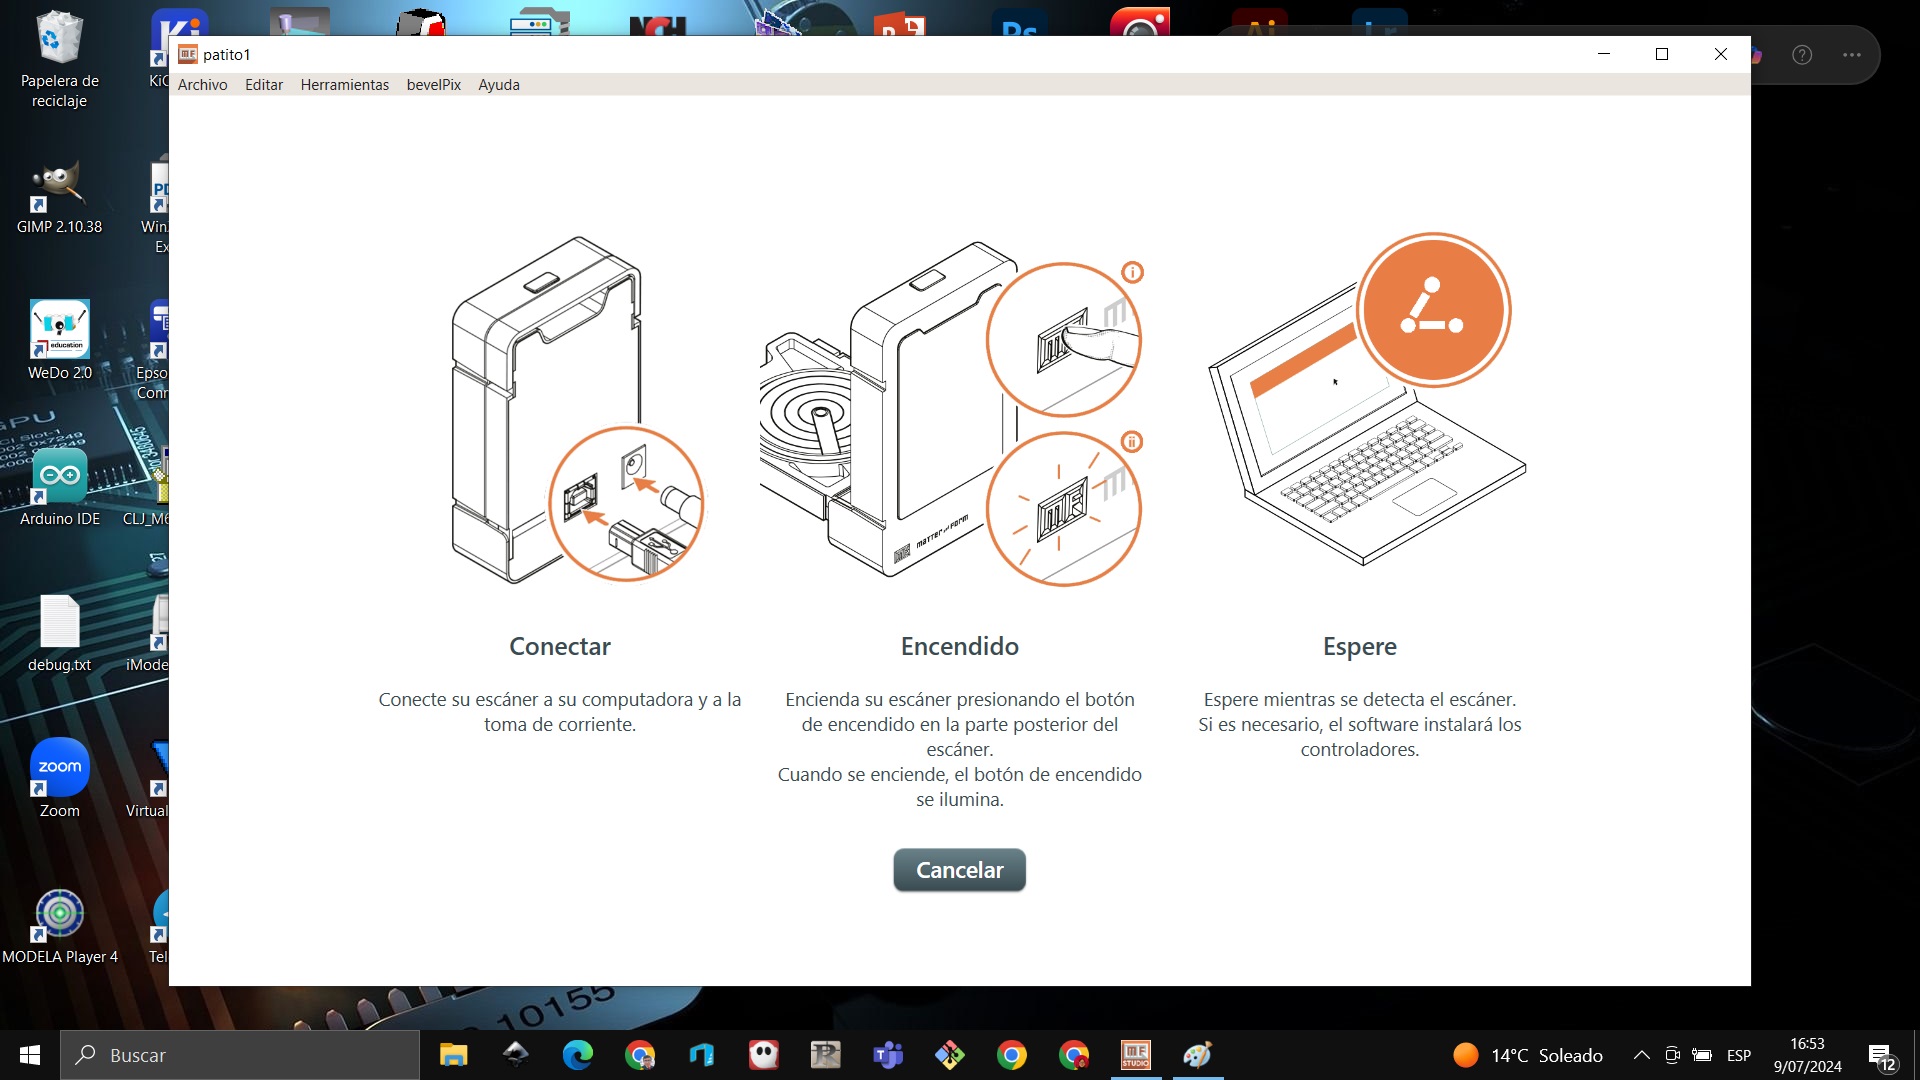
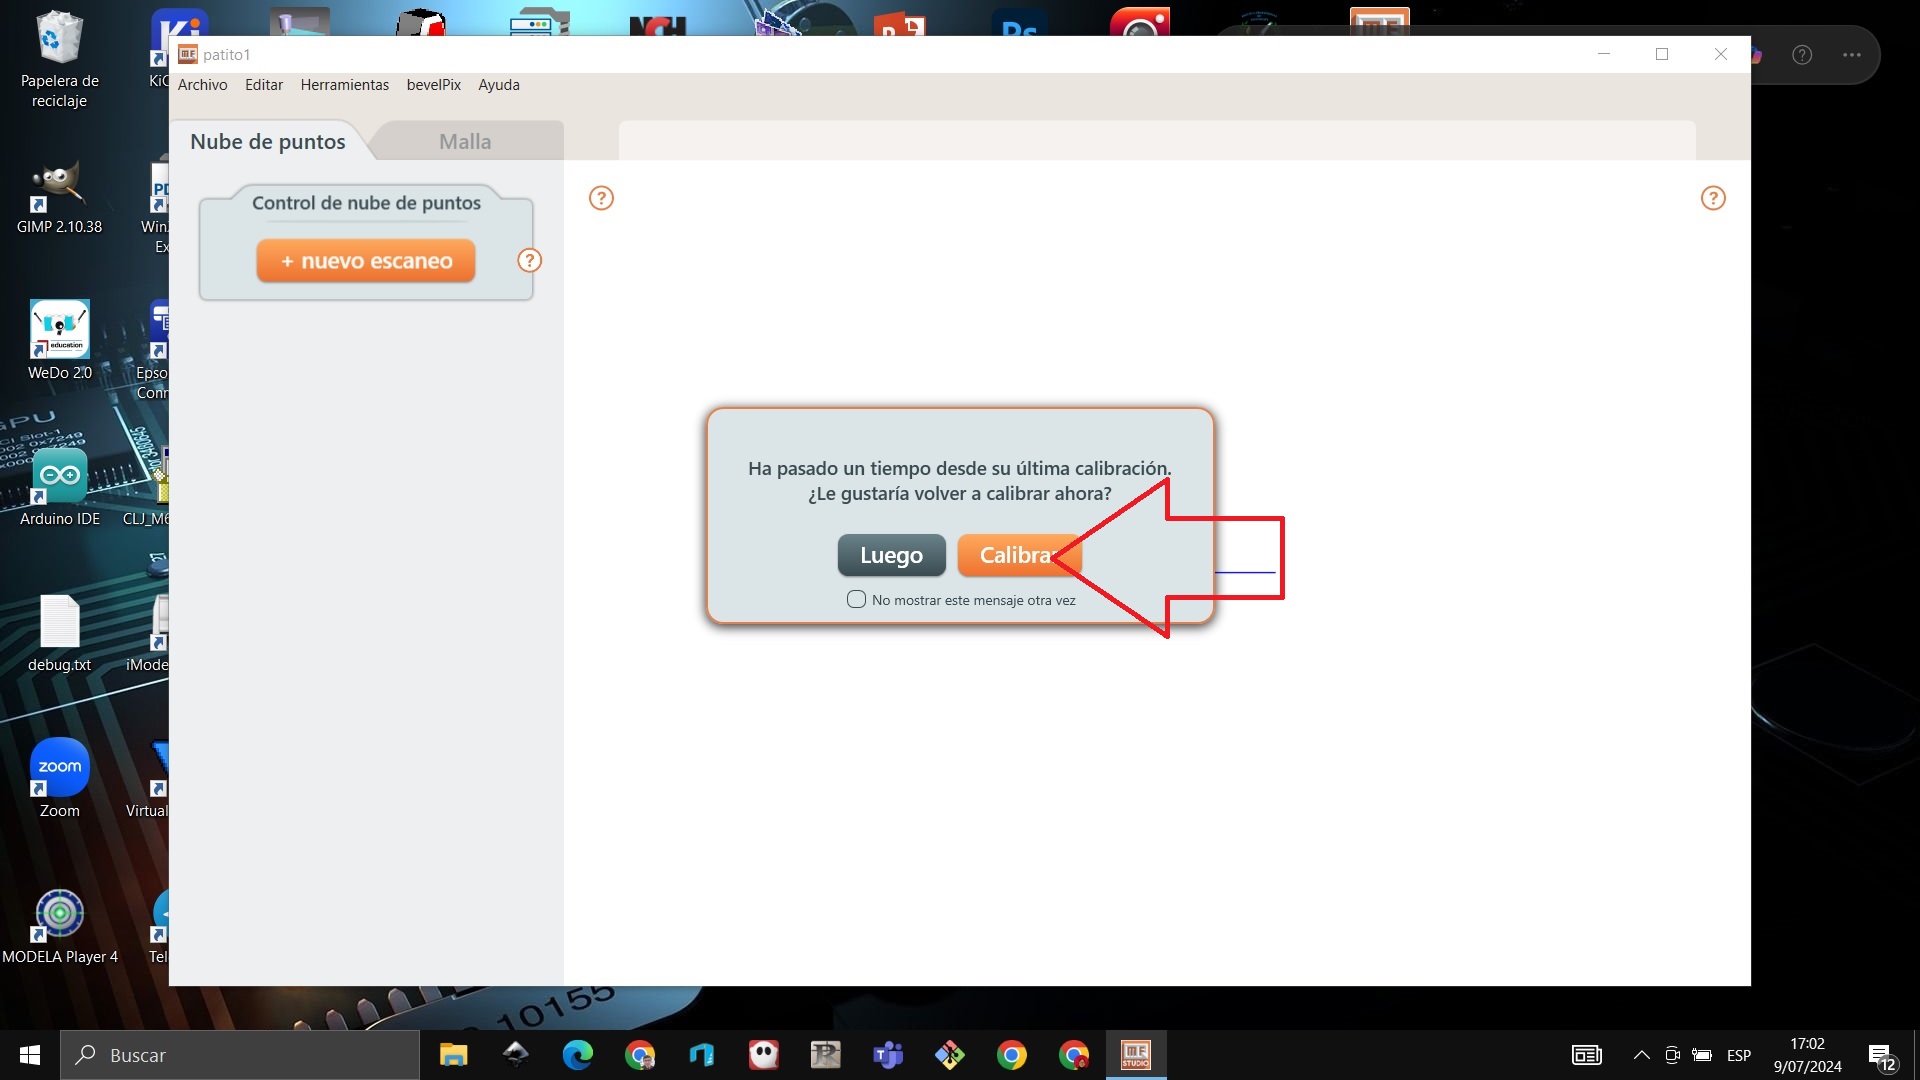
It asks us to calibrate so that the scanner works well
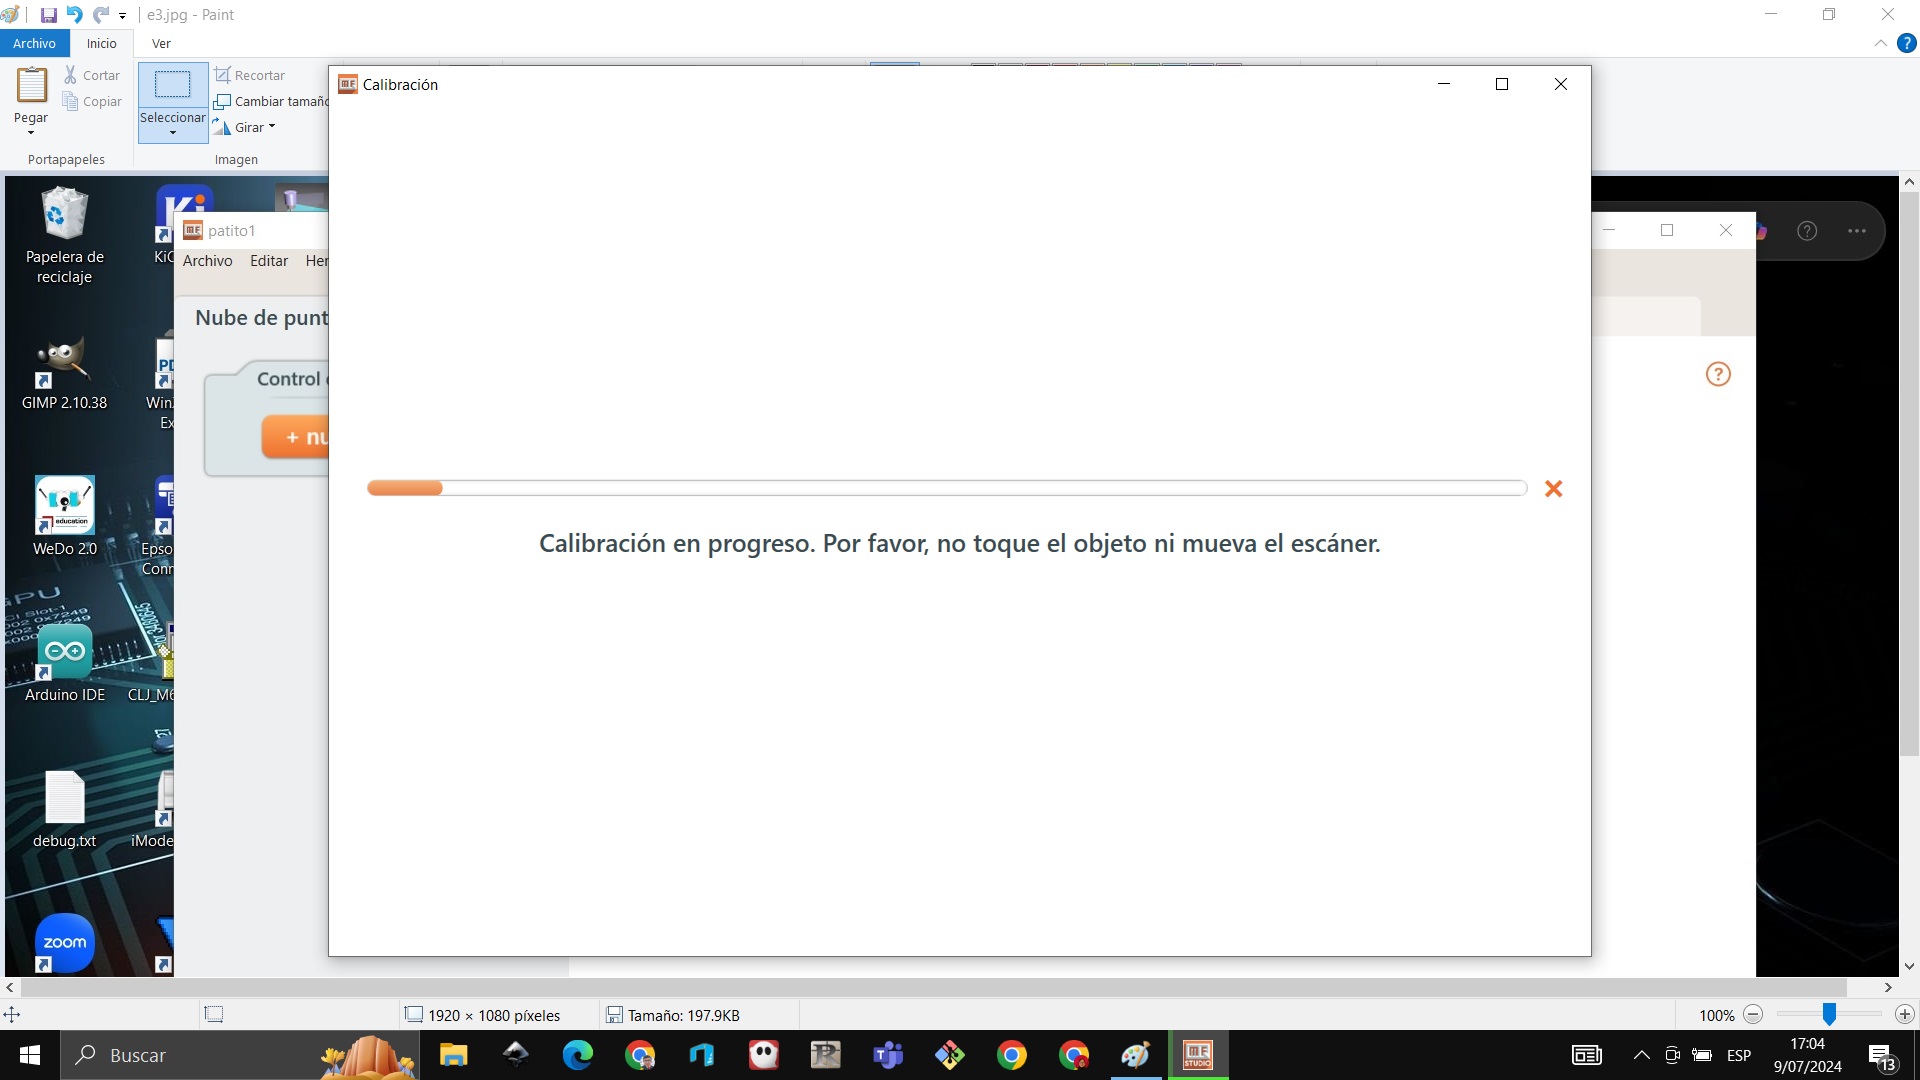
It is processing the calibration, we wait a few minutes
We verify that it is ready to scan
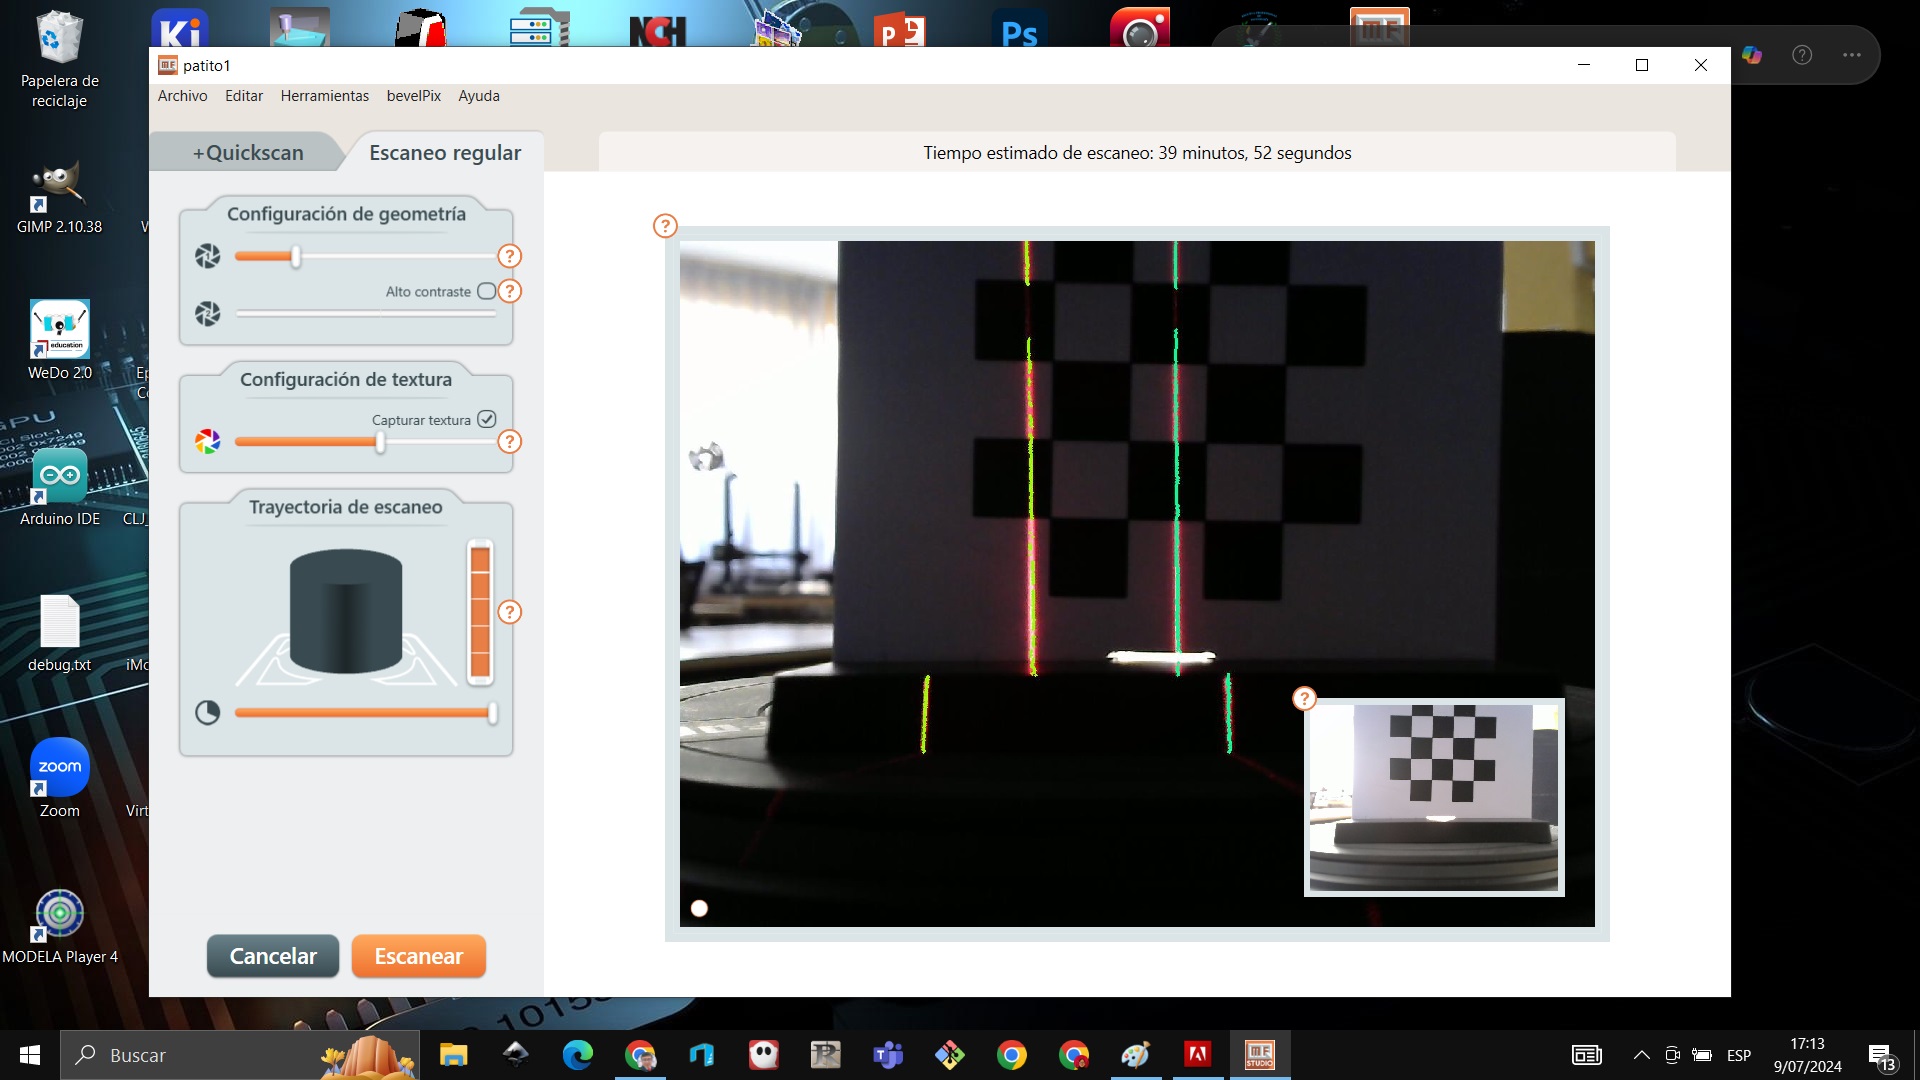
We locate the object for scanning and place it in the center of the scanner and click on scan
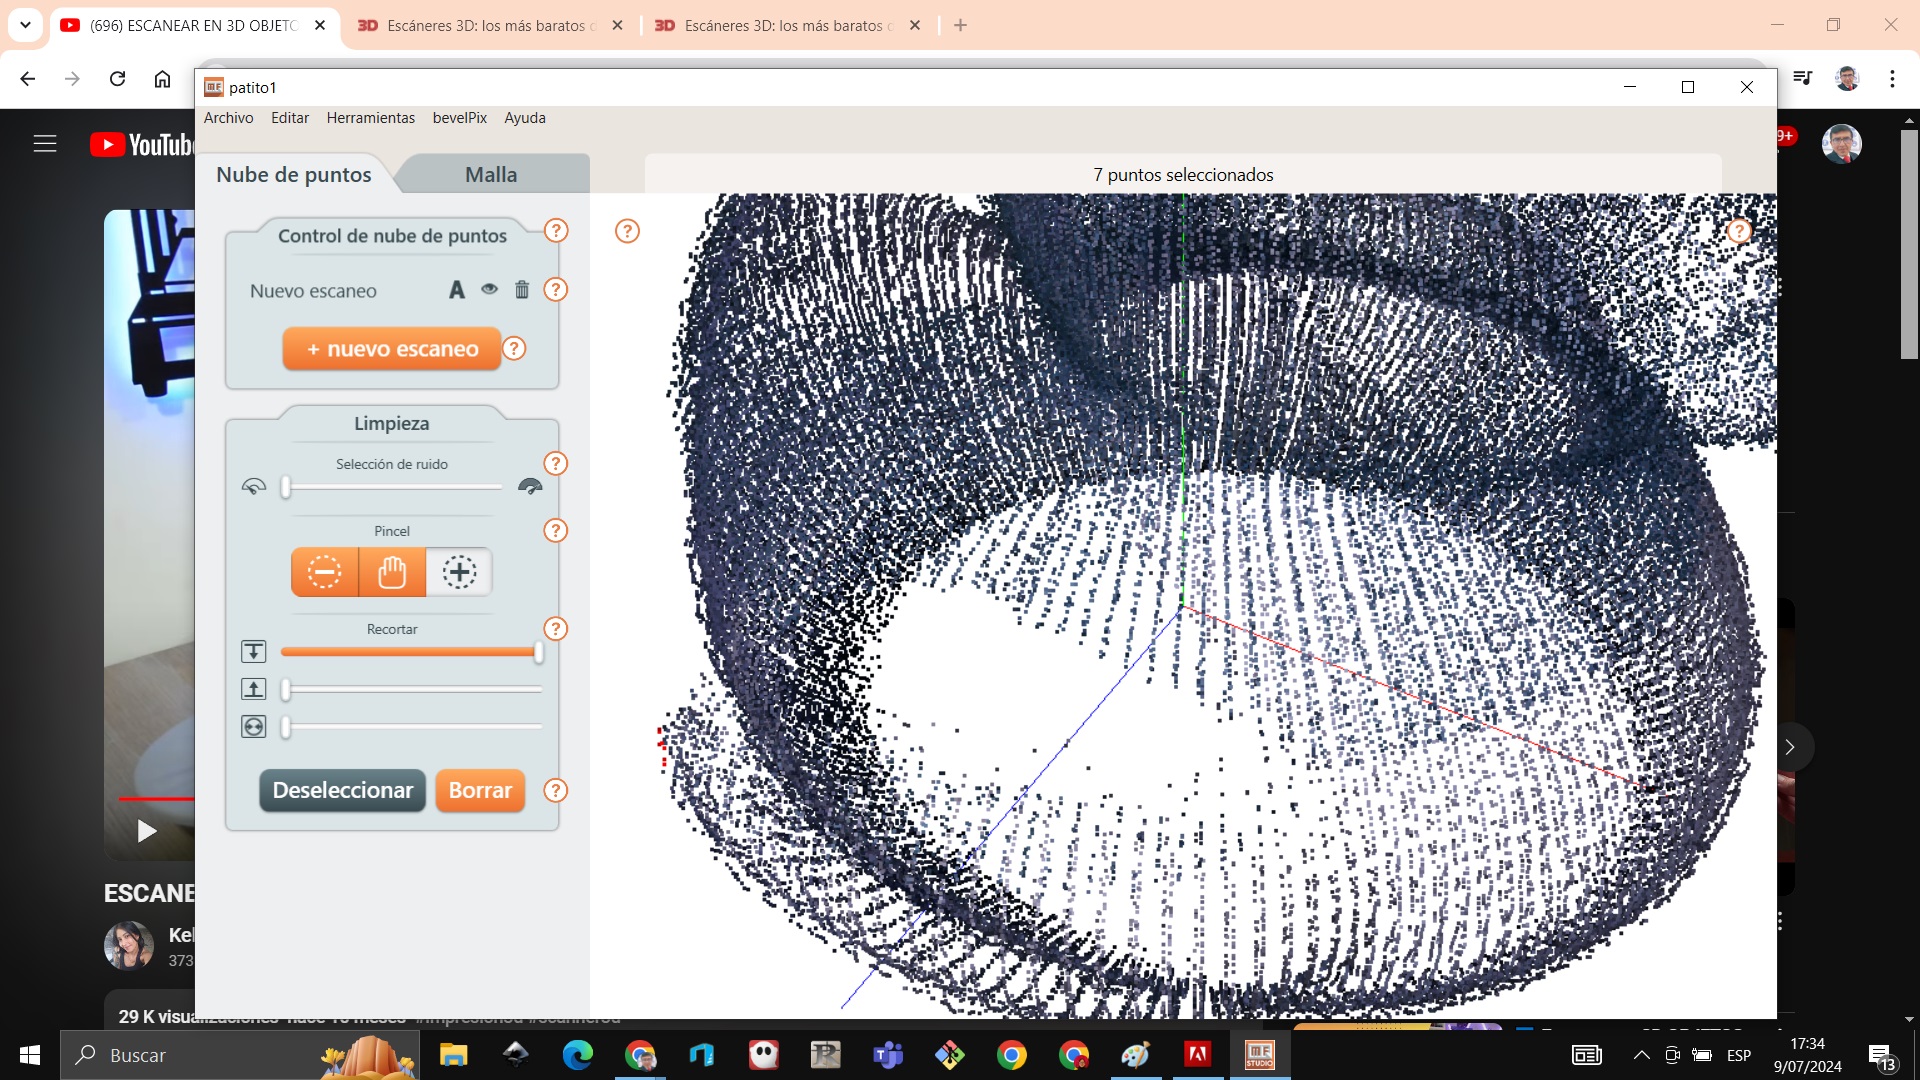
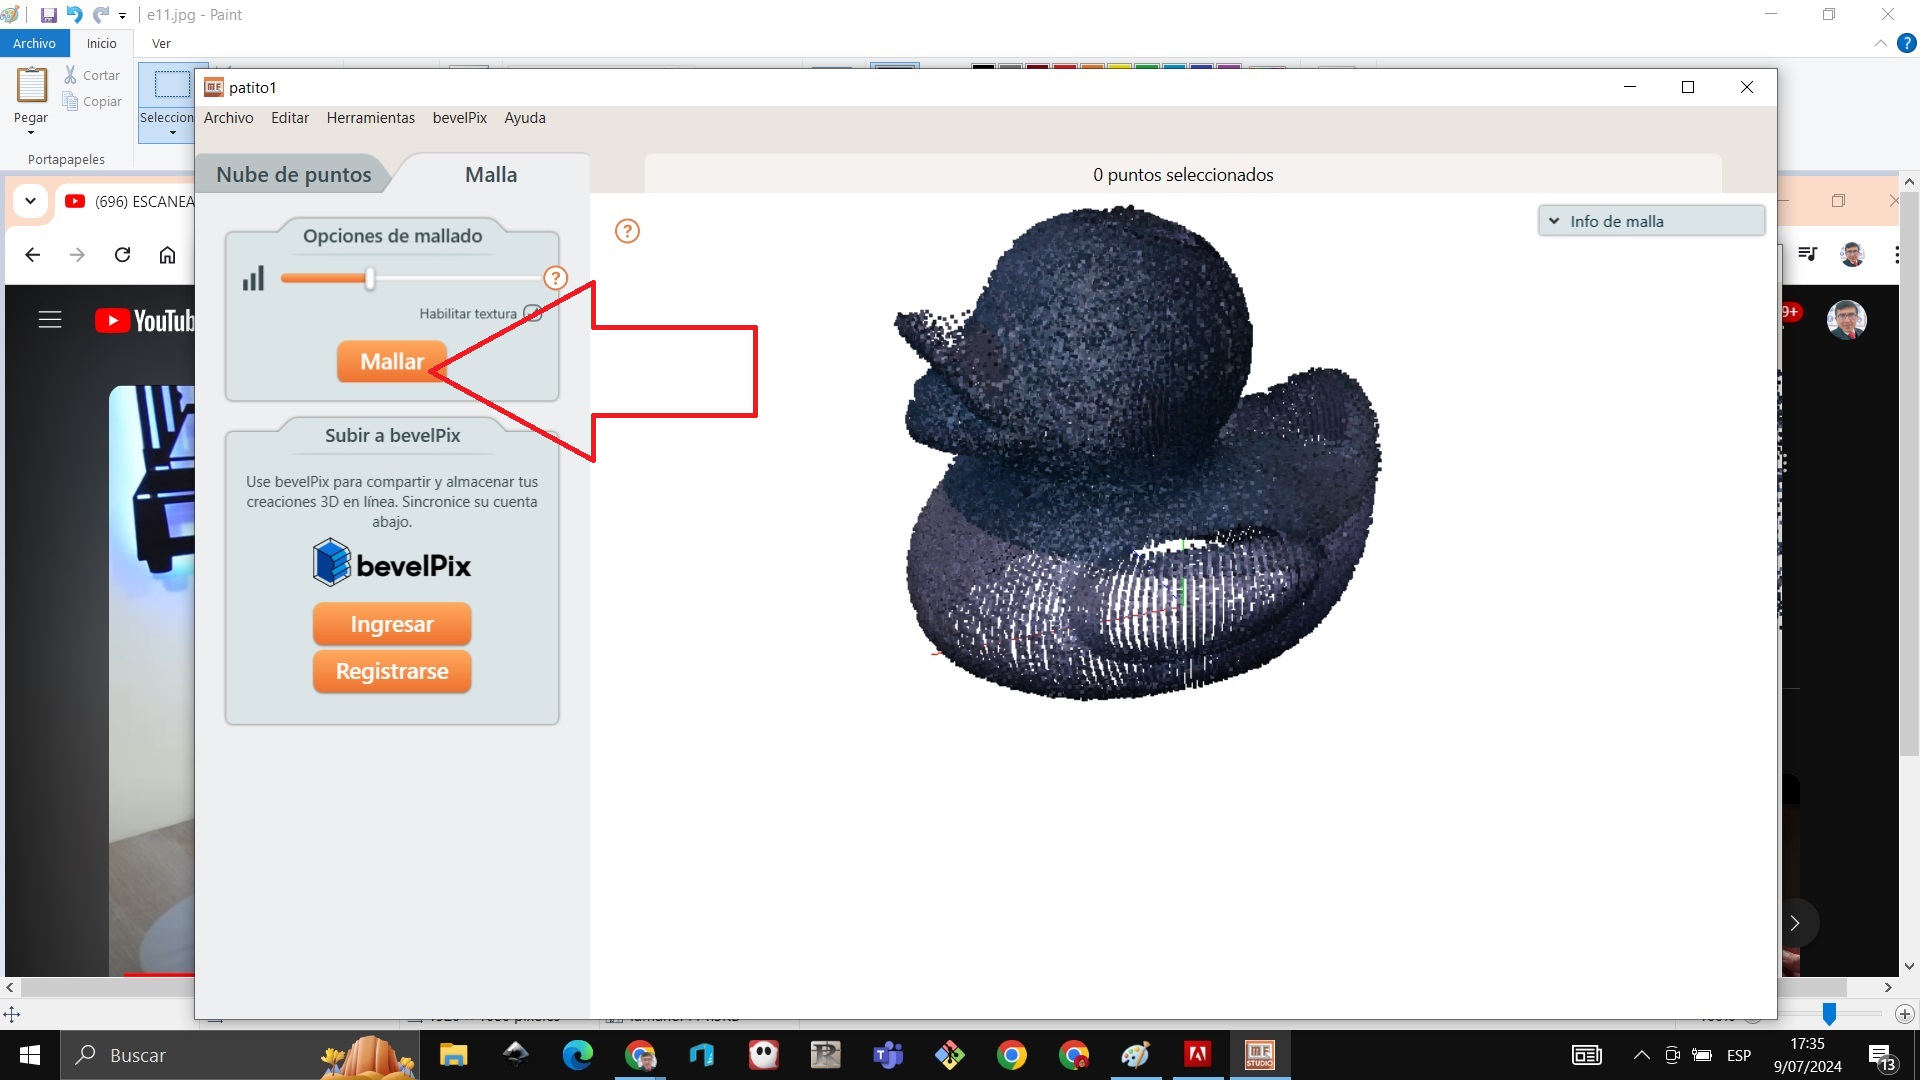
We verify that when scanning it makes points
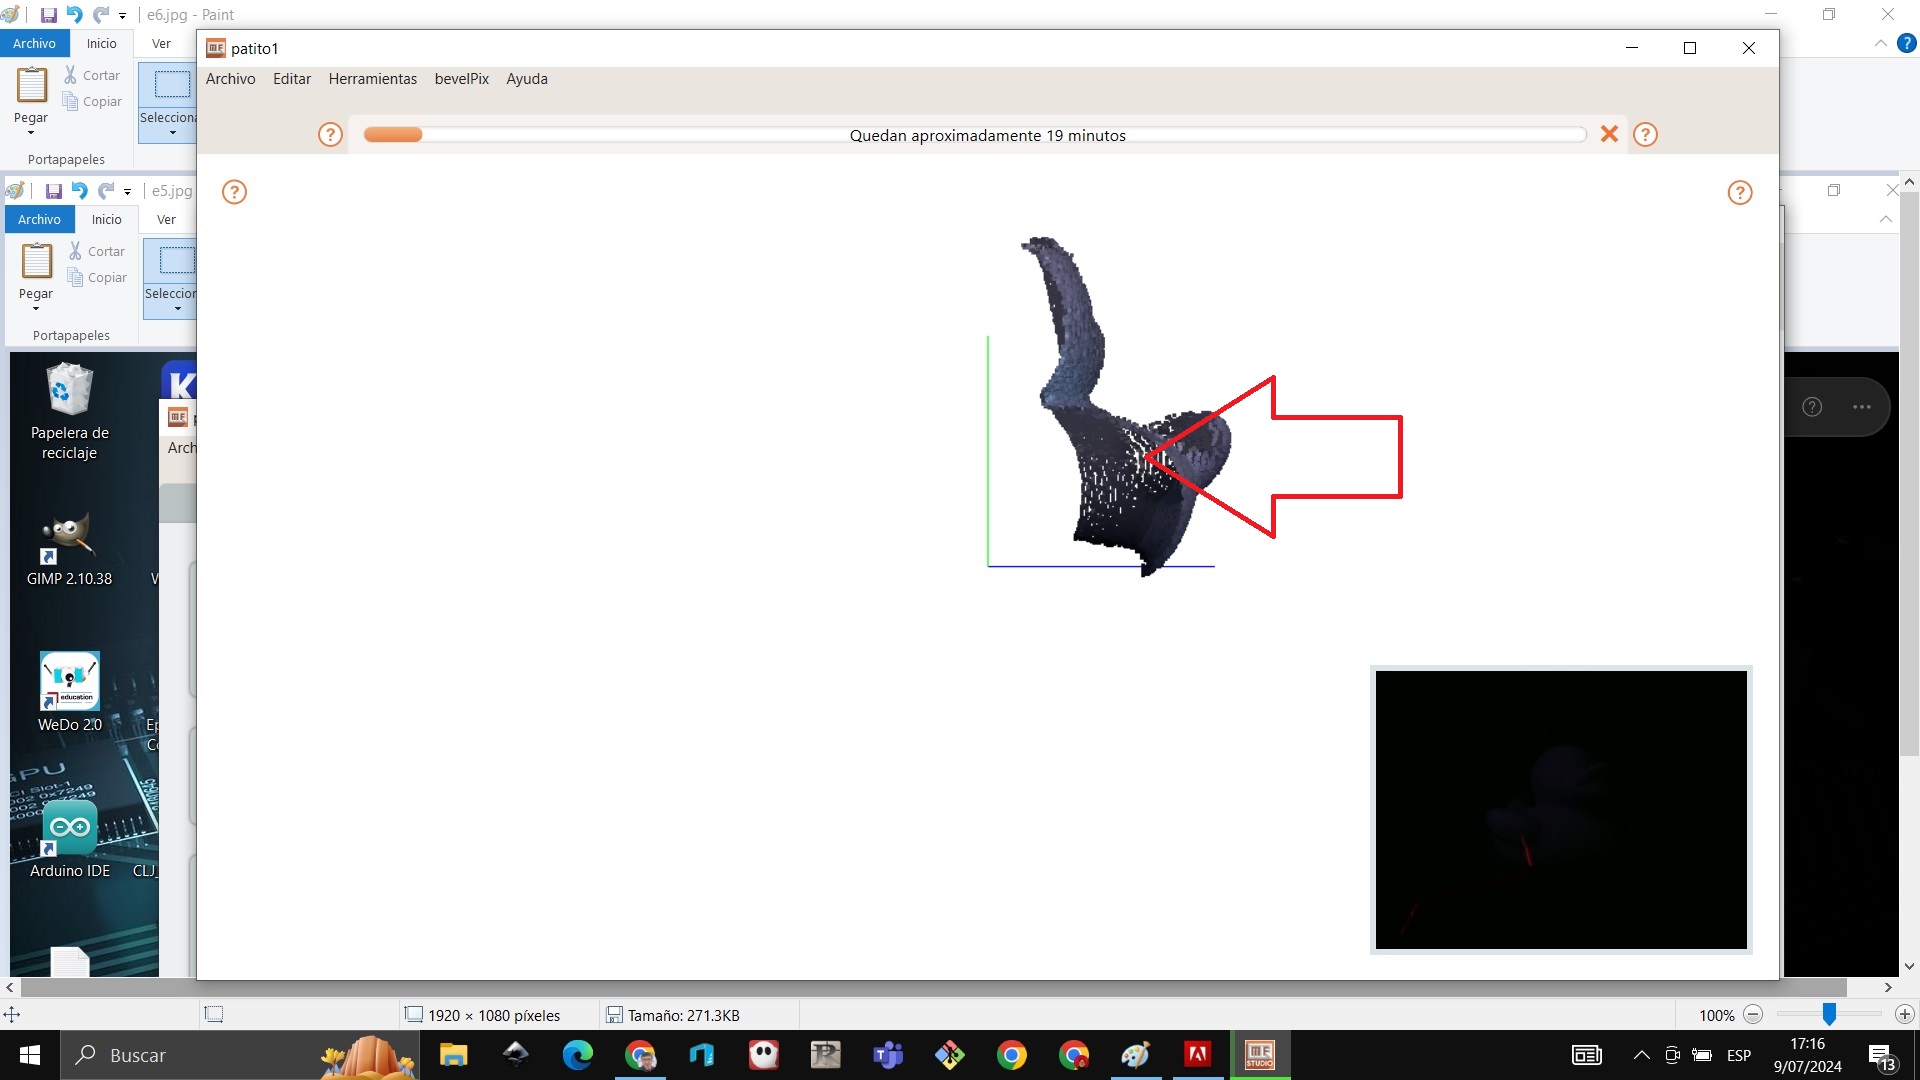
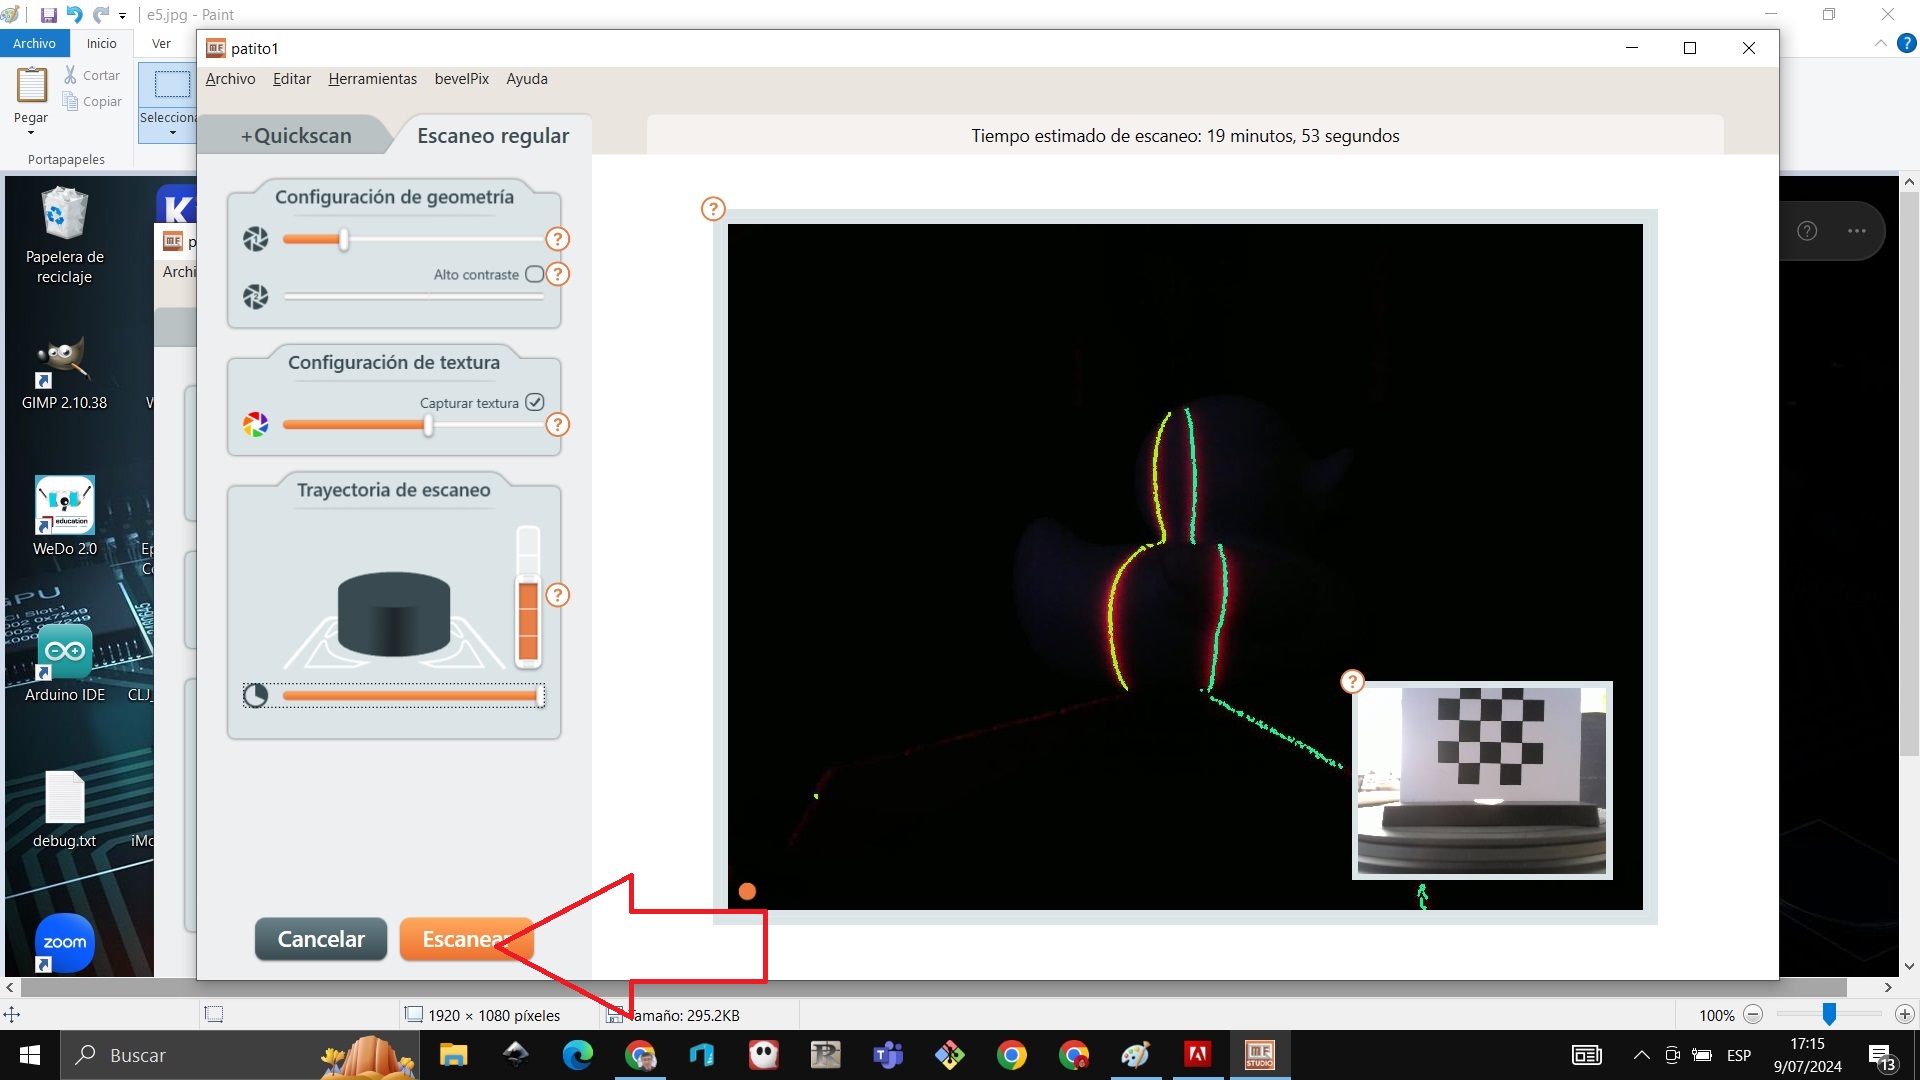
The shape of the duckling object emerges
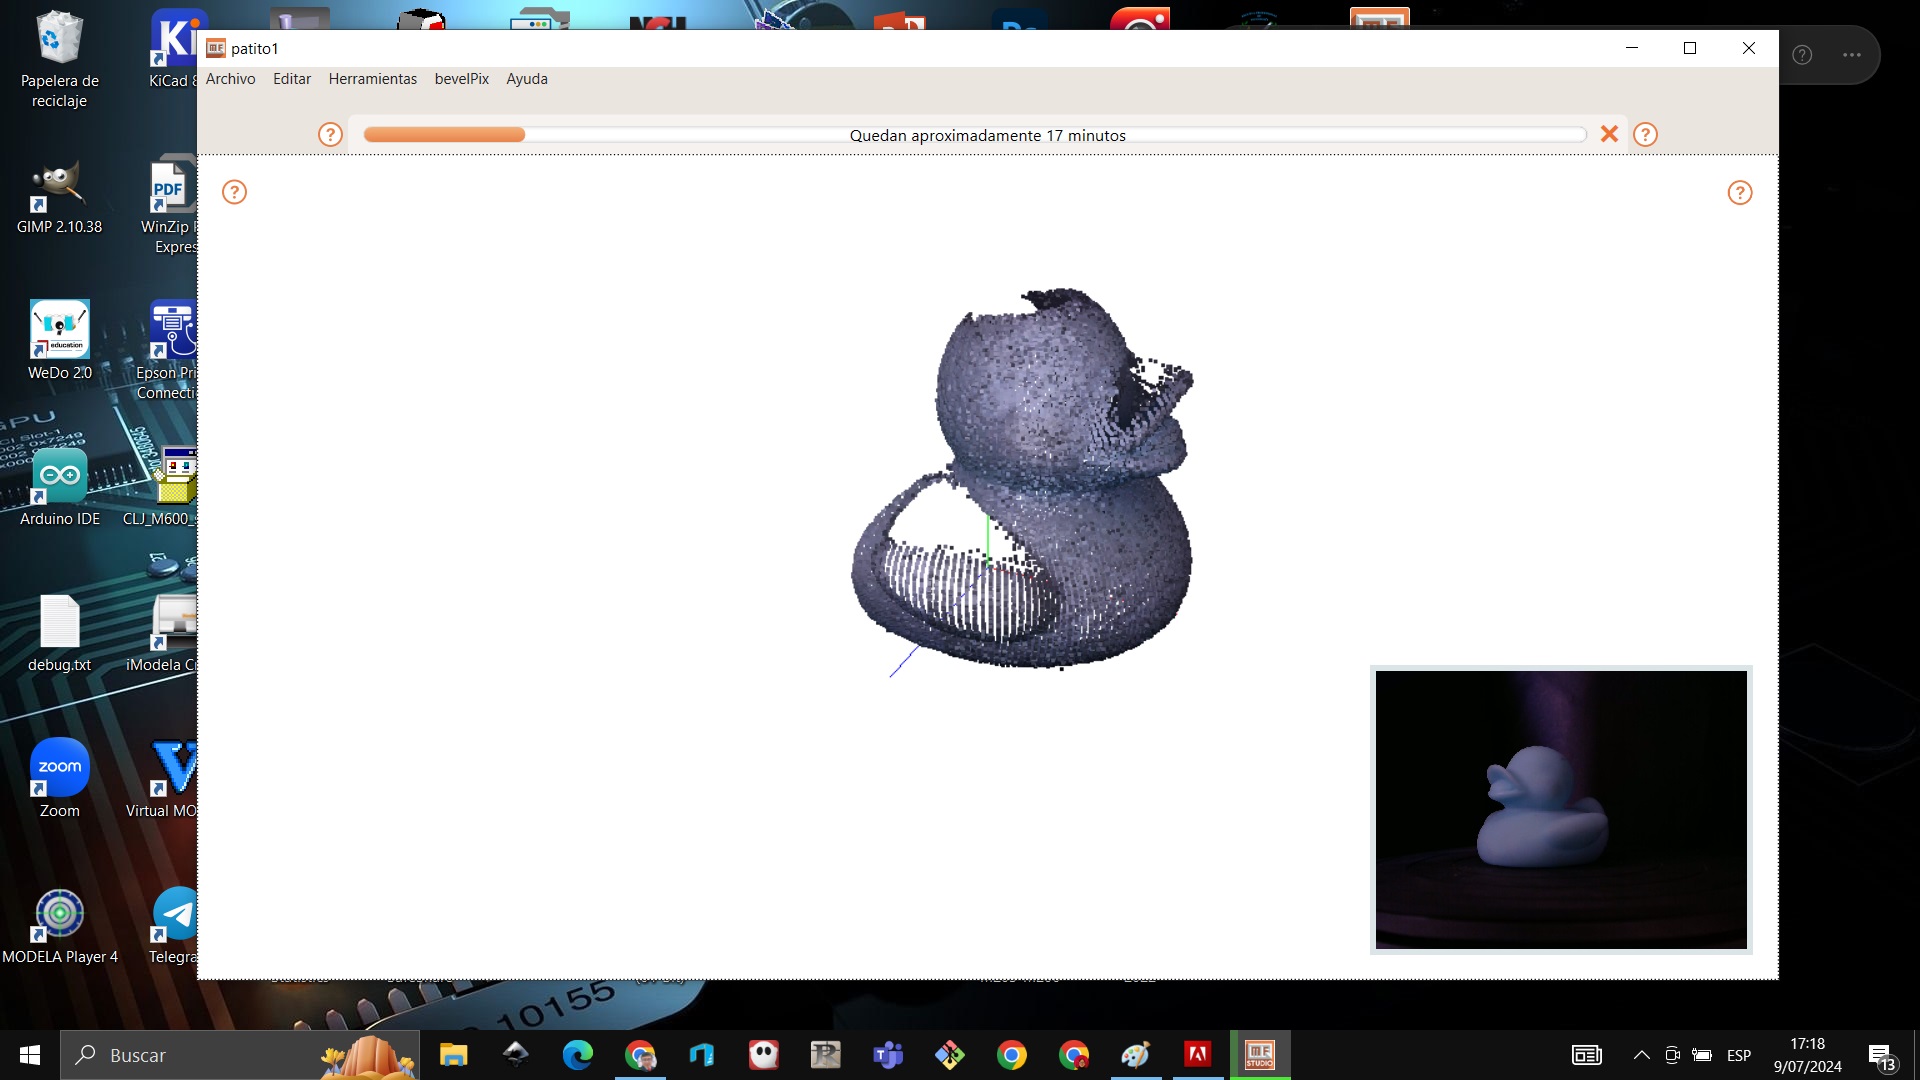
We can rotate the object and we see that the scan is completing
We observe the rain of points that formed the object
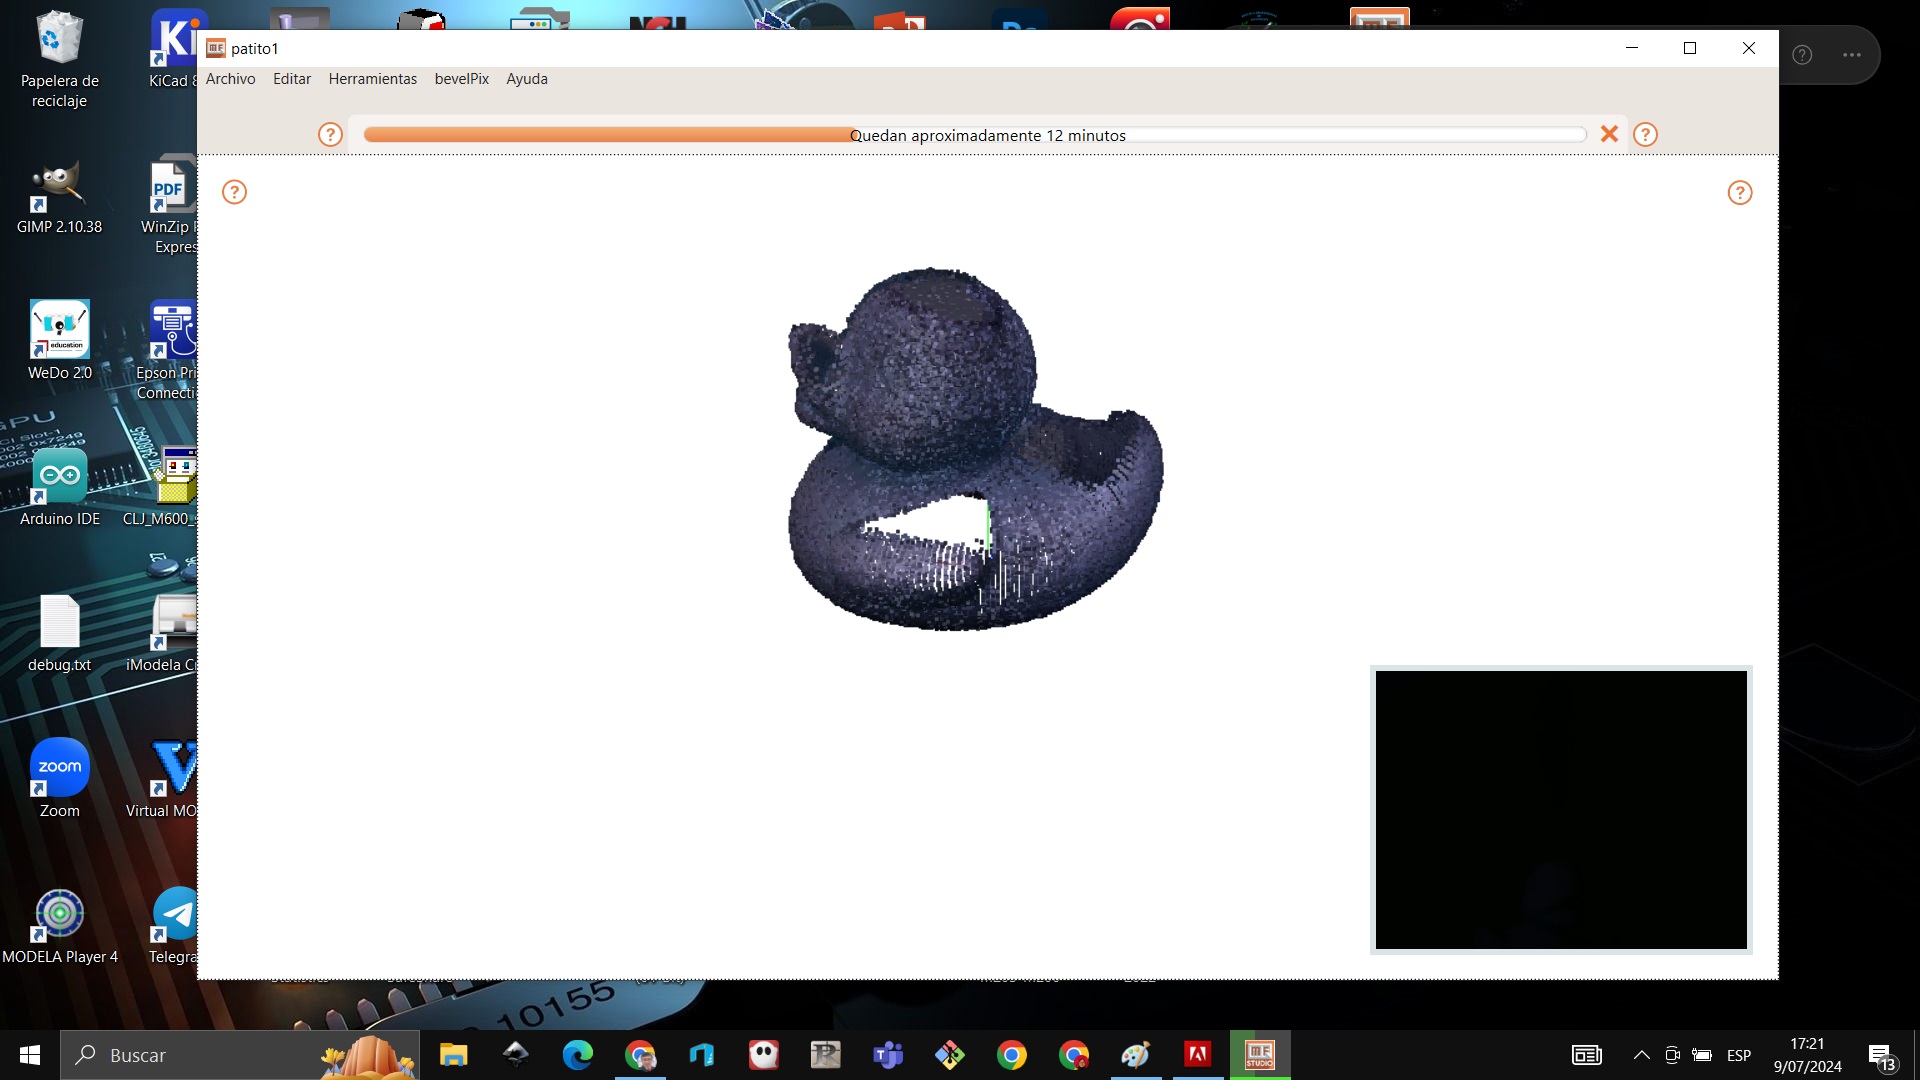
I finished scanning, the hollow spaces came out like this since the scanner did not reach those blind spaces so when meshing it will be solved
At the moment of hatching the object becomes solid
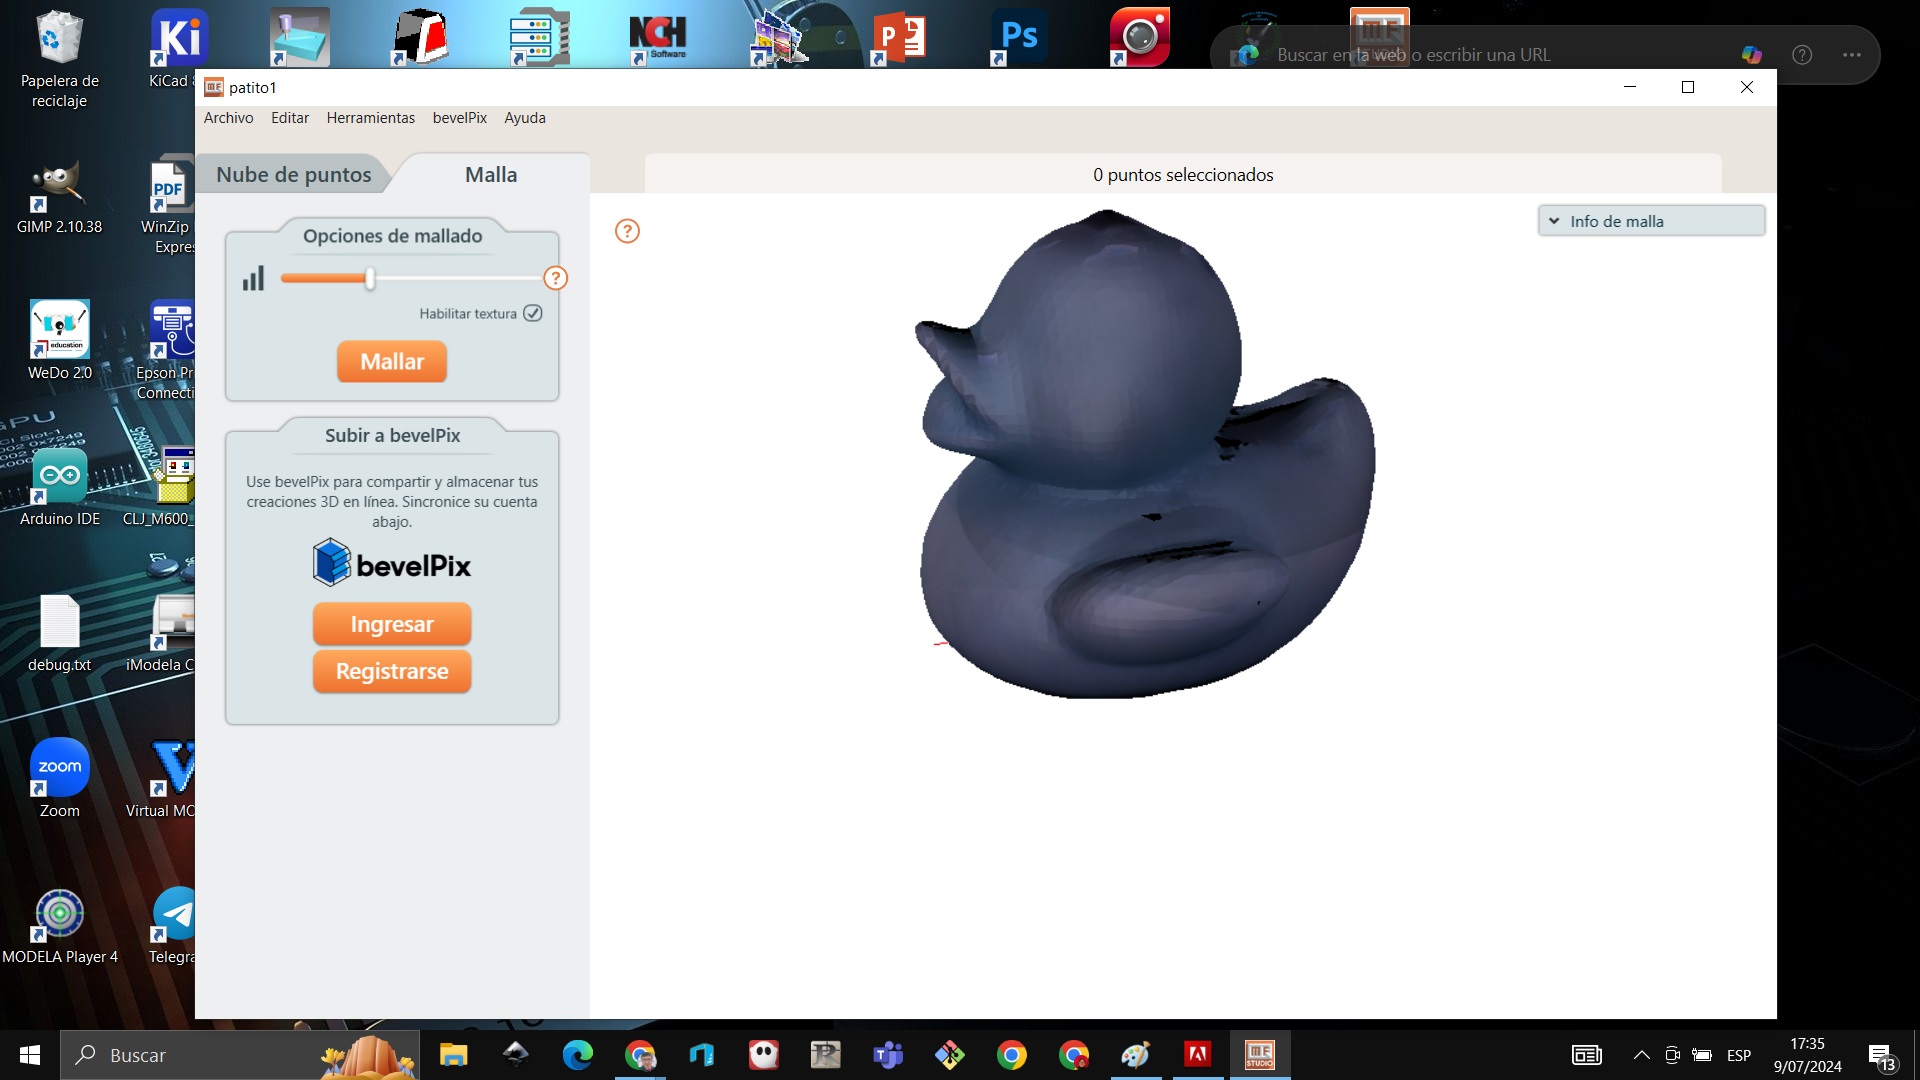
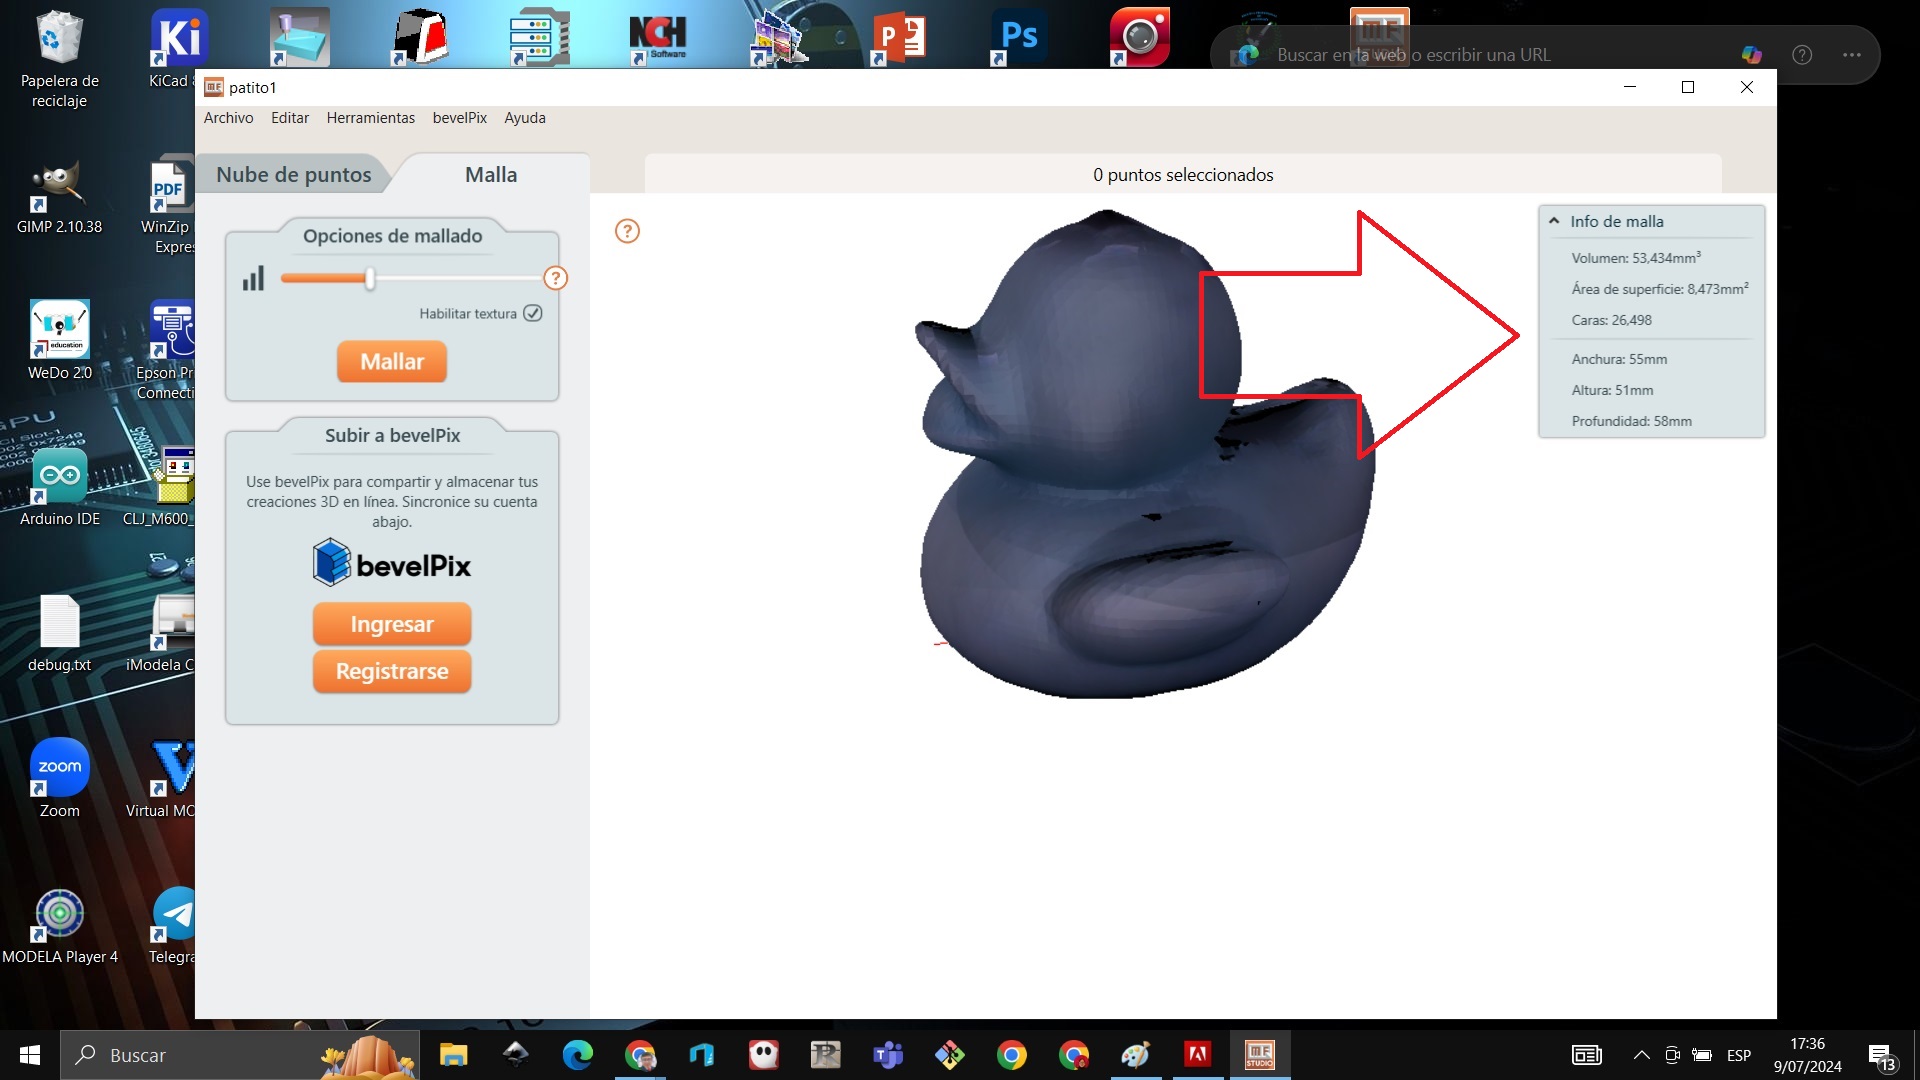
We can see that on the right side of the object we have the information about the object as well as the surface area volume of the faces.
We export the file
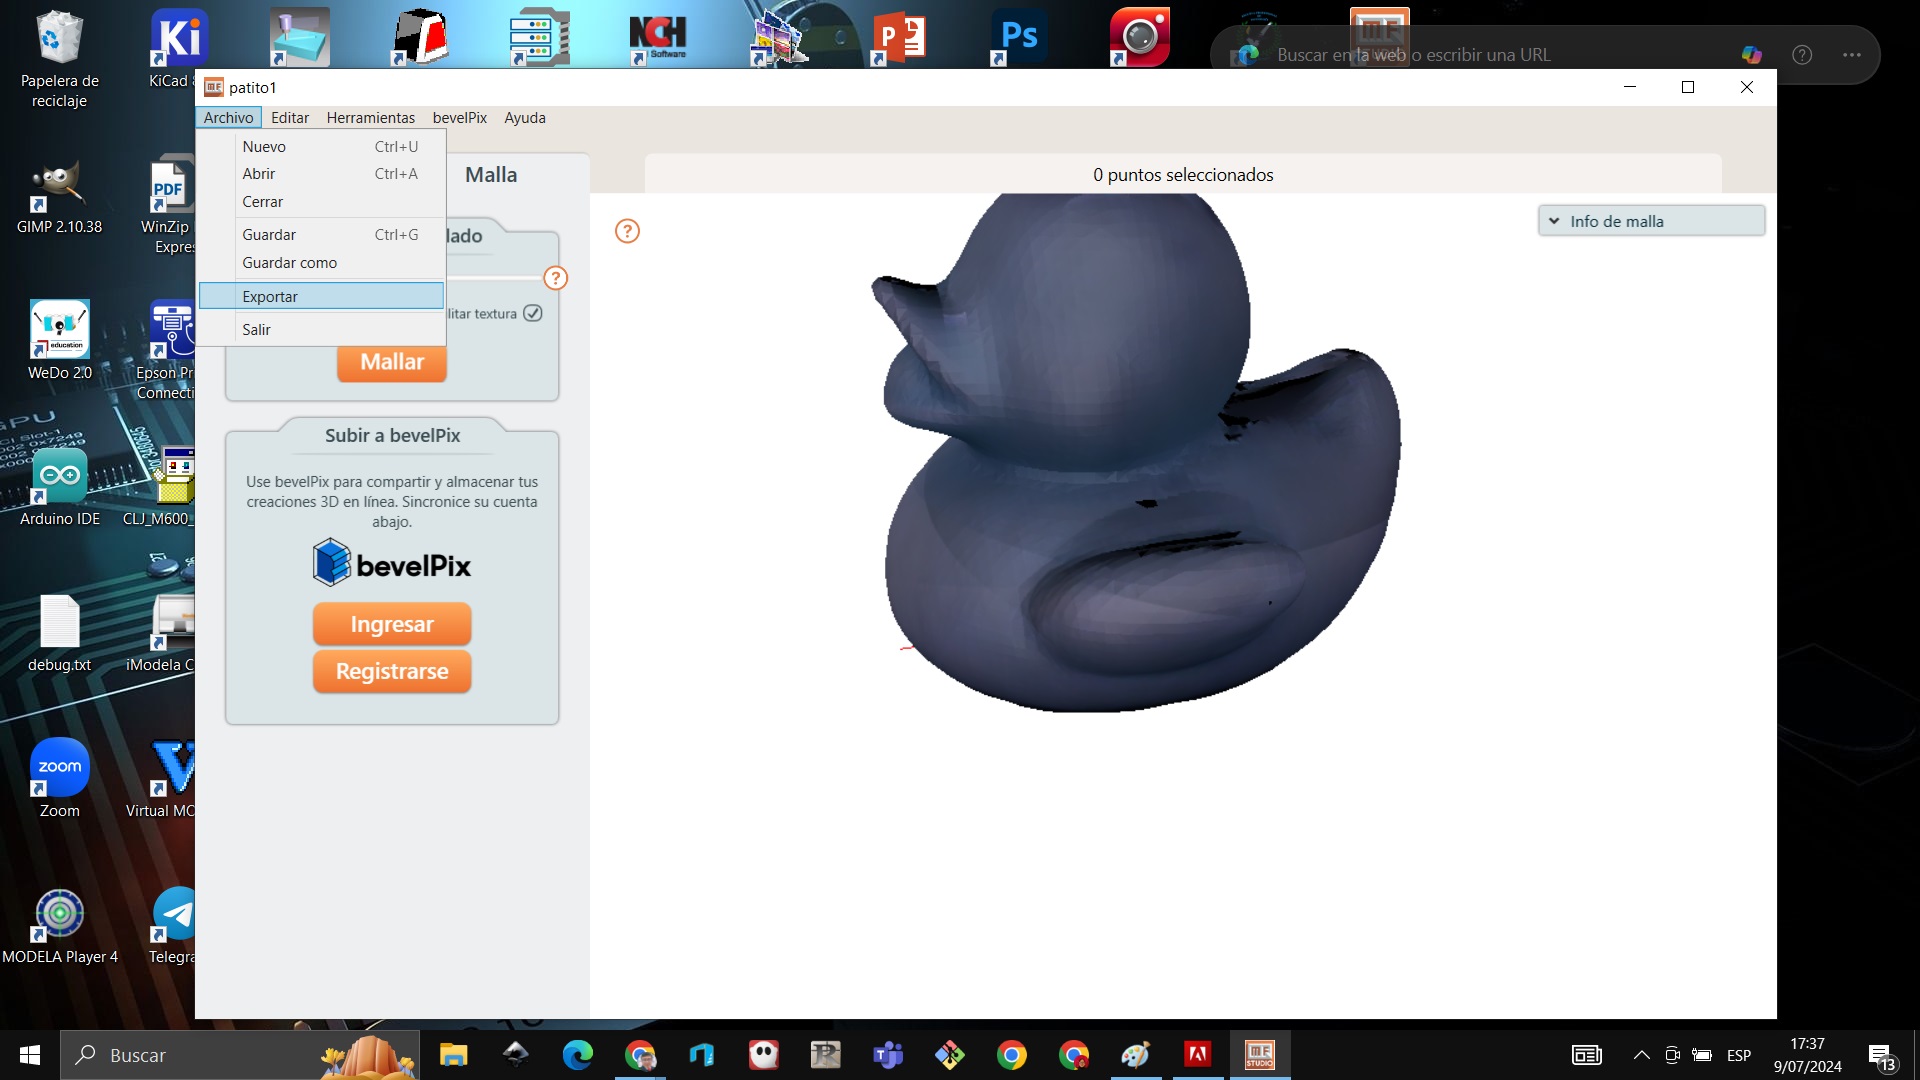
We export with the name duck_2024
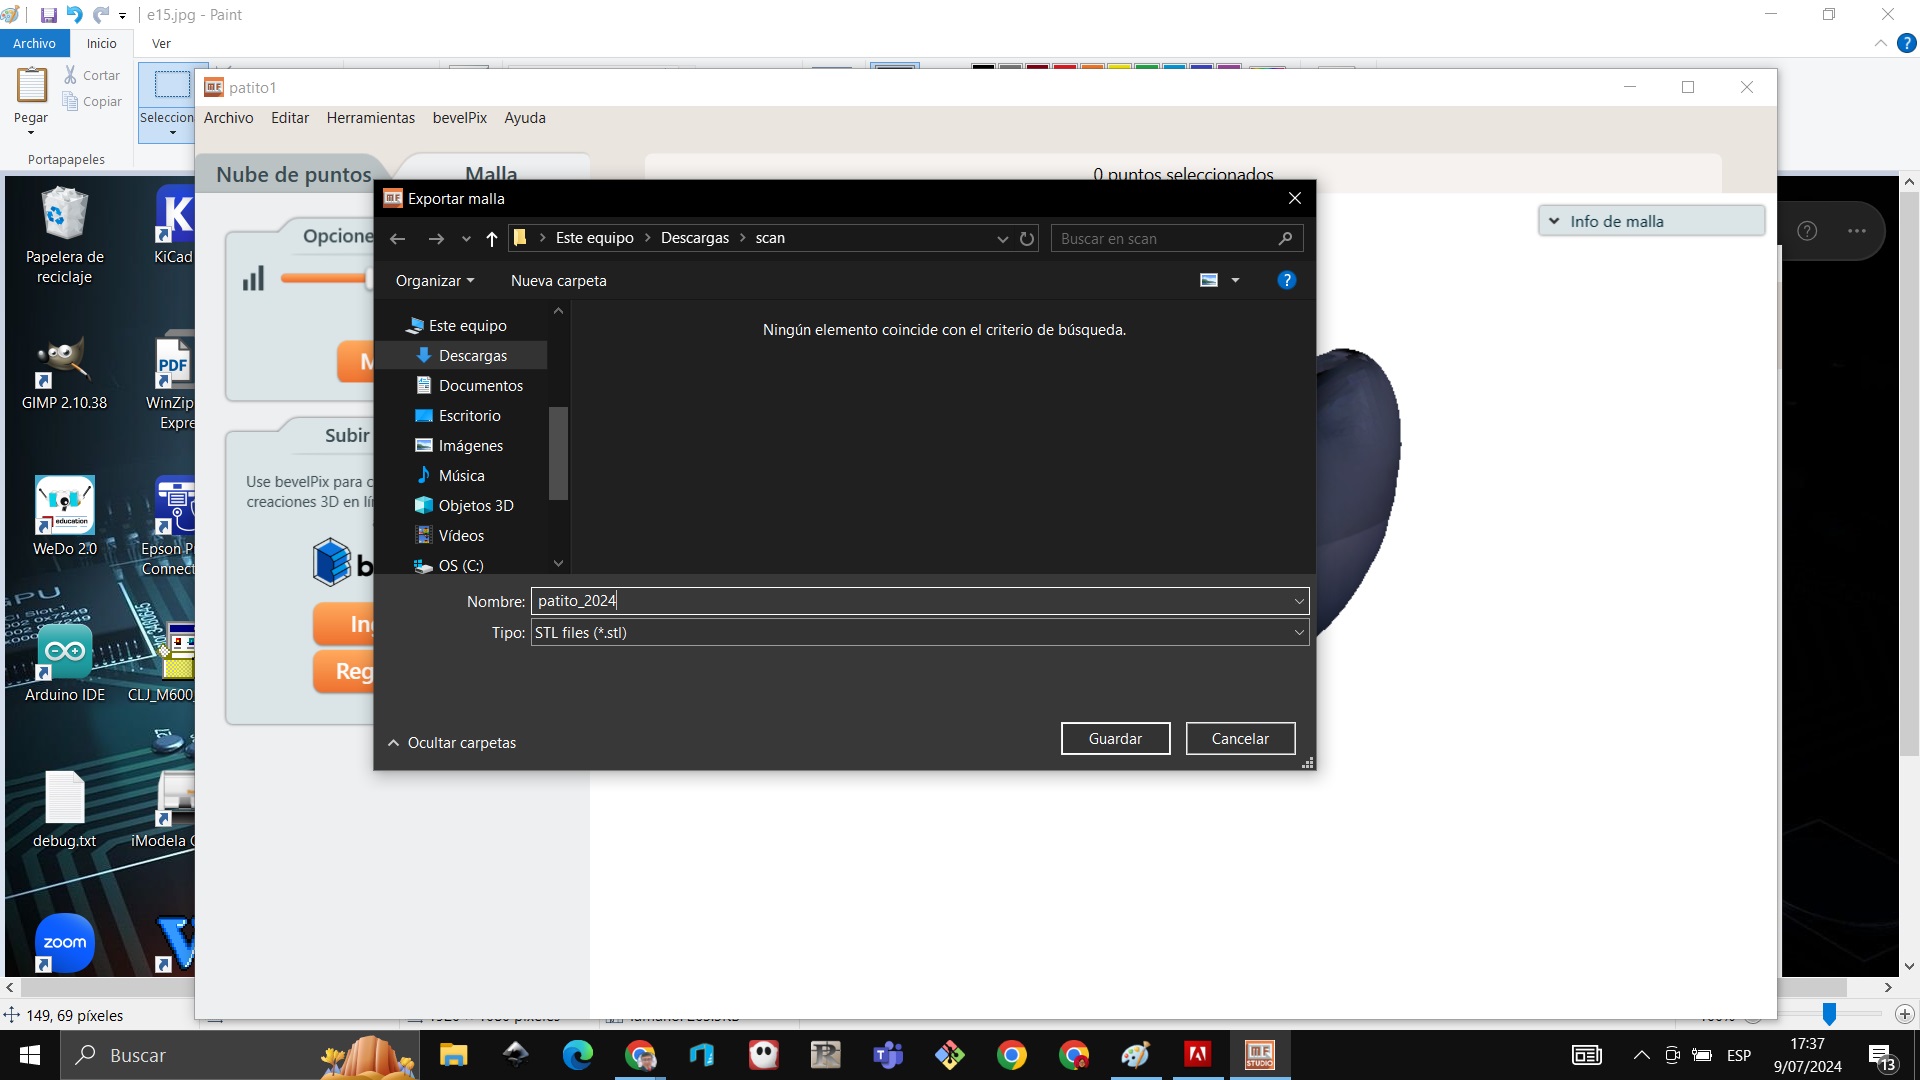
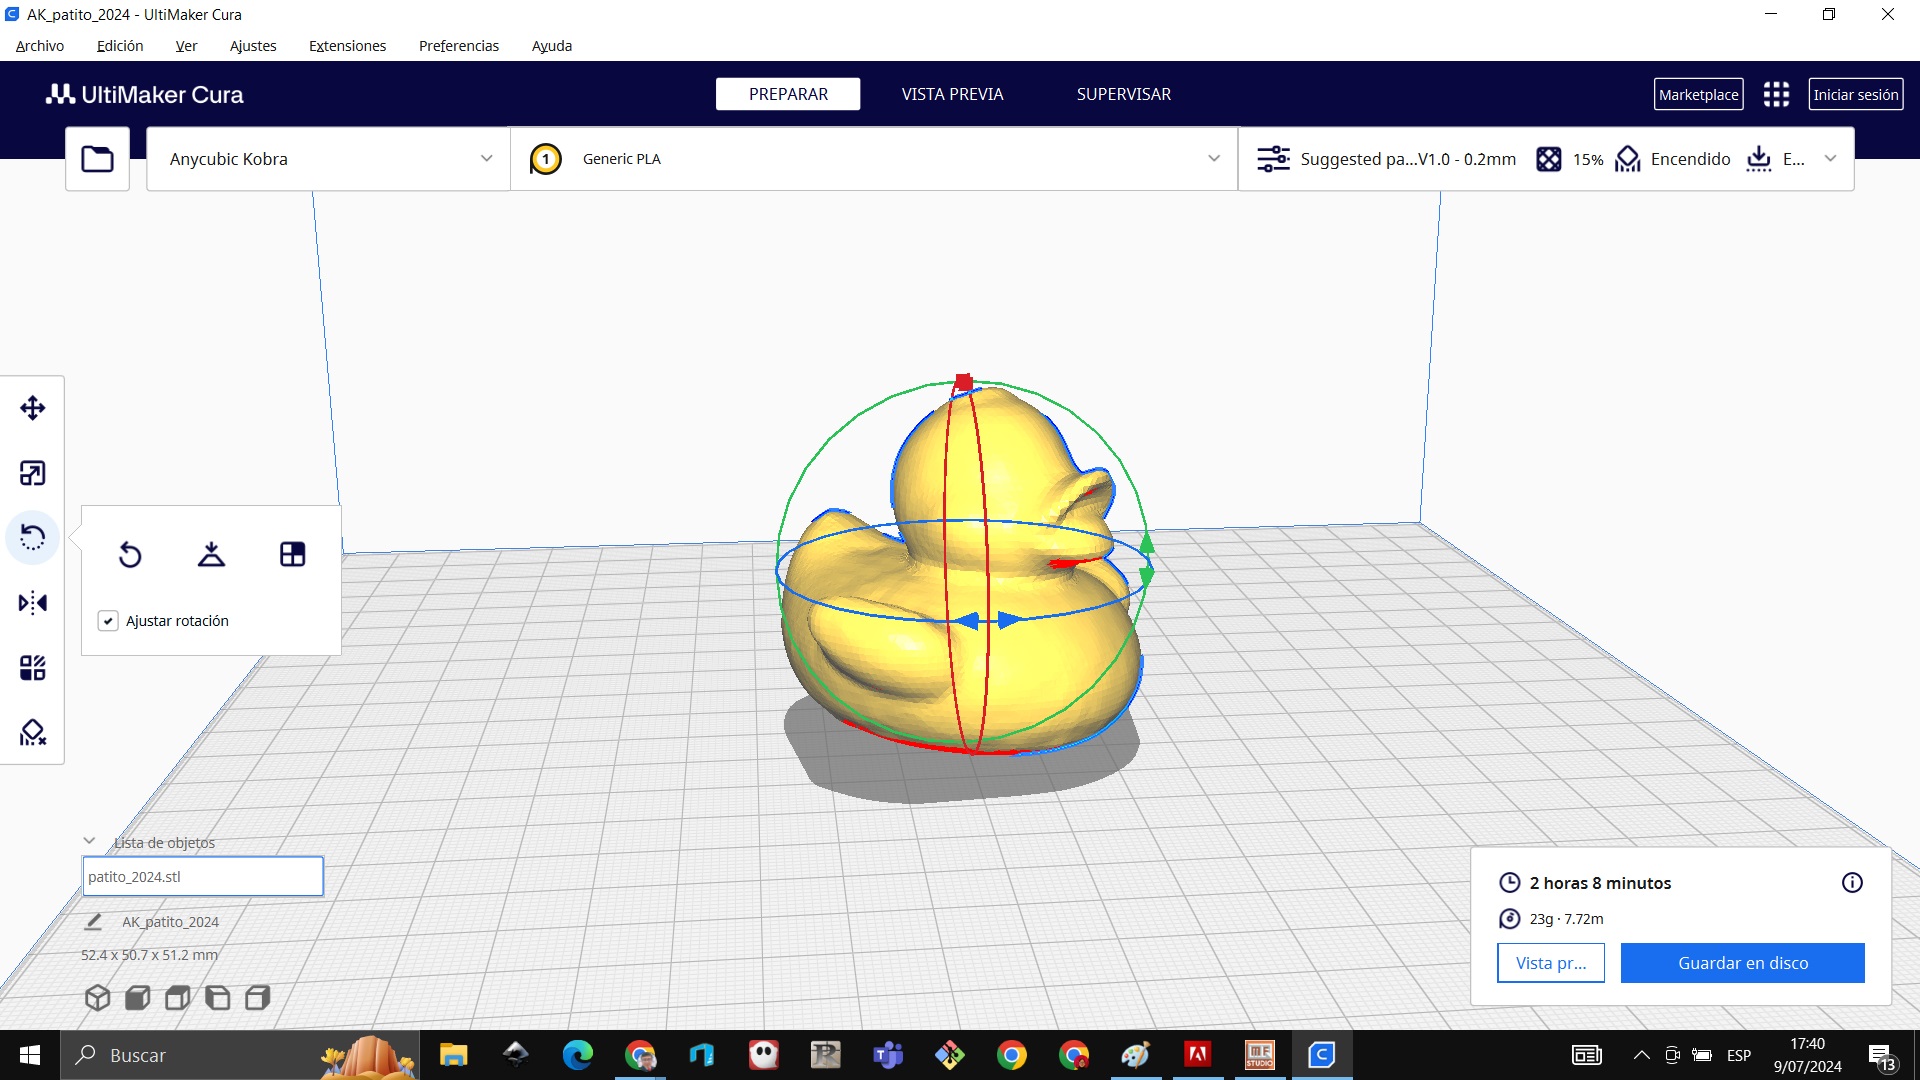
We open Ultimaker Cura and load the file

We place it in the middle and we get 2 hours and 8 minutes to print
CONCLUSIONS
Learned
I learned how to use the 3D printer, calibrating the axes. I learned how to place the PLA filament I learned how to use the Ultimaker Cura software I learned to scan small objects