3. Computer Aided design
I learnt the basics of three common programs used for all kinds of prototyping.
This week’s work
I decided I would learn at least the basics of Autodesk Fusion 360, Inkscape and GIMP.
GIMP
Luckily GIMP was already installed in one of the computers at school, I didn’t have to worry about downloading it.
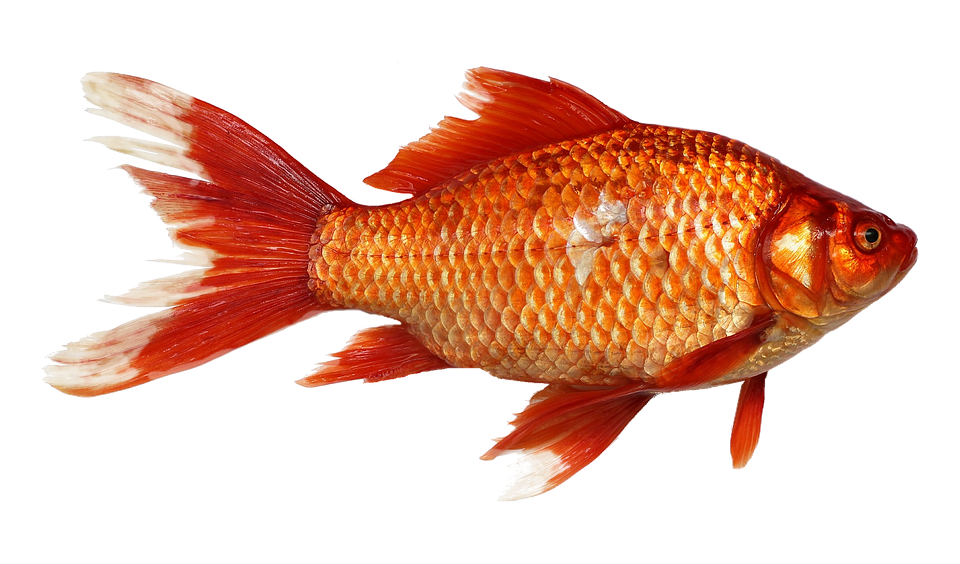
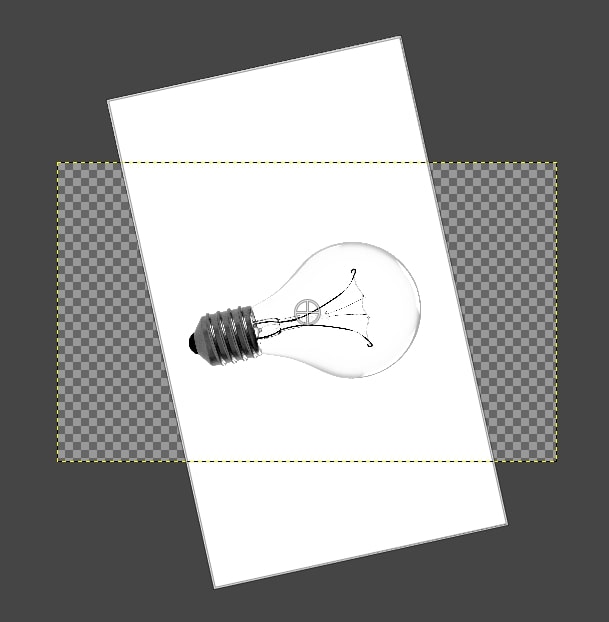
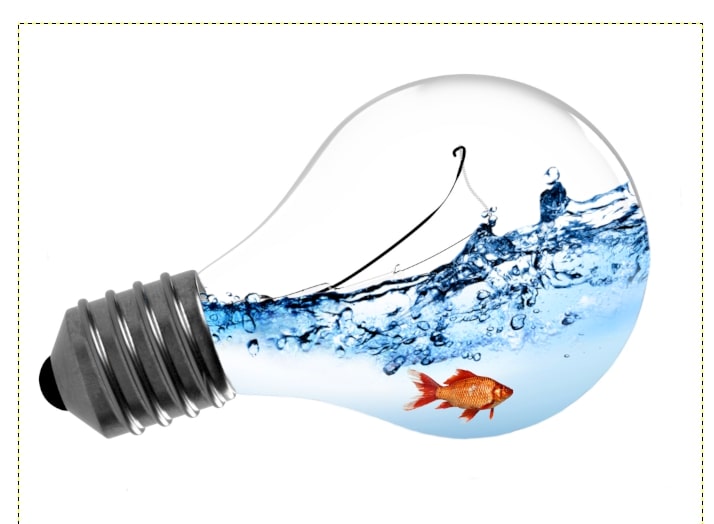
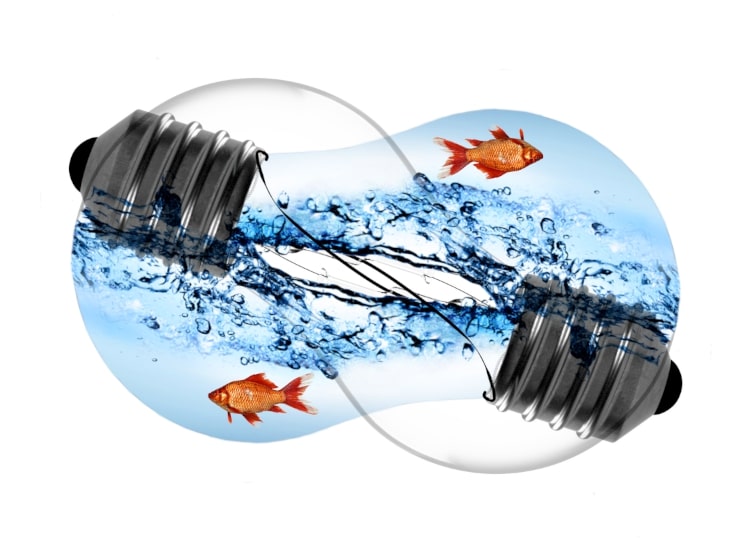
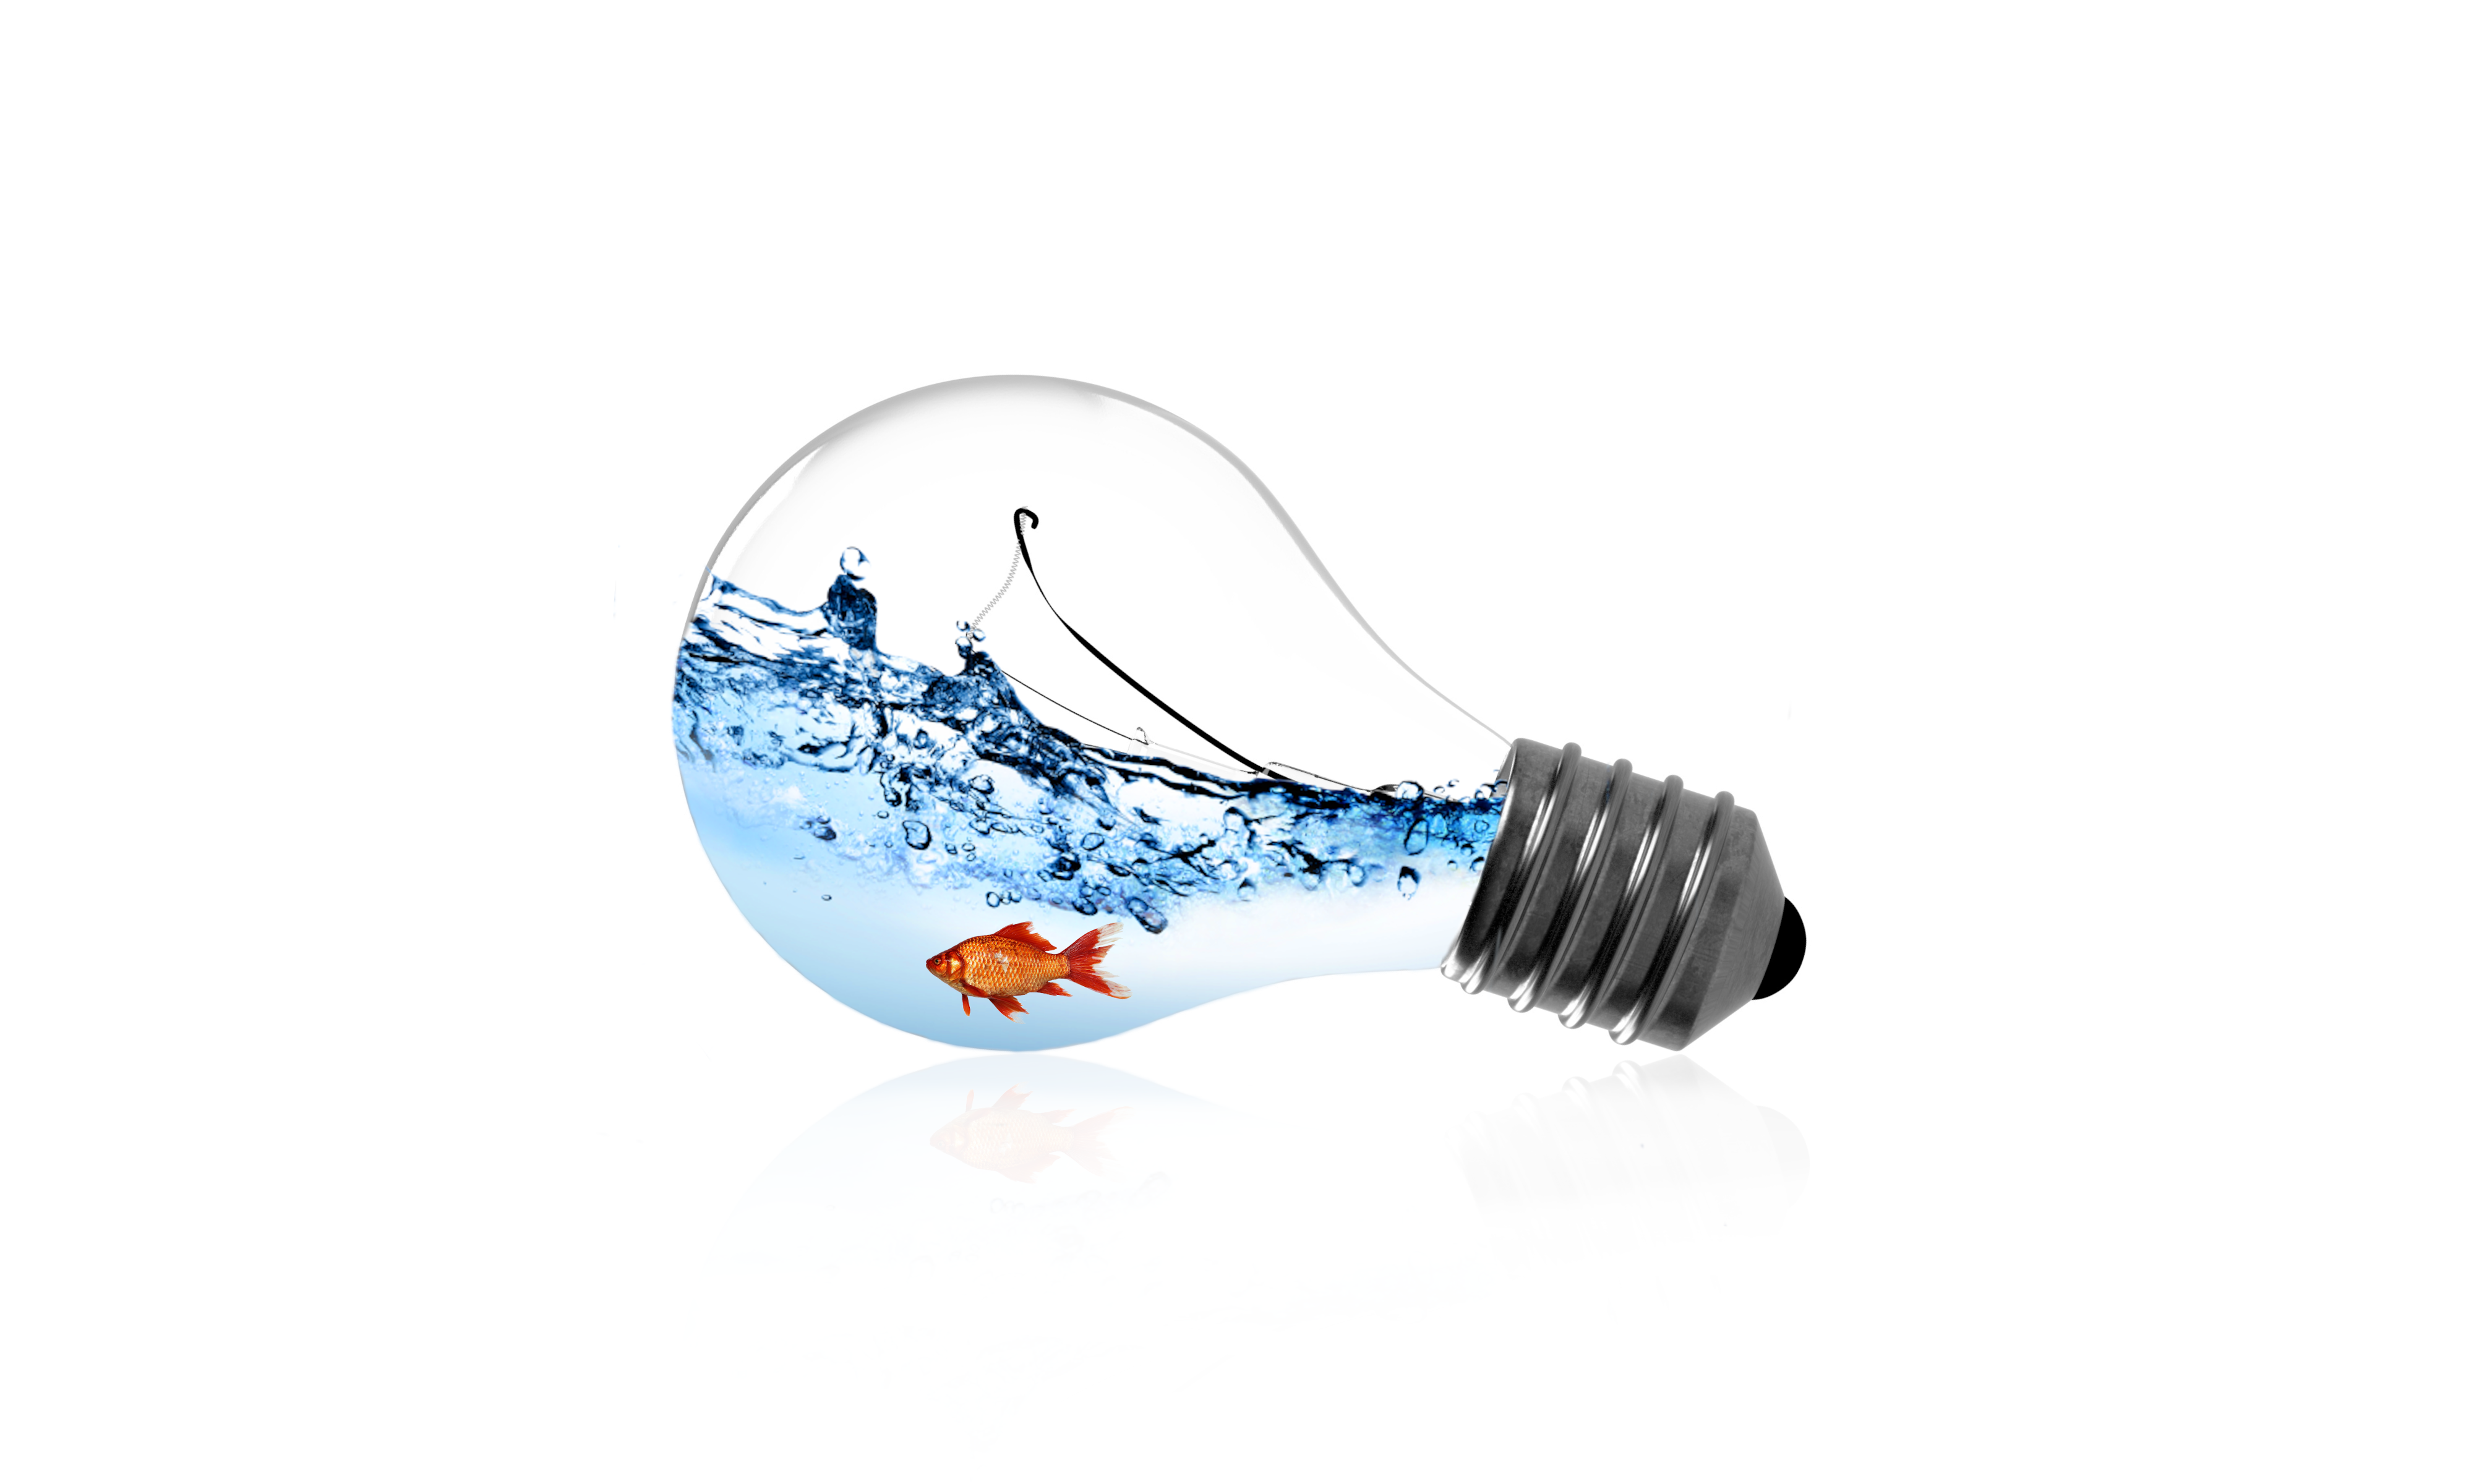
I decided I would make a sort of improvised aquarium, which would consist on a fish swimming in a light bulb, I needed to find images for each of the elements in the image.
A fish
** A Water**

A lightbulb

- I opened the image and rotated it
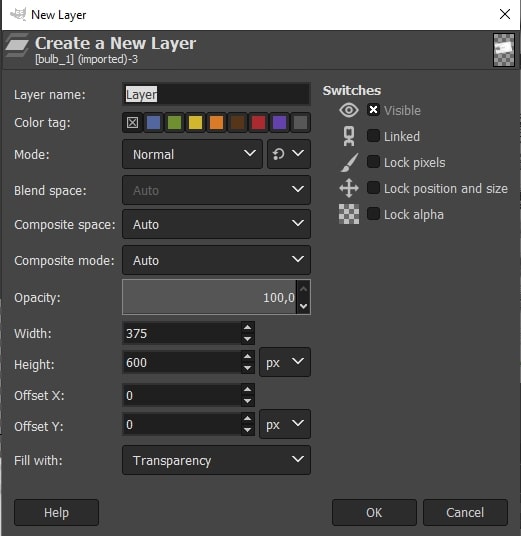
- A new layer had to be created to allow for another image on top.
-Then I opened the water image
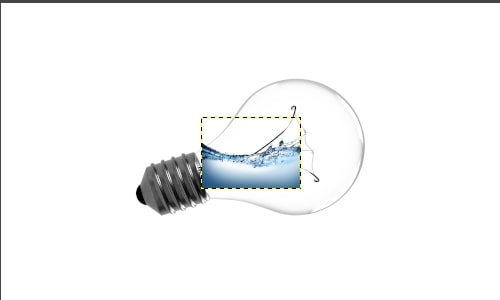
- You can see both layers in the menu. They can be combined using the flatten tool.

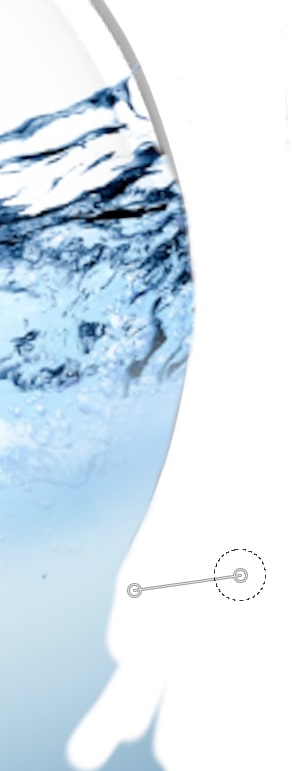
- Then a **mask** was added, in our case it will just be white paint to cover the excess water.

- And now erasing the excess
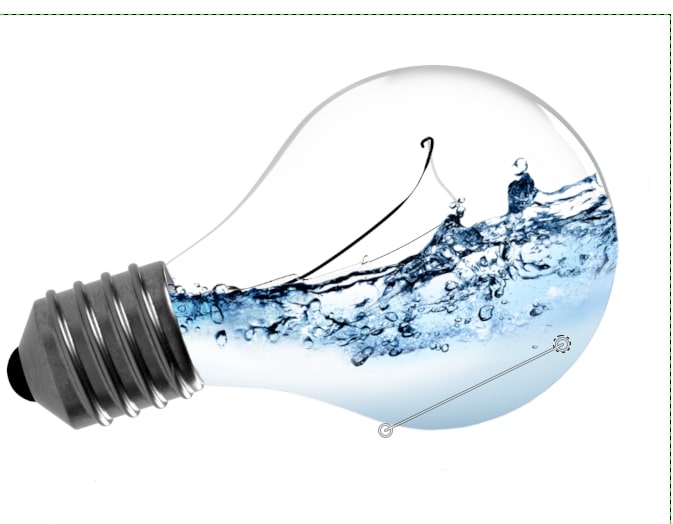
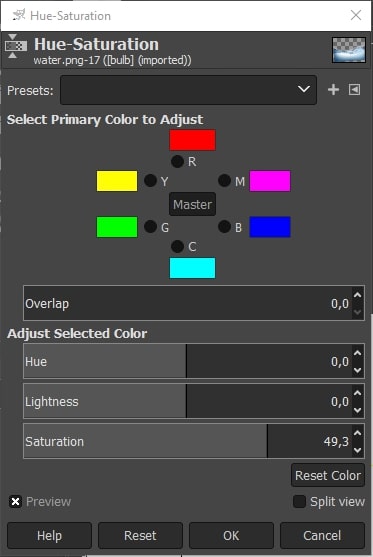
- I then opened the fish picture and scaled it down.
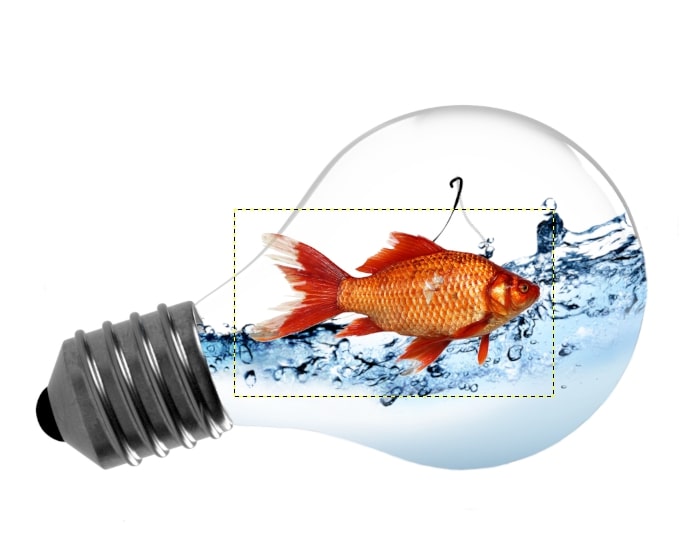
- I increased the saturation to make it look a little more alive, even though water isn't actually blue.
- I literally copy and pasted this layer so to use it as a reflection

- Then I flipped it, using well, the **flip** tool
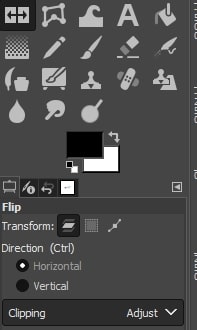
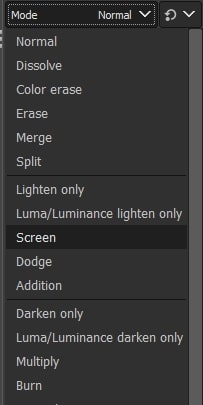
- In order to make it transparent I used the multiply mode.
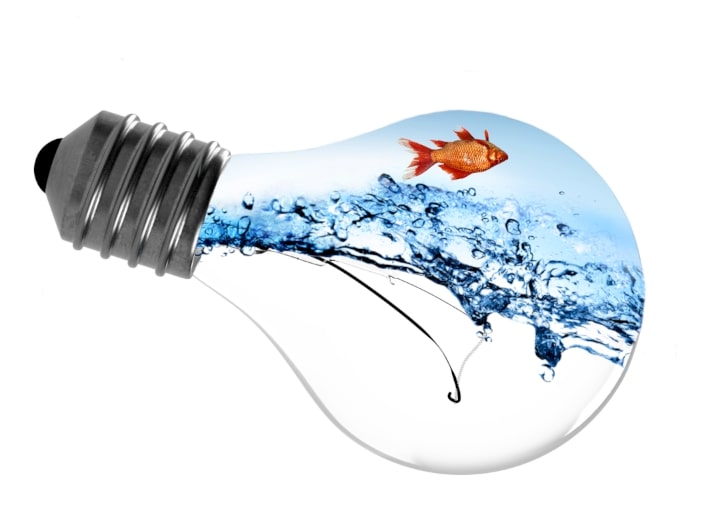
- Flipped it and moved it again
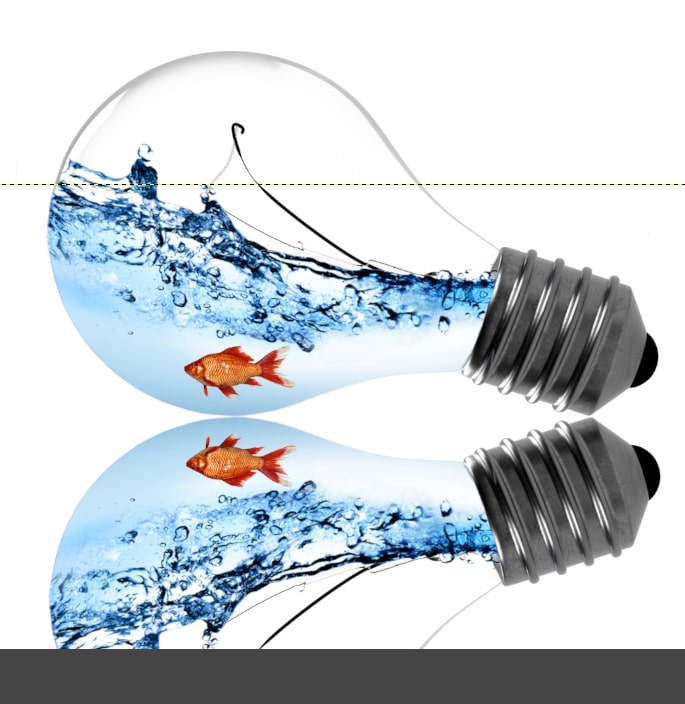
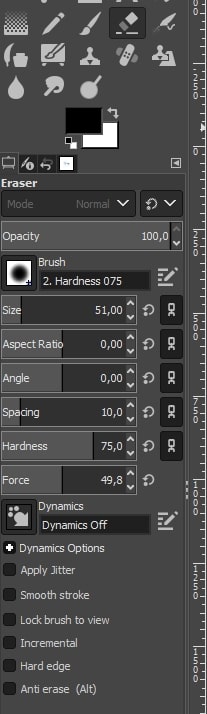
- Using the eraser, I tried to fade the bottom in a gradient to give make it look like an actual reflection. I also lowered the alpha of the layer.
And the final result!
Inkscape
Inkscape is a program commonly used to edit and create vector images .svg. I decided I would use it to make some simple images to print them on top of the acryllic used for the project.
The process was fairly simple:
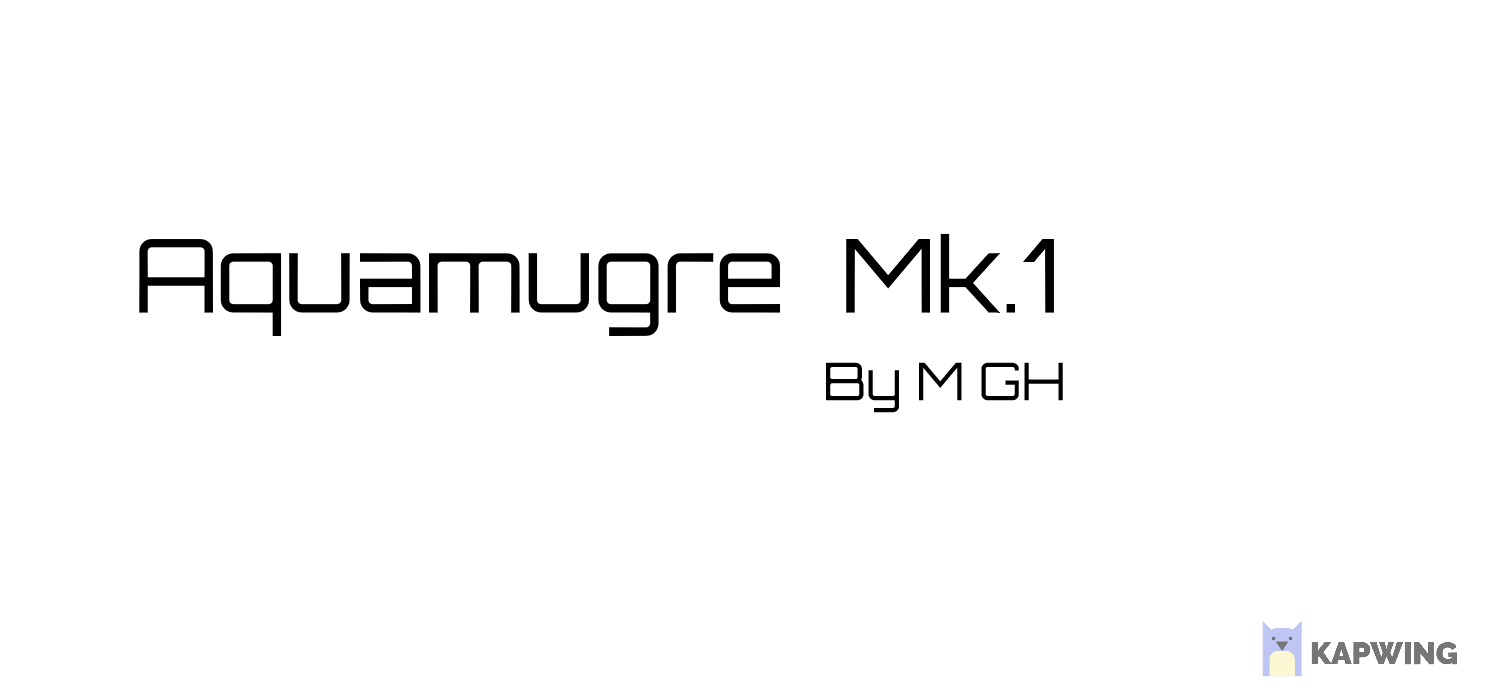
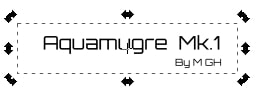
- I created two images containing text using an online tool

-
I pasted it into the canvas and cropped them to remove the watermark
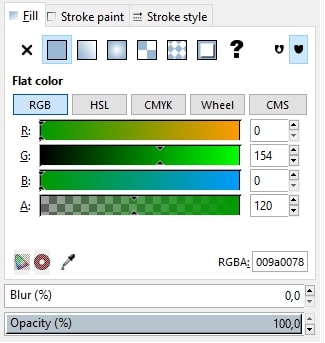
- I placed a rectangle on top of the area I wanted to preserve, I changed the alpha so I could see beneath it.
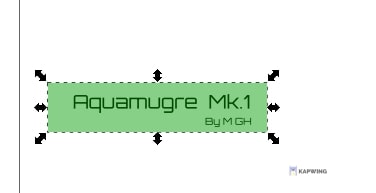
- I selected both images and clipped them
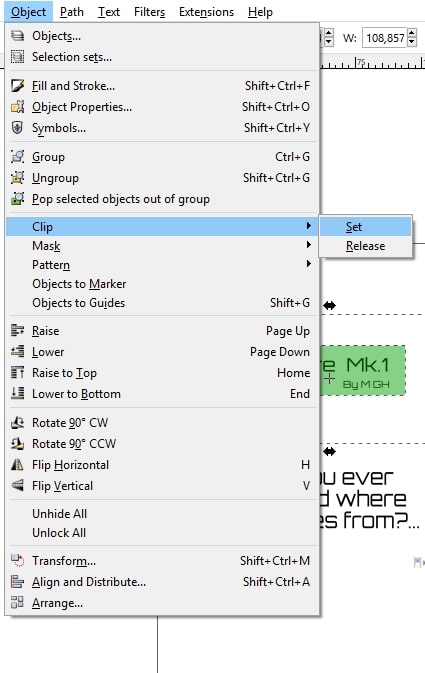
- And the result:
-
This image is still a raster image, but I need to turn it into and svg. Having it selected,
Alt + bcreated a bit map- Brightness cutoff > Threshold: 0,290
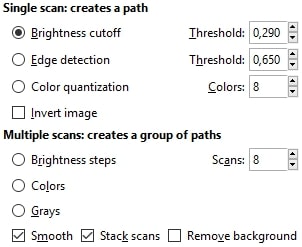
- You can clearly see the difference in the quality now:

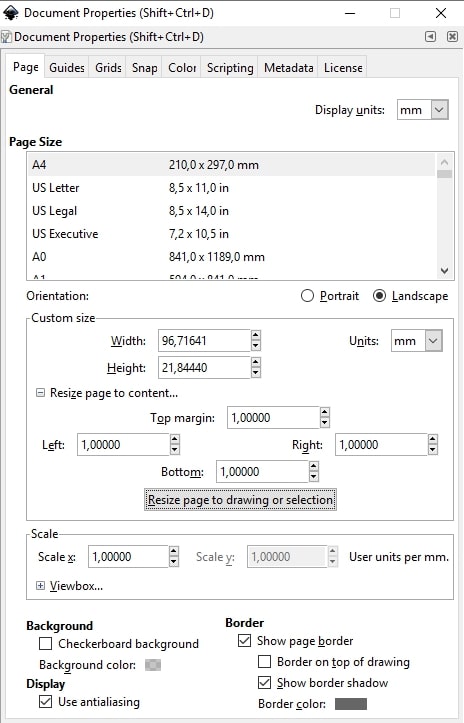
- I resized the document to the size of the image and left a small margin.
- The final result.
Fusion 360
I will use this program to make a rough 3D sketch of how my final project will look like. As the autodesk website describes it:
“Fusion 360 is the only tool that connects the entire product development process into a single CAD/CAM/CAE cloud-based platform.”
One of the advantages of Fusion 360 is that it has the combined functionality of other products from Autodesk, which makes it useful not only for 3D modeling, but for designing circuits, CNC machining and other interesting stuff. The first step in order to start actually designing is to download it, or if you prefer you can also use it from your browser, whicherver option you prefer, follow this site. In order to use it for free I simply had to submit proof that I’m a student, in this case, a transcript of records.
I launched it and encountered this screen for a good 30mins…

When Fusion started working, I had a small panick attack, as there a so many possible actions. In a nutshell, in order to create a component I followed the following steps:
-
Assemble > New component
-
Select a plane to put you sketch.
-
Create a 2D shape using the tools under sketch.
-
Extrude the body Solid > Extrude.
- I used 2mm, which is the width of an acryllic sheet.
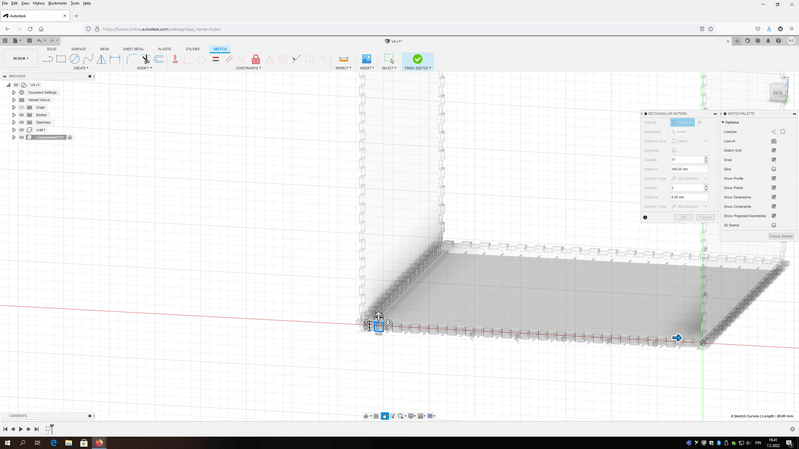
I had to watch a couple tutorials in YouTube, and after a couple dozens useless sketches I finally started building something that looked good. I created the edges using create > rectangular pattern, which coppied the same 5mm square multiple times in a line.
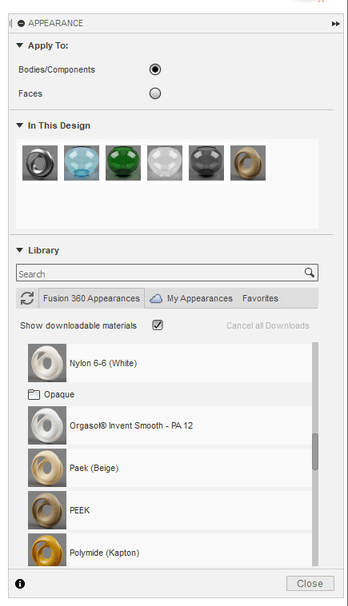
I quickly realized that I was working with steel plates. I corrected it to use glass and plastic.
The idea is to have fish on the button and plants on top, for which I need:
- A pump on the bottom, connected to a PVC pipe or similar to take the water to the plants on top
- A hole for the PVC pipe to fit in
- Many little holes at the top so the water can go back to the fish tank
- Water would be oxygenated along the way
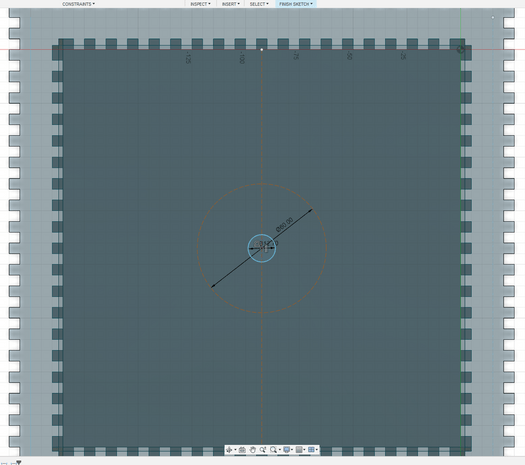
It was fairly simple to do, I placed a circle and extruded it into the acryllic, then I did the same for the other small holes, but in order to save times I used Solid > Create > Circular pattern. I used Sketch palette > Construction lines to help me find where to place the shapes.
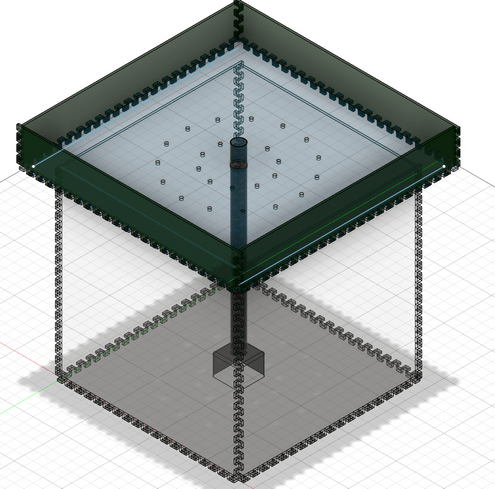
This is the result of everything I have done so far, as you can see, the wholes are in there, as well as a rather simple looking PVC pipe and pump.
Files
Useful Links
A veeeery useful Fusion 360 Tutorial