2. Project management
This week I worked on defining my final project idea and started to getting used to the documentation process.
Research
As this is the first time I use GitLab or any kind of version control software, I had to install at least the basic tools, which are Git bash and MkDocs.
In a nutshell, GitLab is a Version control system just like GitHub or Bitbucket, which is used to keep record of the changes I’ve made to this page so that every time I make a mistake I can just go back to a previous version of my work. MkDocs builds this site and makes it available for you to see it.
Setting up GitLab
I downloaded Git from the link above. By default, git is not really in a usable state. To configure it I entered this commands into Git Bash:
git config --global user.name "Name LastName"
git config --global user.email "name@something.com"
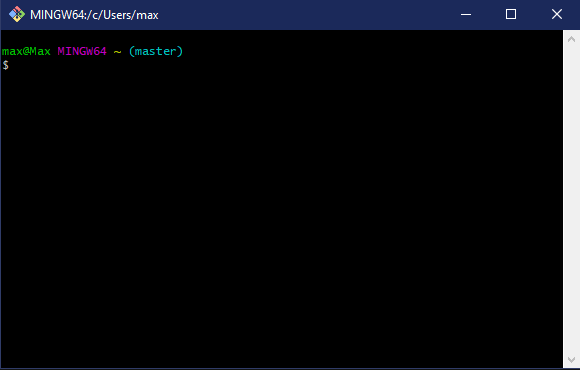
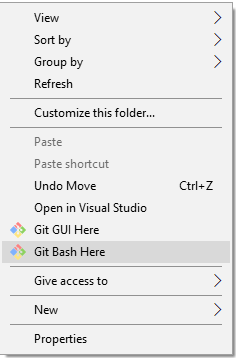
Git Bash started to look like this. Nevertheless, I added Git to PATH so I could use it from the Windows terminal. The next step was to clone my repository in order to be able edit this site, I followed these steps:
-
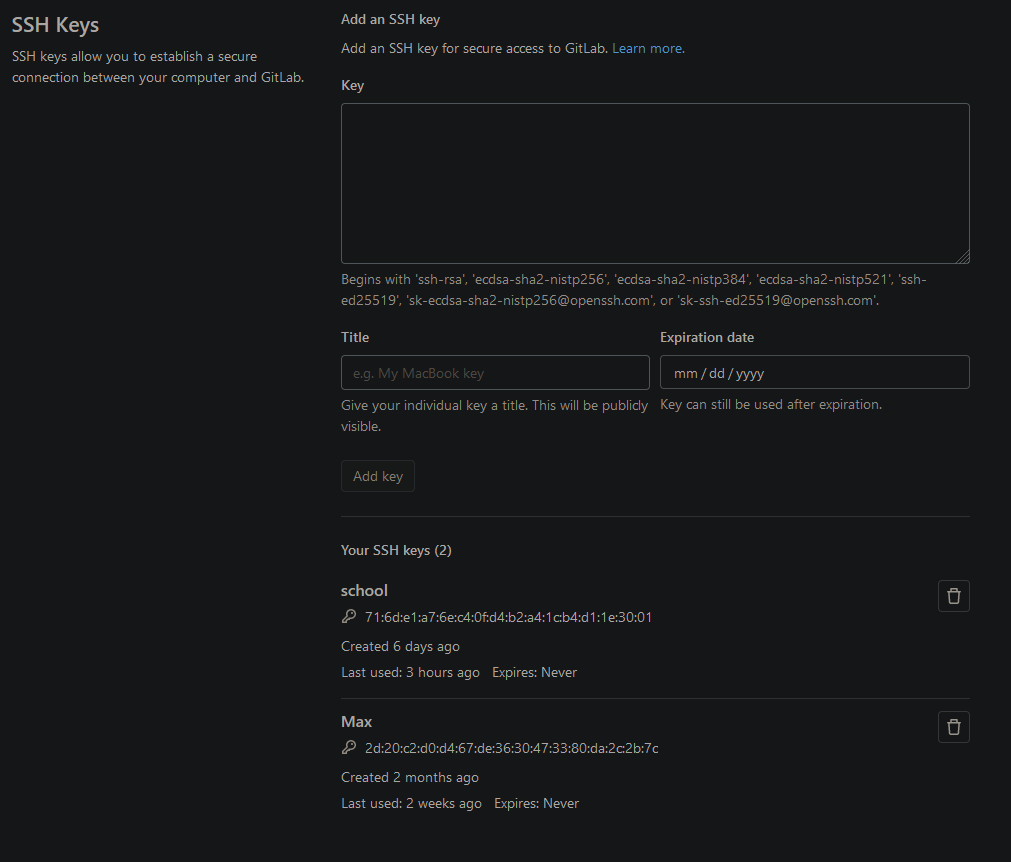
Create SSH keys Entering this into the terminal, it will save two files to the selected directory
git ssh-keygen -
Copy the contents of id_rsa.pub (the public key) to GitLab configuration, you can find your previously stored keys there.
- Copy the url under Clone with SSH
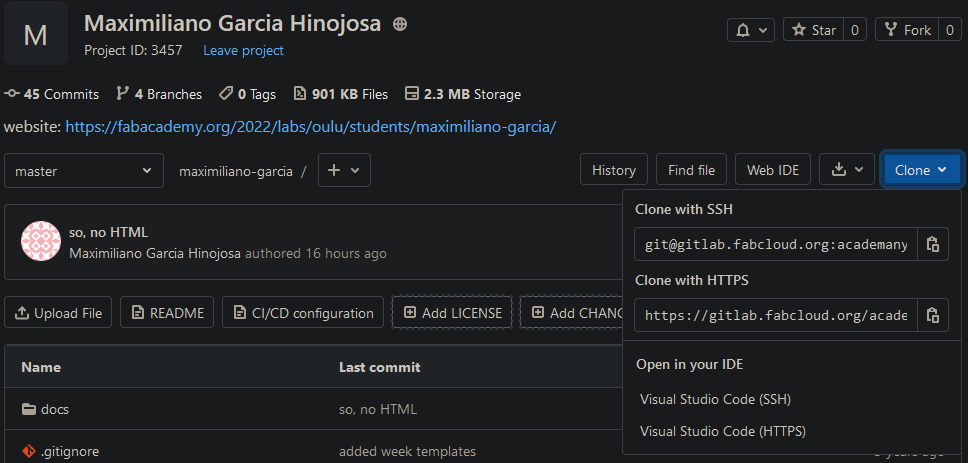
-
Clone the repository
git clone git@gitlab.fabcloud.org:something/something_more.git -
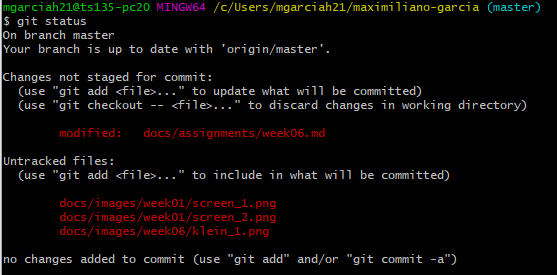
Check if done successfully
git status
On branch master
Your branch is up to date with 'origin/master'
nothing to commit, working tree clean
Done!
Using Git
This is how I update the content of my site now.
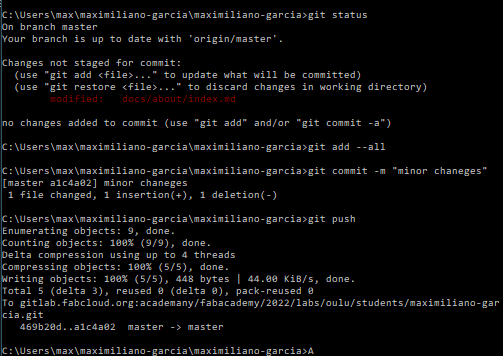
I very quickly realized that these three lines are sort of the Holy Trinity of Git.
git add --all
git commit -m "comment"
git push
The website
This website is created using MkDocs, which according to their own website is:
“MkDocs is a fast, simple and downright gorgeous static site generator that’s geared towards building project documentation.”
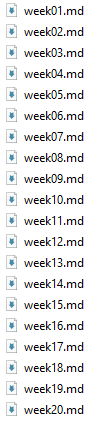
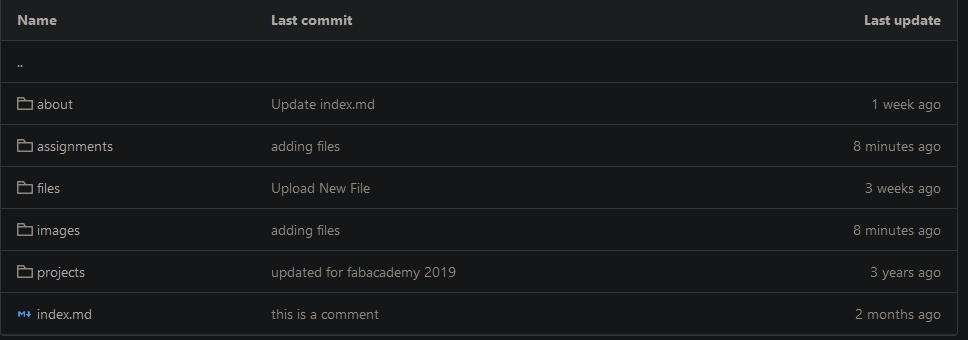
In order to change the contents of the side, I just have to change the files in the repository I cloned previously.
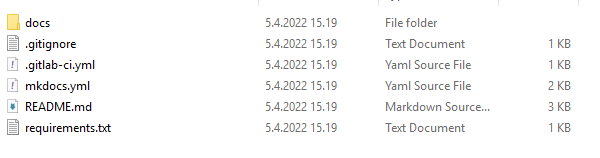
As you can see, the files here are analogous to the content of the website.
Whenever I edit or add a file, I follow the next steps:
- Adding the files
- I go to the maximiliano-garcia directory (in my case) and open the Git terminal there, but you can just open in in whatever directory you want to update if you want to be more specific.
- I check the files I edited/added with git status
- I add them to the list of what I will commit with git add –all

- Then git commit -m “some message”

- And I push them
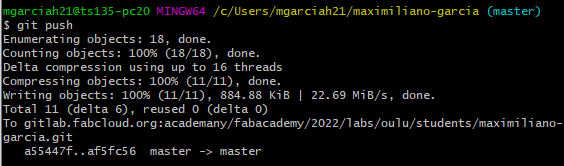
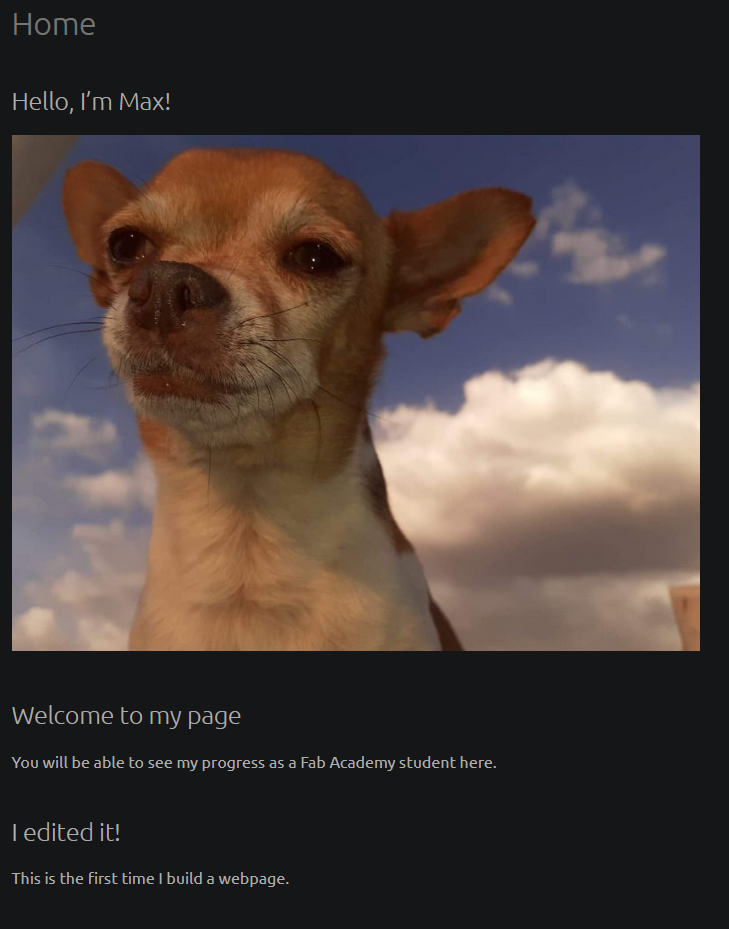
The changes are qickly reflected in the directories I used, in this case assignments and images as you can tell by the message of the last commit.
And then I see the changes in this very site.