Wildcard Week
For Wildcard I chose to use the digital embroidery machine to create a design for my friend's graduation cap.
~Equipment used~
Software: Premier Plus 2
Machine type Husqvarna Viking digital embroidery machine
I found this helpful instruction manual for how to use the Premier Plus 2 software
link here!Designing in Premier Plus 2
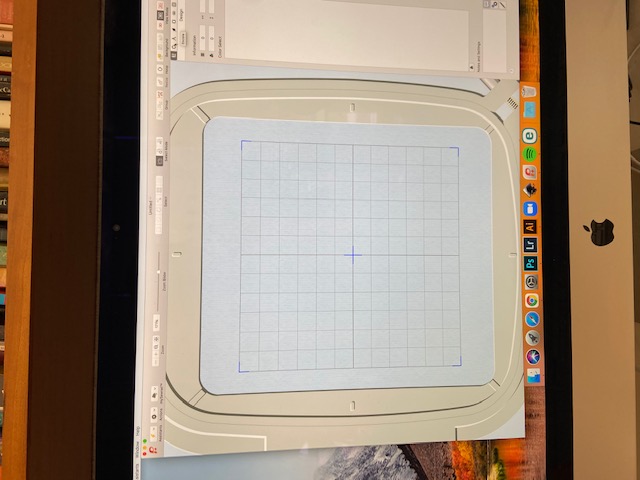
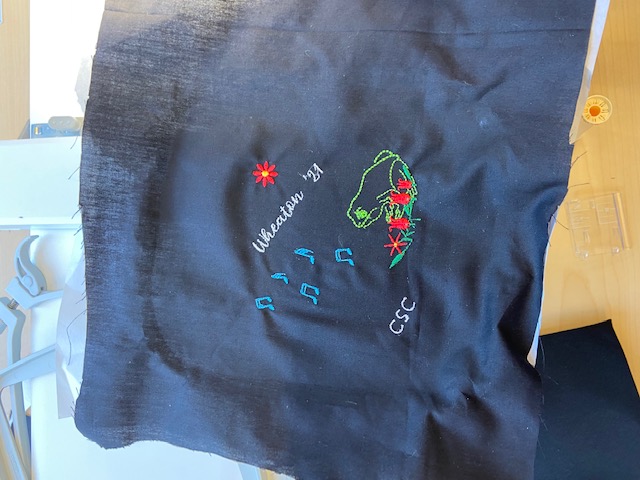
I started by creating my design following the instructions from the guidebook I linked above. My friend wanted this cute pre uploaded frog design and some musical notes since she is in one of our college acapella clubs. I then added text “Wheaton College ‘21 “ and exported the design to the embroidery machine!
Husqvarna Viking digital embroidery machine
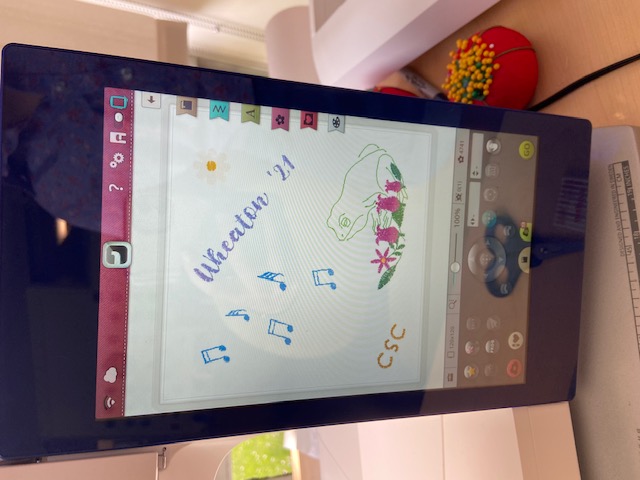
Here is how the design turned out!
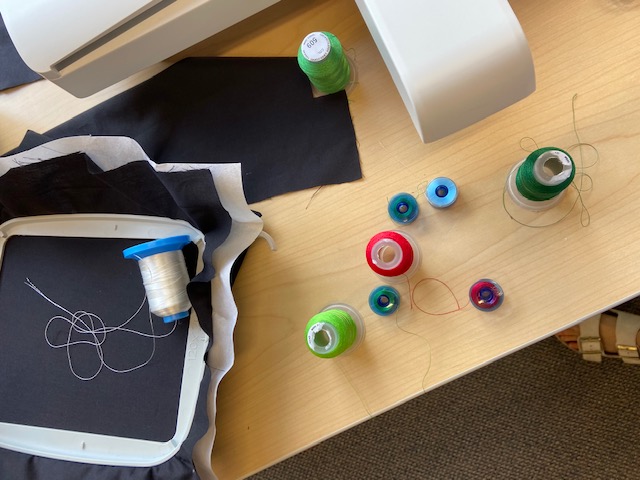
Next I had to collect the colors of thread I wanted to use. Here is my selection-
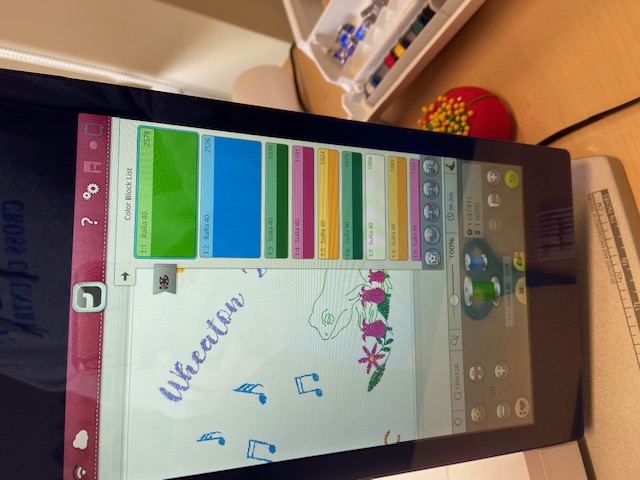
Next the screen displayed which color thread I needed to input into the machine to make it match up my color design.
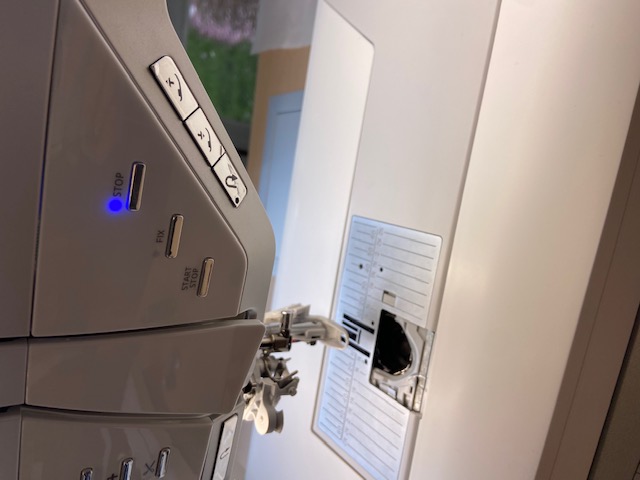
Here is where I put in the small bobbin in the bottom chamber
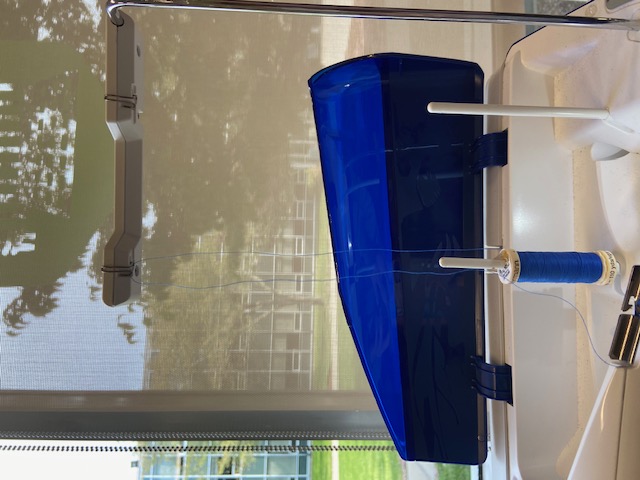
Here is where I inserted the top thread. I had to loop it around to have the thread properly work into the design.

I am putting in the bottom thread. link here
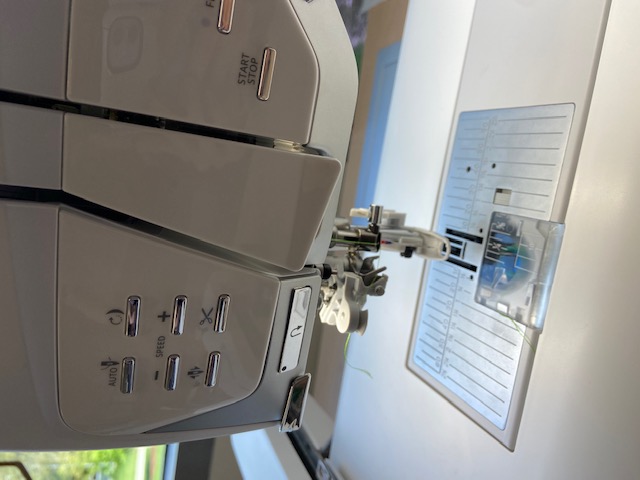
My favorite part is pressing the auto load thread button, here is the link of the machine self threading the needle. link here
Inserting Hoop
Next I inserted the fabric with my selected hoop size which was the 120x120 size
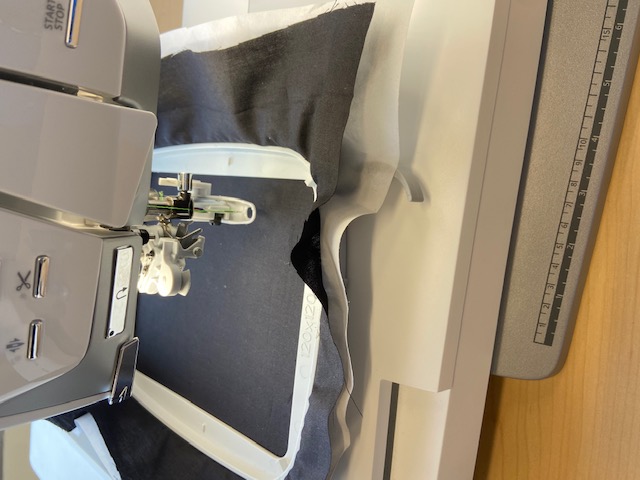
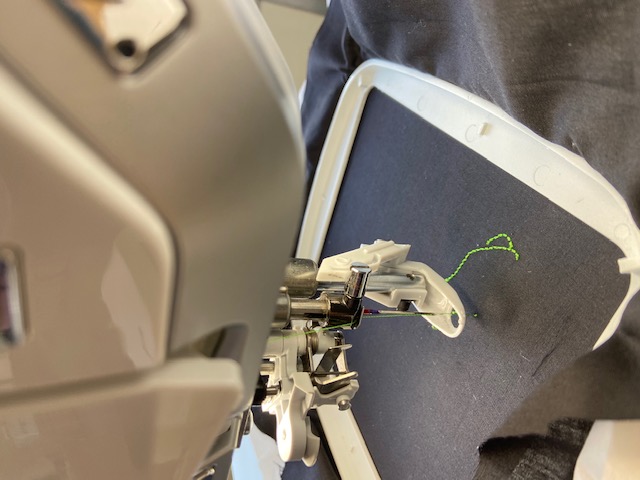
Then I pressed start and the frog outline began!! watch in action!
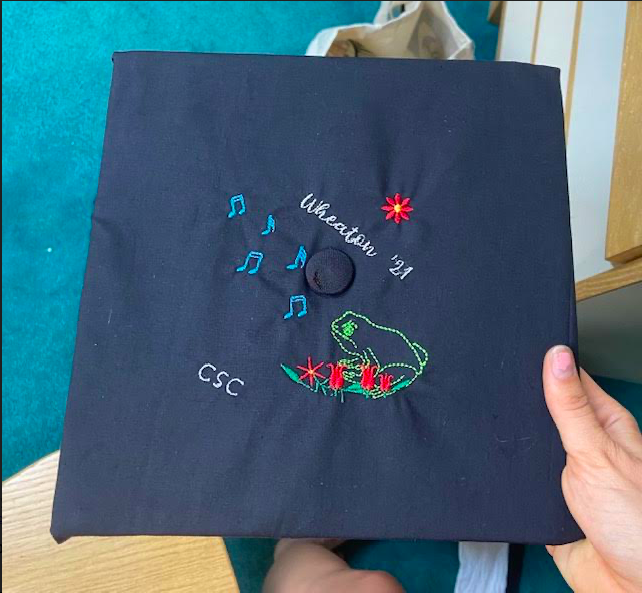
My finished design looked like this out of the hoop.
Then I glued it onto my friend's cap…..voila! to see some other embrodered projects I worked on after this