HOME About Final Project

Final Project

Shadow Box Lantern of Tigers Nest

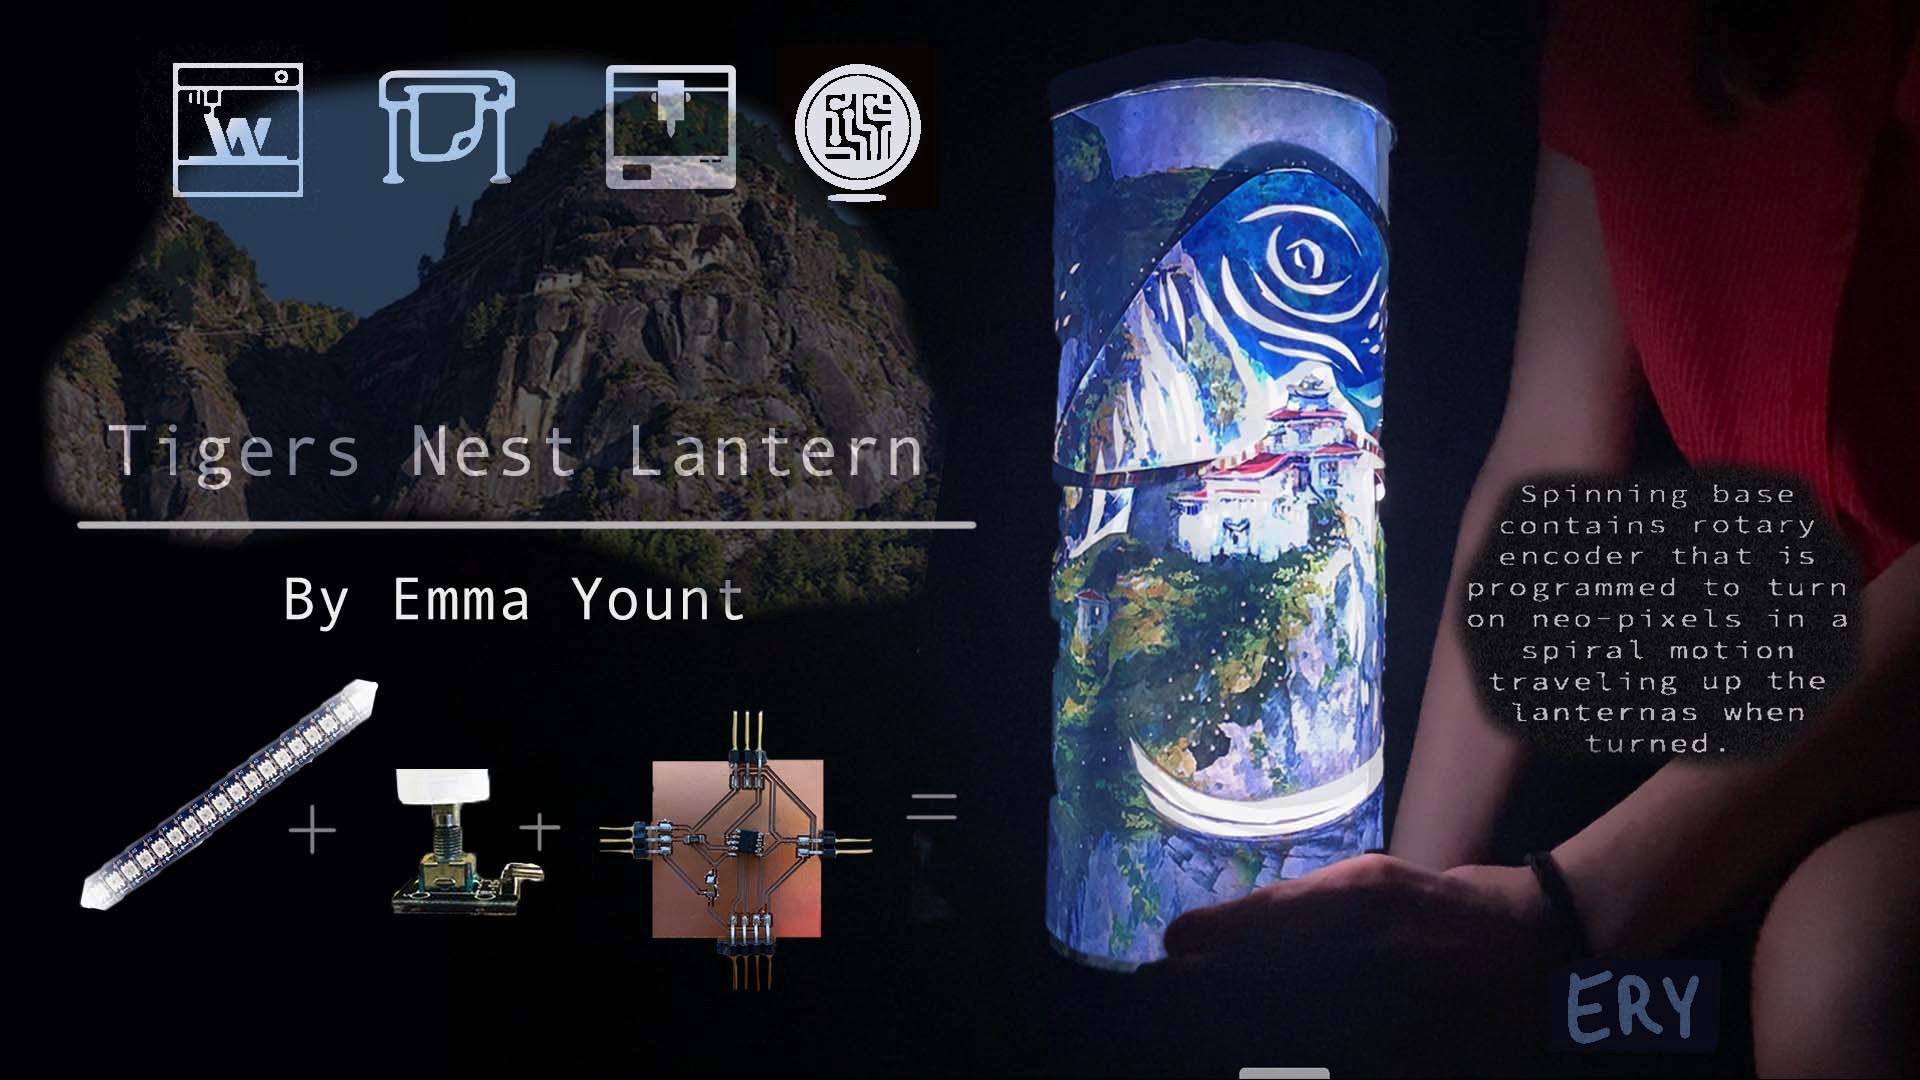
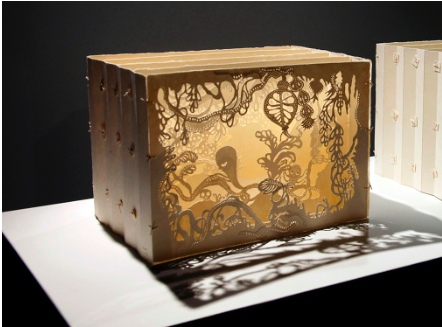
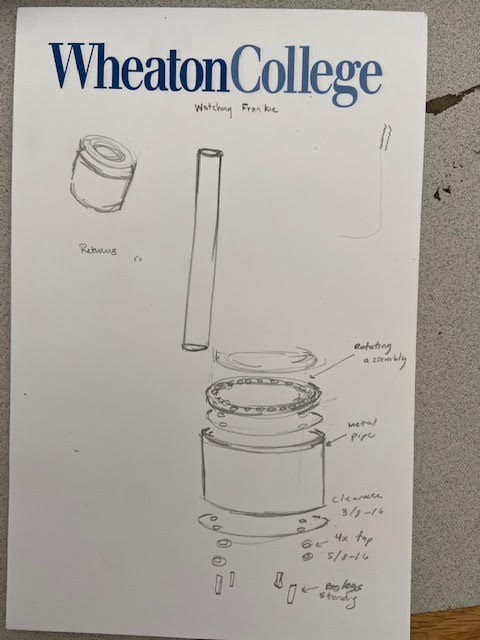
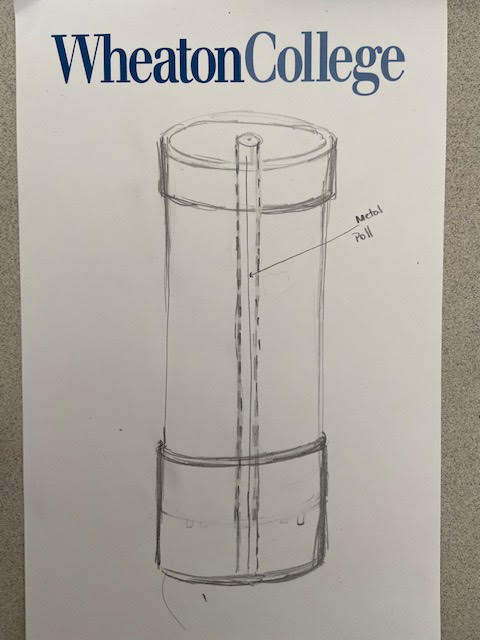
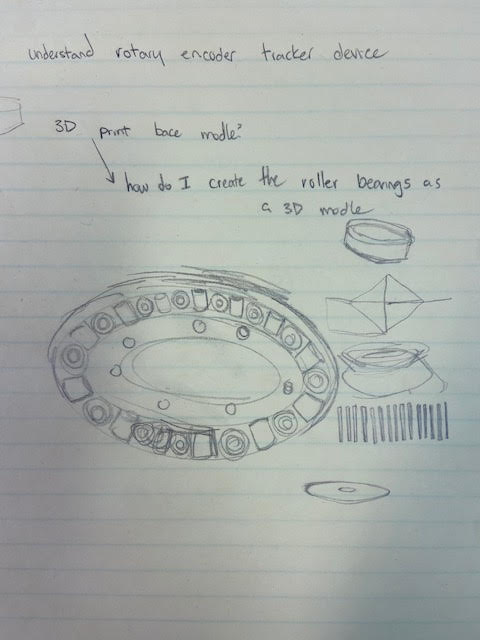
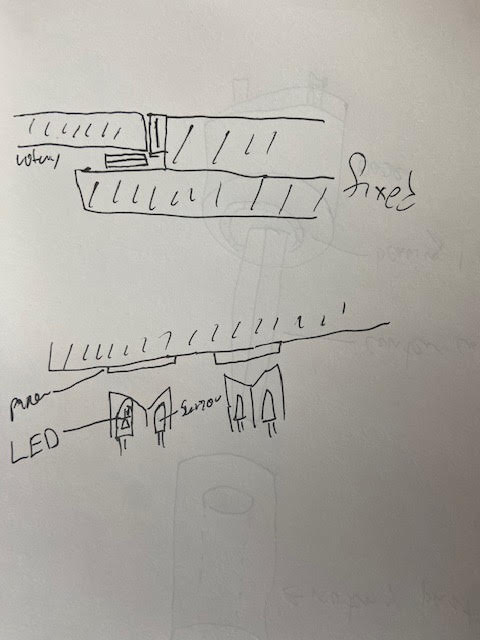
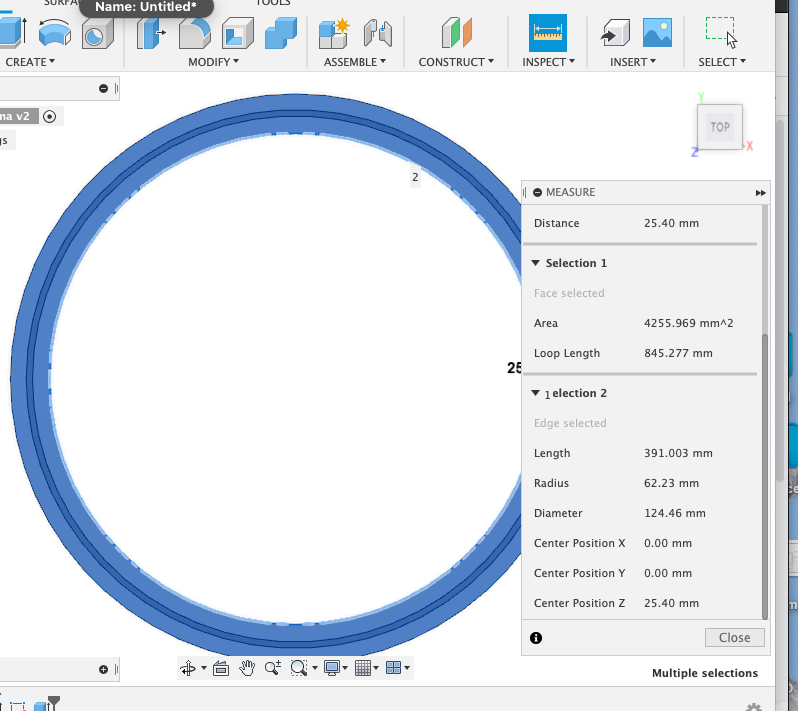
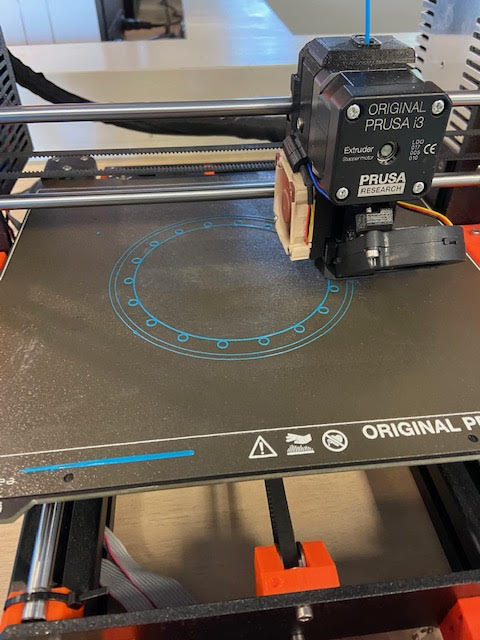
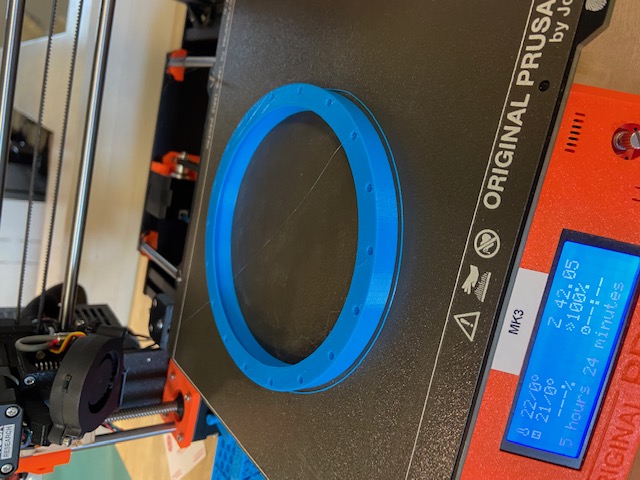
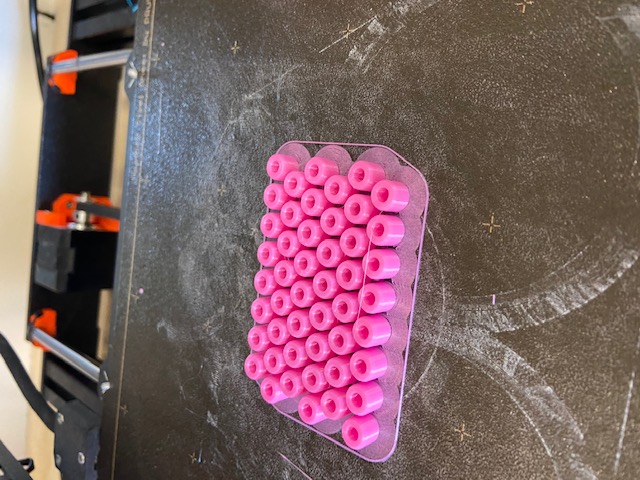
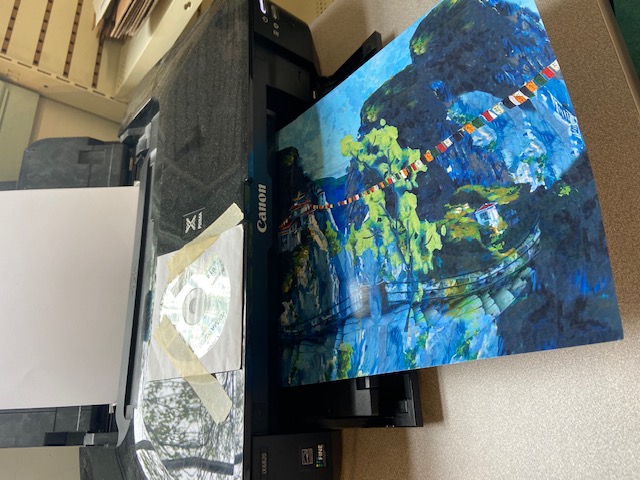
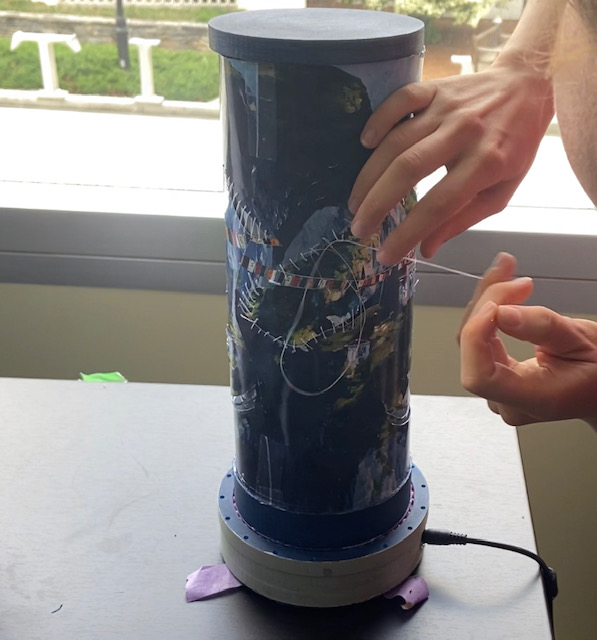
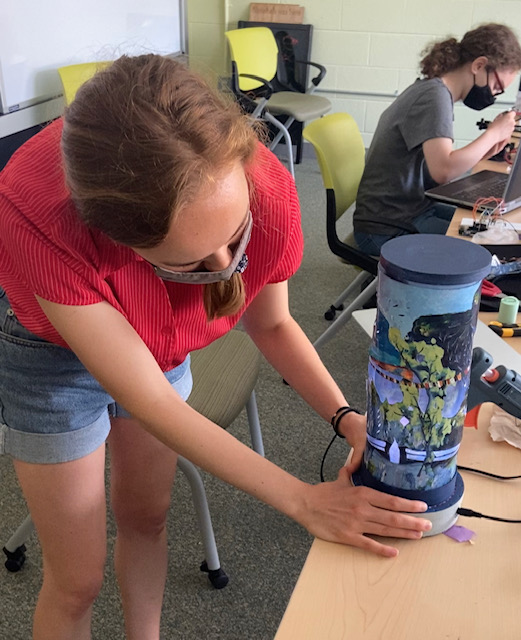
This past semester I was supposed to be studying abroad in Bhutan with my roommate. Of course, that got canceled. For my final project I wanted to create an object that could fit in our dorm room and make us think of Bhutan. I created an artistic lantern that dipicts the Tiger's Nest Monastery located near Paro, Bhutan. This lantern contains multiple cut paper layers that depicts a 3 Dimensional replica of the Tiger’s Nest mountain trail. The lantern has a rotating base. When you turn the base, the Neo pixel lights inside the lantern will travel up the shade following the shape of the mountain to mimic how you would be climbing up the actual Tiger's Nest trail. There are individual cut out designs that show more detailed views of actual parts of the climb, such as the Monastery and prayer wheel stops. Below are a few examples of how I would layer the paper to make my Tiger's Nest replica 3D. The paper cut outs are designed on illustrator and then cut using the vinyl cutter. The base of the lantern is desgined in fusion 360 and printed using the 3D printer. Final Project video link Here

About My Design

~Questions to answer~

What will it do:

lantern that can rotate and lights turn on in a spiral up the design as a person physically rotates the base

Who has done this before?

Shadow box/tunnel book artist Andrea Dezsö
Lamp artist design I am inspired by
Led rotary encoder demo inspiration

What will you design:

artwork on lantern, cut out sections, code that turns on lights when turned, Base electrical components, 3d model

What Materials and Components will be Used:

paper will be used, lights will be used, link to all purchased parts cost included

What Parts and Systems will be Made:

code for lights, lantern artwork was made using photoshop, Prototype for the turning base was printed and designed using the 3d printer and fusion 360

what processes will be used:

link to video for neo pixel link to neo pixel code

What questions need to be answered:

How do I make the lights turn when rotated? Will all the parts I ordered work for my design?

How will it be Evaluated:

My final project should be evaluated by the lanterns ablity to have the lights turn on when rotated and the craftmenship of lazercut paper cut out in the correct location of my 2d paper design

Notes for final project lantern base assembly

Random Name

full exterior with metal rod interior

Random Name

roller Bearing Design

Random Name

cross section model of base design plan with photoresistor

Random Name

The actual creation process

For my final Project I started by making a rotating base design in fusion 360 that I could use to make the inner lantern pieces rotate while the outermost ring would stay still.

Random Name

Here I am exporting the design into prusa slicer

Random Name

printing on the prusa!

Random Name

Ring layer one completed!

Random Name

I also found this design file for a rotation wheel that I used for for the rotating mechanism on my lantern base. Here Here is a link to the design files. the desgin contained two rings that contained these small beads that aloud the rings to rotate. Here is a photo of the beads I printed. You can watch a video of me inserting the beads into the rings Here https://www.dropbox.com/sh/cgpolaavhoiu1mt/AABh7keOZcnmQsCTpdJaH6MAa?dl=0

Random Name

2D and 3D modeling

During 2D and 3D manufacturing week I used that time to create my actual illustrations for my lantern using photoshop and then created a detailed model of my lantern in fusion. Link to those files and documentation Here

Random Name

Once my 3d rotating base and paper holding slots completed printing I tried inserting the pieces together using my photoshopped painting design. I made the slits in the 3d paper holding rings too thin and the paper was too difficult to wedge inside. So I reprinted this design with a slightly larger diameter.

Random Name

Vinyl cutting

I then moved on to the vinyl cutter to cut shapes out of my paper so it would have interesting peek holes that would allow the multiple layers to be seen and cast interesting shadows on top of the mountain scene. At first I had some issues with the vinyl paper ripping my paper, but then I added a sturdy sticky adhesive to the underside of the paper to hold the paper completely still as cut, this worked great! (watch video here) I then added my own little cut outs and threaded some sewing string for an interesting texture. Here

Random Name

Next I moved on to figuring out how to turn on the neo pixels when the lantern was to be rotated. I decided on using a Rotary encoder to program my lights.


Go to input devices week to see how I programed the Rotary encoder with the neo-pixels

Random Name

After the lights were programmed and my board and rotary encoder were completed and FINALLY working, I completed assembling my lantern. I added some paint to the 3d printed pieces and brushed it on to make it look like painted wood. Then I glued the base to my paper layers and hooked up the board and neo pixels to my lantern. Here is a video of part of my assembing process Here

Random Name

Here is a video of the lantern lighitng up as it turns- Here