3D Scanning and Printing
~Group Assignment: test the design rules for your 3D printers
~Individual Assignment: design and 3D print an object (small, few cm3, limited by printer time) that could not be made subtractively - 3D scan an object
Additive Manufacturing vs Subtractive Manufacturing
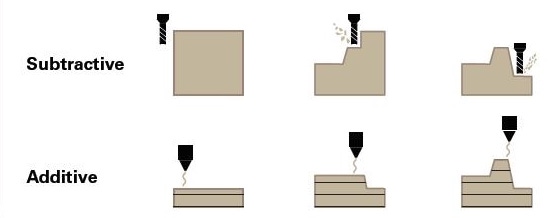
3D printing is an additive manufacturing process where objects are made by adding material layer by layer. This is often compared to subtractive manufacturing methods such as milling where objects are made by removing material. The big difference between additive and subtractive manufacturing is that in subtractive manufacturing, the tool has to get into the workpiece. In additive manufacturing, since we are building up, we have access to the inside and the outside; so we can have things like axles, nested parts and overhangs.
Group Project: Creating Tester Print
For our design we used the Printer test design called “All in one Printer Test Design by majda107.
We then downloaded the design into the Prusa slicer and exported it to the printer.

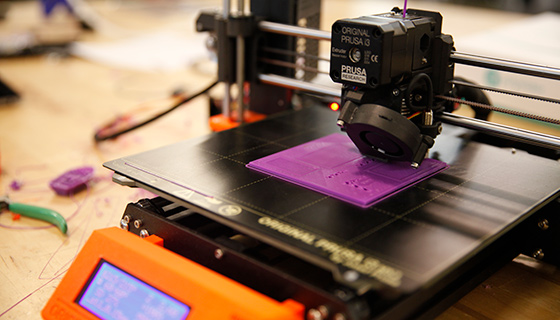
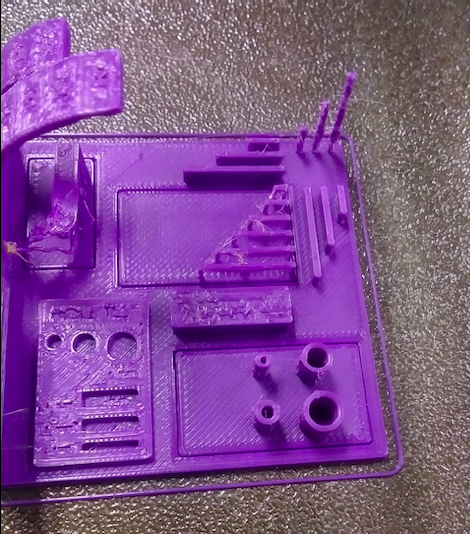
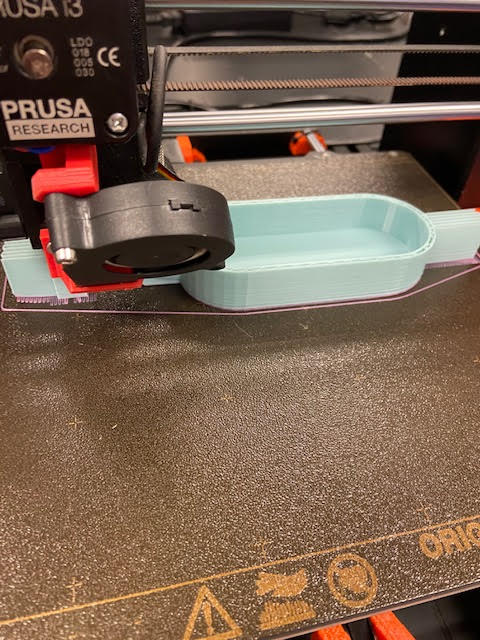
Unfortunately the first time we did this, the print completely failed. Before my group had even seen what went wrong the print had either gotten dicarted or misplaced. It is still missing in action. Regardless we made a new print that printed successfully. Here is the photo of our finished test
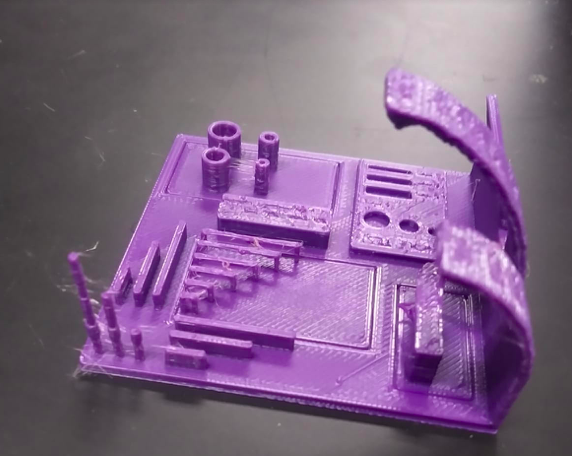
For the wall thickness test, we discovered that the thinnest wall prints at 0.5mm and the smallest gap it can leave is 0.3mm.
We also determing the orverhang starts to colapse after a 40 degree angle.
Individual Assignment: 3D printed Watering Can
Last semester I took an intro Digital fabrication course where one of our weekly assignments was to design a watering can in Fusion 360.
My roommate (who has many plants in our room) got so excited when I told her I was creating a 3D watering can because she thought I was planning to actually print it out… this was not part of the assignment last semester.
So this week I thought this would be the perfect opportunity to actually print out my design!
I decided to modify my original watering can design to make it need less supports when it was going to be printed. Here is the process of my original watering can, and then how I altered it
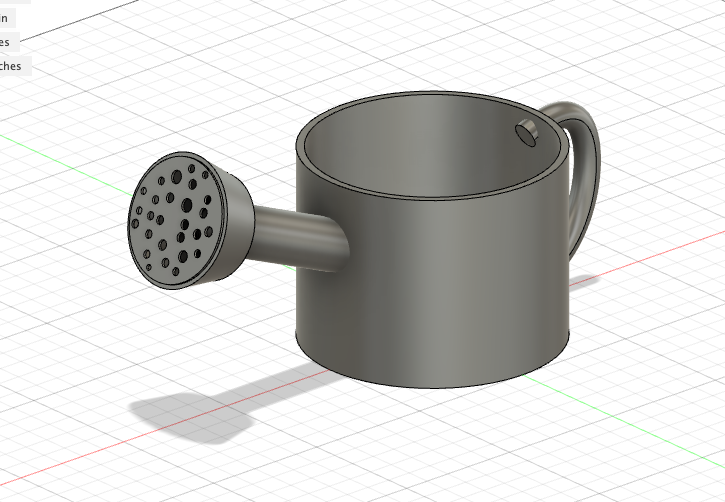
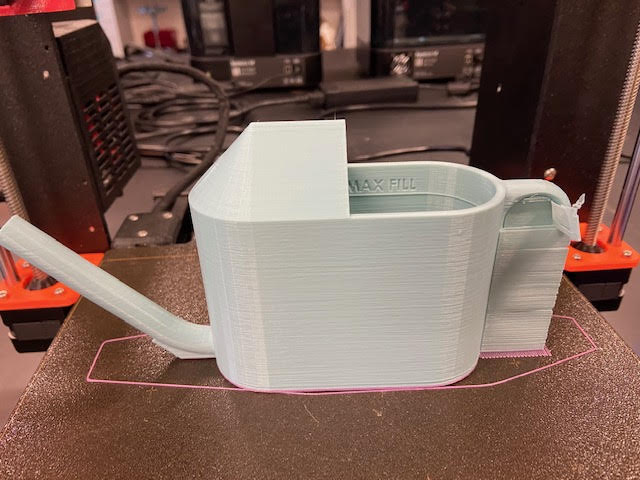
I was able to follow the same steps I had used to create my first watering can but instead of creating a spout head with many individual holes, I decided to make it just one long thin tube since this would prevent excessive spillage of watering in our room. I also made the handle a little smaller and added this top cover to keep the water from spilling when we are pouring it at a sharp angle.
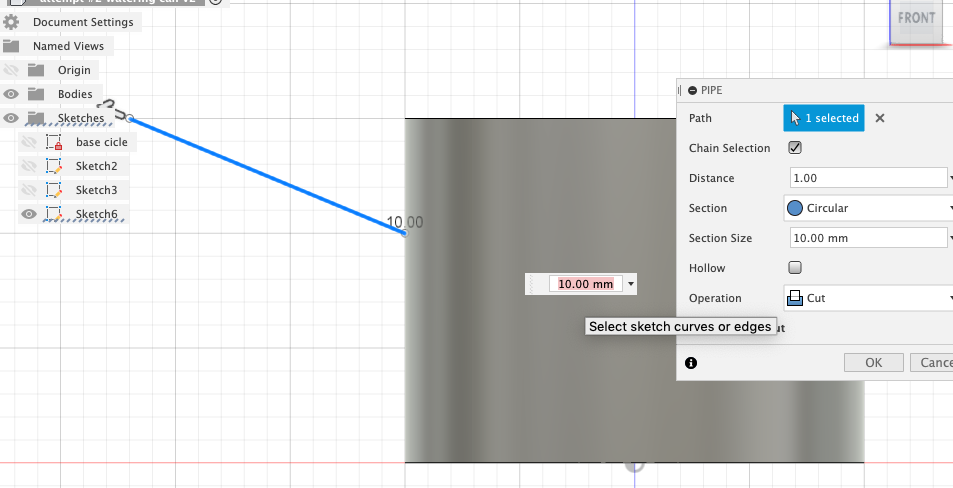
Here I am adjusting the spout
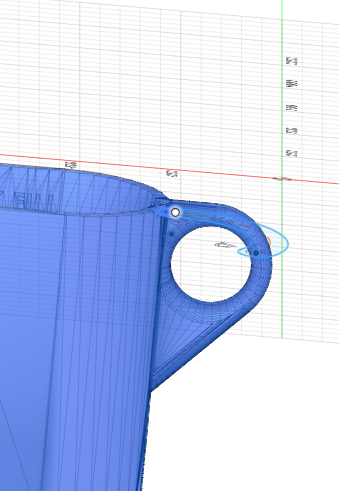
Redesigning the handle.
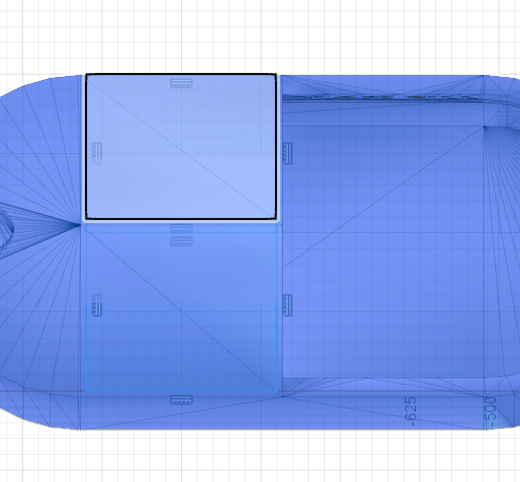
Adding the overflow prevention topper peice
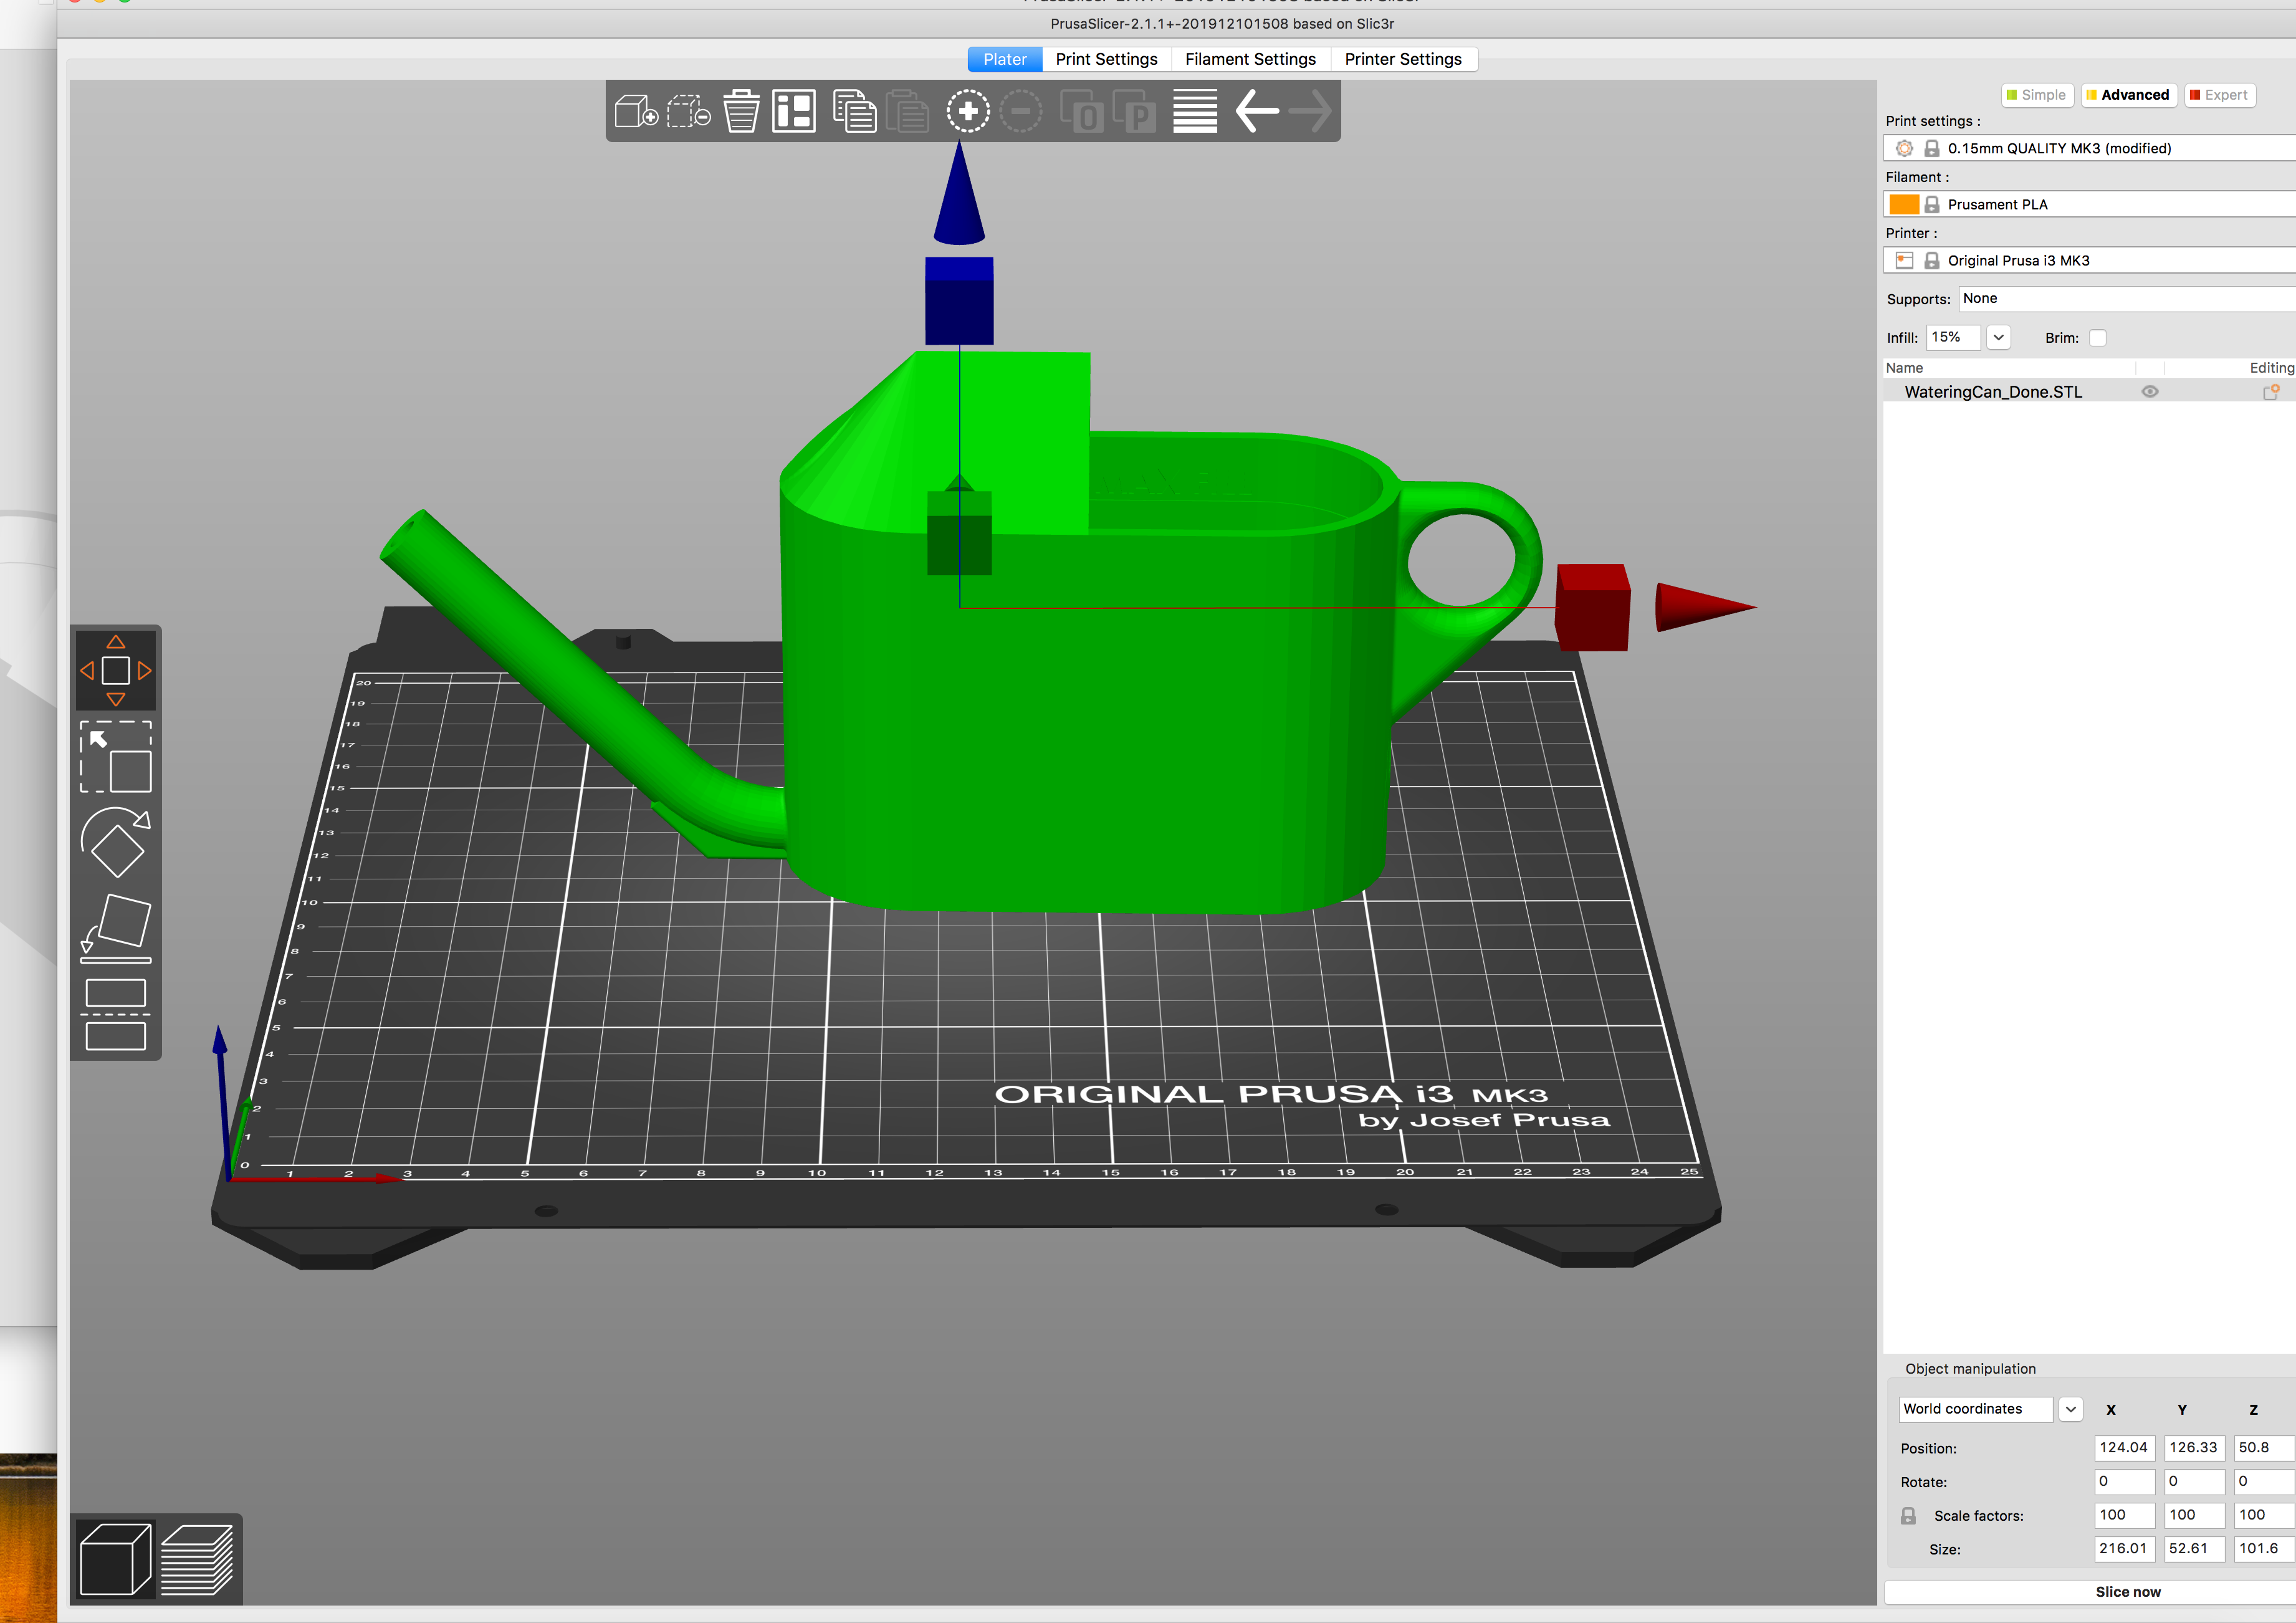
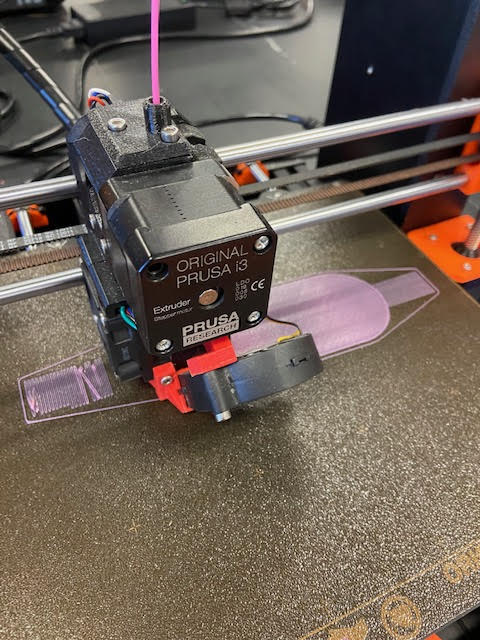
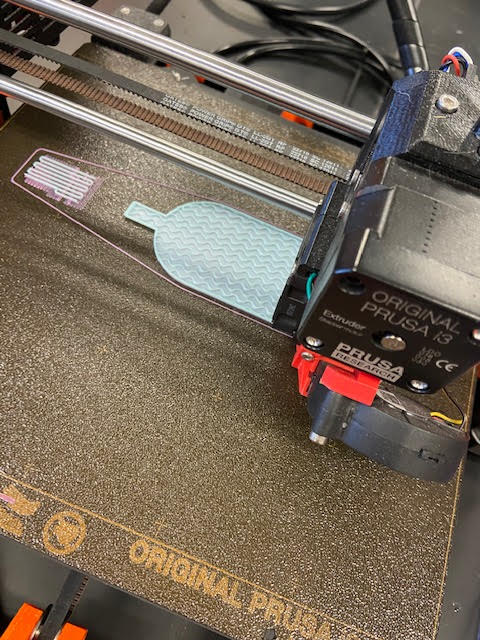
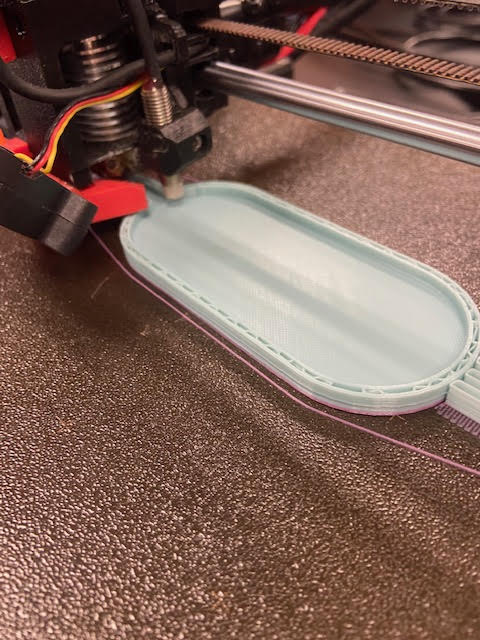
Design Complete! Next I exported it into Slicer
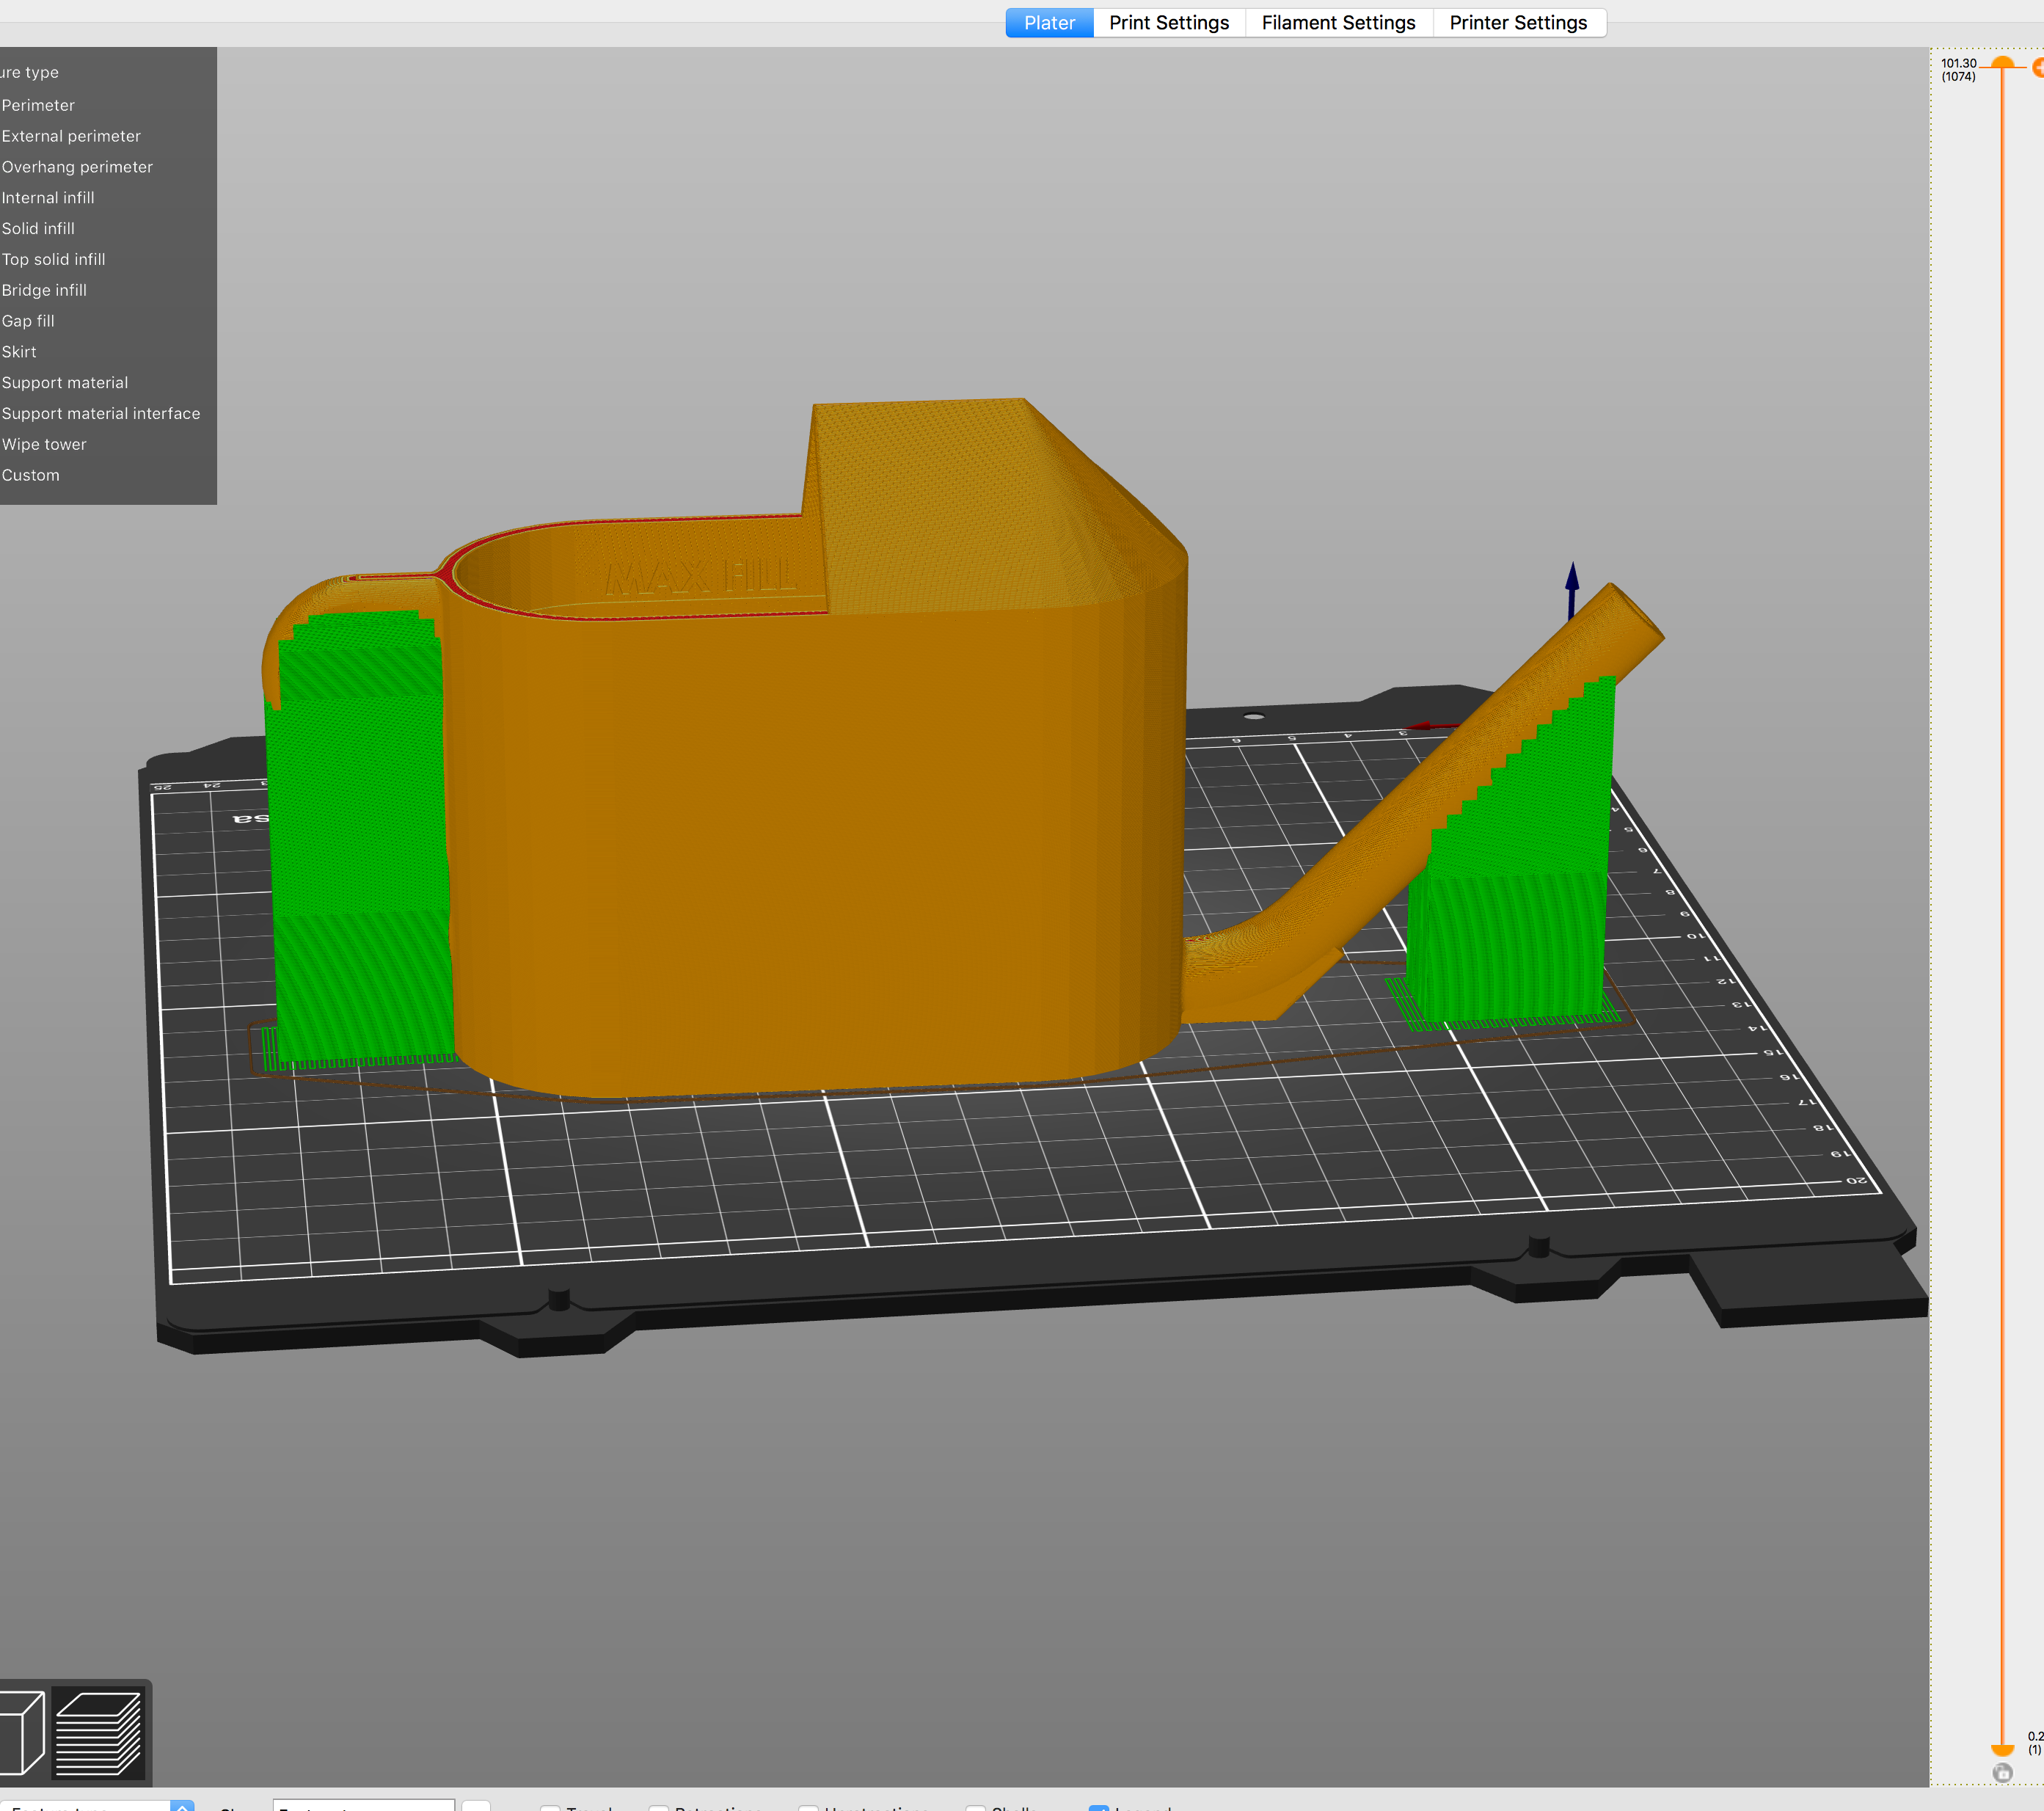
Next I added some supports And exported the design into the Prusa.
Then I had to switch out my end mill size to the 1/32 end mill. I repeated the Z origin procedure and selected “Cut”. Then I selected my outcut/holes file and clicked output in Vpanel
Here Is my cut right after the Roland finished!
I next removed the dust with the vacum I pealed off the tape.
halfway done...
Complete!
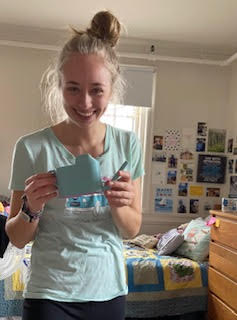
My roomate was so happy, and it also matched her shirt!
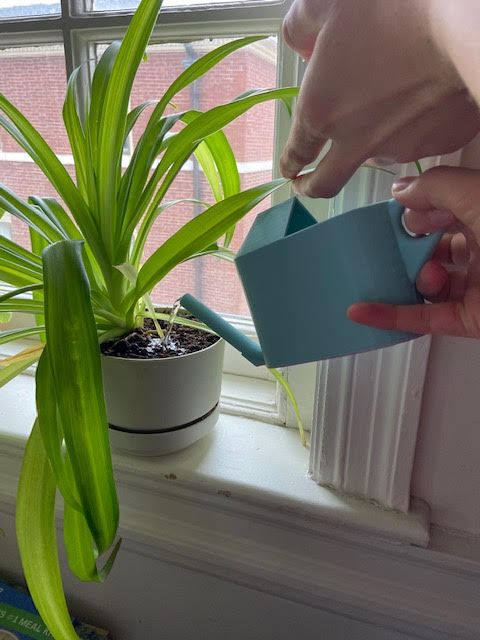
And it works great. This design could not be made subtractively because the spout size, and angle makes it impossible to have an instrument to subtractively remove the negative space. The handle is also hollowed out inside so that could not be done since all sides are then sealed off.
Using The 3D Scanner
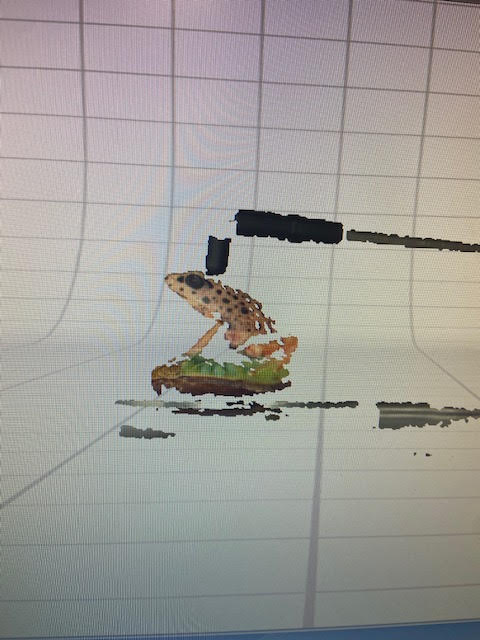
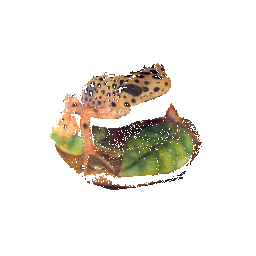
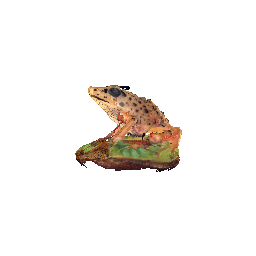
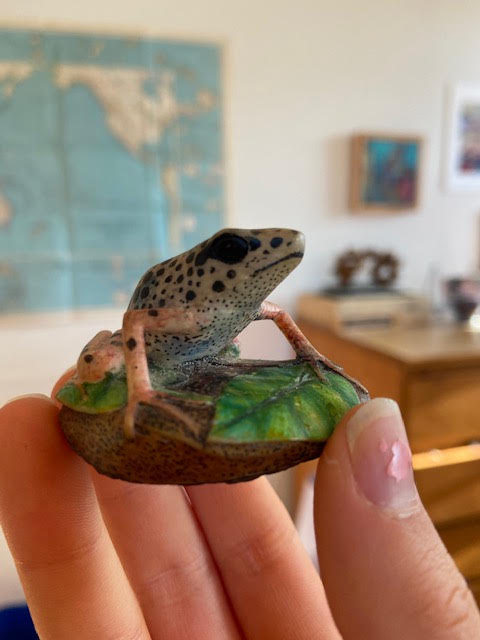
For this assignment I chose to scan this painted frog carving
In our lab we have a NextEngine desktop 3d scanner model 2020i

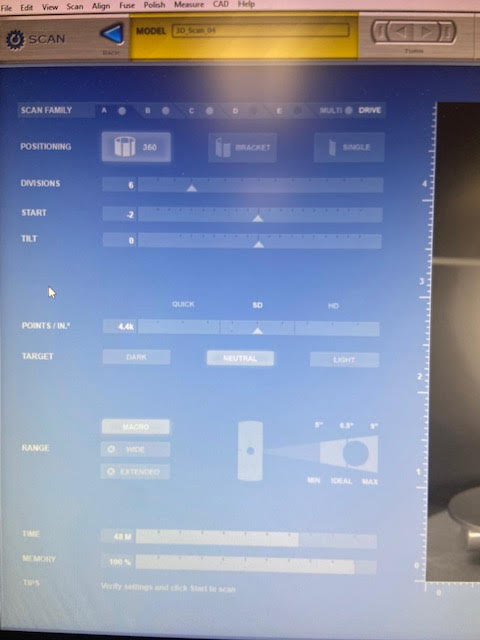
The average time the scanner should complete a scan was around 70 minutes. As it was getting very late when it was my turn to print, I decided to experiment and see if I could speed up the process
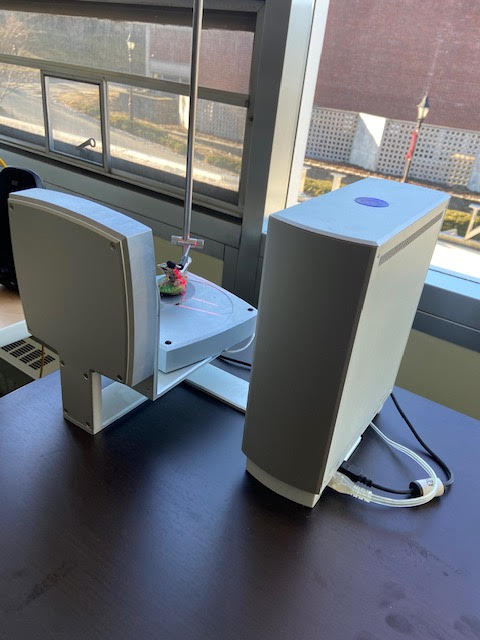
I did this by eliminating my scanner to scan the D Scan Family and lower the division to 6. I also changed the image quality from HD to SD. This brought the scanning time down to 45 minutes
Here Is my frog right after it was finished scanning