14. Interface & Application Programming
This weeks assignment was to was to create an application to interface with a microcontroller board and interact with an input or output device that I made.
Group assignment
This weeks group assignment was to was to compare as many tools as possible to develop our application. Our work can be seen on Interface and Application Group assignment page.
Individual Assignment
This weeks assignment is to create an app to run on a computer (or smart phone) that will communicate with my microcontroller board and “do something” with the input or output connected to the board.
- For this assignment I will be using the same microcontroller board that I developed for my final project connected to an ultrasonic sensor and OLED display.
- You can see the design of the board in Output Devices Assignment- new board.
-
You can see how I connected the OLED screen and ultrasonic sensor in my Input Devices Assignment.
-
For my applcation I decided to use Microsoft Visual Studio. And will be running the app off of a windows 11 desktop computer.
-
For communication I used USB to FTDI cable to connect to my board.
Microcontroller Board programme
-
I wanted to see if I can reuse the same code I created for my board for my Networking and Communucation week assignment, since that code already made my board generate both input and output and was able to communicate with “something else”.
-
I figured if it aint broke, why fix it. I could always just use that code as a starting point and modify it later if I needed.
-
So I re-uploaded this code back to my microcontroller.
-
Here’s my ATtiny microcontroller board Program
/*
James Khan Fab Academy networking and communication week week.
https://fabacademy.org/2021/labs/vancouver/students/james-khan/assignments/week13/

Used the code I developed for my input week as a starting point and modified for communication.
https://fabacademy.org/2021/labs/vancouver/students/james-khan/assignments/week11/

This program is for my selfmade Attiny14 board and has an ultrasonic sensor attached to it
and communicates with another board (an RP2040, with a different program).

This program constantly measures the distance from the ultrasonic sensor.
When it gets sent a message on its RX data pin, it displays that message
on the attached OLED screen as well. It then sends back confirmation on the TX pin along with the
measured distance.
*/

#include <Wire.h>             // for OLED
#include <Adafruit_GFX.h>     // for OLED
#include <Adafruit_SSD1306.h> // for OLED

const int SCREEN_WIDTH = 128; // OLED display width, in pixels
const int SCREEN_HEIGHT = 64; // OLED display height, in pixels

// Declaration for an SSD1306 display connected to I2C (SDA, SCL pins)
Adafruit_SSD1306 display(SCREEN_WIDTH, SCREEN_HEIGHT, &Wire, -1); // for OLED

// DEfine variables Ultrasonic
#define ECHO_PIN 9
#define TRIG_PIN 8

String incomingString ; //to hold incomming serial data.

void setup() {

  Serial.begin(115200); //

  if(!display.begin(SSD1306_SWITCHCAPVCC, 0x3C)) {  // Address 0x3D for 128x64
    Serial.println(F("SSD1306 allocation failed")); // genetare arror msg if oled can't initialize
    while(true);
  }

  // for ultrasonic setup
  pinMode(LED_BUILTIN, OUTPUT);
  pinMode(TRIG_PIN, OUTPUT);
  pinMode(ECHO_PIN, INPUT);
}

  //read and calculate the distance from ultrasonic sensor.
long readDistanceCM() {  // changed it from the regular float because of memory issues with serial.print
  digitalWrite(TRIG_PIN, LOW);
  delayMicroseconds(2);
  digitalWrite(TRIG_PIN, HIGH);
  delayMicroseconds(10);
  digitalWrite(TRIG_PIN, LOW);
  unsigned long duration = pulseIn(ECHO_PIN, HIGH);  //corrects possible negative interperetation if measurement too big
  return duration * 0.034 / 2;
}

void loop() {

  long distance = readDistanceCM(); // changed it from the regular float because of memory issues using serial.print
  delay(200);

  if (Serial.available()) {
      incomingString=Serial.readString(); // If anything comes in Serial save it to variable
      Serial.print("got it: ");           // send confirmation back to sender with string sent
      Serial.println(incomingString);
      Serial.print("dist: ");
      Serial.println(distance);           // send the distance measured from attiny's ultrasonic sensor to serial
      delay(100);
  }

  display.clearDisplay();               // oled clear
  display.setTextSize(2);               // oled setup
    // text size of 2 only gives us grid size of 10 wide by 4 tall characters.
    // but a text size of 1 is pretty tiny to show up well on a video, but gives allot more characters.
    // the below prompts are minimal to keep the bigger size font.
  display.setTextColor(WHITE);
  display.setCursor(0, 0);
  display.print("d:");                // static display
  display.println(distance);          // display distance
  display.println("incoming:");       // static display
  display.println(incomingString);    // display string from serial input
  display.display();
  display.println("\n");
  delay(200);

}
Creating the App
Installation and setup
First thing was to install Microsoft Visual Studio.
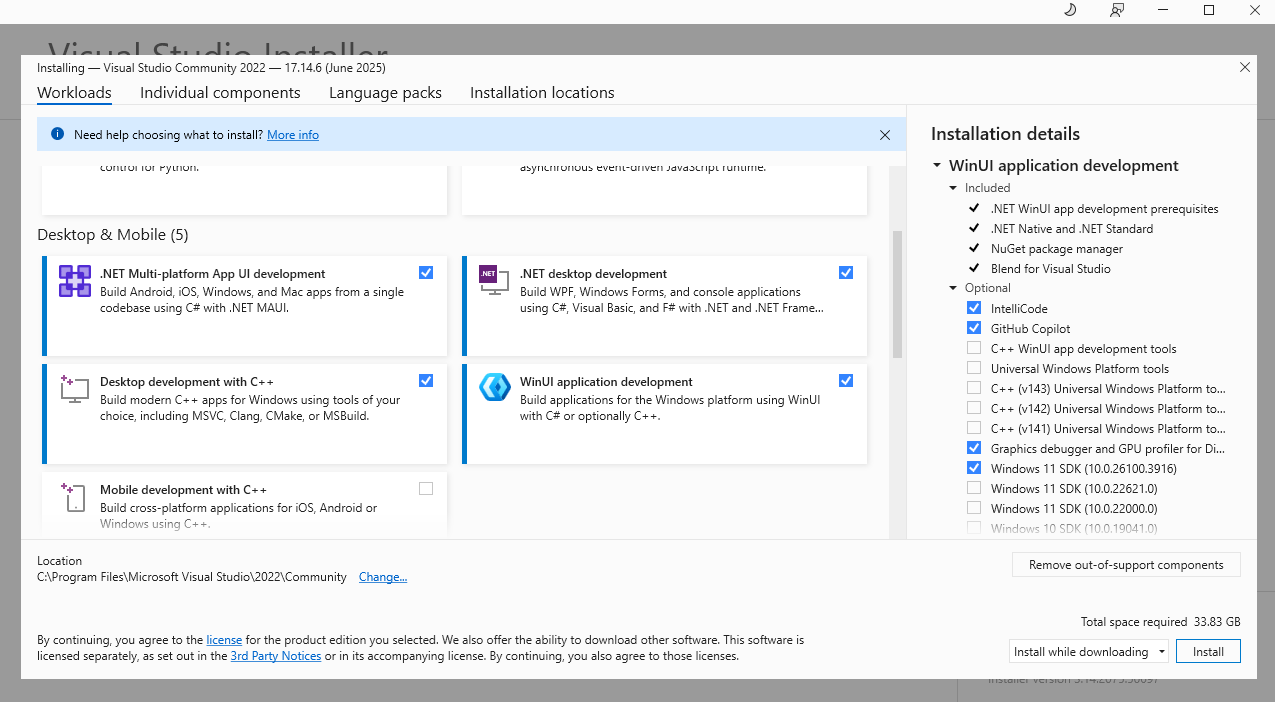
I selected these 4 as my optional modules to install
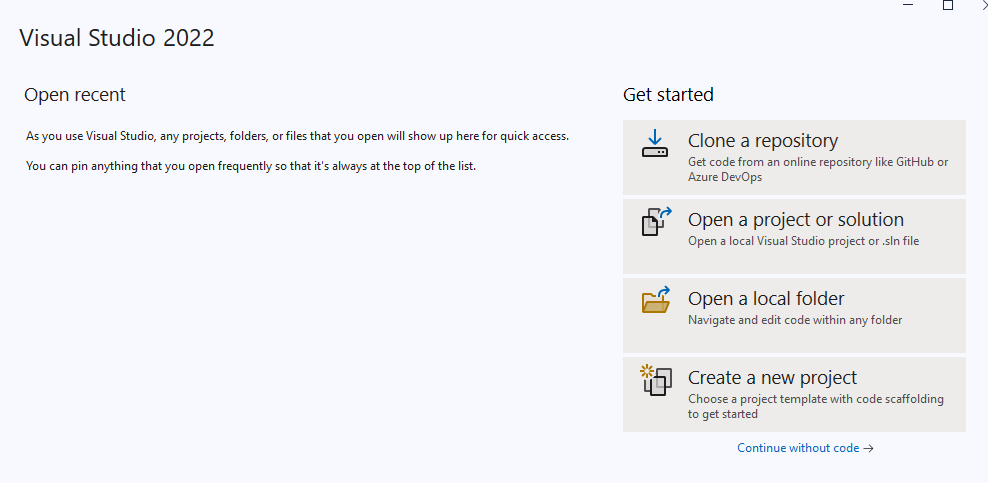
After installing and launching Visual Studion I had to “Create a new Project”
I then select “Windows Forms App (.NET Framework), since my research pointed me to this being the most suitable for what I was making.
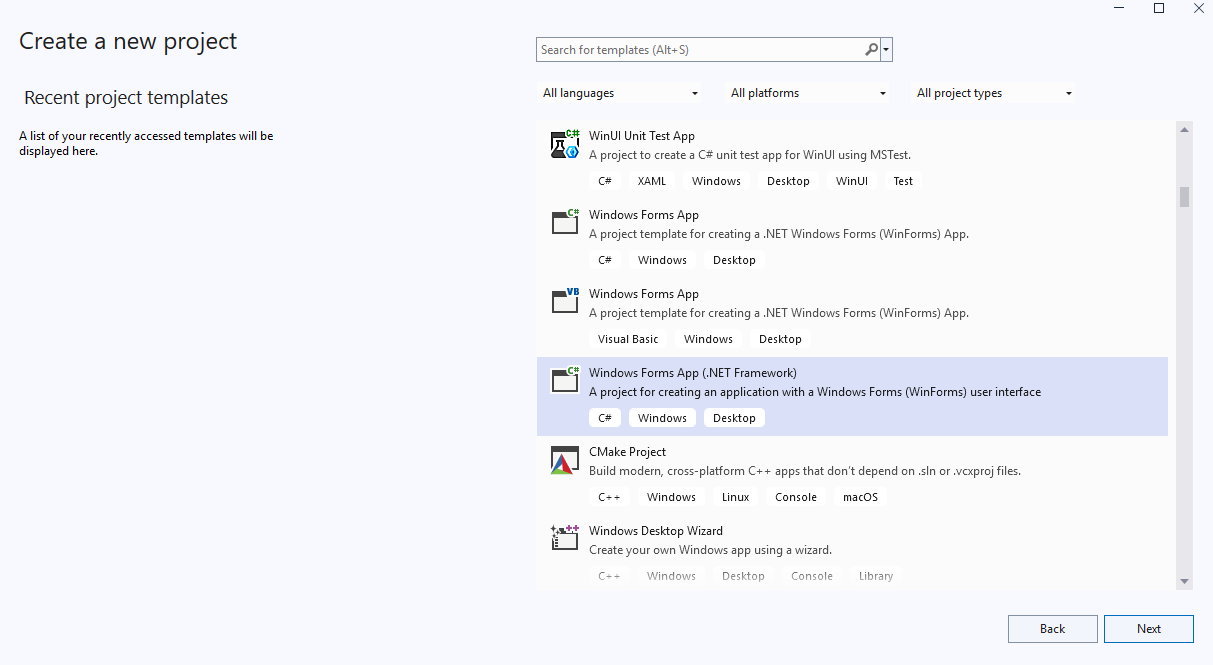
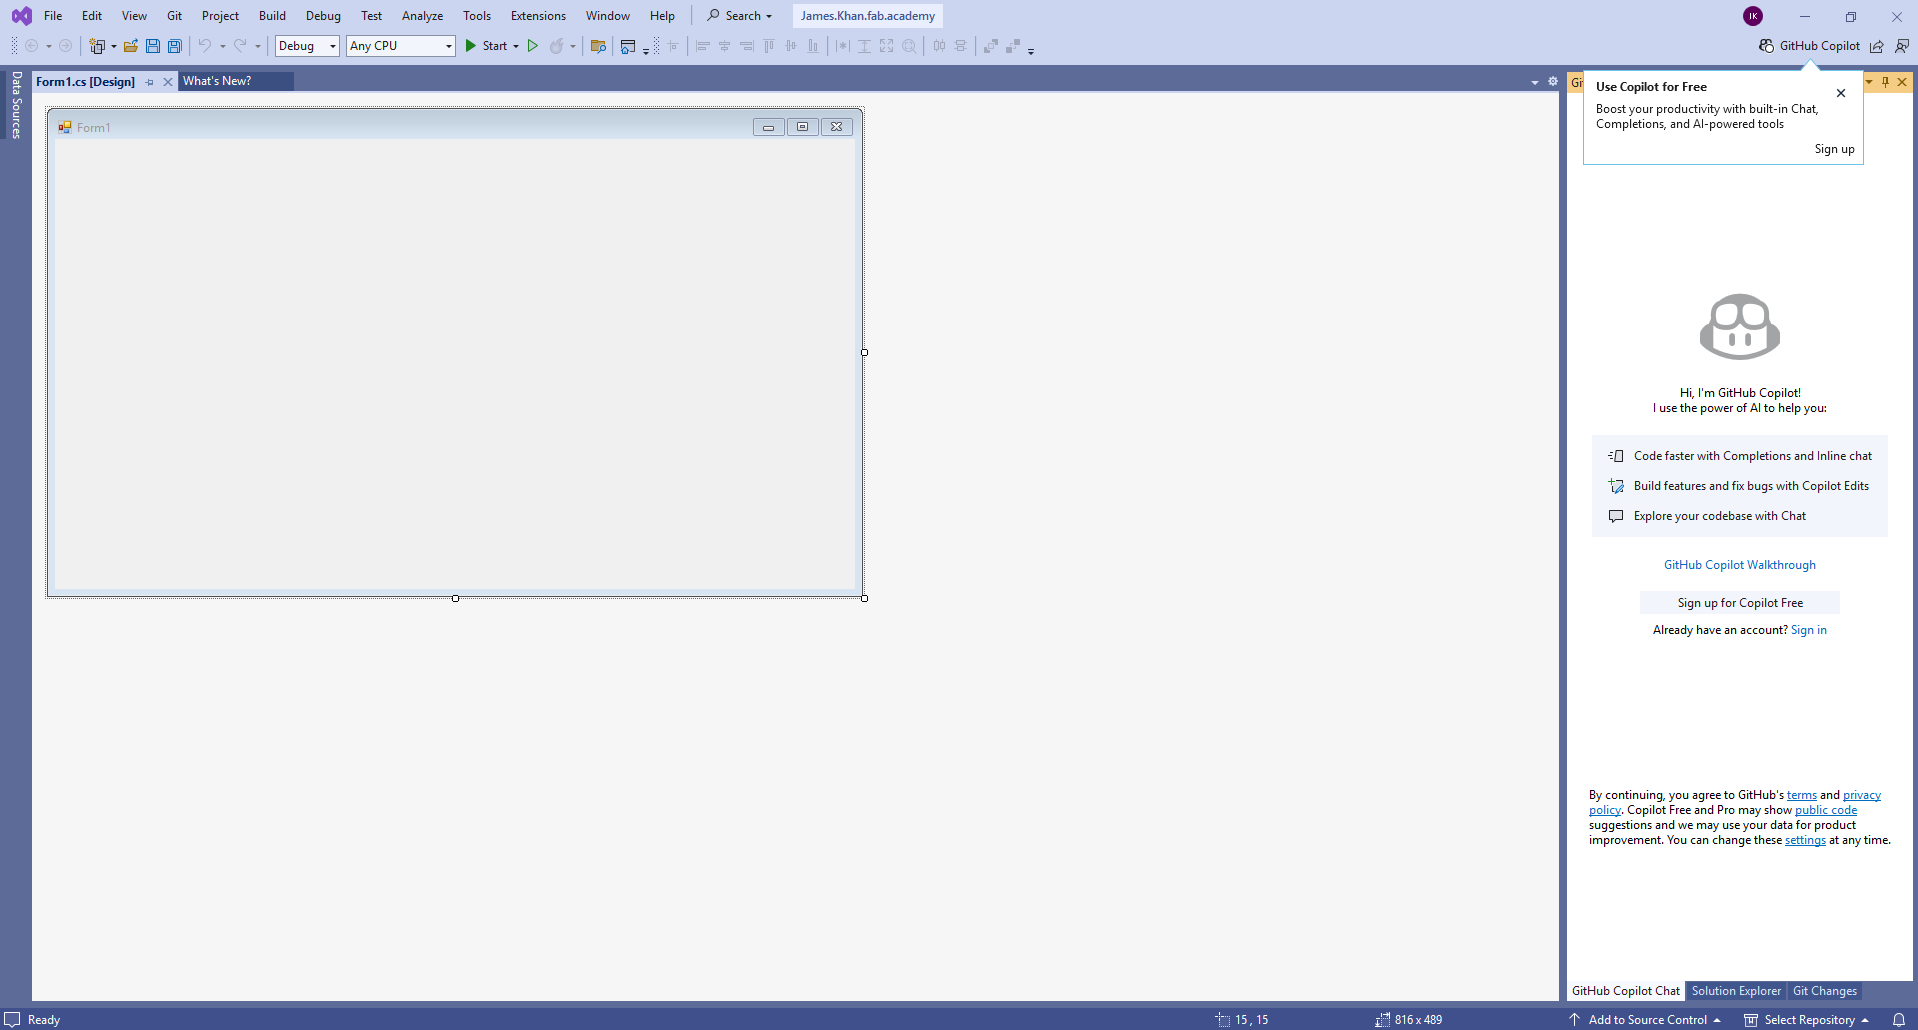
Name my project and start. I was then given the below screen as a blank window to start to design my app interface.
Initial test
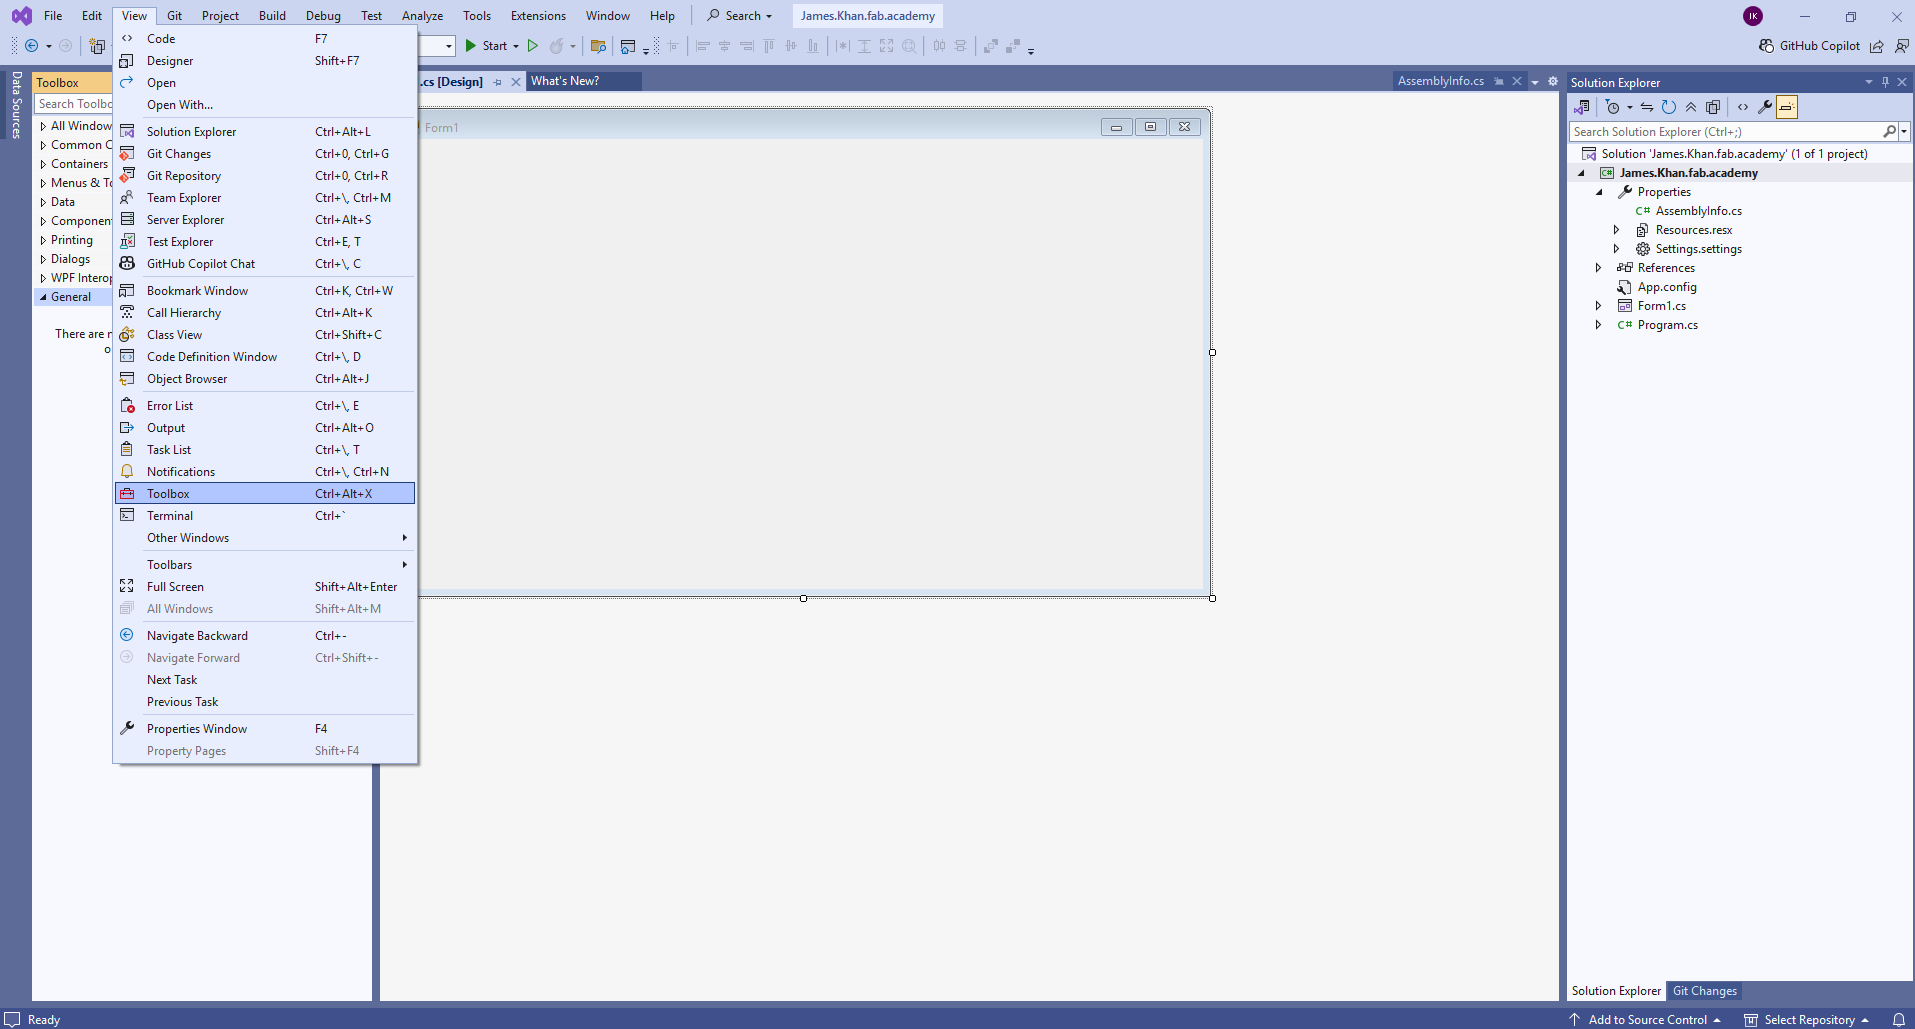
The first thing was to bring up the toolbox window:
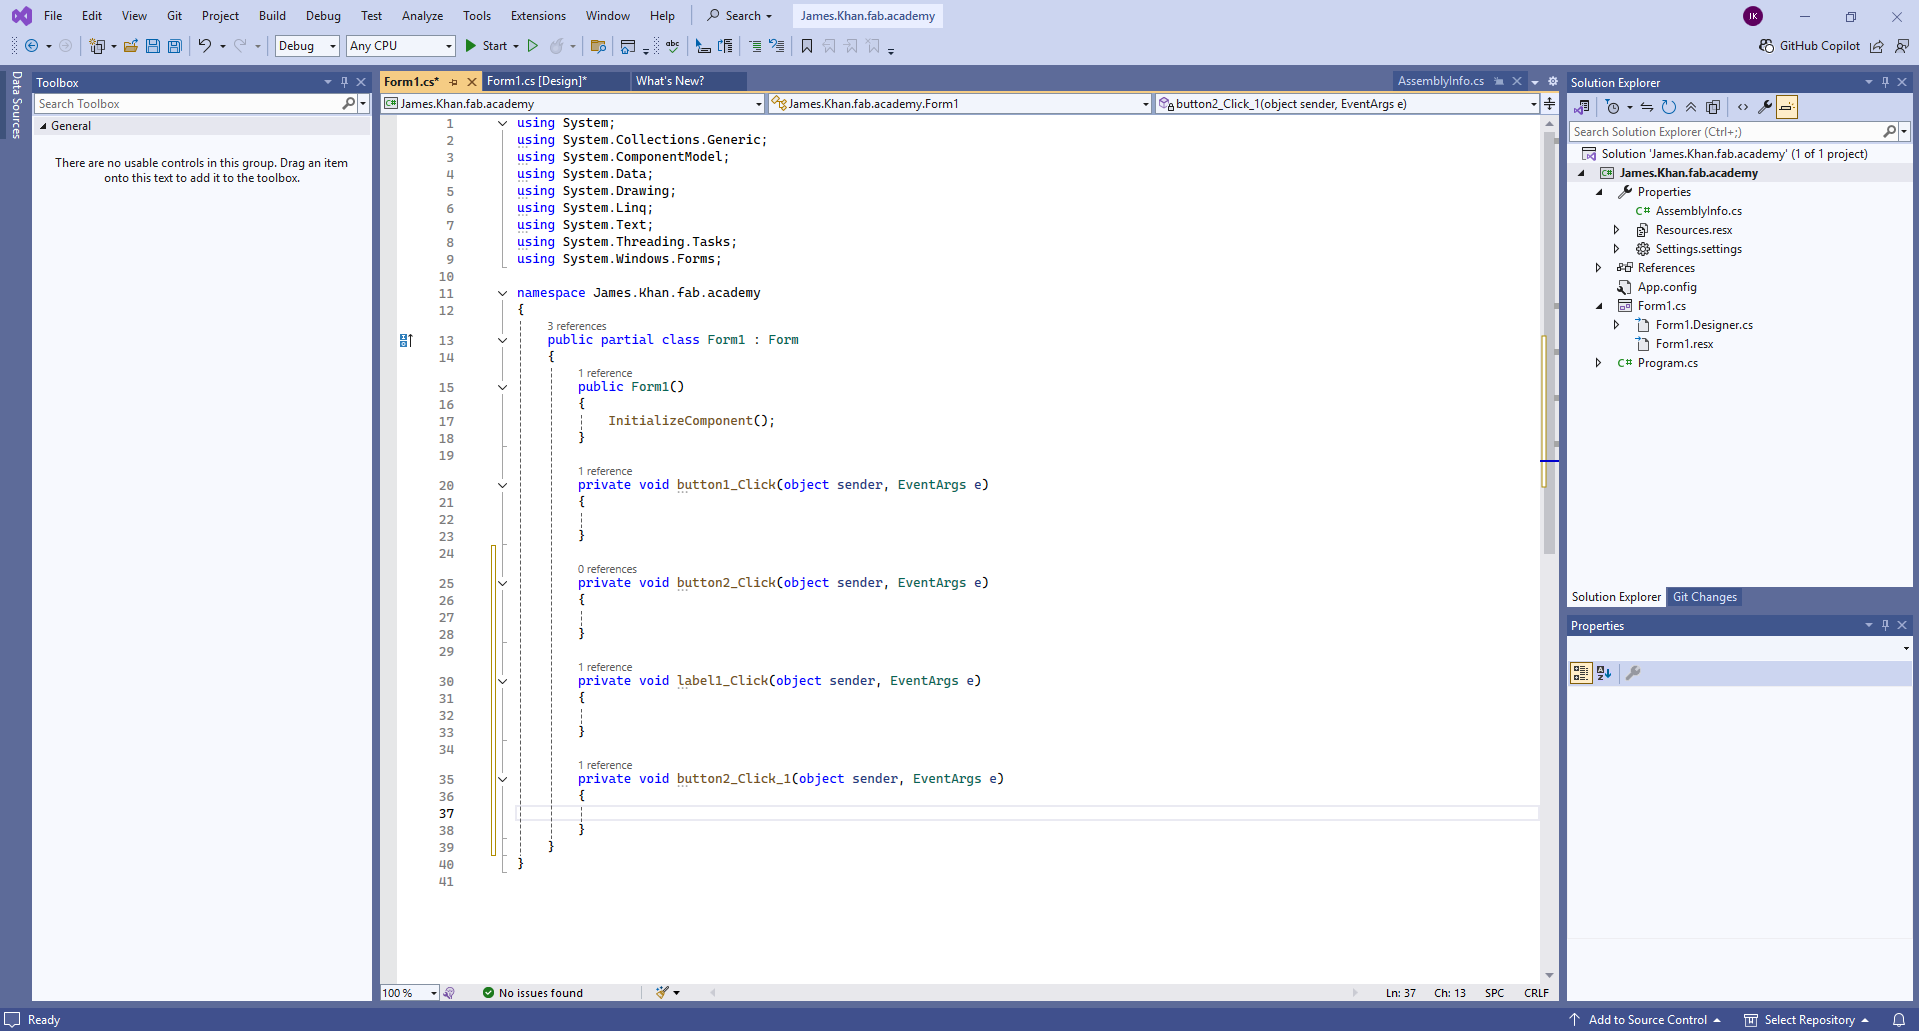
I then added a few buttons and a text box from the toolbar menu and did a little formatting to make them look nicer.

- For the first test I am only going to use the “Send Hello” and “Send Goodbye” buttons. and make sure that the communication to the board works.
- The other buttons don’t yet do anything.
I then had to double click on the buttons to create the code telling it what to do when pressed.
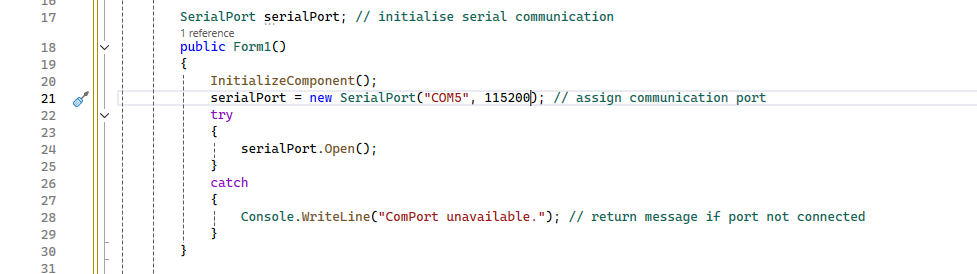
I first needed to tell the program that I would be using the serial port. My microcontroller is connected to COM5 and I set it to work at 115200 baud. so those are the settings I input.
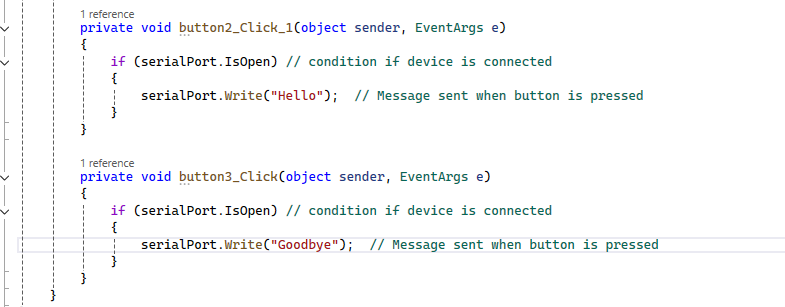
I then programmed the button2 and button3 click codes to send the text for “Hello” amd “Goodbye” respectively.
Now let’s try it out. I selected “build solution” from the “Build MENU”
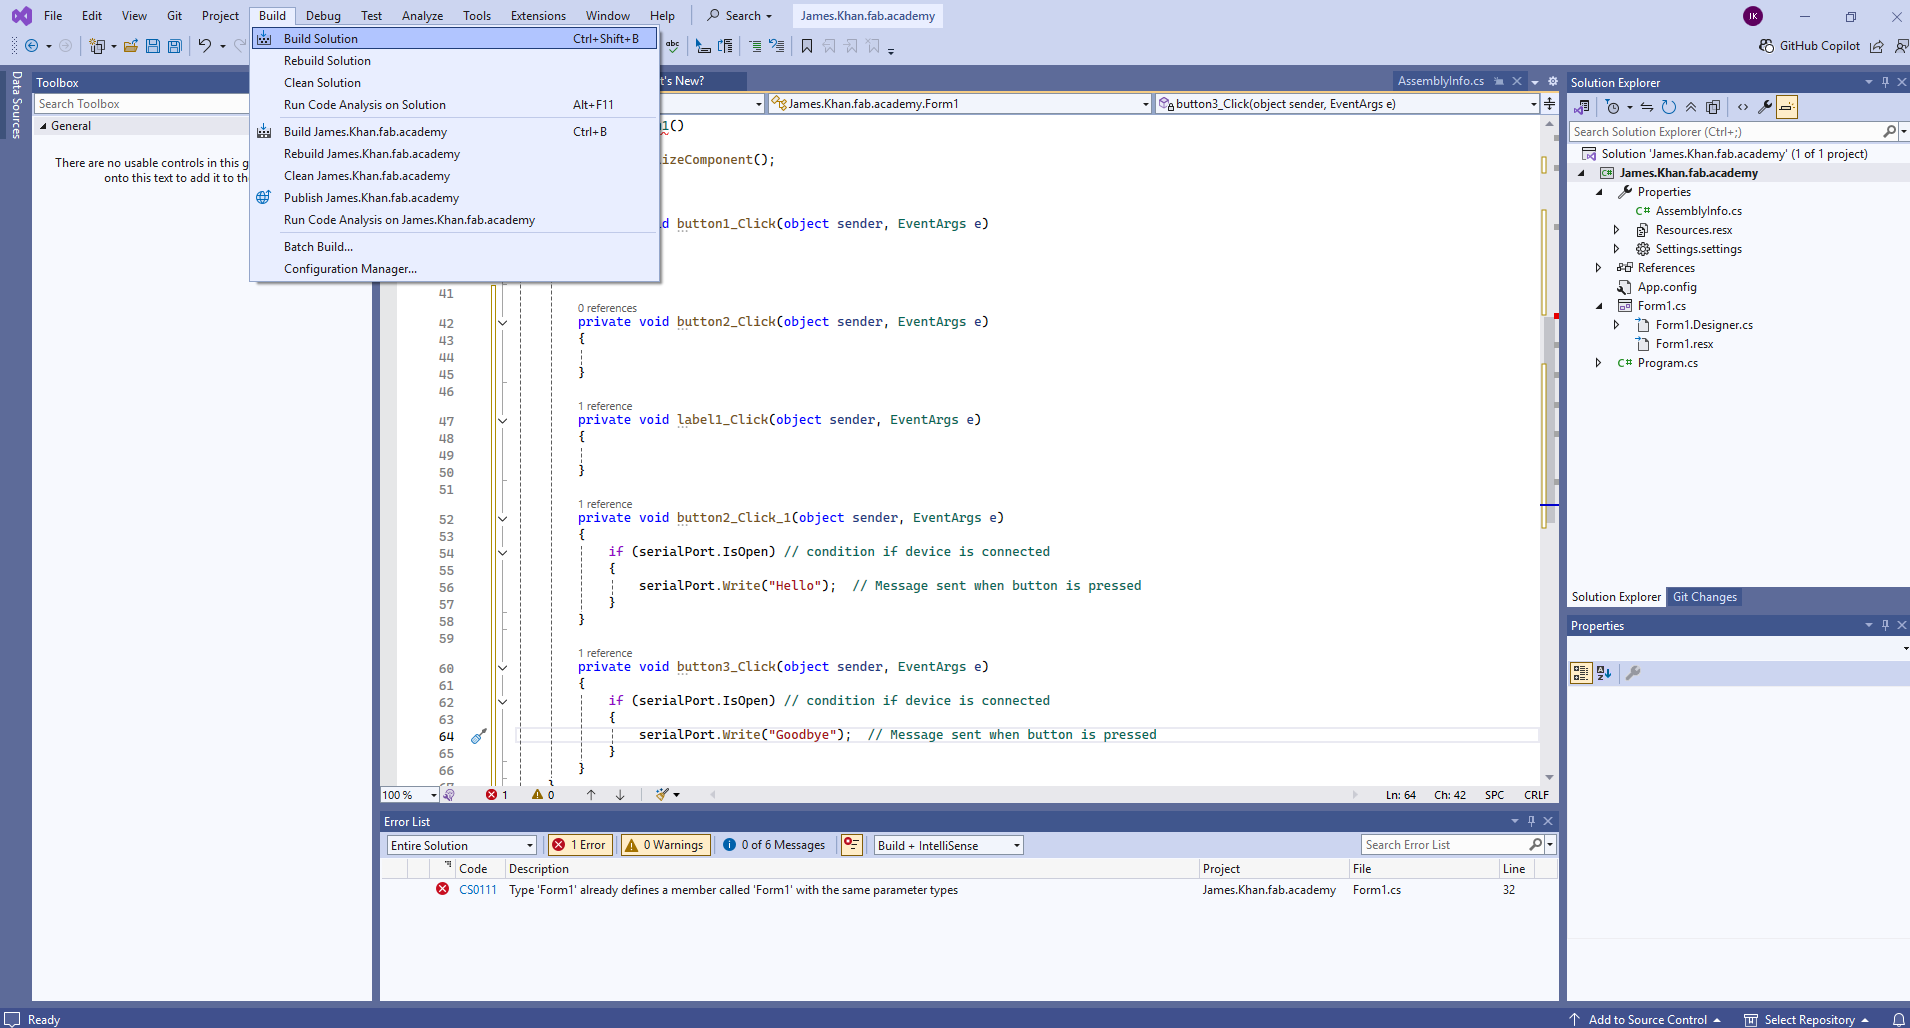
I then ran the file that was created.
SUCCESS!!
Here’s the code for that test
using System;
using System.Collections.Generic;
using System.ComponentModel;
using System.Data;
using System.Drawing;
using System.IO.Ports;
using System.Linq;
using System.Text;
using System.Threading.Tasks;
using System.Windows.Forms;

namespace James.Khan.fab.academy
{
    public partial class Form1 : Form
    {

        SerialPort serialPort; // initialise serial communication
        public Form1()
        {
            InitializeComponent();
            serialPort = new SerialPort("COM5", 115200); // assign communication port
            try
            {
                serialPort.Open();
            }
            catch
            {
                Console.WriteLine("ComPort unavailable."); // return message if port not connected
            }
        }

        private void button1_Click(object sender, EventArgs e)
        {

        }

        private void button2_Click(object sender, EventArgs e)
        {

        }

        private void label1_Click(object sender, EventArgs e)
        {

        }

        private void button2_Click_1(object sender, EventArgs e)
        {
            if (serialPort.IsOpen) // condition if device is connected
            {
                serialPort.Write("Hello");  // Message sent when button is pressed
            }
        }

        private void button3_Click(object sender, EventArgs e)
        {
            if (serialPort.IsOpen) // condition if device is connected
            {
                serialPort.Write("Goodbye");  // Message sent when button is pressed
            }
        }
    }
}
finishing the program
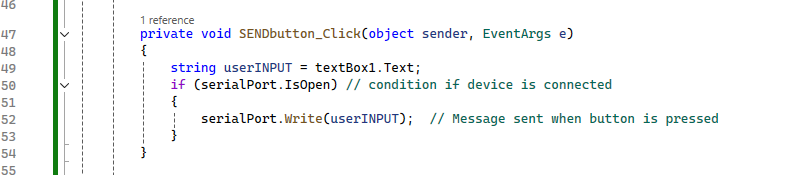
I want to build out the rest of the functionality of my app.
-
I wanted to the app to take whatever was typed in the app’s text box and send it to the serial port for the microcontroller board to display.
-
I added code to read the text box when the send text button is pressed and send it. And it turns out that’s the only big change I needed.
- I also cleaned up the code a bit, removing accidentally unnecesary procedures. I also redid the naming of buttons and slightly altered the interface formatting.
And that’s my completed app:
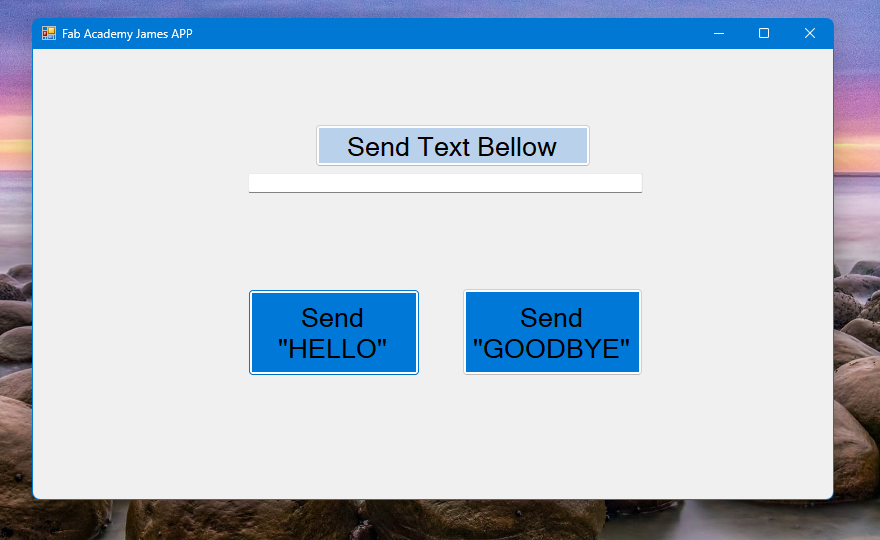
Hero Shot:
Here are my files :
The complete Visual Studio project is allot more than just the C# file, so here’s all the files: Visual Studio complete files (ZIP)
Main C# code:
using System;
using System.Collections.Generic;
using System.ComponentModel;
using System.Data;
using System.Drawing;
using System.IO.Ports;
using System.Linq;
using System.Text;
using System.Threading.Tasks;
using System.Windows.Forms;

namespace fab.academy.application
{
    public partial class Form1 : Form
    {
        SerialPort serialPort; // initialise com port
        public Form1()
        {
            InitializeComponent();
            serialPort = new SerialPort("COM5", 115200); // assign com port and baud
            try
            {
                serialPort.Open();
            }
            catch
            {
                Console.WriteLine("ComPort unavailable."); // return error message
            }
        }

        private void HELLObutton_Click(object sender, EventArgs e)
        {
            if (serialPort.IsOpen) // condition if device is connected
            {
                serialPort.Write("HELLO");  // Message sent when button is pressed
            }
        }

        private void GOODBYEbutton_Click(object sender, EventArgs e)
        {
            if (serialPort.IsOpen) // condition if device is connected
            {
                serialPort.Write("GOODBYE");  // Message sent when button is pressed
            }
        }

        private void SENDbutton_Click(object sender, EventArgs e)
        {
            string userINPUT = textBox1.Text;
            if (serialPort.IsOpen) // condition if device is connected
            {
                serialPort.Write(userINPUT);  // Message sent when button is pressed
            }
        }

        private void Form1_Load(object sender, EventArgs e)
        {

        }
    }
}
Final Thoughts
-
Visual Studio is incredibly powerful, and I haven’t even begun to scratch the surface of everything it can do. But at least now I have a good starting point in creating an app.
-
Later on I plan to add features to the app so that it can receive and display messages from the microcontroller board. I also plan to add additional buttons to do things like change OLED’s font size and clear the screen (that will require a small rewrite of the microcontroller code as well).
-
Later on I also want to add drop boxes to allow the user to select the “COM port” and “baud rate” rather than hard writing it into the code. But I’ve got a little more Visual Studio learning to do.