3. Computer Controlled Cutting
As part of the group assignment, we, Jason and Maxime had to characterize the laser cutter we were going to use. We wanted to check a few things:
- Check the focus
- Measure kerf
- Play with the power/speed ratio to find the good settings for our material for both cutting and engraving.
- Test a cut
- Test engraving
Focus
For the focus it’s actually quite simple. The Epilog as an automatic focus settings that uses a plunge to measure the material height and adjust the focus. It is however not to be used with soft materials as it will bump into it may leave traces ! Hopefully for us, the length of the waist of our laser cutter is quite long so it’s hard to be really out of focus. Once the focus is done, no need to touch it again for the same material. We couldn’t test it but we suppose that if dramatically out-of-focus, then the power would be more dissipated in the material and it may be actually better for engraving?
Kerf
To measure the kerf, we just need to cut a square and measure the difference between the expected width and measured width. Since we “lose” half a kerf unit on each laser pass, we lose a full kerf unit per square. To enhance the accuracy of the measurement, we cut 10 squares and placed them together: our result was therefore 10 times more accurate.
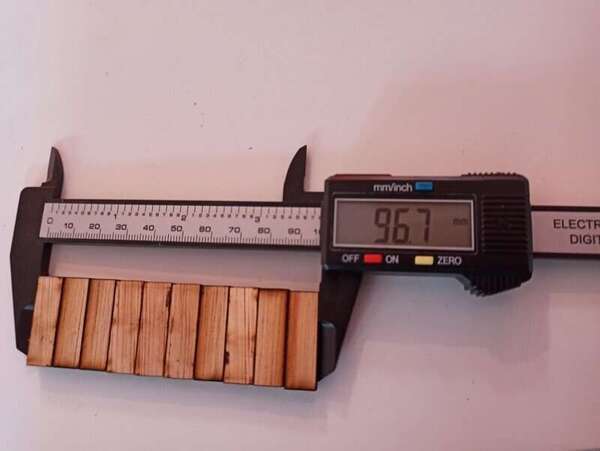
We measured a kerf of 3.3mm for the 10 squares, therefore we have a kerf unit = 0.33mm. It is actually twice what we expected (the lasersaur that our Lab uses usually has a mean kerf of about 0.17mm) so it’s a good thing we actually measured it before cutting parts of our construction kits.
To test some press-fit joints, we made a “comb-like” shape with slots of different sizes. The best fit was for joints with -0.3mm offset.

Power and speed
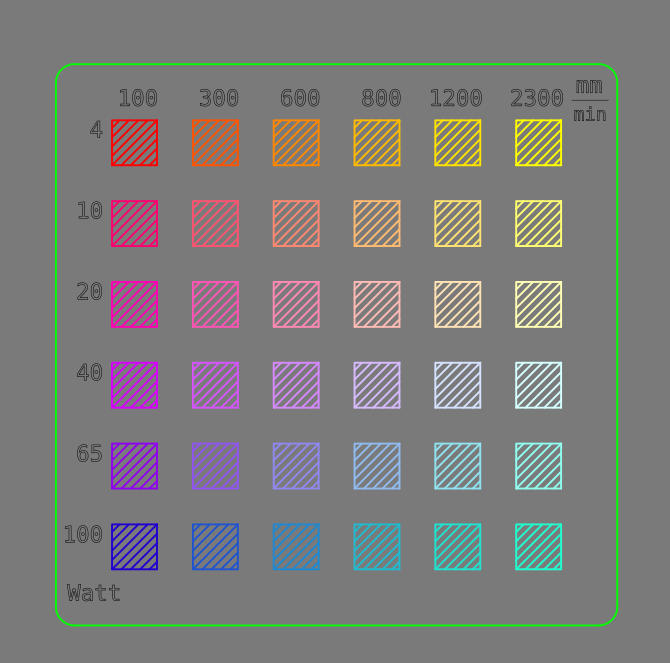
Finally to find the good speed and power ratio for our material, we prepared an SVG file with multiple squares of different colors that we could link to actual parameters in the Epilog software. Sometimes there is no need to reinvent the wheel so we just used the design of our predecessors but this time with the intent to test it on the Epilog and test the engraving capabilities.
What we could observe is that, as expected, the ratio of speed and power outputs the same result. It is quite logical as the slower the pass is, the more power is delivered to the material to ignite it and the more it pierces through the material. That means that the energy given to the material is equal to the power delivered by the laser divided by the speed.
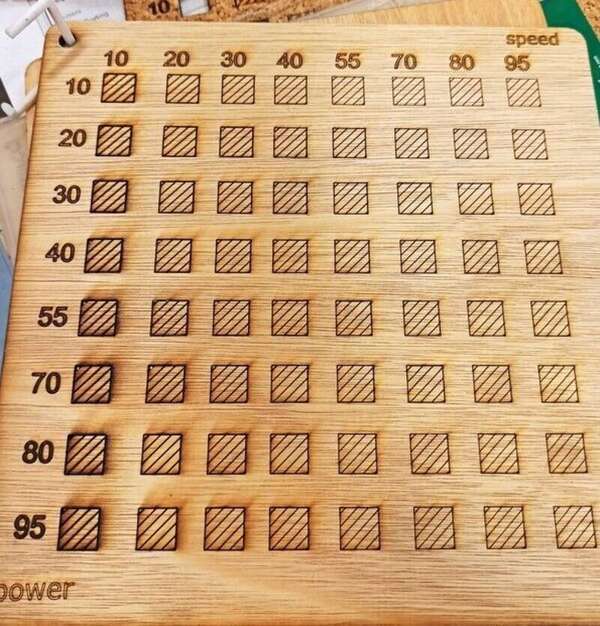
The calibration grid here above might be misleading, we some squares are still attached but were cutted to the bottom. However the wood is very fibrous and you have to detach the bottom, the stock we used is 5.3mm thick.
By varying the speed and power, we can also engrave different color gradations:
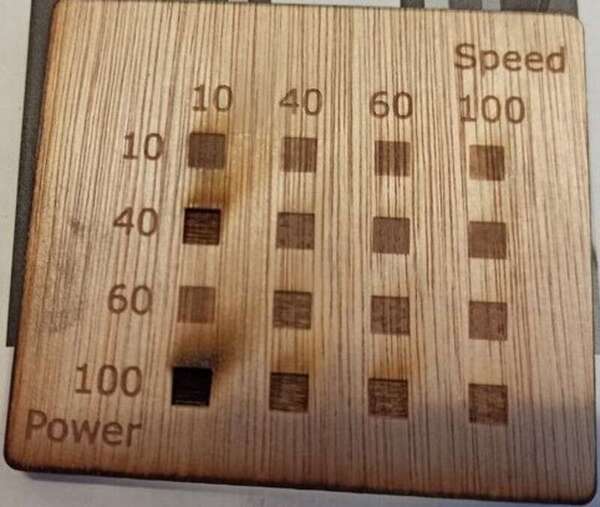
We mixed up to lines but we also noticed that we should probably test varying the DPI instead of the speed to get more control over the coloration.
The Epilog also has a “frequency” settings but even though playing with it, it did not yield visible result. It is still an unknown and is left at 100%.
Lasersaur mirror aligning
We also tried to repair the Lasersaur in our lab that was unfortunately out of order. We therefore spent quite a lot of time aligning the mirrors.
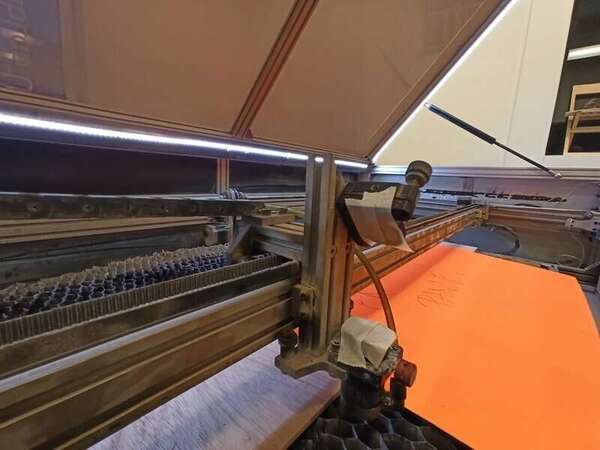
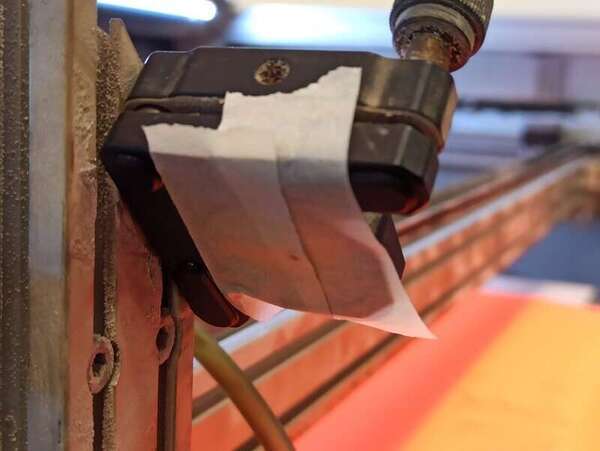

To be able to make a very short laser pulse, there was no way to do that except actually cutting an imported SVG shape. So we did a very small square shape in SVG so that a very short laser pulse will be triggered when trying to “cut” this shape.
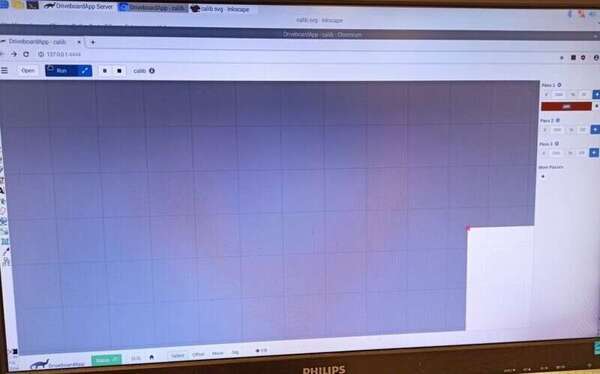
As a student, I was more trying to understand everything and so I let my instructor guide me in the process. I don’t know if this method is recommended by the Lasersaur community neither if there are other procedures that may work ? In the end, we successfully aligned the lasers with this method but issues with the lens (weird laser shape) persisted.