11. Molding and Casting
The group assignment consists in reviewing the safety data sheets (SDS) for each of the molding and casting materials we chose. We also made test casts with each of them (or each family).
Safety
In particular, we tested (with the datasheets linked):
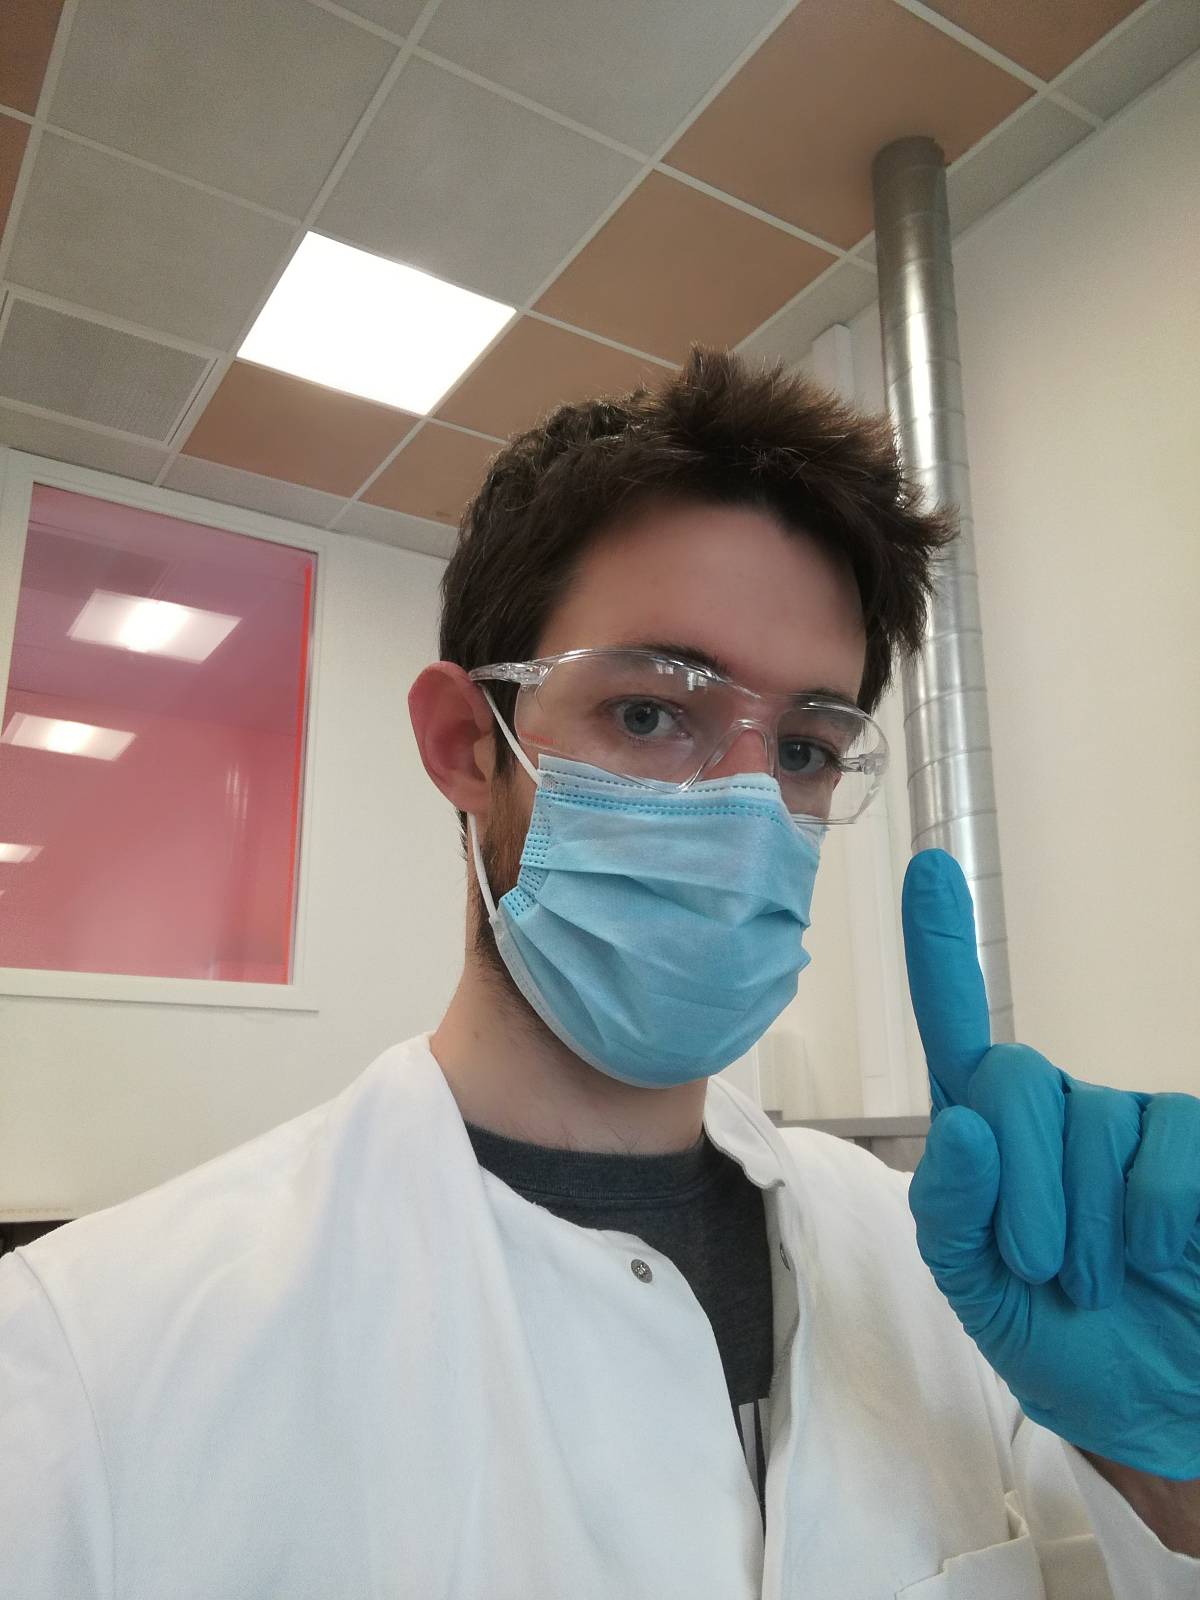
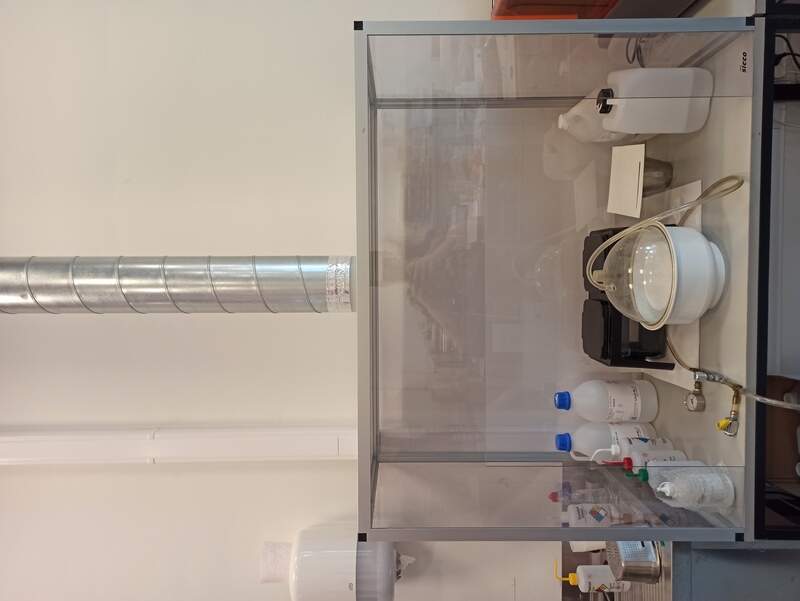
We noticed that all datasheets are talking about gloves, long sleeves, ventilated area (“room size” ventilation) and safety glasses. Because of this, we made to always work nitrile or latex gloves, lab coats, glasses and under a vent in the lab.
Types and usages
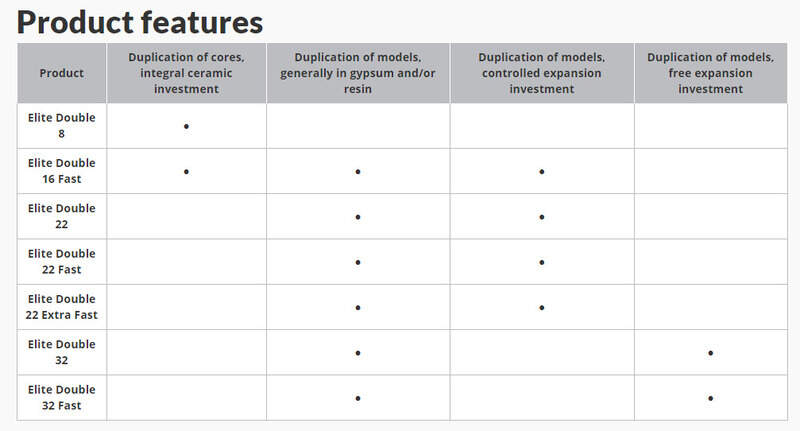
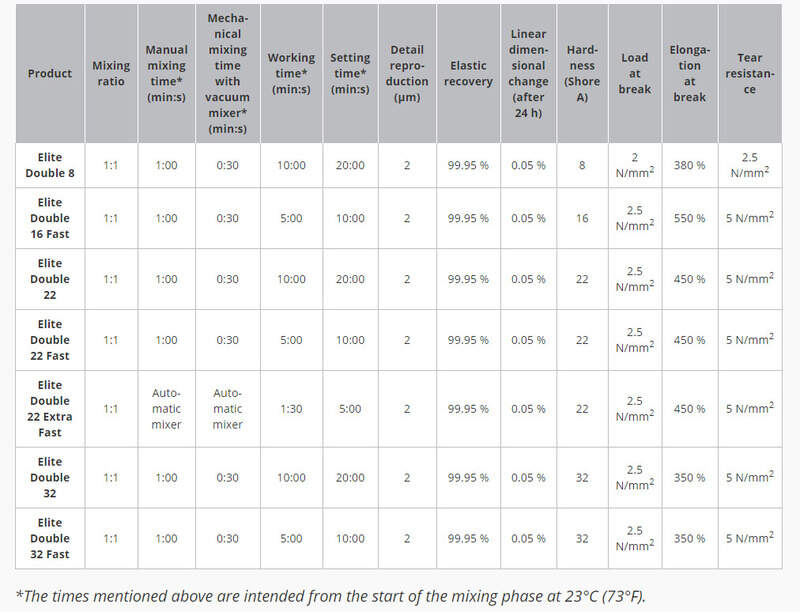
Having a look at the various datasheets, we can see that some of them are bio-compatible (Elite double 8 for example, which is used for dental work). The materials are categorized according to their final hardness (shore), pot life and curing time, material, …
examples of instructions for use (Elite double 8):
- Before using Elite Double, check that the model to be duplicated is perfectly clean. If it needs milling, be sure to remove any oily residues; use of a solvent such as acetone is recommended. Wait for steam to evaporate, if used, and make sure that the model is perfectly dry. Select a flask of appropriate size, then anchor the model onto its base with wax
- Measure or weight equal amounts of Catalyst (white) and Base (coloured) in a graduated container.
- Mix the two components well, until colour is even.
- slowly pour Elite Double, preferably from a height of about 30cm above the flask. If the quantity measured out is not sufficient to complete the process, wait until the silicone has hardened completely and then add more material the same way. The material will bind perfectly and the addition will have no effect on the final result. Use a jet of compressed air between the model and the mould created. Do not use mechanical force with a knife or other implement, and do not pull it away from the flask, or you may deform the mould
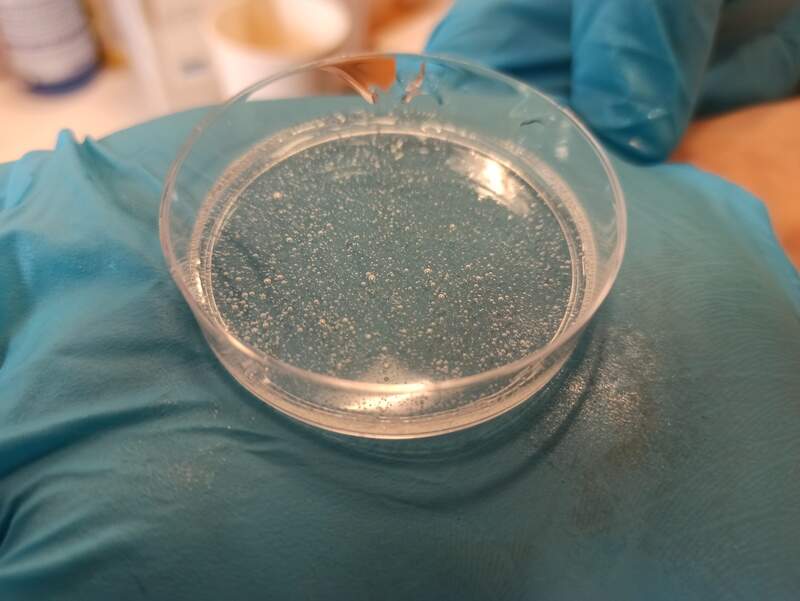
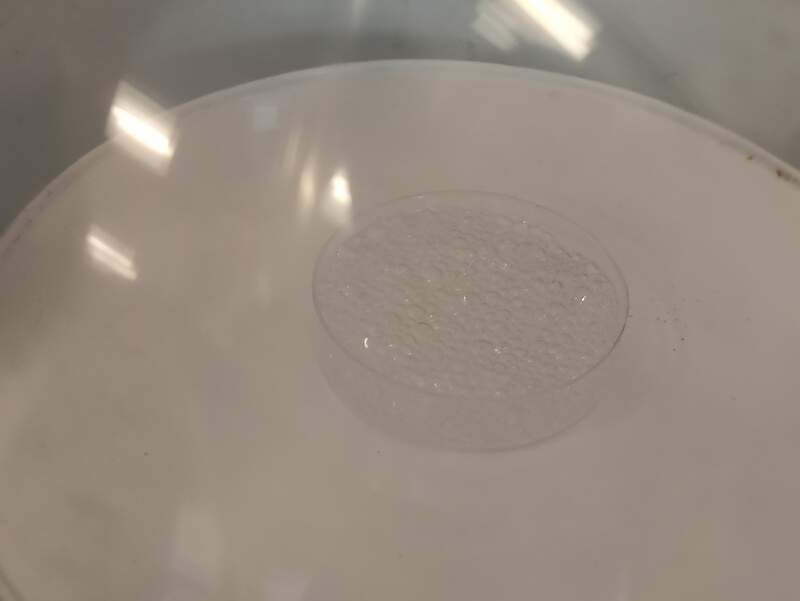
Test casts
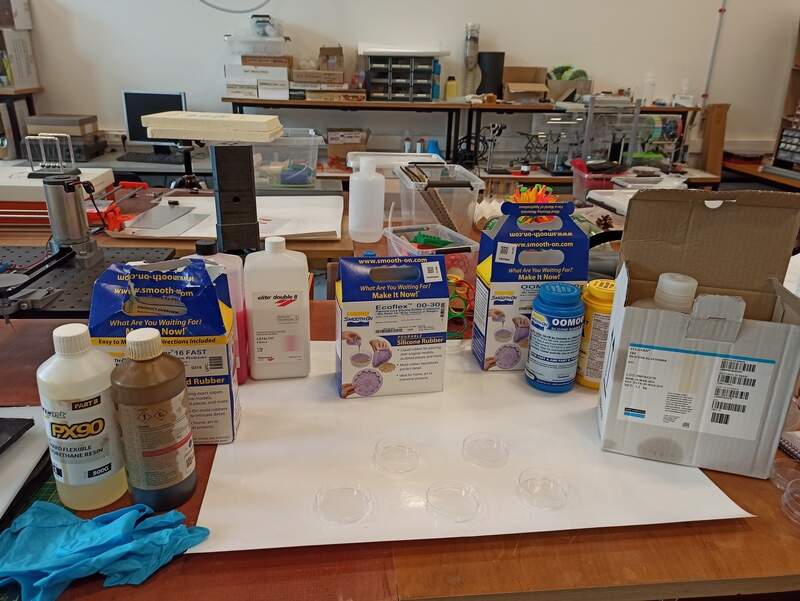
We used Petri dishes to test the different materials. We made sure to pour about 10g of each material, while respecting the mix prescribed by the manufacturer.

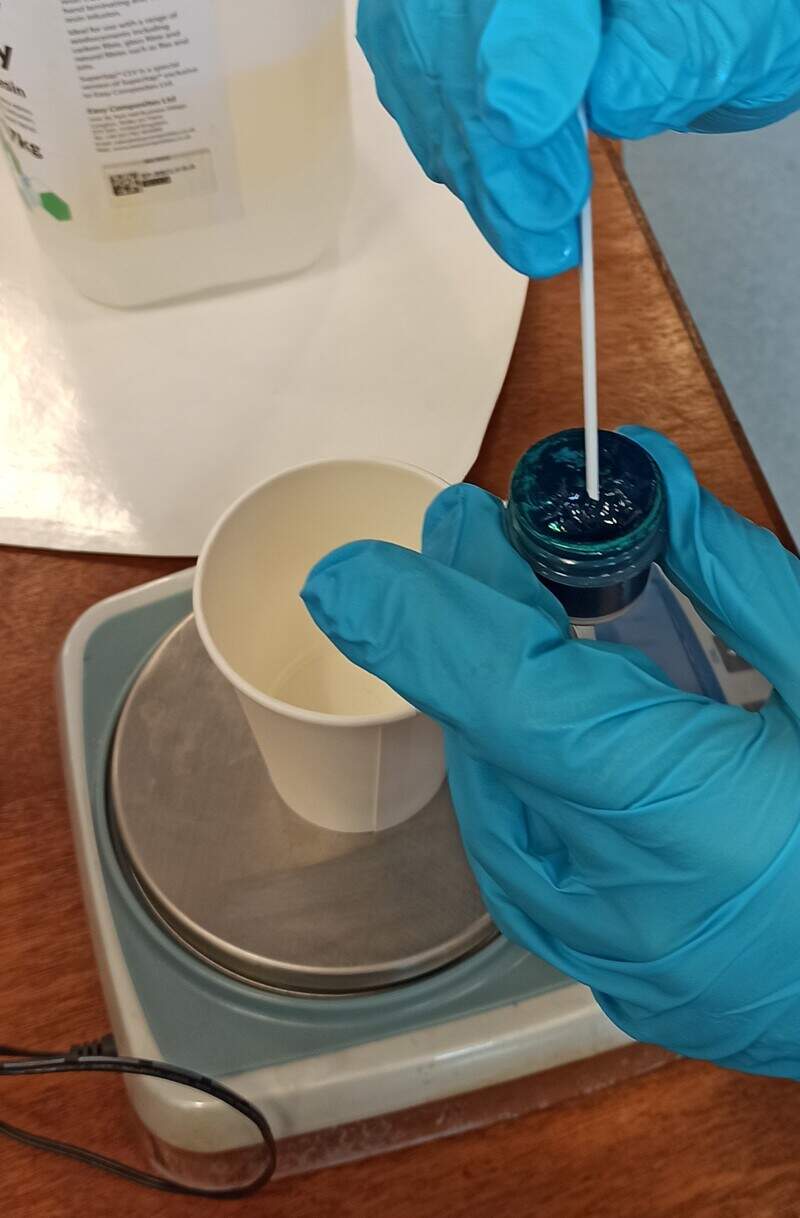
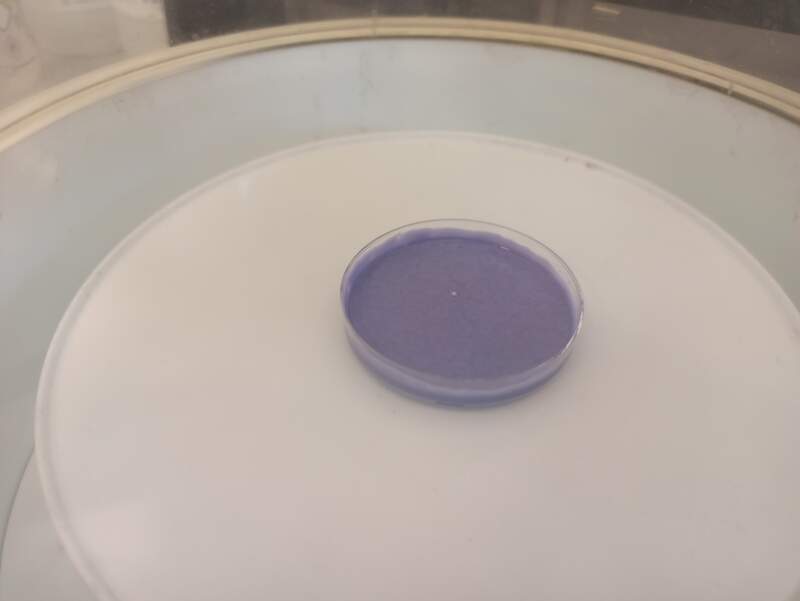
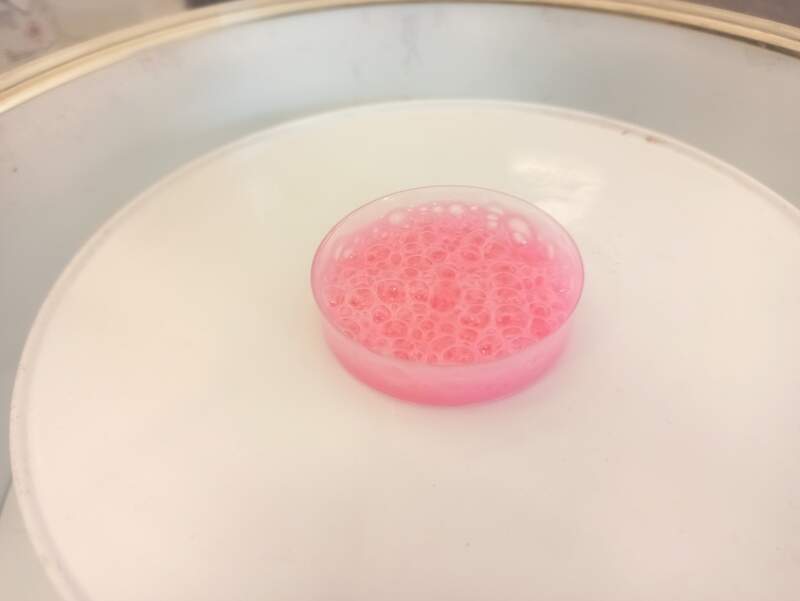
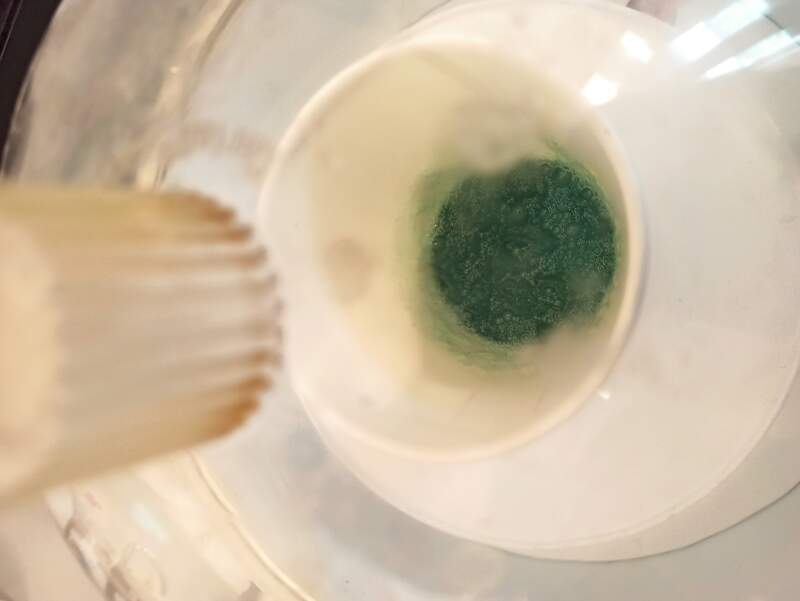
We also played around with some pigments:
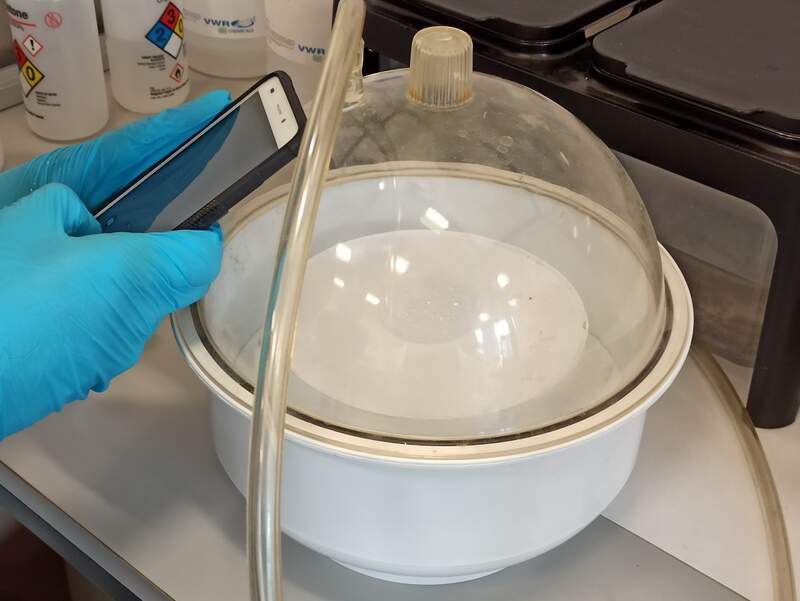
and used the vacuum bell. We had an analog manometer so it was sometimes difficult to read the exact values but we reached around 0.2 bar for efficient degassing. We also noted that going too low in pressure would result in never-ending bubbles as the solvents would start to evaporate (or at least we think so).

Same goes for other materials:
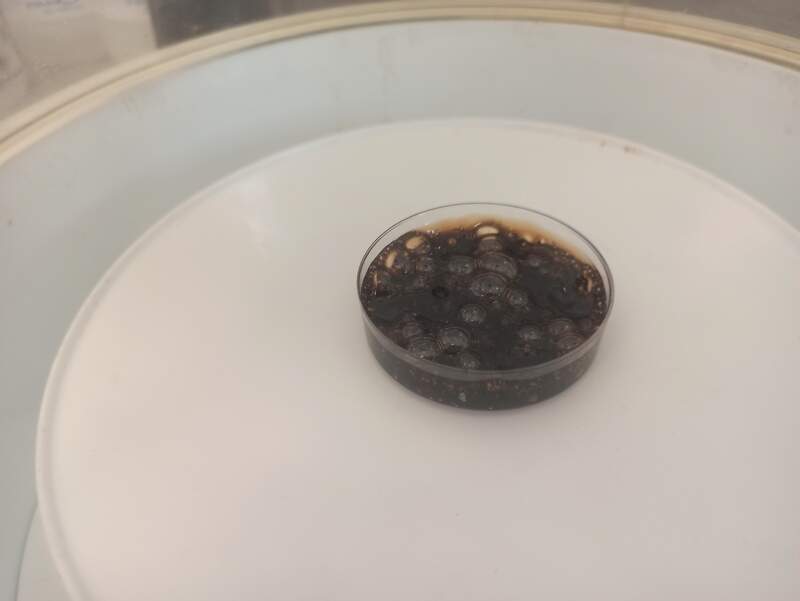
Our test casts:
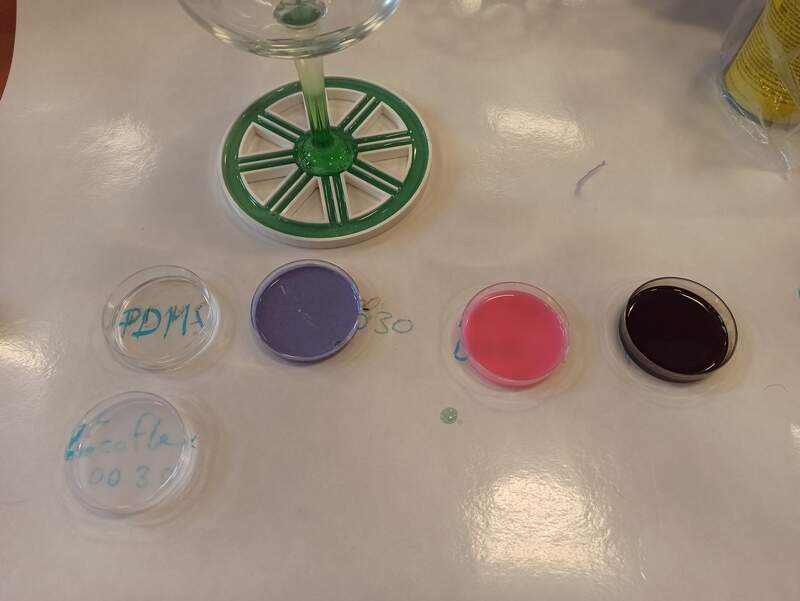
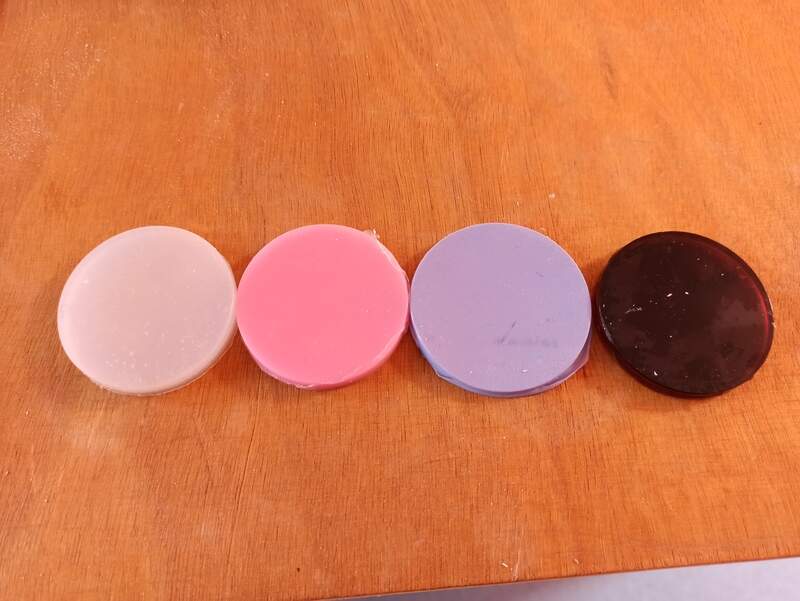
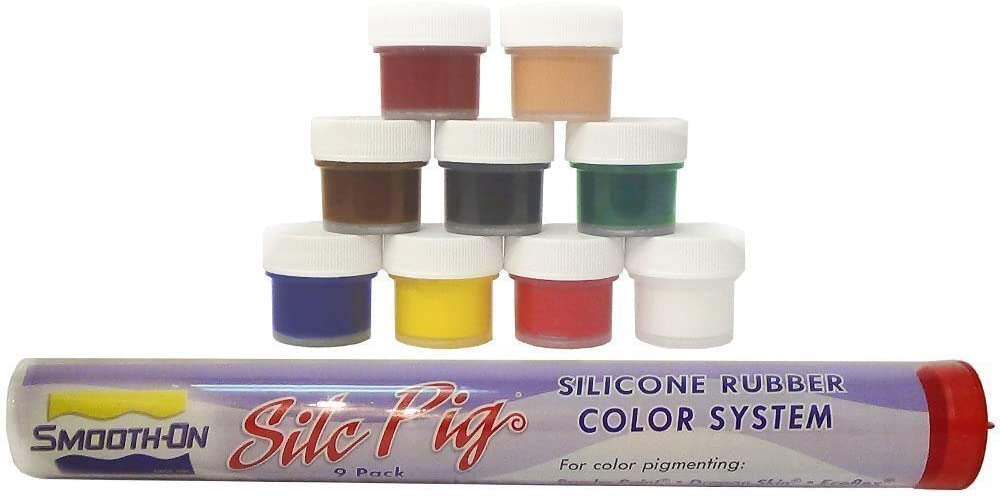
For the pigments in the epoxy (and below in the first project), we used the Smooth-on Silc Pig color system. Note that they are not soluble in water, only in silicone or fatty media.
As a conclusion for the test materials, we can say that there are large differences in terms of pot-life and curing time for the various types of molding substances. Also, some are more viscous than others and therefore need more degassing, are more difficult to pour in a mold, and sometimes it would even be beneficial to be able to centrifugate the mold for a very viscous silicone. The PDMS has really interesting optical properties and could be used for microfluidics for example but has a 24-hour curing time. Some materials already have some pigments in them like the Oomoo for example. Finally, the most obvious difference between the materials is the stiffness.