5. 3D scanning and printing
This week we worked with the Prusa printers and tried to scan objects at the lab.
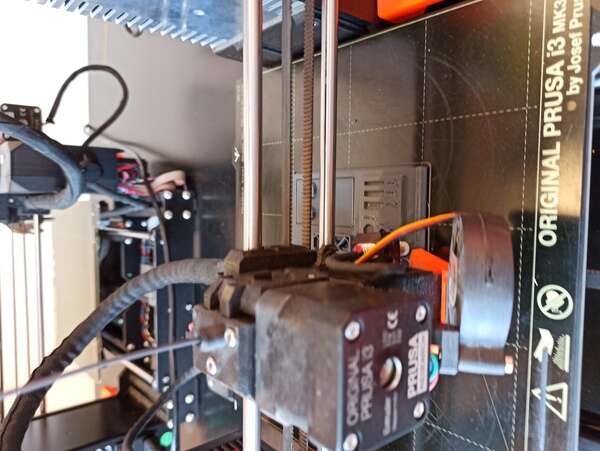
At the lab we have multiple Prusa I3MK3 and MK3S. With Jason, we started printing multiple test parts and more specifically, we wanted to get a feel of what the different materials and nozzles change.
Our fablab already printed a simple test part but we wanted to do it ourselves and test out more characteristics of the printer.
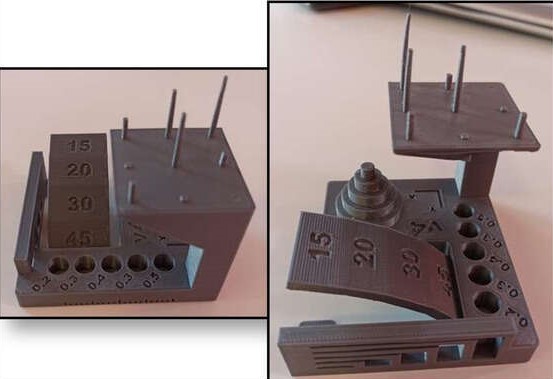
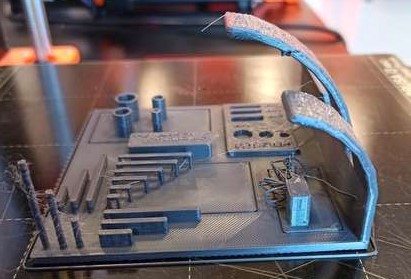
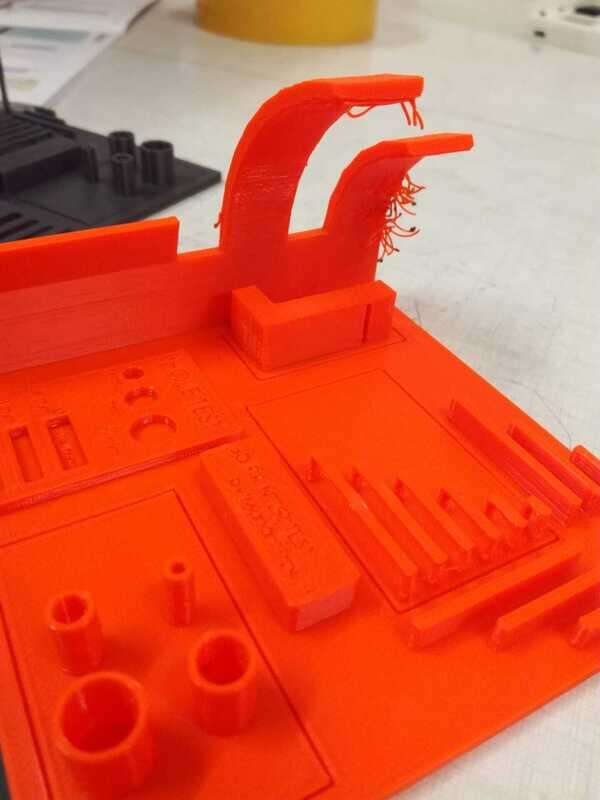
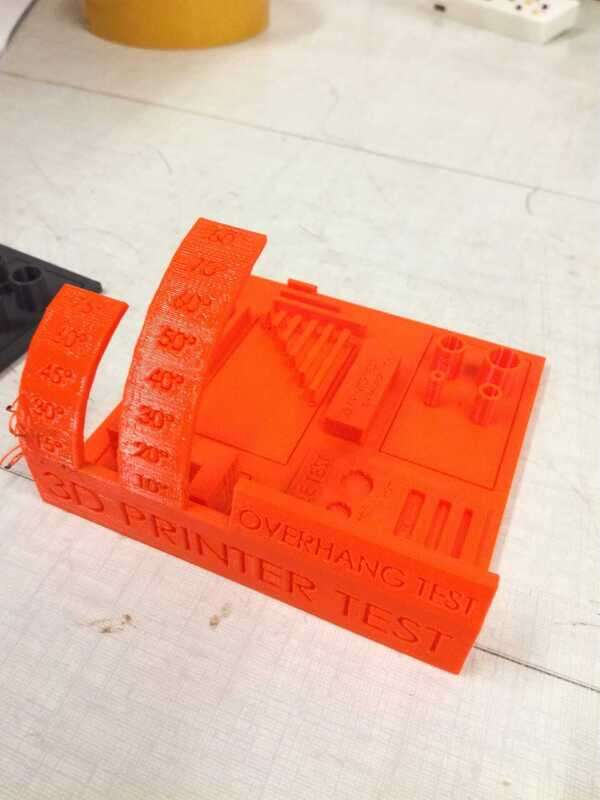
We found another nice test part online that allows to test gaps, bridges, overhangs, angles, walls and so on. We decided to print this part three times, with no support (otherwise the overhang tests do not make sense).
PLA 0.4mm nozzle
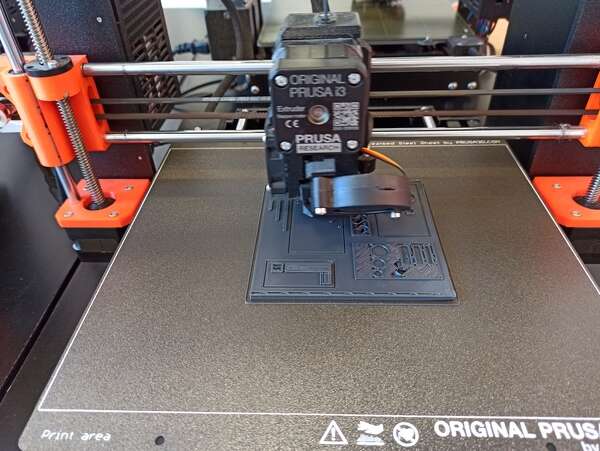
First with a PLA filament and a 0.4mm nozzle (0.2mm resolution), 10% infill. For the PLA, we stuck to the recommended temperature (i.e. 210°C extruder, 60°C heating plate).
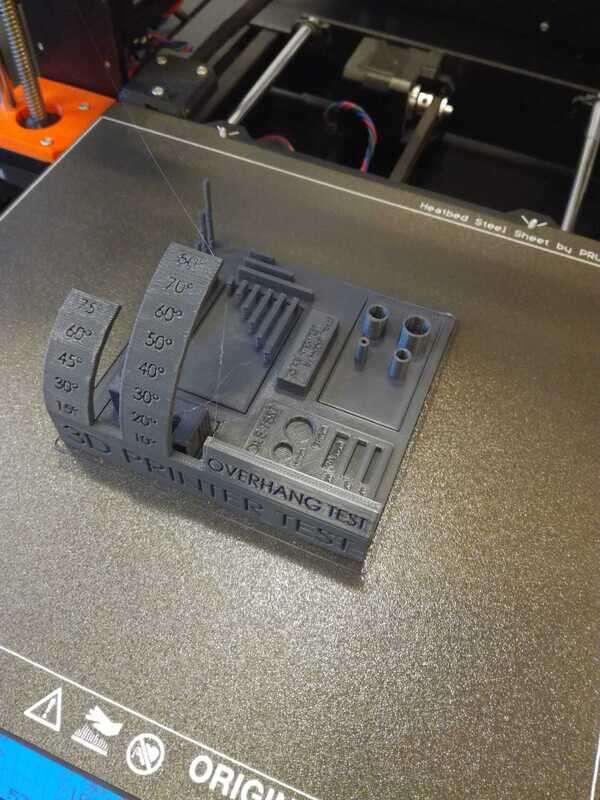
PLA 0.6mm nozzle
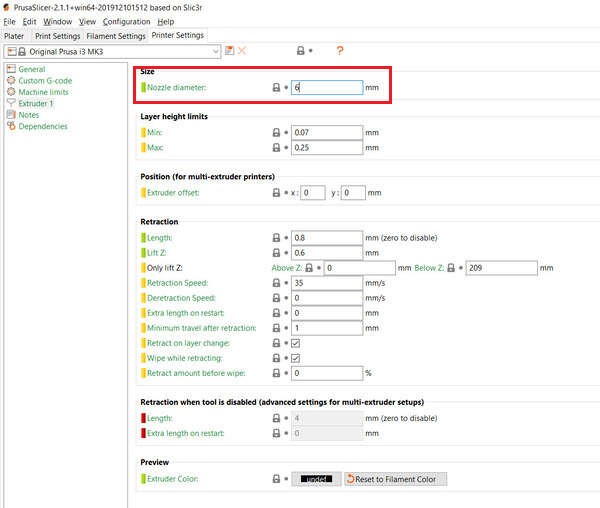
Second, PLA filament, 0.6mm nozzle (0.3mm resolution), 10% infill. Note that you actually need to specify the nozzle diameter in Prusa’s settings.
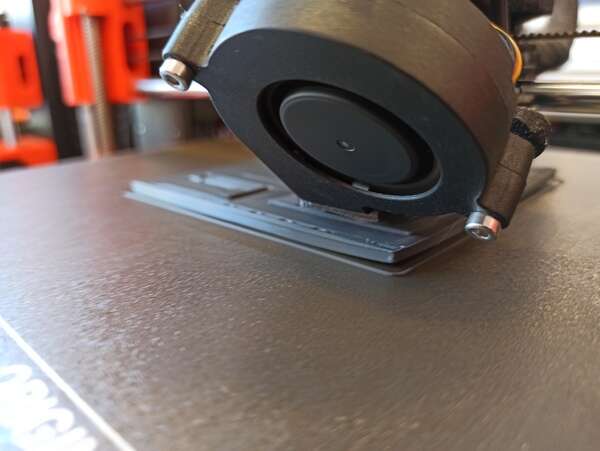
The main difference with a bigger nozzle is the printing time. We went from 4h30 to 3h, a 33% reduction. On the other hand, we lose in resolution and it can especially be seen on the thin walls. We also had trouble with the bottom plate not sticking correctly to the heating plate.
PETG 0.4mm nozzle
Finally, PETG filament, 0.4mm nozzle (0.2mm resolution.), 10% infill. PETG is PET with added glycol. It is a more rigid but more brittle material than PLA but harder to print (we had worse results than with PLA, especially due to the bottom layer not sticking correctly to the heating plate). It must be heated at a much higher temperature (260°C extruder and 80°C for the heating plate). To help the bottom plate to stick, we added a brim but it did not do much in our case. We also tried cleaning the heating plate with acetone which helped a bit as well.
Overall, the PETG resulted in seemingly (not tested) more rigid part but hard to print (or at least we didn’t found great settings).
Prusa adaptive layer settings
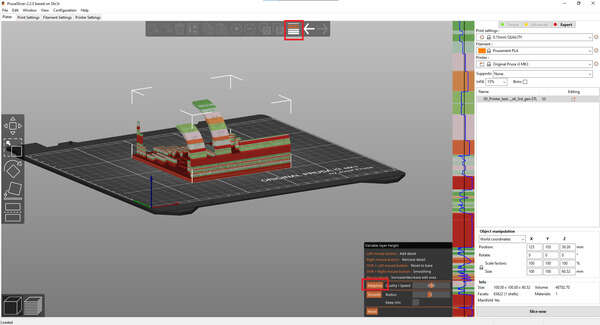
I later found out this cool settings in recent Prusa slicer releases: the variable layer height. It allows to specifically set layer speed and resolution for each layer of the part. Even more interesting, it can adapt the layer settings automatically by pressing the adaptive button. It can also smooth the resulting part.
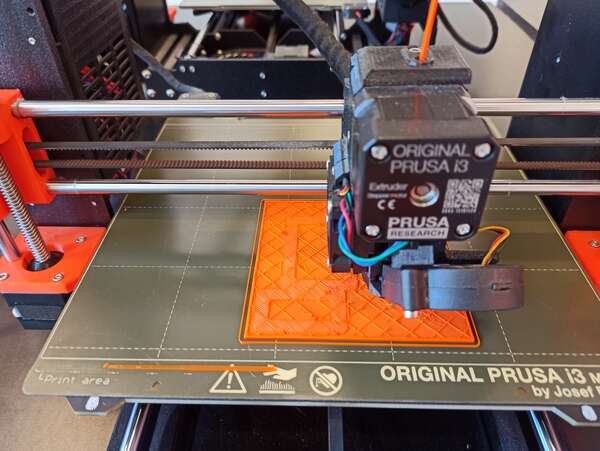
We then tested the clearance using Neil’s design. Once printed, we had to remove the support with pliers and bit of hand-work, not easy but it worked !
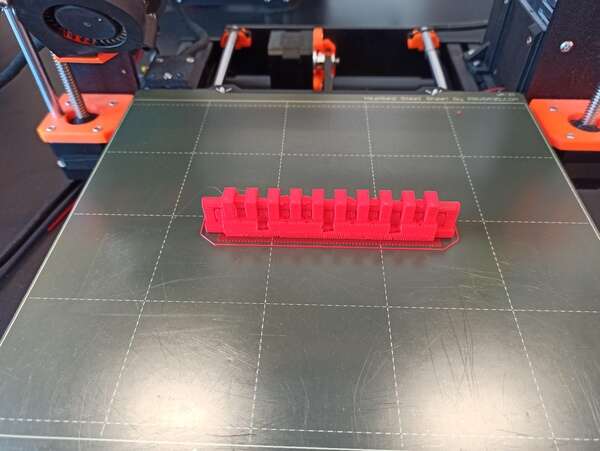
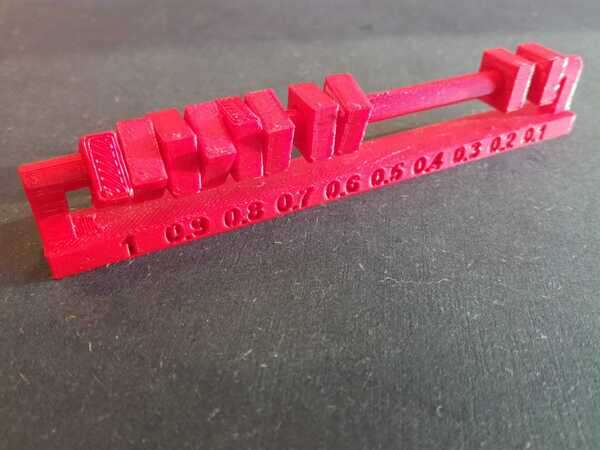
It’s interesting to see that when the gaps gets too small, the support cannot be cleared and so the two parts are linked and blocked together.
3D-scanning
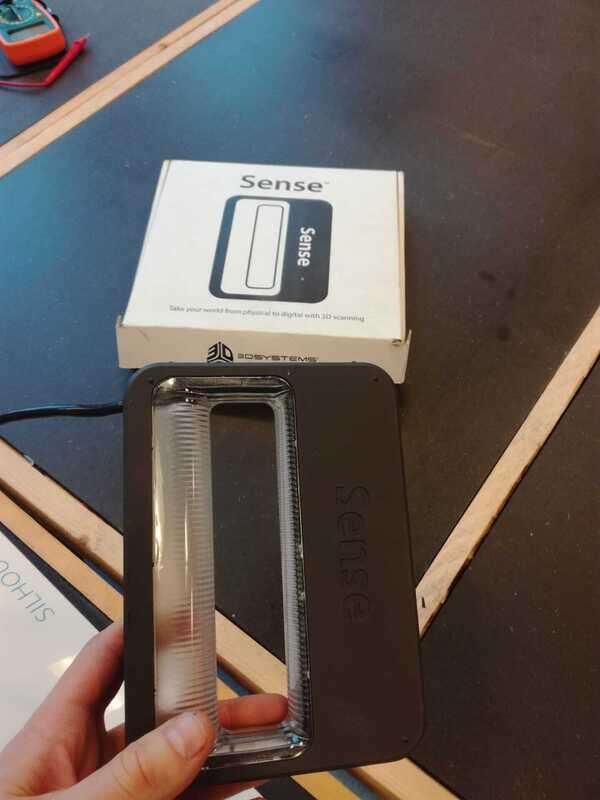
3D sense
At our lab, we have a 3D sense. Unfortunately, the company manufacturing it went bankrupt and the software isn’t available anymore. Bad luck.
Jason and I used other 3D scanning methods. Check them out on our pages !