WEEK 08
- 1.-Introduction
- 2.-Teamwork
- 3.-LED Flashing Programming
- 4.-Programming with Arduino ID
- 5.-Programming with PlatformIO
- 6.-Experience and conclusions of the week WEEK8
- 7.-FILES
Embedded Programming
Teamwork
Individual Assessment
Fab-Weeks
Are you looking for my assignments?
Links and notes
more information:
Week 08: Embedded Programming:
1.-Introduction:
This week I am going to program the board from two different programming environments and be able to compare one with the other.
Programming will be simple, make the microcontroller activate and deactivate a led, using a button (the first Hello Board).
The board I use this week to test the programming is the board made during Electronics Design week (week06: Electronics Design).
Week Journal:

2.- Teamwork
If you want to know the group assessment of this week, click on the image of SediCupCt.

3.-LED Flashing Programming
This is an example with code, that when programming the electronic board, the led will begin to flash for a certain time.
To carry out this programming, the language I have used is C programming language and I have compiled it with Arduino ID.
Support information: https://forum.arduino.cc/uploads/short-url/tyyTMEwR2HvoNw2pii1QmUmmyrt.pdf
I am going to comment that it is interesting to consult pages from 63 to 104 (8-bit Timer / Counter0 with PWM, 16-bit Timer / Counter1 & Time / Counter Prescaler).
The full ATtiny 44 datasheet is here: https://ww1.microchip.com/downloads/en/DeviceDoc/Atmel-7701_Automotive-Microcontrollers-ATtiny24-44-84_Datasheet.pdf.
Option with code on and off, each operation with its delay:
#include
#include
int main (void) {
DDRA |= (1 << PA7); // set LED pin as output
while(1) { // main loop
PORTA |= (1 << PA7); // switch on the LED
_delay_ms(1000); // wait a second
PORTA &= ~(1 << PA7); // switch off the LED
_delay_ms(1000); // wait a second
}
}
Same operation, Option with operator ^ =
#include
#include
int main (void) {
DDRA |= (1 << PA7); // set LED pin as output
while(1) { // main loop
PORTA ^= (1 << PA7); // toggle the LED
_delay_ms(1000); // wait a second
}
}
** With this method, when using the _delay_ms () function, during the allotted time, the microcontroller keeps doing this (delay) with this function and cannot do another one in the meantime.
Atiny44 has two timers: Timers are registers that increment from zero to 0xFF (255) or 0xFFFF (65535) depending on whether they are 8-bit or 16-bit.
But I have put an additional external resonator. As on the board I have used a 20Mhz resonator: 20 MHz, or 20,000,000 times per second.
The timers generate an interrupt that causes the main program to stop, the microcontroller does a few small operations or short task, and returns to the main program.
So what number shall we count to? In relation to the 20 MHz clock speed, a second is a very long time so it makes sense to pre-scale the timer to as slow as possible. So it will be incrementing at a rate of 20000000 Hz/1024 = 19531.25 Hz. Counting to 65535 at this speed would take 65535/19431.25 = 3.355392 seconds. Therefore 1 second will take 65535/3.355392=19531.25 increments. To set this as the maximum the timer should count to, we set Output Compare Register 1 A (OCR1A) to 19531.
First of all, interrupts must be enabled with sei (). Then we include the function that corresponds to the interrupt that we have activated; in this case, the setting of the OCIE1A bit corresponds to the interrupt service routine TIM1_COMPA_vect (ISR).
Within this routine, we simply change the LED as before. Here is the full program:
#include
#include
int main (void) {
DDRA |= (1 << PA7); // set LED pin as output
TCCR1B |= (1 << WGM12); // configure timer1 for CTC mode
TIMSK1 |= (1 << OCIE1A); // enable the CTC interrupt
sei(); // enable global interrupts
OCR1A = 19531; // set the CTC compare value
TCCR1B |= ((1 << CS10) | (1 << CS12)); // start the timer at 20MHz/1024
while(1) { // main loop - do anything you like here!
}
}
ISR(TIM1_COMPA_vect) { // this function is called every time the timer reaches the threshold we set
PORTA ^= (1 << PA7); // toggle the LED
}
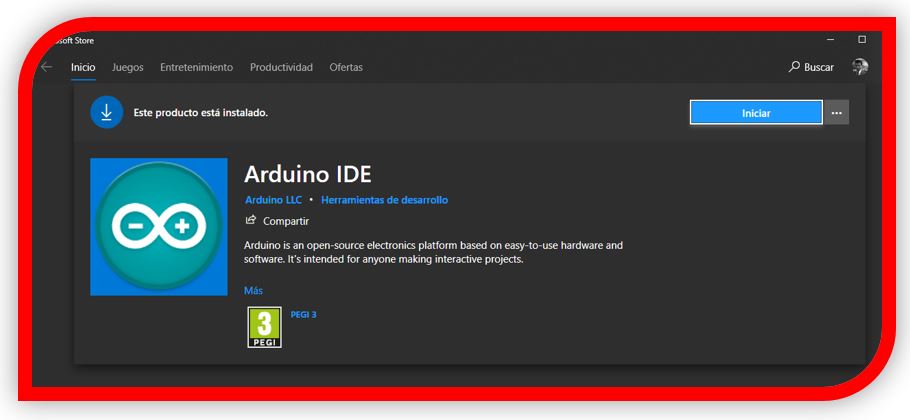
4.-Programming with Arduino ID:
I install Arduino ID (it's in the Microsoft store):
I install the libraries
https://github.com/SpenceKonde/ATTinyCore
I have to copy the following link, in the preferences window of Arduino ID. As seen in the image.
http://drazzy.com/package_drazzy.com_index.json

In the Tools window, I look for the Attiny boards and install them.
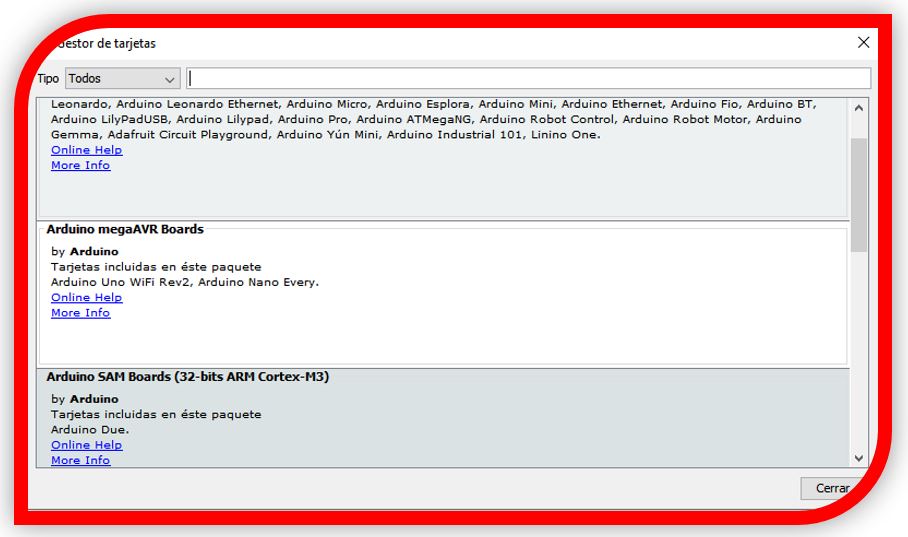
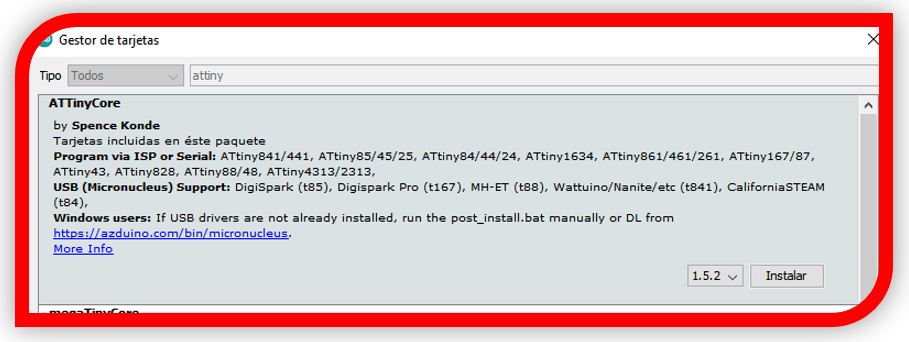
With the libraries and boards installed, I try to program my Hello board.
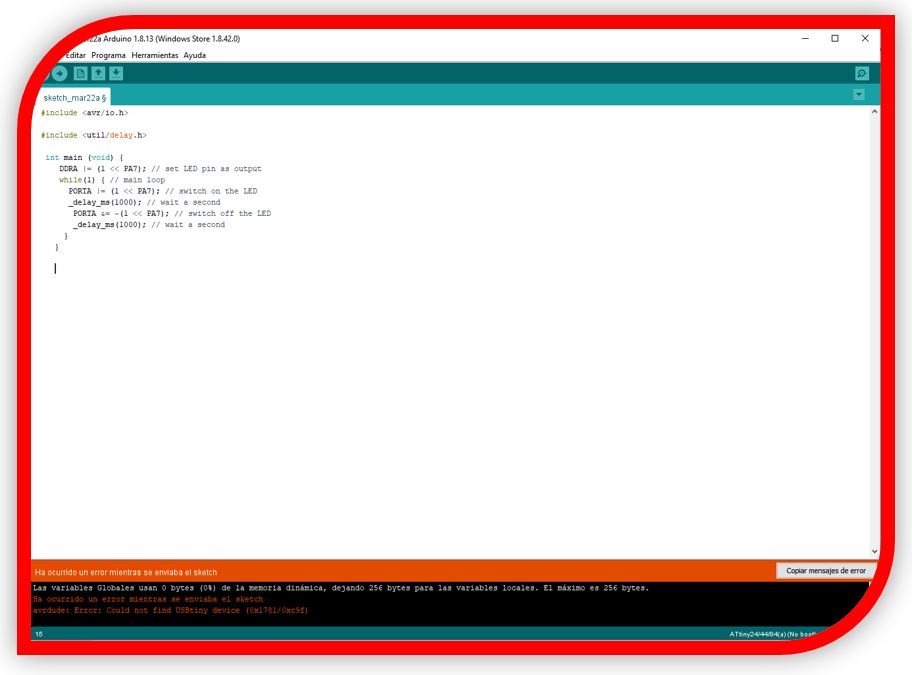
I have an issue! It is because I forgot to install the FABISP drivers in the laptop. The week of programming the FABISP use another computer.
I install the avrdude and the ardafruit. So I try to program.

Perfect! Now the Attiny44 microcontroller is programmed.
Although the microcontroller is programmed, the electronic board does not turn on the led. So, I try to change the code from port A to port B
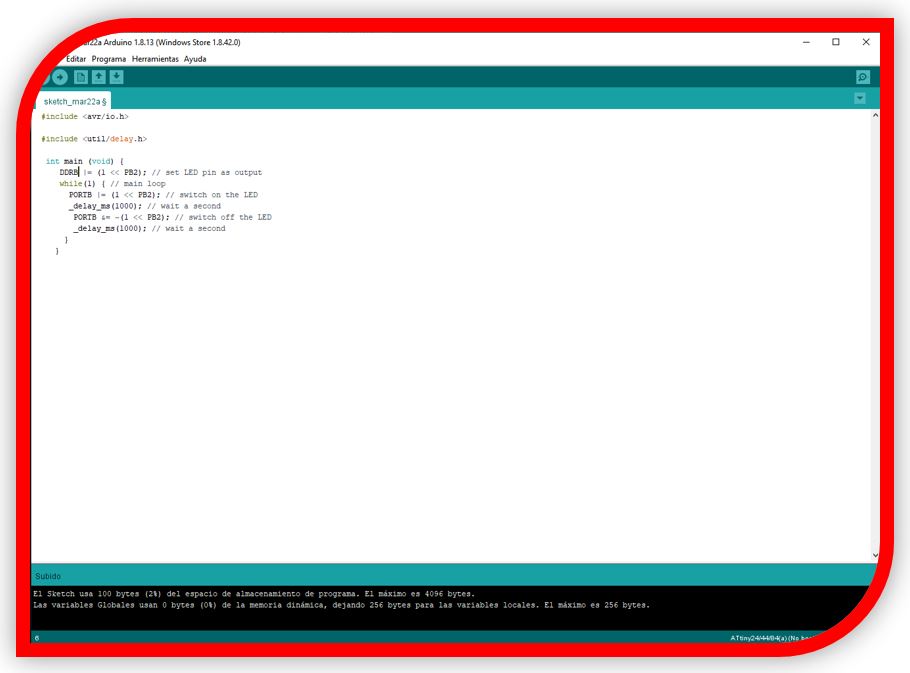
Great! In with this modification, when programming the Hello board, the led is flashing.
5.-Programming with PlatformIO
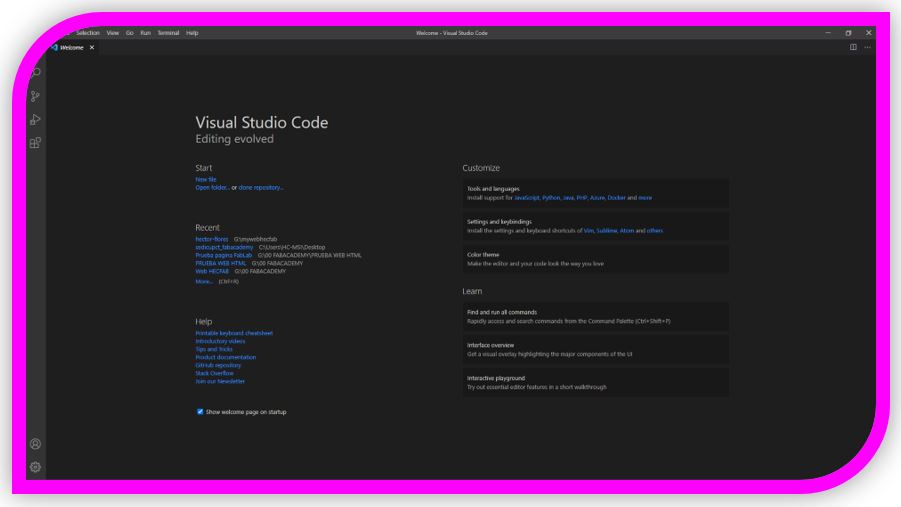
Install the Visual Studio Code.
https://code.visualstudio.com/
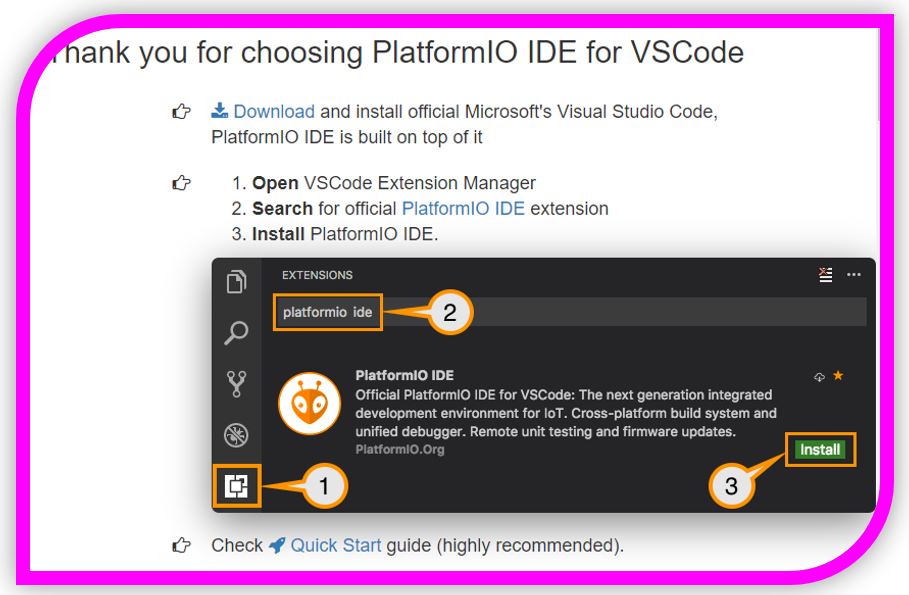
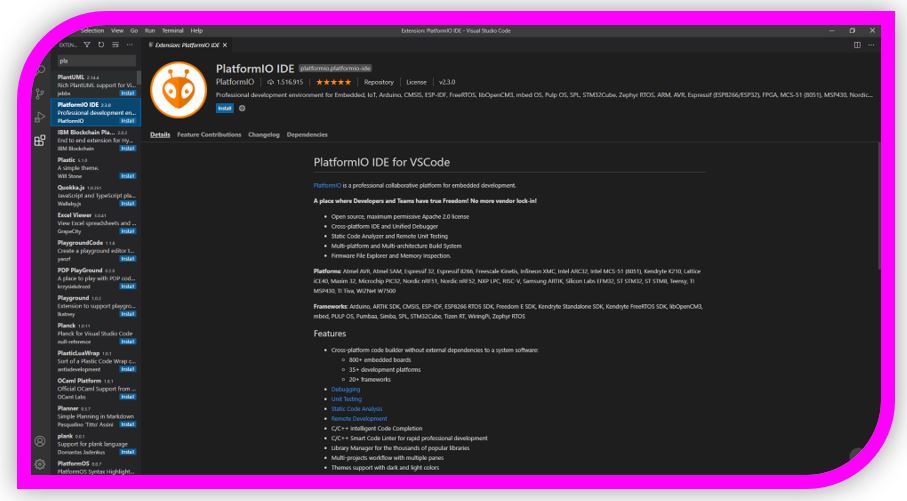
Install PlatformIO: It is a plugin that can be installed in Visual Studio Code. But also in other IDs like Atom. It is cross-platform. Not only does it allow programming with the Arduino framework, but it also allows you to select from a few boards that come pre-installed and once the board is selected, lets choose which framework you want to program it with.
During Installation, I had problems. PlatformIO offered me some possible solutions.
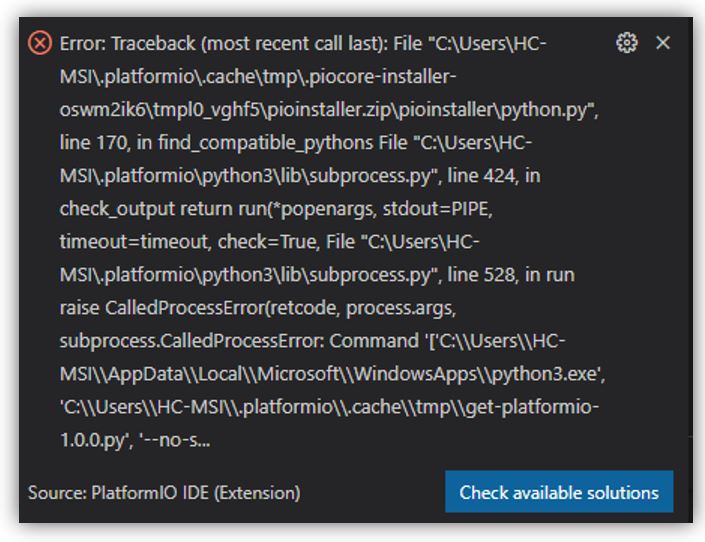
The link for the solution guide is:
https://github.com/platformio/platformio-core-installer/issues/221
I avoid solution 1, because I want to avoid disabling Python. I try solution 2. From the list of solutions, solution 2 does not work for me.
I try solution 3.
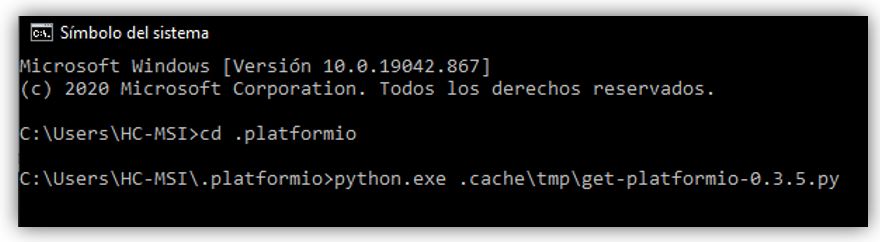
It doesn't work for me either.

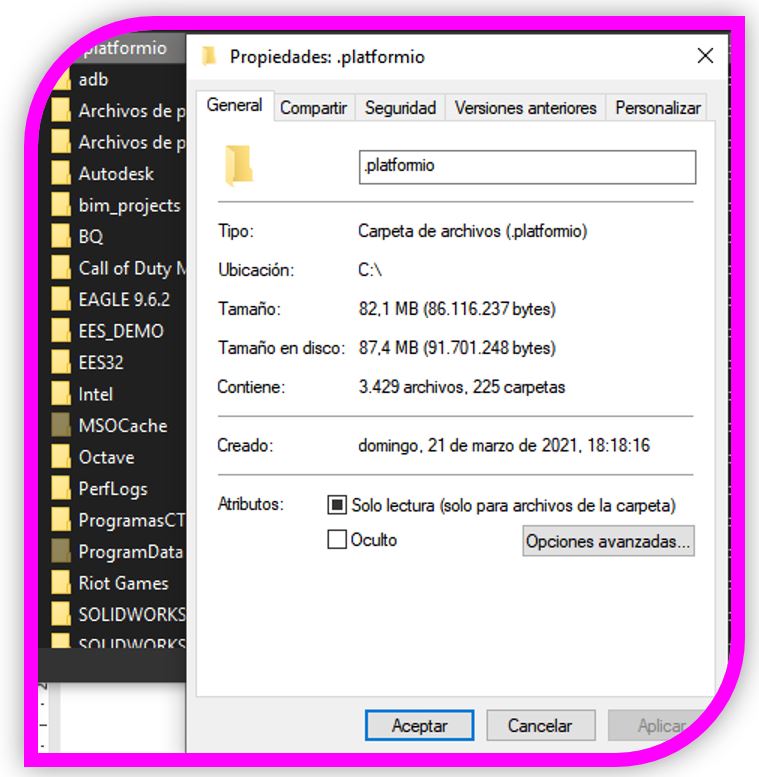
I try Solution 4: on the root folder C: right button and properties
Security tab, select the SYSTEM user or group and then advanced options.
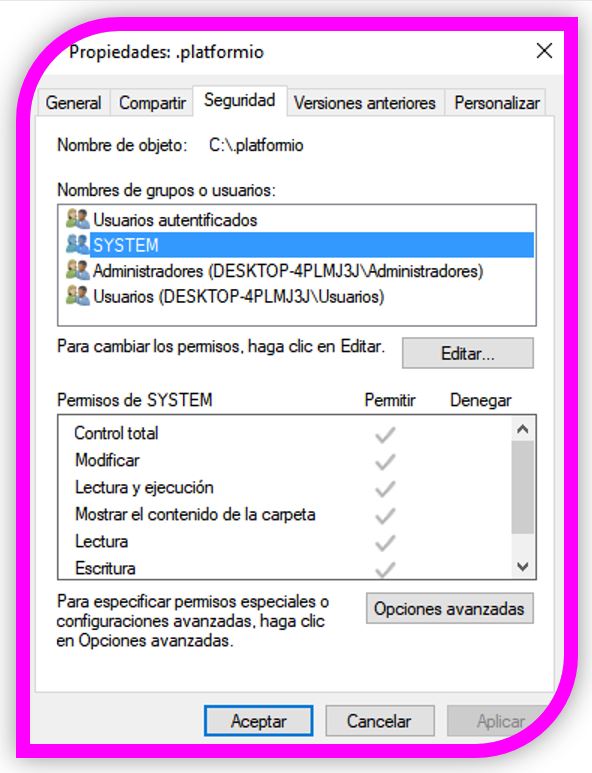
In the options of the new window that appears, check: "Replace all child object permission entries with inheritable permission entries from this object".
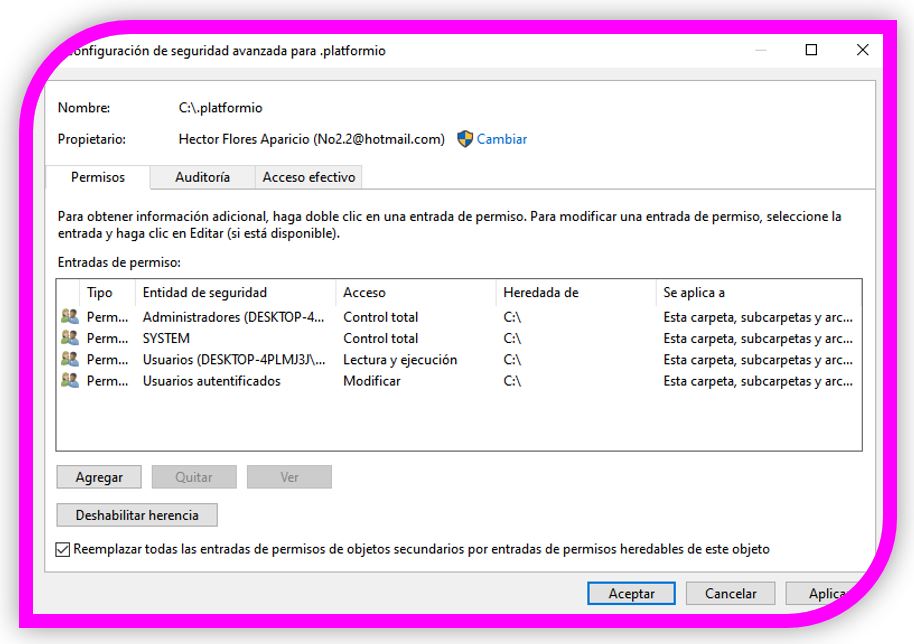
Then apply and accept.
It also does not work, but I realize that it is necessary to restart the computer.
I try with solution 1: In Windows settings.
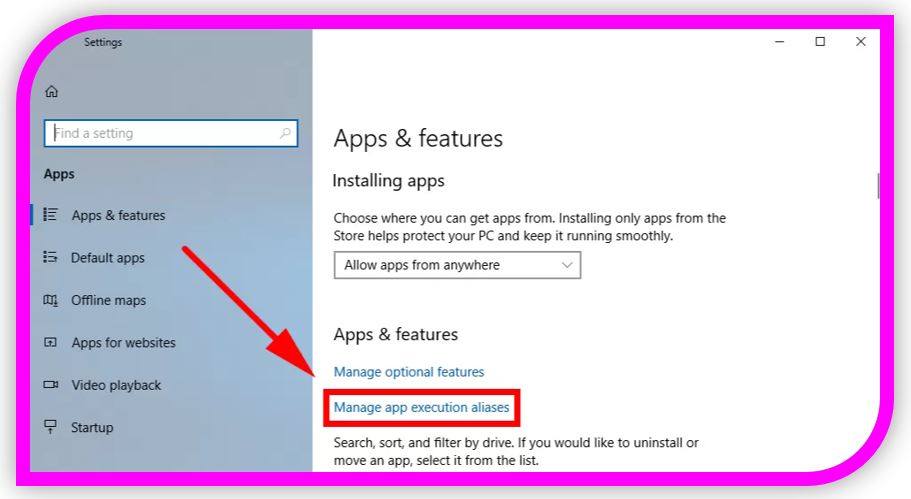
Disable Python and Python3
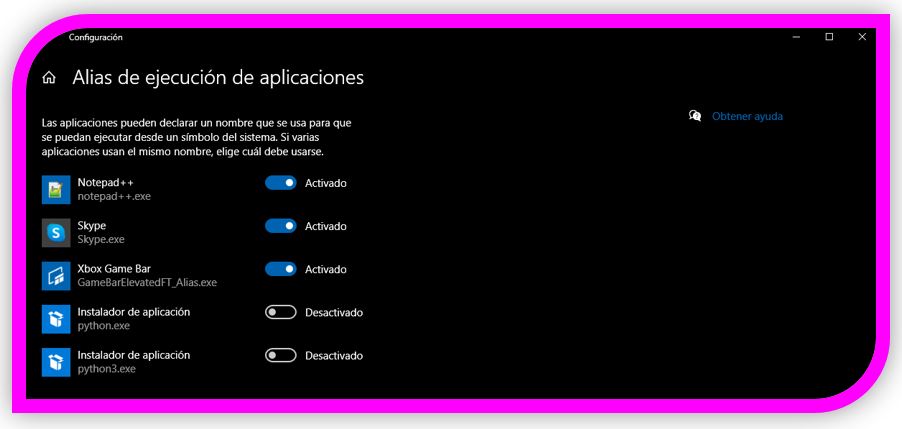
It has worked.


*** If the same thing happens to you, remember to try the first solution. You can save time.
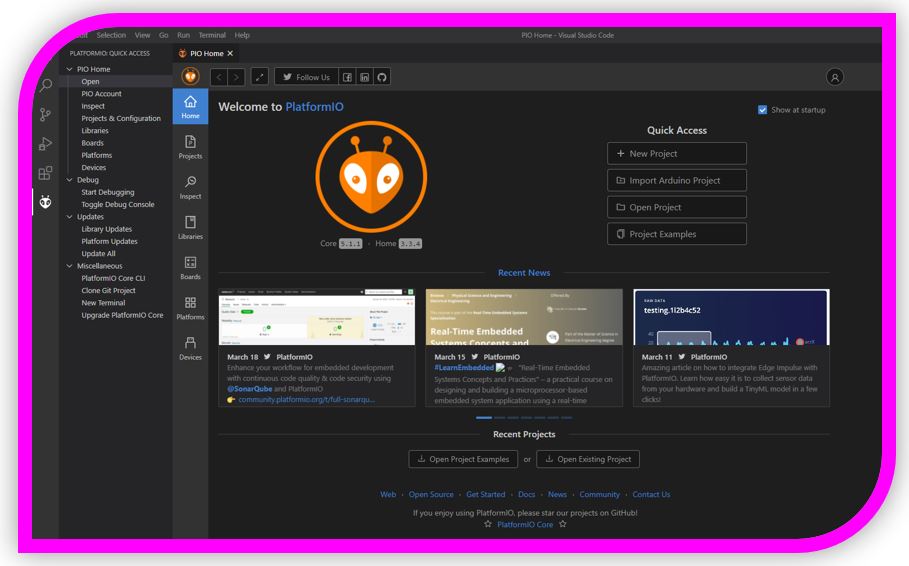
Now on the left side of Visual Studio, the PlatformIO logo appears.
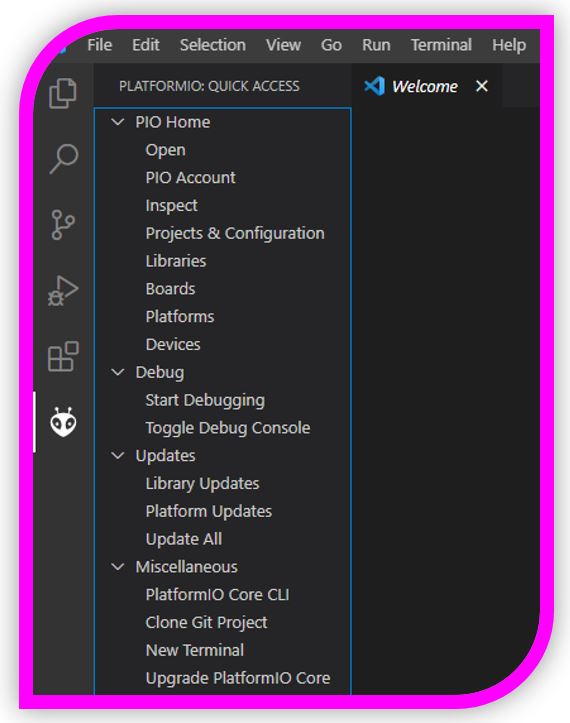
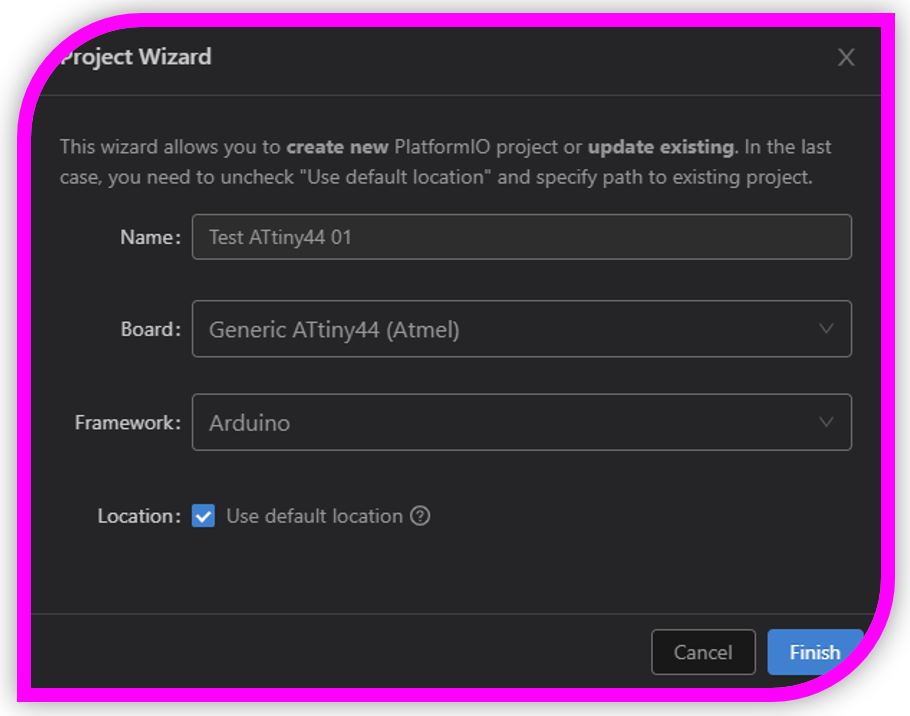
From here I can go to Project, create a new project:
I give it a name and select the plate, in my case the ATtiny44 (Atmel).
In the source tab, src, there is the main file, to work with the code:
*** With PlatformIO, all system libraries can be accessed, which with ArduinoID cannot, because they are hidden (or protected).
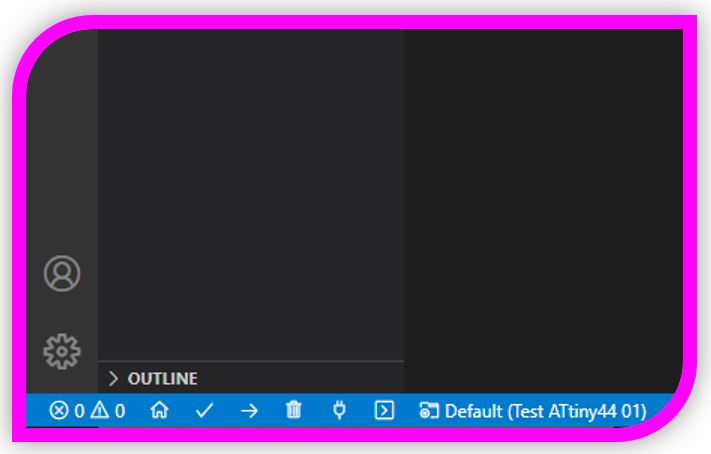
To compile the programming, it is done by activating the build tool, in the lower left part of the environment window.
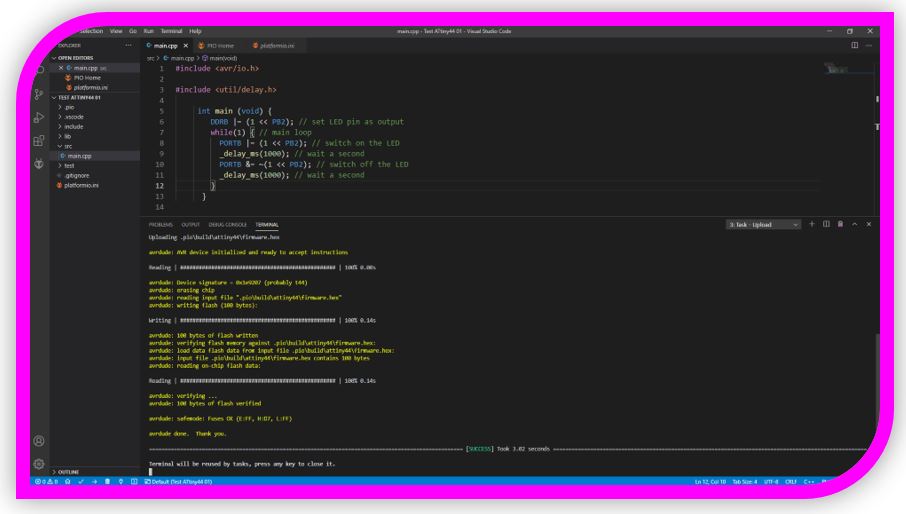
CONNECT NOW AND PRESS UP (BEWARE but with the modification of ports from A to B and pins PA7 and PB2, for my Hello board).
6.- Experience and conclusions of the week WEEK8:
Week on programming about which I have learned a lot about it.
I have also had problems with connectivity, especially with PlatformIO, although asking my instructors Álvaro Macían and Lola Ojados, I escaped the problems.
“What went wrong”: Connectivity didn't work the first time. I had to search for tutorials.
“What went well”: The tests went well and I learned a lot of knowledge in this week.
“What will you do differently next time”: I would try another environment and another electronic board with another microcontroller.
7.- FILES
Code Hello board week8
MyATtiny 44 HelloBoard