Week 2
Computer Aided Designing
In this week, I learnt in detail about vector and raster images and how e use different softwares to work on each kind of file.
Vector graphics
Vector files, made up of points and lines to create paths, can be scaled up and down without losing quality. This makes vector files the best format for graphic assets such as illustrations, icons and company logos, as the same file can be used for designs ranging from a mobile app to a large billboard without sacrificing quality or increasing file size. Probably the most common example of vector-based files that we use daily without even realizing it are font files. Each letter that you type is a vector graphic. You can increase the text size or zoom in as much as you want and fonts will still remain clear when viewed online or in standard editable formats such as Word documents. Although most online graphics are still raster-based, the introduction of vector-based SVG files allows elements like logos, illustrations and icons to be used in apps and web development. This will be an important factor moving forward with responsive site designs, as layouts and design elements are adjusted to fit various screen sizes and resolutions like retina displays.
Raster Graphics
Raster images are made up of many tiny squares called pixels and are often referred to as 'bitmap' images. When zoomed in closely, the individual pixels can be observed. The resolution of a raster file is referred to as DPI (dots per inch) or PPI (points per inch) and is the main determining factor for increasing file size. Essentially all digital photography is raster-based. Most graphic files found online are also raster-based and saved for a screen resolution of 72 DPI, a larger file size is usually required for use in printed material where the standard resolution is 300 DPI.
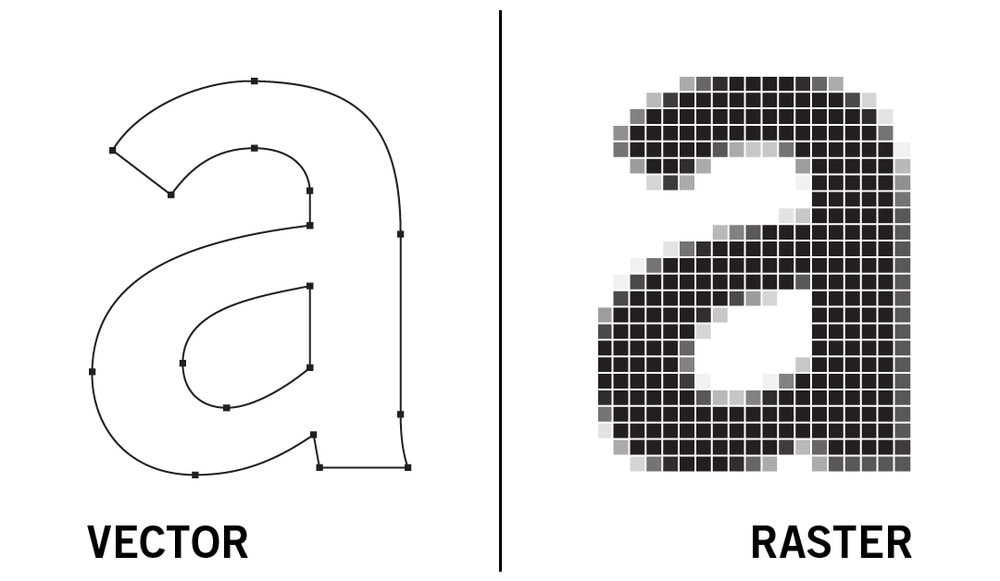
I was introduced to different kinds of design and how to do it. I got to try out multiple softwares to design Vector as well as raster designs in 2D design. I tried Gimp, Inkscape, Pixlr, Adobe Illustrator and Photoshop for 2D design and Blender and Autodesk Fusion 360 for 3D. This part was specifically fun because I was new to 3D design and i had to learn from scratch. I started by building and rendering easy shapes which was easy since Fusion has a really good User Interface. I initially could not try inkscape since i had issues installing the software. The available version of inkscape was'nt compatible on my laptop. I tried it out later on a PC in the lab. It was interesting as well as enlightening- the whole process.
Tools Used
Mac OS BigSur Ver. 11.1
Windows 7
Inkscape
Google Chrome
Safari
Pixlr
Adobe Illustrator
Adobe Photoshop
Blender
Autodesk Fusion
Gimp
Visual Studio Code
Terminal
Challenge: I switched from Sublime text edit to Visual Studio Code for the documentation since i was having trouble locating files with sublime. Another challenge was to keep up the learning speed while trying multiple new softwares.
What I Did
1. Explored GIMP
GIMP is a free and open-source raster graphics editor used for image manipulation and image editing, free-form drawing, transcoding between different image file formats, and more specialized tasks. It is not designed to be used for drawing, though some artists and creators use it for it.
I installed and explored GIMP for the first time. I found the UI a bit challenging and took a little time to understand the tools and the usage. I found it a bit more basic than Photoshop and good for beginners. The image shows a mix of two photos that I edited using it.

2. Adobe Illustrator
Adobe Illustrator is a vector graphics editor and design program developed and marketed by Adobe Inc. Originally designed for the Apple Macintosh, development of Adobe Illustrator began in 1985. Along with Creative Cloud (Adobe's shift to monthly or annual subscription service delivered over the Internet), Illustrator CC was released. The latest version, Illustrator 2022, was released on October 26, 2021, and is the 25th generation in the product line. Adobe Illustrator was reviewed as the best vector graphics editing program in 2018 by PC Magazine.
I drew the 2D components of my final project on Adobe Illustrator to see what the possible shape would be. Given below is the sketch of the sides of the final project I am intending to do.

When I started using Illustrator at first, the pen tool was the most difficult tool to master. Once I got a hang of it, it was the best tool I continue to use til this day. It is very helpful to remove backgrounds, draw, and a lot more.
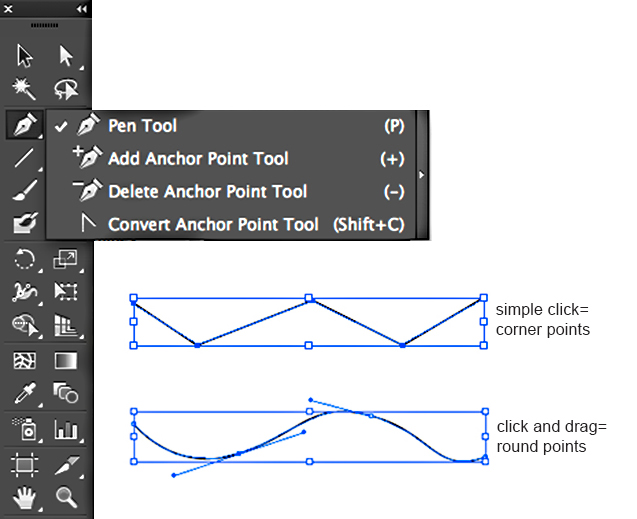
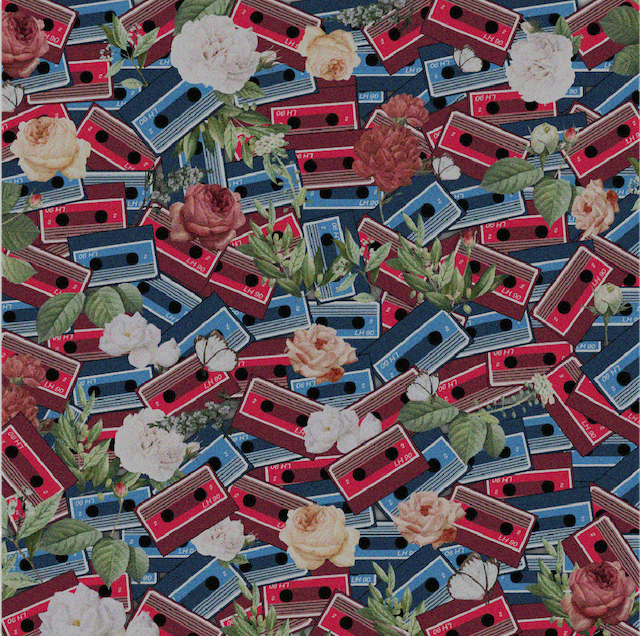
Illustrator is a very fun and cool platform to work with vectors. I am very comfortable using Illustrator since I have been using it to do my artworks. The ones given below are a few of my artworks



3. Explored Inkscape
Inkscape is a free and open-source vector graphics editor used to create vector images, primarily in Scalable Vector Graphics (SVG) format. Other formats can be imported and exported.[4]
Inkscape can render primitive vector shapes (e.g. rectangles, ellipses, polygons, arcs, spirals, stars and 3D boxes) and text. These objects may be filled with solid colors, patterns, radial or linear color gradients and their borders may be stroked, both with adjustable transparency. Embedding and optional tracing of raster graphics is also supported, enabling the editor to create vector graphics from photos and other raster sources. Created shapes can be further manipulated with transformations, such as moving, rotating, scaling and skewing.
I initially had some trouble with Inkscape since I couldnt find a version of Inkscape compatible for my laptop. I used another PC to explore Inkscape and it's tools. It is User friendly and a very helpful to build vectors. The image shows the fab logo that I tried to redraw using Inkscape..

I found that Inkscape also has a way to remove backgrounds and it was called bit mapping. With this, you can draw that image you have imported, convert it to a vector as well as make changes to it. All you need to do is to go under Path, select Trace Bitmap. A new window will pop up. Have your bitmap selected, choose your tracing method and press OK. The newly created object will overlap the old one, so just drag one of them to the side to gaze upon the result.

Once I understood how it works, I went ahead to try other softwares. Since I could not get Inkscape on my laptop and I was already using Illustrator, I decided to do all the 2D work with Illustrator itself.
4. Blender
Blender is a free and open-source 3D computer graphics software toolset used for creating animated films, visual effects, art, 3D-printed models, motion graphics, interactive 3D applications, virtual reality, and, formerly, video games. Blender's features include 3D modelling, UV mapping, texturing, digital drawing, raster graphics editing, rigging and skinning, fluid and smoke simulation, particle simulation, soft body simulation, sculpting, animation, match moving, rendering, motion graphics, video editing, and compositing.
I have previously explored blender to understand how it works and to learn the tools. I followed a tutorial to make a donut in it.
On opening blender, this is the first thing seen.
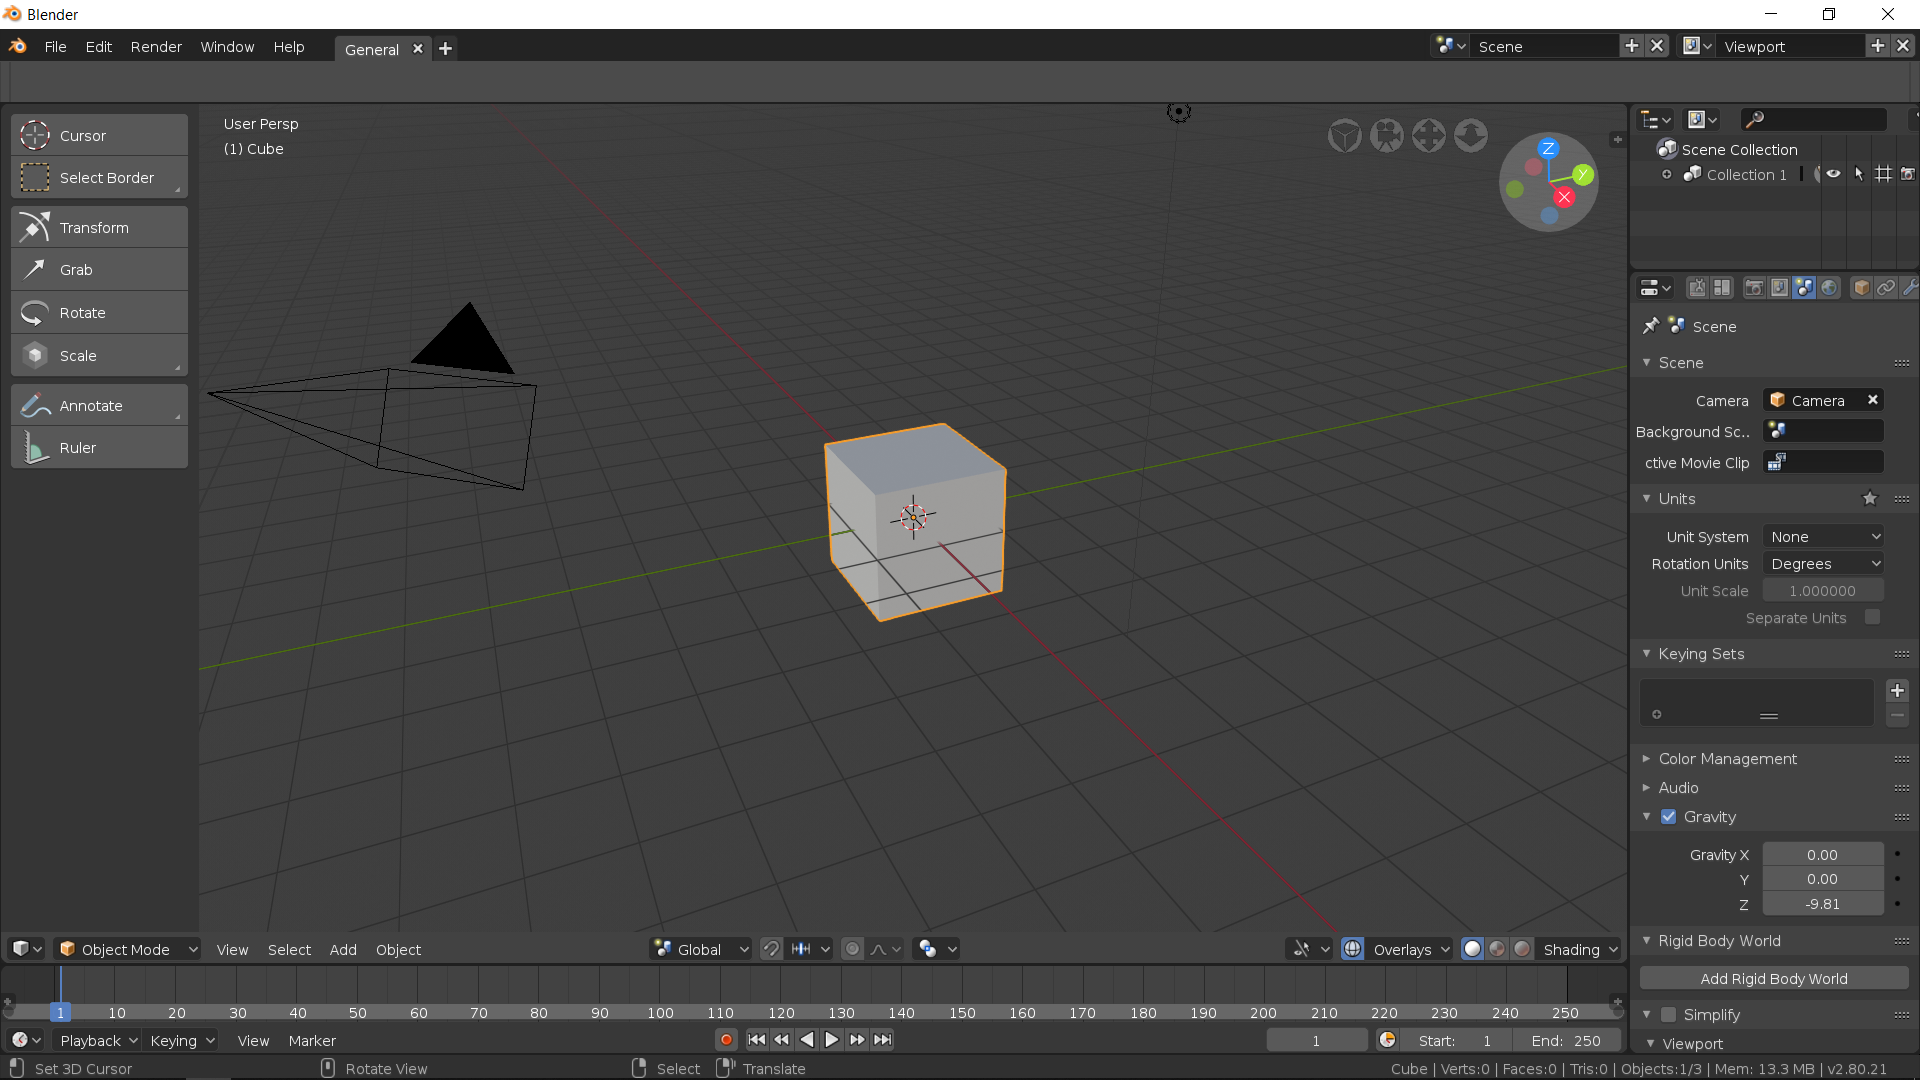
We can remove the cube and add any shape. The fun part is, every tool has a keyboard shortcut and you wouldnt have to go to the left hand tool bar at all.
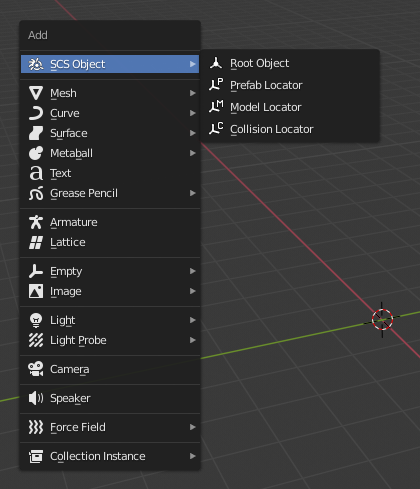
You can convert very basic shapes to interesting stuff. In the image below, I have converted a very basic torus into a donut with frosting on top
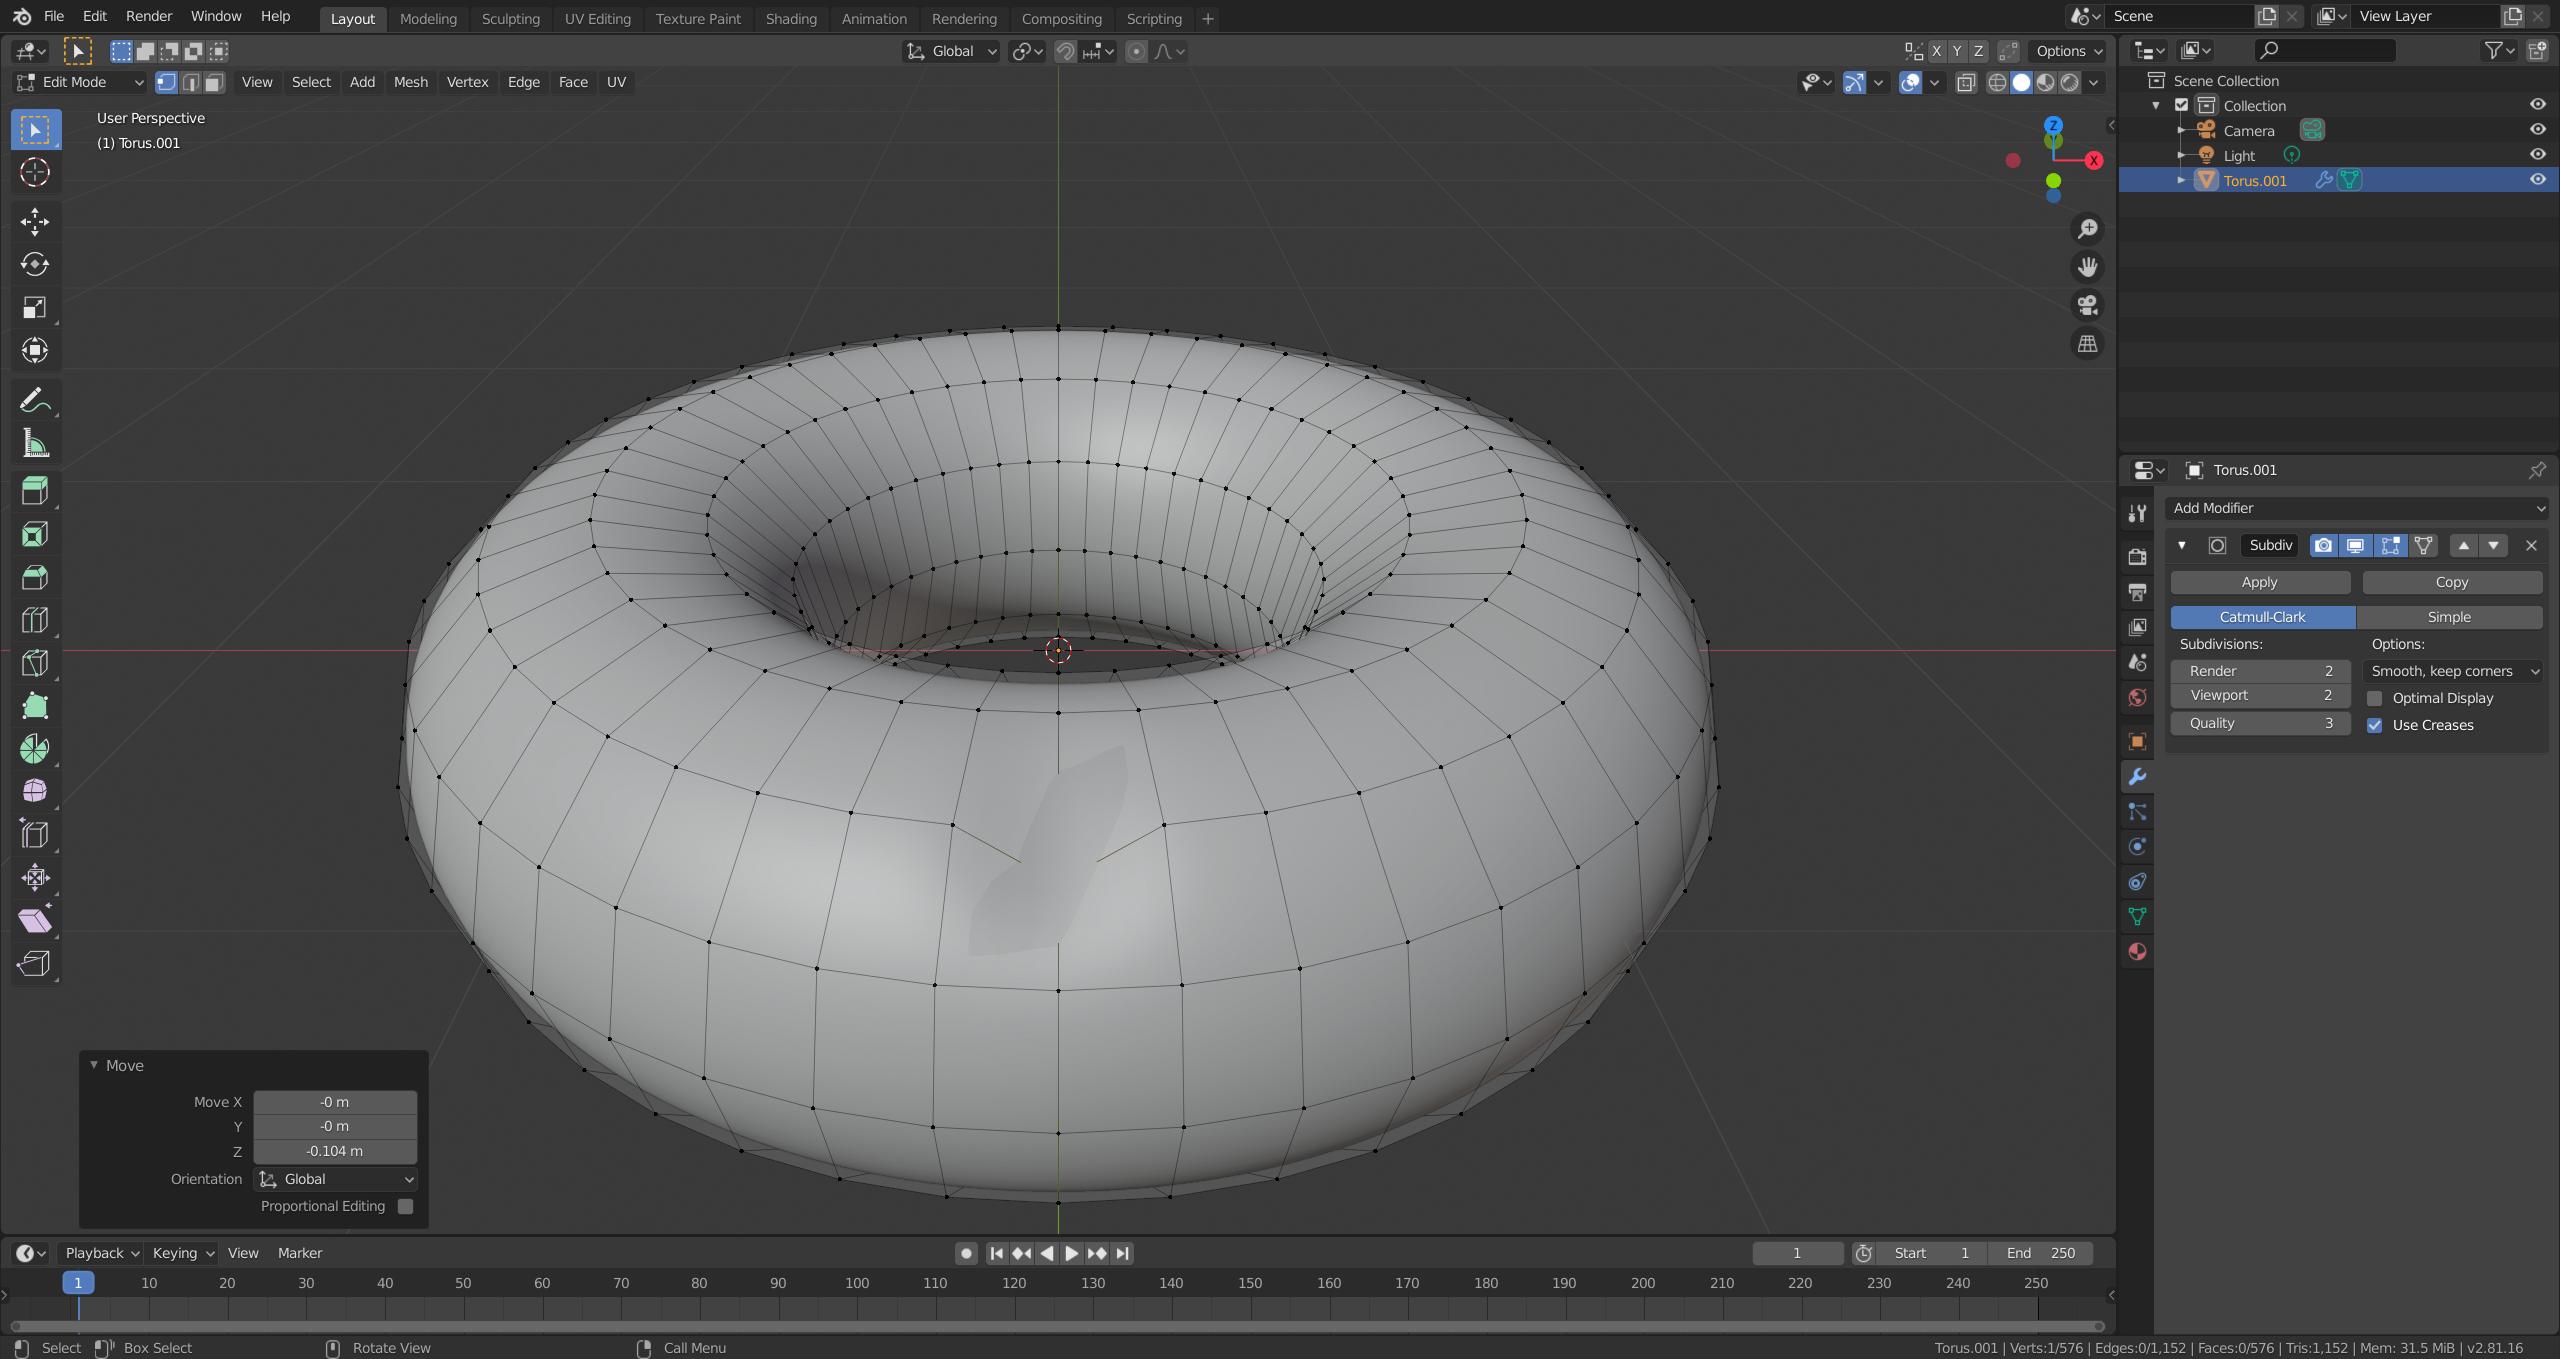
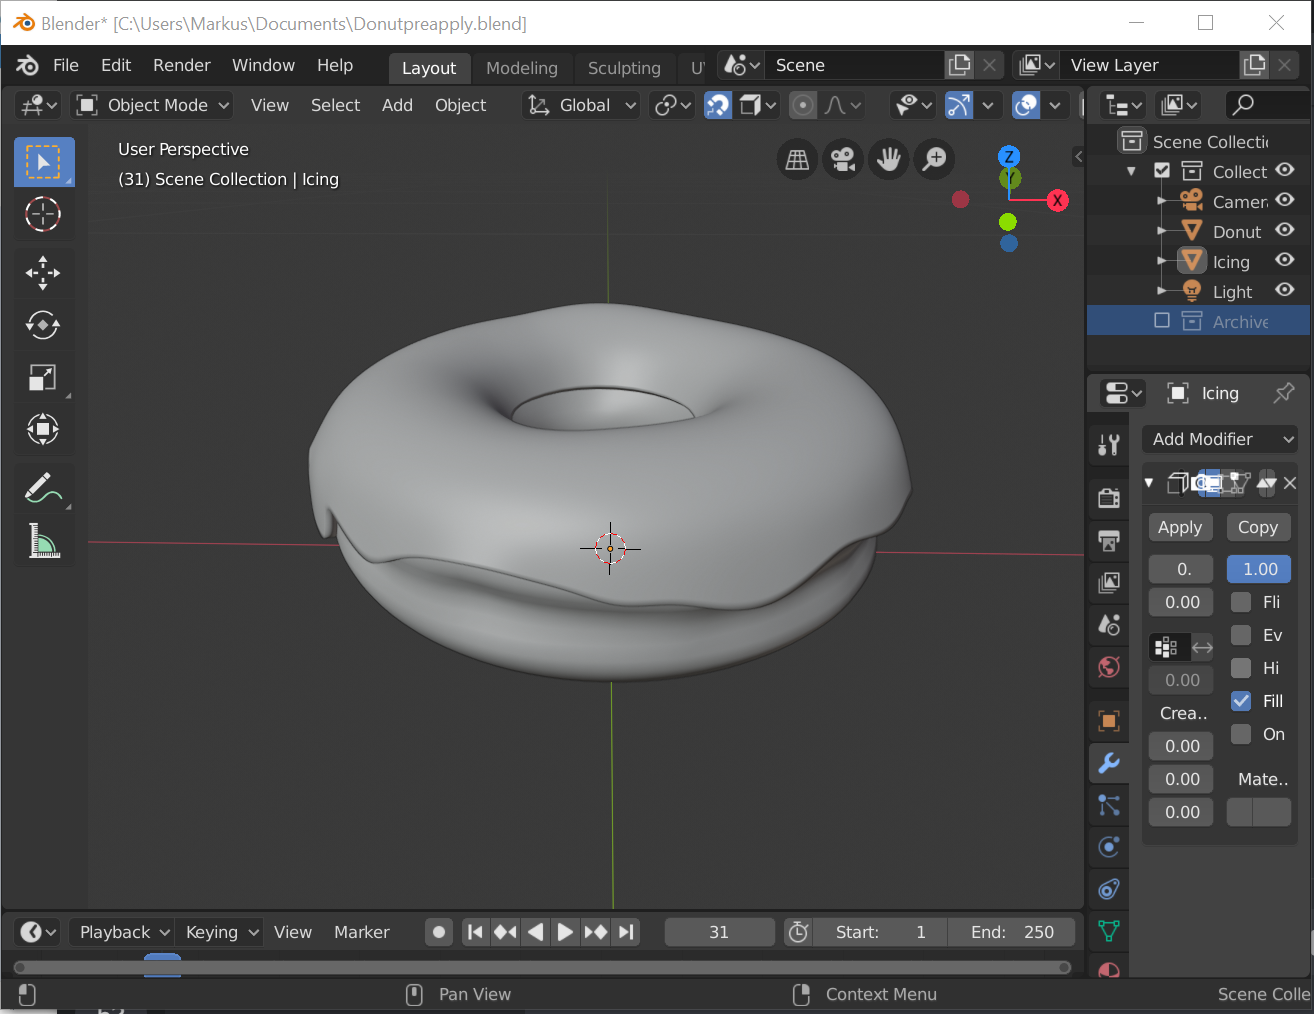
Click here for the link to the tutorial that I followed.
5. Autodesk Fusion 360
Fusion 360 is a commercial computer-aided design (CAD), computer-aided manufacturing (CAM), computer-aided engineering (CAE) and printed circuit board (PCB) design software application, developed by Autodesk. It is available for Windows and macOS, with simplified applications available for Android and iOS. Fusion 360 is licensed as a paid subscription, with a free limited home-based, non-commercial personal edition available.
I learned and explored 3D software Autodesk Fusion 360. I could learn it pretty fast as the software is user friendly and self explanatory. My instructor helped to understand the basics and made me do an assignment to help to understand it better. Using Fusion, I understood that it will be more useful to do my projects as Blender is mostly for artistic work rather than mechanical designs.
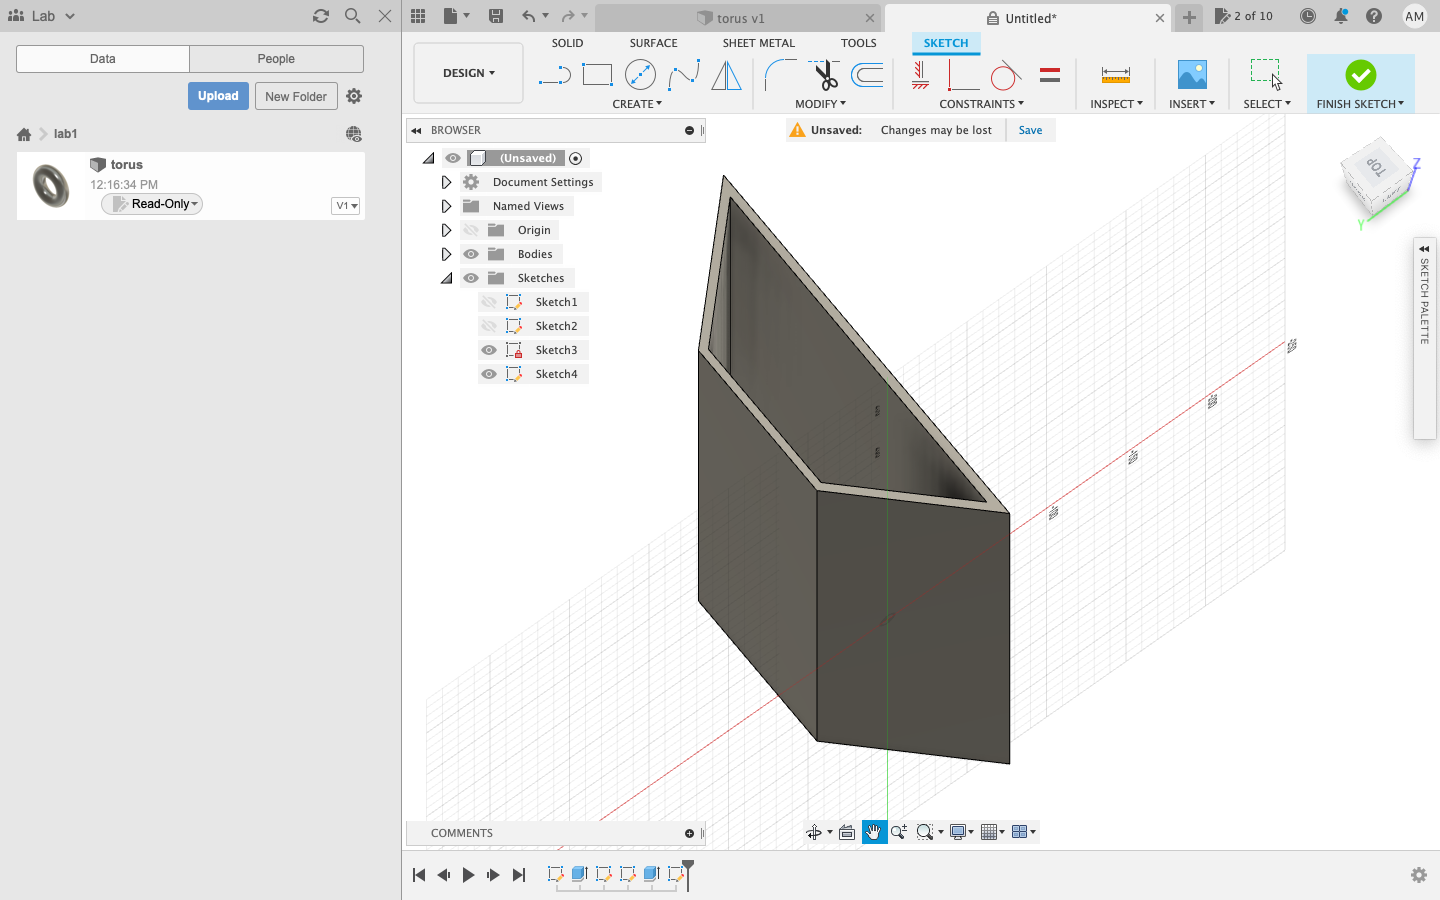
I decided to start by designing the final project with the software. I started slow as I am new to the software and I plan to do more with it as it is a very versatile platform and very easy to use unlike other complicated softwares.
Possible design of project using Fusion 360
I came up with a possible 3D design of my final project using fusion.
The Design file can be downloaded by clicking the button below
« Previous Next Week »