Week 15
Wildcard Week
Assignment
In the fifteenth week of Fab Academy, the aim is to design and produce something with a digital fabrication process (incorporating computer-aided design and manufacturing) not covered in another assignment, documenting the requirements that your assignment meets, and including everything necessary to reproduce it.
We have to:
-Demonstrate workflows used in the chosen process.
-Try out new machines and processess
-Explain the mistakes that I had made and how I corrected it
-Include hero shots of the product
-Try out a cool experiments
What I did
Since the beginning of Fablab, I really wanted to try using the Zund . I also went around exploring the inventory to find things I wanted to try. I decided to try :
- Zund to cut a differently shaped cardboard box for my final project
- Screen printing using Vinyl, and
- Experiment with the conductive thread
Cardboard cutting using Zund
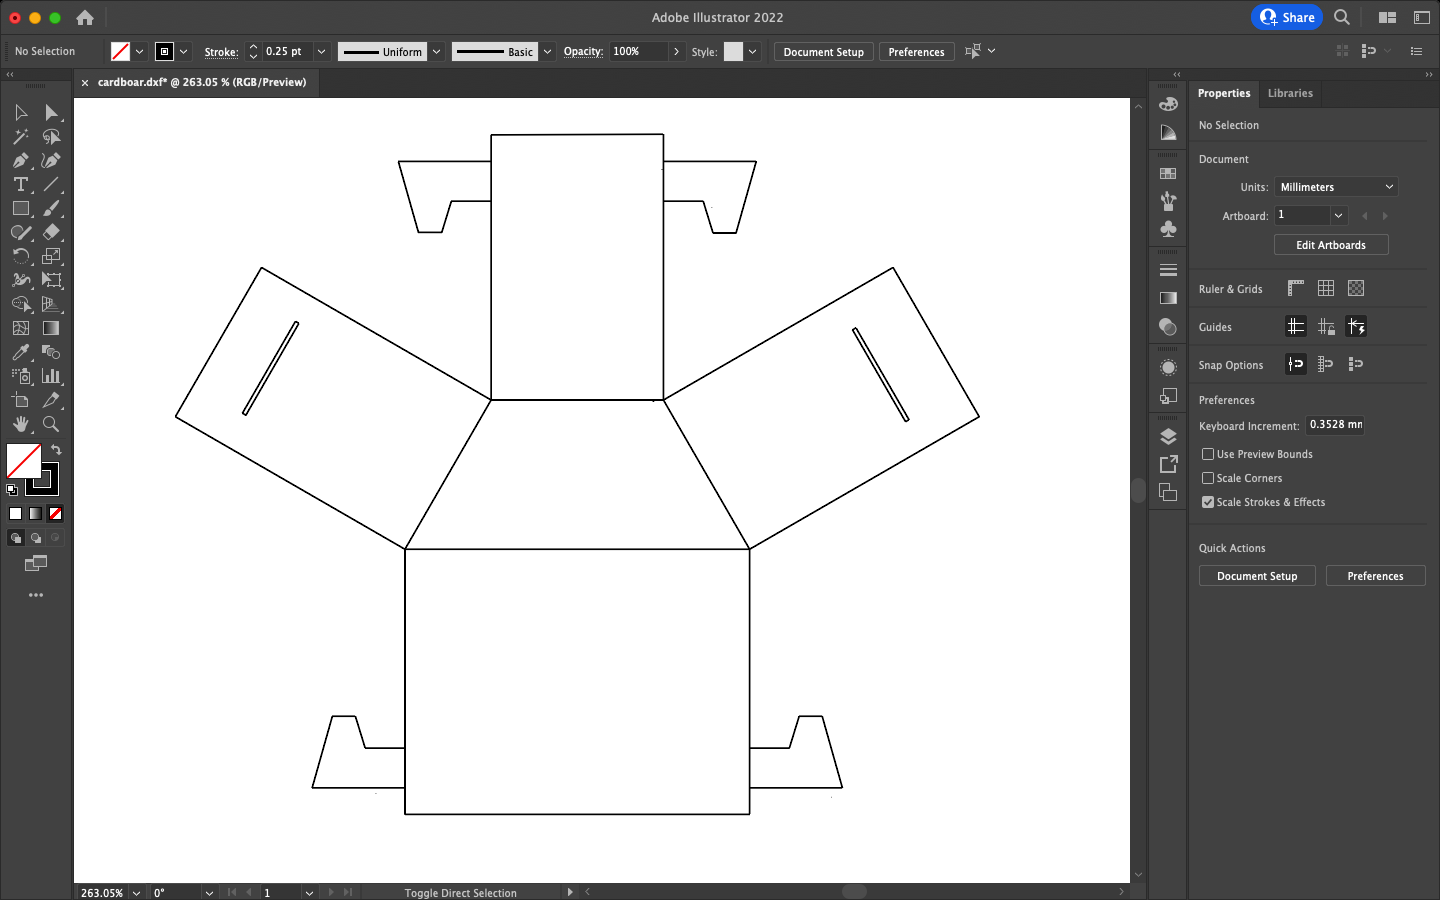
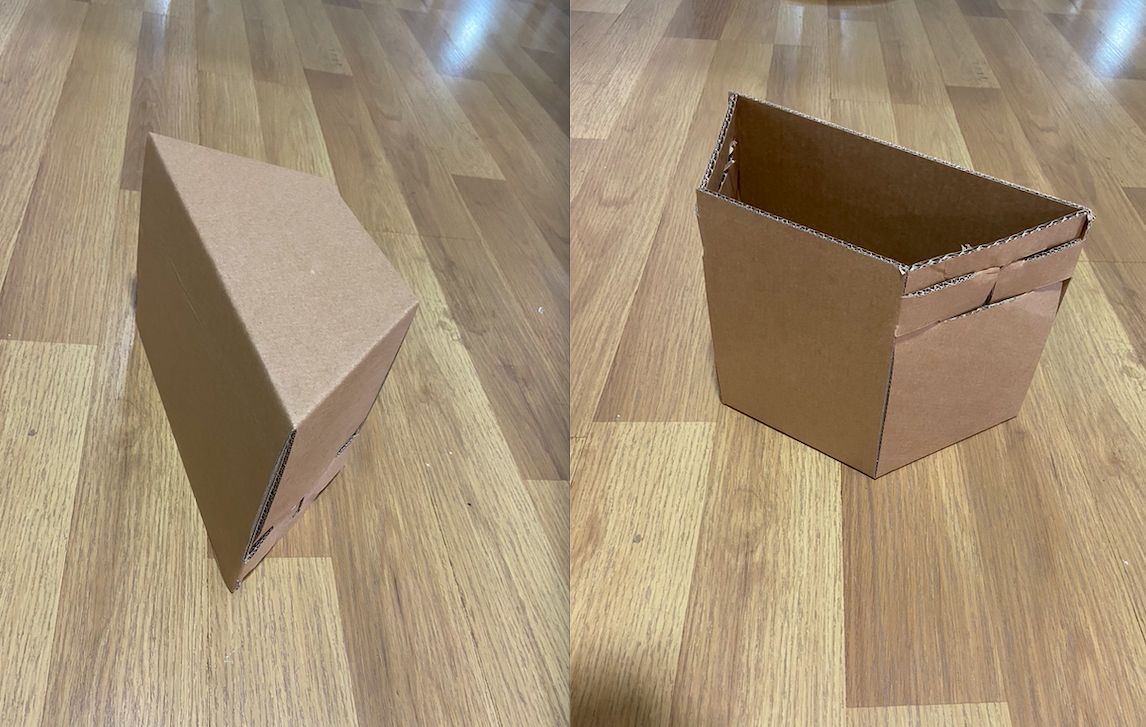
I started by designing a cardbaoard box which is in pentagonal shape.
The Zund cnc knife cutter is used for wide flatbed cutting of stock that range from cardboard and foam, to leather or textiles. The Zund cnc knife cutting system permits a high degree of precision and efficiency through the use of its vacuum bed hold down and multi blade tool exchanger.
The Zund has a working area of 4’X8’.
How to work with Zund
1. The first step is to have an idea about what you would like to produce and how the Zünd can help you accomplish it. What material are you seeking to cut? What does the geometry look like?
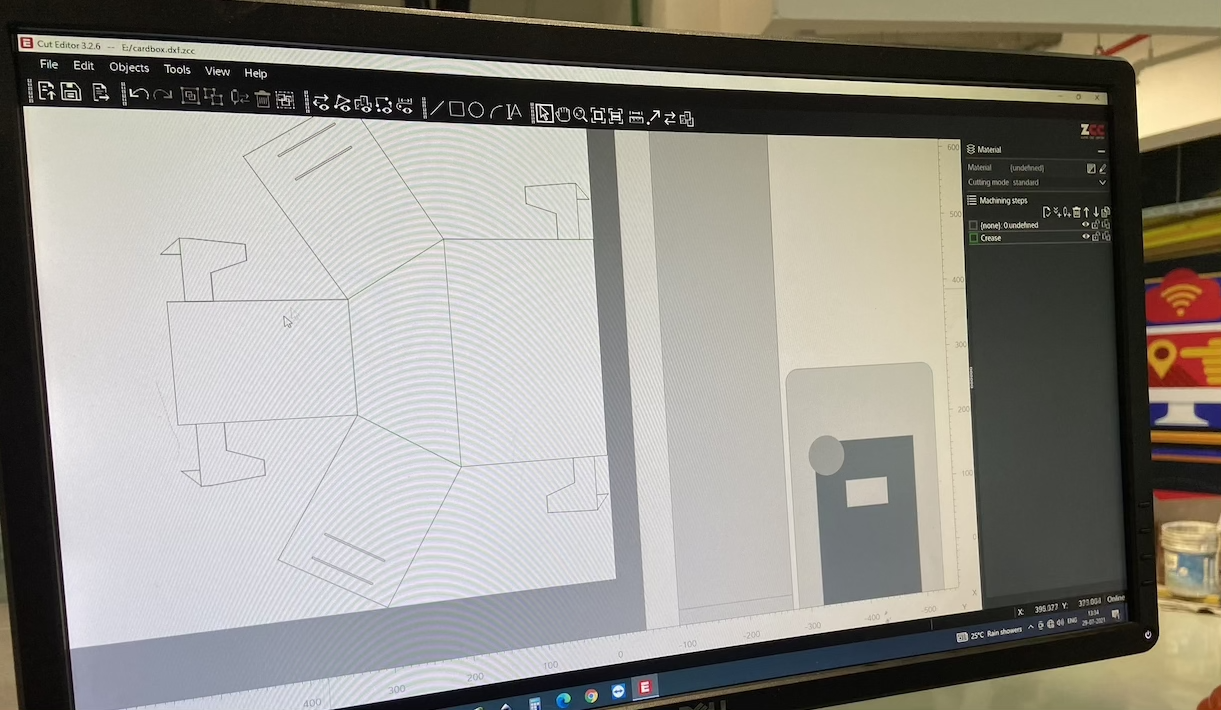
2. The Zünd cutting software accepts dxf files only. Other tips: be sure your files are as clean as possible: i.e. the fewer line segments and control points the better. Use a bounding box to represent the material edges (keep this geometry on a separate layer in order to turn it off and not actually cut it). The software reads each layer as an order of operations, so set up your file accordingly (i.e. Layer 1 as bounding box, Layer 2 as score operation, Layer 3 as first cut, Layer 4 as second cut, etc.).
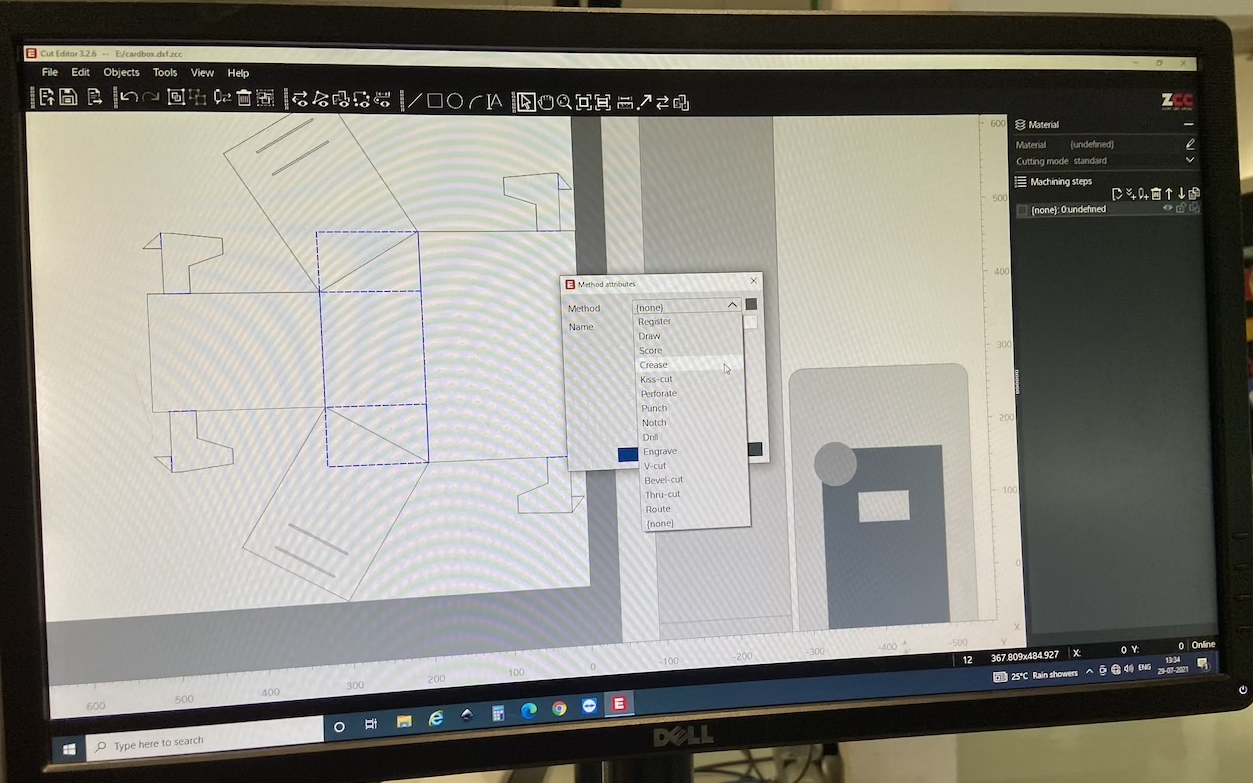
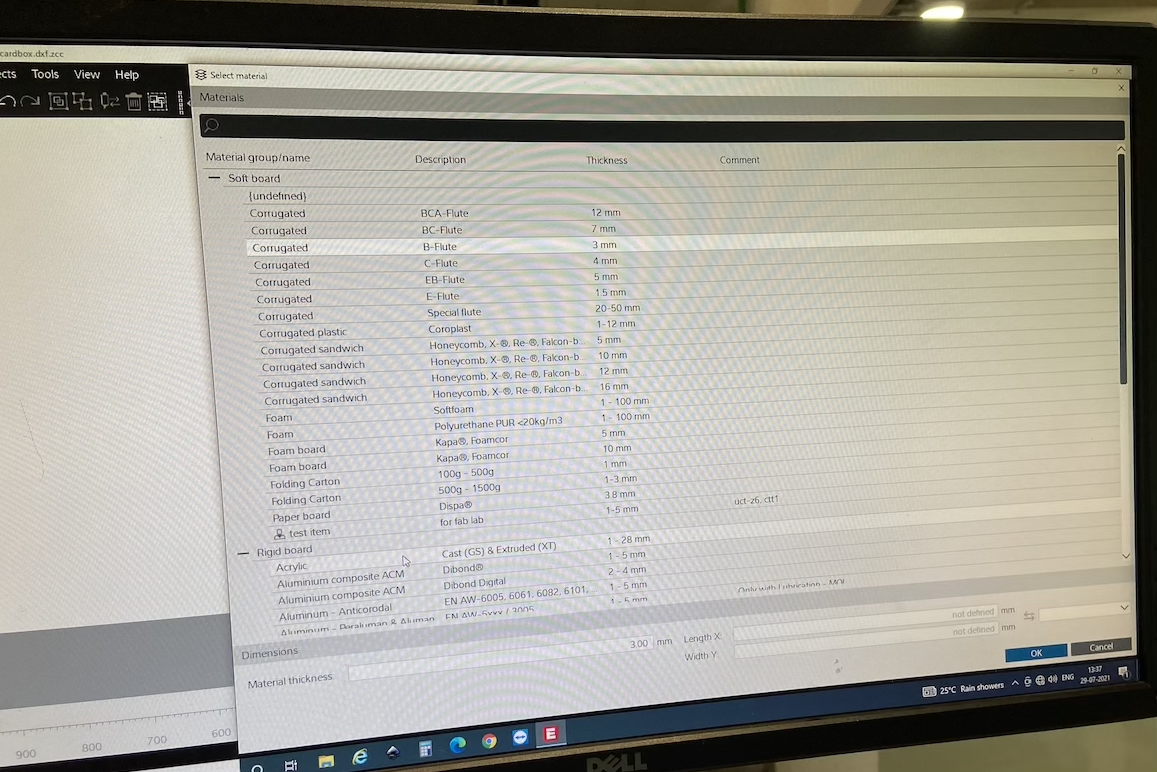
3. Each file is going to have slightly separate settings and demands, even if you have cut with the same material or knife before. Be sure to test cut your job to be sure that the geometry, material and knife all work together to obtain the desired outcome.
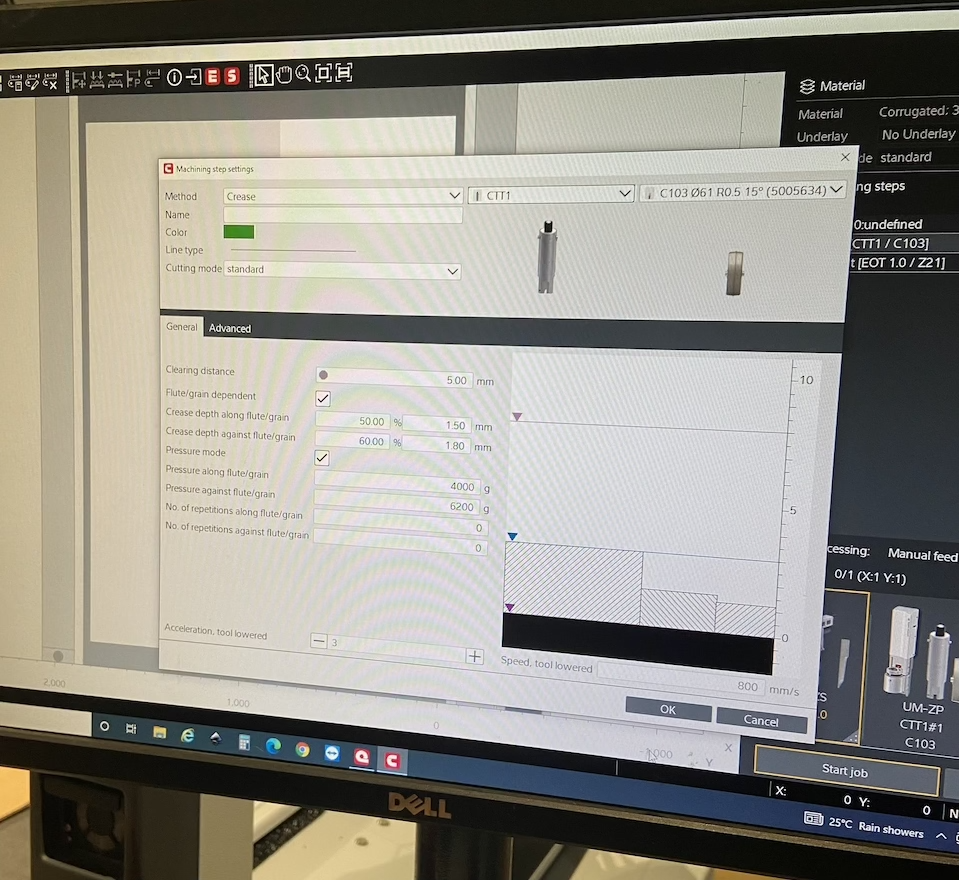
4. CUT!
Cutting using Zund was very interesting and I got to see why it is the most well engineered machine in our Lab. it has automatic tool cleaning and changing mechanisms and also a vacuum bed. My favorite mechanism was the automatic tool changing and how it automatically senses the tools and picks the tool.
The cut and score was done so fast, making it a perfect production machine. I had made a half-hexagonal box in the shape of a trapezoid with inserts. it turned out to be perfect.
The .f3d file for the design of the cardboard can be downloaded from here
The .dxf file for the design of the cardboard can be downloaded from here
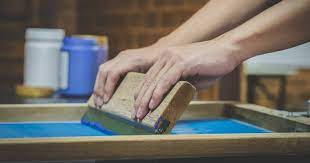
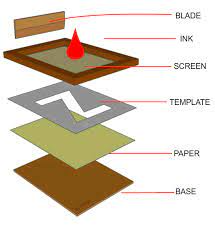
Screen Printing
Screen printing is a printing technique where a mesh is used to transfer ink onto a substrate, except in areas made impermeable to the ink by a blocking stencil. A blade or squeegee is moved across the screen to fill the open mesh apertures with ink, and a reverse stroke then causes the screen to touch the substrate momentarily along a line of contact. This causes the ink to wet the substrate and be pulled out of the mesh apertures as the screen springs back after the blade has passed. One colour is printed at a time, so several screens can be used to produce a multi-coloured image or design.
There are various terms used for what is essentially the same technique. Traditionally, the process was called screen printing or silkscreen printing because silk was used in the process. It is also known as serigraphy and serigraph printing. Currently, synthetic threads are commonly used in the screen printing process. The most popular mesh in general use is made of polyester. There are special-use mesh materials of nylon and stainless steel available to the screen-printer. There are also different types of mesh size which will determine the outcome and look of the finished design on the material.
I have always wanted to try out screen printing. So I decided to do screen printing on two t-shirt, both white and black. I wanted to do both, a small minimal design and a multi colored design.
I decided to use Vinyl as my template for screen printing. So I decided to design and cut vinyl and use it with the screen. I designed something minimal using Illustrator i some vibrant coloring.

But since our lab only has RGB colors, white and black, I decided to use minimal coloring. Also, I had to mirror the screen as the negative is required for screen printing.
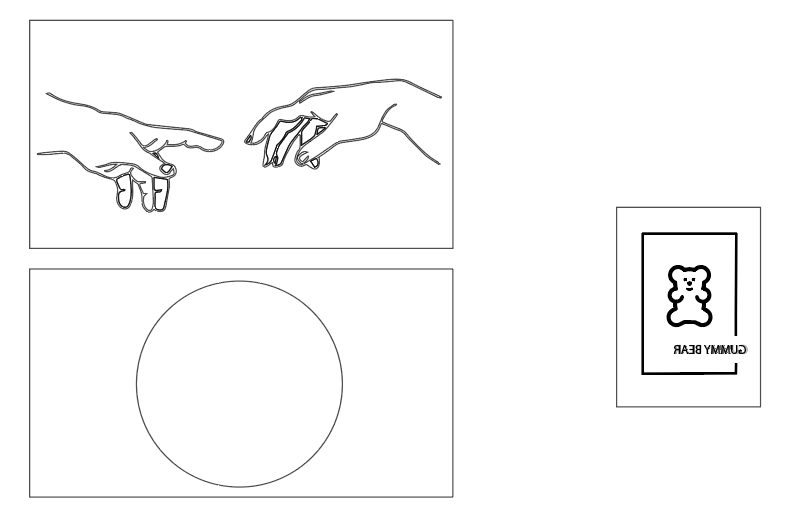
I made the files ready and decided to go ahead and prepare the screens. The source file of the design can be downloaded from here
Roland Vinyl cutter
This computer controlled machine can be used to cut out letters, designs, and shapes on vinyl by moving a sharp blade against a thin vinyl sheet. It can also be used to make circuits out of copper sheets, cut paper, etc. I used the Roland GX 24. The setting up of Roland and working with it is documented in detail in Week 3.
I first did a test cut with the vinyl and then cut the actual design
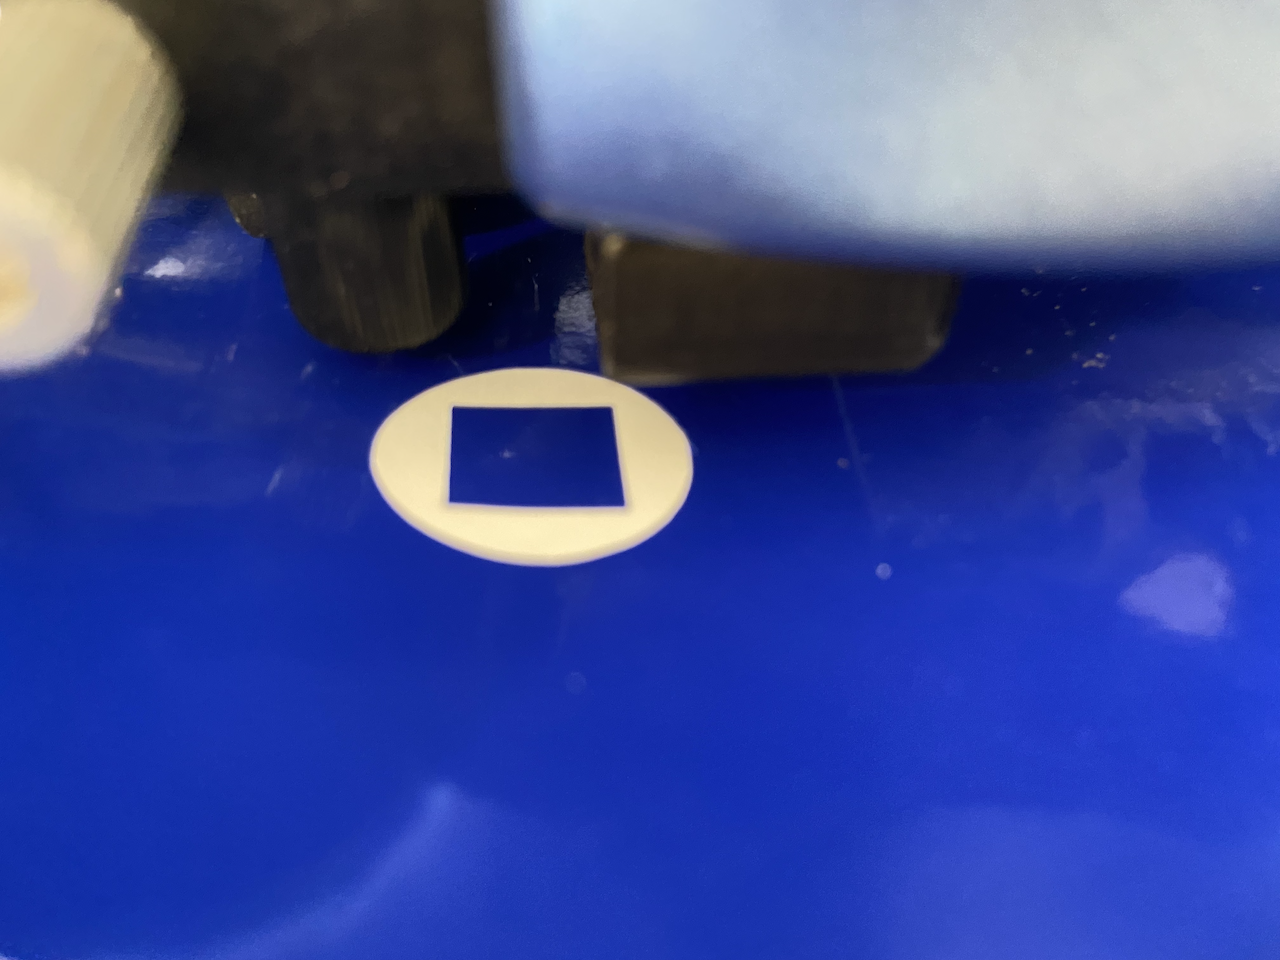
Since the test cut came out fine, I decided to proceed with the cutting of the vinyl. I cut the viny. weeded the vinyl and then stuck it on to the front side of the screen. The screen was so big, so I used masking tape to cover the other portions of the screen.
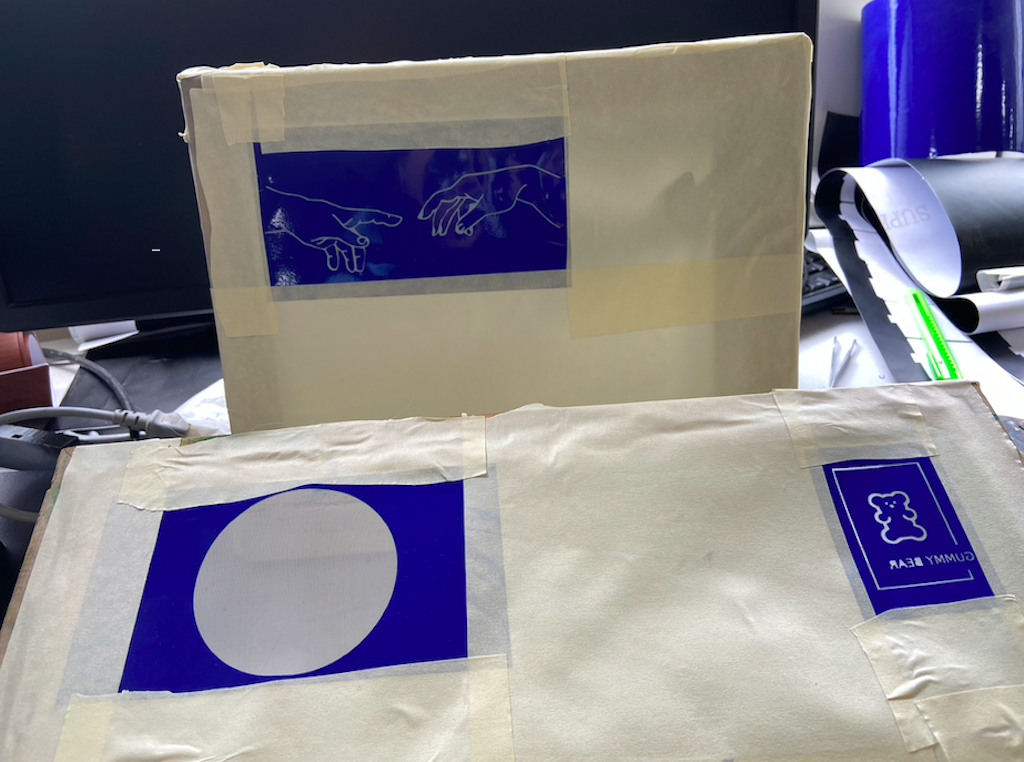
Since I wanted to use different colors for the same print, I made two screens for it. Once it was all set, I laid down the t-shirts on the table and mixed the paint I needed. I put a layer of butter paper inside the t-shirt so that the paint doest stick to the other side of the t-shirt. I then laid the screen on top of the t-shirt and applied the paint on top of it using the blade. The print came out well and I got to use it.
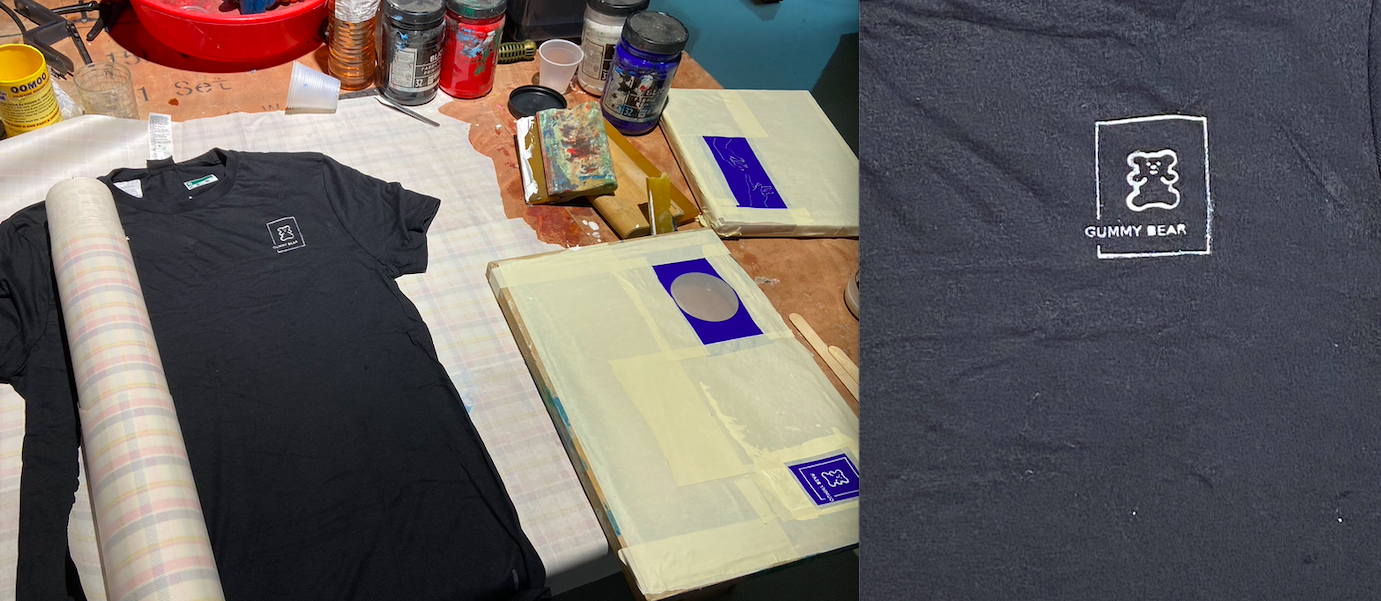

The print came out as good as I expected and I am happy with the results
Experimenting on conductive thread
I was simply going through the things we have in the inventory and came across a few rolls of conductive threads. It made me curious about how a piece of thread can be used in fabrics to make circuits. I got to know from my instructor that these threads have very high resistance. So i went ahead and did some research on these. You can find more about conductive thread here I didnt get the time to attempt a project on this, but I am hoping to get back to this soon