Summary
The Wildcard Week was traditionally the Composites Week, but due to popular demand - not everyone was interested in composites, it got opened up, and became an anything-goes, wild, wildcard week.
I decided to continue and expand the explorations in the FabLab Micro-fluidics, which I tentatively started in Week 3.
My goal for this week was to use many (all!) machines available in the FabLab and test them about their suitability to produced micro-fluidic devices and patterns.
The Wildcard Week
In previous courses, this week was the composites week. But as many labs don't have the facility to offer composites productions - and many students wanted to explore topics not covered in other week, the topic of the week got opened up.
Background & Context
DIY Micro-fluidics have been present in FabLabs since some time, David Kong - who is also the driving force behind How to Grow Almost Anything and the Global Community Bio Summit, also created an Open Repository for Fluidic Devices called Metafluidics
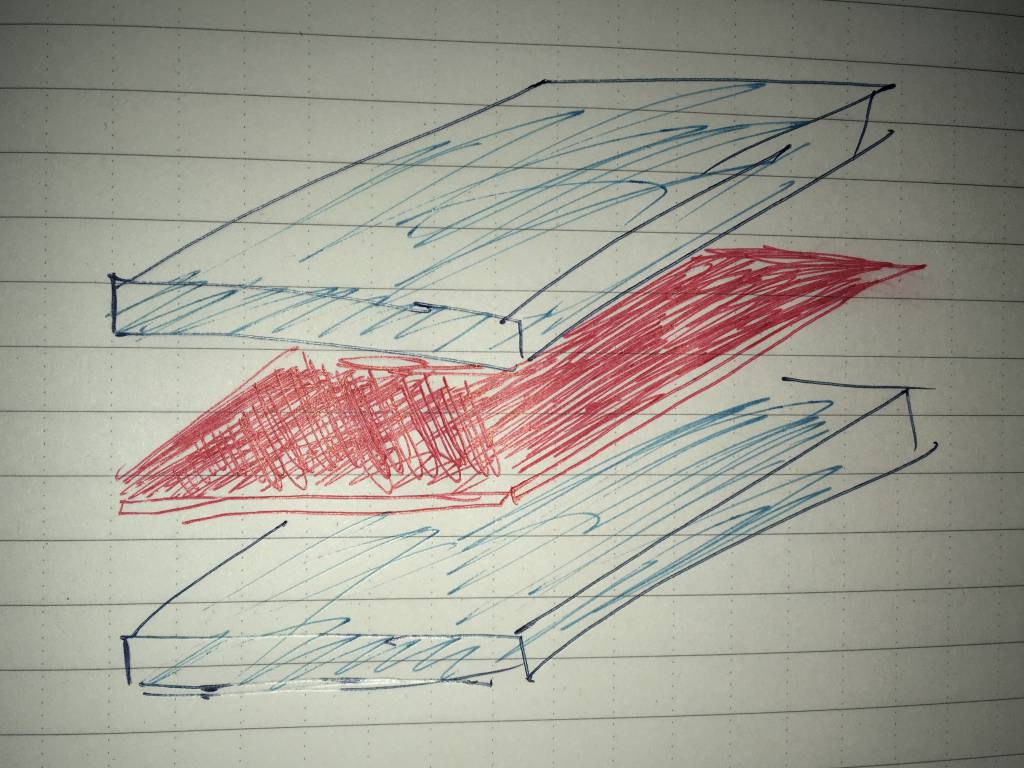
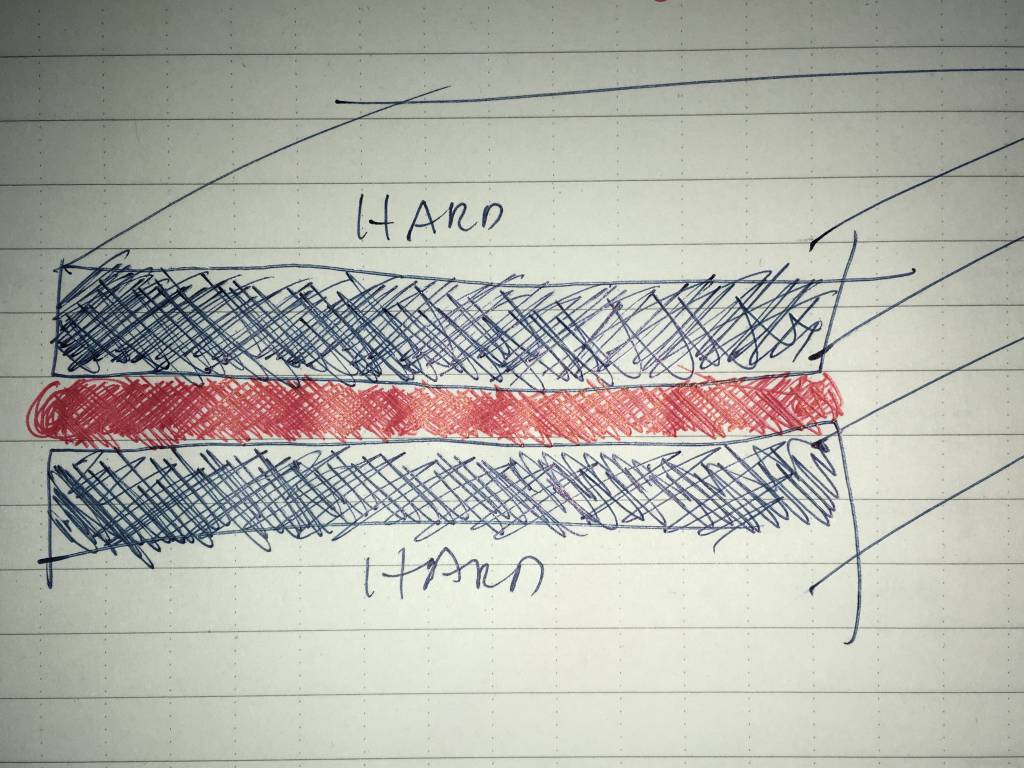
Microfluidic devices can be approached from a number of directions, for my Wildcard Week I will follow the Sandwich/Membrane approach, where a membrane with structural patterns is sandwiched between layers of sturdy acrylic.
- Standard Size of Membranes and Acrylic
- Standard Position of Access Port in Acrylic Layer
- Iterate over Fab Machines and Devices to create the patterned membranes.
Micro-fluidics as a Process
The goal of my wildcard week is not just to use existing machinery in FabLabs, but to find out, which productions process are best suited to create low-cost, functional Micro-fluidics
Work Plan
Use all available machines and devices in the FabLab (Kamakura) to try to design DIY Microfluidics.
- Prepare Standardized Acrylic Enclosures
- Engrave Pattern with the Lasercutter
- Vinyl-cut Patterns
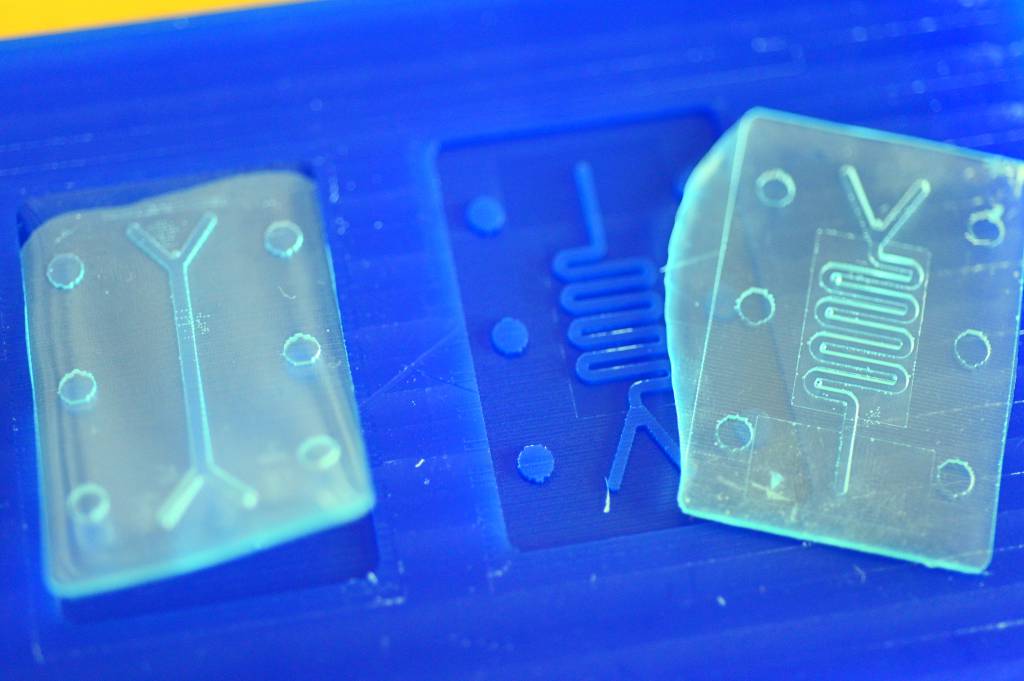
- Wax Milling & PDMS Casting
- 3D Printing (1 Layer!)
- Acrylic Milling?
The Challenge
Enclosures
The acrylic enclosure need to be strong enough to exert enough pressure to keep the fluidics within the device. After trying 2mm and 3mm acrylic, I settled on 5mm acrylic, which exhibited the least about of distortion and flex.
2mm Acrylic
Power: 90%
Speed: 0.5
Frequency: 1000
3mm Acrylic
Power: 90%
Speed: 0.4
Frequency: 10005mm Acrylic
Power: 90%
Speed: 0.2
Frequency: 1000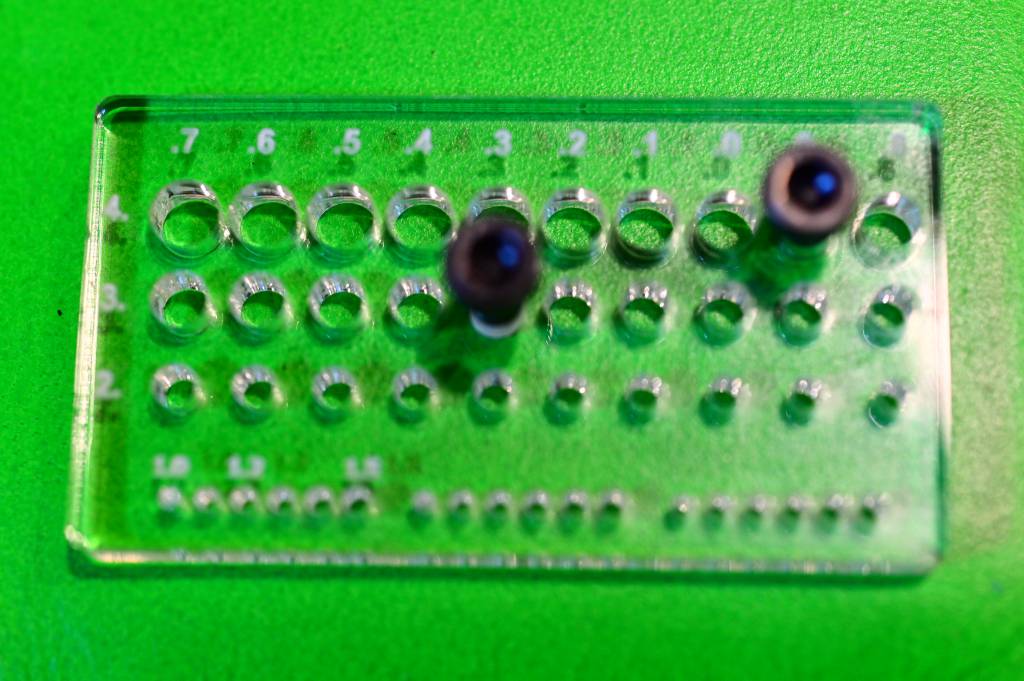
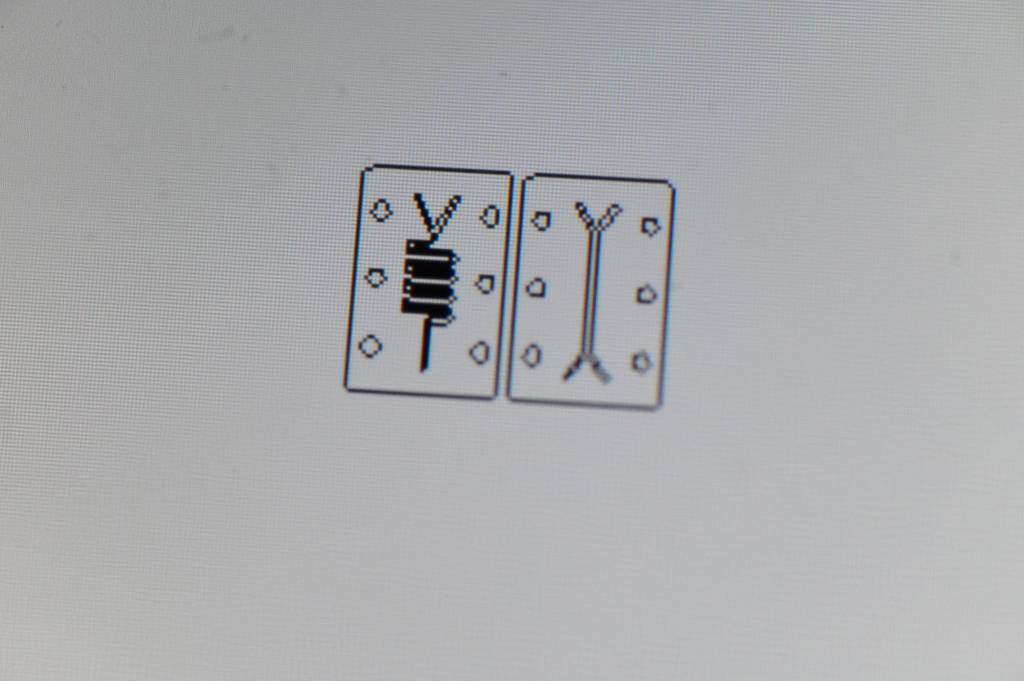
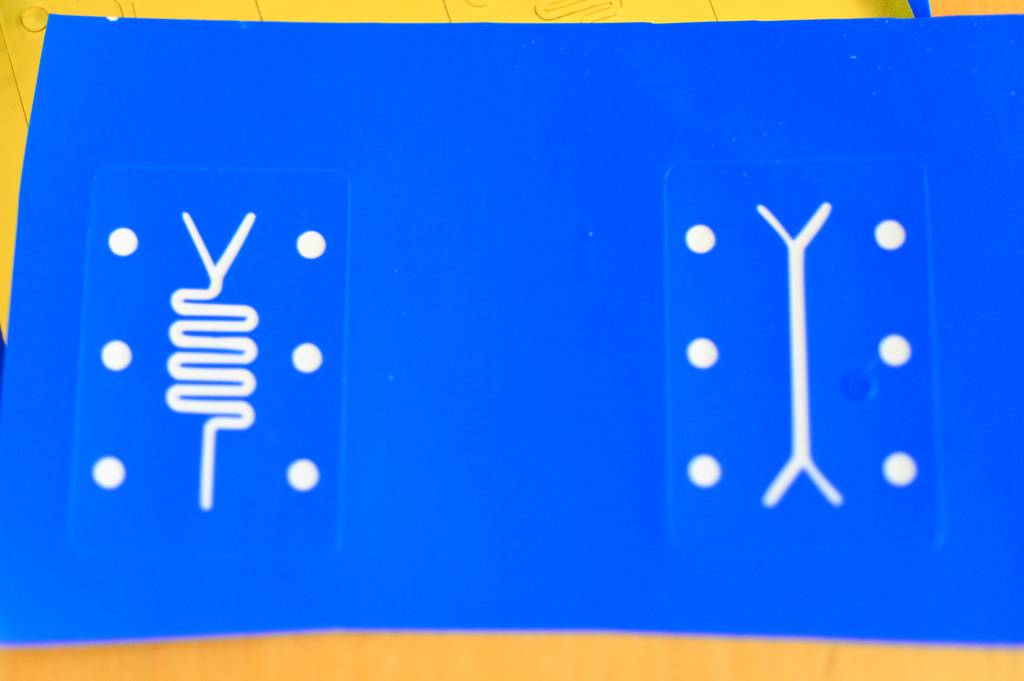
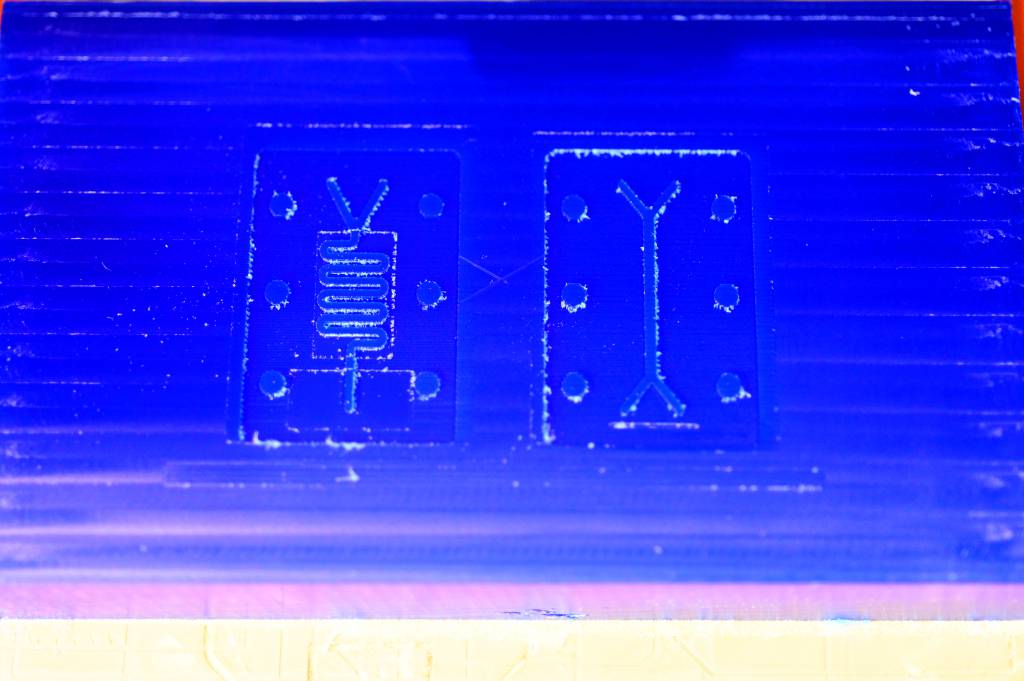
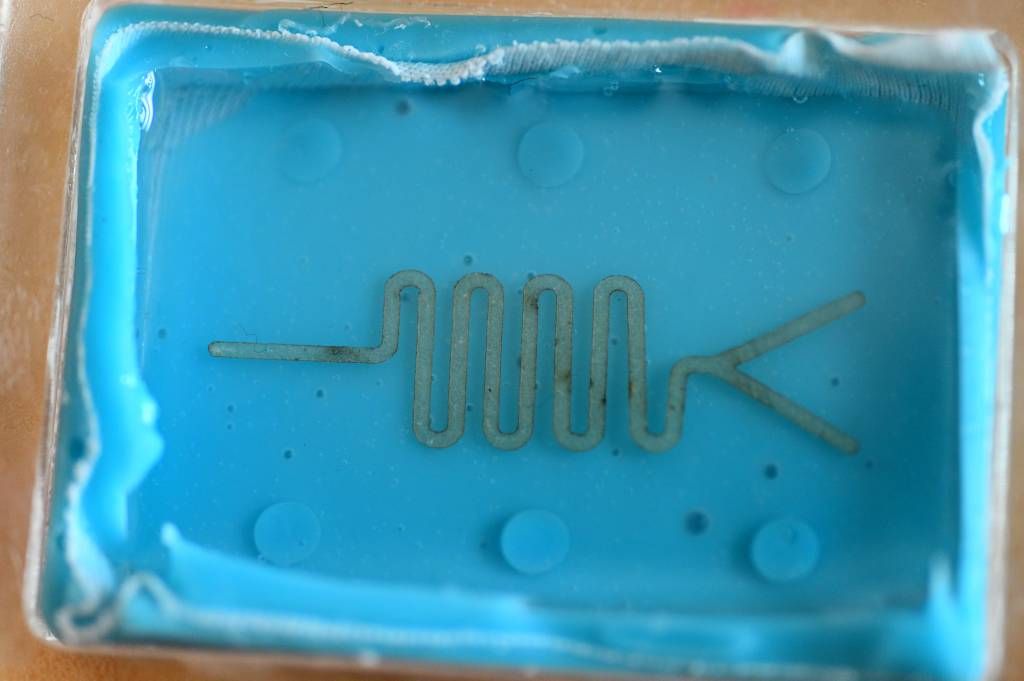
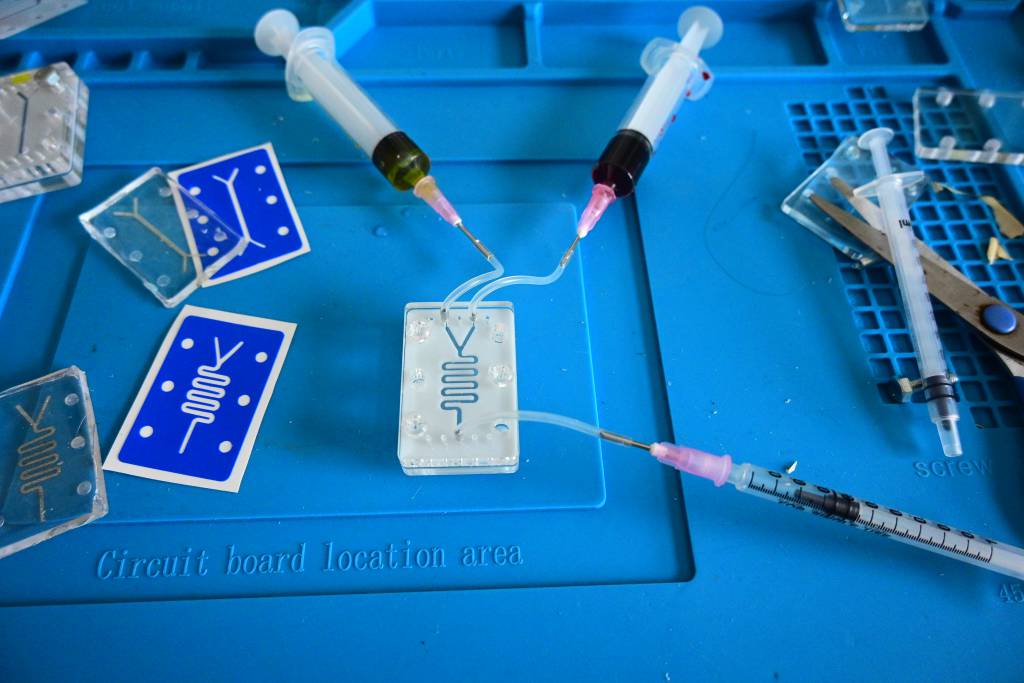
Test Patterns
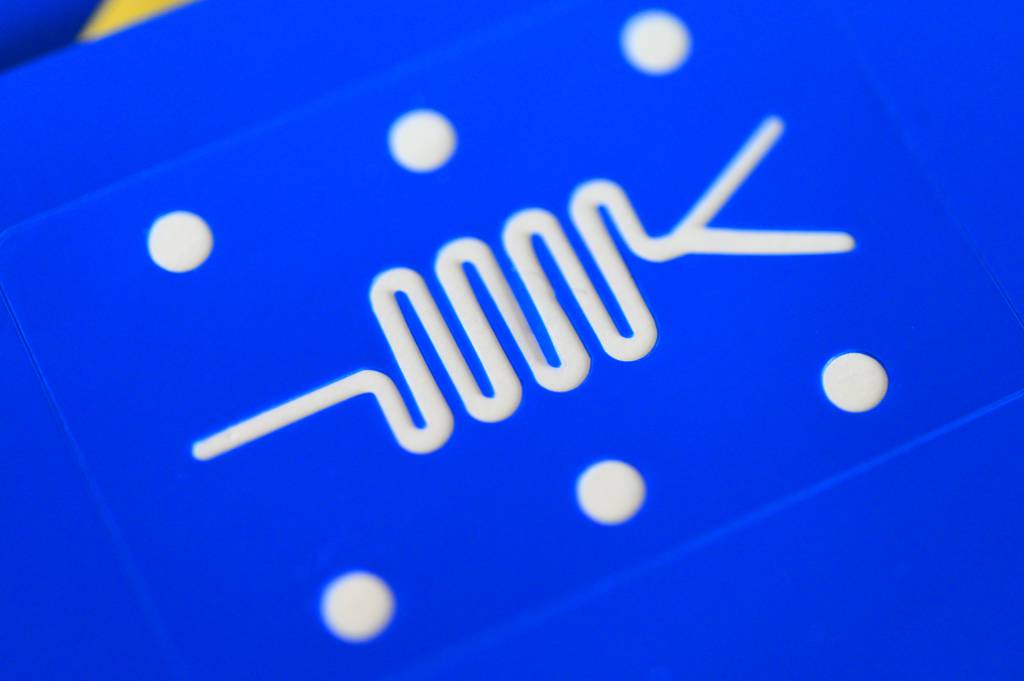
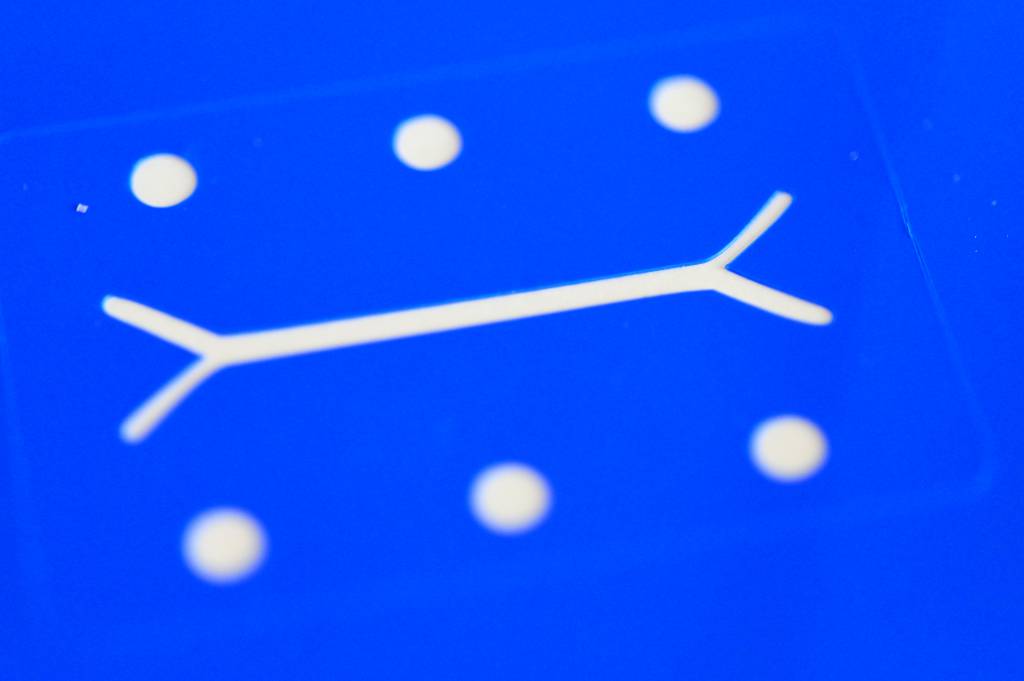
These test patterns are something like the Hello World of, simple mixers and flow cells.
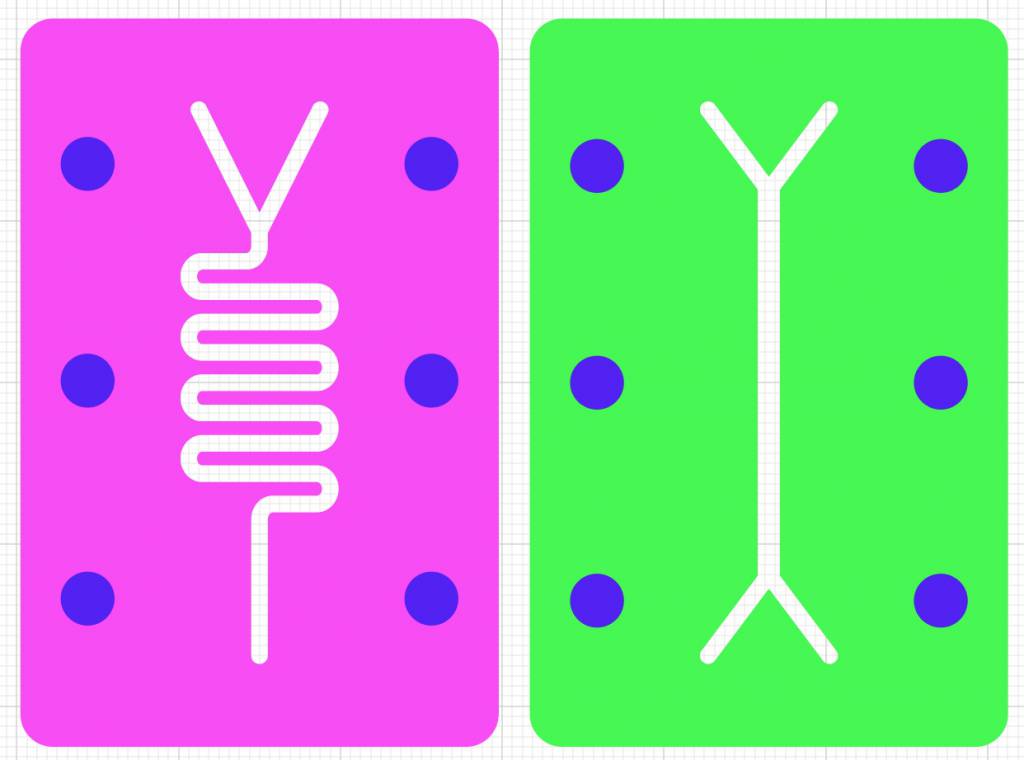
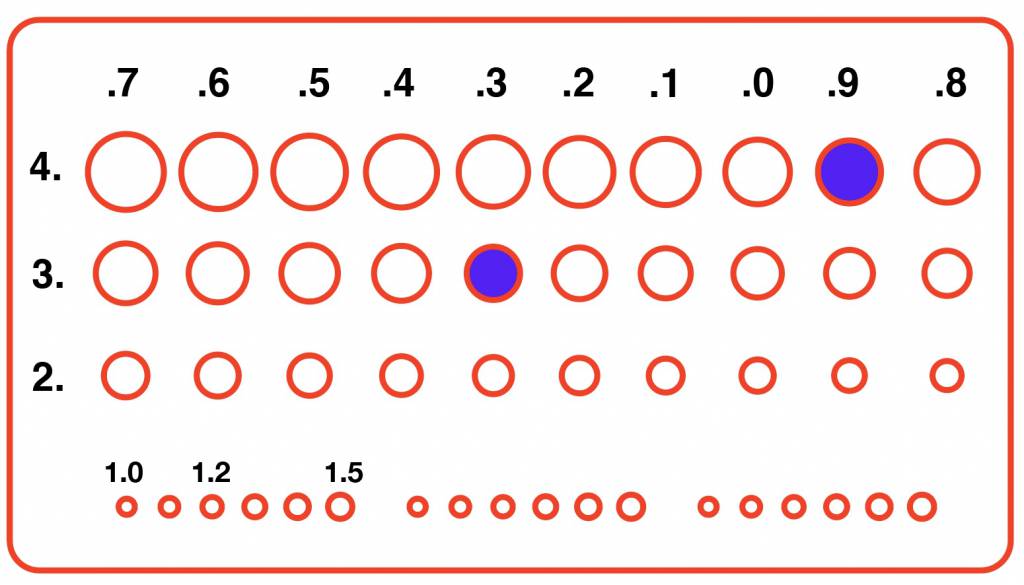
For the sake of speed and simplicity, I designed them in Illustrator. For more complex pattern, a parametric design approach is more suitable.
The blue circles are the holes for the connecting screws.
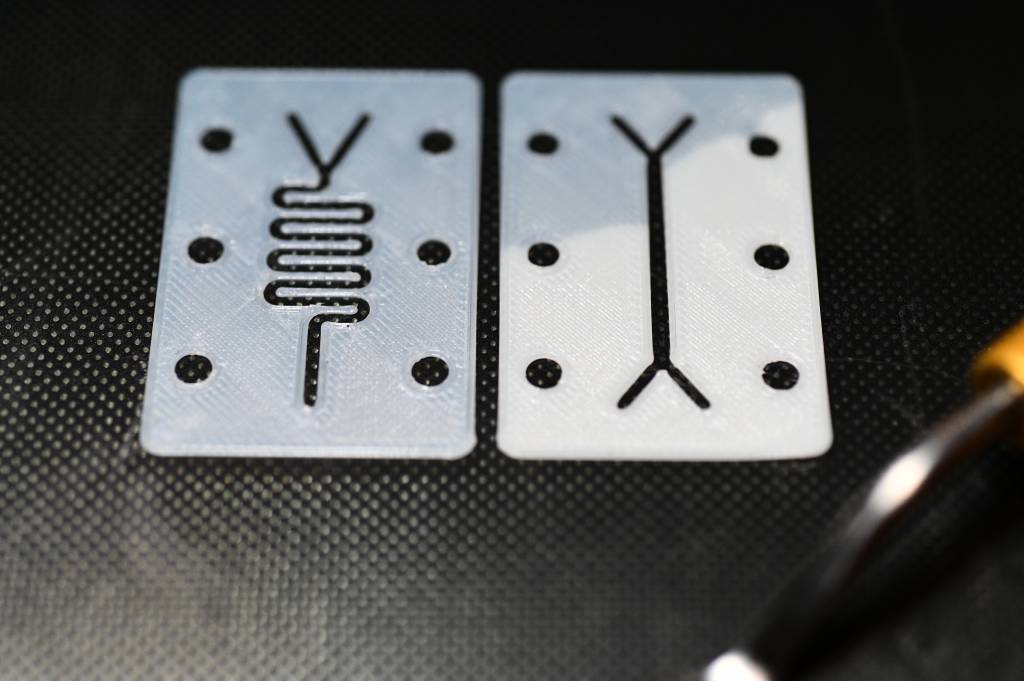
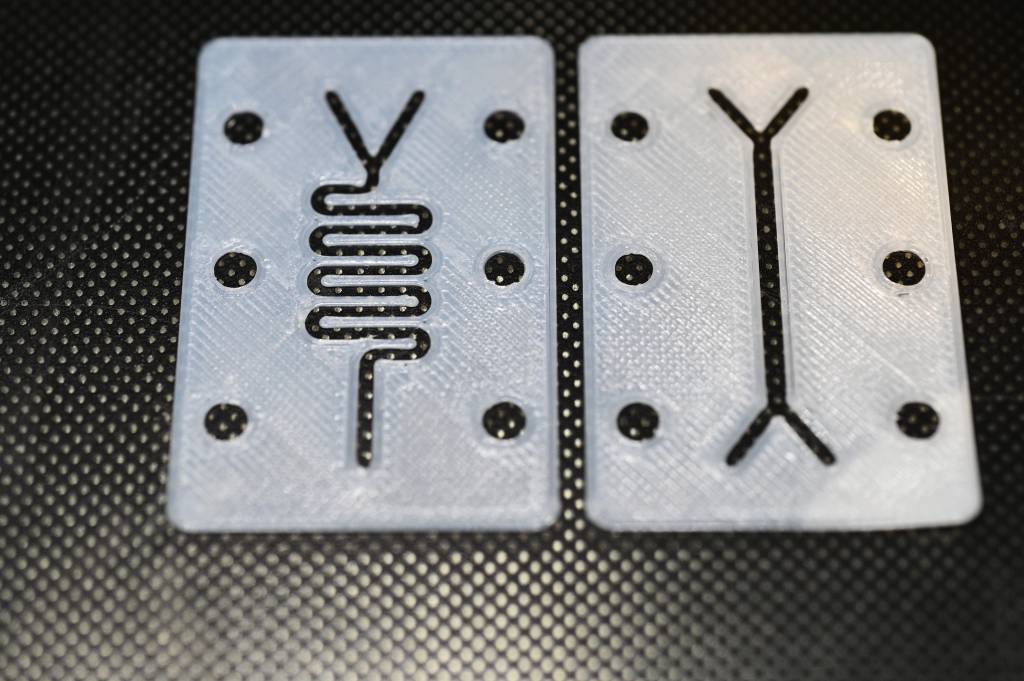
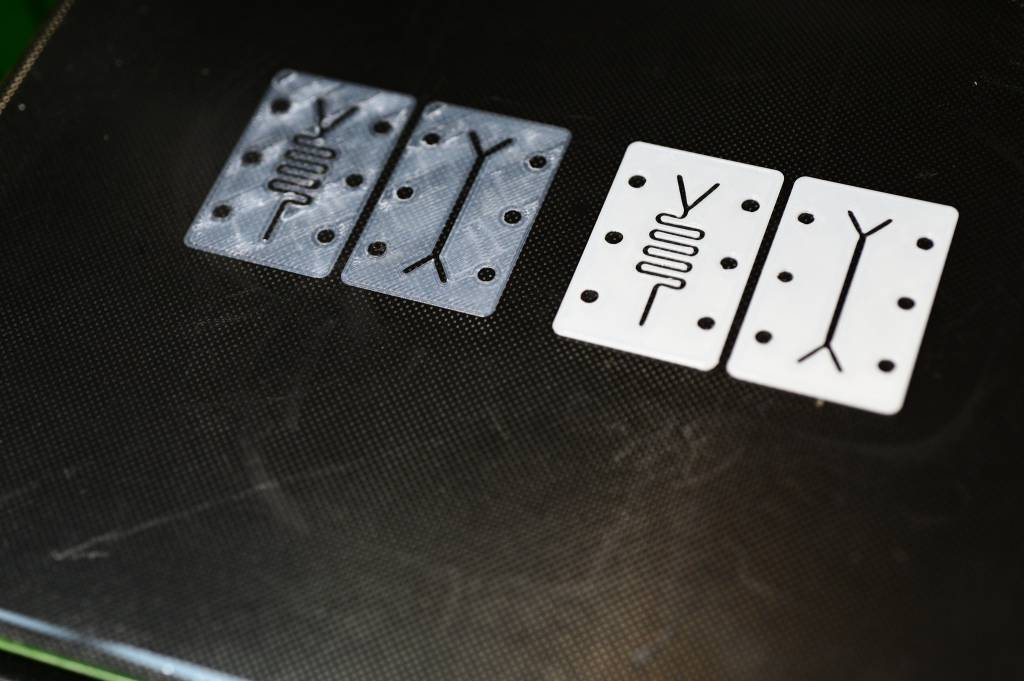
3D Printer
Why 3D Printing a Micro-fluidic Pattern?
3D Printers usually have a maximum vertical resolution of ca. 0.15mm, thin enough to create complex patterns. One single layer would not be stable, I will experiment with minimal layer prints.
Modelling the Micro-pattern
I imported the 2D pattern to Fusion 360, extruded them, exported as STL.
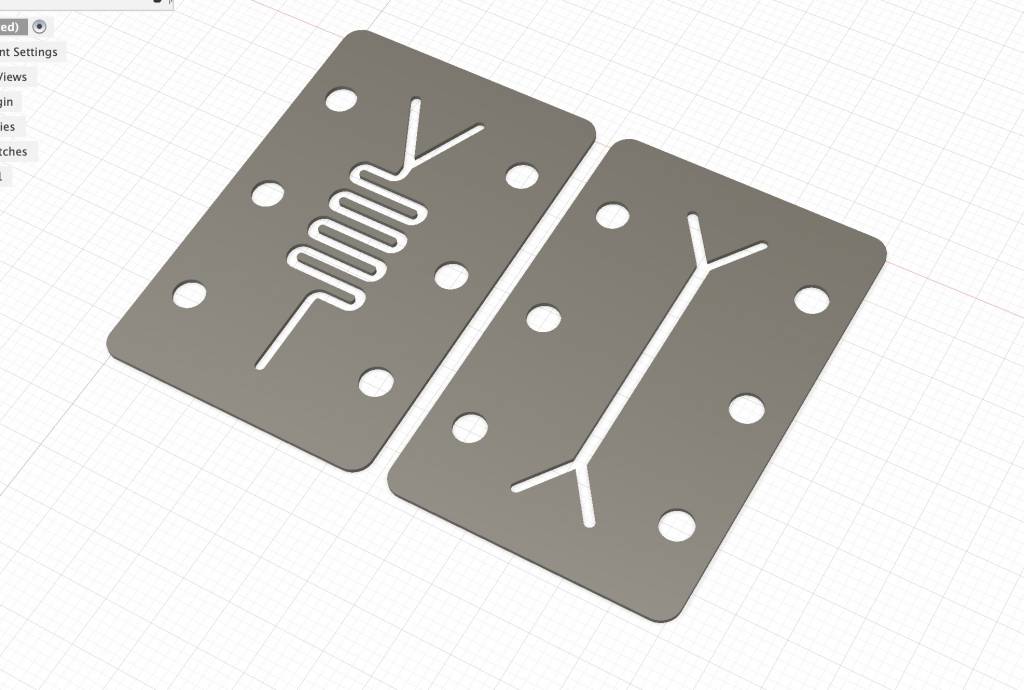
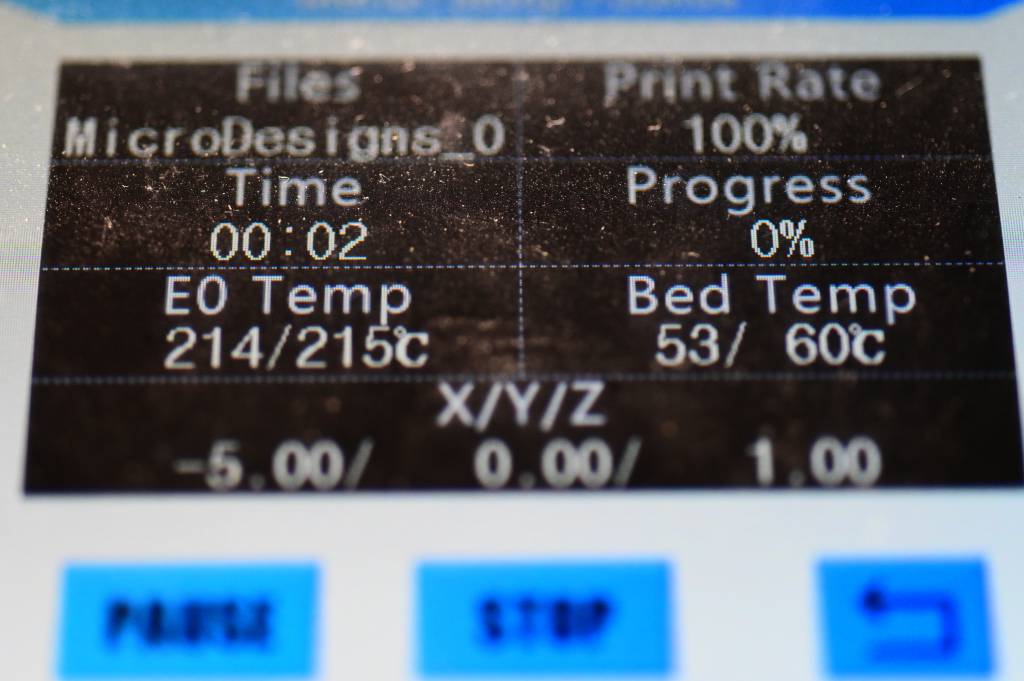
The actual height and number of layers is controlled in PrusaSlicer.
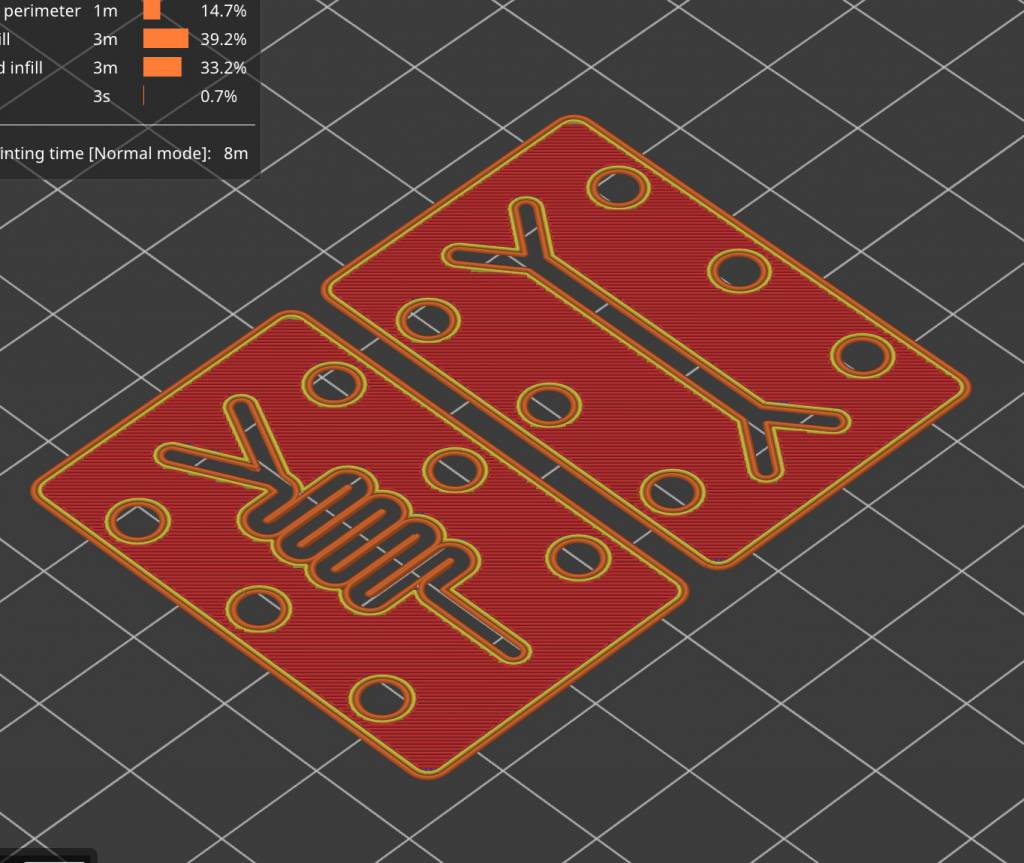
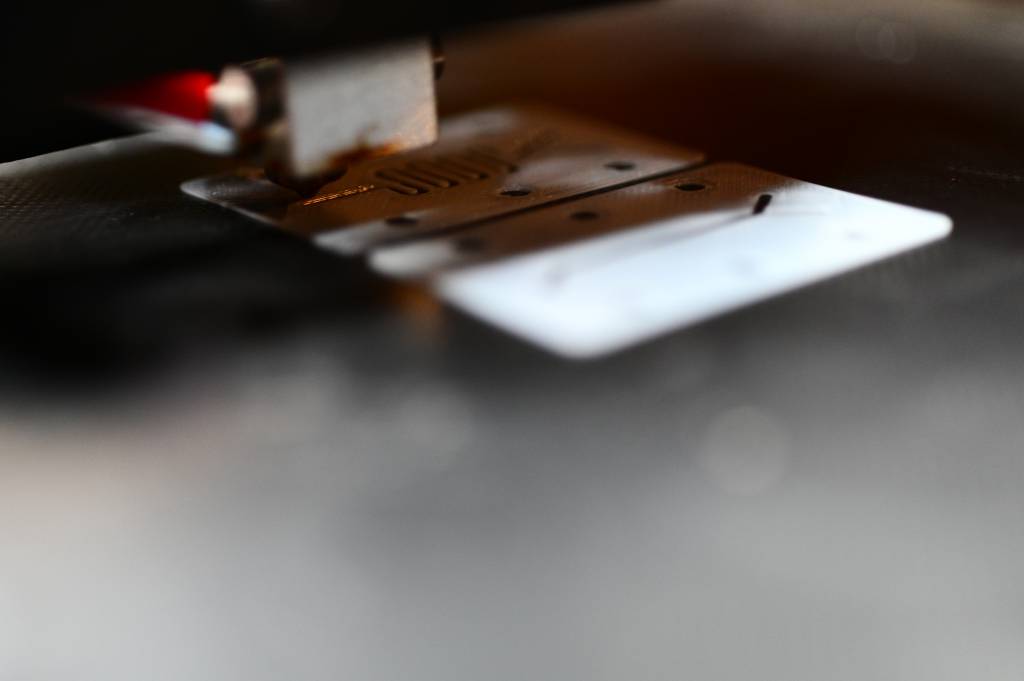
3D Printing
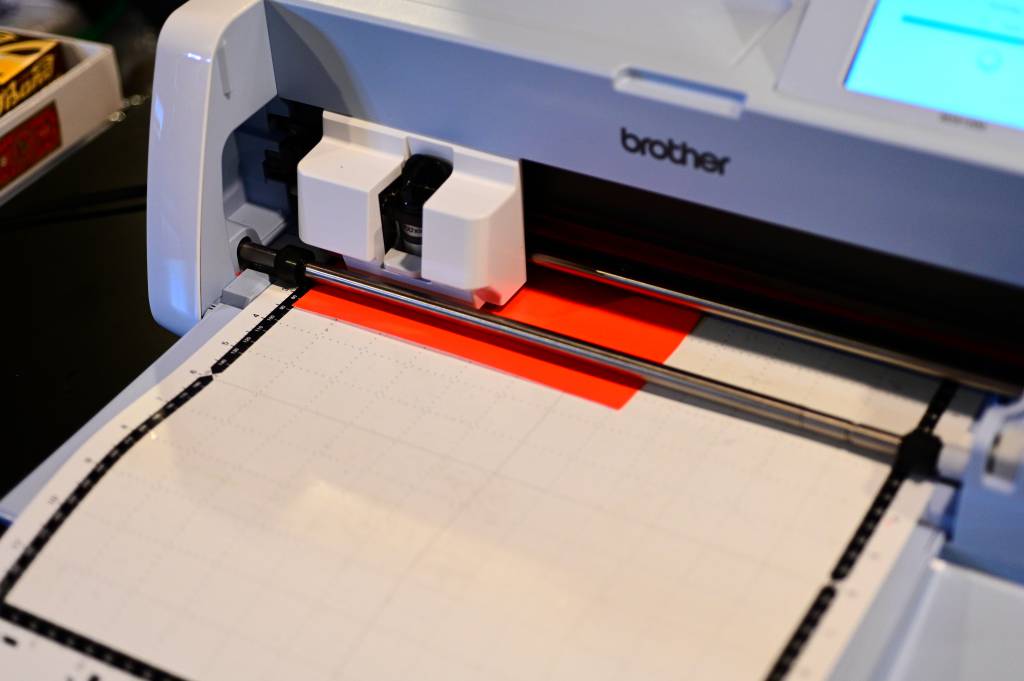
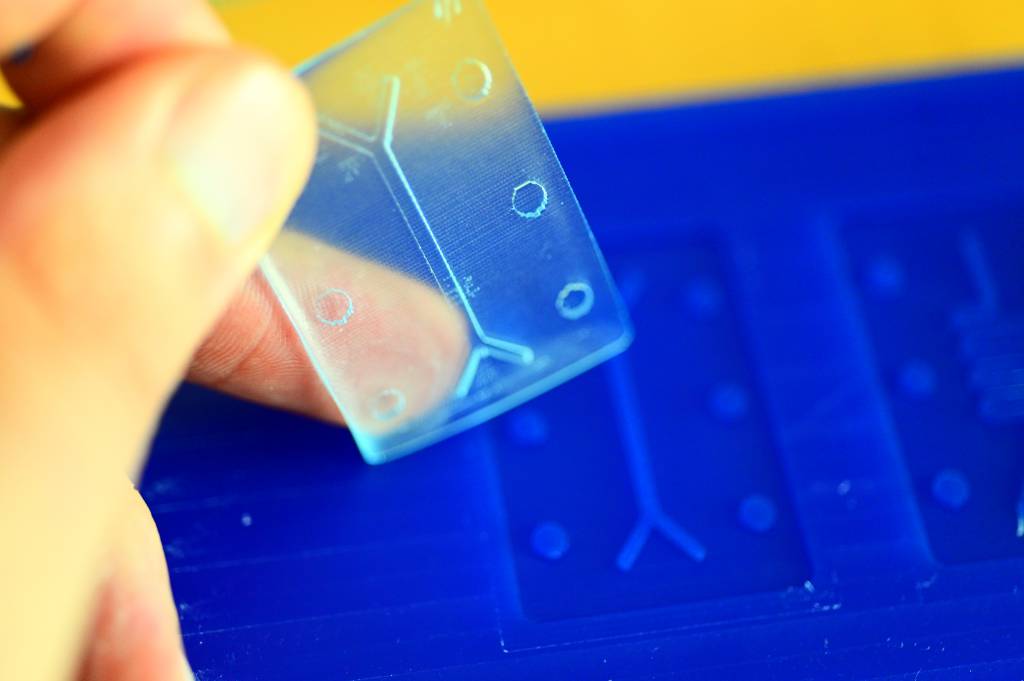
Vinyl Cutting
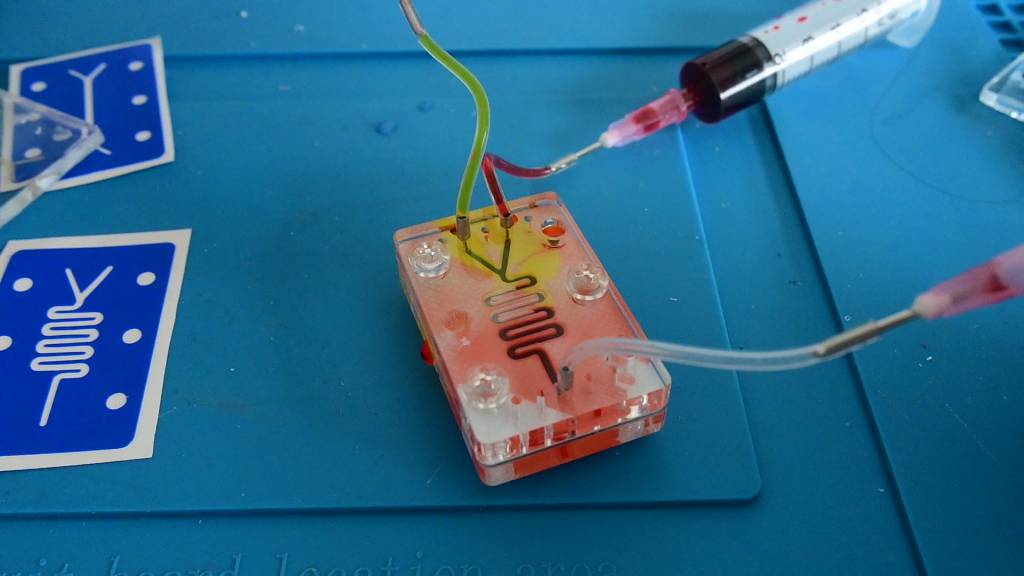
Vinyl-cutting has the advantage of creating patterns in soft and flexible materials. This will be important later, when the patterns will be sandwiched between the acrylic enclosures to create a tightly-sealed device.
Milling a Pattern in Wax
Resetting the Wax Block
I removed the milled bits from the previous Molding & Casting project by hand. Big mistake. Use a large (1/4inch) drill bit to level and reset the milling block.
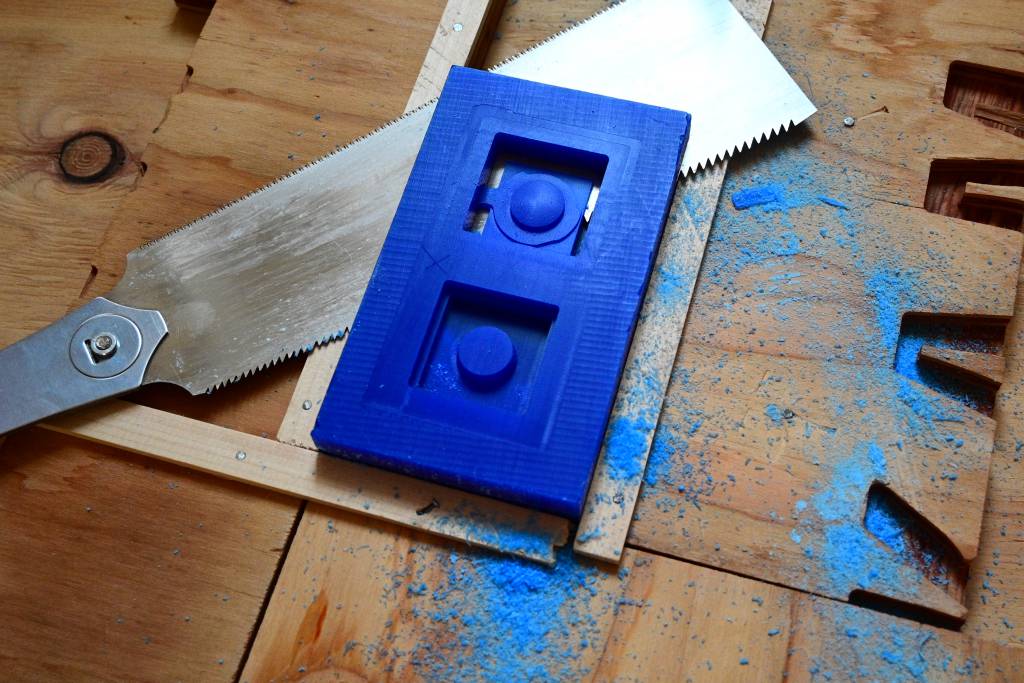
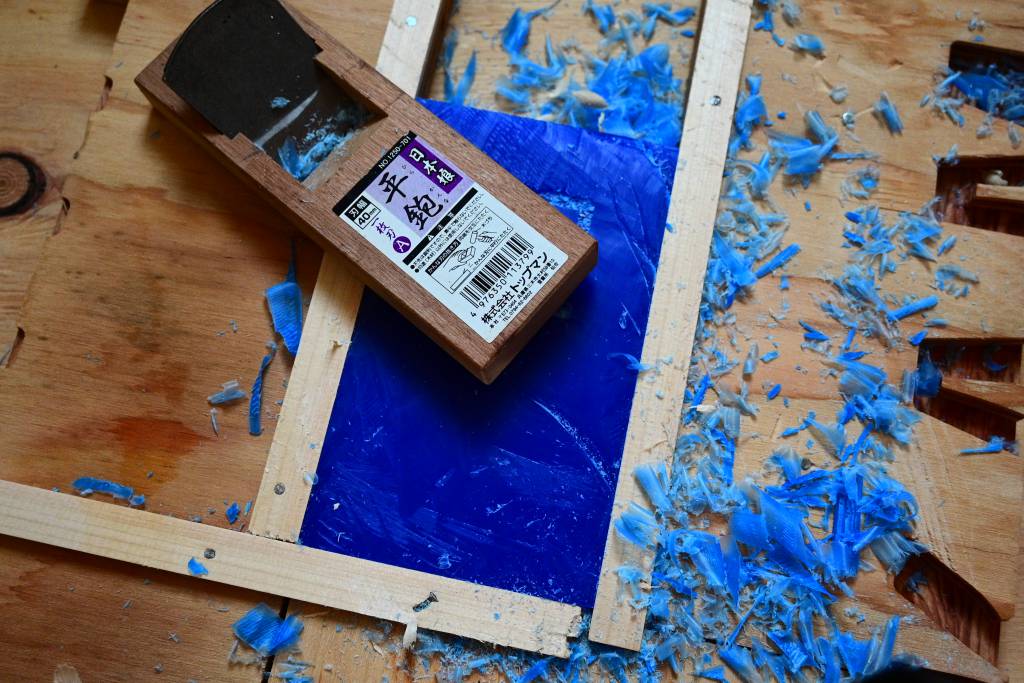
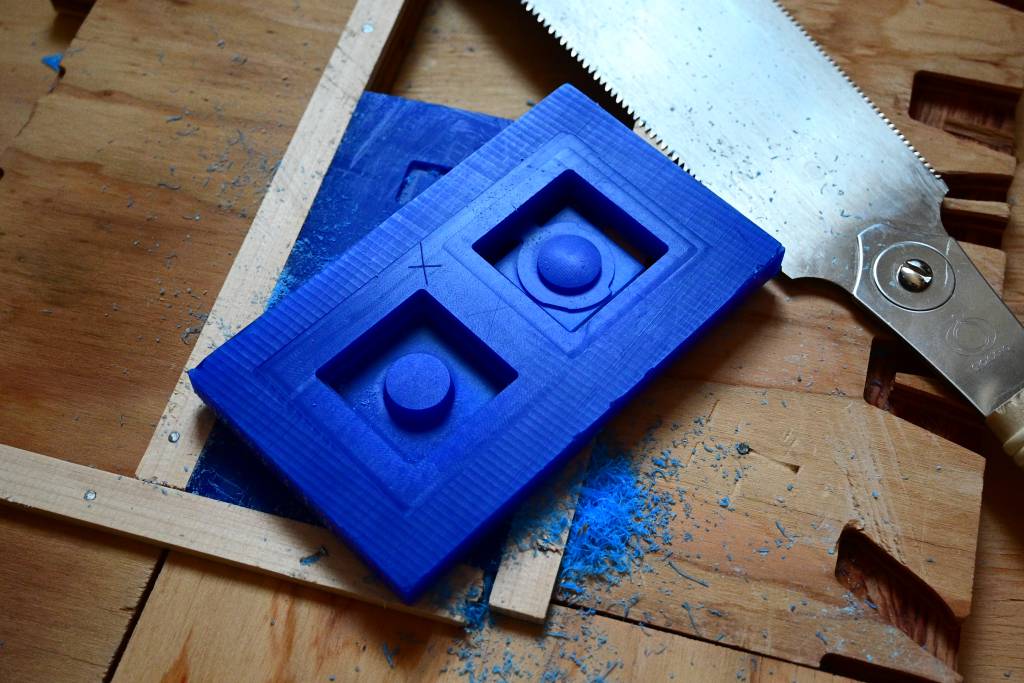
The pattern is milled, ready for further testing and casting with PDMS.
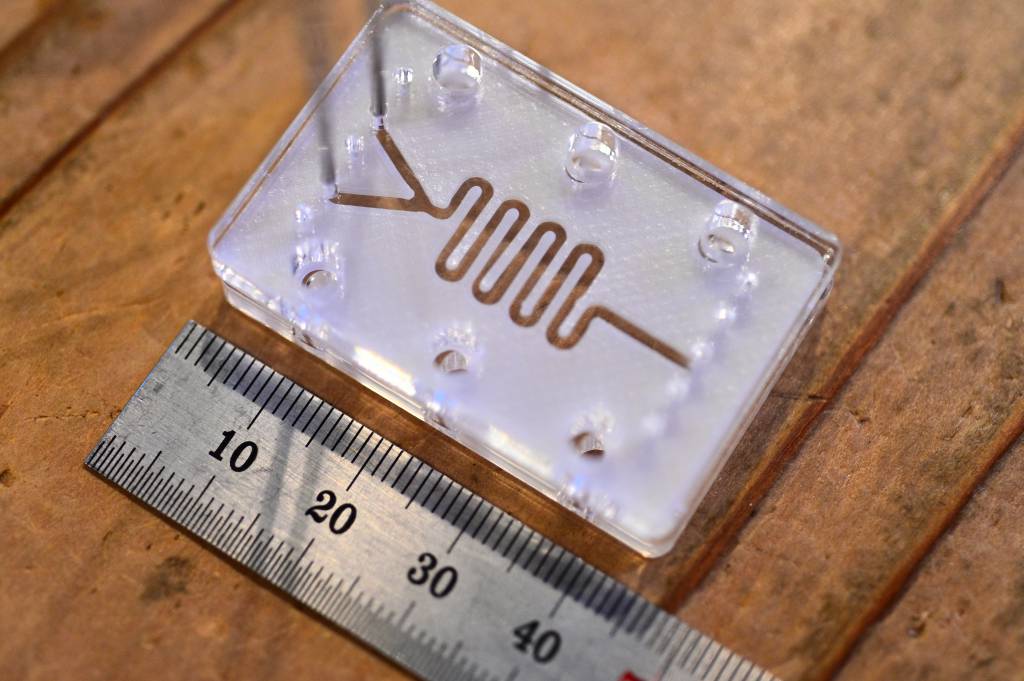
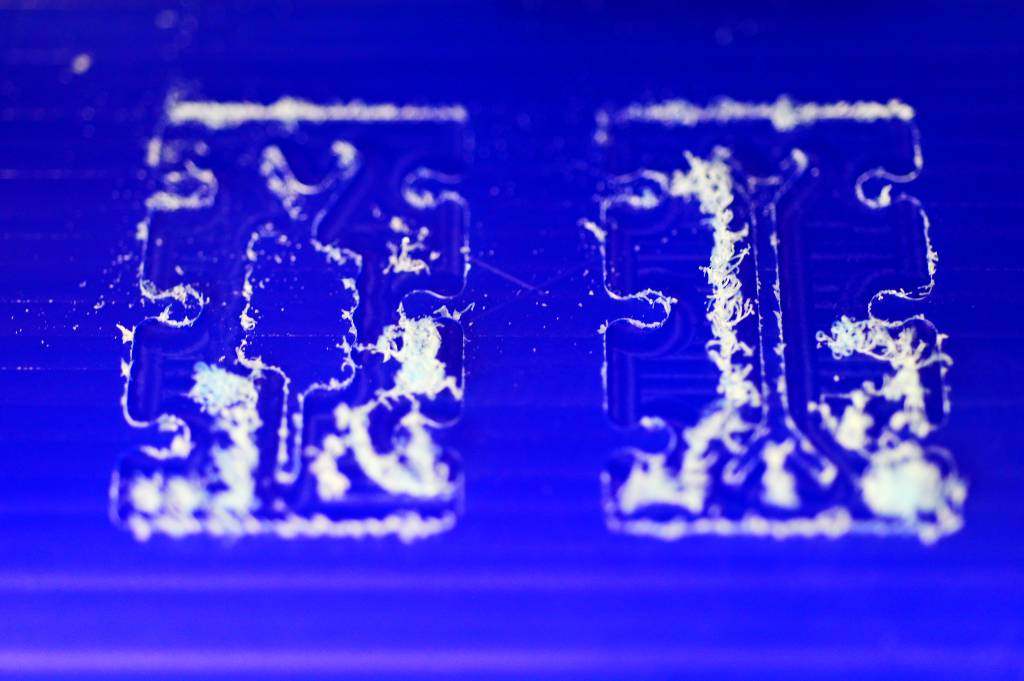
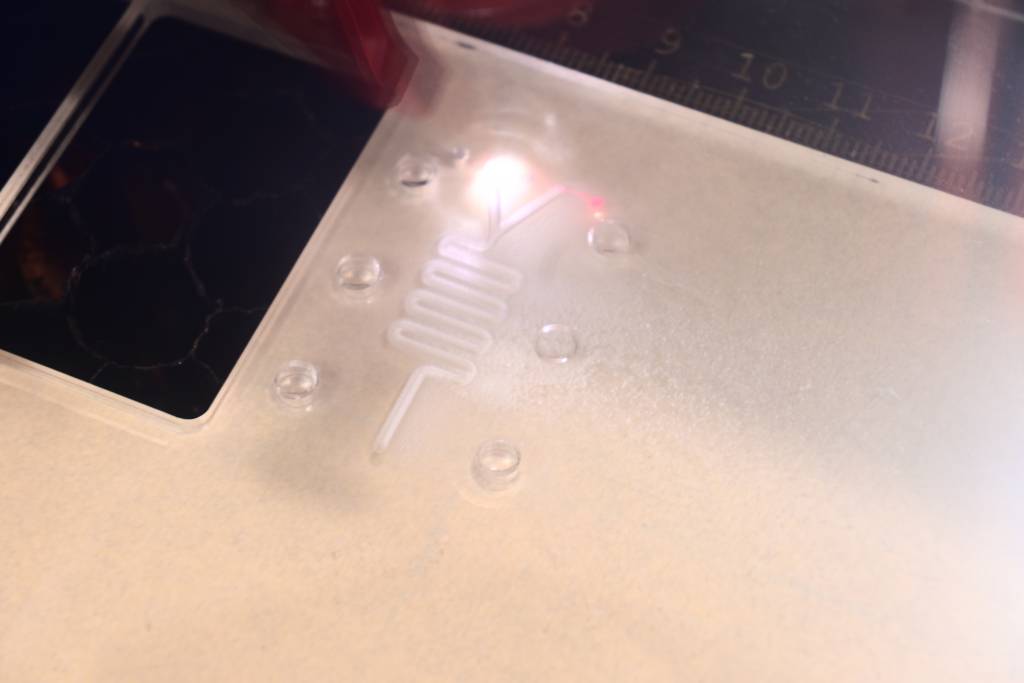
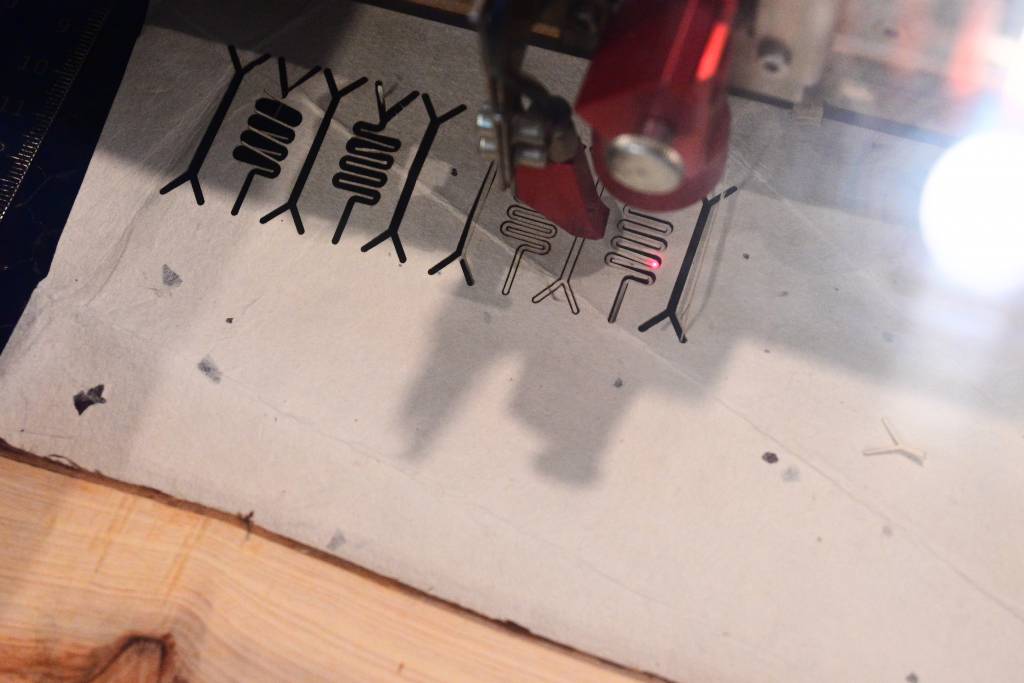
Laser Engraving
Laser engraving is another obvious method. Engrave the micro-pattern directly into the acrylic.
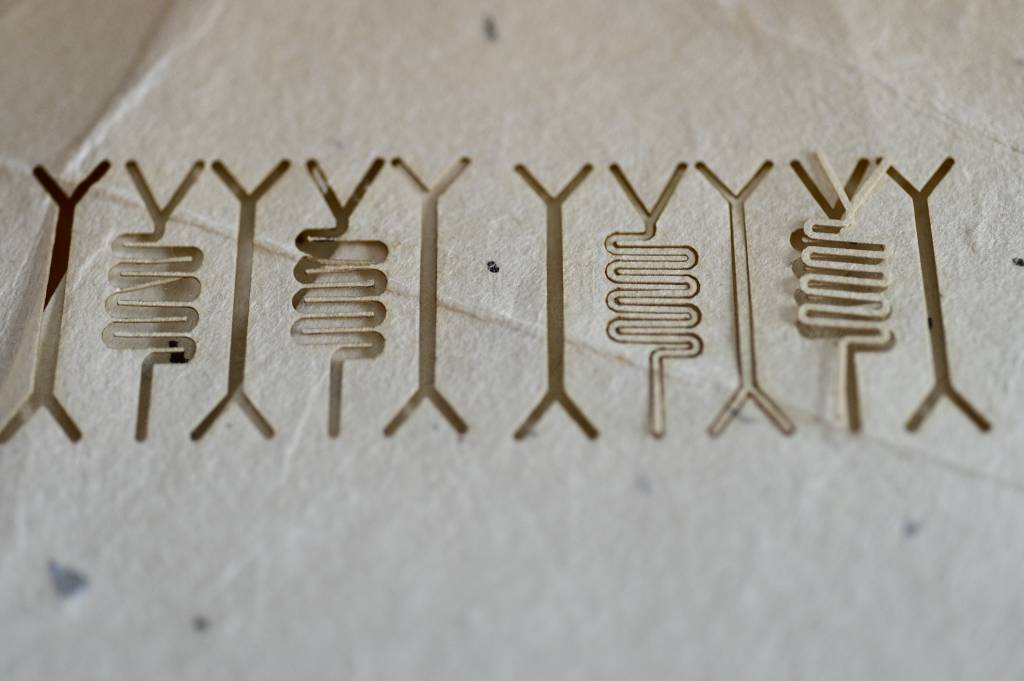
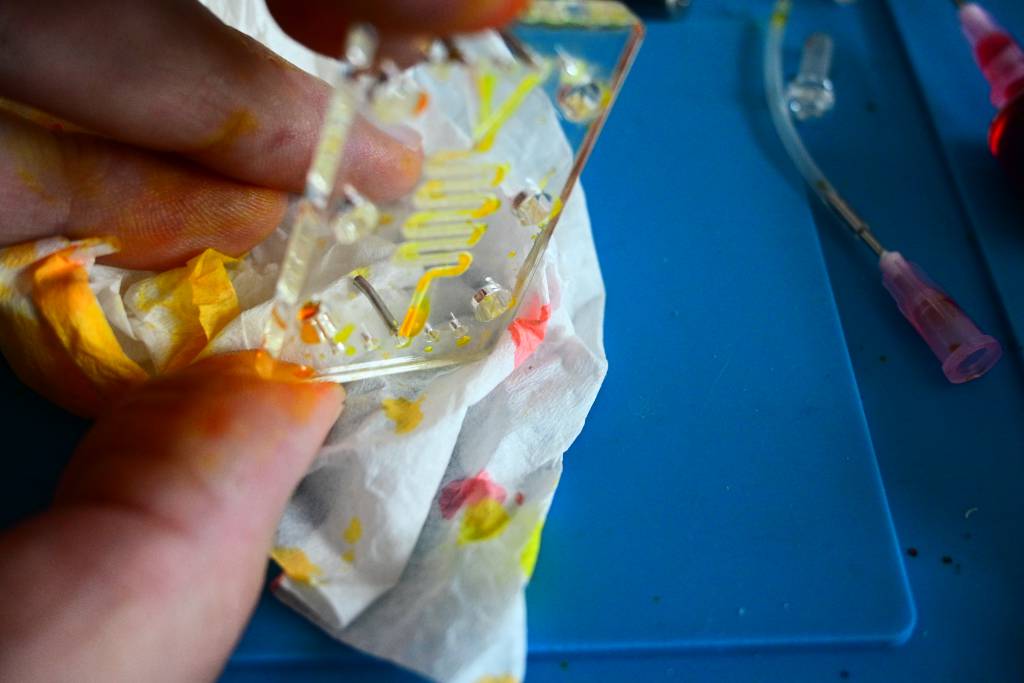
Paper Composites
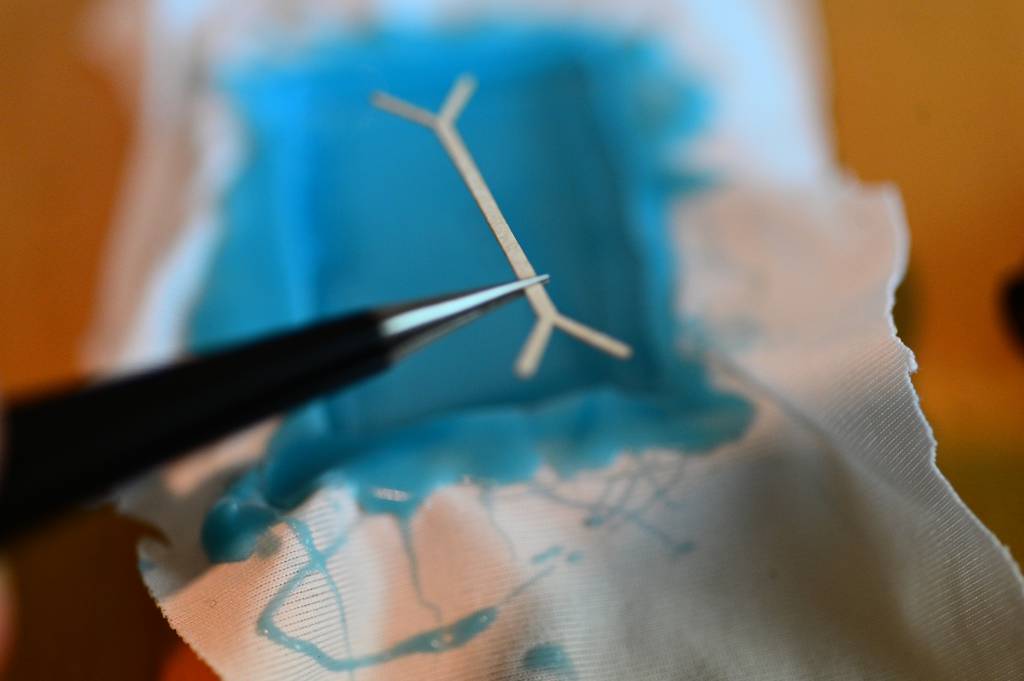
Because this has traditionally been the composite week, I also experimented a bit with quasi-composited. I used SORTA-Clear 37 from the Molding & Casting Week to encase paper micro-patterns. This is a variation of paper fluidics, where the capillary pressure of the paper should transport the liquid.
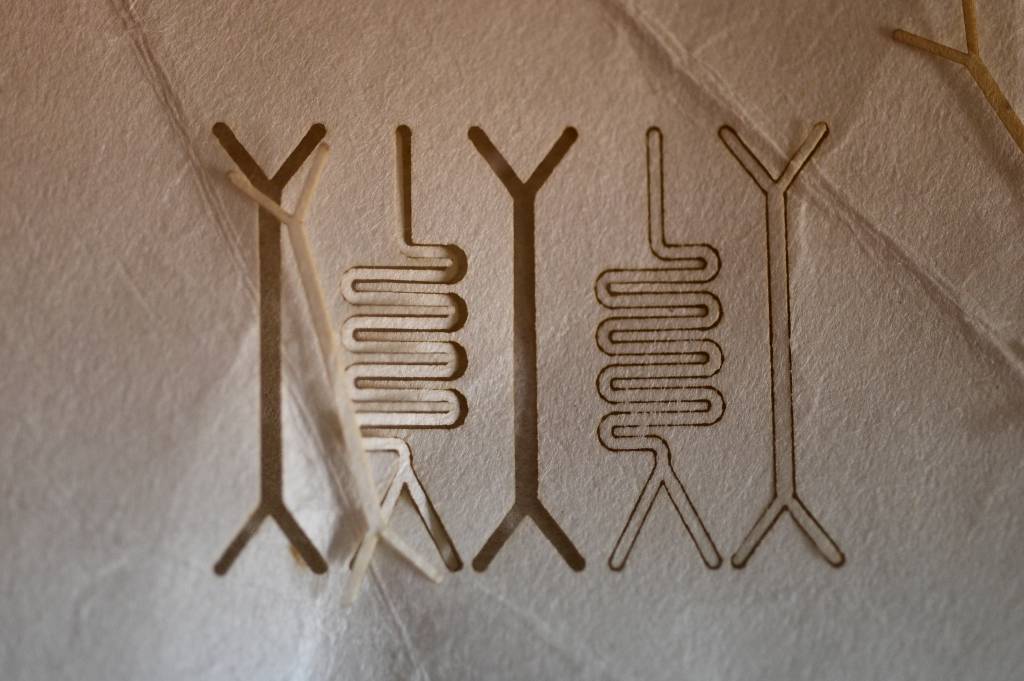
Laser Cutting Paper Patterns in Washi
Washi (和紙) is traditional, hand-made Japanese paper, the type of Washi I am using is both thicker ("heavier") than standard paper and has longer, unprocessed fibers.
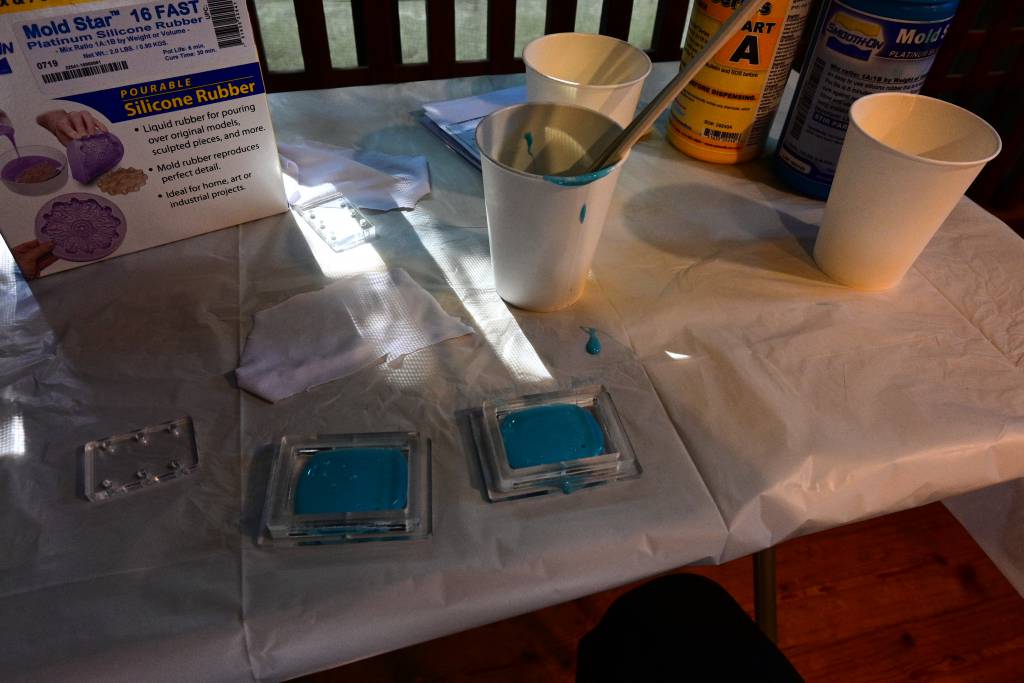
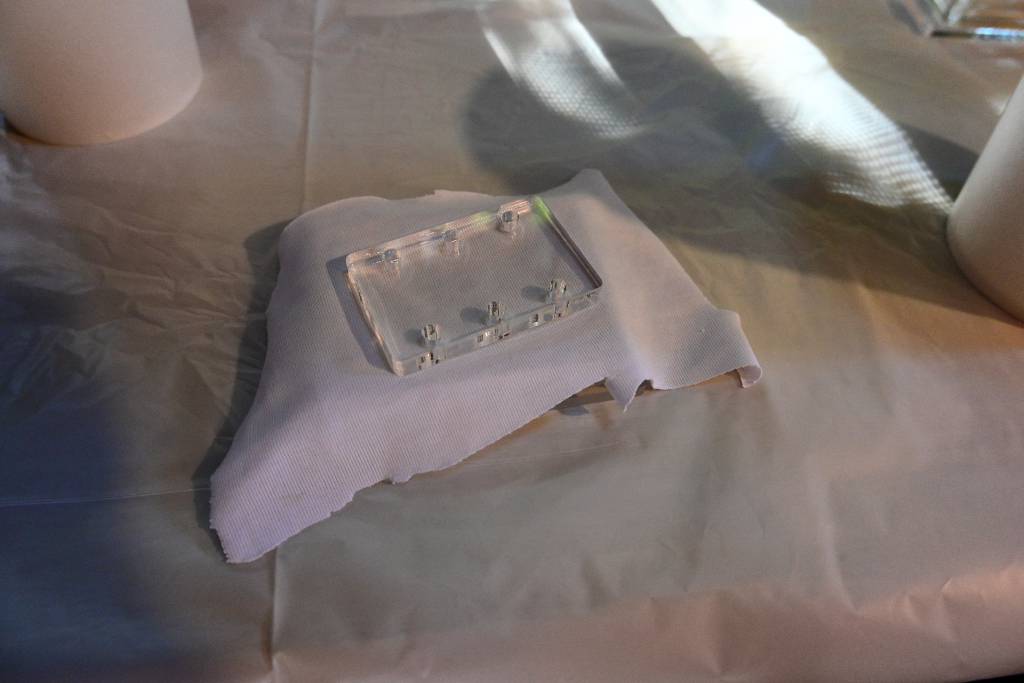
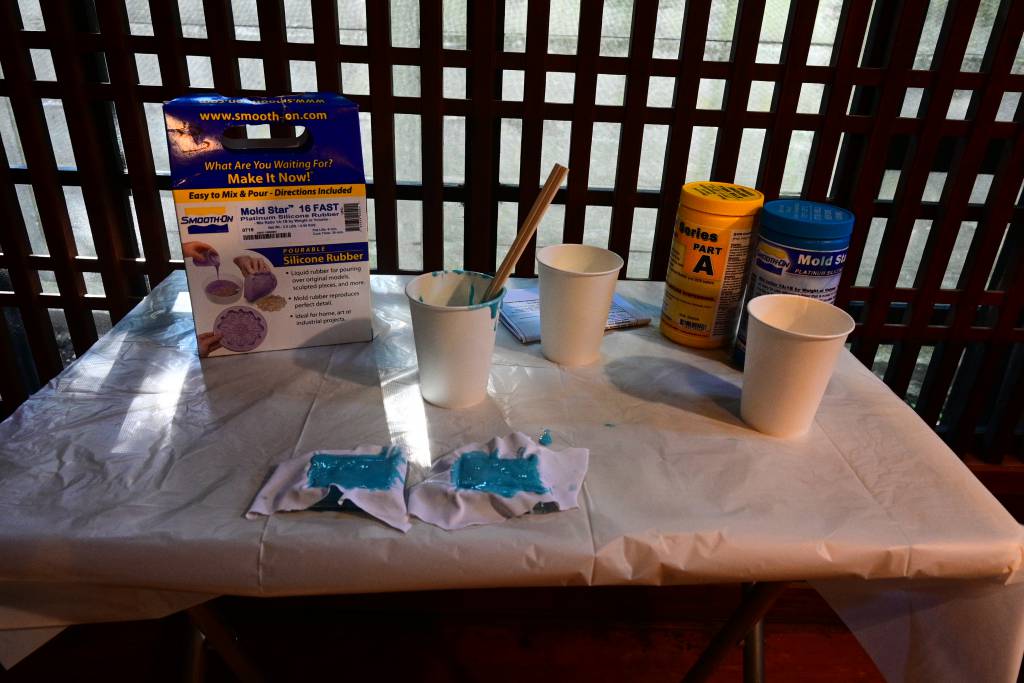
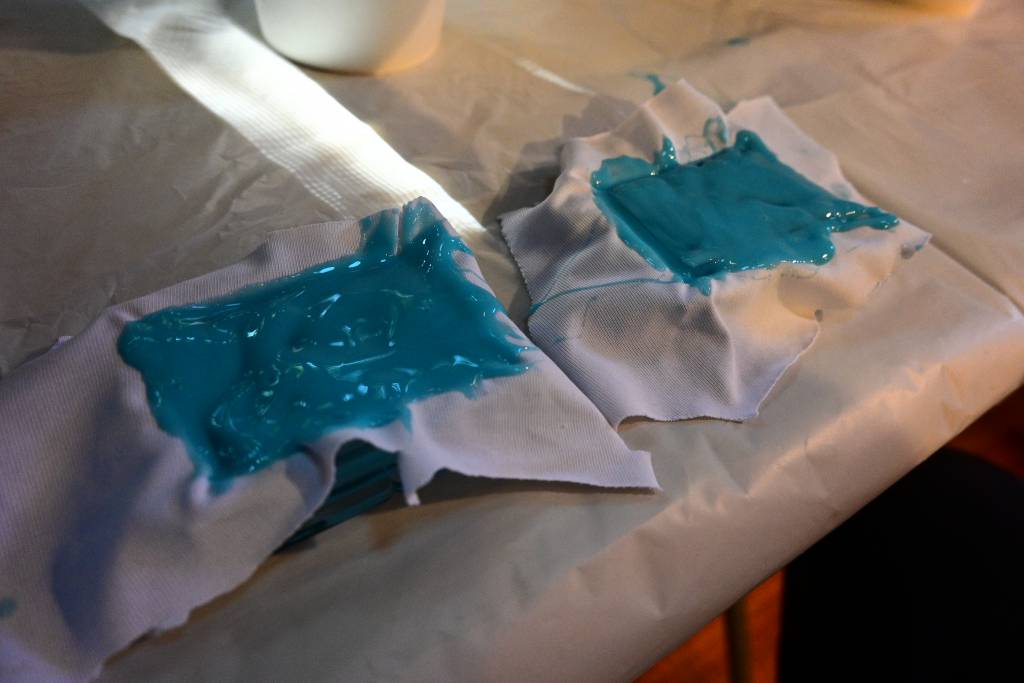
Creating a Composite Mold
In order to cast and encase the paper-fluidics, I created a cast. I was testing & experimenting to cast fabric with the Mold Star 16 Silicon.
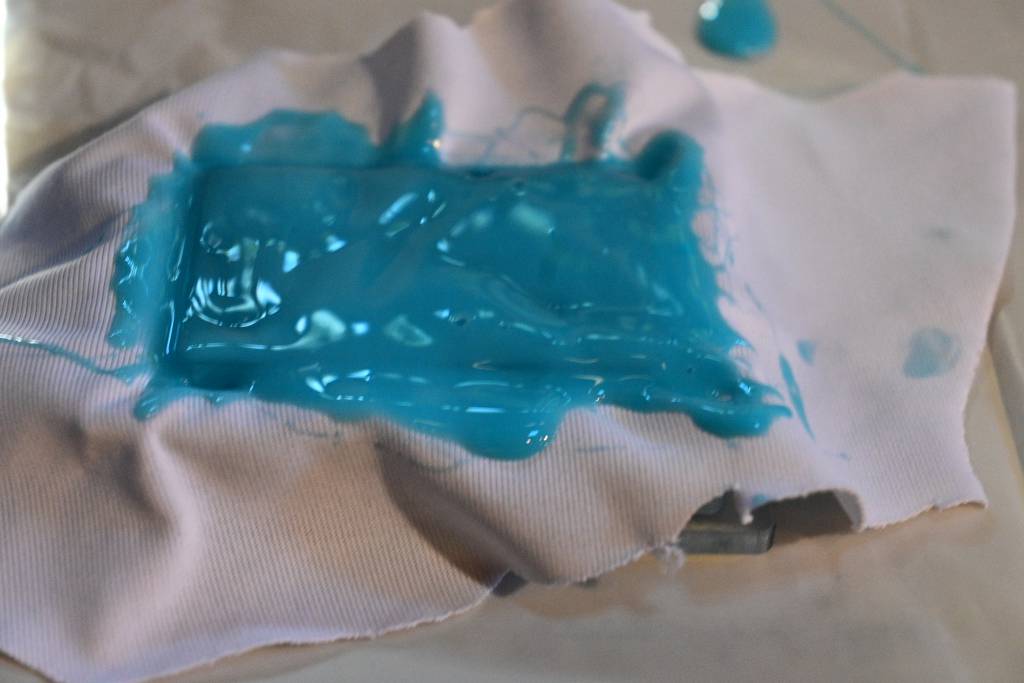
Encasing the Paper Patterns
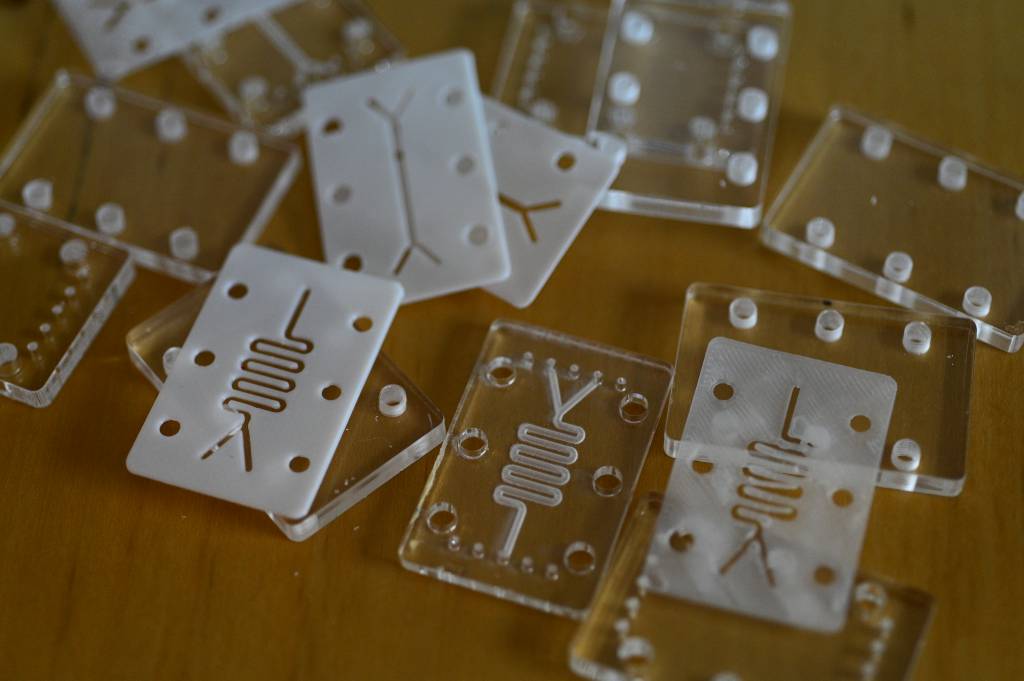
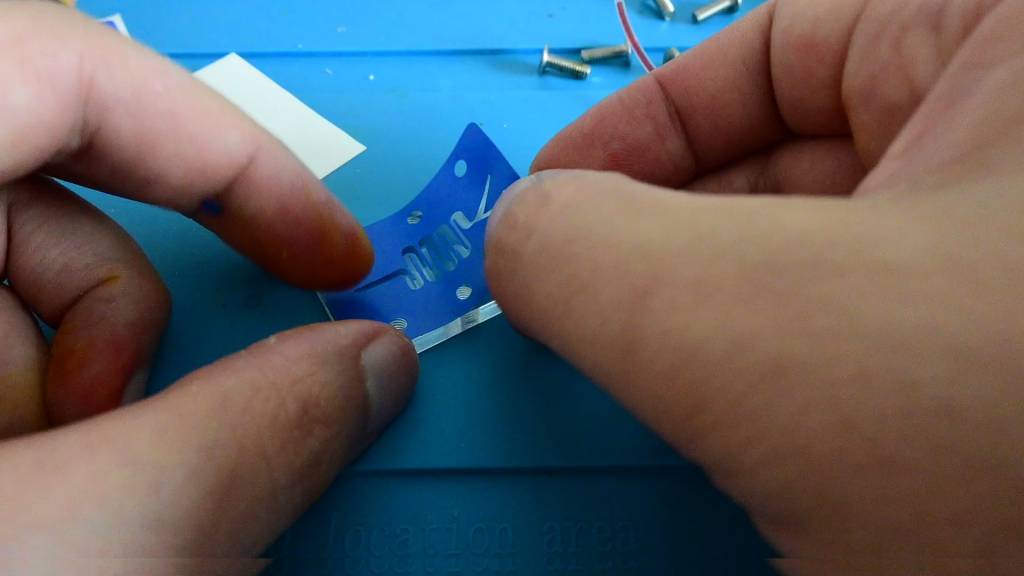
Assembling the Chips
Now we have plethora of manufacturing methods and processing,
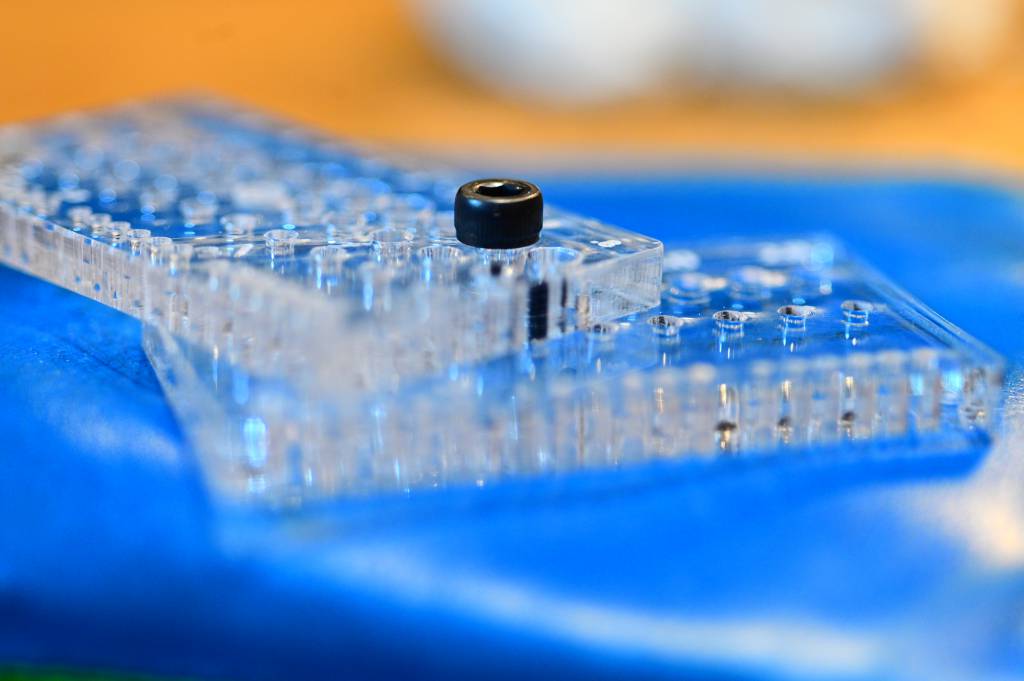
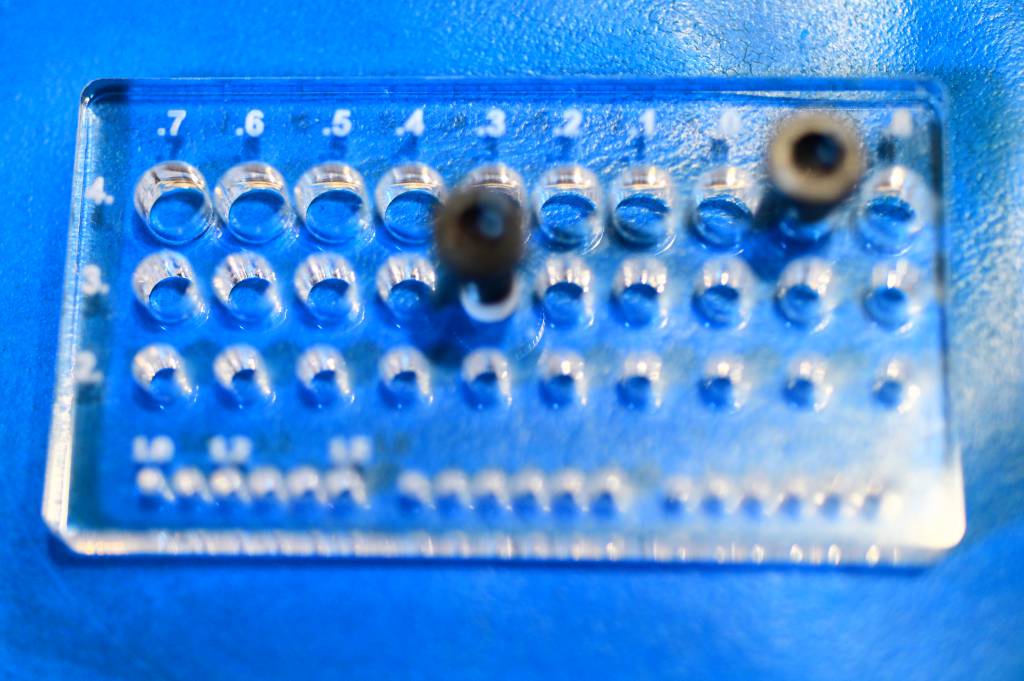
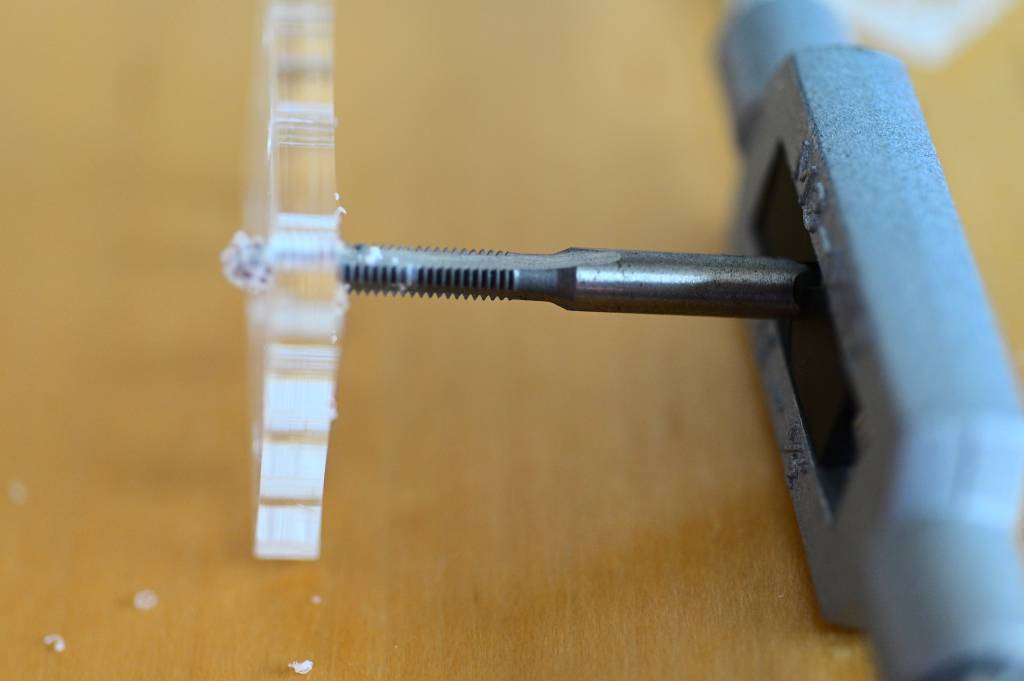
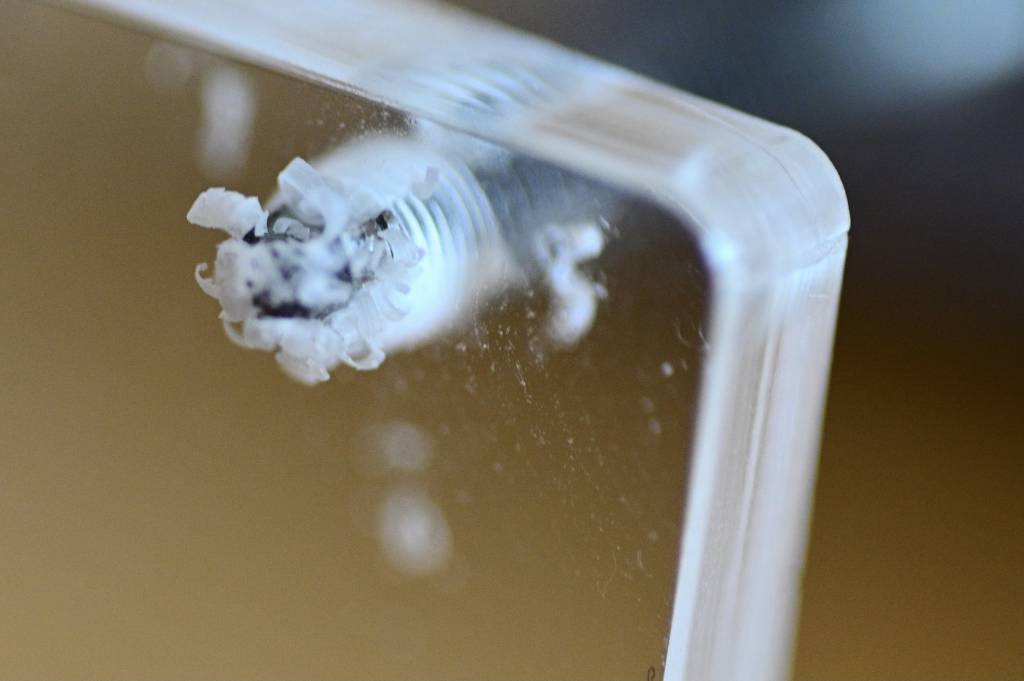
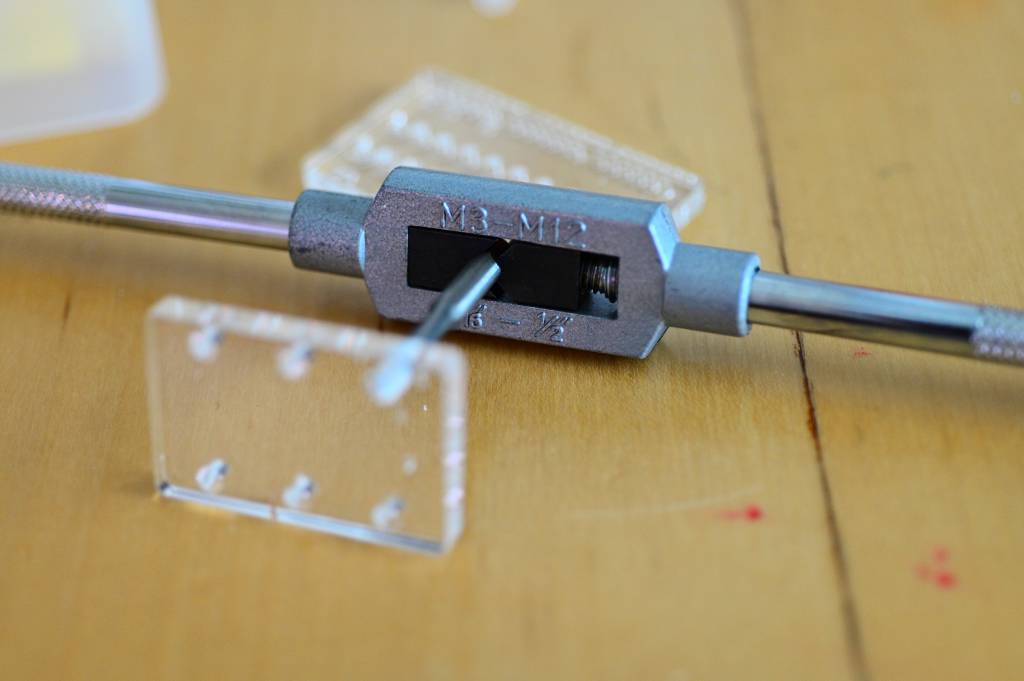
Tapering Holes
At the beginning of the project we found out experimentally which hole sizes are best suited for cutting threads directly into the acrylic.

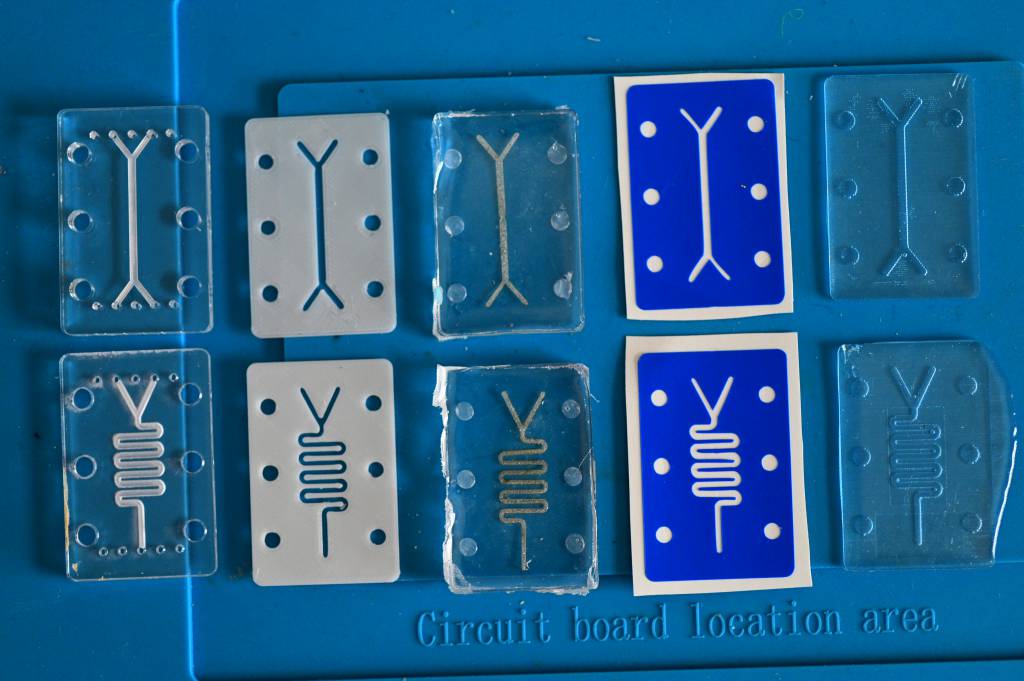
Chip Line-up
-
- Laser-etched
-
- 3D-Printed
-
- Paper-Composited
-
- Vinyl-Cut
-
- Direct-Cast
Experiment 1: Laser-etched
Experiment 2: 3D-Printed Patterns
Experiment 3: Paper Composites
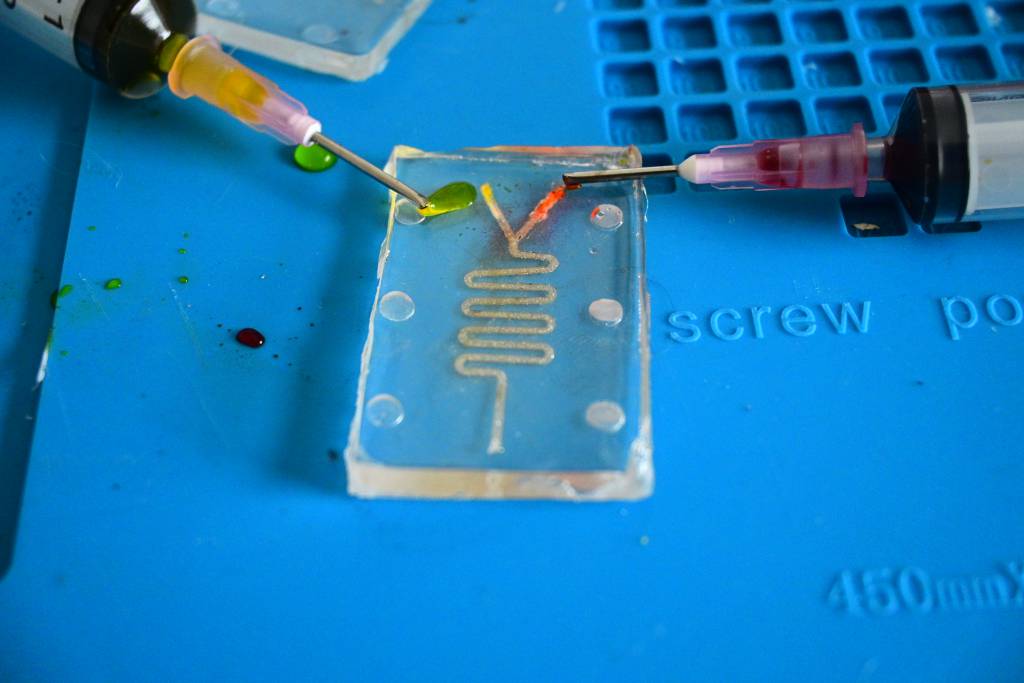
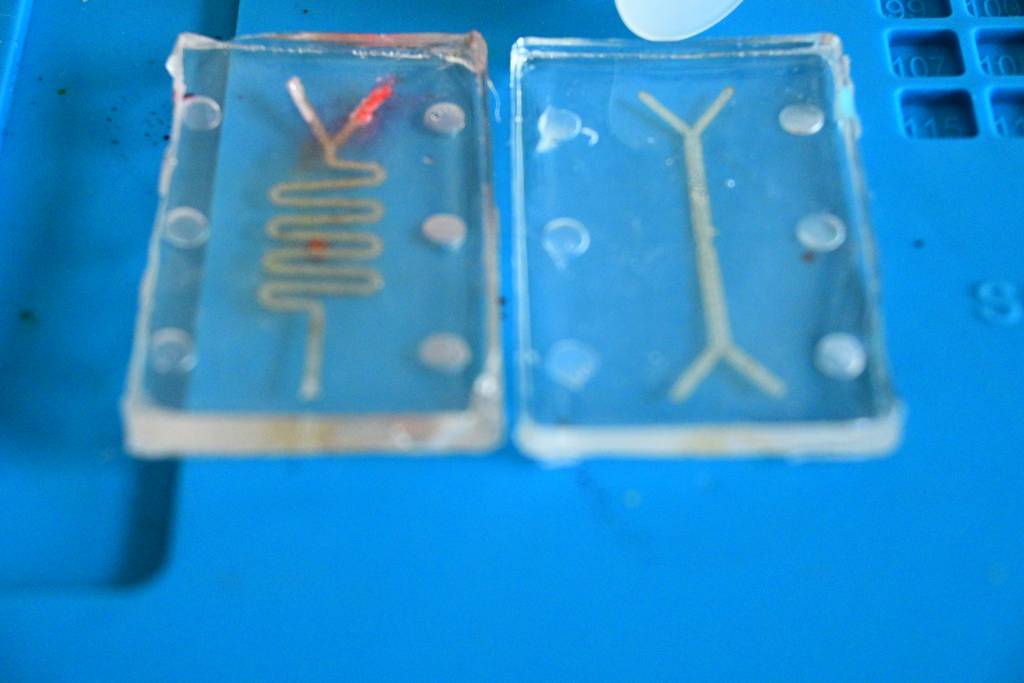
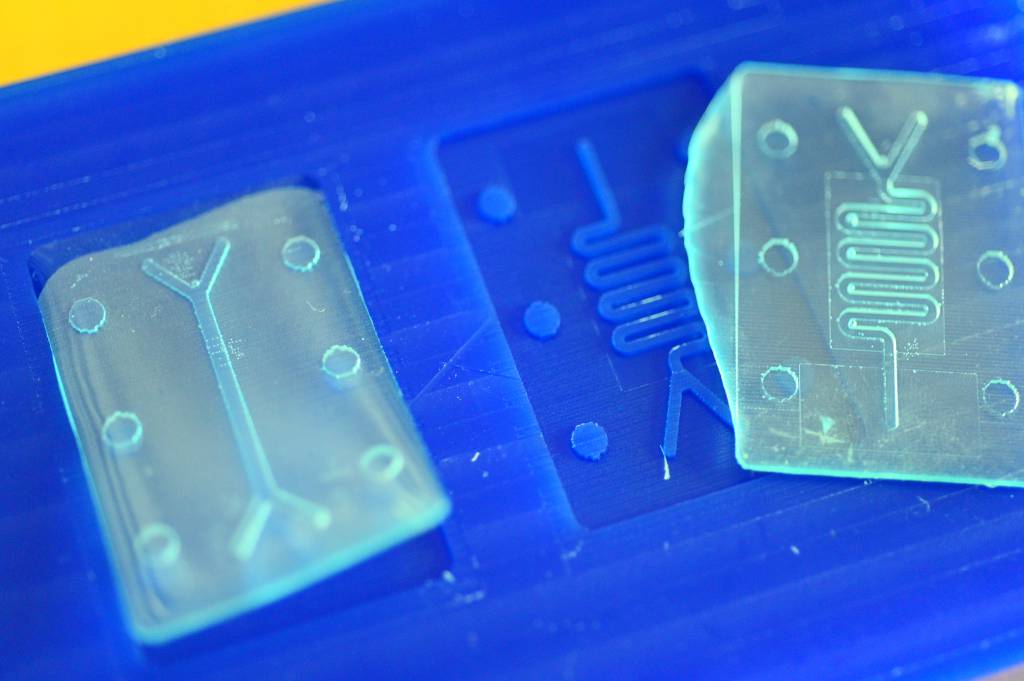
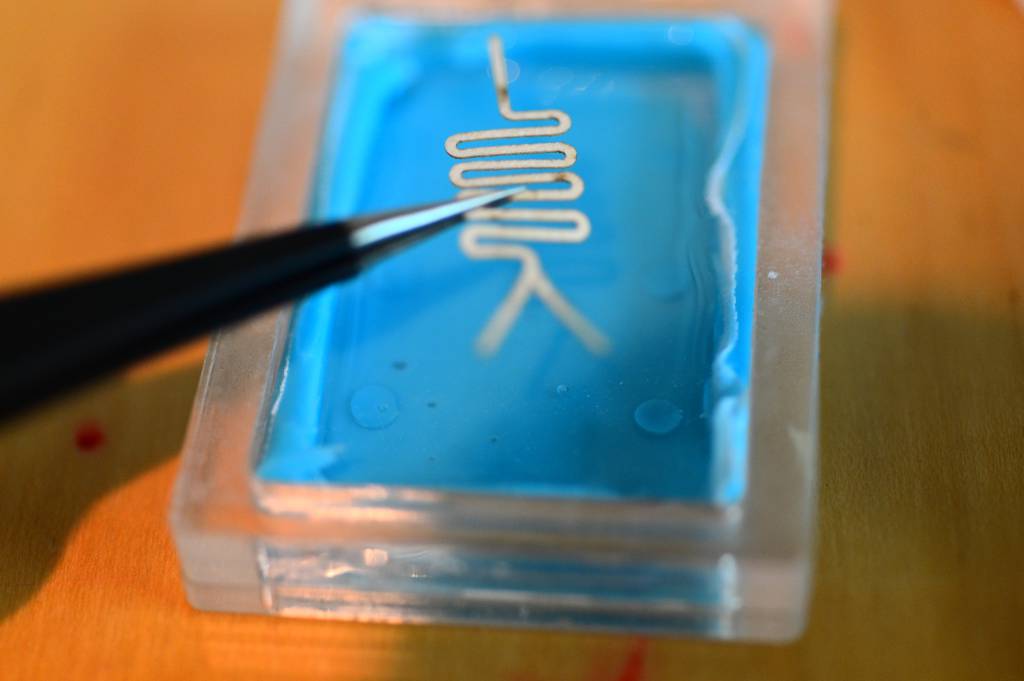
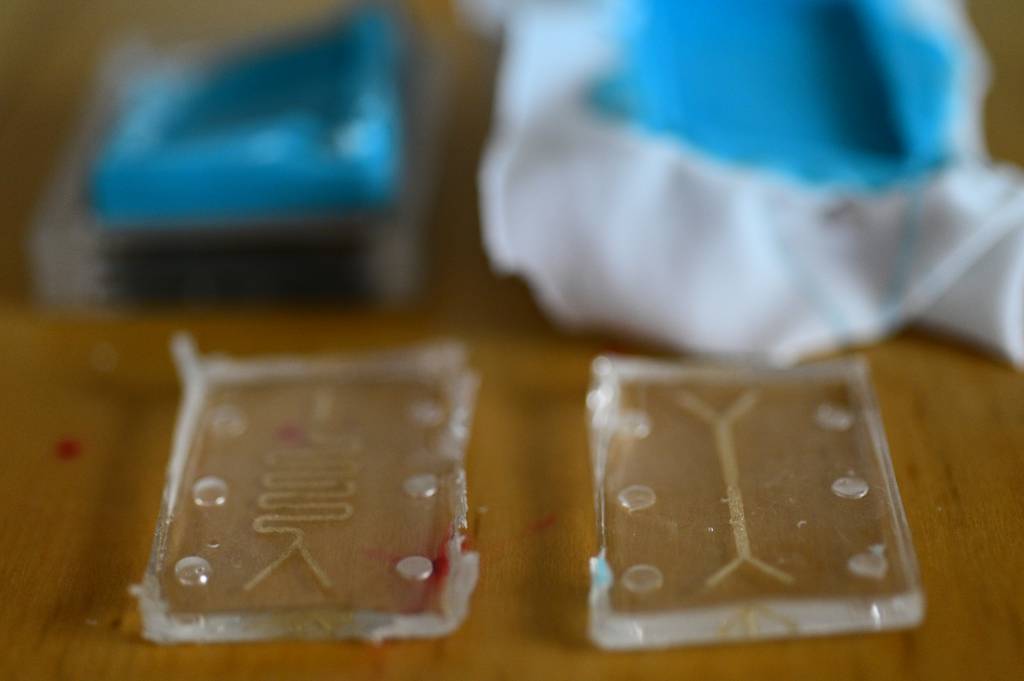
Experiment 4: Direct Casts
Although the pattern are clearly and nicely reproduced, direct casts did to work out the way I hoped. I could not get a seal between the casts and the acrylic, they were a not starter.
Using PDMS and a Plasma Wand for bonding is the standard method, but out-of-reach for this weekly assignment.
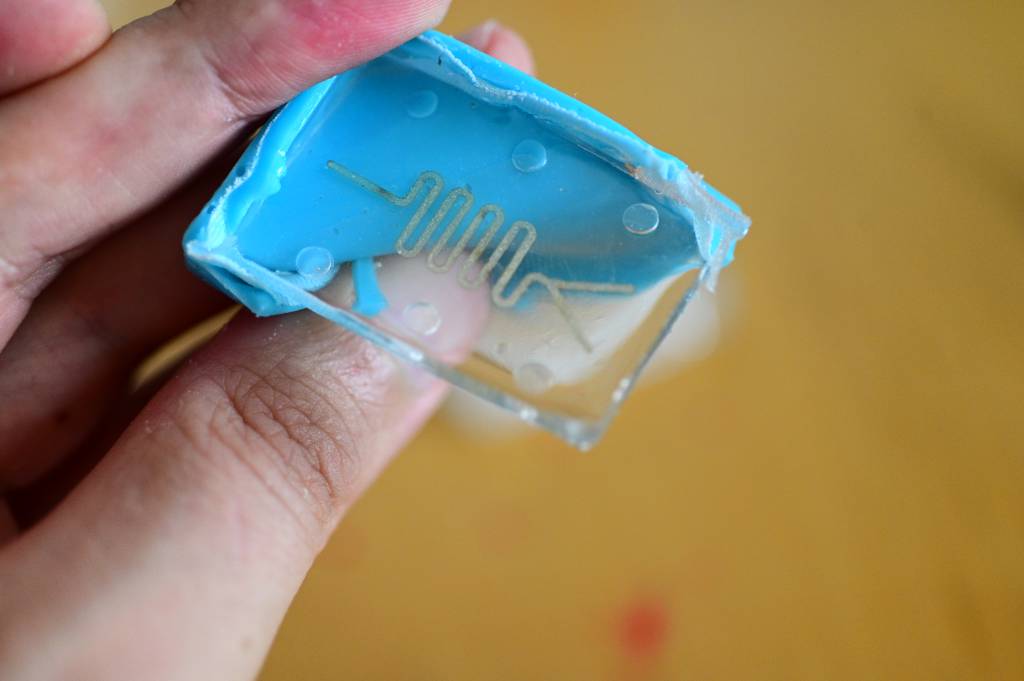
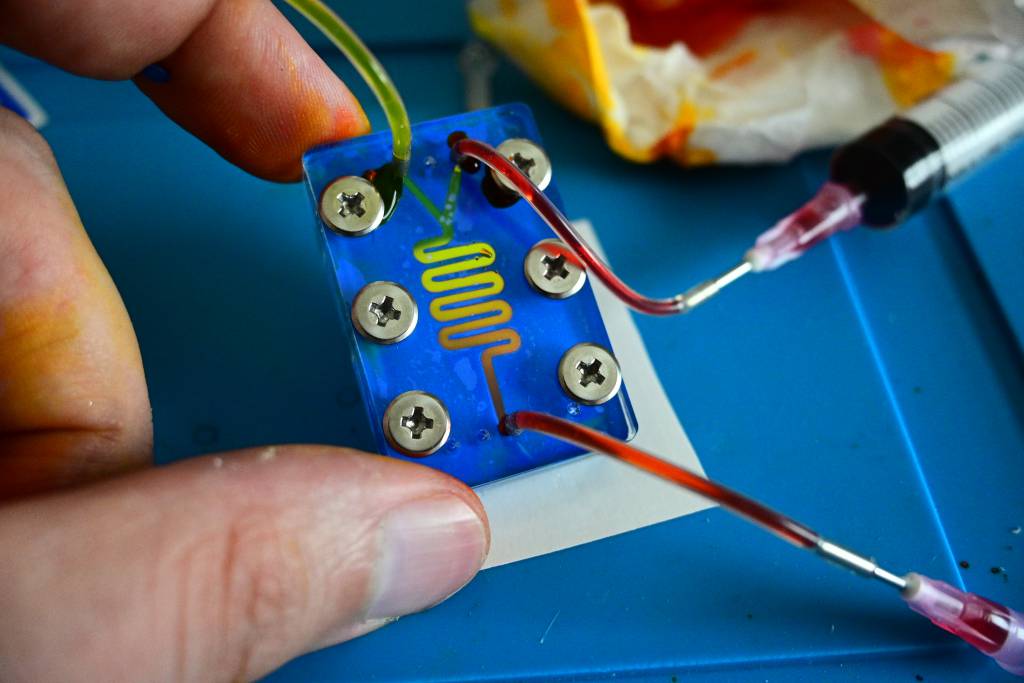
Experiment 5: Vinyl Cuts
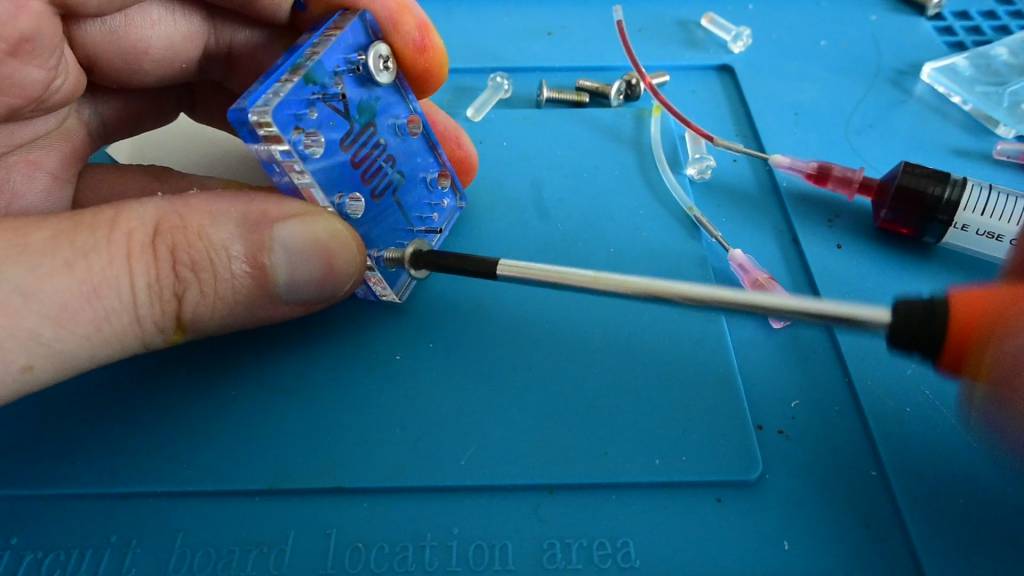
Hero Image
Conclusion and Next Steps
Making DIY Microfluidics in a FabLab is absolutely possible, the next step would be to get - or to make - in ancillaries like syringe pumps, valves and ports.
Although Micro-fluidics are strictly speaking not a composite, this week was very exciting and challenging - to rush through a number of fabrication processes to test, to find our what DOES NOT work - and in the end - to find out what DID work!.