3D Scanning and Printing
This week’s assignment was to design something that could not be made subtractively as well as create a 3d scan of an object. For my print, I designed a case to house my programmer that I had made the previous week. This wouldn’t take me very long so I emphasized learning how to use meta shape. While there is much different software out there that allows you to take hundreds of photos and create a 3d model, I found it worked the best. I will explain this week’s assignments more in their sections below.
Designing my 3d model
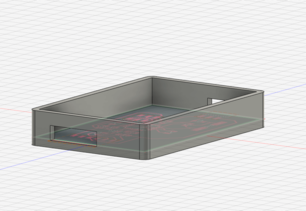
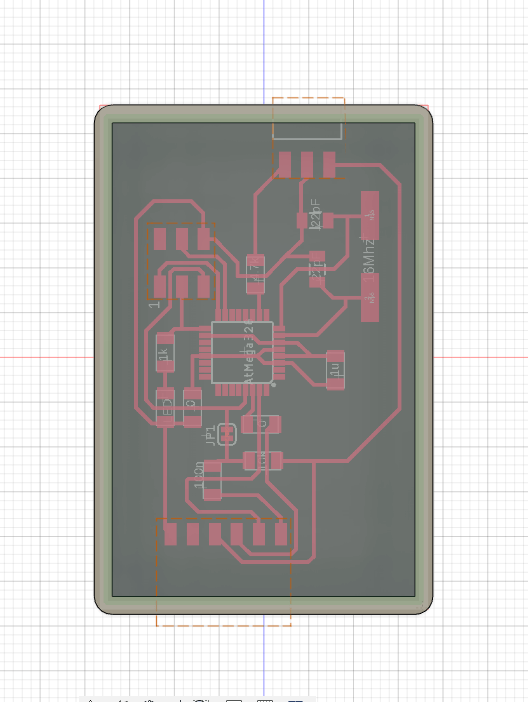
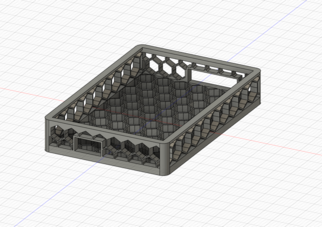
For this week, I used Fusion360 to design the case for my programmer. The first step that I took was importing the schematic into Fusion as a canvas. There were two ways to do it. The first way and easiest way to import a png of the schematic and then resize it to the correct scale of the board. The second way to do it is to import the .brd file. I didn’t try to experiment with this because what I heard from Teddy Warner is that the process was extremely overcomplicated and provided the same result as the png. Then I started creating my design. Since this week is all about designing something that cant be made on any other tool, I designed my programmer case with a lot of overhangs. I started with a simple rectangular base that went around the entire perimeter of the schematic. Then I used the offset tool to create my walls and followed up by extruding the walls just high enough to provide substantial cover for the chip and other components but not too much where the headers weren’t accessible. This gave me the basic shape for a box. The next step was to cut out the holes on each side that allowed access to the headers. I used my schematic image as a reference for where these should go before extruding the box inwards to create the hole. I wanted to make my box look special so I spent a significant amount of time creating a hexagon-like pattern on all sides. While there is not a functional reason for this, I thought it would look cool and it did. I took a screenshot and wrote a little more about each part below.
Issues with my first case
Unfortunately, my first case had some major flaws. The first and most limiting was the thickness of my hexagons. I wasn’t paying full attention to the thickness at first but after taking a look back, they were less than a millimeter thick. Because of this, Cura was able to slice my file properly but my printer was unable to print. The second issue with my case was the overhangs. I forgot to fillet or chamfer them to make the angle easier to print. After figuring this out, I went back to Fusion 360 to fix my design. Since I had been using parameters, It was easy to change.
Why I switched my Design
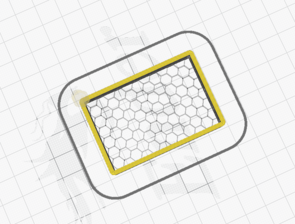
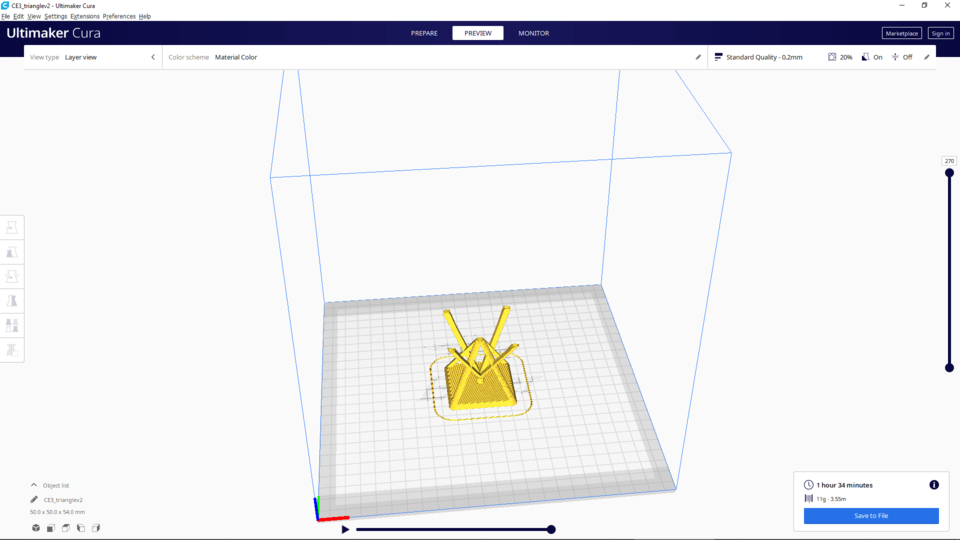
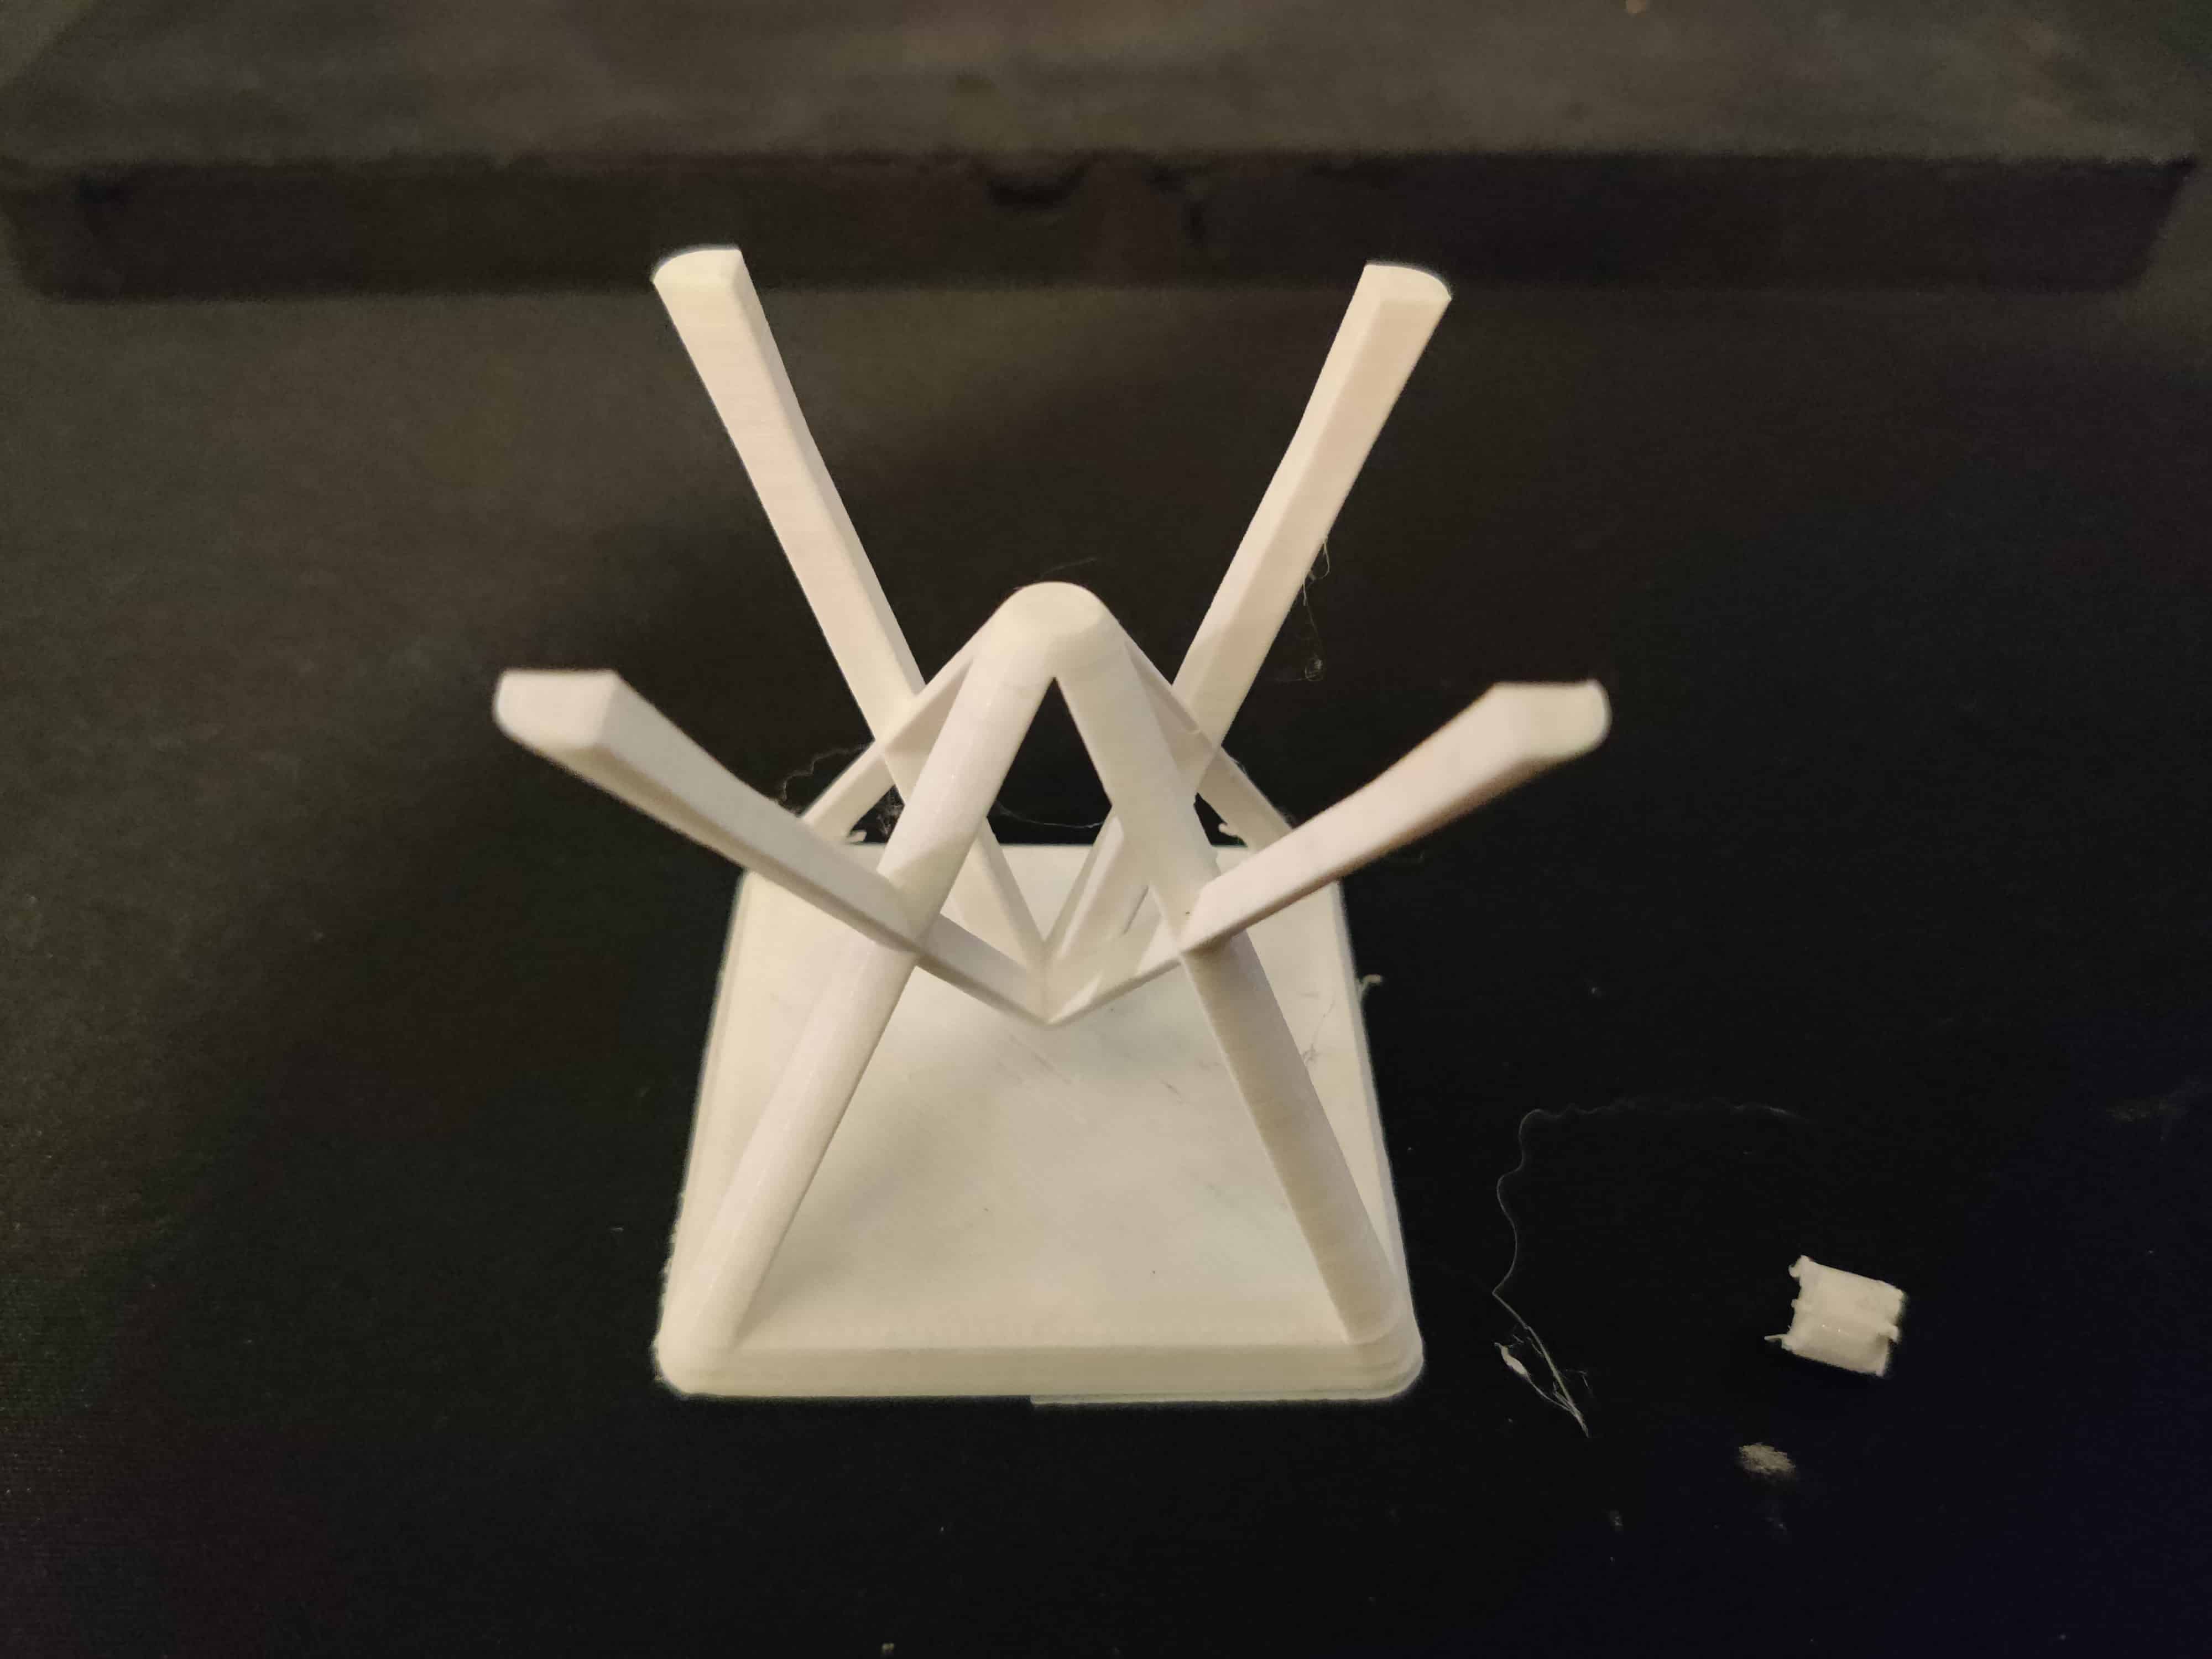
I switched my design because my first design ended up have major flaws in the heart. The issue was that when I had imported the hexagon pattern, It had gone and attached itself to every layer. When I needed to make changes after realizing that it wouldn’t be able to print, the hexagon pattern held my design hostage. I was unable to fix this so I moved onto something more complicated. I ended up making this triangle-shaped object to show something that would be hard for even a 5 axis CNC to mill. This stand that I designed also would serve a practical purpose if scaled large enough. I started by designing a pyramid. This didn’t take too long since I used the loft tool from Fusion. Then I cut out the center section and then fillet the edges. Before I continued, I created an offset plane in the center. I mirrored the existing triangle over that plain and then cut out some of the unnessecary parts. I then printed this object out as well where I realized it also could be a table.
Why is it so hard to create any other way
The main reason that it would be difficult to create this any other way is the central region. Each of those ‘legs’ that go up to the center is shaped like ‘c’. This makes it hard for a machine like a CNC to get in that area and shape it out. At the top where they all come together, there is a dome. This is the hardest part because all the common angles to get in there are blocked by one of the legs. It would also be very hard for any machine to make the connection because the angles are so tight and in hard-to-reach spaces.
Printing my case and triangle
At my house, I have two printers. One of them is a Monoprice Ultimaker and my other is the Ender 3. Both of the printers could print PLA very well but because I had just upgraded my hot end on my monoprice, I decided to print it out on my Ender 3. I also have been able to optimize my Ender 3 to print out at speeds up to 150mm/sec at .2mm layer height. Because of my optimization, I was able to print it out in 20 minutes. I am also being able to print on my Monoprice at high speeds in PETG but I figured PLA would be the best. I ran my triangle on my Ender 3 and got equally as good results.
Post Processing
The many hexagons that I had on my made it were a lot of support would be needed. Because of this, it took me 15 minutes to clear off all the support. In the future, I could improve my design by vertically stretching out the hexagons. This would allow for me to print without supports and in turn improve print time and the amount of filament used For the triangle that I designed it only took me 15 seconds since the only support was only in the center. All my support came out easily so I then moved onto the scanning
Scanning
What I chose
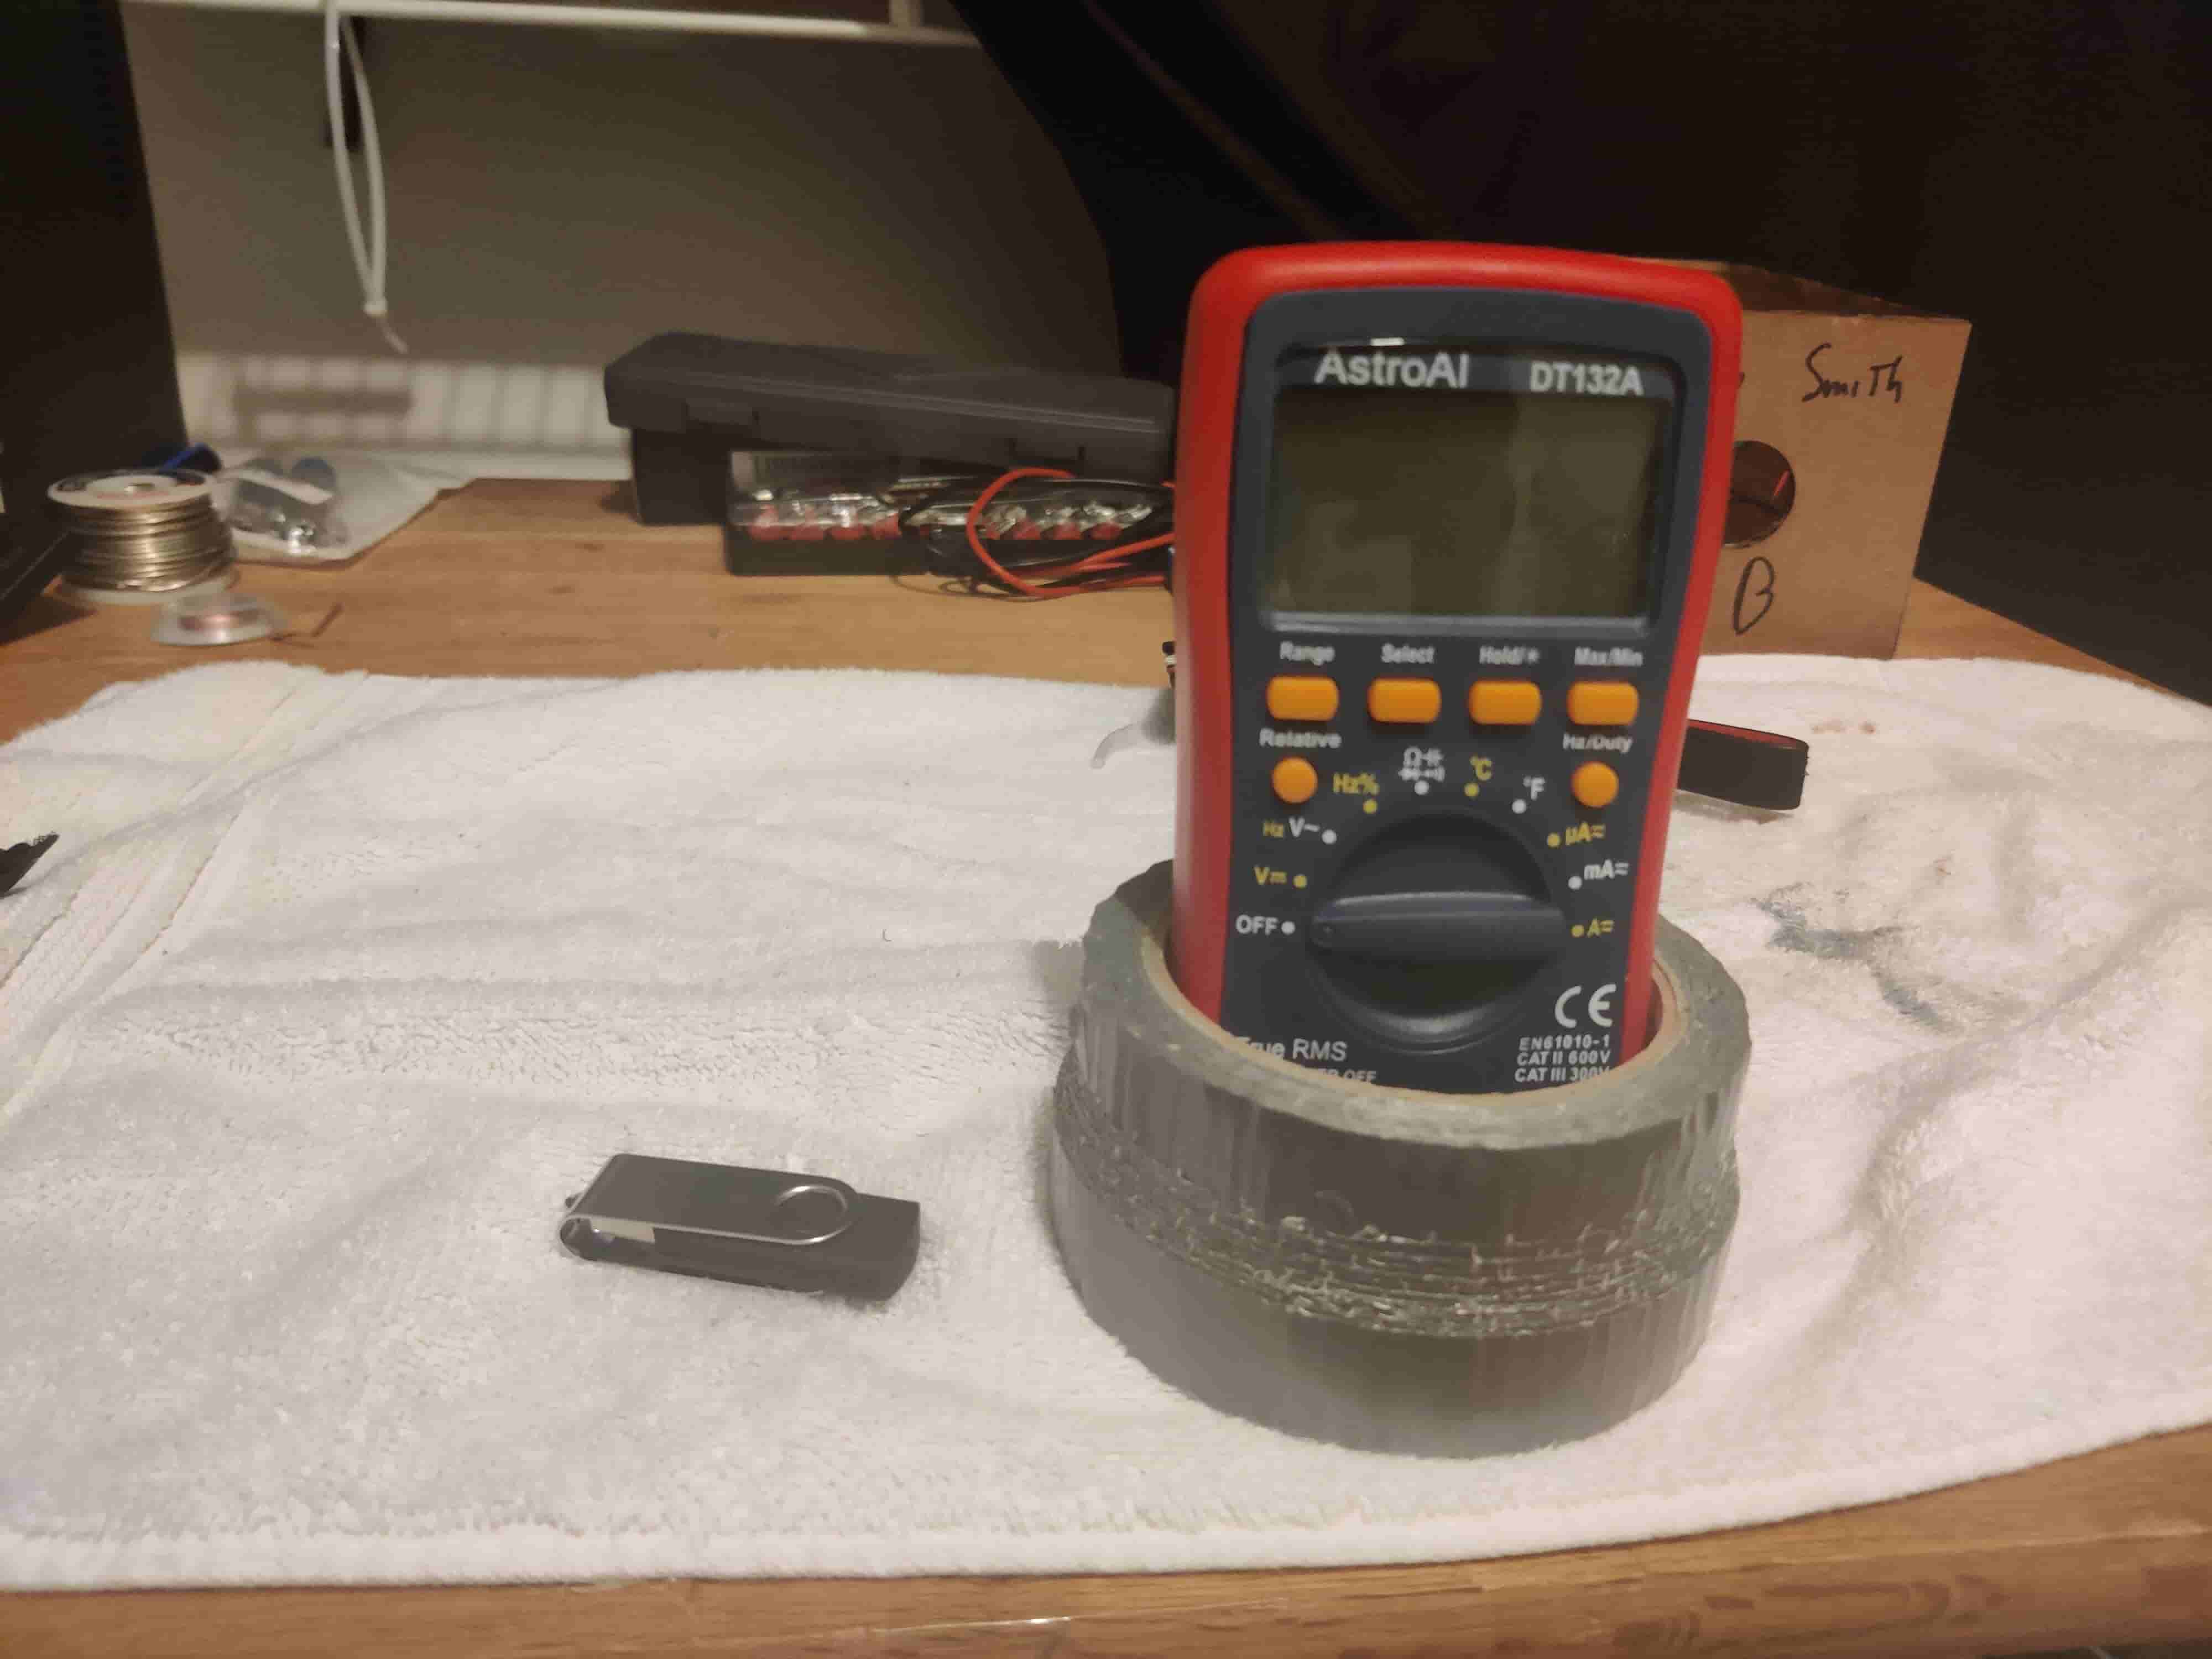
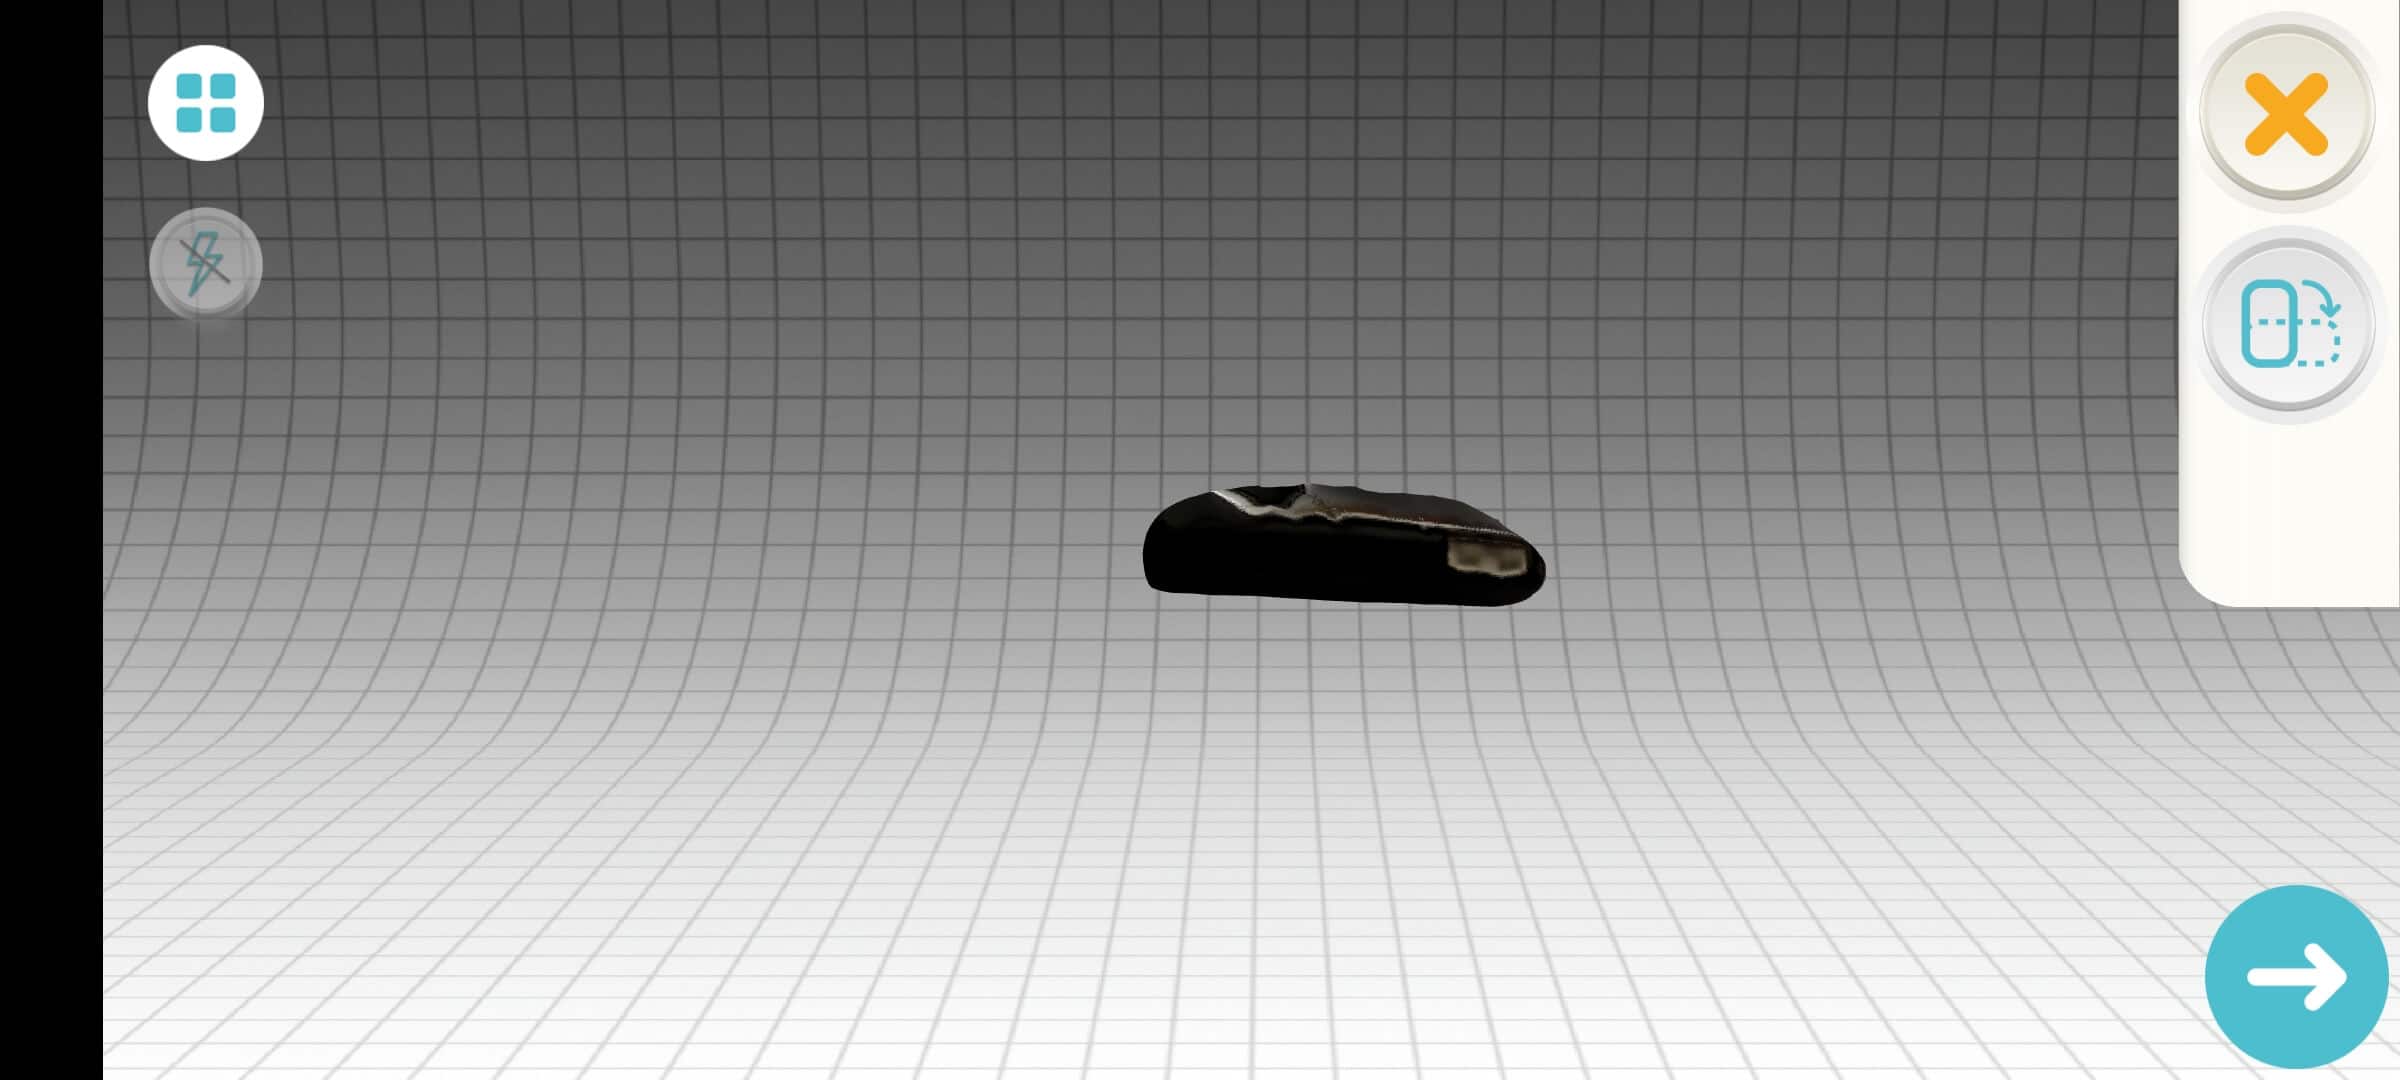
Originally I chose to scan this small USB drive but after some experimenting, I decided to scan a multimeter I had placed in some duck tape. For the software that I chose, I used two. The first being a mobile-based software called Qlone and the second being Metashape. Qlone is a great software for android devices that can get a relatively accurate scan in a matter of minutes. Overall it was easier to scan a larger object than a smaller one. The difference could be seen in Metashape.
Qlone

Qlone is a great software for Andriod devices that can get a relatively accurate scan in a matter of minutes. It uses a grid that you print it easily align the images through the app. It will then create a rough model that can be downloaded in 5 different file types. Because of the grid, the scale is almost dead on. Unfortunately, though, the software is limited because it used constant video instead of separate photos. While this is good for fast modeling, It doesn’t have the same clarity that computer-based software has. This was the main reason that I switched over to Metashape.
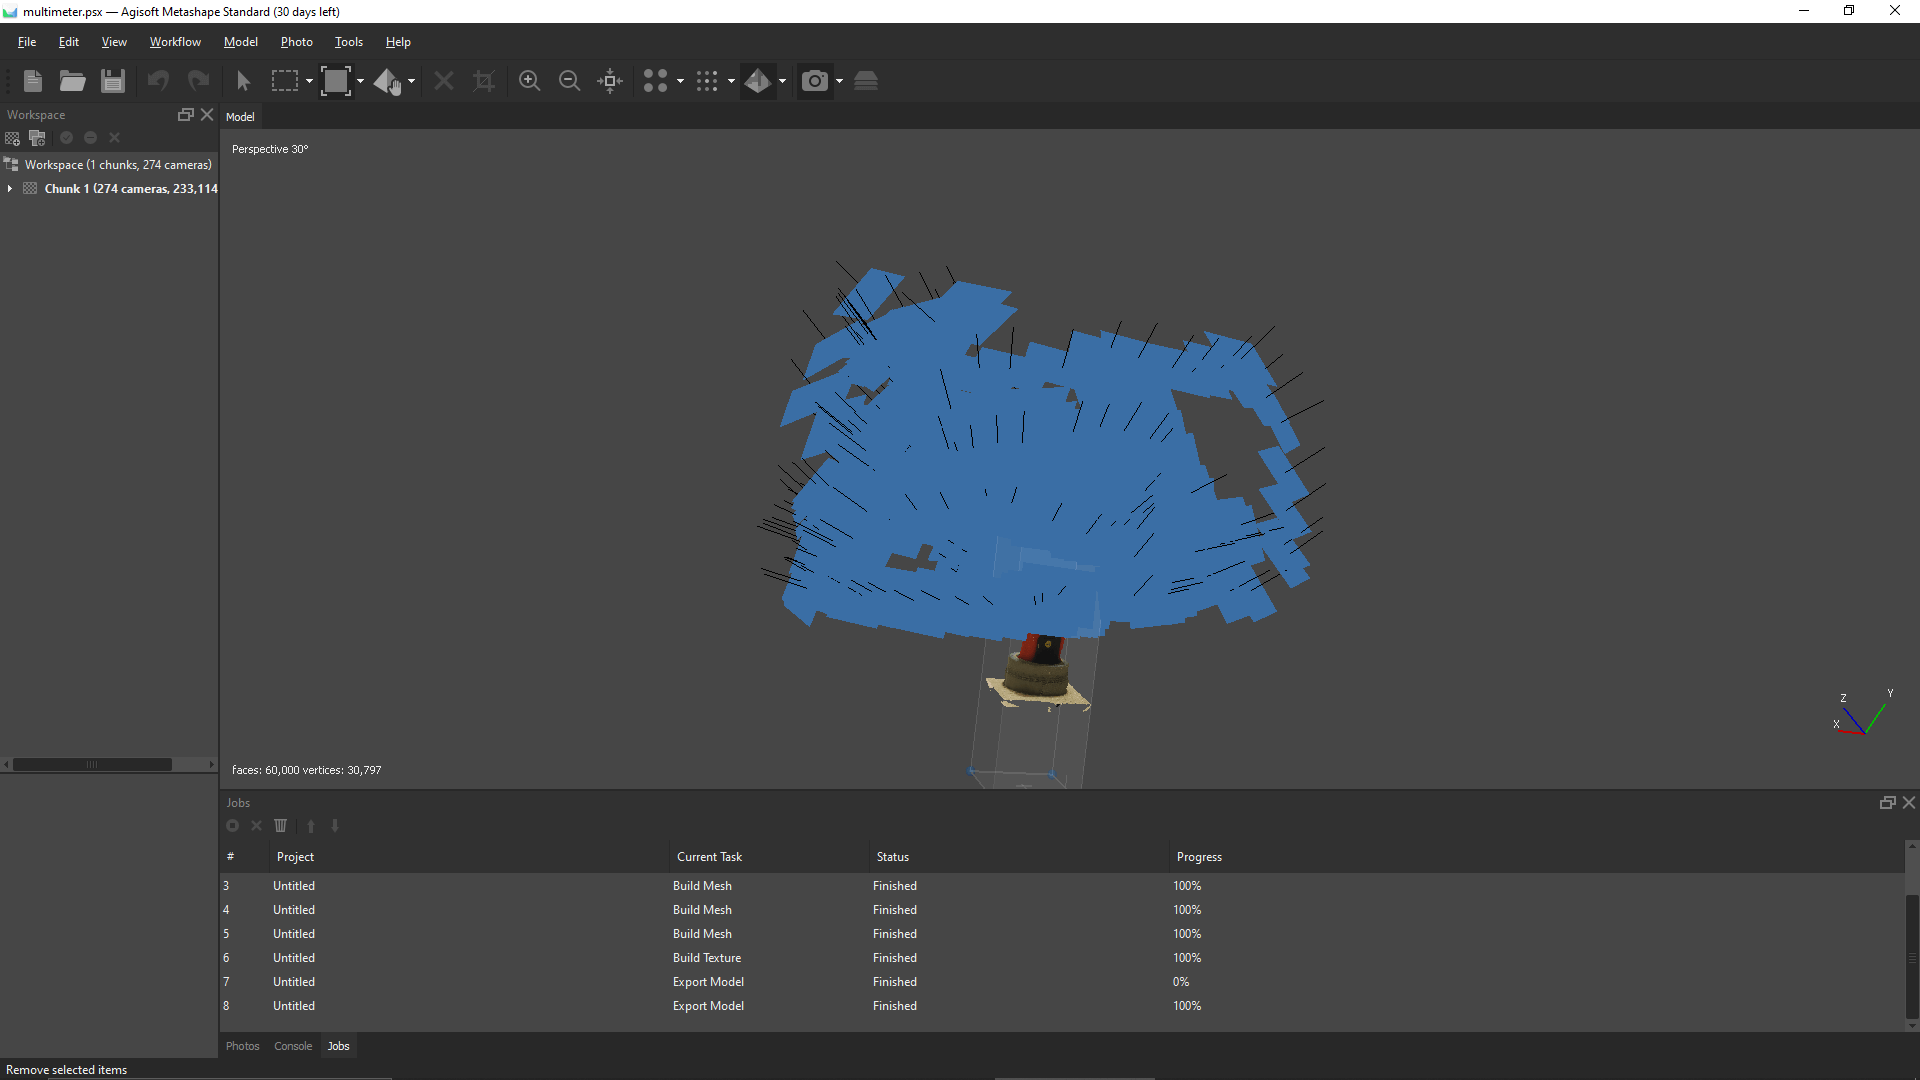
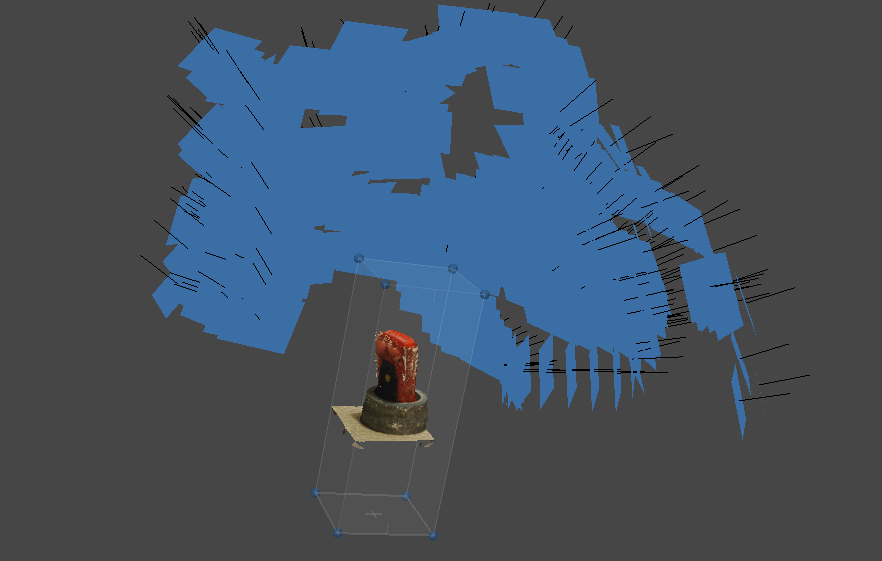
MetaShape
From now on, when I need to scan something, Metashape will be the software I use. It is extremely accurate and could only become more accurate with the number of photos you have taken. One of my peers even thought about scanning their entire room. Although that would take thousands of photos, I know Metshape would be able to do it. Another thing that I found helpful was the workflow tab. Inside of this tab, it would tell you to step by step what to do. Instead of looking for an article on how to use Metashape, I was able to use the tab to guide me. It also allows you to optimize the quality of the scan. Since I have a powerful computer, I was able to set everything to the highest possible levels. I also experimented with using the lower-end settings. There was not a dramatic difference between the two but when saved and opened as an STL, you could see areas that were improved by the settings. The time difference was also massive, It took me 16 hours to render my statue on high while on medium settings I could do it in a matter of minutes. I can already see how this could come into play in my future designs. When I am designing a specific part for a build of mine, I can scan the area around it to make it fit perfectly. Below I have attached several photos showing my work.
Downloads
What I learned
This week I learned a lot more about what is possible with a 3d printer. I saw some stuff that could not have been made any other way on other people’s sites. I also learned a lot about Fusion and was reminded that it does have issues. Despite my case file breaking, It was still cool to create it. Next time I will try to do it in a way that won’t break the file. In this week’s group work, I learned about the limitation of my printer. It did however perform very well throughout all the tests.
Group Site
For this week’s group work, I ended up printing 2 of the test that we need to learn the design rules of our printer. Once I had made these two parts, I made sure to take good images that could be sent to Teddy Warnerso he could add them where he wanted. Once he had them added to the proper area, I was able to document my experience with the Ender 3 during this week.