6. 3D Scanning and Printing
Group Assignment
To view the group assignment click here.
Individual Assignments
For this assignment, I used the 3D LED and net pot I designed two weeks ago for printing, and I also tried using ItsLitho to 3D print a SpongeBob image. I also used Autodesk Photo Recap for the 3D scanning object.
3D Printing
This was my first use to the 3D printer, and I see that it may save us from buying some widgets, it just requires a little creativity in designing the model. 3D printing in some designs requires a support that may spoil the original shape and be stuck in it, as well as through my experience and my presence in the laboratory I noticed that the printing process is slow, which takes from hours to days depending on the size of the object, and this may delay the work.
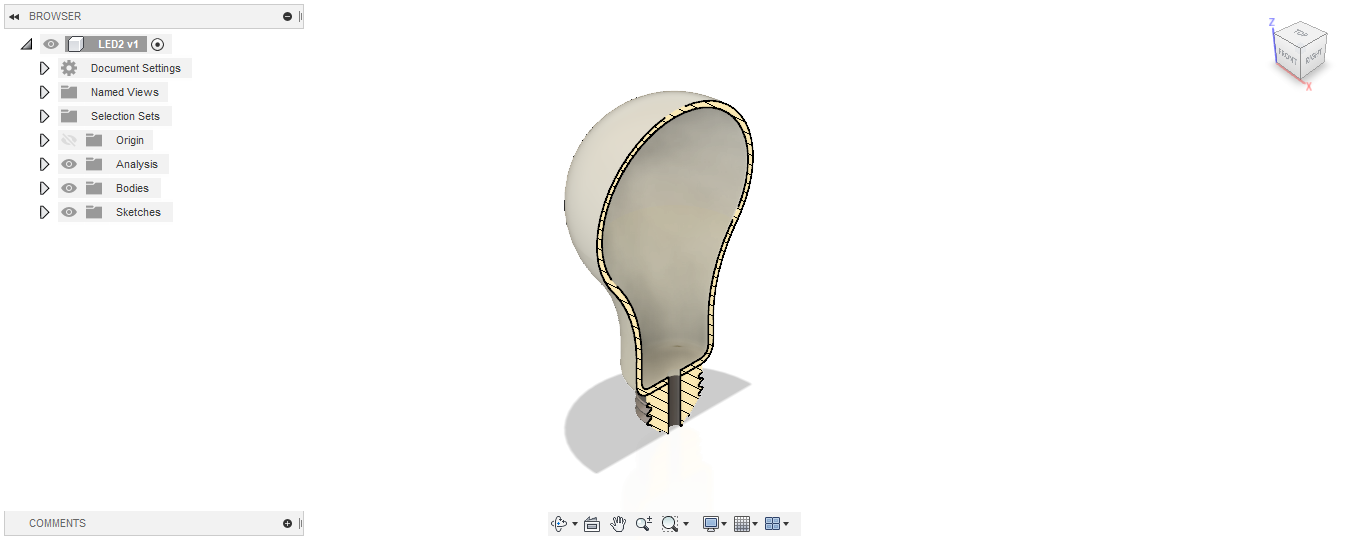
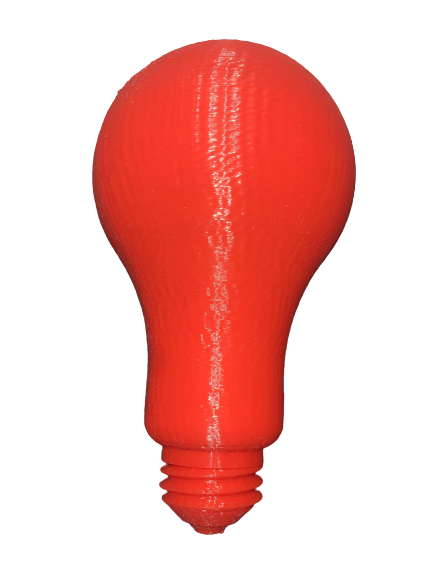
LED
In this part I will use the LED I designed in Computer Aided Design week.I empty it from the inside using the “shell” feature, and I created a hole at the bottom of the design using the “Hole” feature that’s in order to be able to put in a lighted LED.
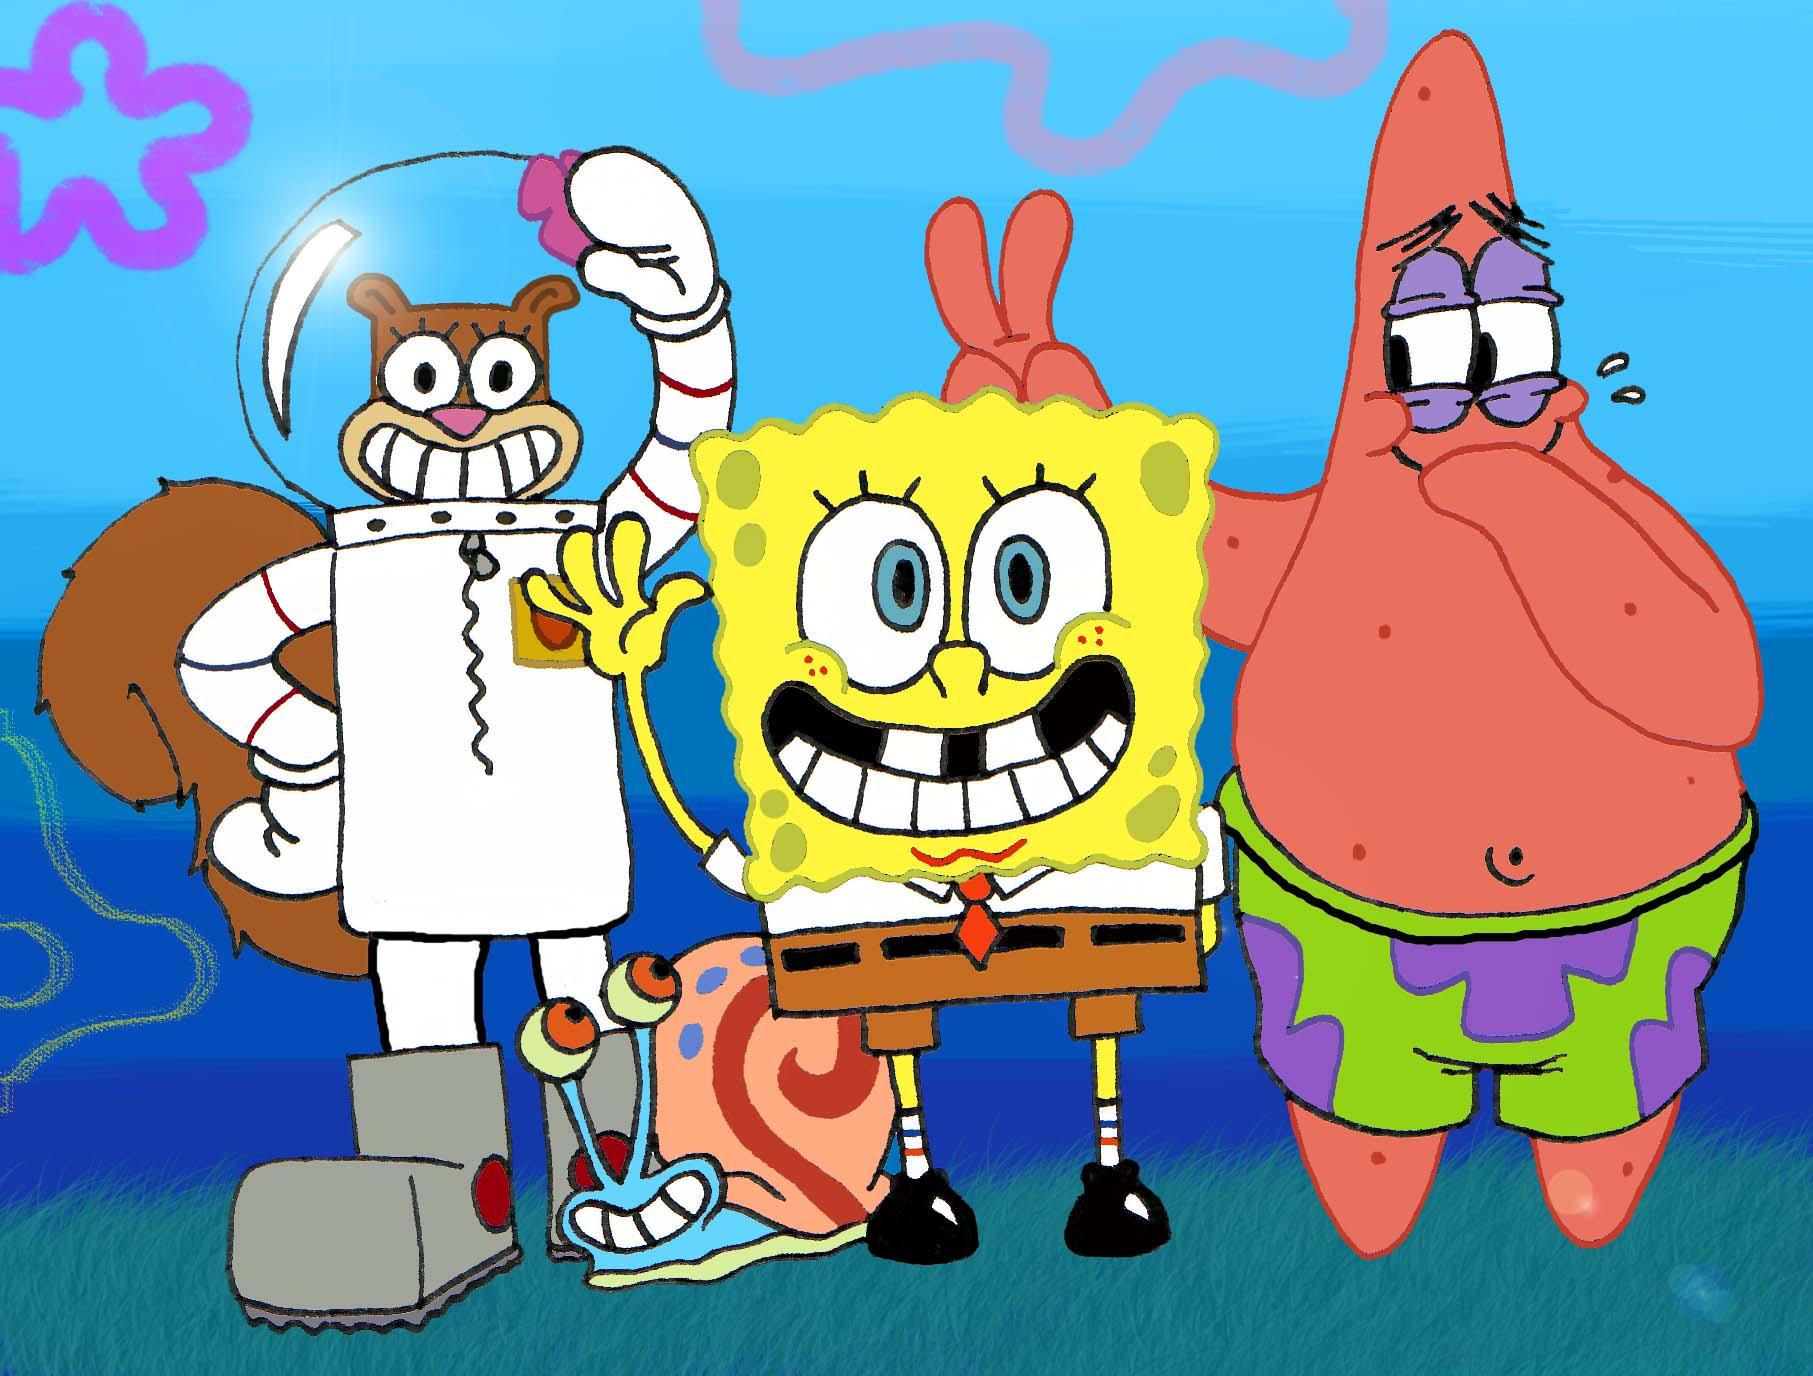
SpongeBob picture using ItsLitho
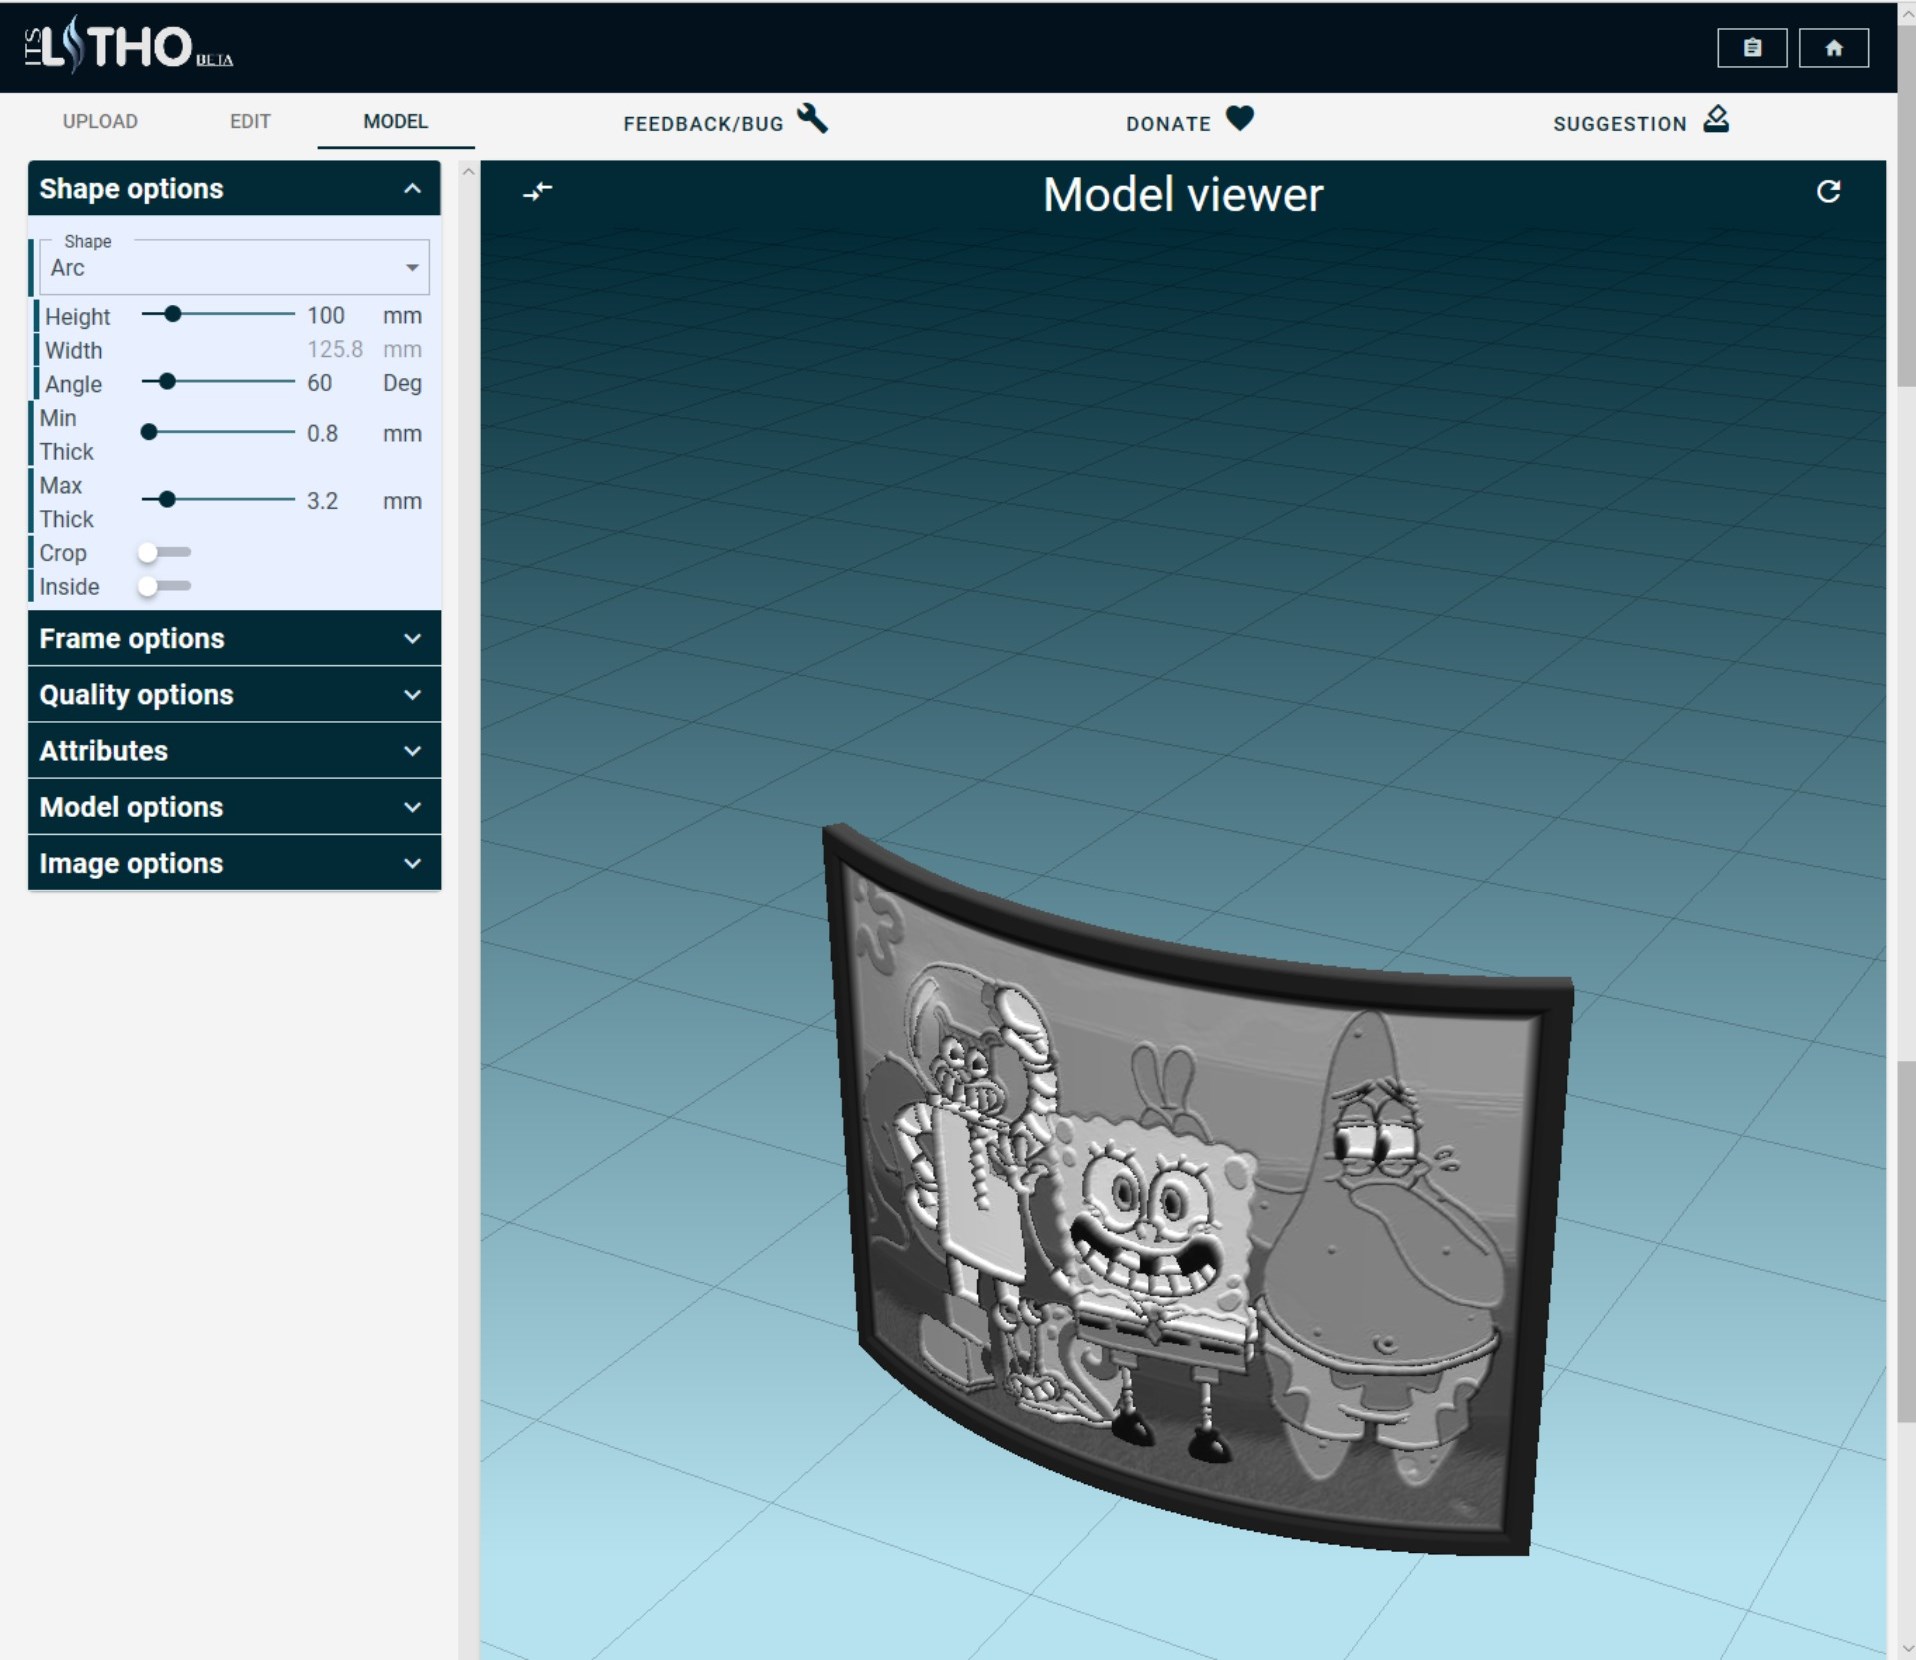
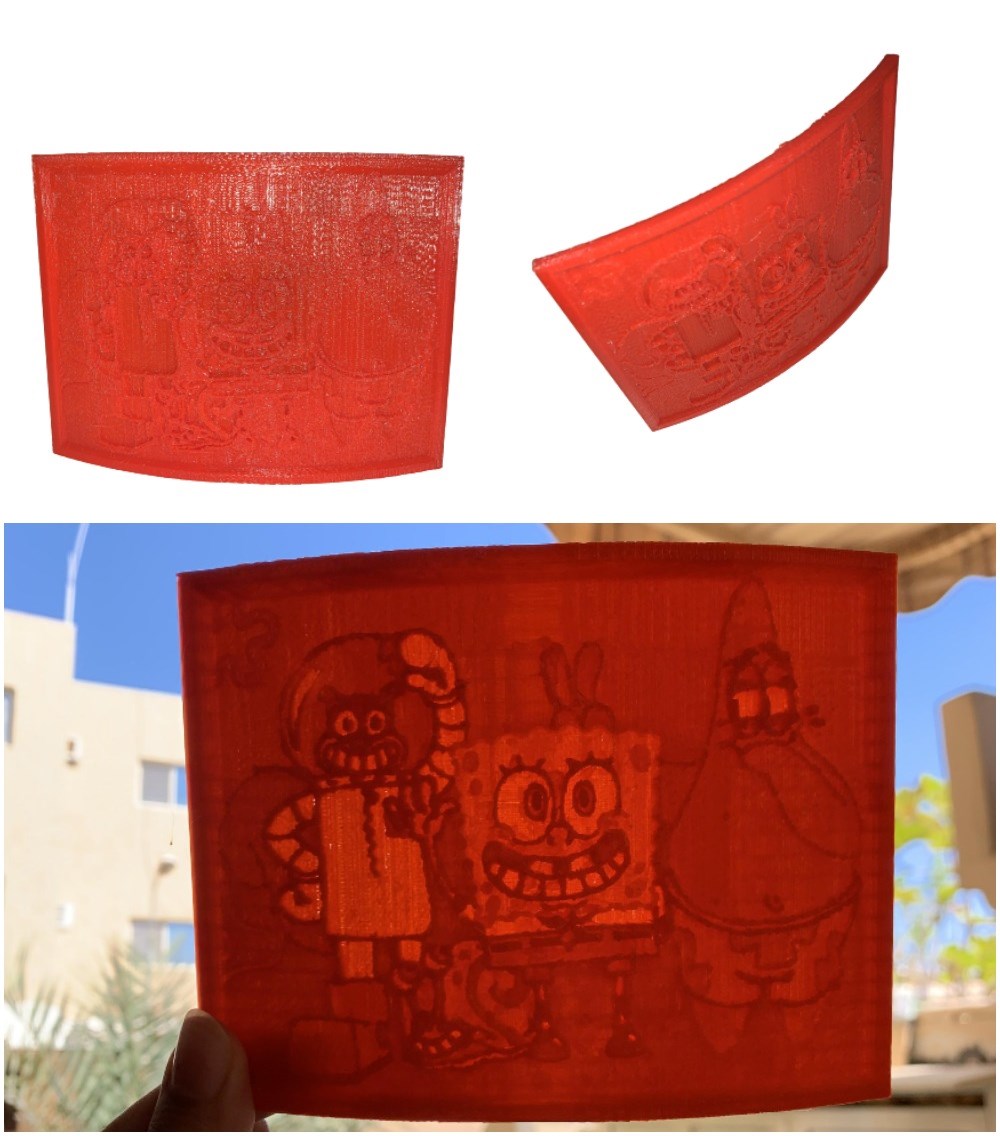
Here I did a nice experiment, by converting SpongeBob image into a 3D model through the easy-to-use ItsLitho website.
With simple steps, you can convert any image you want into a three-dimensional model, just upload the image to the site. choose the desired shape you want from the options provided. This site converts the image from one layer to more than one layer.
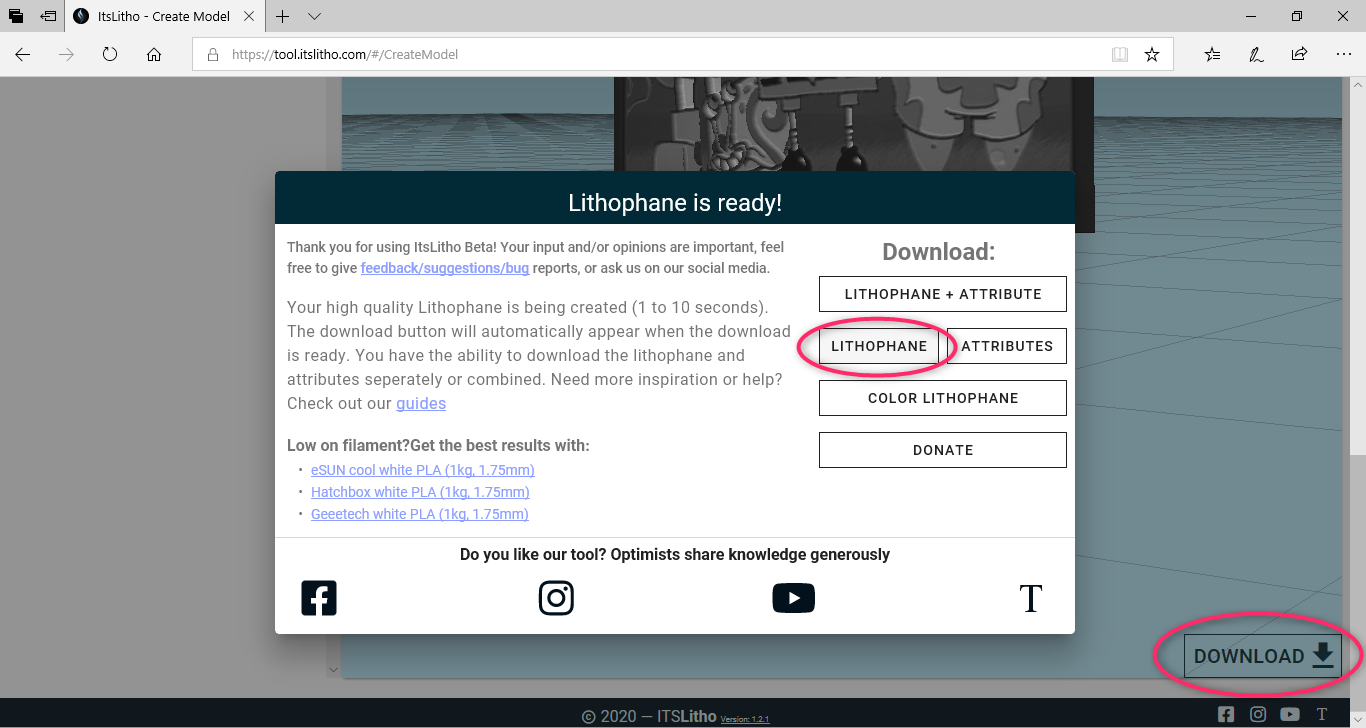
“DOWNLOAD” >> “LITHOPHANE” to open the 3D design in STL format
Printing
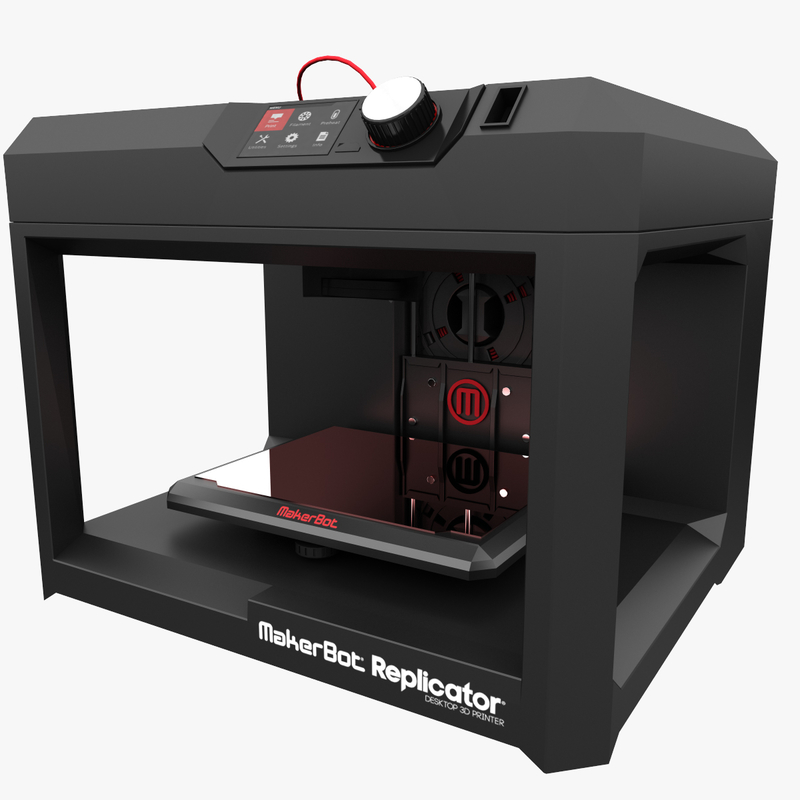
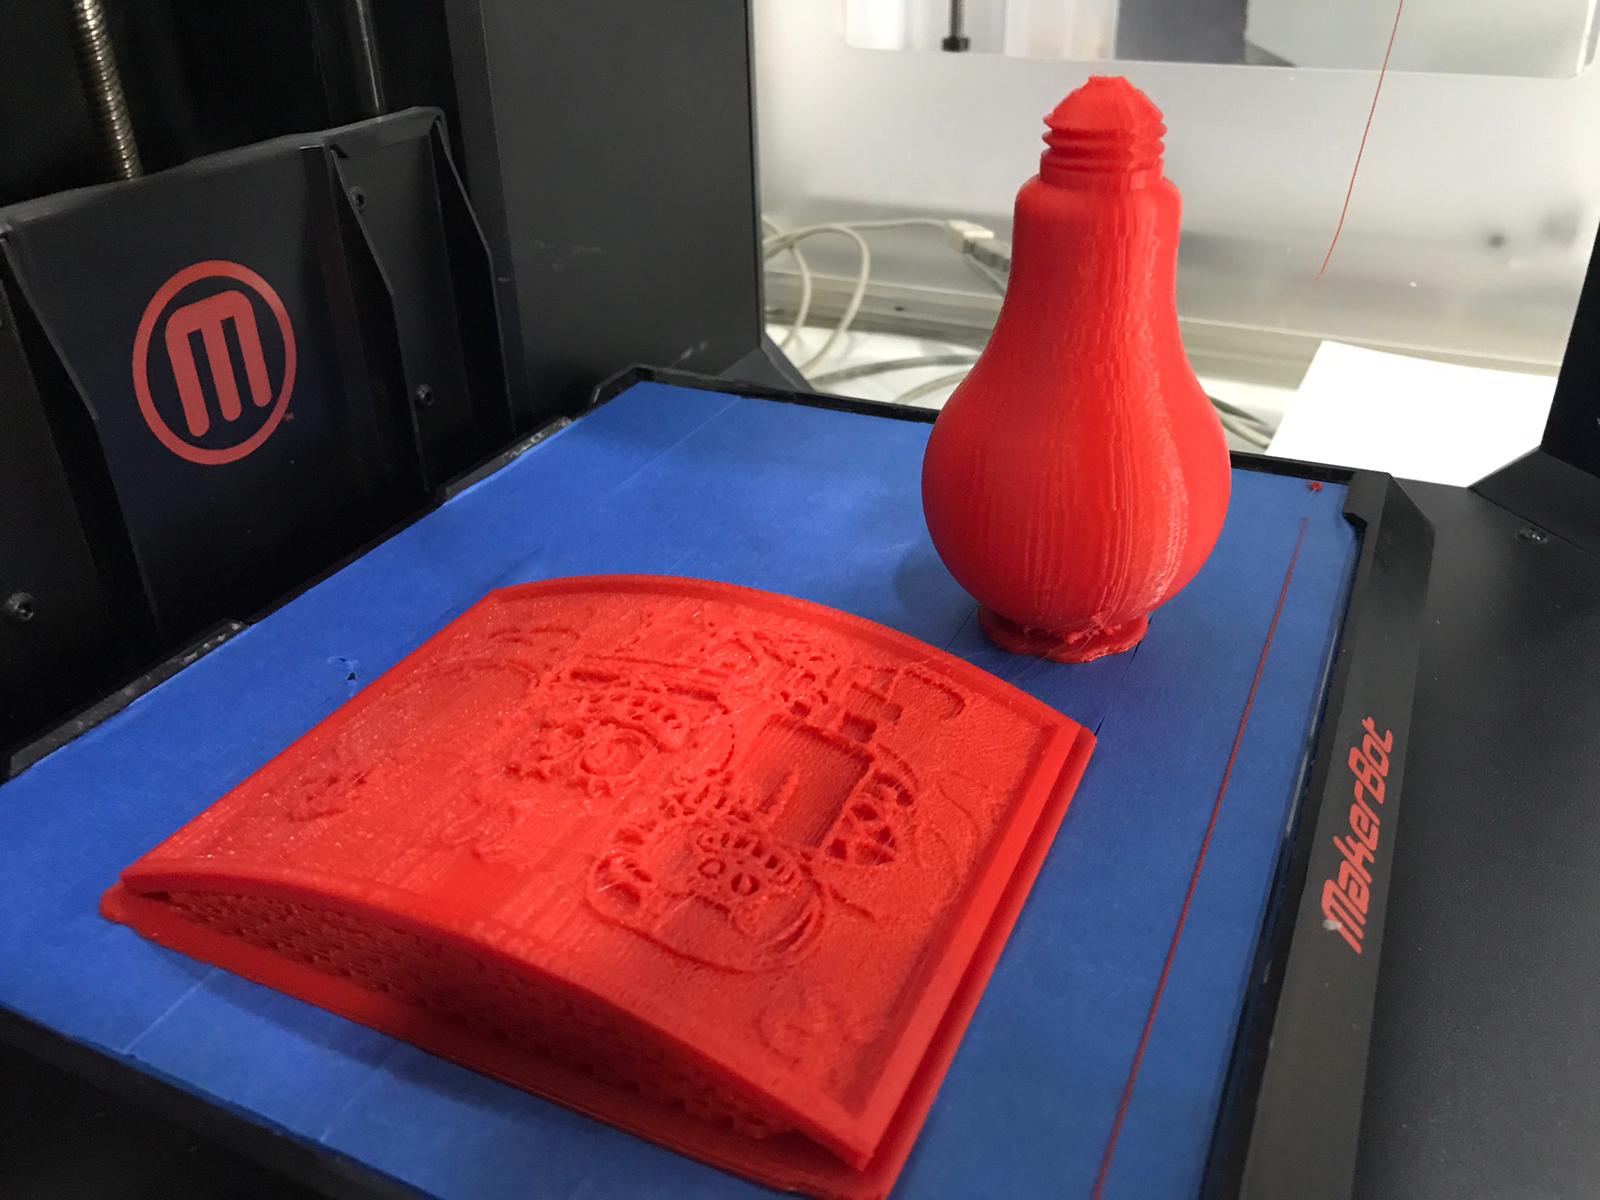
I used “MakerBot Replicator”, it’s a 3D printer that comes with a Smart Extruder, as well as an LCD display and an on-board camera, as well as USB, Ethernet, and Wi-Fi connection.
- Install “Makerbot Print” program and open it.
- Insert your STL as assembly.
I turned the LED upside down so that its larger and stronger base face down. I adjusted the position of the SpongeBob board so that the image was facing upward (In order to not damage the image when adding the supporter in the next step).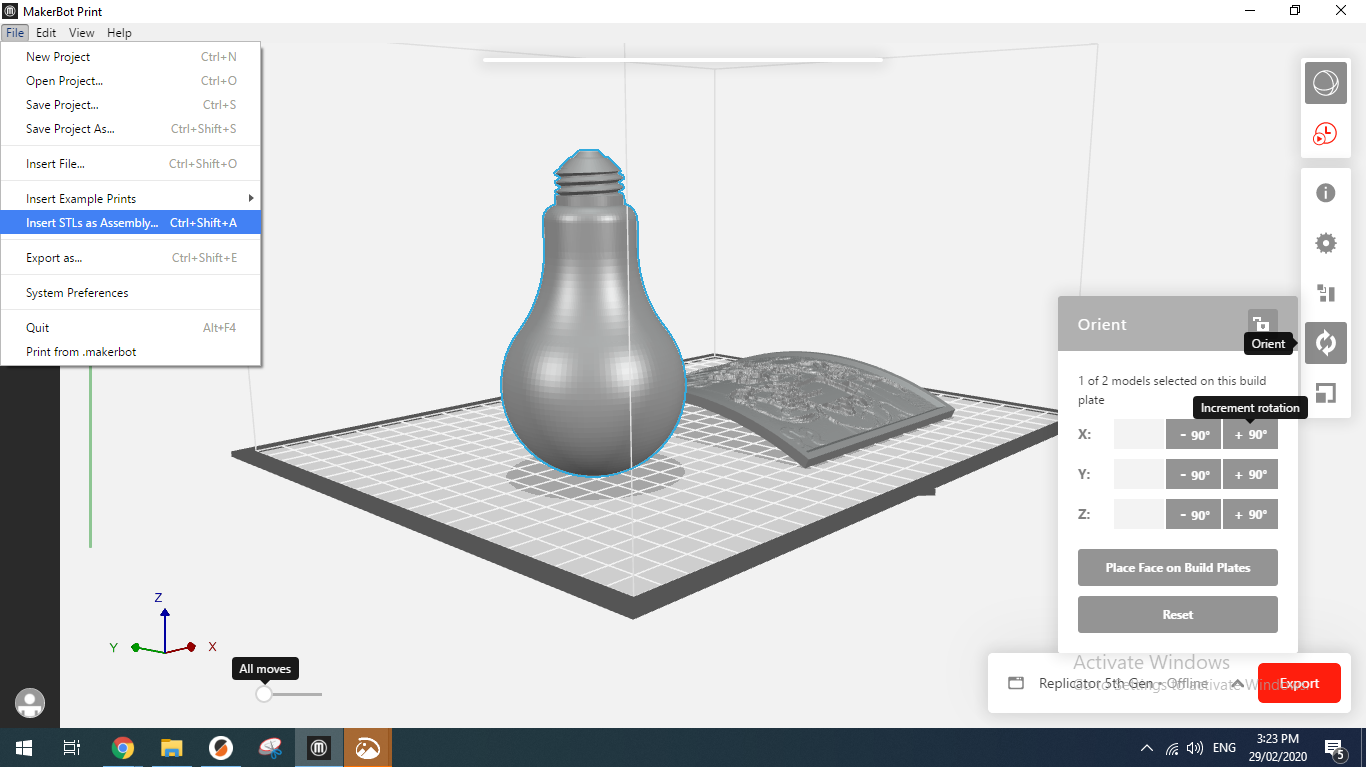
- 3D Printers work by depositing layer over layer of thermoplastics to create a 3D object. In this method, each new layer must be supported by the layer beneath it. If your model has an overhang which is not supported by anything below, you need to add additional 3D printing support structures to ensure a successful print.
In this step I added supporter by clicking on the box next to “Support Under Bridges”; The brown color indicates the support.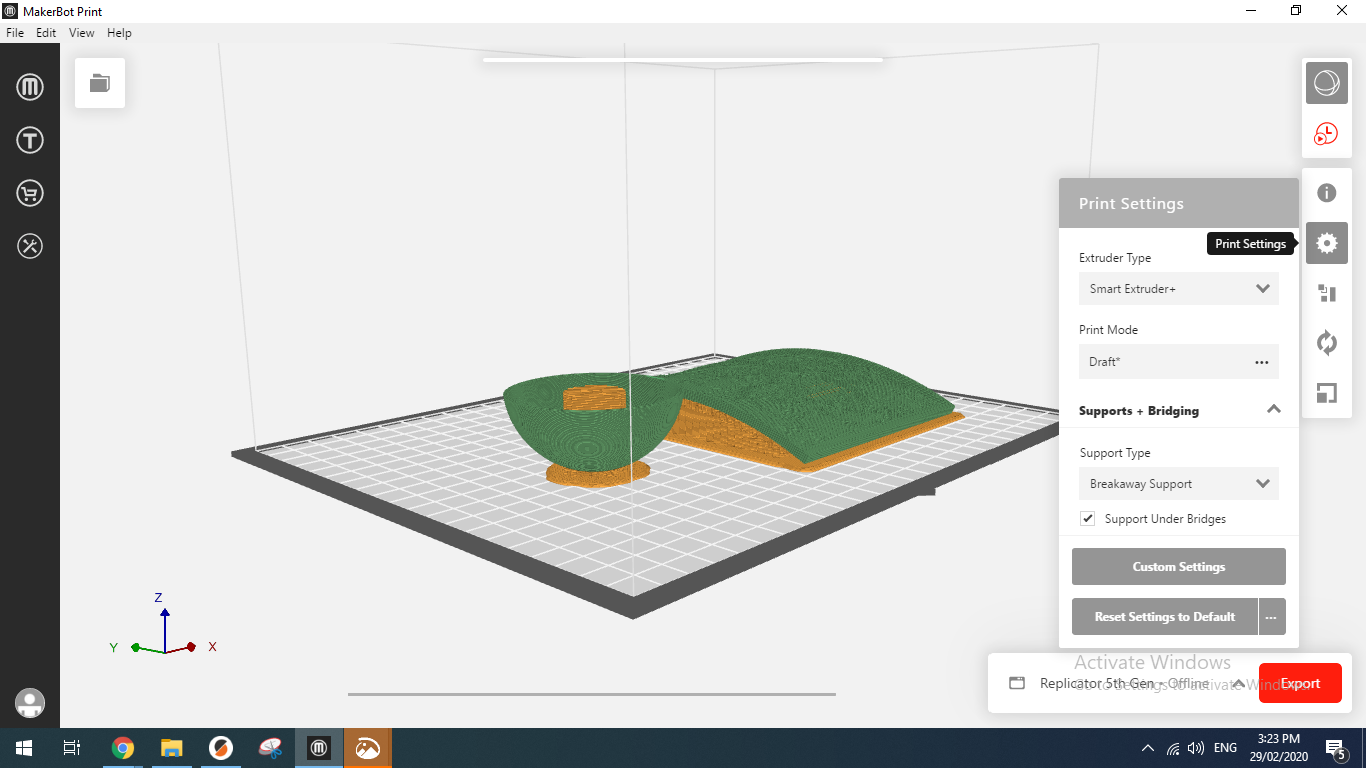
- Here you can see how long the printer will take; To start printing click on “Export”.
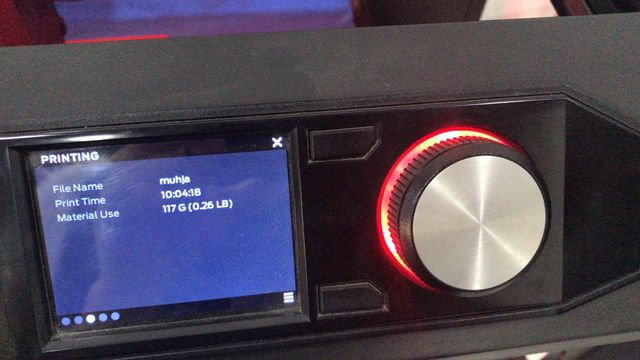
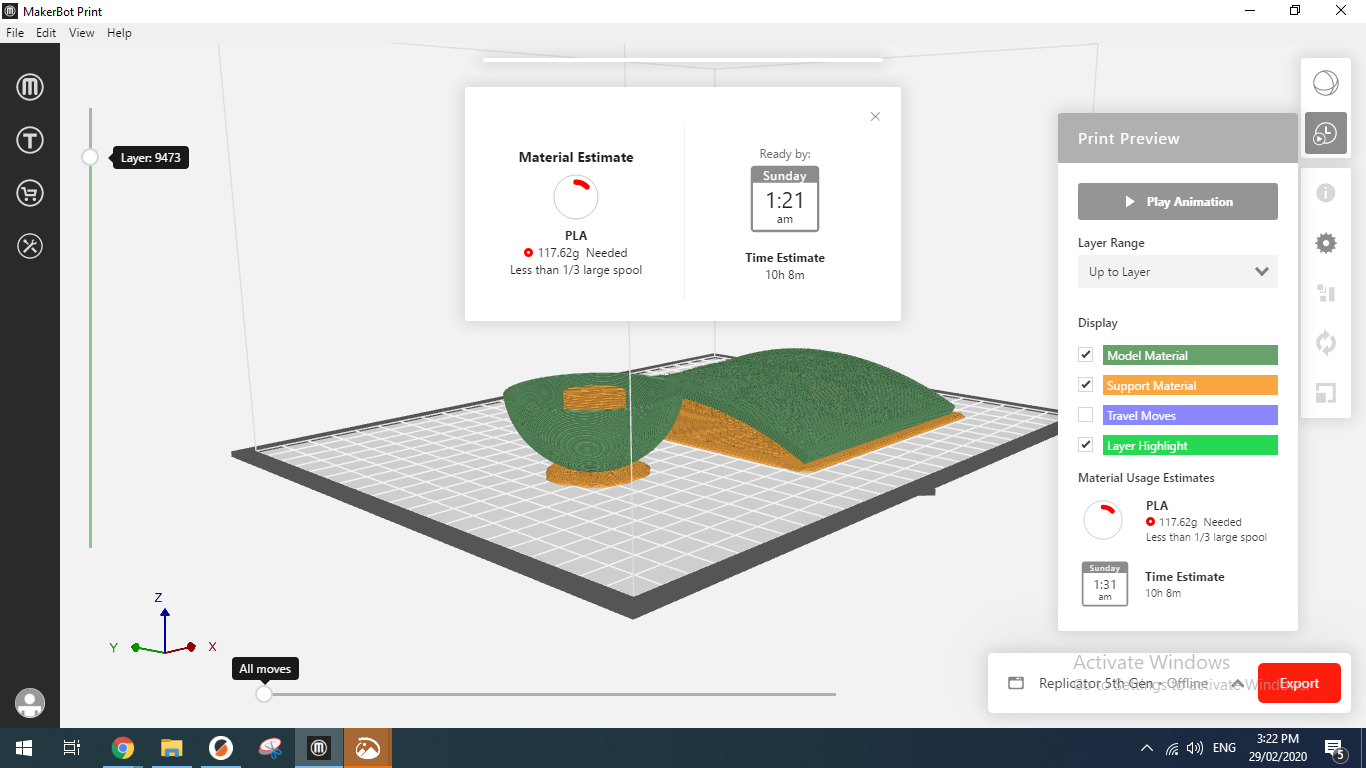 The 3D printer small screen will show the required time and remaining to print.
 This is the final result of the print, we can see the supporter from the bottom that needs to be removed.
After Printing
This tool was used to remove the supporter

When the frame is highlighted from the back, the details of the photos are shown
3D Net Pot to my Final Project
I used the net put I designed in Computer Aided Design week with the size 6.
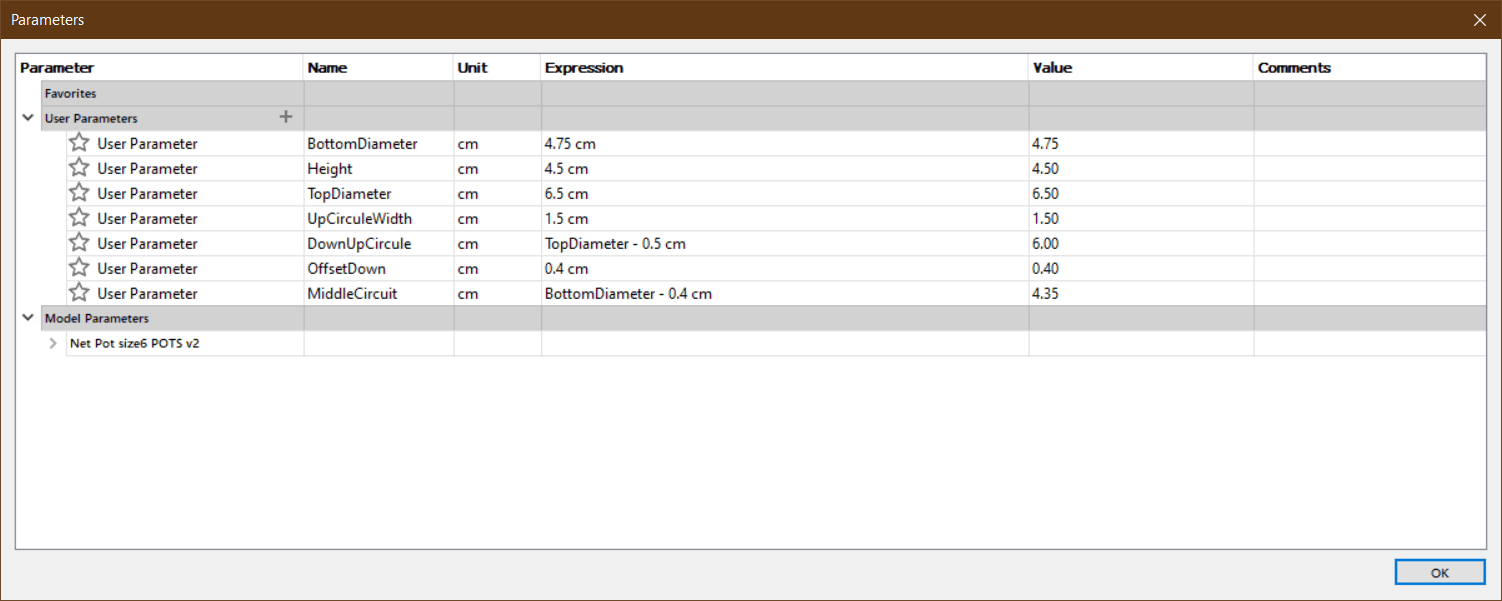
Printing
I used the “Meshmixer” program and printed it in “Prusa”, but it did not work.
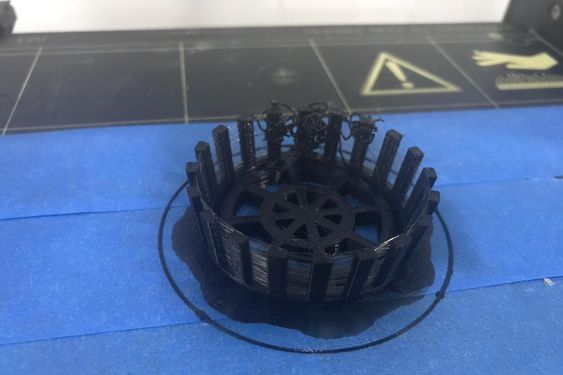
But here I make “Slicing” for it directly from “Prusa”, the settings are all normal, with the “Support”.
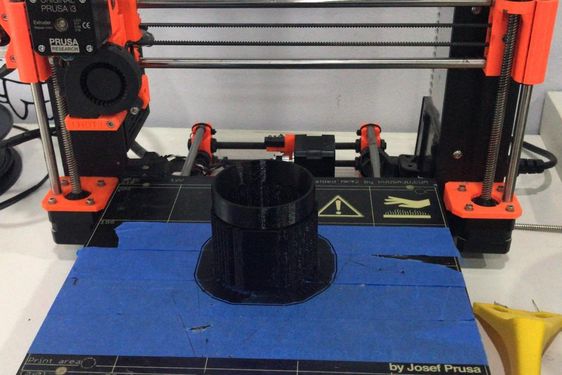
Here when removing part of the supporter. You can see its use in the Final Project.
Files
3D Scanning
In this part I will use Autodesk Photo Recap which designed 3D data from photos. Scanning technology is a beautiful technique, I think that it is useful in online marketing and project presentation, as it shows the thing in a three-dimensional image, and this may substitute for the re-design of the product in the Fusion program, for example.
How to take photos?
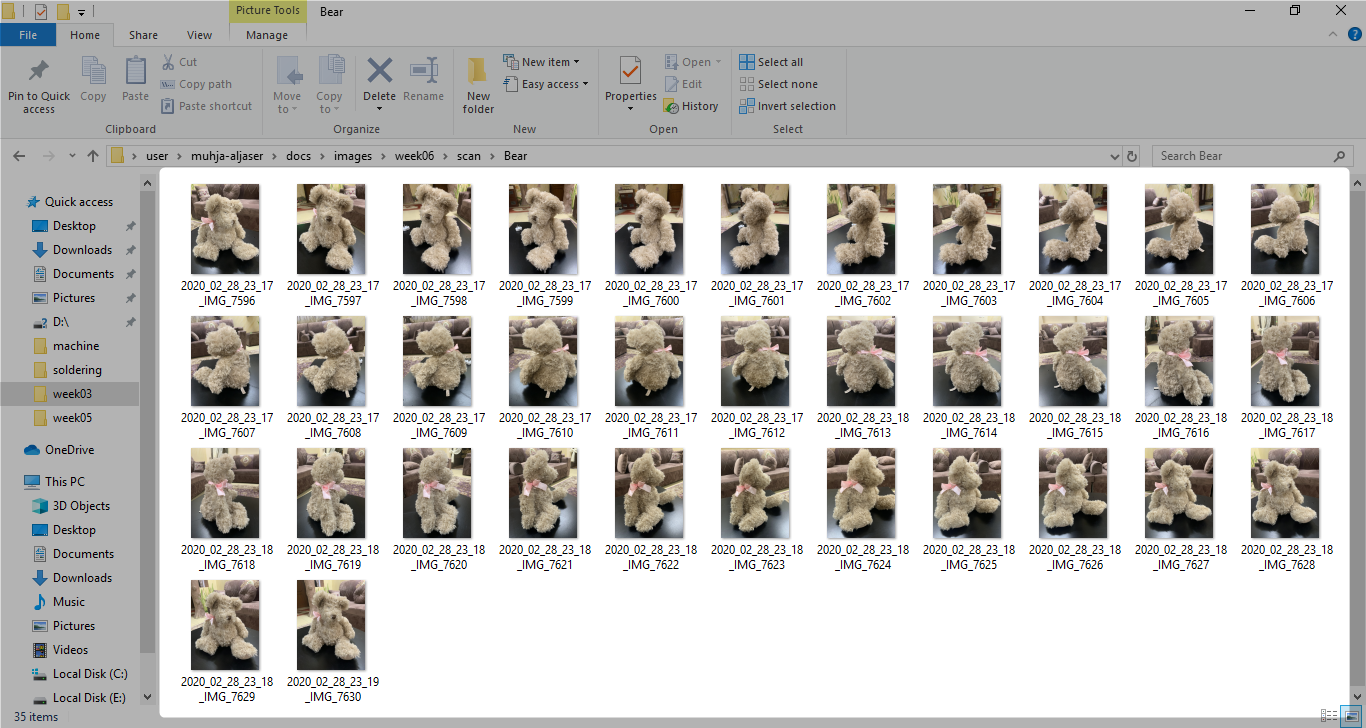
Autodesk Recap Photo will capture the 3D model of any fixed object by shooting several pictures round this object.
- You must take a picture every 5-10 degrees around the object.
- It’s better not to use a flash.
- Recap Photo needs clear and sharp images to get a good result.
Teddy Bear
Open “Recap” to create the 3D model.
 1. Click on “object” to upload your pictures.
2. Wait for your model to upload.
3. You can see your model.

This is the result of the scan. The teddy bear appeared beautiful, but also unwanted parts of the room appeared.
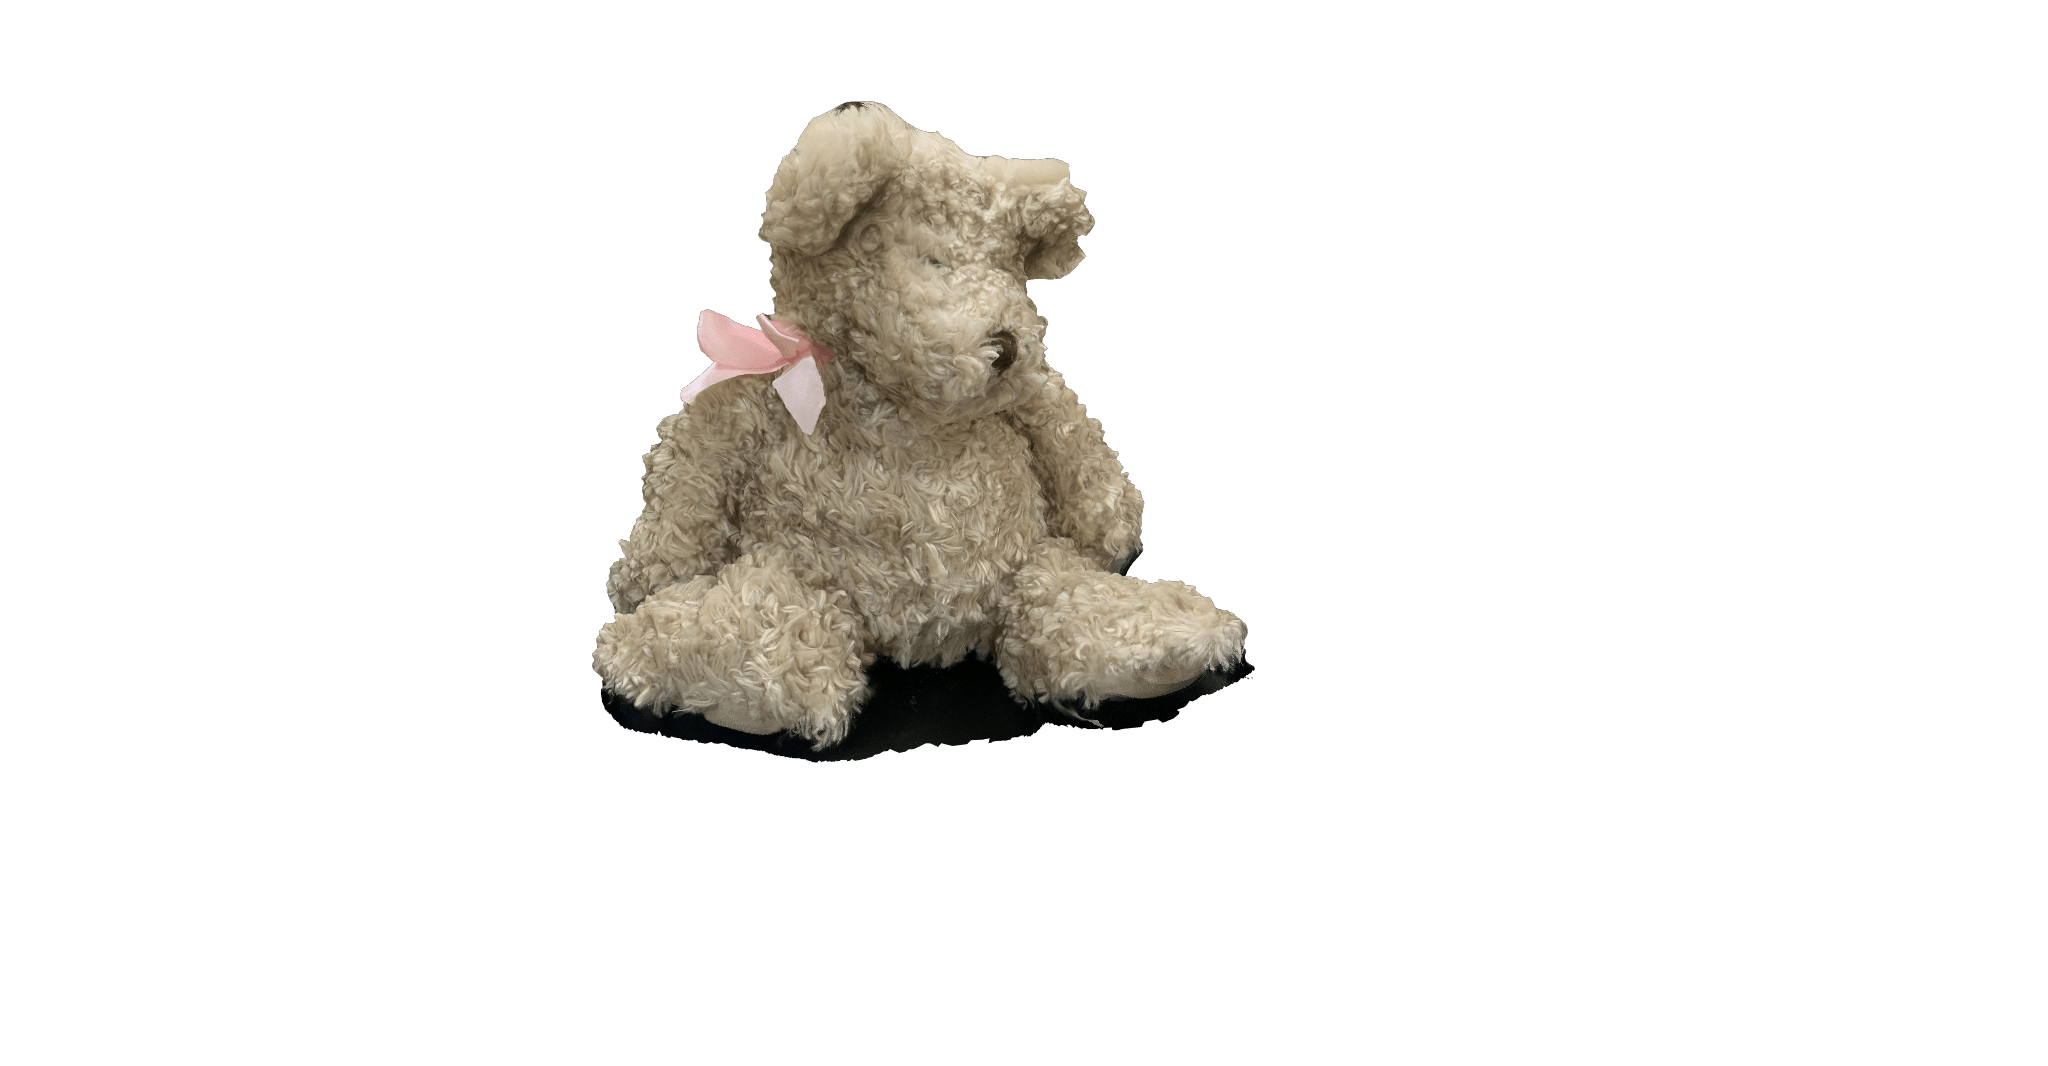
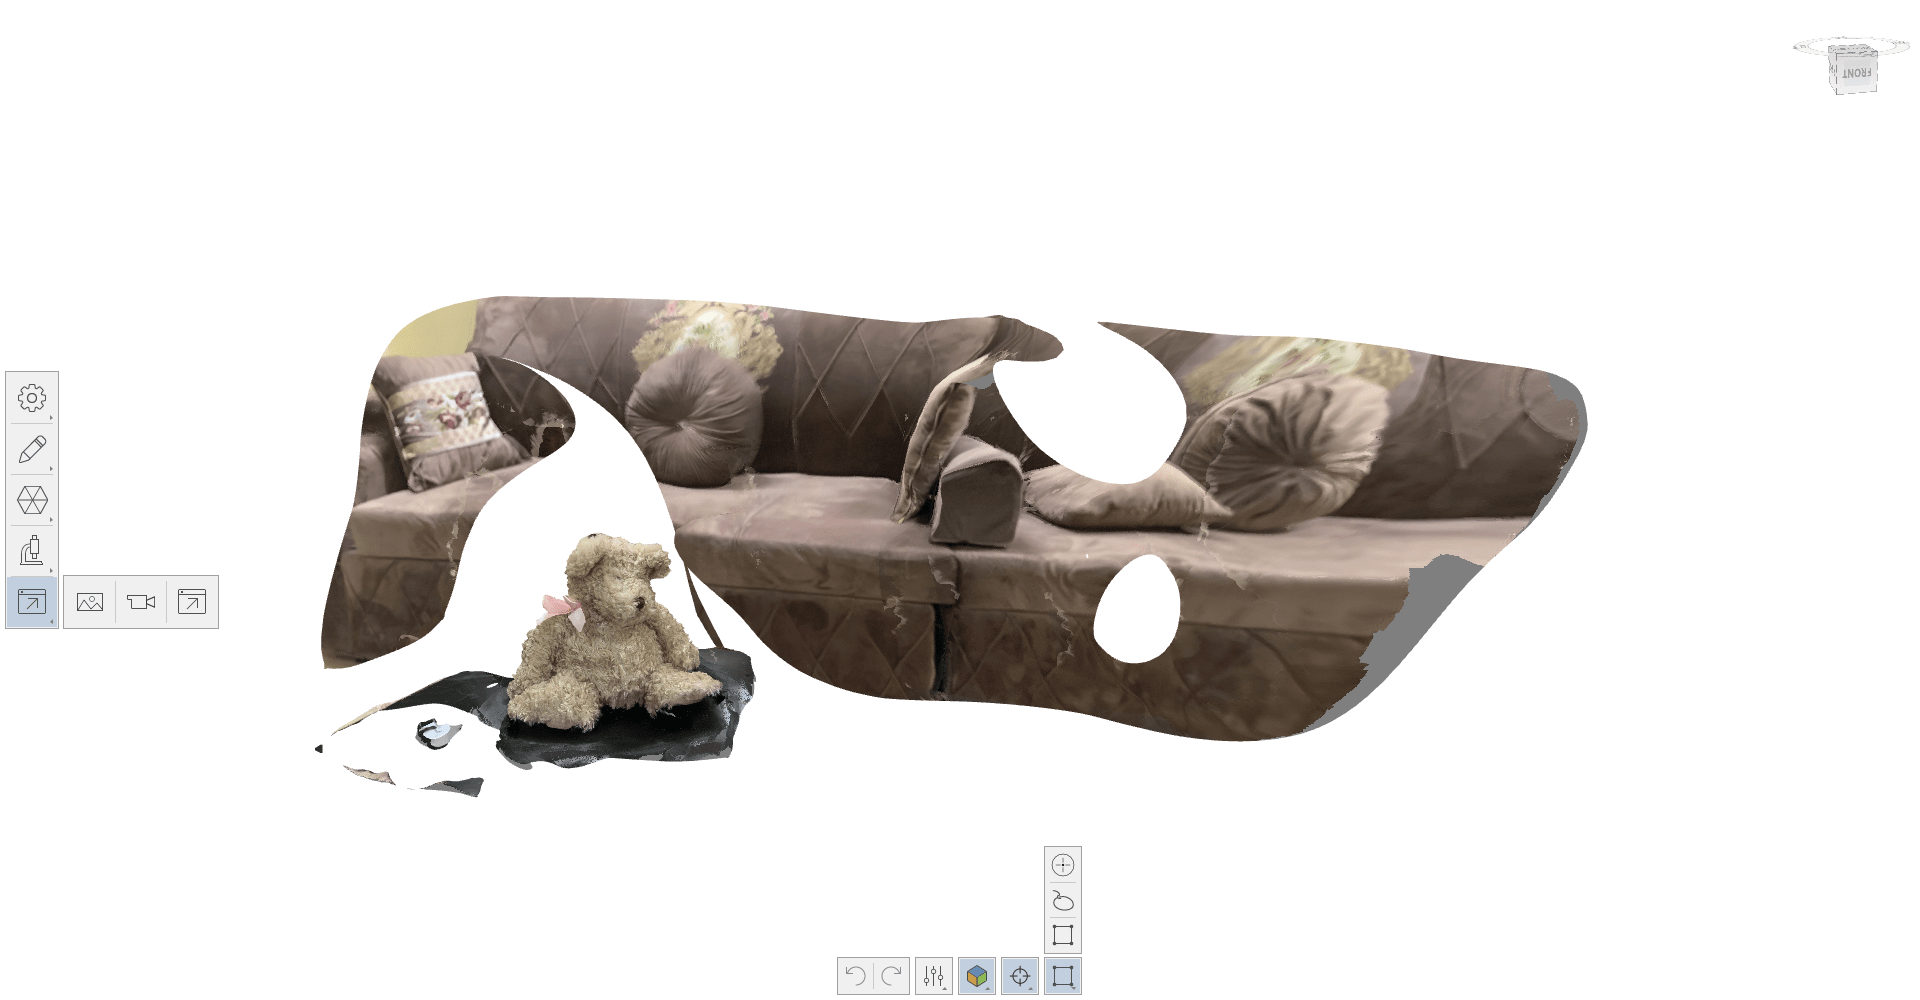 The tools to the right of the bottom bar can be used to remove unwanted parts, so the result looks like.
 From the bottom of the bar on the left, you can export the object in the form of a video filmed by the program, showing the 3D format.
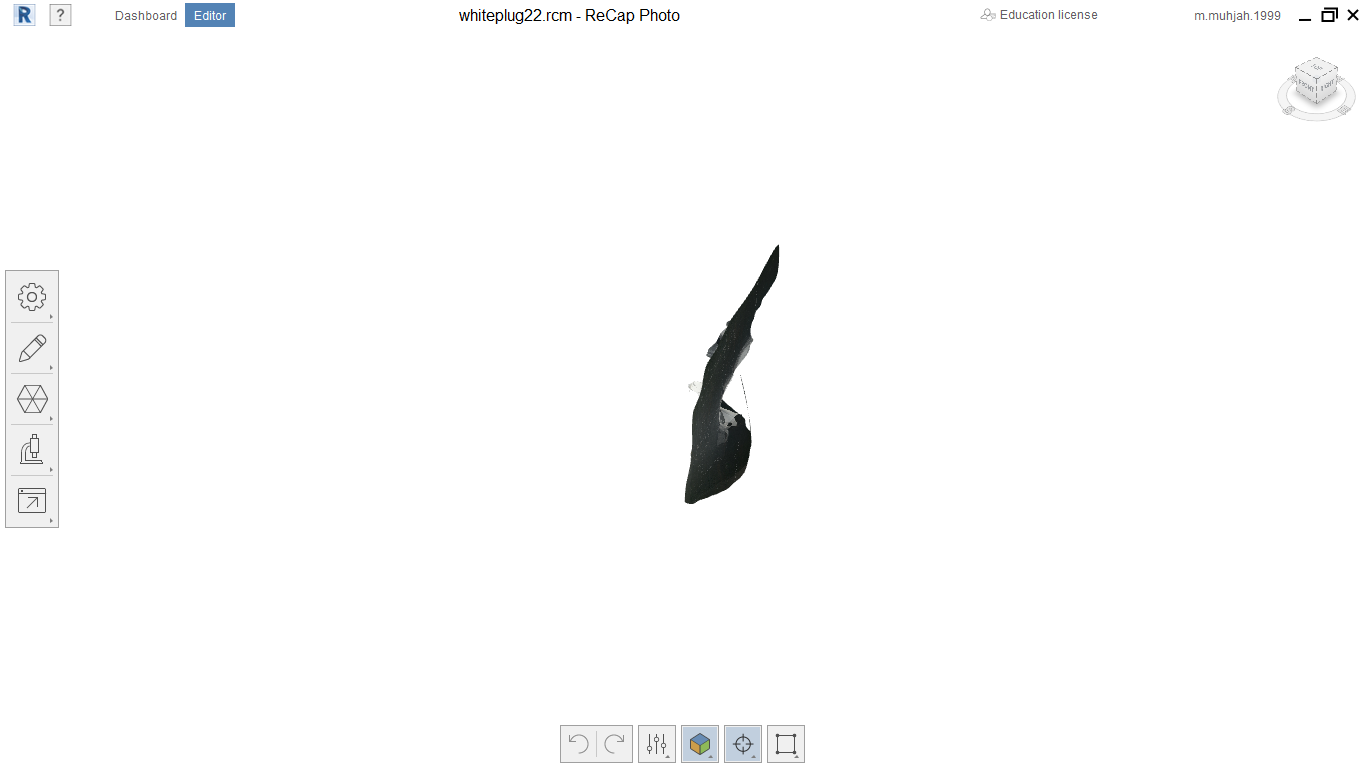
Plug
In my first experience, I took random pictures from different angles.
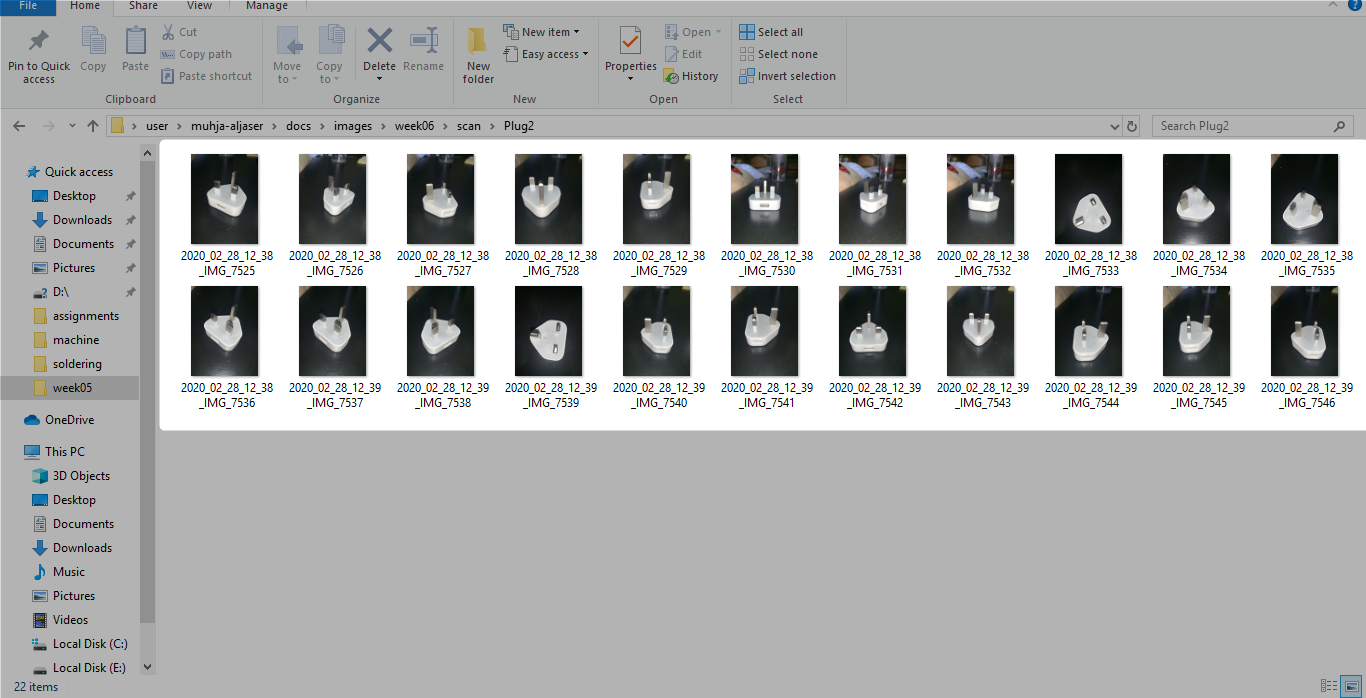 I don’t know what the outcome is.
Useful Links
Taking Photos Tutorial
Cleaning Up a Model in ReCap Photo