10. Molding and casting
This week, I molded and casted using a mold I milled with the milling machines.
Preparations
Safety
To get started with this week, I read the safety information for my molding products. I recorded my findings in my group project section, but I found that I had to be thoughtful of two main concerns.
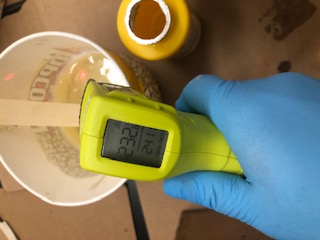
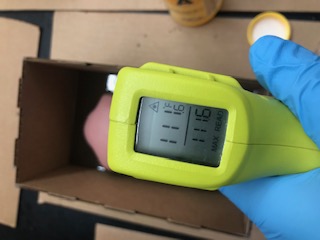
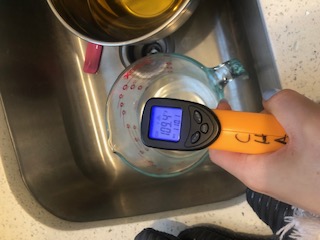
The exothermic, chemical reaction involved with the molding process can me extreme. When working on my practice mold, I accidentally mixed wrongly labelled A and B molding solutions. The produduct of this mistake was a mixture that reached 232 degrees farenheit! (Eventually it cooled down and hardened.) (The correct A and B mixture reached 111 degrees farenheit.)
The involved chemicals could be dangerous to both skin and clothing.To prevent and prepare for possible accidents, I wore an apron, safety goggles, and gloves.
In addition to reading the safety materials, I watched these Smooth-On tutorials.
Baby Doll
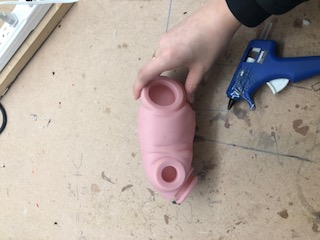
I decided to create a simple plastic mold of a baby doll to learn the basics of molding and casting before designing my own mold. I also wanted to see if I could create a piece for my CPR dummy final project.
Since the doll was maluable, I was able to cast it in hard plastic. This would eventually allow me to pour a softer urathane into the mold which would replicate a person more accuratly.
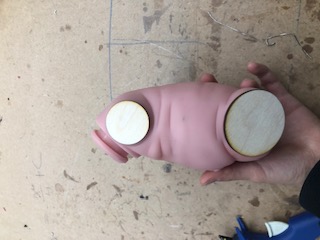
To prepare for molding process, I laser cut a cardboard boc and wooden plugs.
The box would be used to place the baby into for molding and the wooden plug would be used to cover the limb holes of the doll that could prove difficult to remove from the plastic.
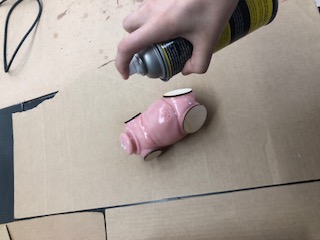
I also sprayed the doll with a quick release oil so that it would be removed with more ease.
To create the plastic mold, I mixed two different parts. I began with part A which I stirred with a paint stirrer before adding in part B.
Part A:
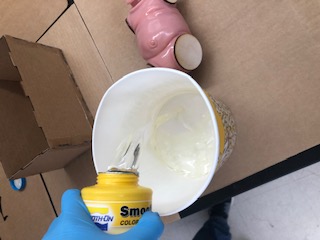
Part B:
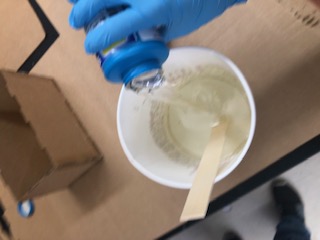
After both parts were added, I stirred the mixture!

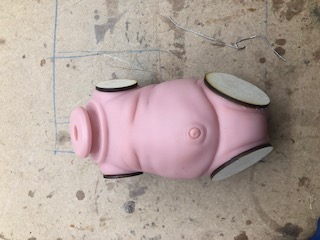
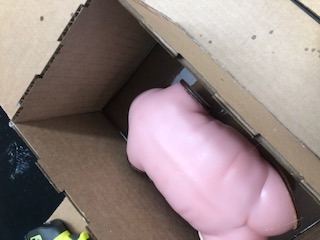
I first poured an initial base layer of the plastic liquid so that the bottom of the doll could be captured in the mold.
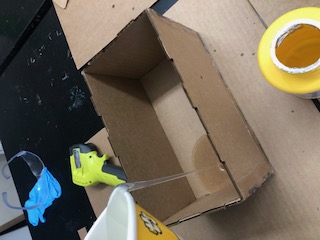
This is a photo of my baby doll resting on the bottom layer of the plastic mold.
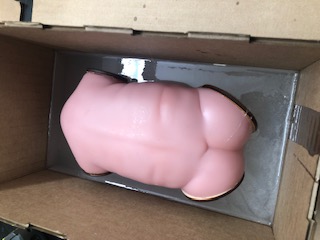
After pouring in my mold solution, I had to wait for my mold to cure so it would be completly hardened. The cure time variess based on specificities having to do with the chemical compounds being used, but my cure time was 24 hours.
Here is a picture of it curing.
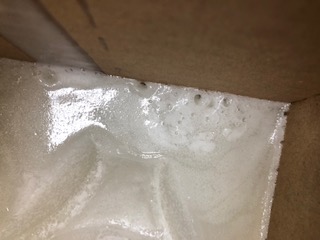
With this first attempt at molding and casting came many mistakes. First, I mixed the wrong chemicals together. Once I had managed to create a correct mixture, I poured it too quickly which created air bubbles. I later found that one of these air bubbles had appeared under the baby doll belly rendering this first mold imperfect. I was able to salve the mold as the bubble semi-hardened.
These are some bubbles visable from the top of the mold.

There was also a large bubble on the stomach area of my mold. Since the bubble had already popped, I tried my best to fill the mold with superglue. I predict I will need this mold for 2 casts, so I’m okay with having to manually sand down a few areas. If I end up needing this mold more, I can easily redo my mold with the doll.
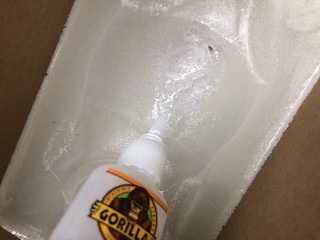
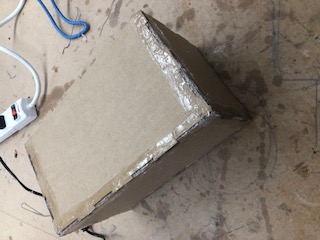
Also, I did not completly seal my cardboard box, so some of the liquid leaked out. I found out that I had to hot glue the inside and outside.
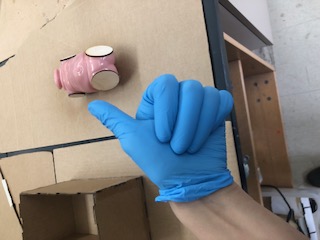
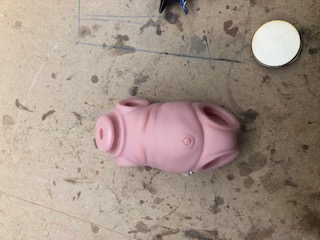
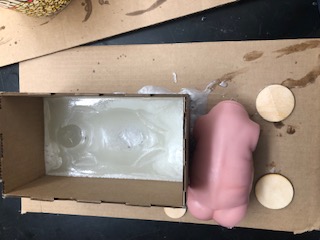
This is my baby doll mold!
Soap Mold Model
After I had walked through the basics of molding and casting, I started working on milling out my own mold.
To learn more about the milling process and the CAM feature in Fusion I watched the following videos.
-
Mr. Rudolf’s Tutorial: https://drive.google.com/a/charlottelatin.net/file/d/1KvUcgkBJ5788WSAjBpdDv5Zazf7hWrro/view?usp=drivesdk
-
Autodesk Fusion Tutorial found by Sarah Coston: https://knowledge.autodesk.com/support/fusion-360/getting-started/caas/screencast/Main/Details/d78b756f-523f-439d-8d53-297ed511da7e.html
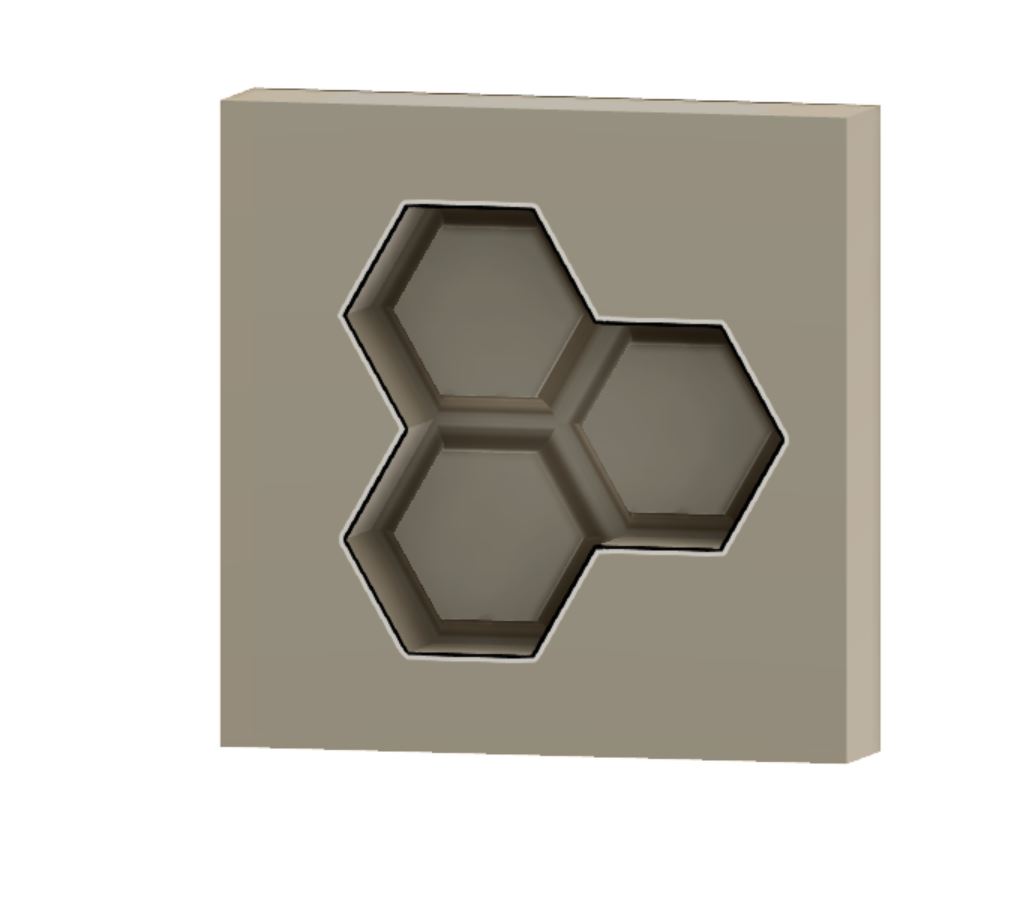
I decided to make my mold in Fusion360. My goal was to create a simple soap mold for my mom. It was supposed to resemble a bee hive.
This was my reference.
I began by creating the mold positive/shape of my soap. Then, I designed a frame around the mold positive.
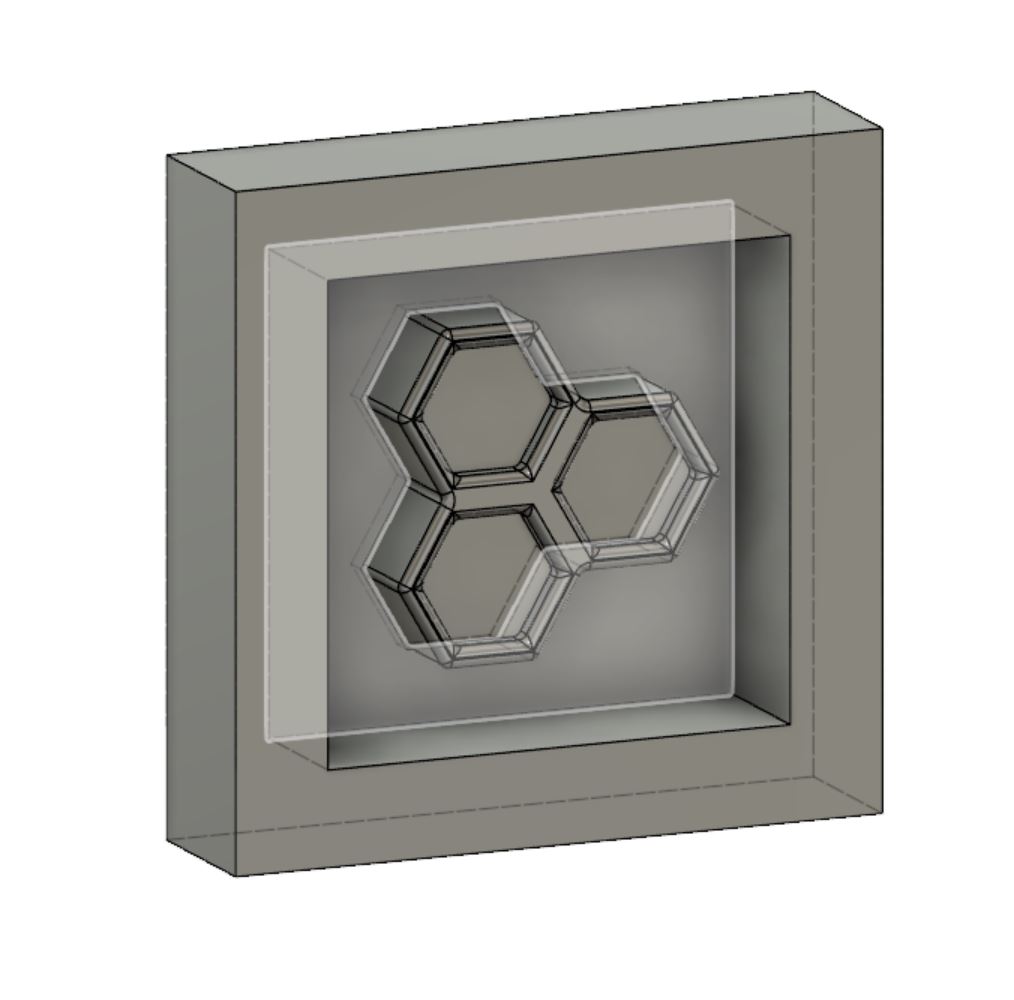
This is my final model.
CAM/Manufacturing
Setup
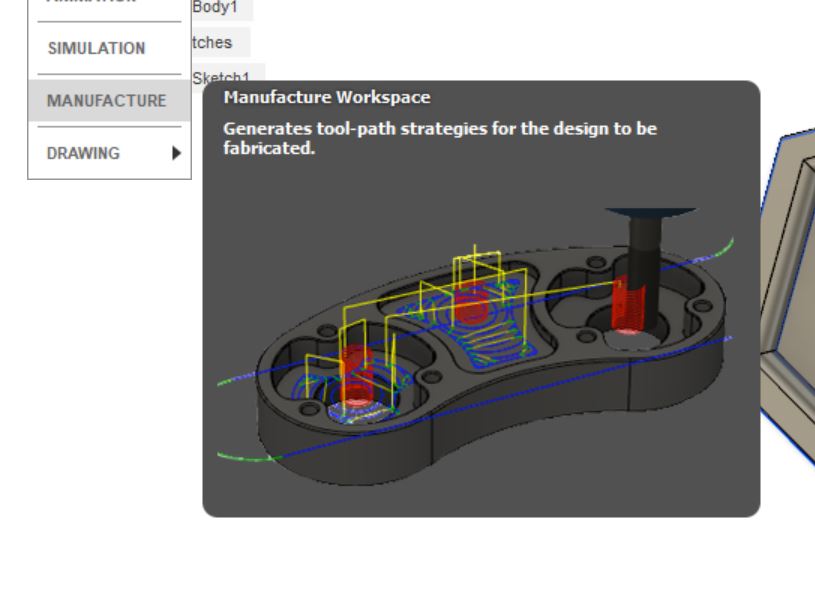
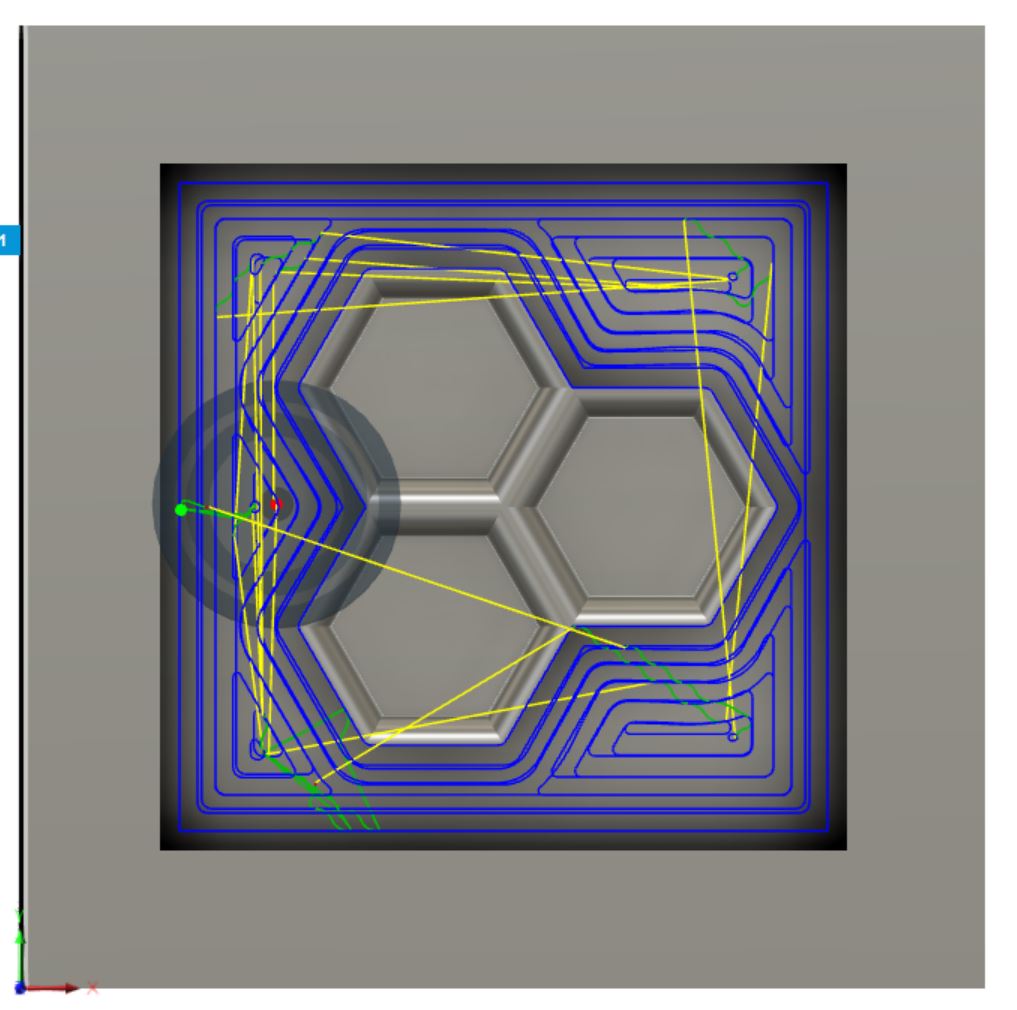
Once I had developed my model, I created my toolpaths for for my rough and finish cut using the Fusion CAM workspace (which was recently renamed the manufacture workspace).
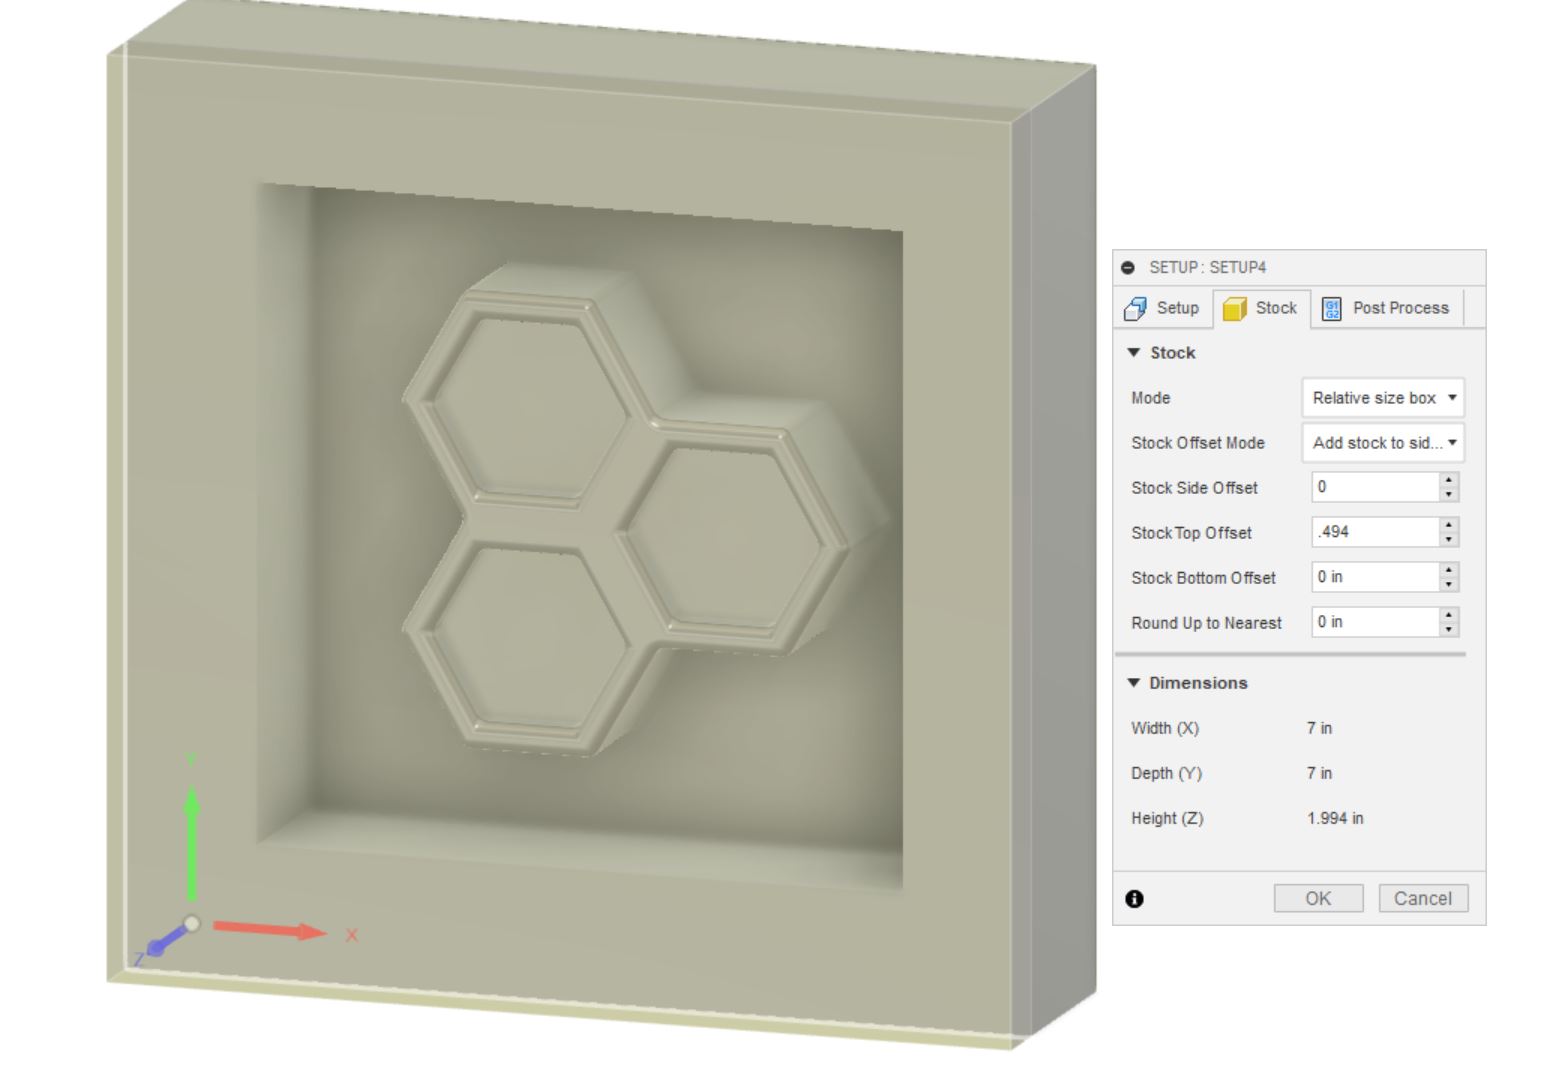
In the manufacture workspace, I created a new setup and adjusted the stock dimensions to my foam. I had measured my foam piece to be 7 inches x 7 inches x 0.994 inches. I created my model to the correct height and width, but I needed to adjust my height. To get my height to the correct 0.994 inch dimension, I added a top offset of 0.494
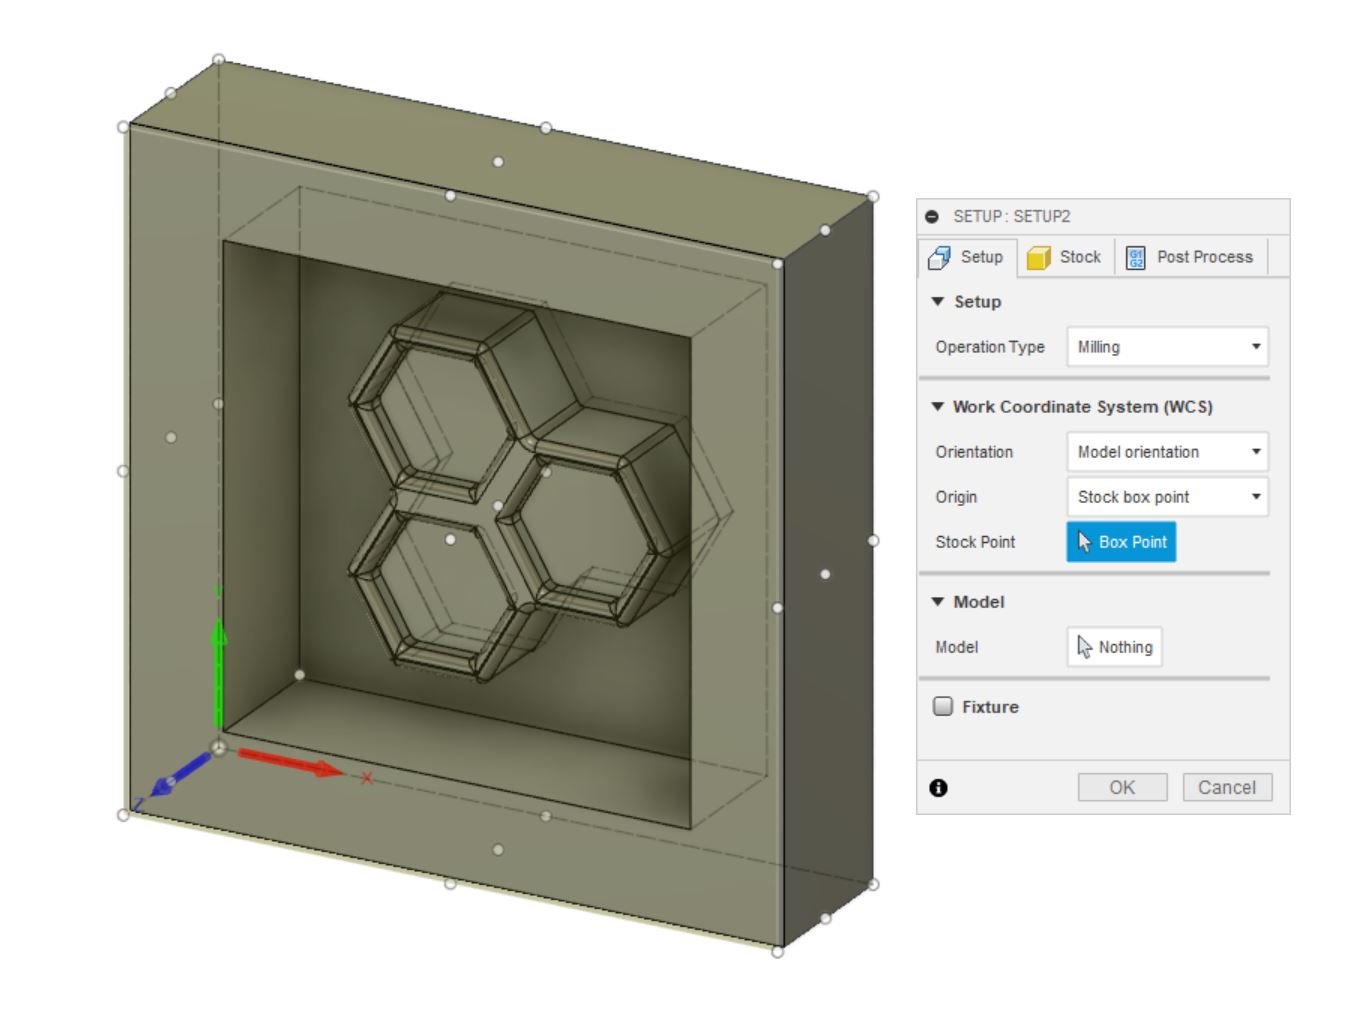
After I dimensioned my stock, I edited the setup origin. I decided to place my origin at the bottom-back-left corner so the xy axis lines would corralate with the ShopBot.
Toolpaths
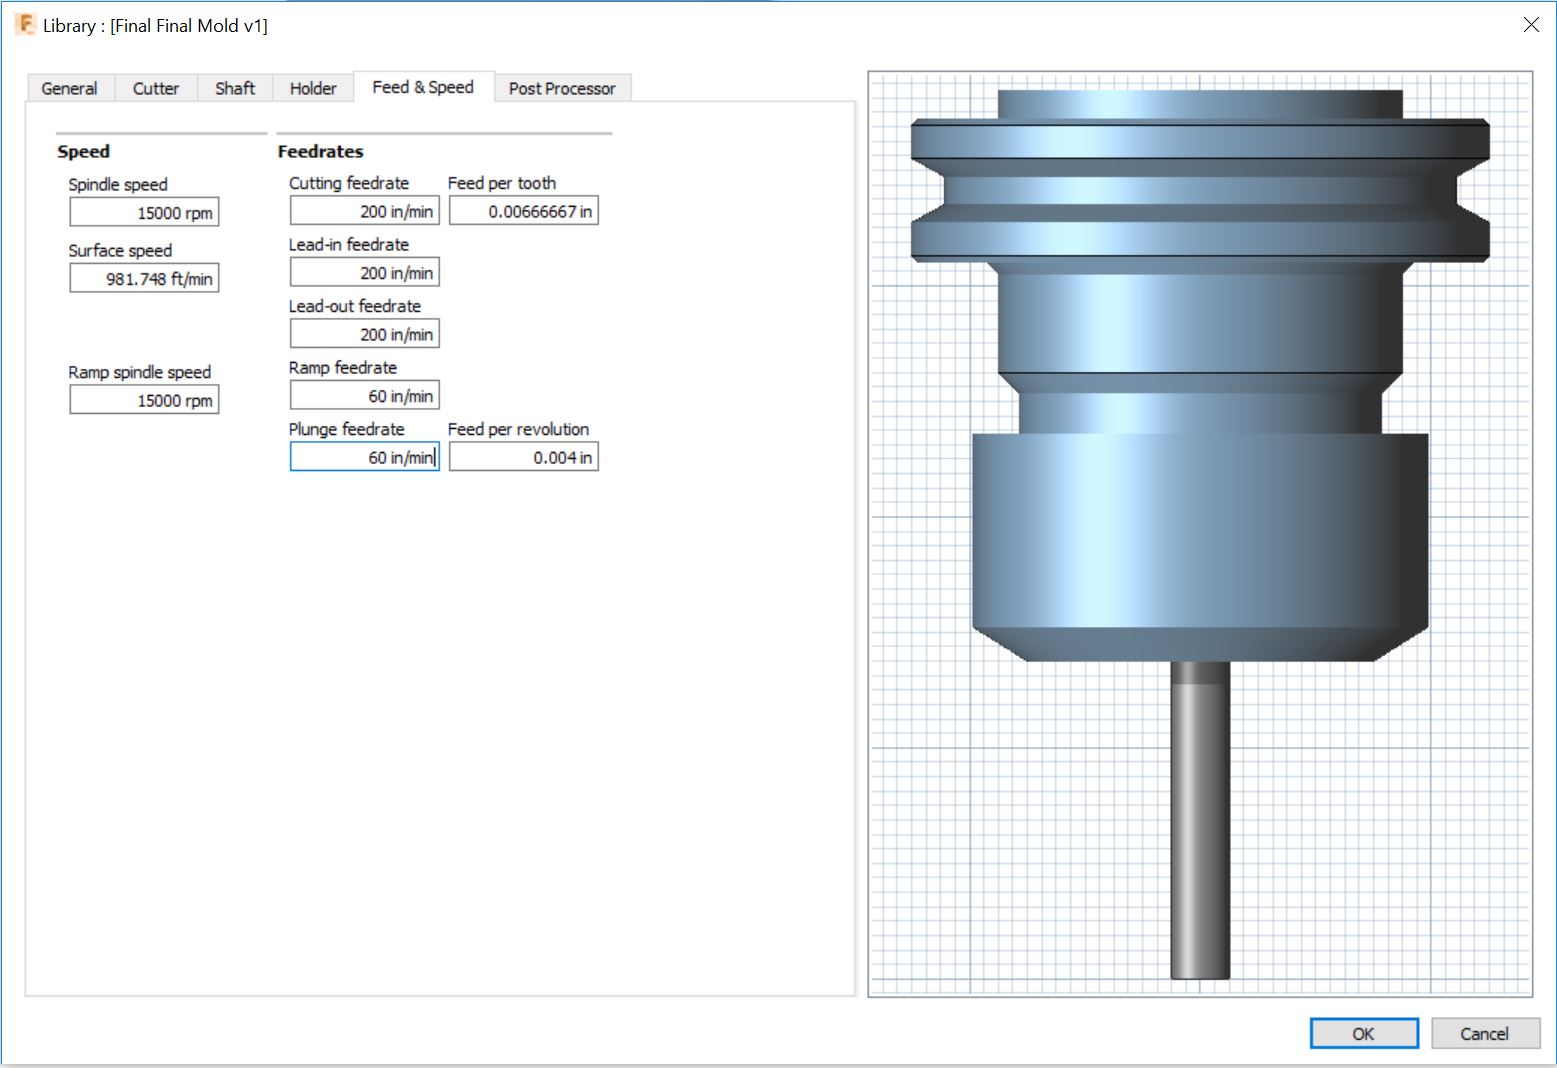
The first toolpath that I created was my facing toolpath. I selected the facing option from the 2D toolpath menu. Then, I created a flat-end mill bit with these feeds and speeds.
Here are a few resources that I found to help with finding speed and feeds for machinable foam, but I for these rates, I refered the the Rudolf tutorial mentioned above!
Just like in week 8, your feeds and speed really depend on your material and bit specificities.
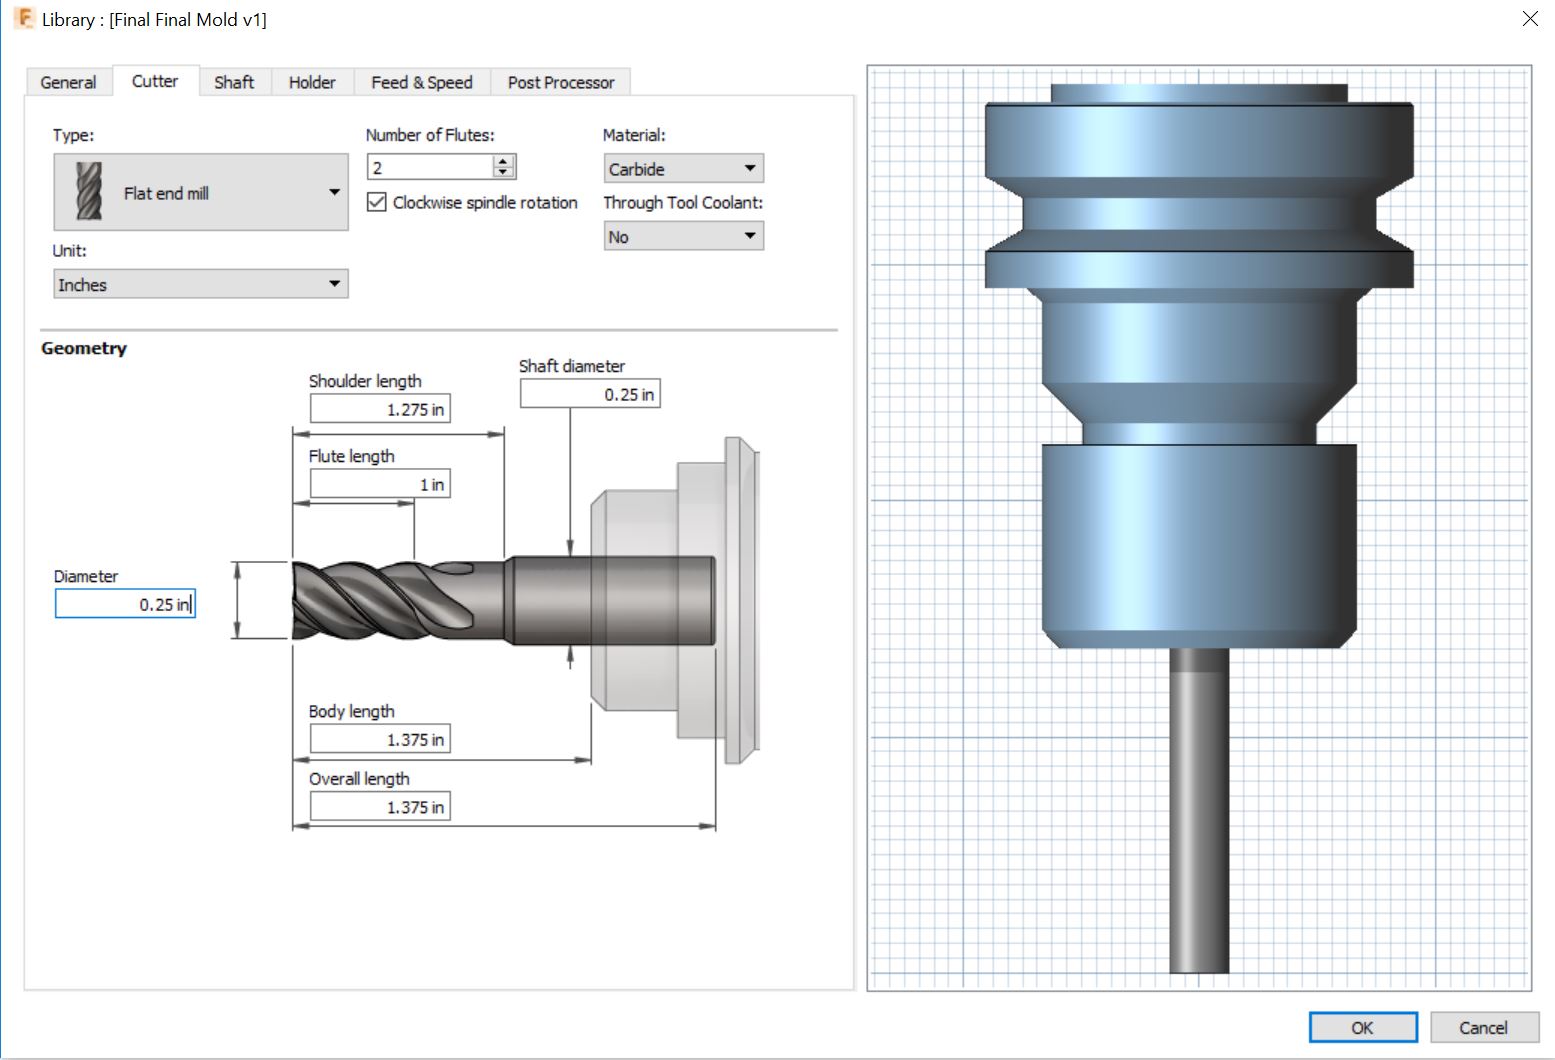
Once I had set my feed and speeds for my 0.25 inch bit, I worked on dimensioning the bit itself.
Here are my dimensions for our 0.25 inch bit. (Certain lengths in the visual can depend on the bit installation process.)
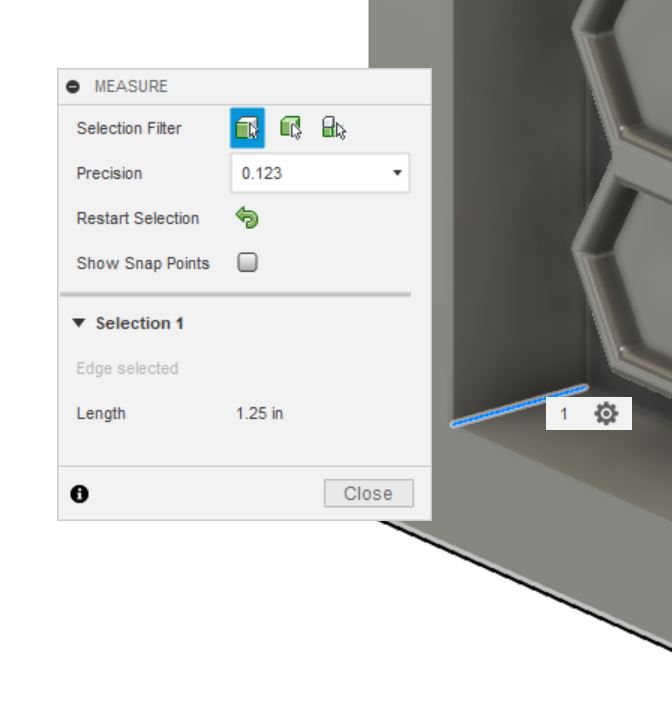
As a precautionary measure, I inspected my model and measured the inner wall height to make sure my bit could reach the bottom without bumping the exterior walls.
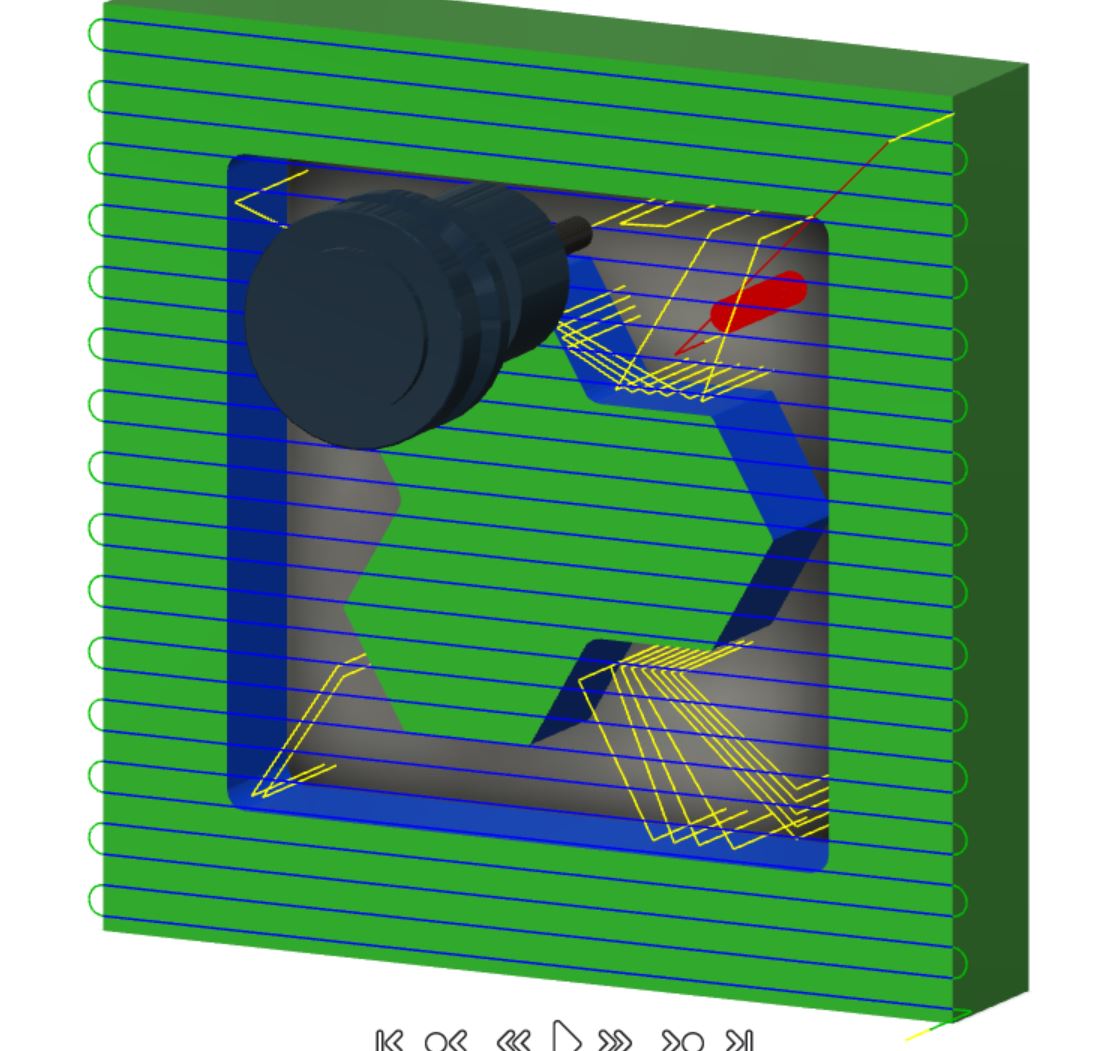
This is my finished facing path.

Once I had created the first facing toolpath, I moved onto my rough cut which would remove a majority of the foam material from my pocket. To do this, I used the 2D adaptive clearing toolpath and the same bit that I created for my facing toolpath. This first toolpath would remove the majority of the material surrounding the mold but would not touch the inner ridges.
This is what my finished 2D adaptive clearing toolpath.
This is what I had created so far.
Next, I tried to create a 3D adaptive clearing toolpath for the inner ridges of my mold, but my bit was running into the sides.

To solve this, I created a stock contour around my hexagonal blob chain.
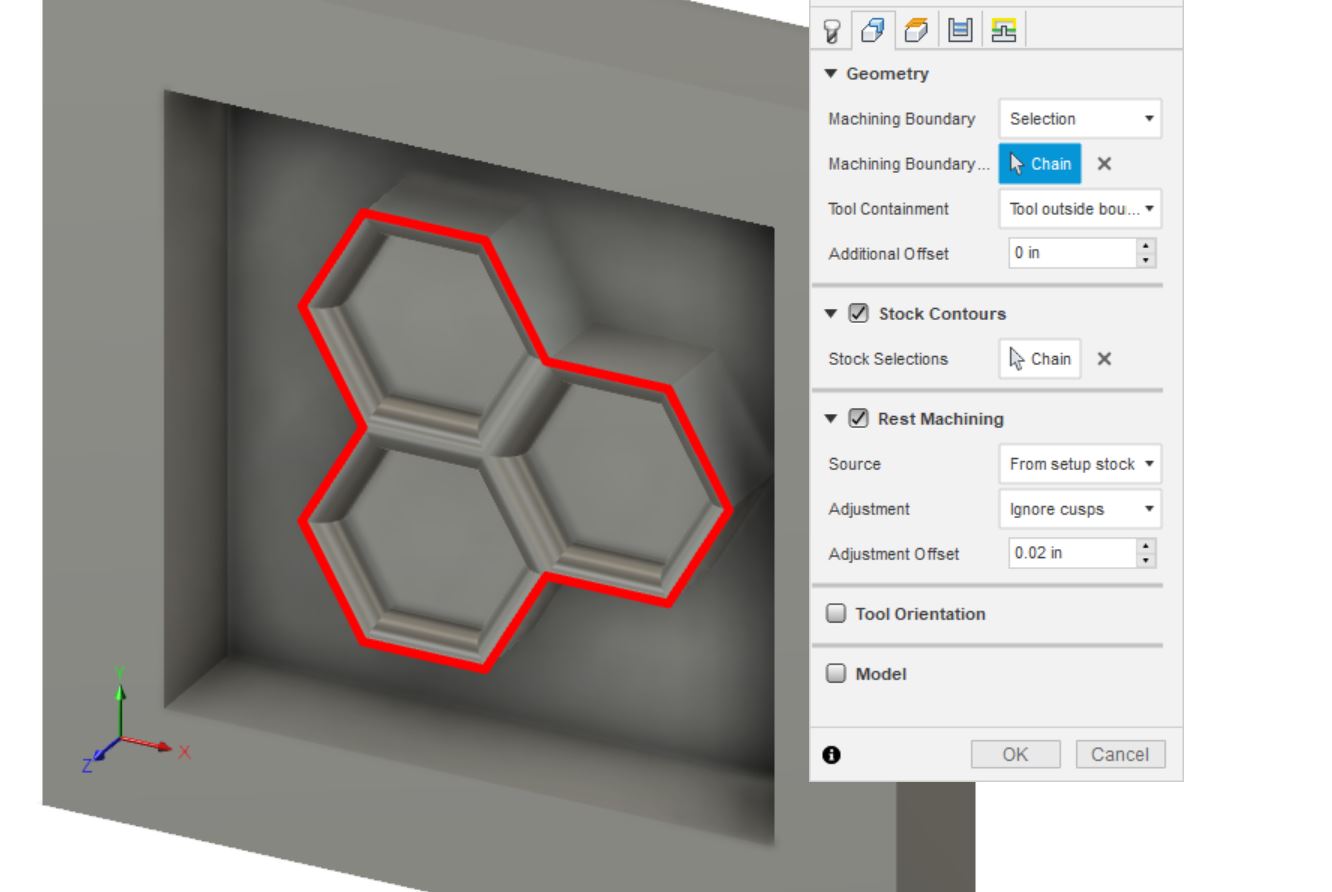
This only allowed the bit to clear out the areas in the outline.
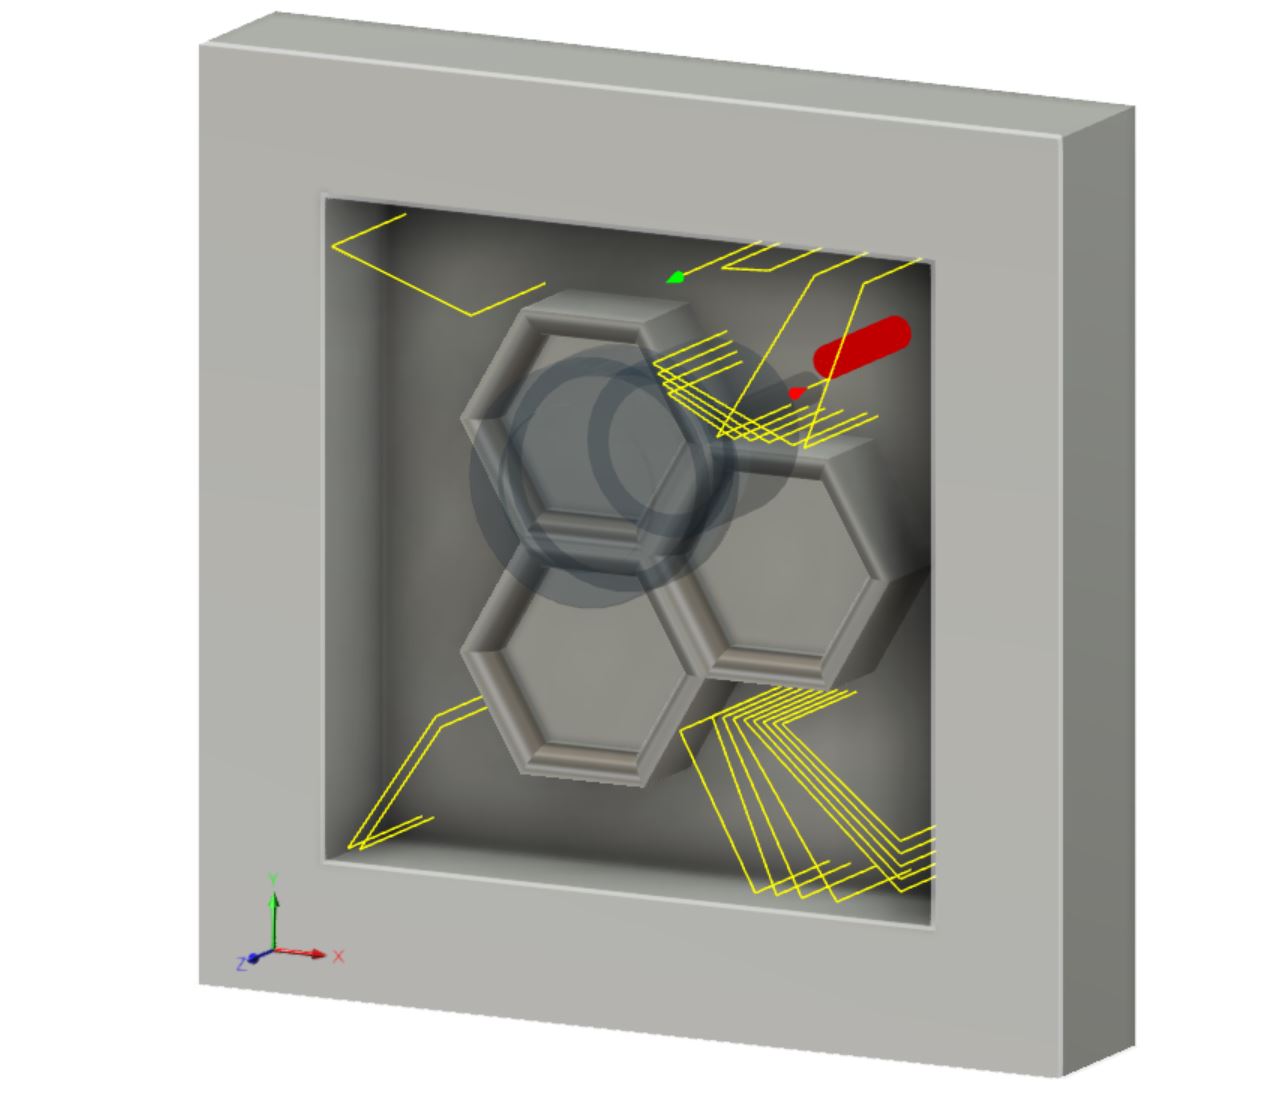
This is my 3D adaptive clearing rough toolpath.
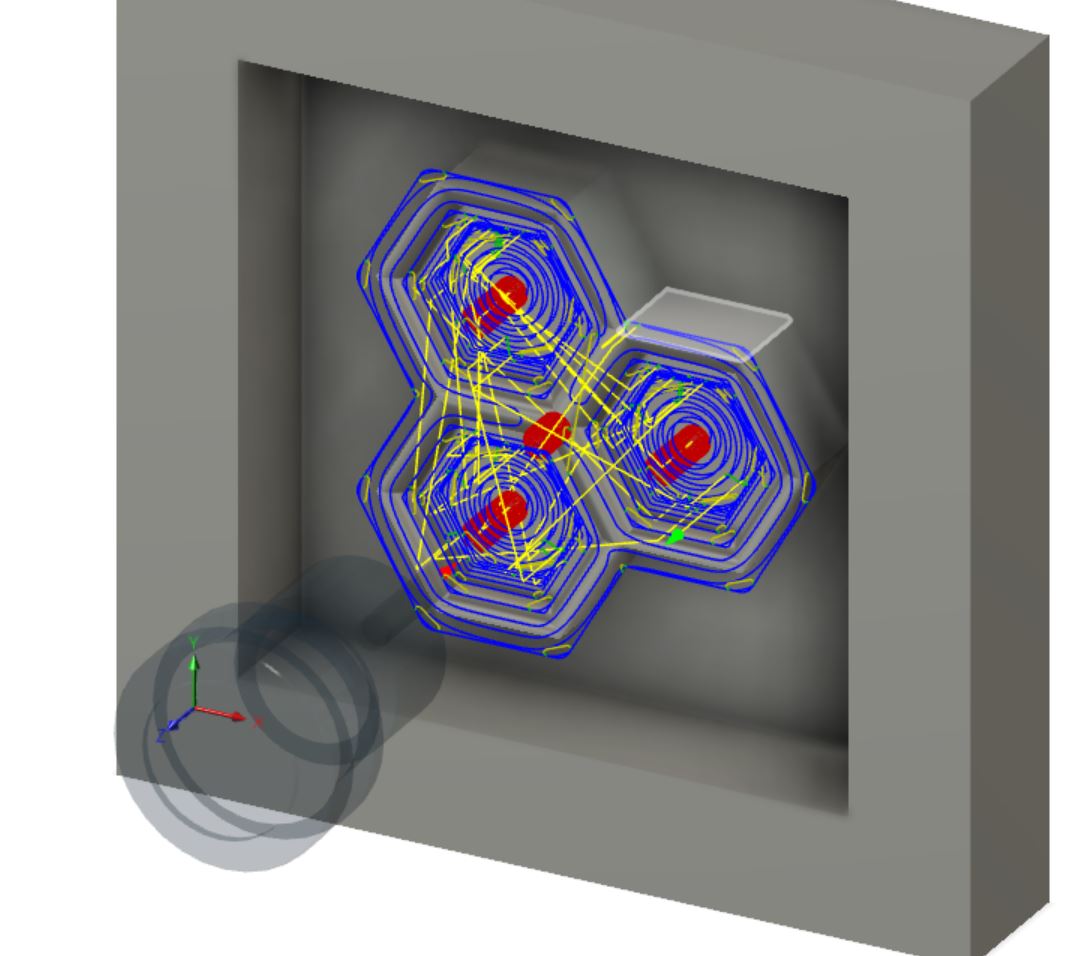
This is my rough cut.
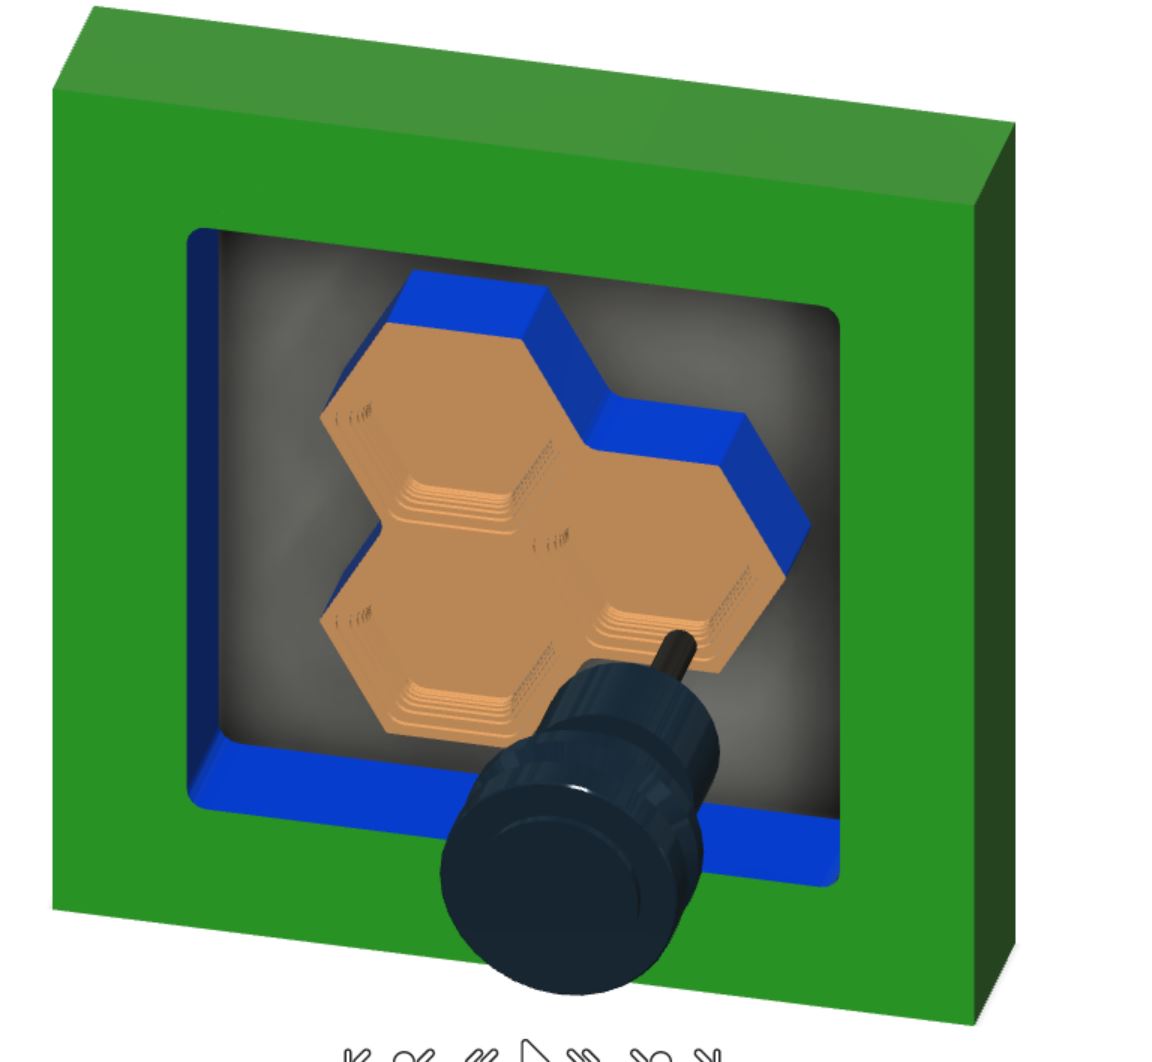
To clean up my rough cut, I created a finish cut which had a significantly smaller stepover.

This is my finish cut! I used the parallel toolpath.

Here is a video of my toolpaths simulated.
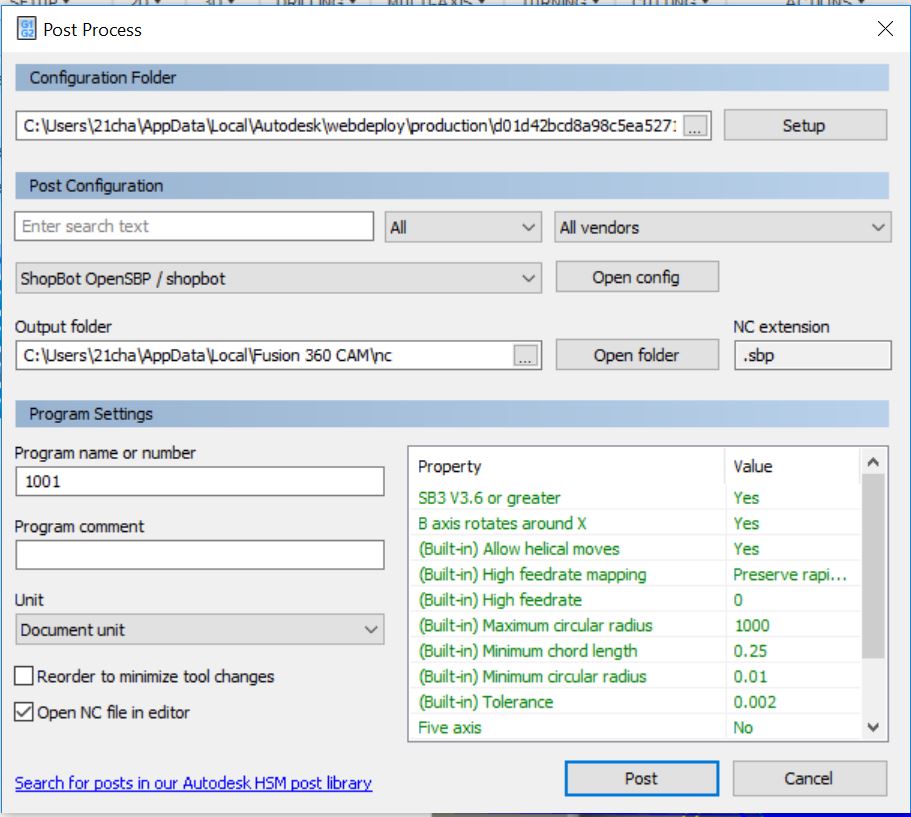
Finally, I exported my toolpaths as a ShopBot file. I did this with the post process tool.
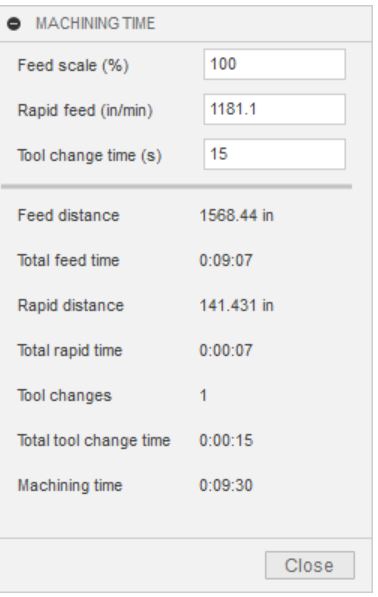
I also checked the estimated machining time. Apparently this is inaccurate.
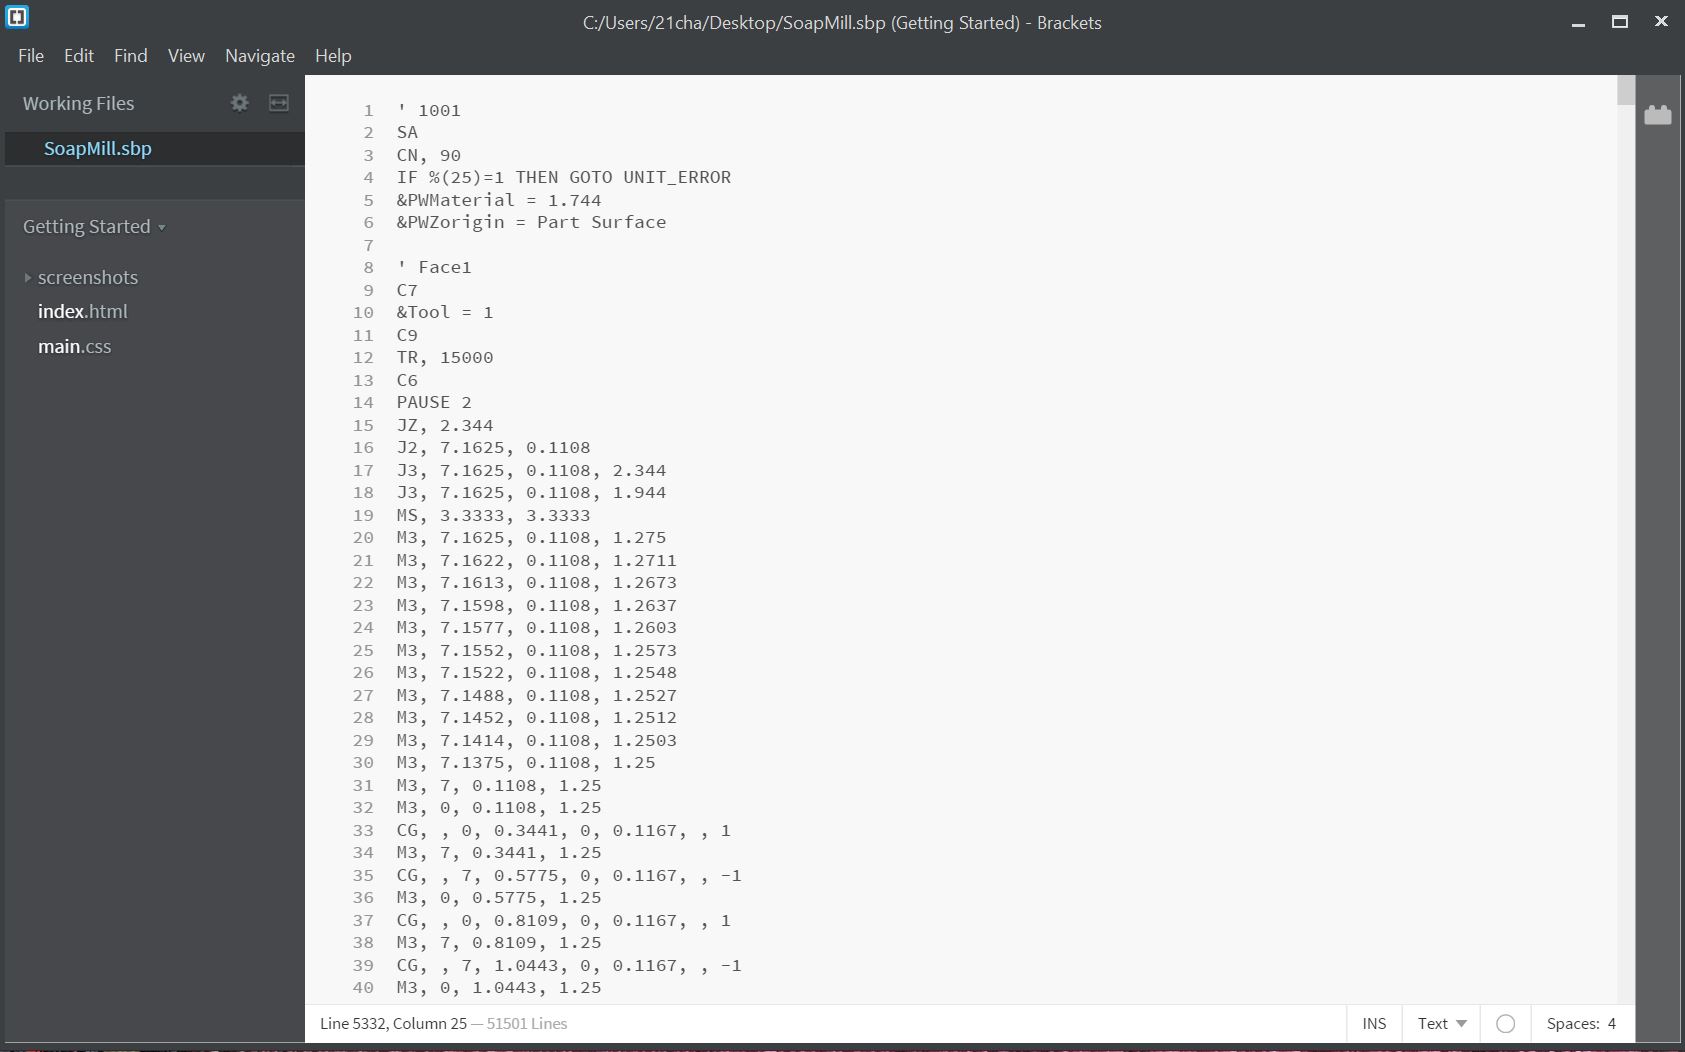
I quickly checked over my file in Brackets, too.
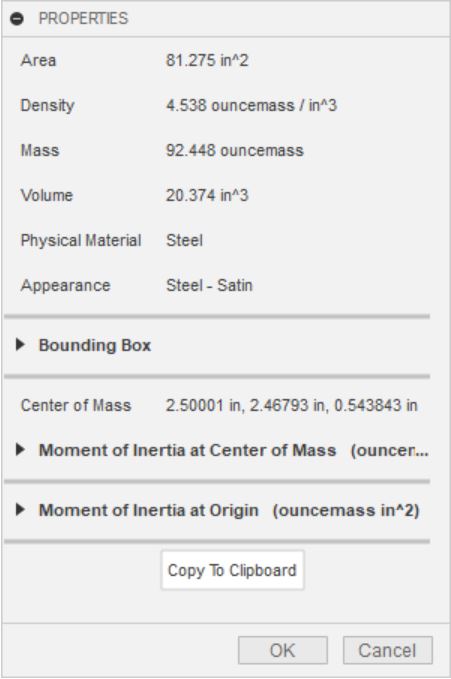
While still in Fusion, I figured out the required volume of molding material using the boundary fill tool. (I watched a video to learn how to do this.) I found I needed about 334 mL of molding material. This would mean that I would need 167 mL of part A and 167 mL of part B.
Using boundary fill, I was also able to render a visual of my mold negative.
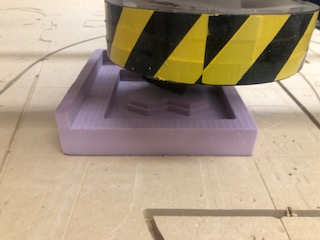
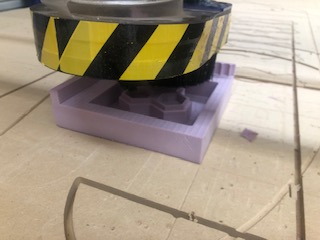
Milling
To create my mold, I milled my design out of machinable foam on the ShopBot. Since I had already developed the ShopBot file in Fusion, I simply downloaded the file and walked through the same ShopBot workflow from week 8.
I did change a few things in the workflow to account for the change in material. Here are my adaptations;
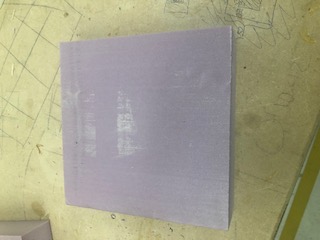
- I started by cutting a 7 inch by 7 inch piece of foam using the bandsaw. Mr. Rudolf helped me with this because of the awkward shape of the foam. For my final milling attempt, I actually had the stock slightly off the origin point, but because of my 1 inch border, the mold still turned out fine!
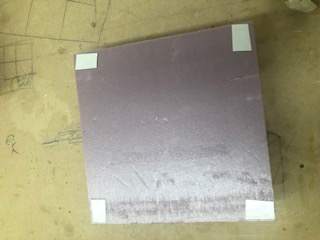
- To adhere my foam to the CNC bed, I used the same double sided tape that I used for the milling machine.
- I also placed my foam at the 12 inch x 12 inch grid line because the original origin grid line on our ShopBot was indistinguishable. Because I placed my stock at a different part of the CNC bed, I had to change the origin to be 12 inches x 12 inches. (I did this for my second milling attempt.)
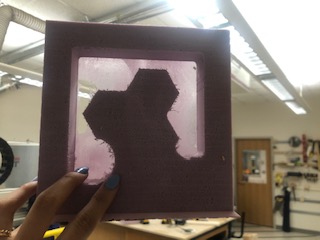
To reach my desired result, I milled my design two times. My first attempt milled all the way to the base of the ShopBot. I stopped the file because I was afraid the middle piece would fly out since I had only secured the four corners. After looking at my Fusion toolpaths, I found my first 2D adaptive toolpath was cutting all the was down into the bottom of my mold. I didn’t notice this because my stock was hiding my toolpaths. I am a little confused why the simulation didn’t display the problem. I theorize that the toolpath may have left a thin sheet of material that would cover the bottom of the simulation, but in real life, the inconsitancies in the foam thickness would create the thin, patchy film seen in the following picture.
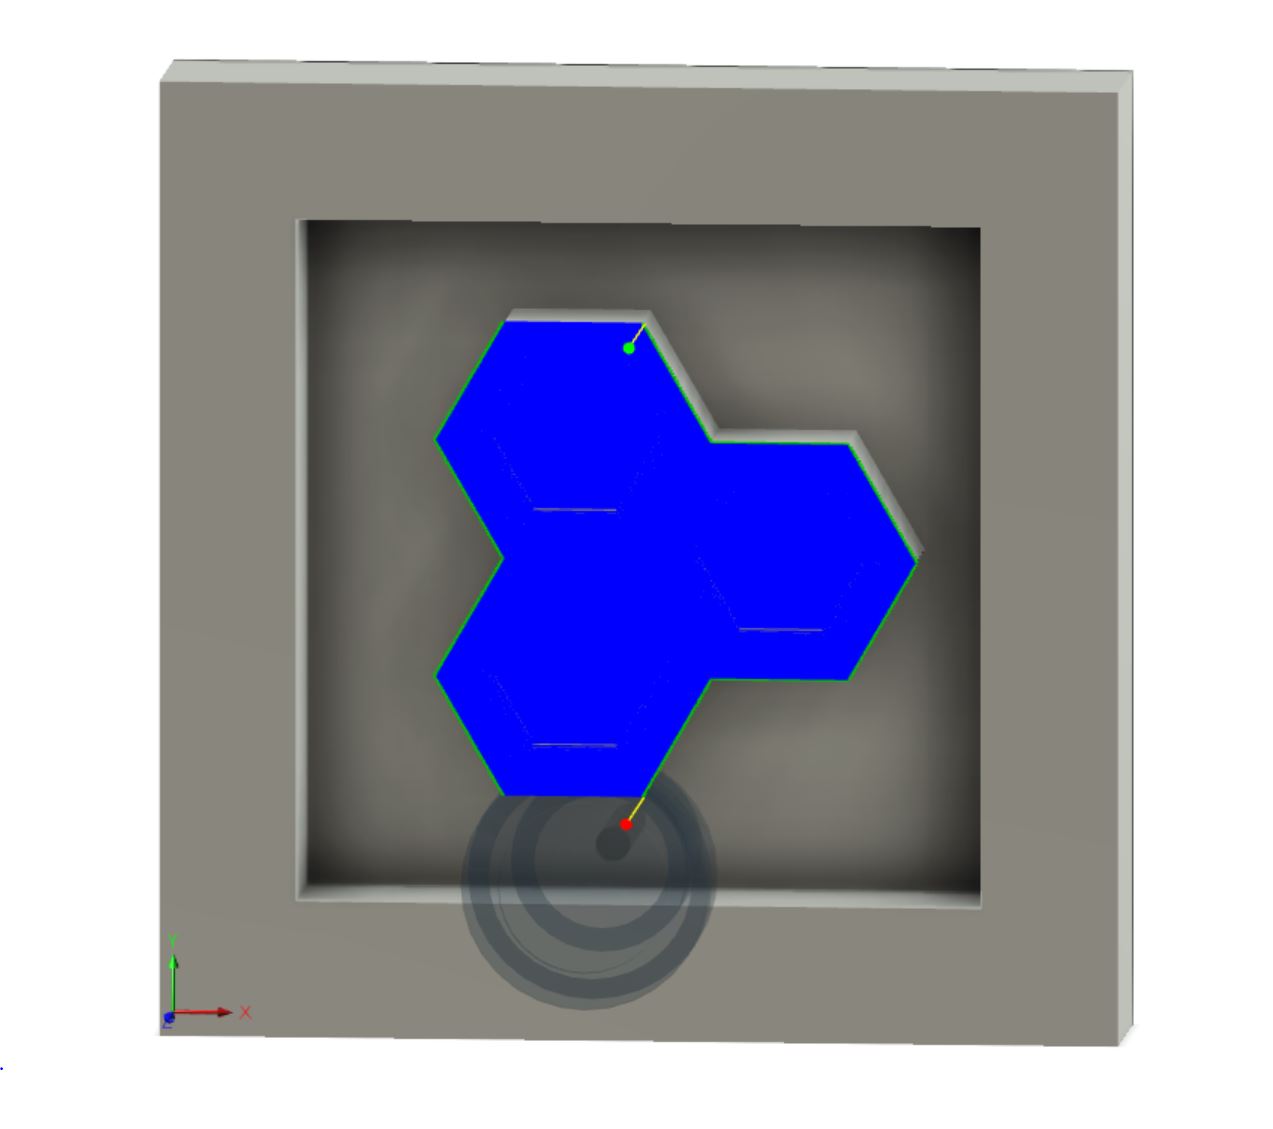
To fix my toolpath, I switched to a 3D pocket which I confined to the inside of te mold. For this toolpath, I could easily see the toolpaths!
Here is a video of my milling process.
Pocket Toolpath:
Adaptive Clearing:
Rough Cut: (I also saw this as a preliminary finish cut)
Finish Cut:
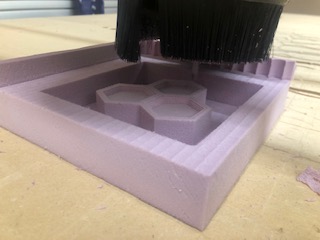
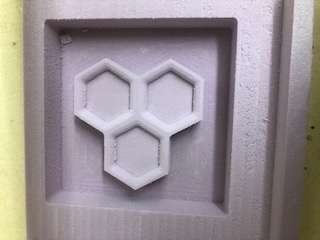
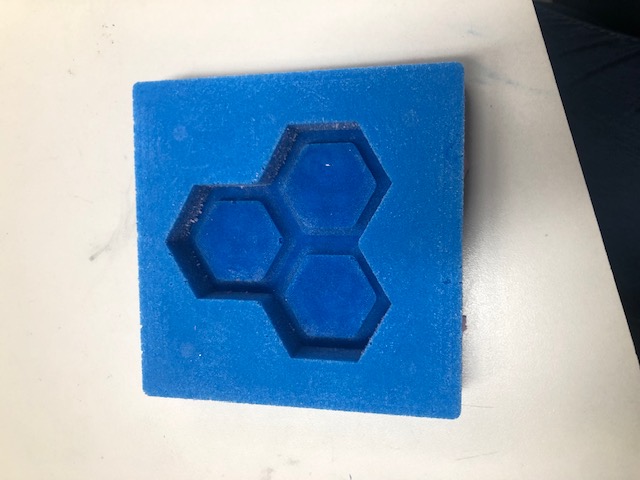
Final Result:
Molding
Once I had my foam design ready to go, I was able to pour my mold! I used Smooth-on Moldstar 30 to pour my mold. I also used Ease Release 200.
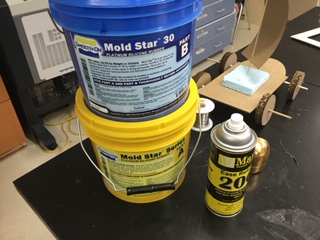
After reading over the Moldstar 30 information, I learned the liquid would take 6 hours to cure. I also found the ratio of A:B was 1:1.
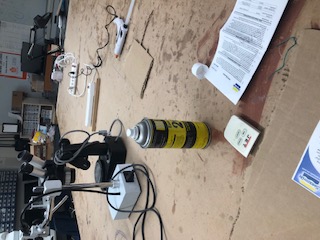
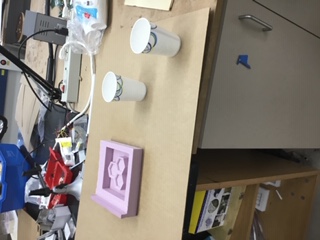
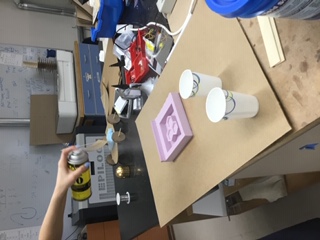
To make clean-up easier, I laid out a piece of cardboard on my workspace.
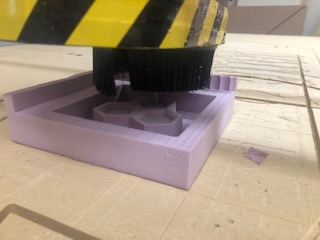
Then, I sprayed the release agent onto my mold.
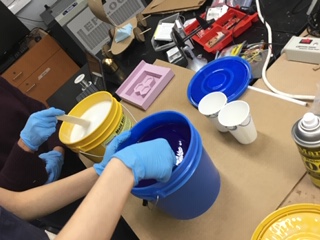
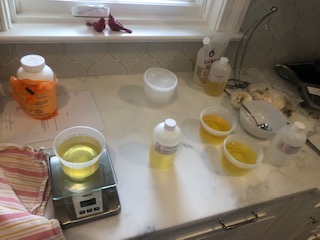
Since I opened new molding material, I stirred the parts seperatly before combining them.
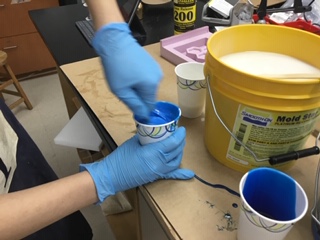
To find out how much of part A and part B to pour into my cups, I filled a measuring cup up with 334 mL of water and then distributed equally into my mixing cups. After, I poured the molding materials into the same height on the cup. Finally, I stirred the two parts together slowly and in a figure 8 pattern.
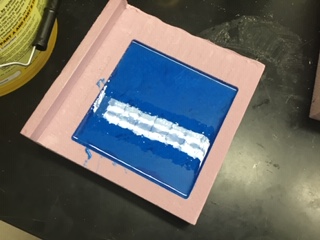
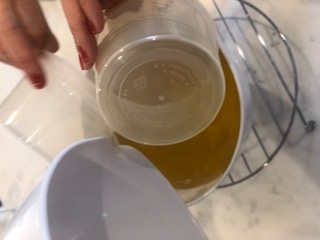
I poured my mixture into my mold with a thin stream to prevent air bubbles.
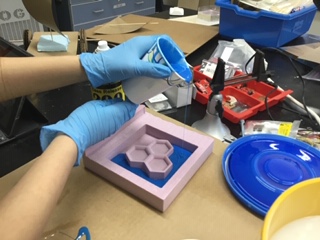
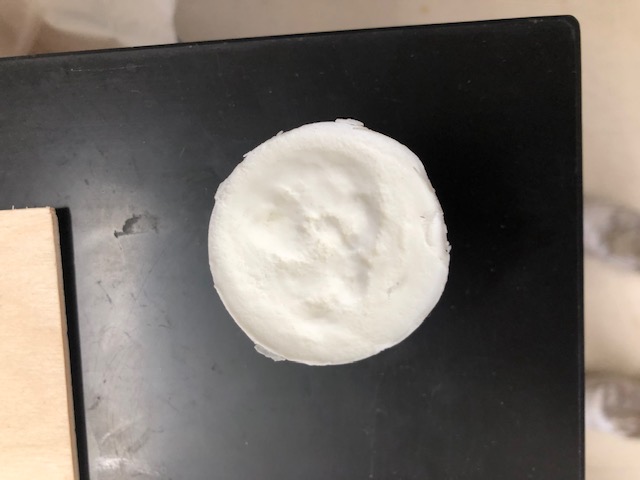
Here is my filled mold.
I covered my mold with another piece of styrofoam sprayed with the release agent.
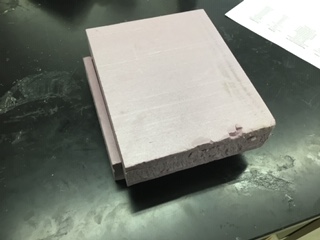
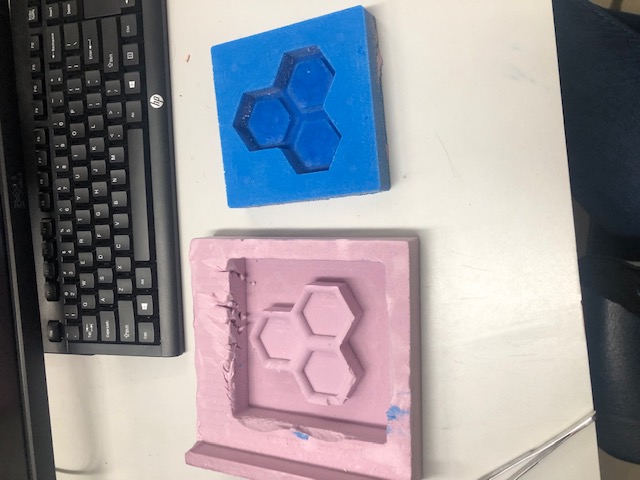
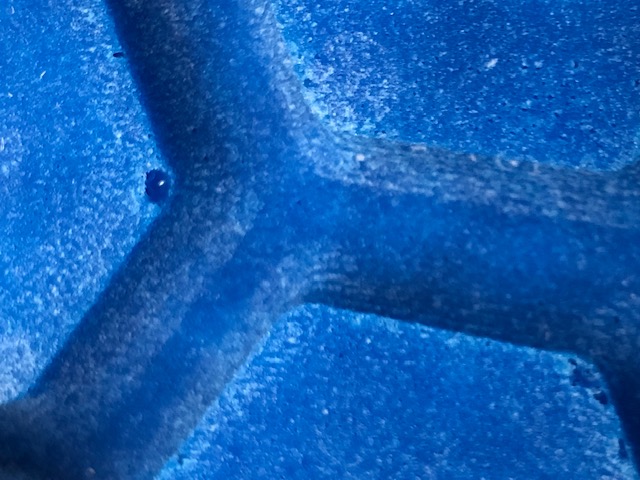
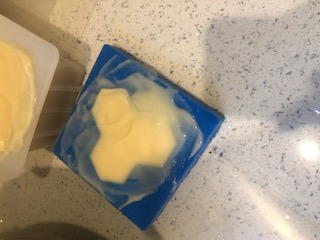
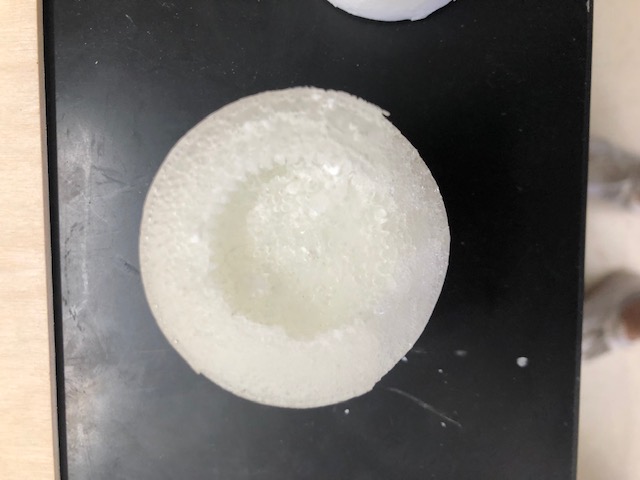
This is what my final mold looked like! There were a few small air bubbles.
Soap Making
The final step for my individual project was to pour my soap.
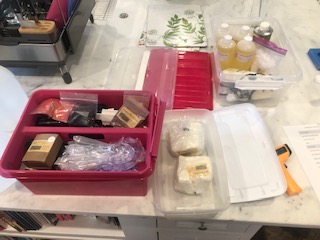
This is the recipe I followed.

Here are some of my materials.
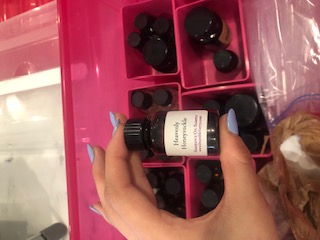
I also scented my soap with this honey suckle fragrance.
Once I had gathered all my materials, I had to measure them out on a scale and melt them down together.
I kept the lye and water in a seperate bowl. CAUTION: Lye is extremly corrosive and should not make direct contact with your skin. Here is a safety datasheet for lye.
Then, I had to wait for the lye and my other mixture to reach a similar temperature.
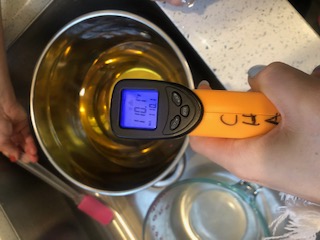
Then, I mixed them together and added my scent.

Finally, I poured them into my mold and let it set for 48 hours.
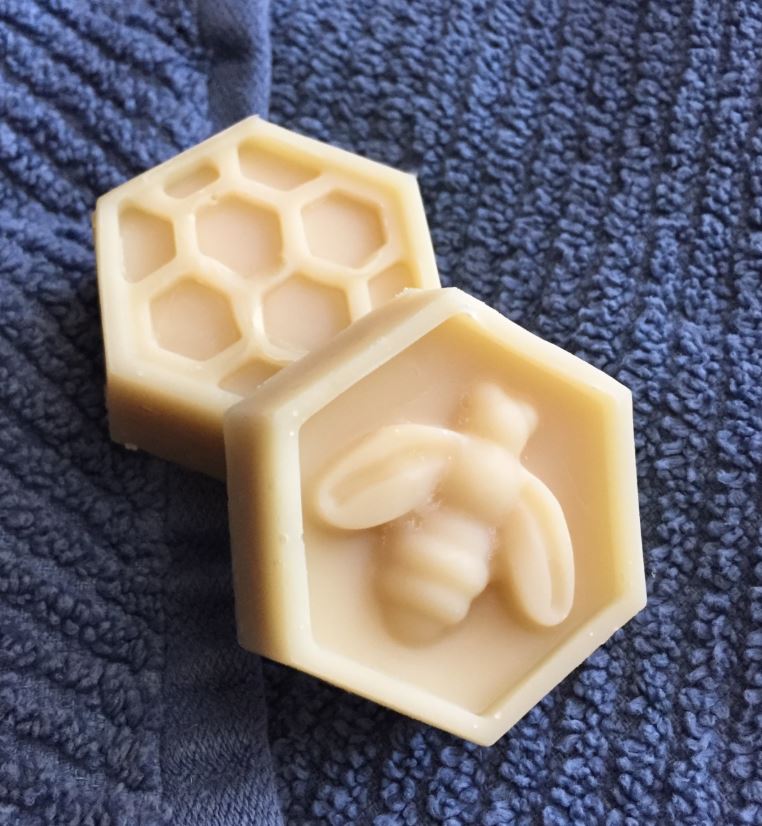
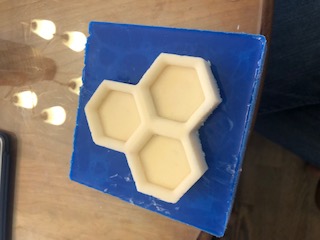
This is my final soap!
Group Assignment: Review the safety data sheets for each of your molding and casting materials, then make and compare test casts with each of them
All of our molding materials are from Smooth-On.
Here are the relevant overviews and datasheets for the materials in our lab. After reading the documents, I was able to understand the applicable safety precautions and setting/curing times for our molding materials. I also found the correct rations for mixing the two parts. (All of our materials had a ratio of 1:1.)
In additon to reading the Smooth-On written material, I watched these video tutorials by Smooth-On.
Smooth Cast 300:
MoldStar 30:
Econ 80:
When casting these materials, we also used Ease Release 200 to ‘grease’ the test molds.
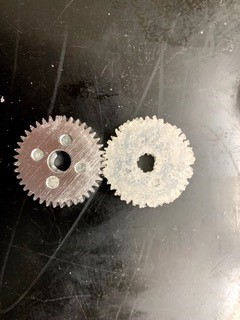
Here are our tests.
Smooth Cast 300:
MoldStar 30:
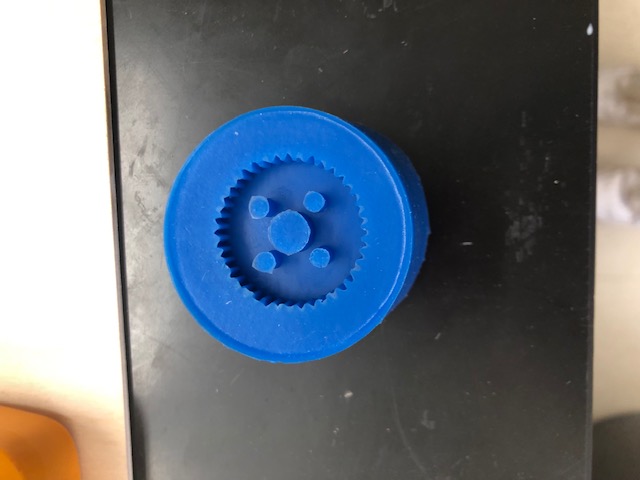
Econ 80:
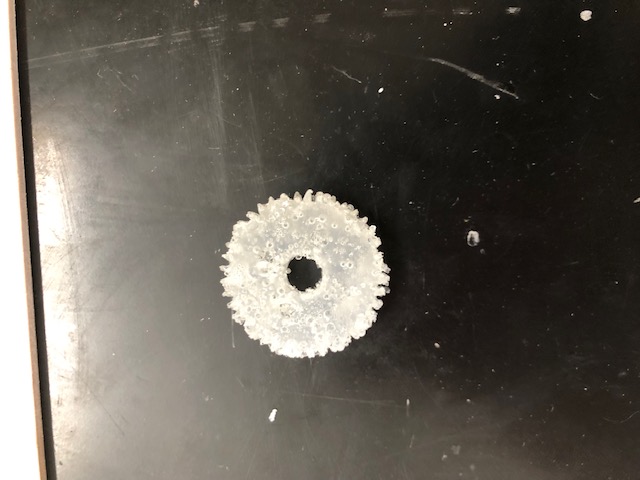
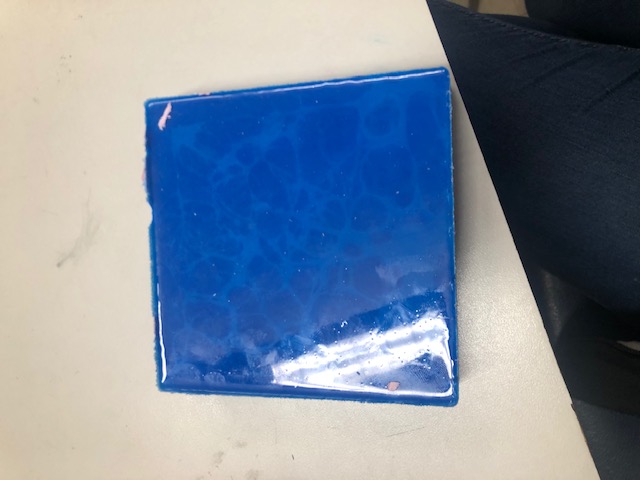
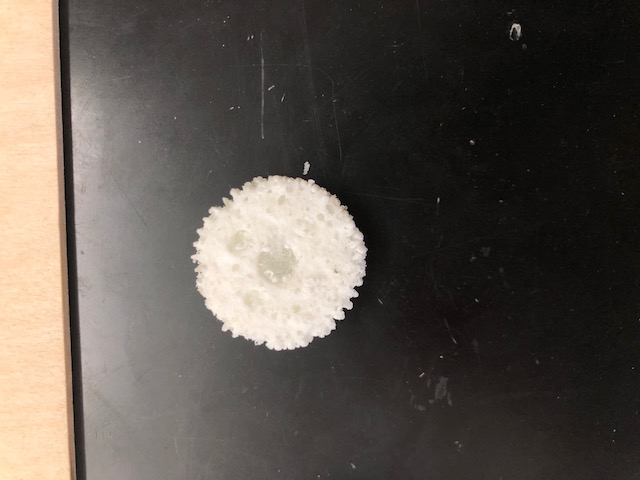
In all of our tests, we were not able to duplicate the precisions of the origional model
Here you can see the small imperfections in our cast (mainly bubbles) that culminated as a bad reproduction.
Files
Here are all my files from this week: Download Files