3. Computer Aided design
This week, I continued making my 2D and 3D model of my potential final project. I worked with Inkscape, Corel Draw, Fusion 360, and FreeCad.
Planning
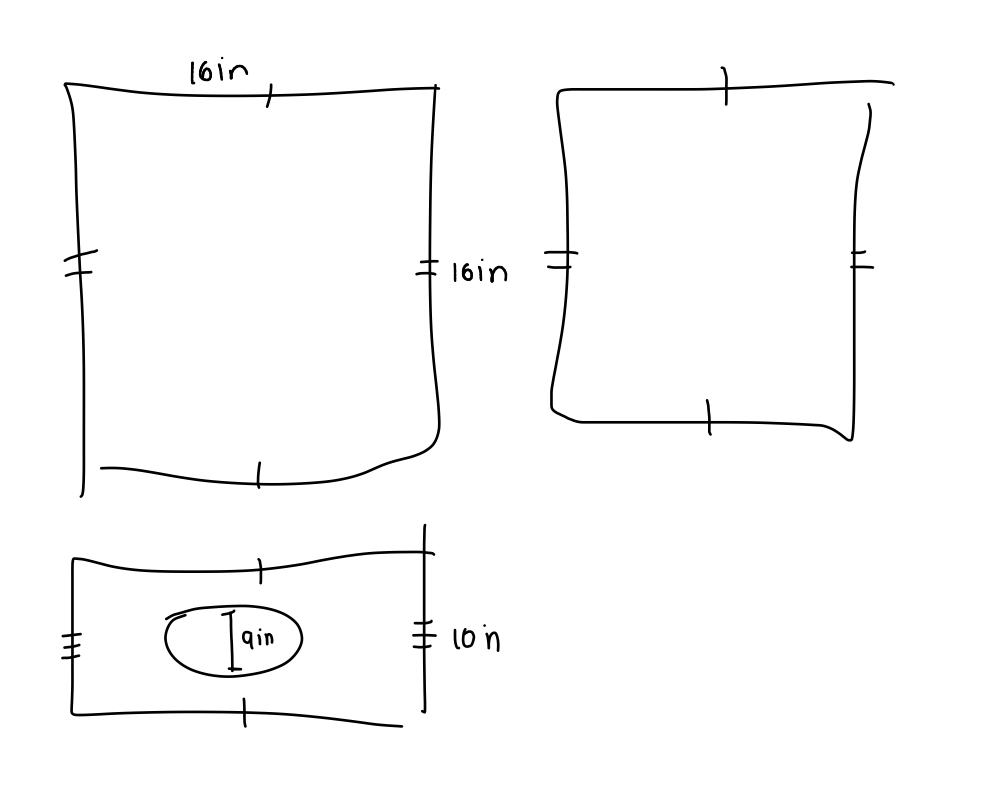
Before I created my digital models, I developed a rough sketch of the dimensions that I wanted for my components: a “breastplate” and “lung air pump”. Here are my sketches with the corralating dimensions:
Brestplate: (I took measurments from myself to get a generally human scaled model.)
(Measuring:)
Lung Air Pump:
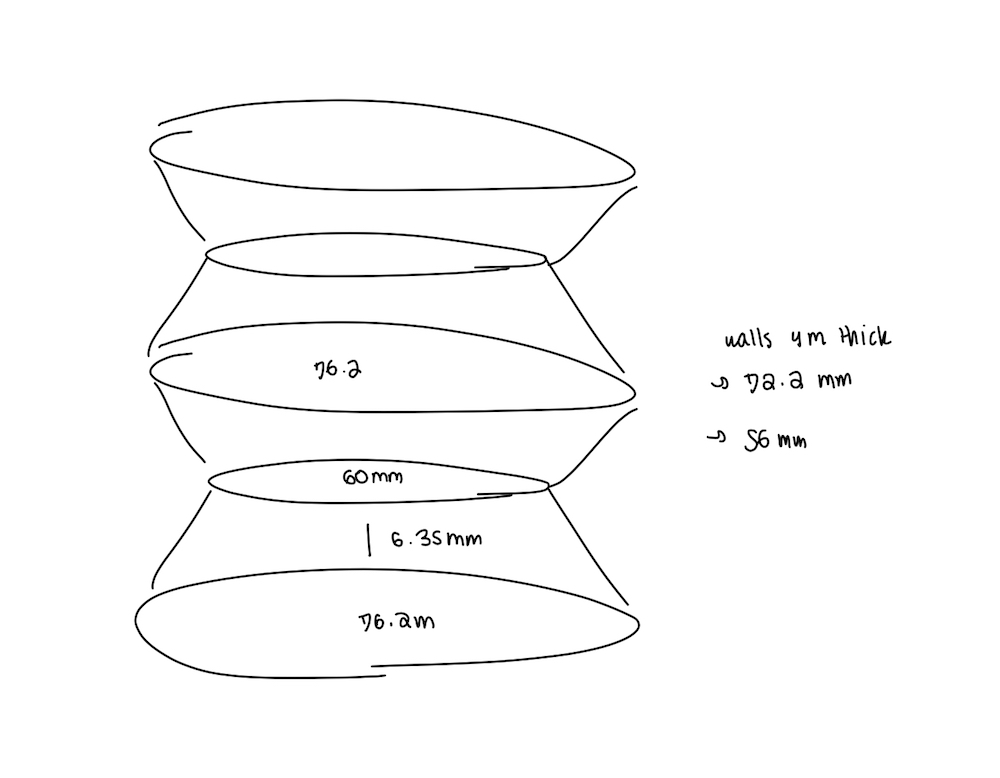
Here is my digitally rendered schematic (of the pump) which is easier to comprehend:

Constraints vs Dimensions
While developing my computer aided design, my instructors taught me about the difference between constraints and dimensions. I found this to be applicable when creating Parametric designs. I referenced this website to learn about constraints.
Constraints related things geometrically. By using constraints, you can update your design without having to redo the entire thing. The types of constraints are Coincident, Collinear, Concentric, Midpoint, Fix/UnFix, Parallel, Perpendicular, Horizontal/Vertical, Tangent, Curvature, Equal, and Symmetry.
Dimesions are actually a type of constraint, too. They should be added last.
2D
Inkscape
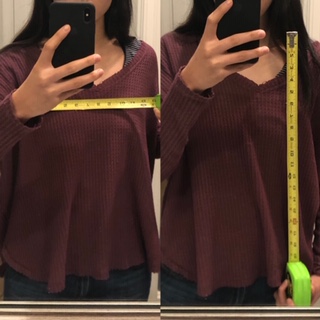
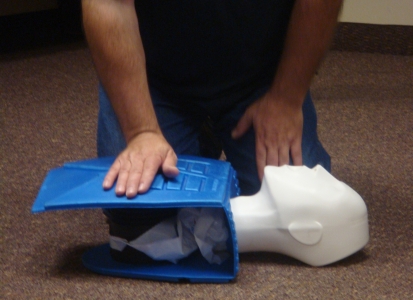
For my 2D model, I used Inkscape. Inkscape is a design software that I used in my freshman engineering class. I made a “breastplate” for my cpr dummy, inspired by this photo from the city of Richland’s CPR training website
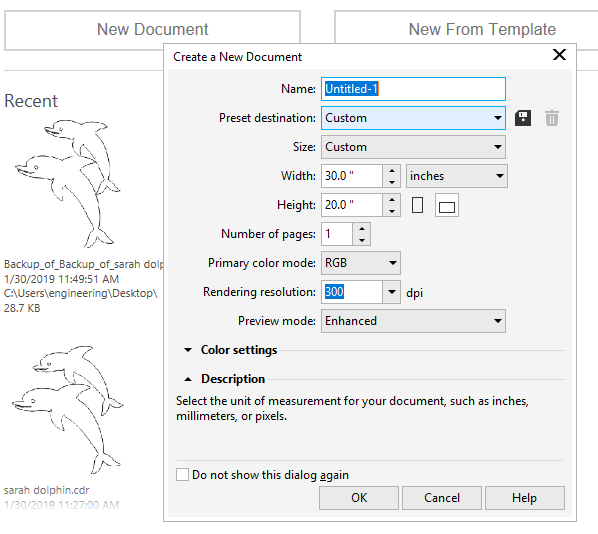
I started by setting the document properties to 30 inches by 20 inches.

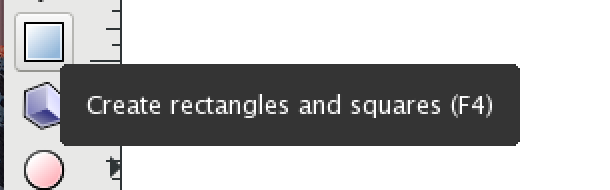
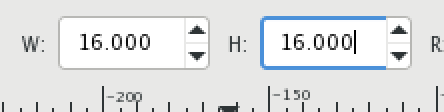
Then, I selected the rectangle creator tool and created a 16 inch by 16 inch square to match my sketch.
After, I created another rectangle to the side with the dimensions of 16 inch by 10 inch. I made this object a path so I could cut another shape out of it.
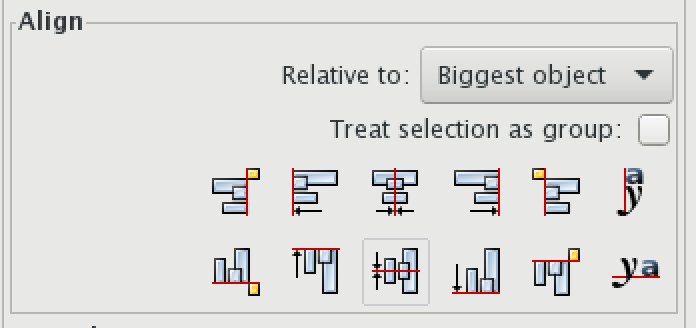
Finally, I created an oval which I centered using the align and distribute tool. (I also made this object a path). After getting the oval where I wanted it to be, I cut it out of the rectangle to make my head hole.

If I were to use this design for a project in real life, I would need to cut the larger rectangle out twice. (I would also have to change the line thickness to hairline.)
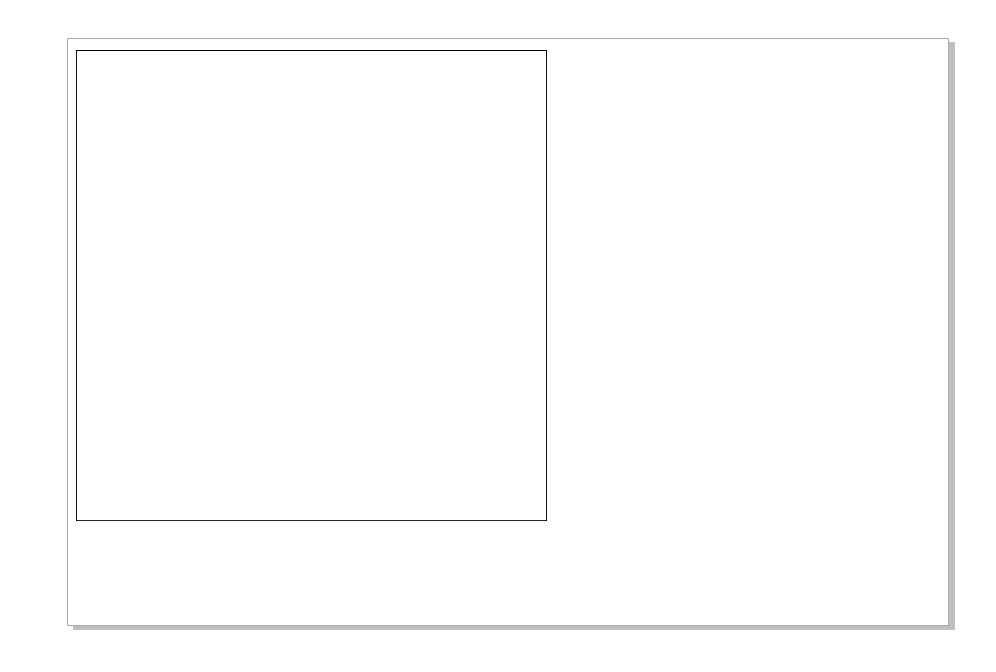
Here is my Inkscape file:

Corel Draw
I decided to replicate my breastplate in Corel Draw which is a softaware similar to Inkscape but more transferrable directly to the laser cutter.
I again started by setting up my document dimensions to 30 inch by 20 inch. (All the dimensions for Corel Draw will be the same as for Inkscape!)
Then, I recreated the rectangles from Inkscape with a similar rectangle creator tool.
This time, I did not have to change any objects to paths.

I created the oval the same way as before, but I enlarged it. After, I aligned and distributed the oval and smaller rectangles.
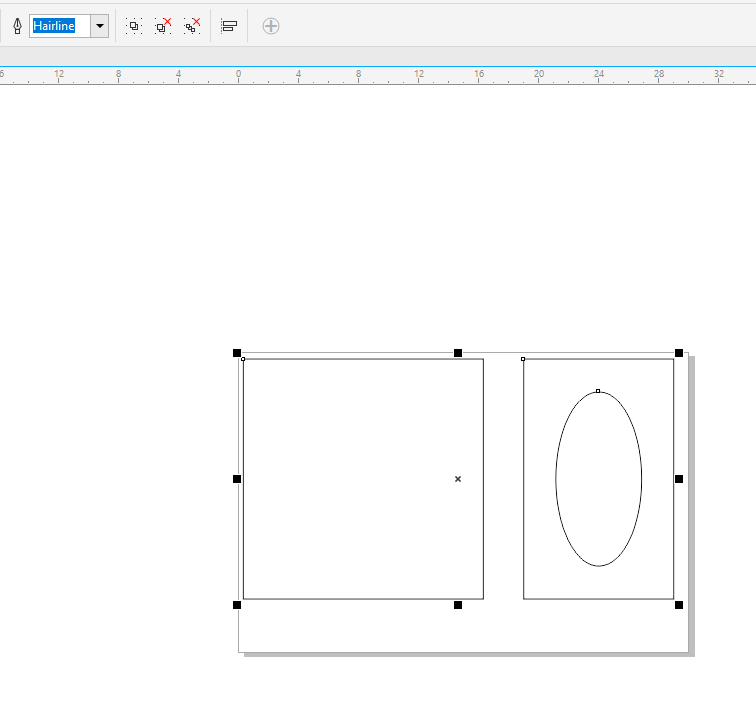
For this software, I changed the line thichness to hairline, so I would be ready to lasercut!
Here is my Corel Draw file:

2.5D and 3D
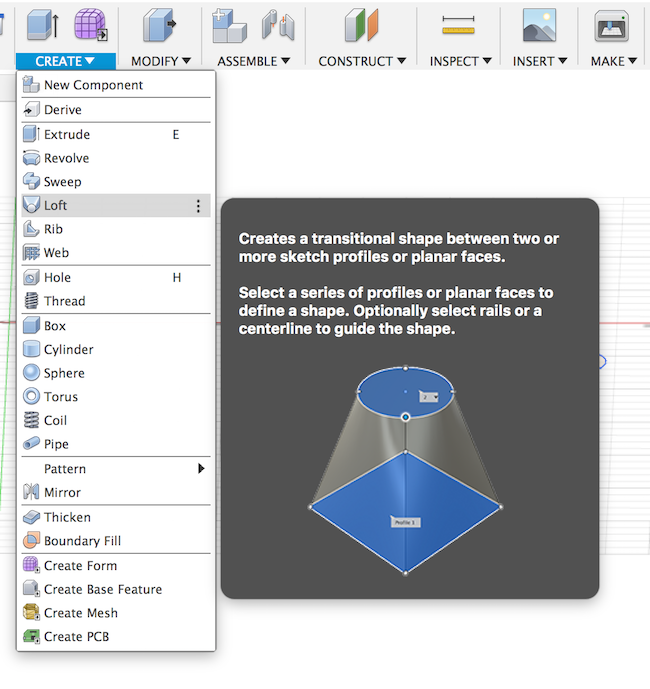
Fusion 360
For my 2.5D/3D models, I designed an “lung air pump”, again, based off of this walmart model.

When making my model, I was able to re-familurize myself with a few Fusion 360 tools.
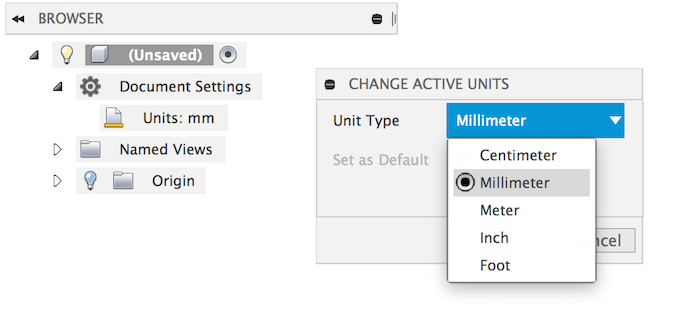
Before building my model, I set up my Fusion with the correct document settings. This involved changing the units to mm (in case I wanted to 3D print my model) and saving the file as a project.
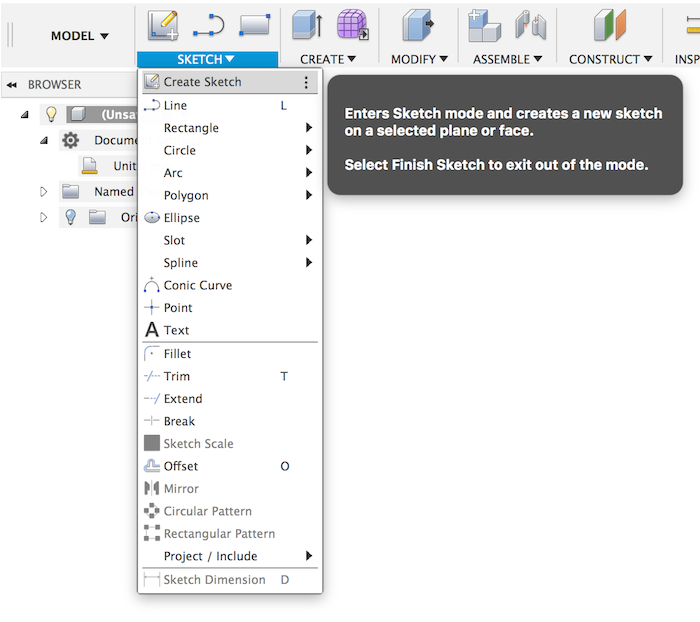
After I had set up the document settings, I created a sketch. I decided to make my model from the bottom up, so I created my sketch on the XZ plane.

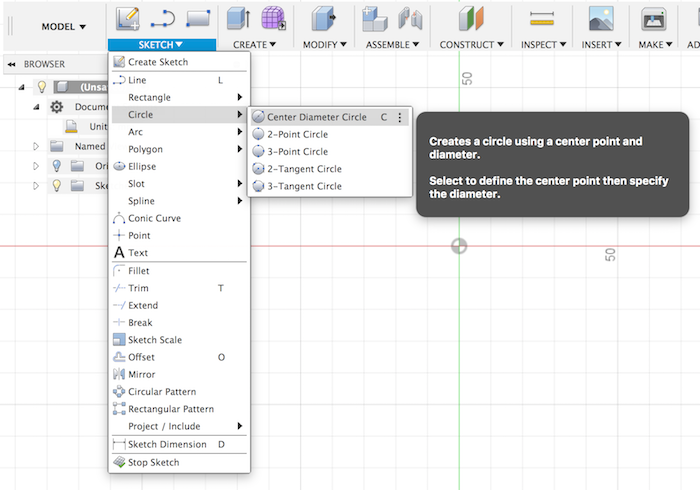
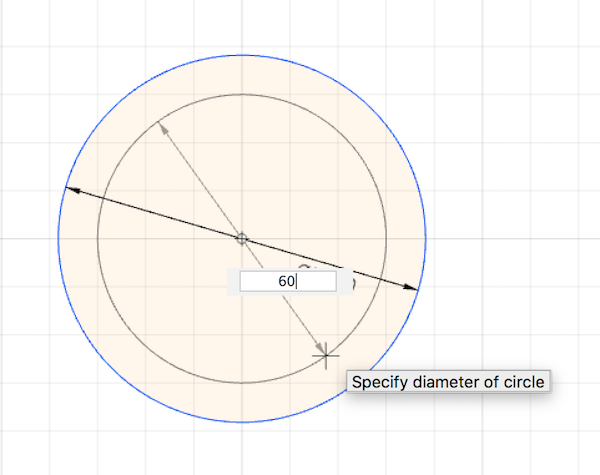
The shapes I drew were center diameter circles.
I moved my circles around so one was floating above the other.
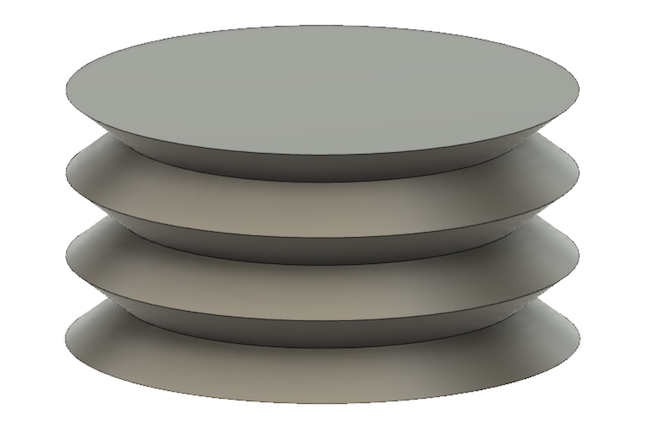
Then, I lofted my two circles by selecting both of them.
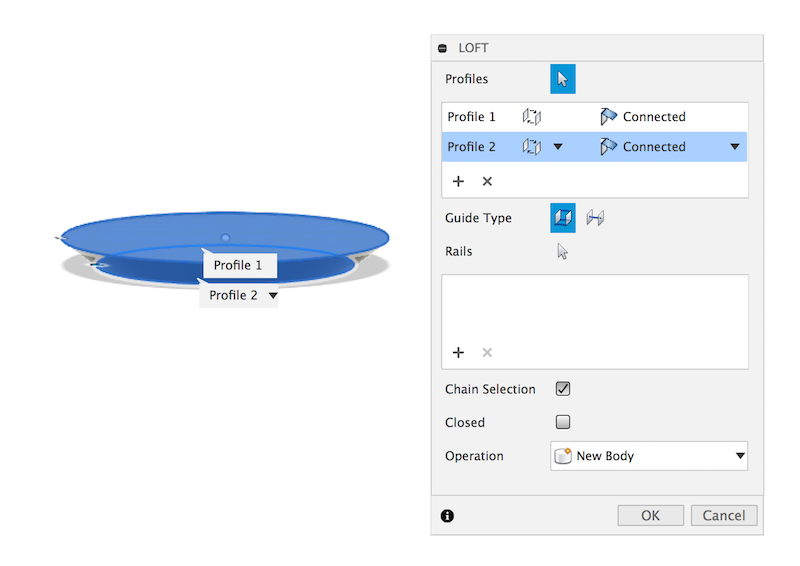
This is a photo of first two layers:
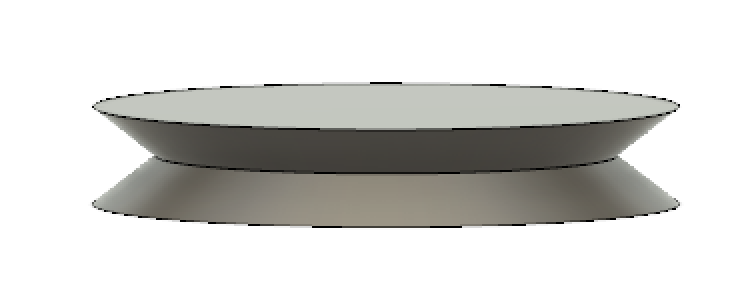
Once I repeated this layering process a few times, my pump looked like this:
To make the pump hallow, I created a smaller version of the pump inside of the origional pump. To do this, I created lofts that cut material.
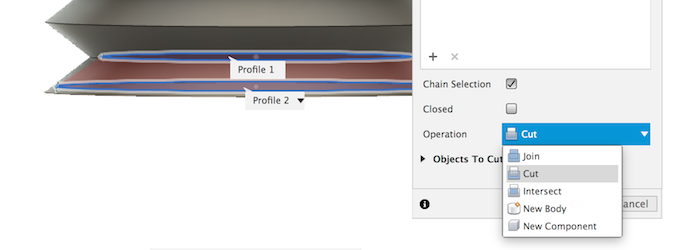
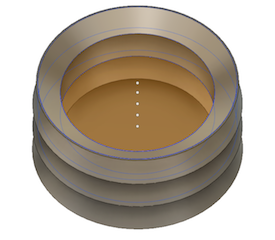
After I hallowed out the pump, it looked like this. To see this perspective, I created a temporary hole in the pump.
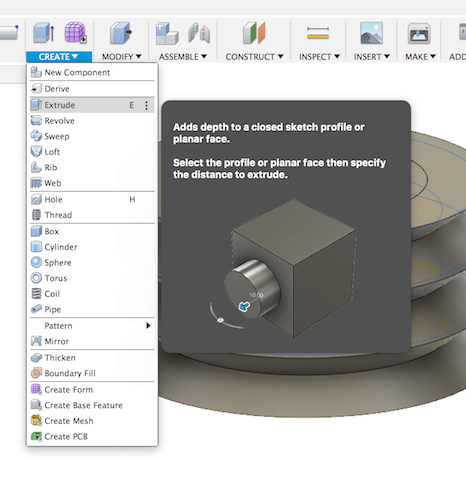
After briefly talking to my instructor, Dr. Fagan, I figured out that a 2.5D model is the layering of a 2D model to create a 3D model. This can be done using extrusion for example.
For my 2.5D model, I extruded a cylinder on my lung air pump for asthetic purposes and to potentially rest/store my circuitry components.
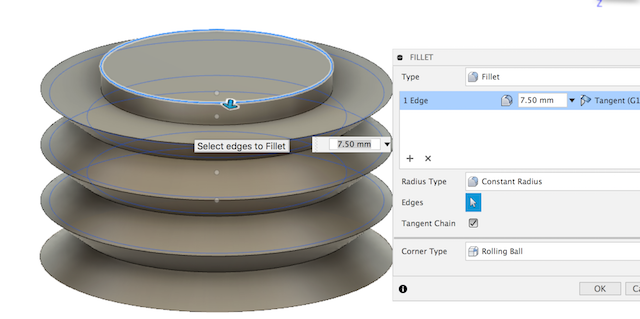
After extruding, I added a fillet to the edges to make it look prettier. This picture shows what the model looked like before filletting.
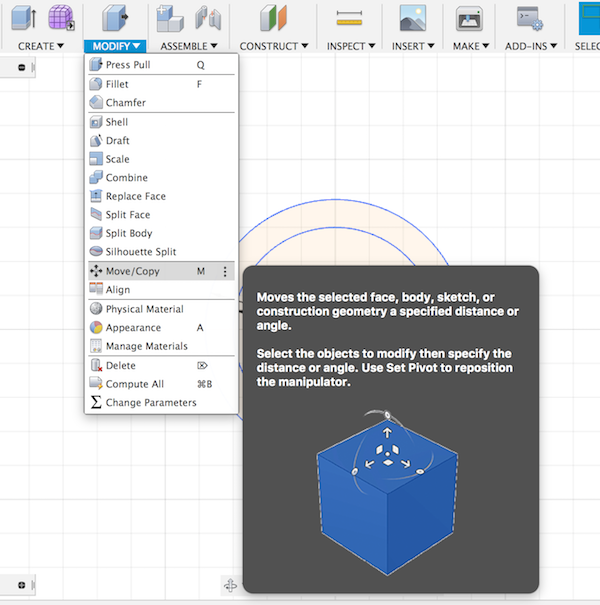
My final addition to my model was the air valves and constraints. Dr. Fagan reccomended that I take my modeling further by devloping these apendagaes.
I watched this video to familurize myself with the constraint features in Fusion 360. I found the concentric and equal constraint to be the most applicable in my case.
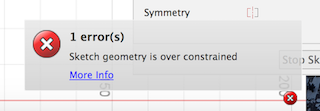
When trying to use the concentric constraint, I received an error message that told me I was over constraining my sketch. I believe this is because my circles were already centered on one point and therefore were already concentric.
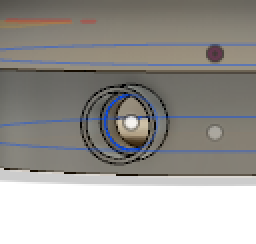
After learning this, I decided to build my valve for the air pump without centering or measuring the circles. Instead, I used the concentric and equal constrains to manipluate my sketches.
This is my valve addition made with constraints:
Here is my final Fusion360 model: