Huber Girón Nieto
Electronic and Mechatronic Engineer
Contact
e-mail: huber.giron.nieto@iberopuebla.mx
phone: +52 (222) 372 3000 ext.12917
FABLAB Puebla Researcher
WEEK ASSIGNMENT:
Embedded Programming
Read a micro-controller data sheet, program your board to do something, with as many different programming languages and programming environments as possible
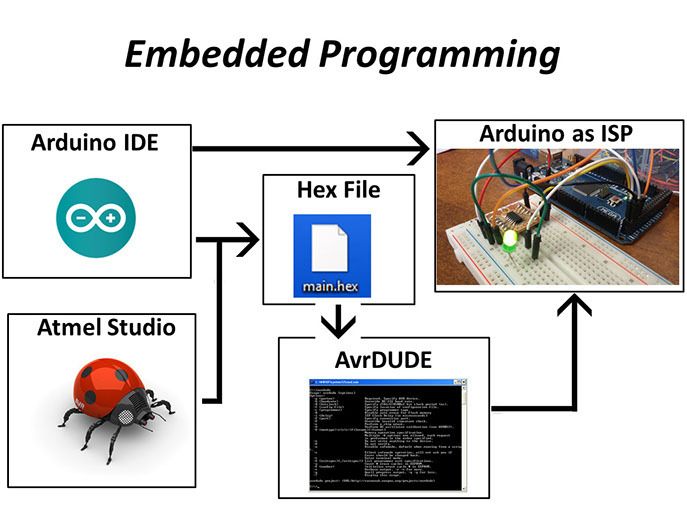
For this week activity ,we investigate how to program an AVR micro-controller using Arduino-IDE and Atmel Studio.
For Programming first we need a programming environment, like Arduino IDE or Atmel Studio. With the IDE of Arduino we can program the Attiny44a using directly another Arduino Board configured as ISP Programmer. The arduino IDE and the Atmel Studio generate a Hex file and the AvrDude can use this Hex file to program the micro-controller using another Arduino Board configured as ISP Programmer.
Using Arduino IDE
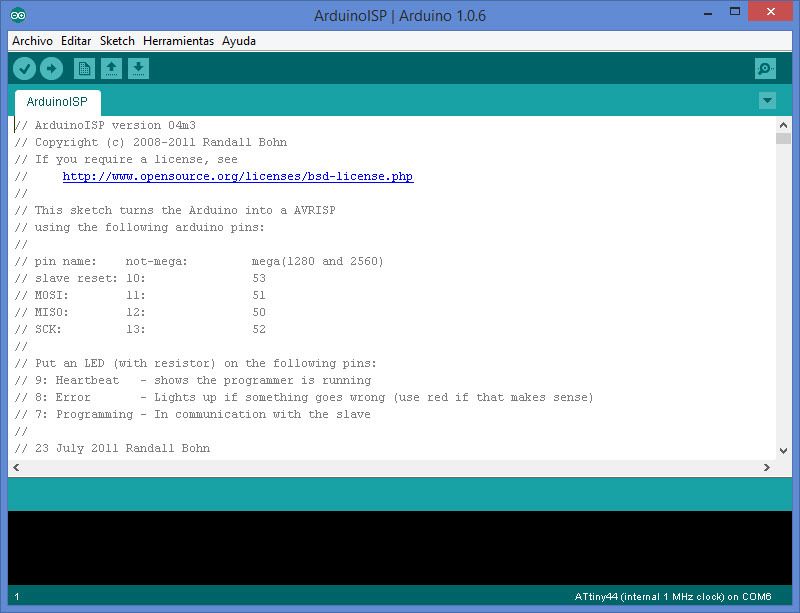
First you need to program the Arduino Board as a Arduino ISP, and configure the programming default pins.
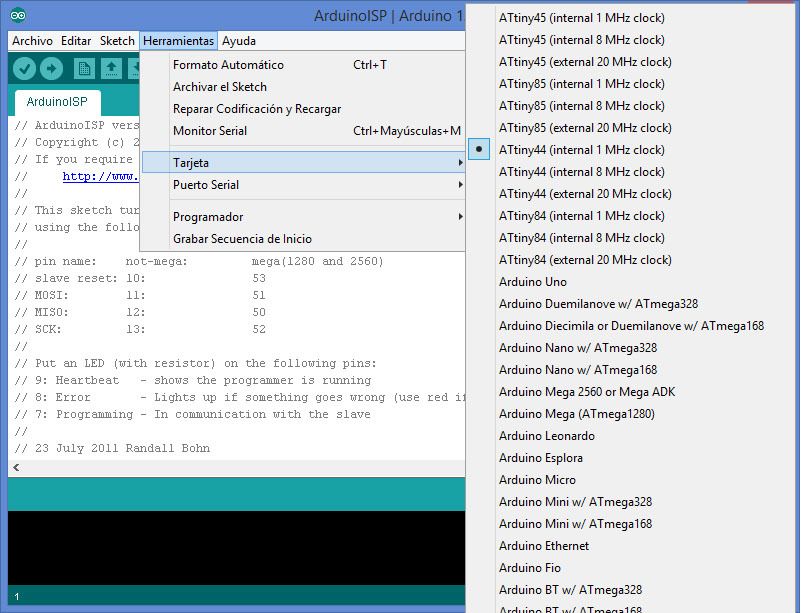
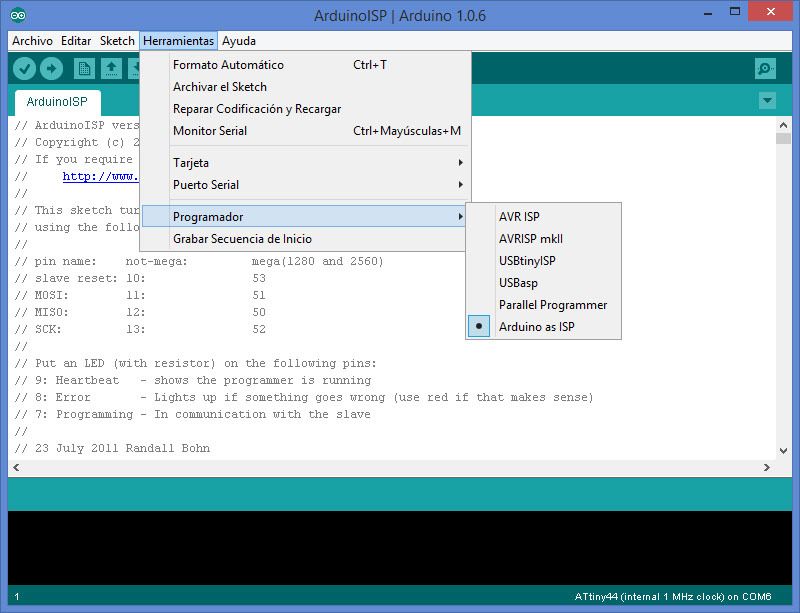
To program an Attiny44a you need to integrate the Attiny library in the Arduino IDE environment and use the Arduino ISP programmer configuration.
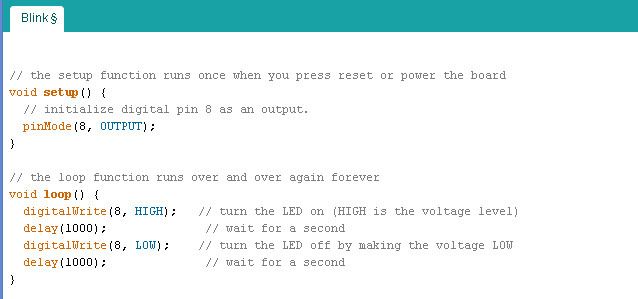
To program you only need to compile your wiring code and download to the attiny Micro-controller.
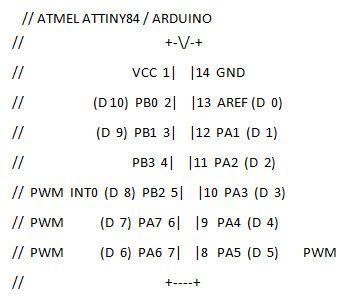
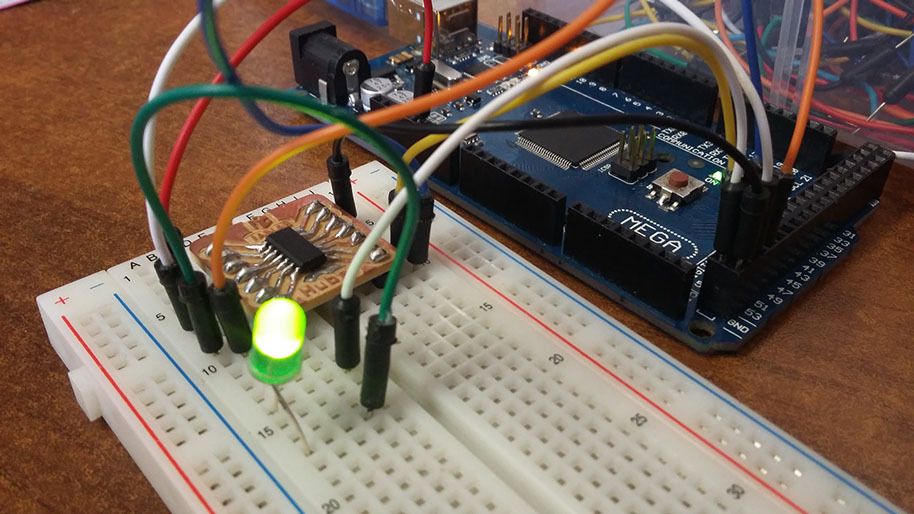
Its important to configure and select correctly the data pins, because the attiny library rename the Attiny44a pins, I connected a LED to PB2 port.
Obtain Arduino IDE HEX file
To obtain the Code Hex file you need to get the temporal root that the IDE uses to generate that file:
Obtain HEX file using Atmel Studio
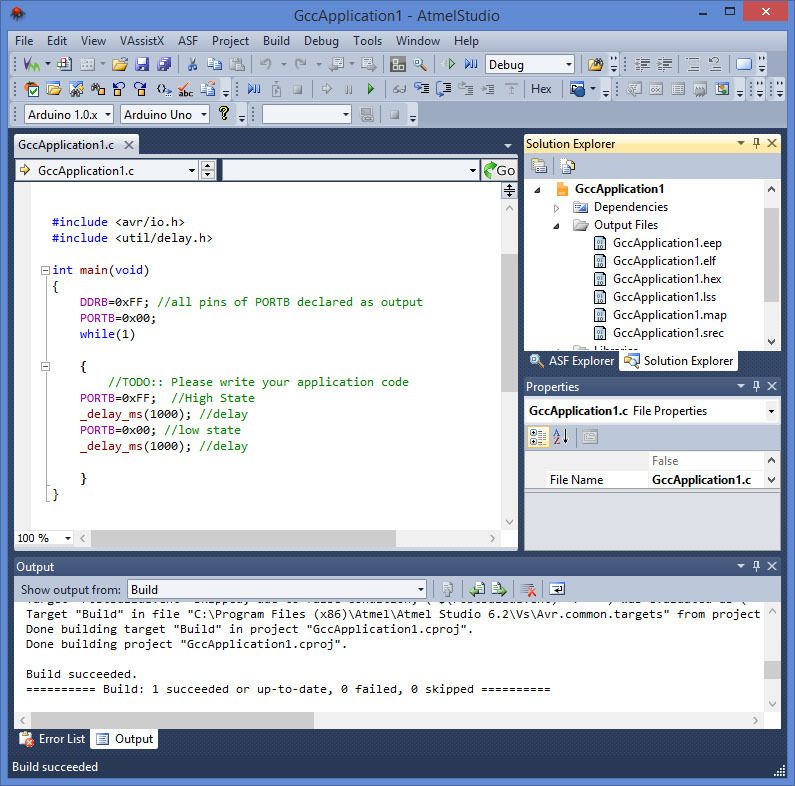
Also you can use the Atmel Studio to obtain the HEX File. In Atmel Studio we program in C language and use the ports name that are indicated in the datasheet:
Using AvrDUDE with a Hex File
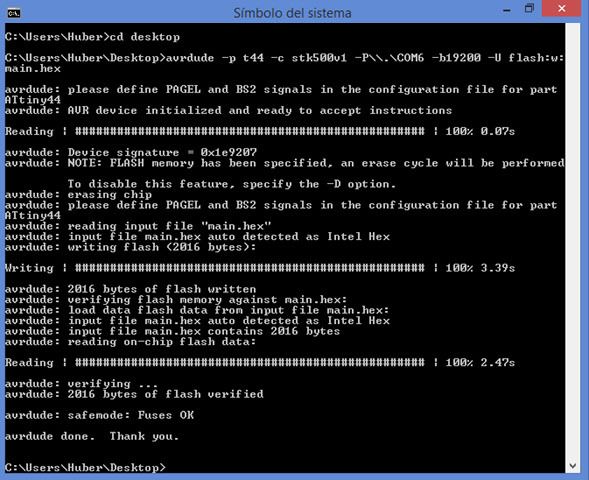
To use the Arduino Board and the Avrdude to download the HEX file into the Attiny micro-controller we need to configure the Windows terminal with the COM port, a baud rate with 19200 and a stk500V1 programmer type:
Tests
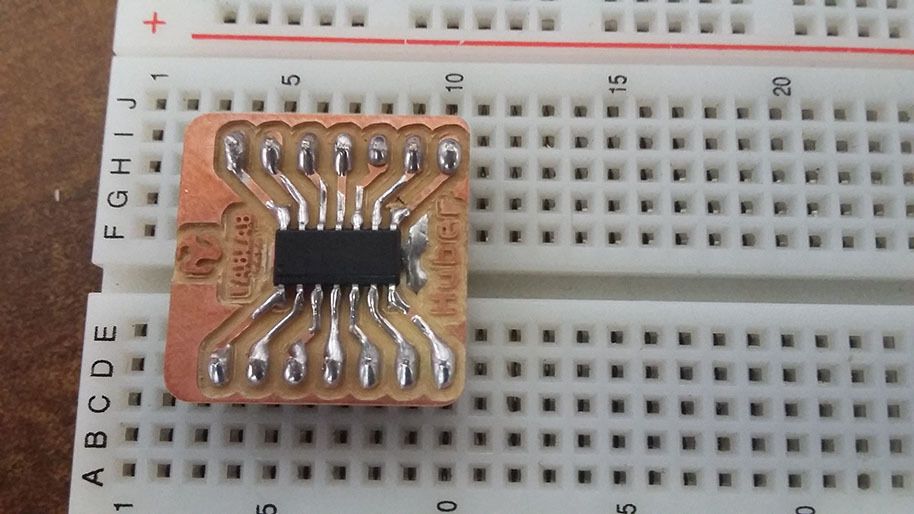
First we use only an Attiny44a with a LED using the Blinky example and configure a 1MHz internal oscillator:
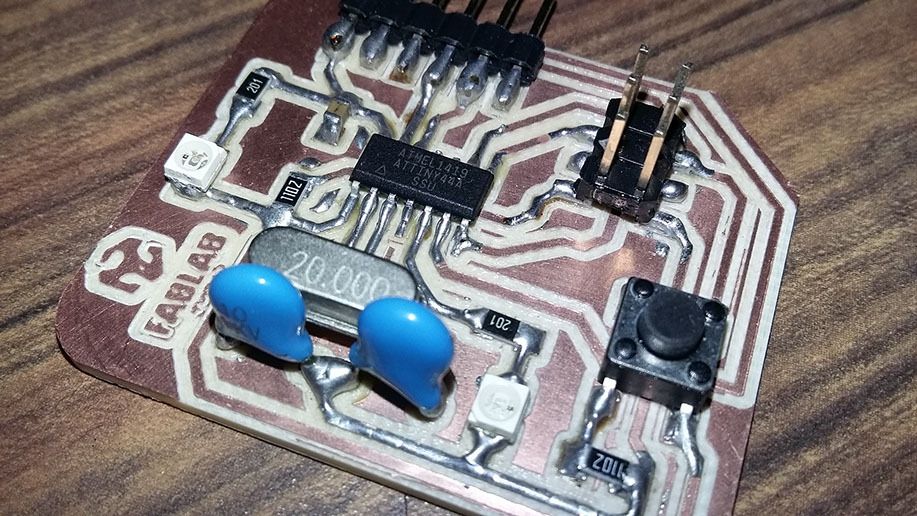
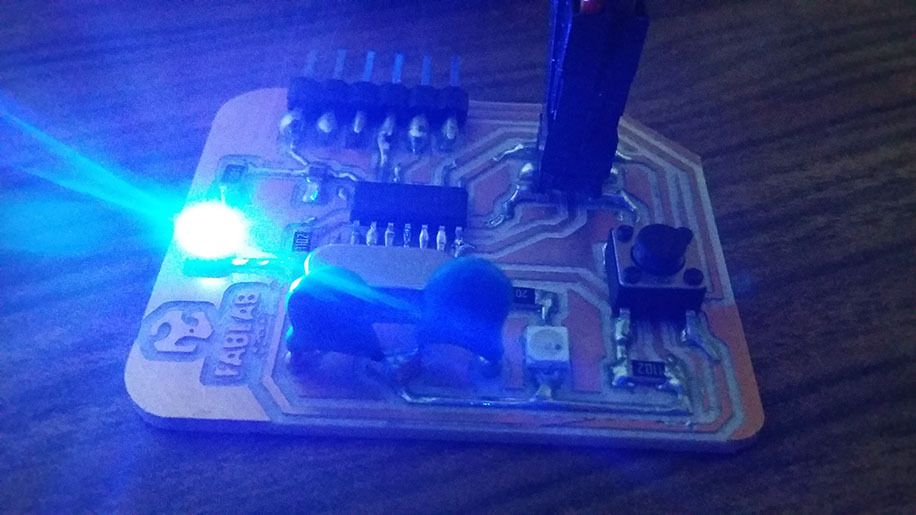
Finally we use the Attiny44a board made in the last assignment, with a LED using the Blinky example and configure a 20MHz external oscillator:
I used a LED in port PB2 and a Button in port PA7.


