


Huber Girón Nieto
Electronic and Mechatronic Engineer
Contact
e-mail: huber.giron.nieto@iberopuebla.mx
phone: +52 (222) 372 3000 ext.12917
FABLAB Puebla Researcher
WEEK ASSIGNMENT:
Input devices
Measure something: add a sensor to a micro-controller board that you've designed and read it
For this week activity we need to add a sensor to a micro-controller board and read the information using a serial port.
We use the Grove Starter kit sensors from "seed company": a button, touch sensor, temperature, potentiometer and light.

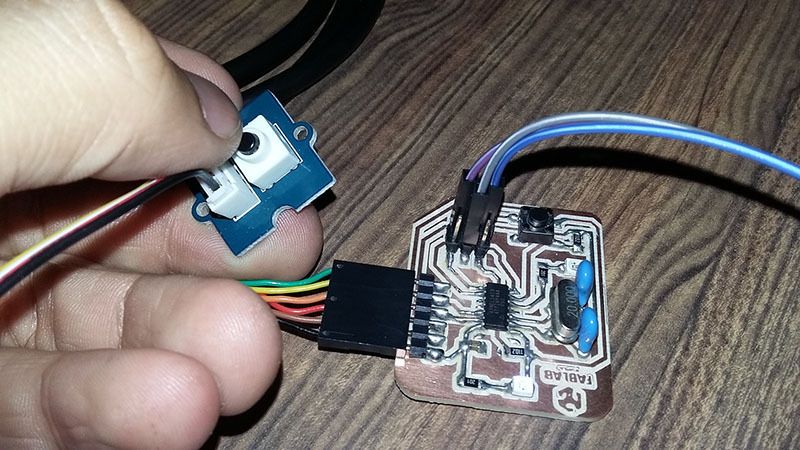
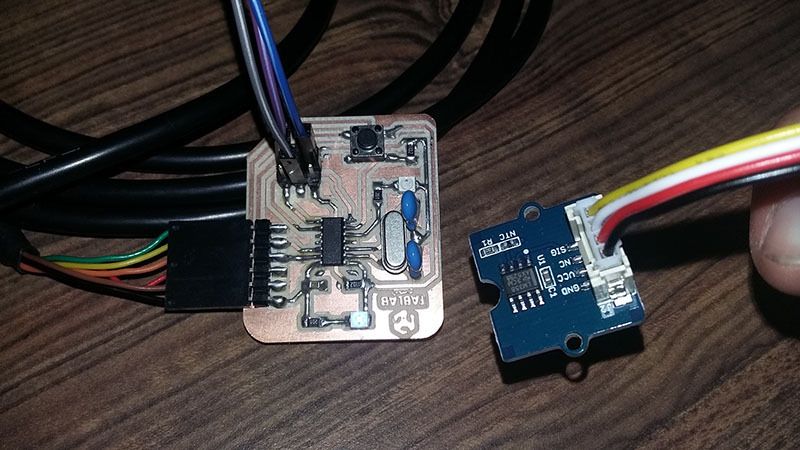
Device connections
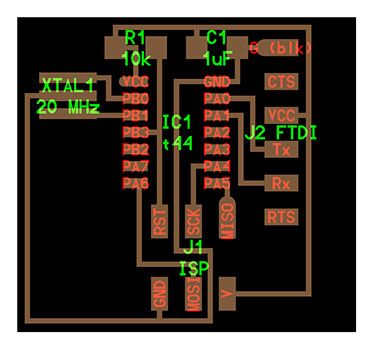
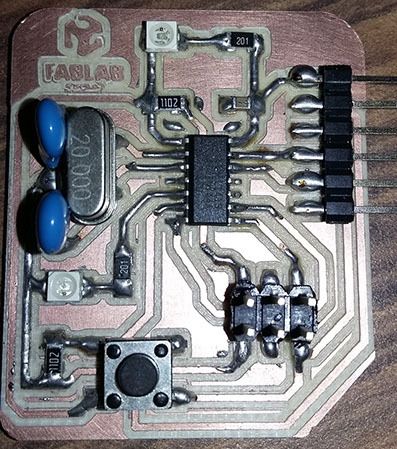
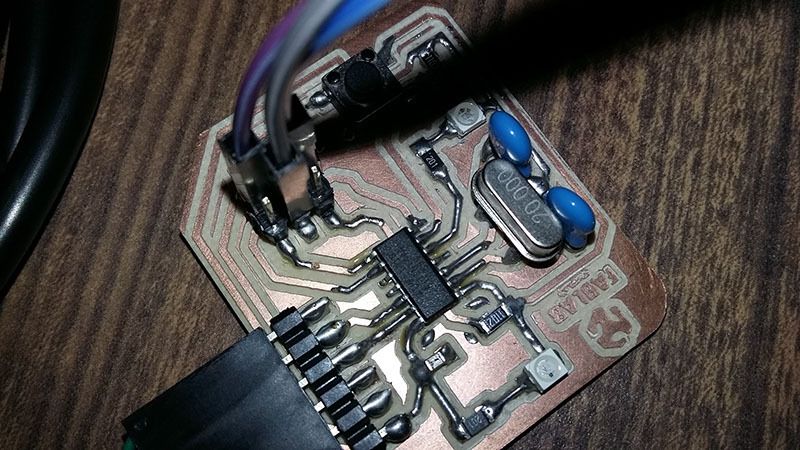
We use the attiny44A micro-controller Board made in activity six, based in Fab Academy Hello-World board.
For this week assignment I use:
- A hello Board designed
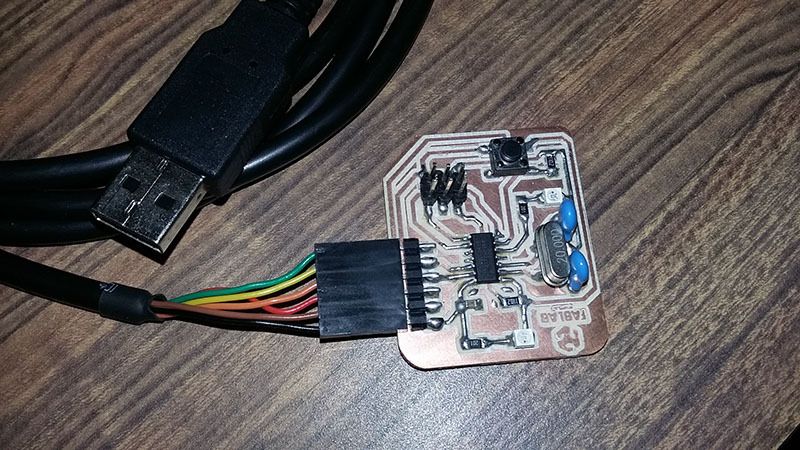
- FTDI Cable for Serial Communication
- Button Board
- Touch Sensor Board
-Potentiometer sensor Board
- Temperature sensor Board
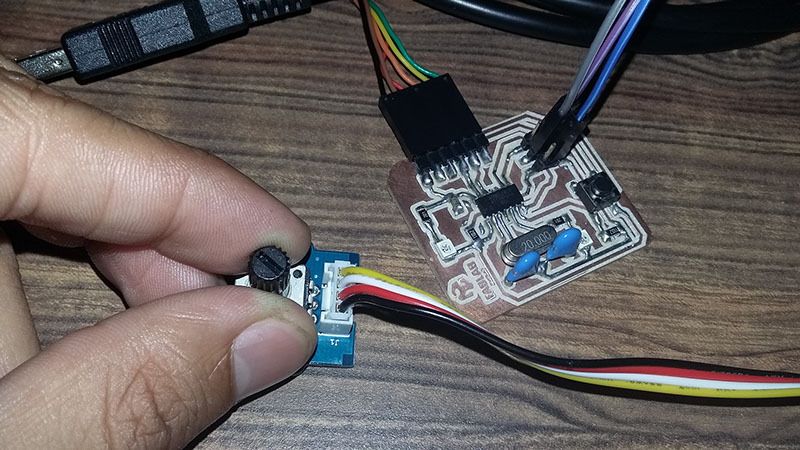
First we need to connect an FTDI to USB interface, because we need to print sensor data in the computer.
To connect sensors and the Attiny44A board, we use the ISP port in the port using Voltage, Ground and SCK (PA4, pin 9) as digital and Analog Input.
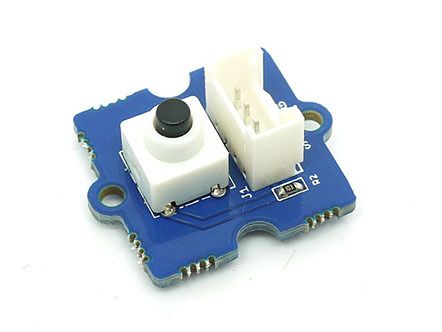
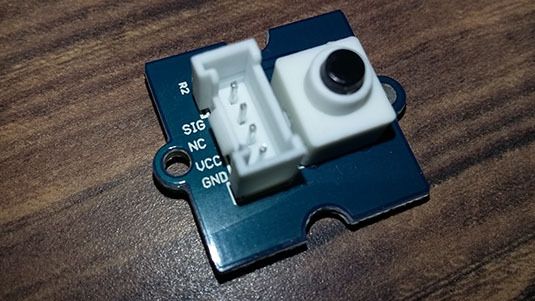
Digital Sensor: Button
This is a momentary button and it’s the most common input modules.
Code:
#include <SoftwareSerial.h>
SoftwareSerial mySerial(0, 1); // RX, TX
//Variables
int LED=8;
int BOTON=7;
int SENSOR=4;
// the setup function runs once when you press reset or power the board
void setup() {
// initialize digital pin 13 as an output.
pinMode(LED, OUTPUT);
pinMode(BOTON,INPUT);
pinMode(SENSOR,INPUT);
mySerial.begin(9600);
}
// the loop function runs over and over again forever
void loop() {
mySerial.print("Boton: ");
mySerial.println(digitalRead(SENSOR));
delay(1000);
}

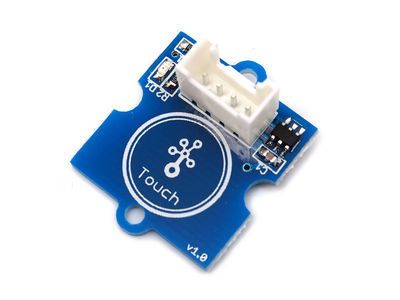
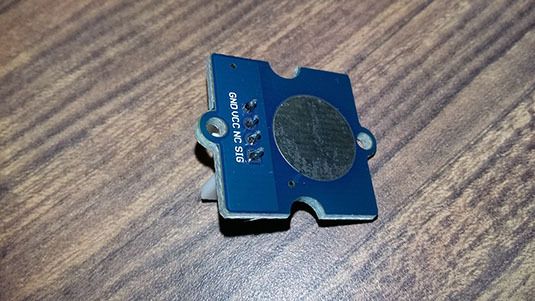
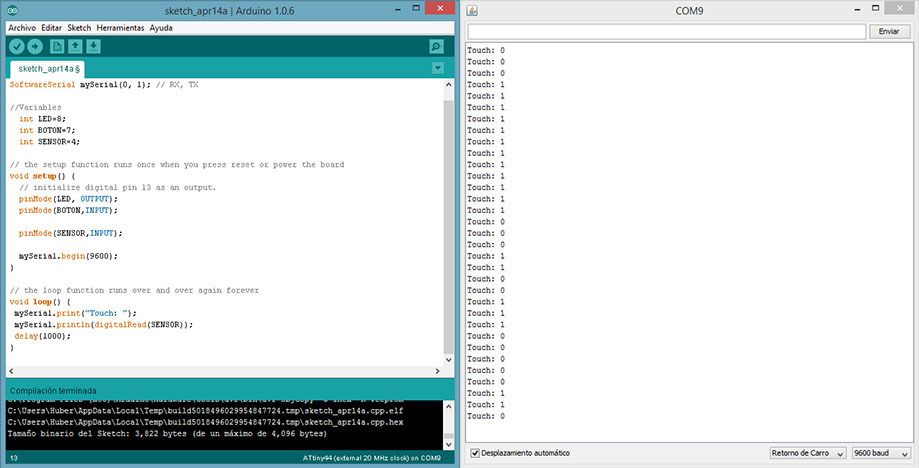
Digital Sensor: Touch
This “button” can sense the touch of your finger.
Code:
#include <SoftwareSerial.h>
SoftwareSerial mySerial(0, 1); // RX, TX
//Variables
int LED=8;
int BOTON=7;
int SENSOR=4;
// the setup function runs once when you press reset or power the board
void setup() {
// initialize digital pin 13 as an output.
pinMode(LED, OUTPUT);
pinMode(BOTON,INPUT);
pinMode(SENSOR,INPUT);
mySerial.begin(9600);
}
// the loop function runs over and over again forever
void loop() {
mySerial.print("Touch: ");
mySerial.println(digitalRead(SENSOR));
delay(1000);
}

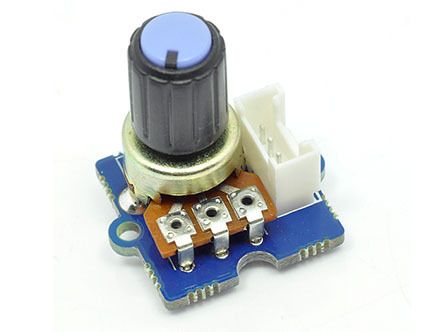
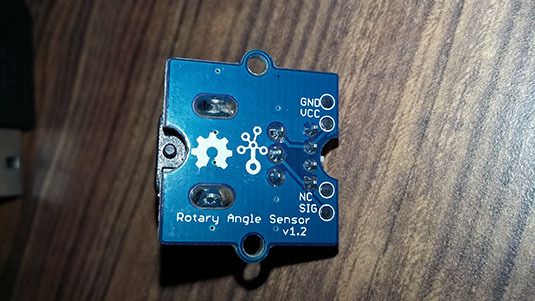
Analog Sensor: Potentiometer
Grove-Rotary Angle Sensor is a 10kOhm This is a 10k Ohm linear rotary potentiometer with a turning radius range of 300 degrees. A rotary potentiometer looks very similar to a rotary encoder, but they are not the same. A rotary potentiometer is essentially a slide potentiometer. It reflects the position in an analog way just like a slide potentiometer does; however, the rotary encoder counts the turns so you can tell how much and in which direction the encoder has been turned
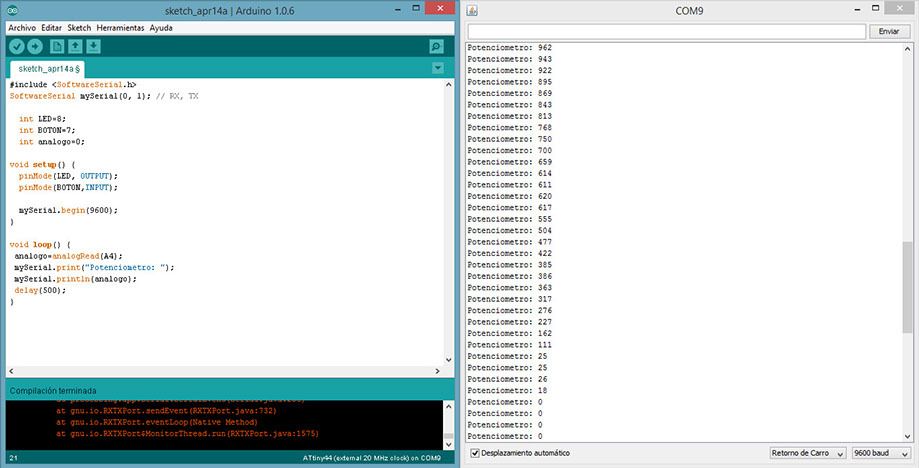
Code:
#include <SoftwareSerial.h>
SoftwareSerial mySerial(0, 1); // RX, TX
int LED=8;
int BOTON=7;
int analogo=0;
void setup() {
pinMode(LED, OUTPUT);
pinMode(BOTON,INPUT);
mySerial.begin(9600);
}
void loop() {
analogo=analogRead(A4);
mySerial.print("Potenciometro: ");
mySerial.println(analogo);
delay(500);
}
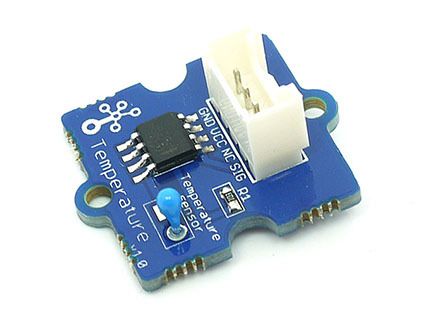
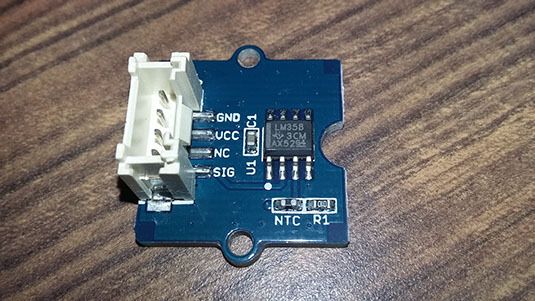
Analog Sensor: Temperature
The Grove - Temperature Sensor uses a Thermistor to detect the ambient temperature. The resistance of a thermistor will increase when the ambient temperature decreases. It's this characteristic that we use to calculate the ambient temperature. The detectable range of this sensor is -40 - 125ºC, and the accuracy is ±1.5ºC
resistance=(float)(1023-(Analog Value)*10000/Analog Value; //get the resistance of the sensor;
temperature=1/(log(resistance/10000)/B+1/298.15)-273.15;//convert to temperature via datasheet ;
Code:
#include <SoftwareSerial.h>
SoftwareSerial mySerial(0, 1); // RX, TX
int LED=8;
int BOTON=7;
int analogo=0;
void setup() {
pinMode(LED, OUTPUT);
pinMode(BOTON,INPUT);
mySerial.begin(9600);
}
void loop() {
analogo=analogRead(A4);
mySerial.print("Analog Value: ");
mySerial.println(analogo);
delay(500);
}
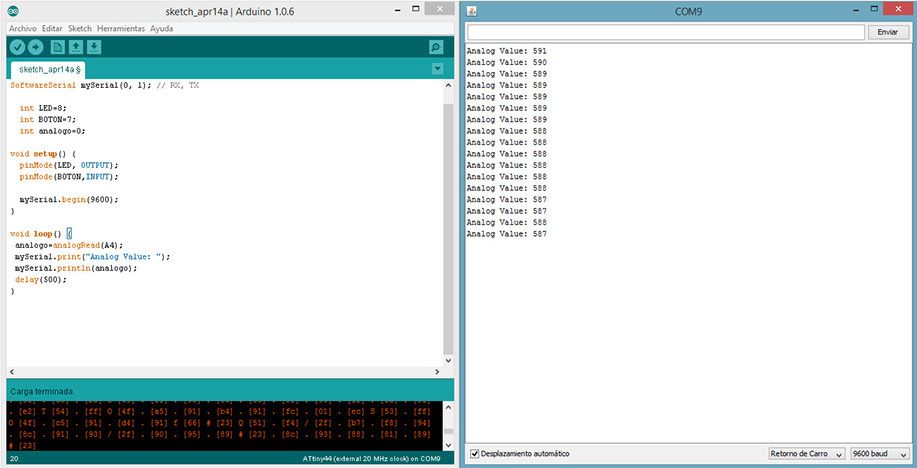
Calculus:
Analog value= 588
resistance=(float)(1023-(Analog Value)*10000/Analog Value; //get the resistance of the sensor;
temperature=1/(log(resistance/10000)/B+1/298.15)-273.15;//convert to temperature via datasheet ;
temperature = 20°
Conclusion
We can use the input devices and sensors to measure the environments variables, one single input device can be used with different applications, for example, the potentiometer can be used as a angle sensor or level sensor using a floating mechanism or just to change the blinking time of a LED.