Make something big
I made a wooden low table, for an illustrator who works with us
as an intern of our fab lab and have just moved to a place close
to the lab. The design requirements is to use for dining and
drawing, to put on Tatami (straw-mat) floor, and to be
easy to carry around (totable).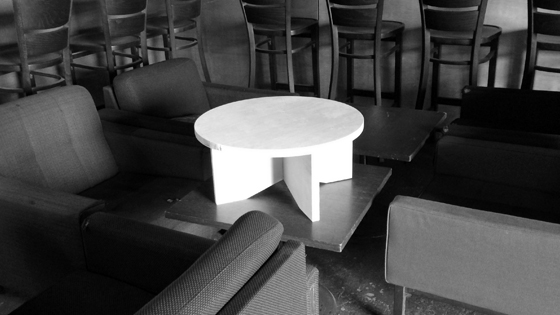
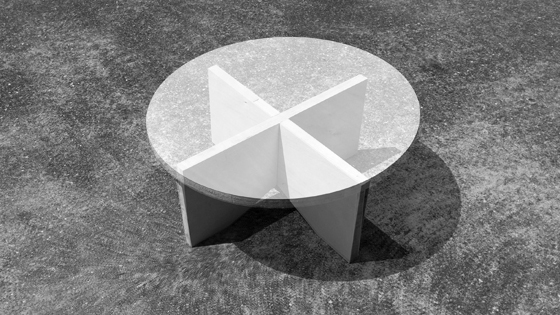
Finished table for now.
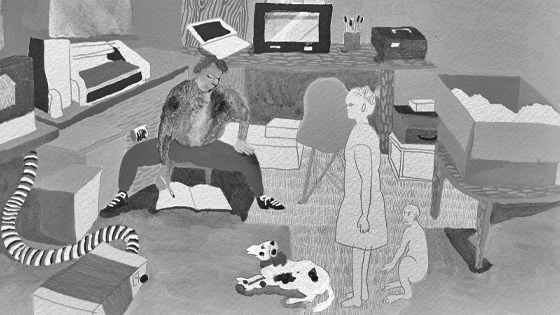
Illustration by our fab lab intern Rie Mochizuki.
Because our fab lab is settled in the shared studio, which has architectural firms and a carpentry workshop, etc., portable work tables and lumber remnants are stored.
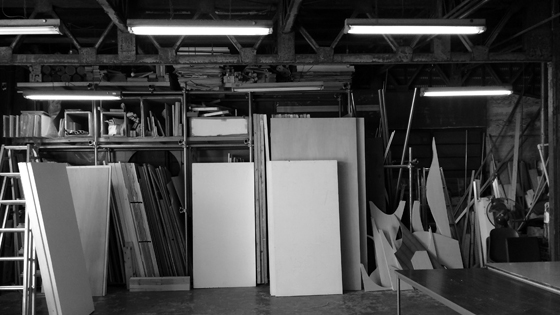
Storage area in our shared studio Coop Kitakagaya.
Therefore, I decided to make a table using the simple structure of the work table as a reference and the lumber remnants (24 mm plywood sheet 600 mm x 1200 mm) as a material.
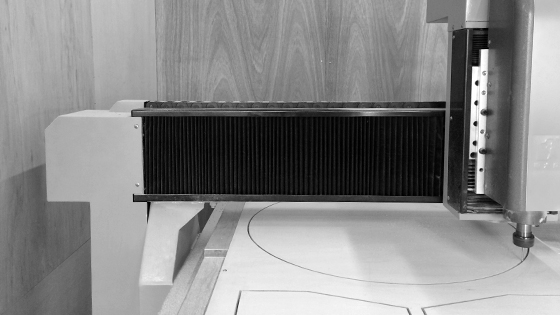
The process of milling wood.
I drew a plan with a vector graphics editor, and exported as a DXF file. Then I set some parameter and made NC tool paths with TypeEdit software. I cut the plywood by using CNC router (Woodpecker, made in China) with 0.125"/3.175mm 2 flutes spiral end mill at the cutting depth of 1 mm at a time. It took me approx. 30 min to finish cutting out each part.
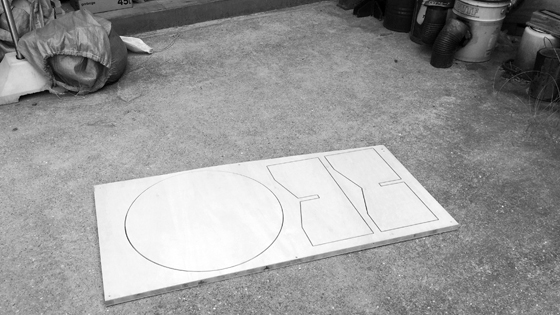
Result of cutout.
These three parts were sanded with abrasive paper (#60) and assembled into the finished table for now. Next, I would like to try to use flexible structure.
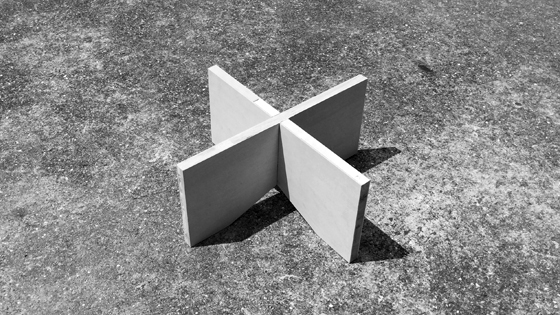
The process of assembling parts.
