3D scan an object
I picked up a branch of bamboo without leaves in bamboo grove
around my workplace. Then I bent and dissected it into segments
at the degradable nodes. The length of these segments is in the
range of 15-75 mm.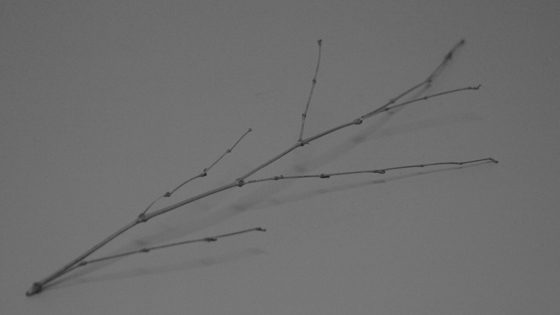
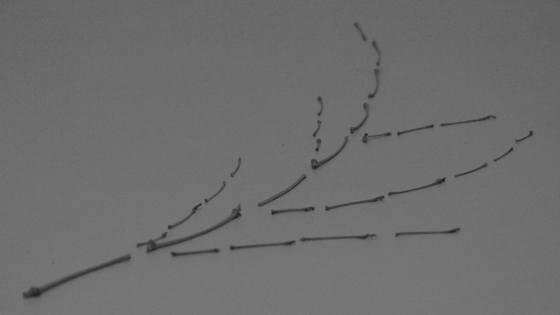
Bamboo branches.
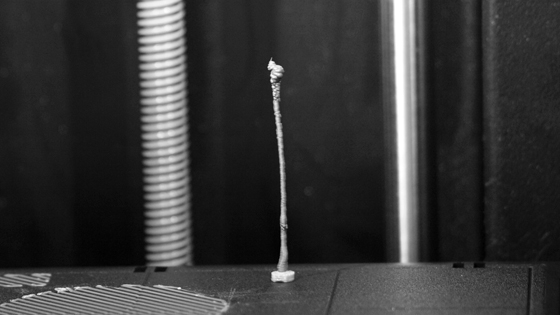
One of the segments was placed upright on the turntable by using double-coated tape.

On the turntable.
I 3D scanned with Rexcan 3 system, which consists of two cameras and white light Phase-Shifting Trianglation (PSI) technique used for high resolution and low deviations and errors. I exported the 3D scanned model from ezScan and Rapidform XOM (re-polygon and finishing) in STL file format.
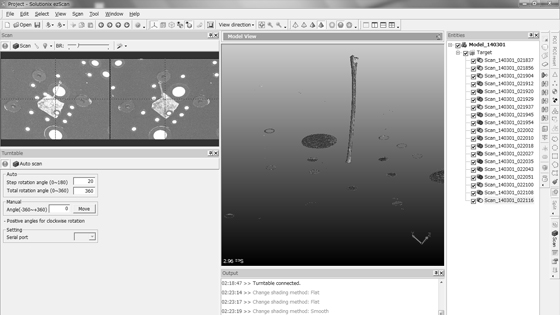
Screen capture of ezScan.
Settings (Lens: Xenoplan 2.8/50, Scan area (diagonal): 103 mm, and Step rotation angle: 20 degrees (Total: 360 degrees))

Screen capture of Rapidform XOR. 3D model of a segment of bamboo brances.
3D print the object I scanned
I used CatalystEX, an application designed to interface with
Dimension 3D printers. I opened the STL file and prepare the
data for 3D print with this application. 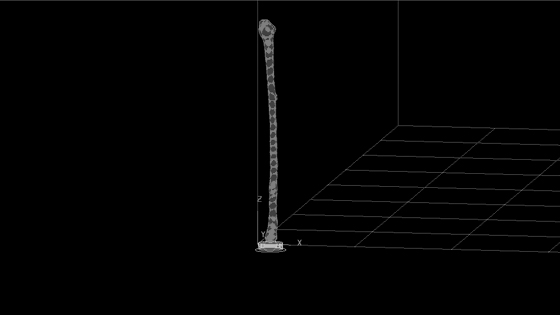
Screen capture of CatalystEX.
Then I 3D printed the object I scanned, with Dimension BST768.
Properties (Model interior: Solid-normal, Support fill: Break-away, and STL scale: 2)
3D Object.
