Assignment for this week: design, make, and document a press-fit construction kit.
This week assignment took me to the world of wooden toys.
I love toys made of wood and I wanted to make something cool for my two children (2,4).
After some looking around and thinking what would be not to hard to model (as my modeling skills are still very basic), but will be challenging enough and make my kids very happy I decided to model and cut a wooden dolls house..
I’ll come back later to the dolls house … Blood (well – not really), Sweat (hardly) and Tears (oh – yes!!).
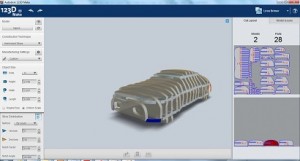
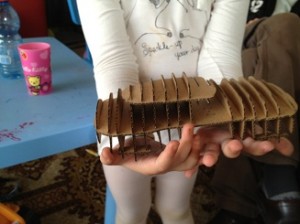
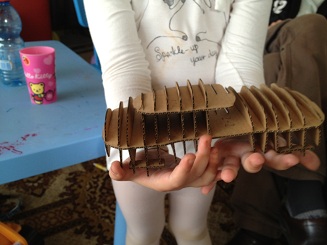
I figured a dolls house could take me a long time to model and I was really eager to cut something (rrrrr…), so I downloaded 123D Make and took one of the sample models that comes with it – the car:
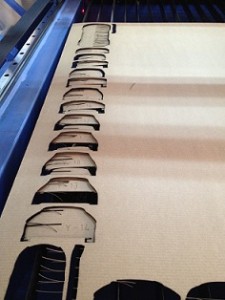
I changed the Construction Technique to Interlocked Slices and added some vertical slices. I adjasted the slots to one mm (the width of the material I wanted to cut) and exported the model to the machine…
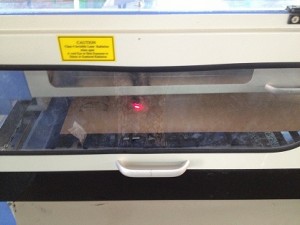
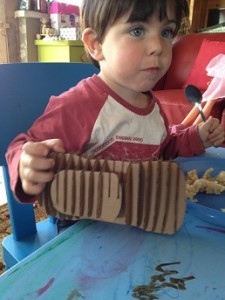
The cutting process went well, and I mannaged to go home with something nice for my children and with mission accomplished..
Some very important thing to remember:
- If you cut and engrave – start with the engrave layer – otherwise the parts that were allready cut might not be there for the engrave
- When cuting small parts – make sure that the area beneath the machine is clean so you can find your parts there (I lost some parts in the pile under the machine …)
- And That’s it..
Now – let the children play!
Back to the doll’s house:
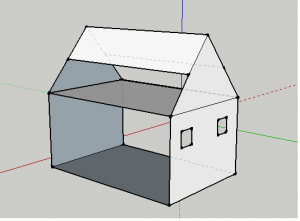
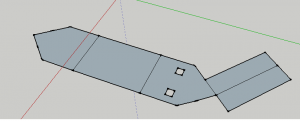
First I used sketchup to model a 3D construction. I installed a plugin to unfold the 3d model (unfoldtool.rb)
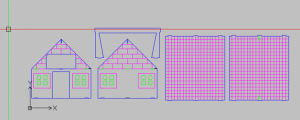
Then I took another direction and used DraftSight to model the house. The main reason for this was my desire to get to know DraftSight better ..
It was indeed a very good exercise, but I didn’t managed to cut it yet.
And that’s it …
