This week assignment is: design a 3D mold, machine it, and cast parts from it
My husband is a cook and his sister is a confectioner, and I love to get my kids involved in the makings of this course, so – I decided that the final output of this assignment will be edible and sweet …
Making a 3D Mold: I reused the 3D model I made in the 3D Scan & Print module, which is a model of my head …
I used Rhino to join the front part of the model the face – with a qube at the size of the wax qube I was going to machine.
I exported the model as an .stl file and used Fab-Modules to create the g-code.
The g-code is created twice – one for thr first run in the machine (rough) and the second for a second run (finish).


I made two more code files for the ShopBot machine and I used the ShopBot to make the mold.
I made a mistake in the model for the mold (see picture below) as I didn’t leave some space for the frame of the inner part …

I fixed that later in the machine ….
The Cutting:
I used the ShopBot machine to cut the mold

After two runs (rough and finish) I got a nice mold of my own face, but I needed to fix the frame problem, so I put the mold in the Sherline 5410 machine and used the manual control to cut the extra staff out of my mold

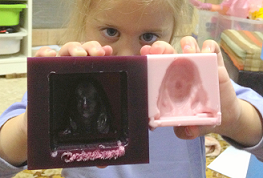
The final outcome for molding:

Casting:
For the silicon cast I used Smooth-Sil 490. I followd the manufaturer instructions and pured the cast into the mold:


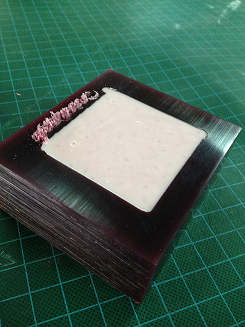
I waited for six hours, and …. COOOOOL !!

I “baked” it in the oven for two hours at 80 degrees (Celsius) and for one hour at 100 degrees (Celsius)
And Now – for the fun part:
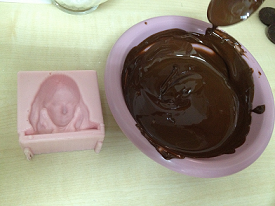


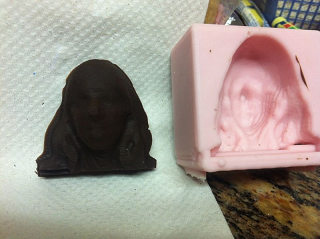
Mom, sweet Mom…


And that’s it …