WEEK 11
- 1.-Introduction
- 2.-Teamwork
- 3.- Molding: Mold design
- 4.- Mold milling
- 5.- Casting. Food silicone mold
- 6.- Silicone for food (for group work)
- 7.- Using Chocolate
- 8.- Using water (ice)
- 9.- Experience and conclusions from week 11:
- 10.- Files
Molding & Casting:
Teamwork
Individual Assessment
Fab-Weeks
Are you looking for my assignments?
Links and notes
more information:
Week 11: Molding & Casting
1.-Introduction:
In this week with the group work we are going to look for the data, specifications and characteristics of the different casting resins of the molds.
With the individual work, I am going to make a figure with the stl of the scan week, of the bust of Isaac Peral. With this mold, using food grade silicone I am going to make an ice cube and a chocolate bonbon.
2.-Teamwork
If you want to know the group assessment of this week, click on the image of SediCupCt.

3.- Molding: Mold design:
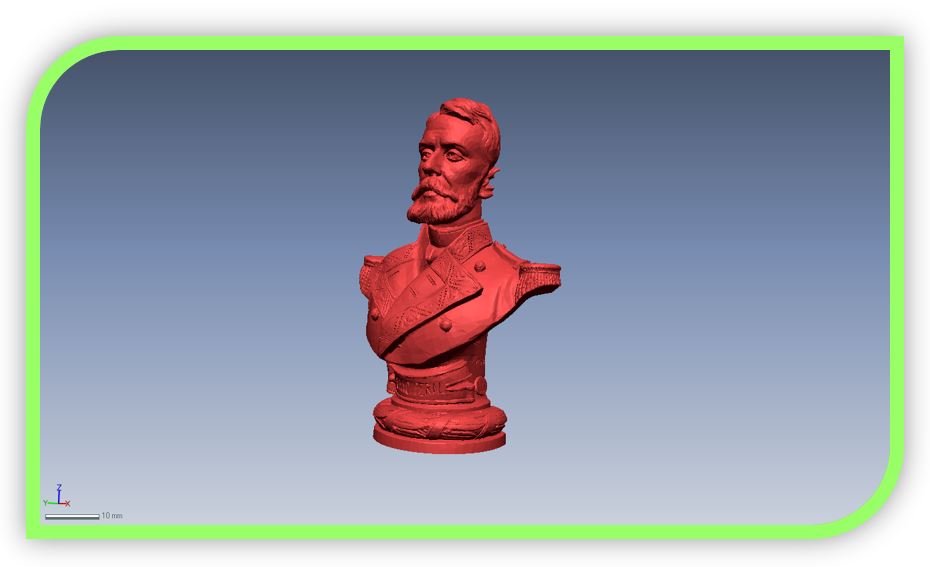
For the design of this mold, I use a mesh model (stl), obtained from a 3D scan of a bust of Isaac Peral.
In order not to turn it into a solid model, it takes time to be a complex model, and working with operations of addition and subtraction, I am going to make the part of the mold in solid, I will convert it to mesh and merge the meshes.
Note: with this procedure, I have to take into account when designing thinking that I am making a mold for the negative mold (the food silicone one).
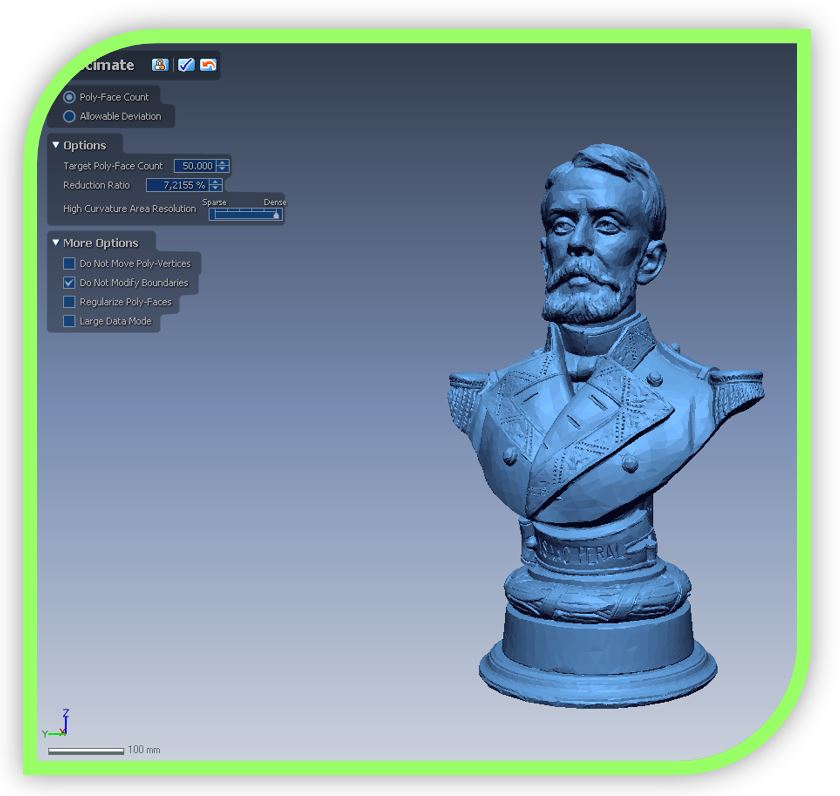
WORKING ON GEOMAGIC DESIGN X:
The first step is to import the stl of the 3D rendering. Next, I am going to do a decimation to reduce the mesh, because it does not need as much detail as actual size. In small size, there is no resolution to do very small things or they will not be seen.
After the decimation operation, I am going to scale the mesh to the size of the chocolate bars I want to make.
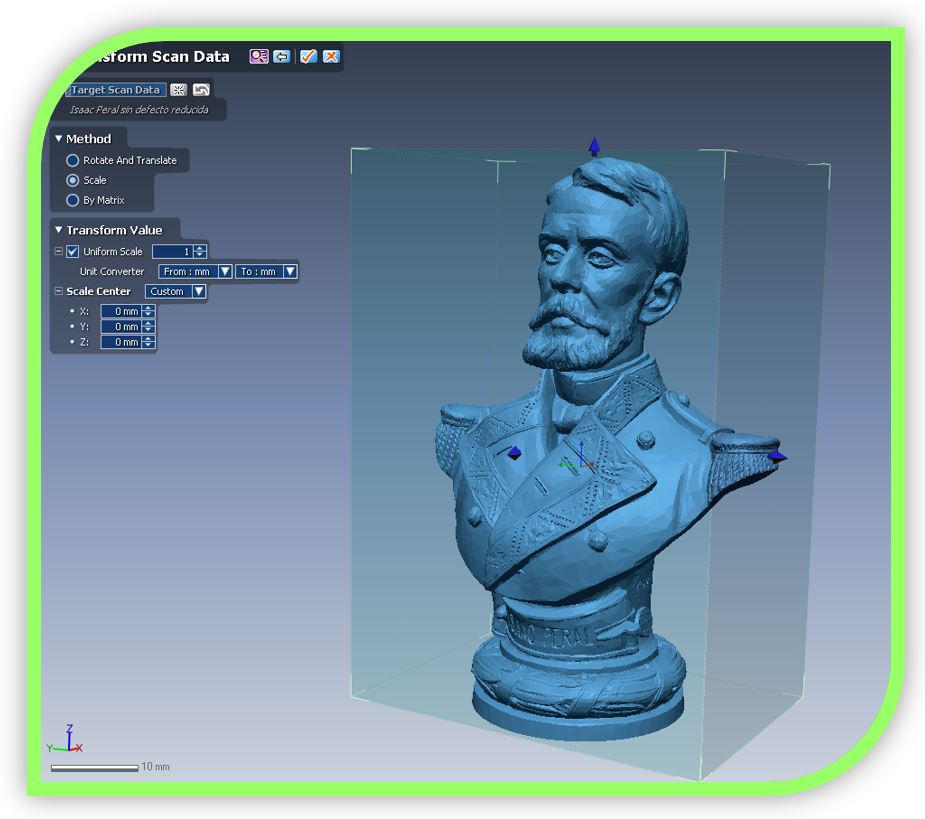
I have reduced it by 10 times (from dimensions of (344x412x707) mm to dimensions of (34.4x41.2x7.07) mm).
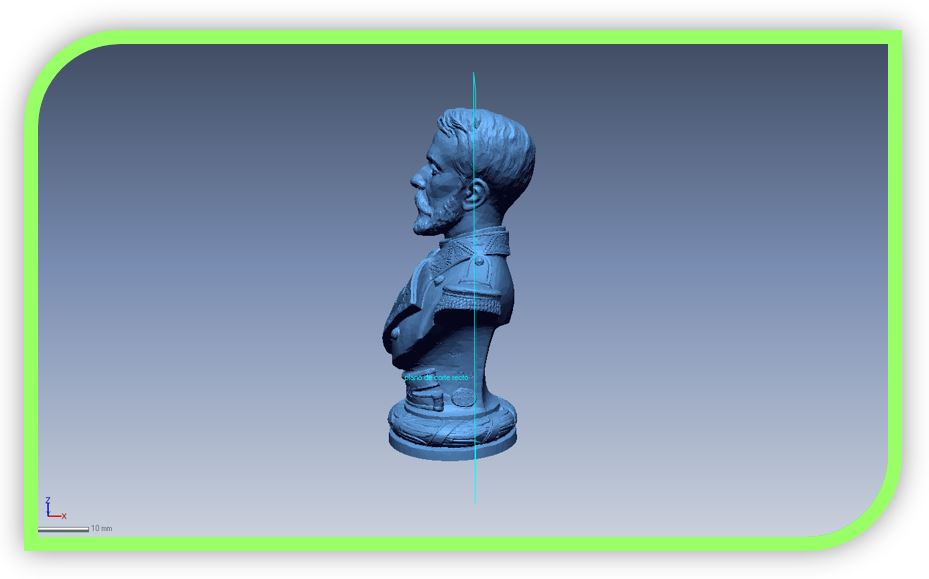
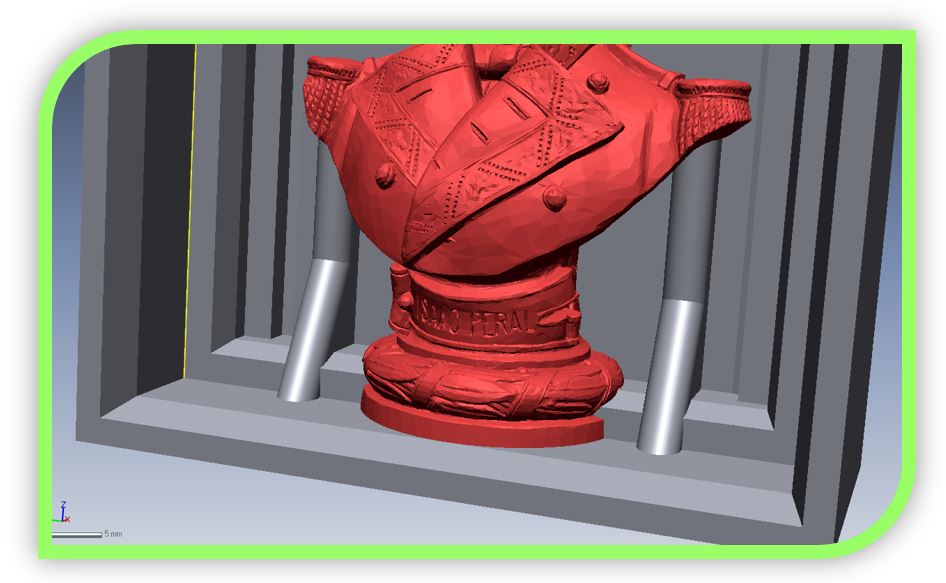
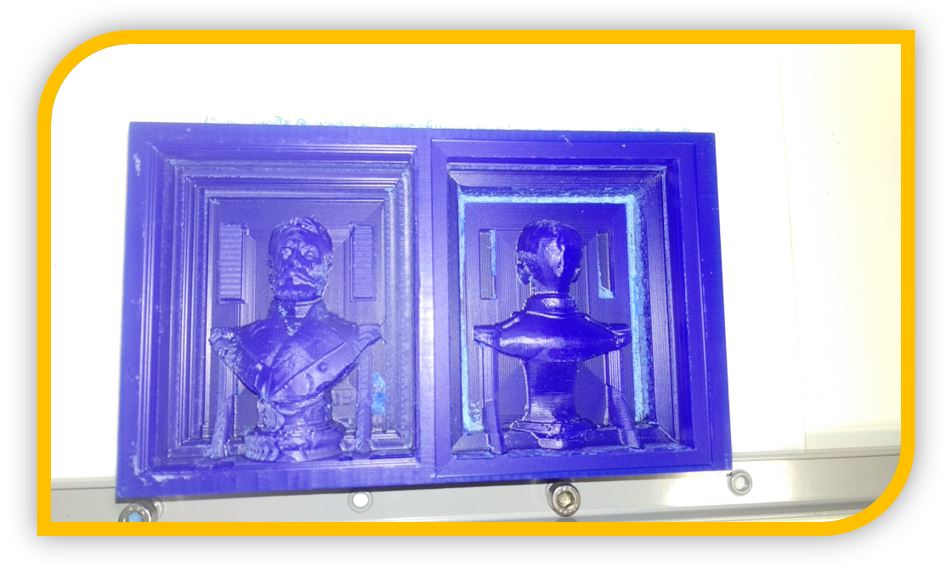
Since the milling machine is 3-axis, I am going to lose a bit of detail on the sloped surfaces, opposite the milling tool. For this reason, I have chosen a cut with a perpendicular plane to make the two pieces. In this way, seen from the front or behind, it will be seen correctly, although from the sides it will look a little worse.
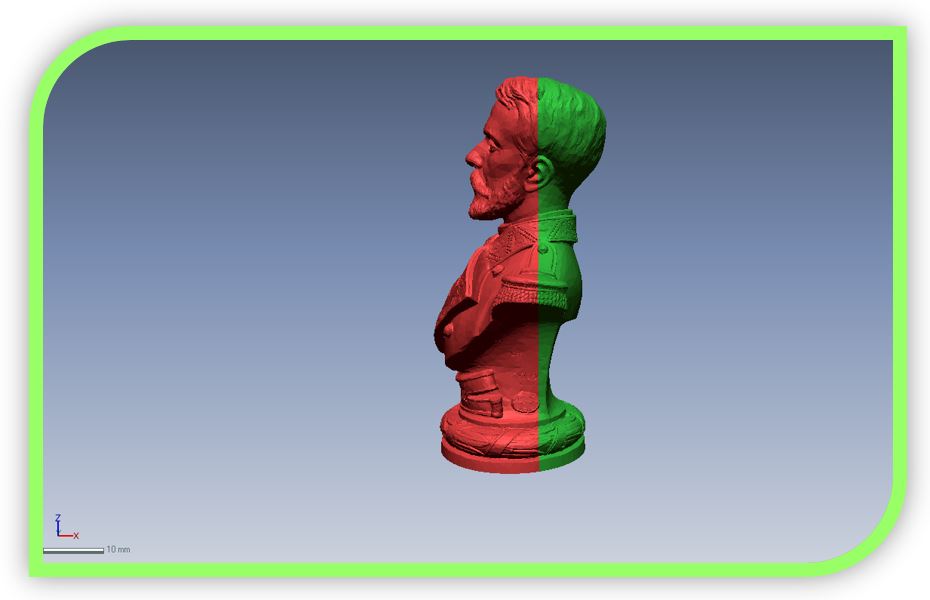
The result of dividing the mesh in half is:
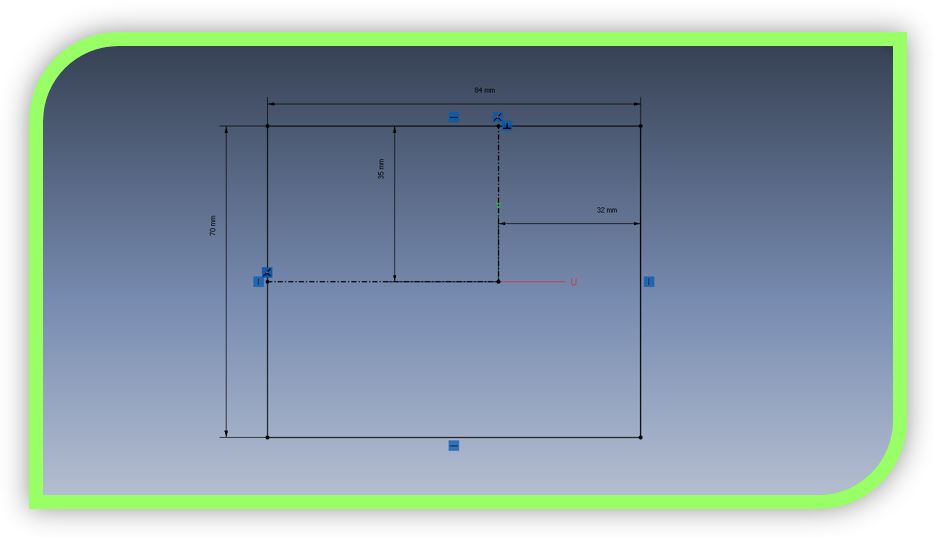
I'll start working with the front part:
I draw a rectangle on the cutting plane, which will be the border of the block for the mold.
I use the extrude feature:
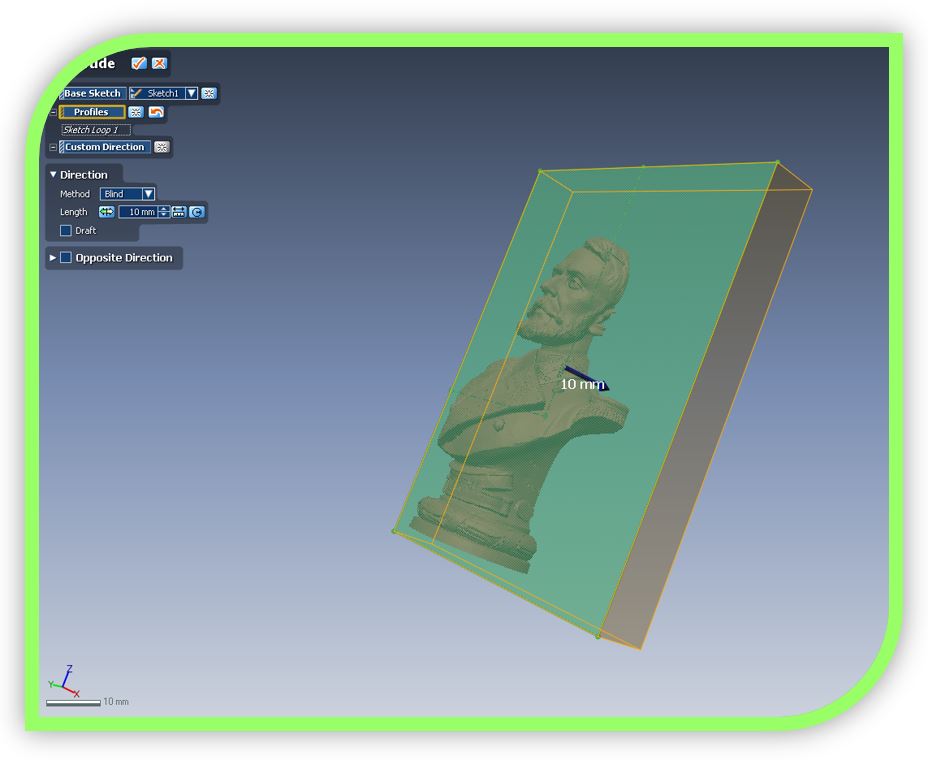
On this "block", I am drawing the details of the mold in 3D:
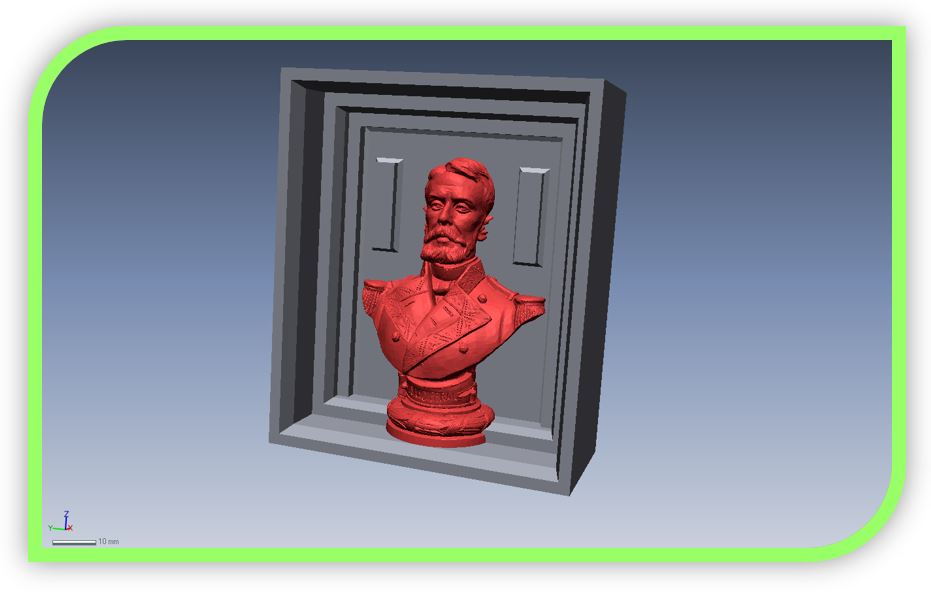
Finally, I need some "breathing" ducts through which the air comes out as the mold is filled.
Now, I convert to mesh and use the blend operation to get the mesh for my front mold:

With the rear, I do the same, but I have to think about using the opposite grooves to assemble the two parts of the mold correctly.
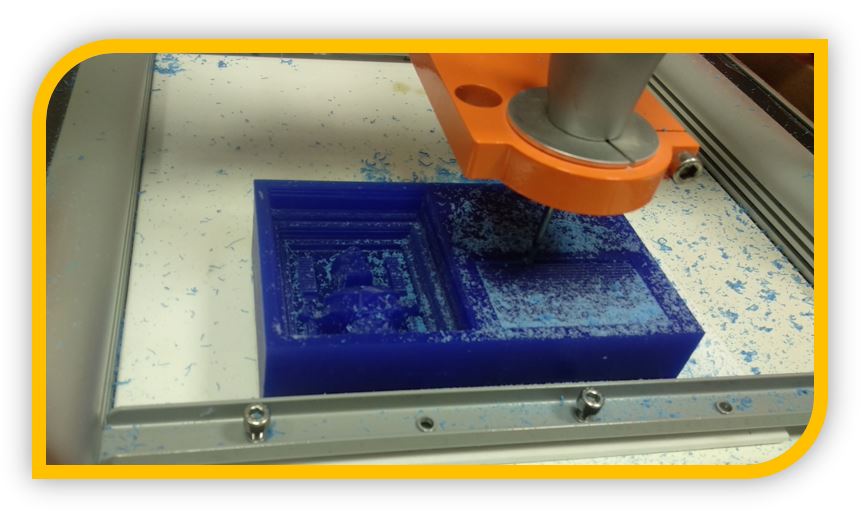
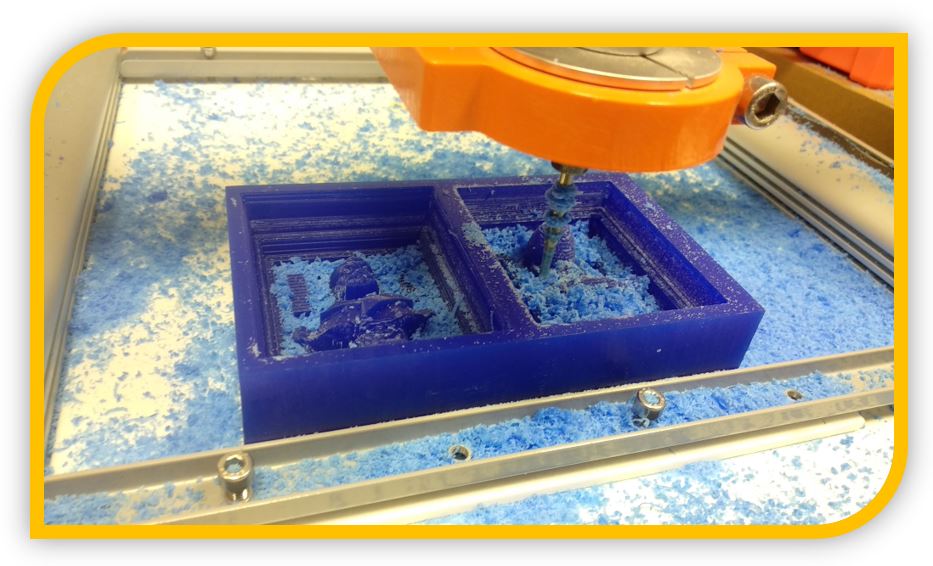
4.- Mold milling:
To mill the mold into the wax block, I am going to use the Stepcraft milling machine.
To generate the gcode I am going to use the Aspire software (from Vectric). It is similar to Cut 2D, which I use to mill circuit boards (also from Vectric).
https://www.vectric.com/products/aspire
MILLING THE FRONT OF ISAAC PERAL'S MOLD
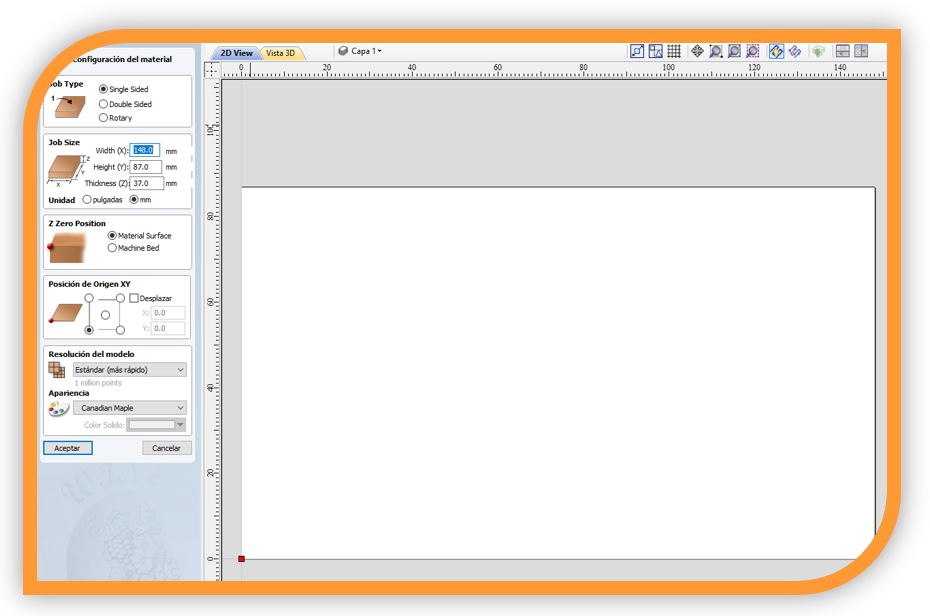
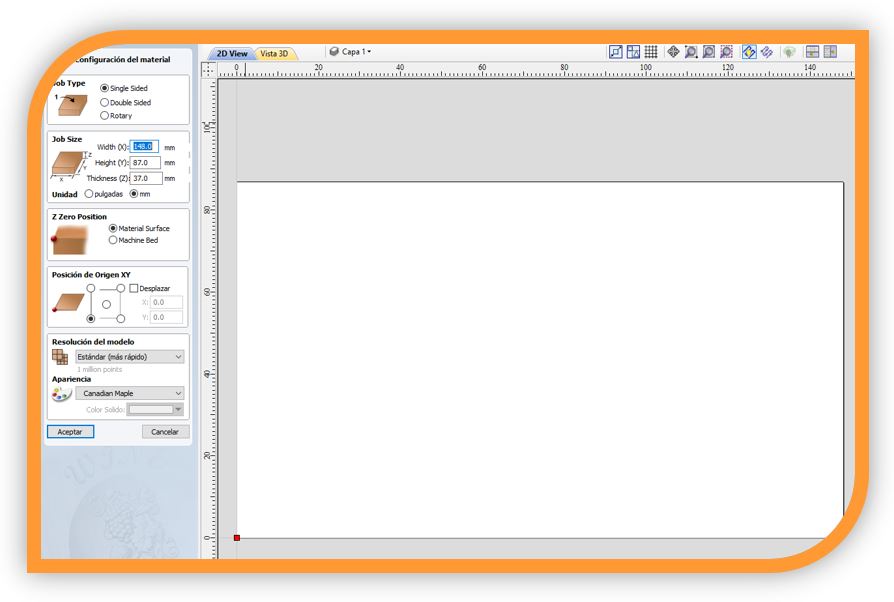
So the first step is to run the Aspire program.
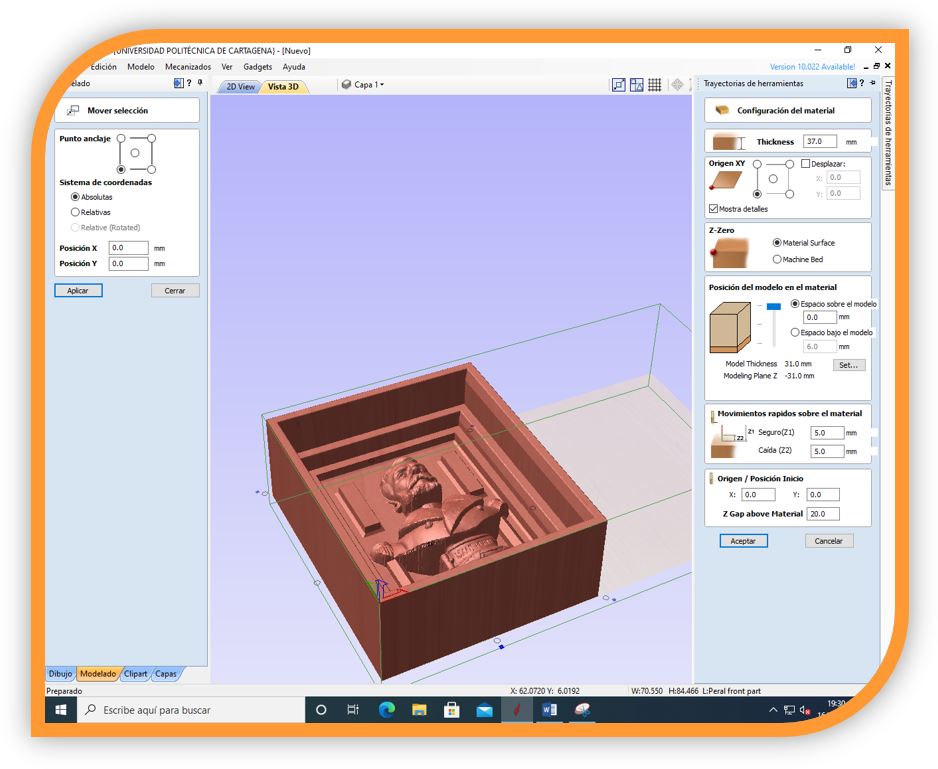
With the program open, the first step is to set the dimensions of the material
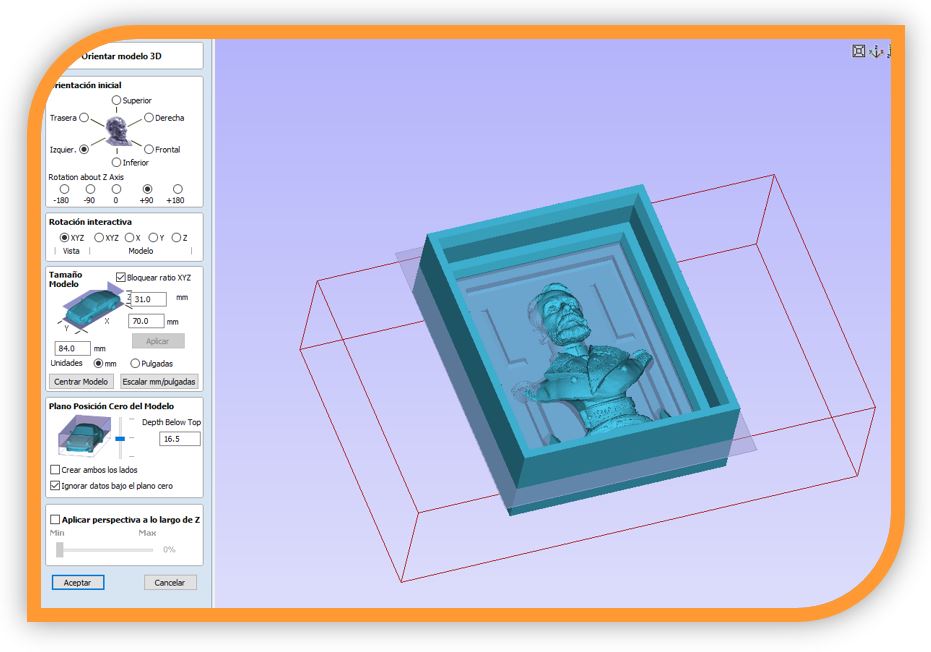
Then, I import the model in stl and I have to orient the stl of the mold with respect to the material:
My position of the zero of the mold on the base, because the design is already divided into the two pieces.
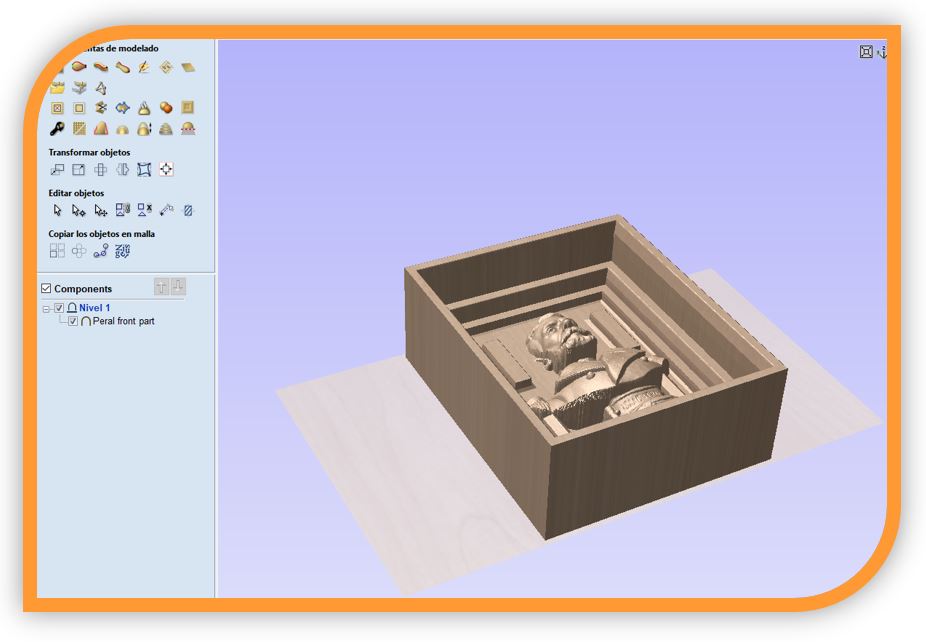
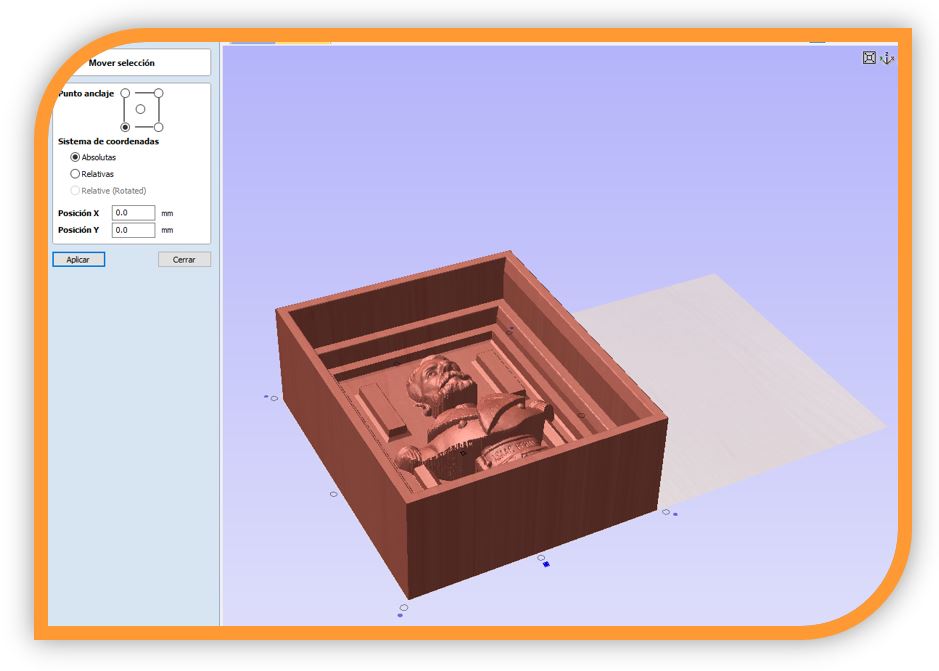
Then I use the move command and position the mold at 0,0 of the work area (in the corner):
Now in the toolbar, I select the tool to create ravage operation:

I configure the operation parameters:
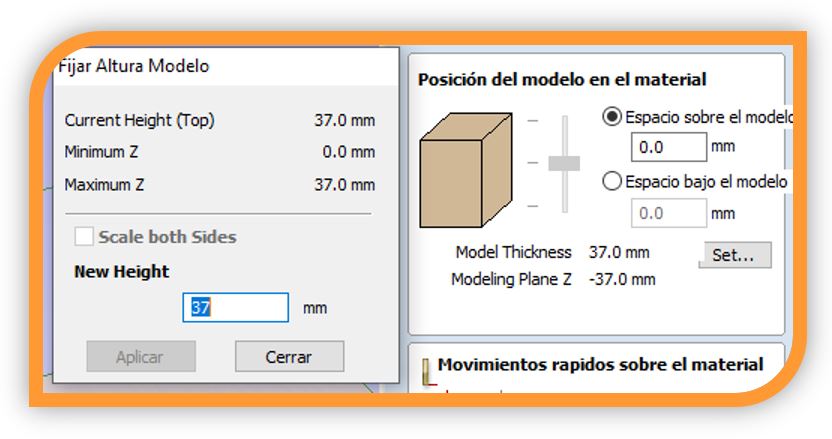
I set the height of the model, leaving no space neither above nor below:
I set the milling bit. In this case I am going to use a flat 2mm one, as it did not appear in the list I have created a generic one.
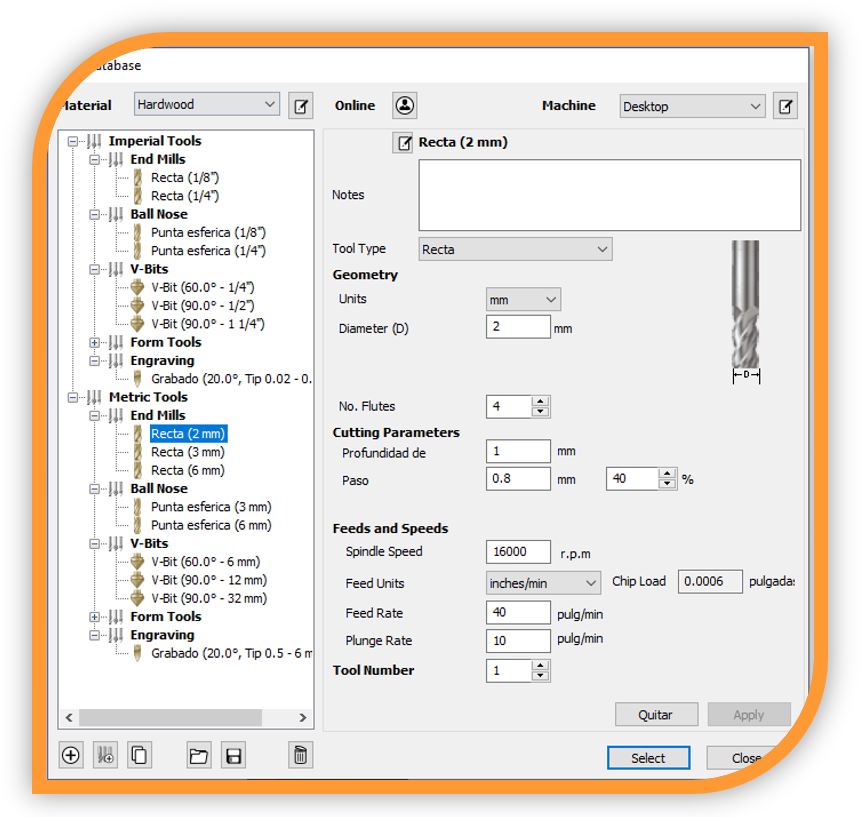
I set an oversize of 0.35 (this value has a maximum of 20% of the diameter of the cutter).

So I can already calculate and simulate the trajectory:
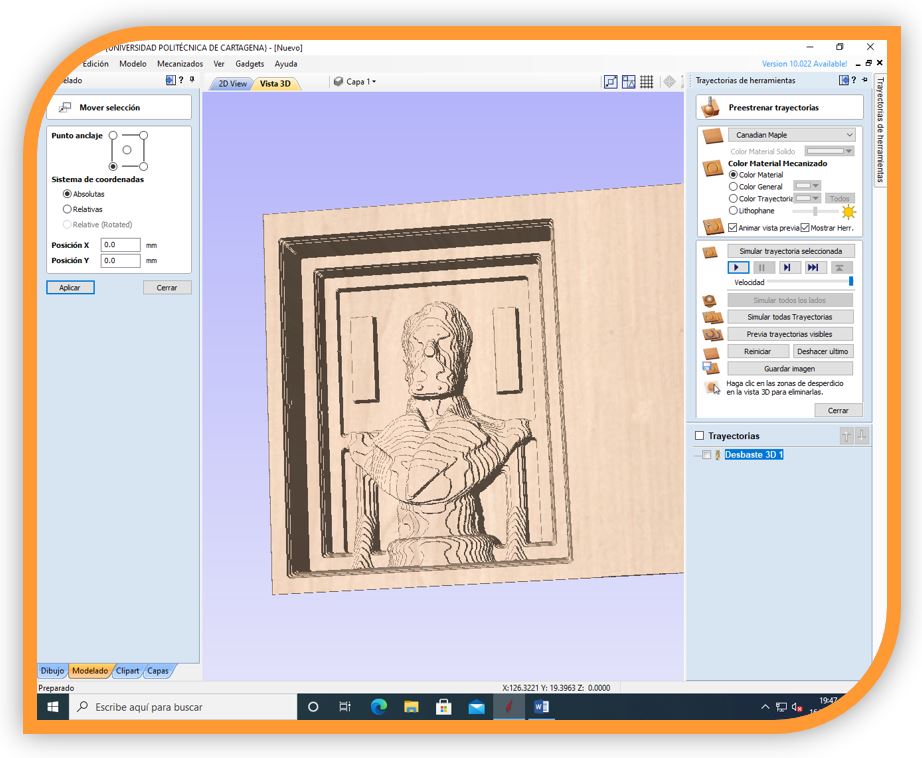
Now I'm going to create the finish feature, with a smaller milling bit, to get better detail:

For the finishing process I will use the 1mm tool:
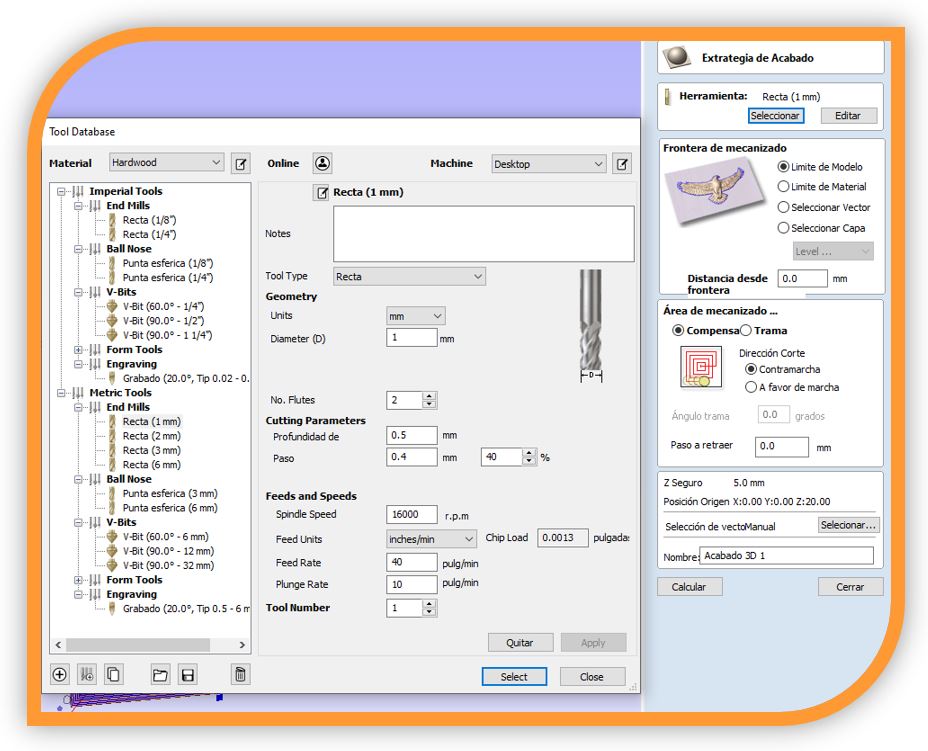
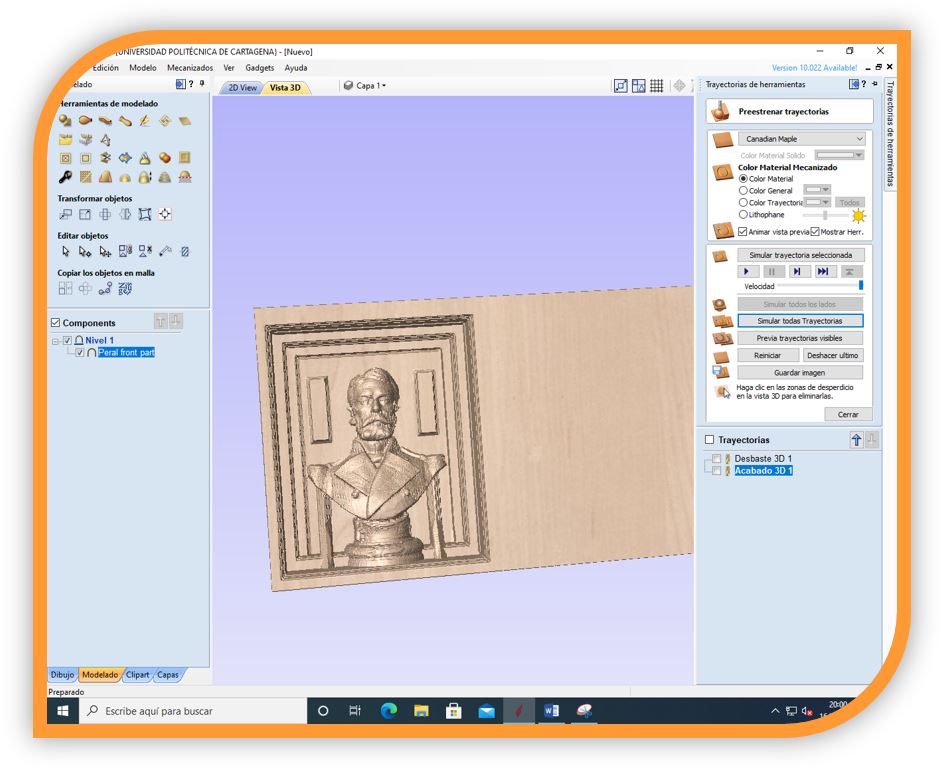
I configure the parameters and then I calculate the process and simulate.
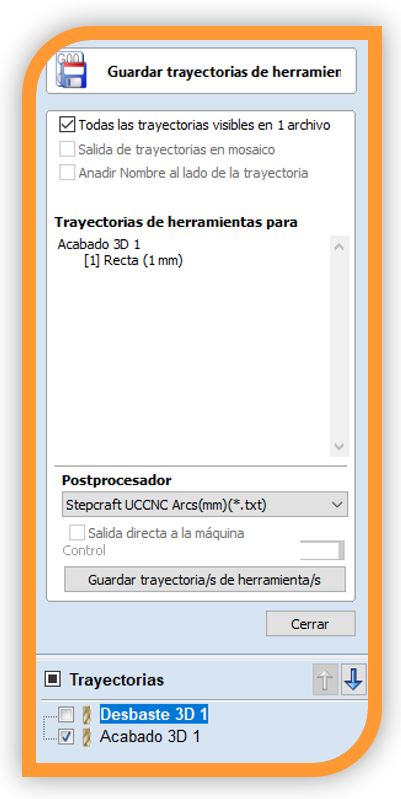
I export the gcode files, for this:
■ I save the roughing (3mm bit):

■ I save the finish (1mm tool):
At this point, I have to bring these files into the Stepcraft milling machine software, and perform the following sequence:
- open UCCNC.
- Load File.
*** IMPORTANT: Before that, fix the wax block on the work area. Double-sided and American tape.
- Move the spindle manually and do the (0,0,0) (x, y, z).
- Raise the moto tool a little, the z axis.
- Start milling (cycle Start).
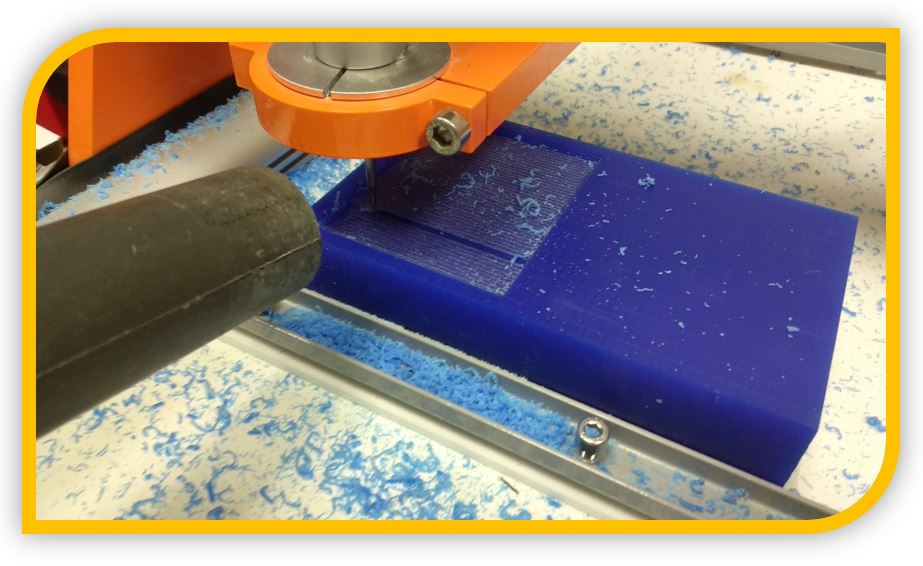
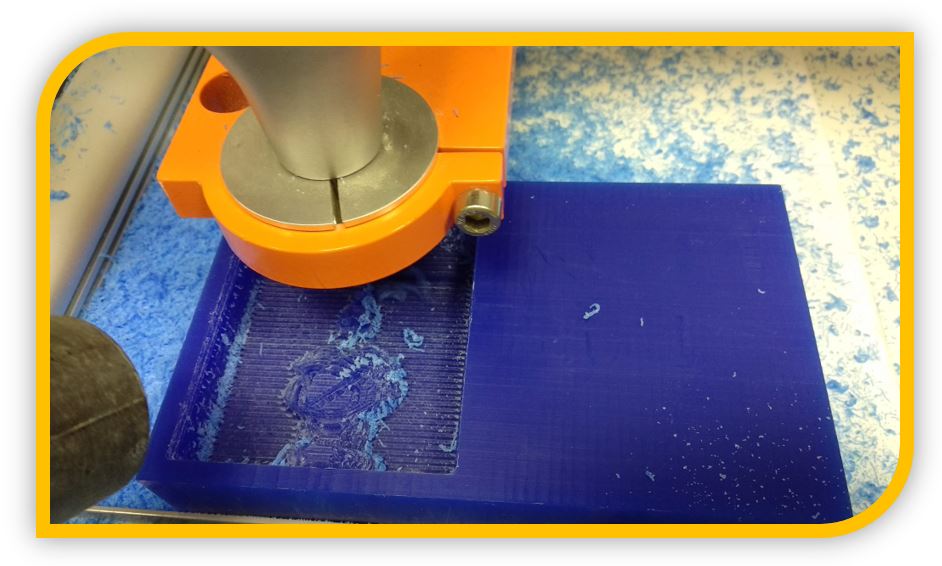
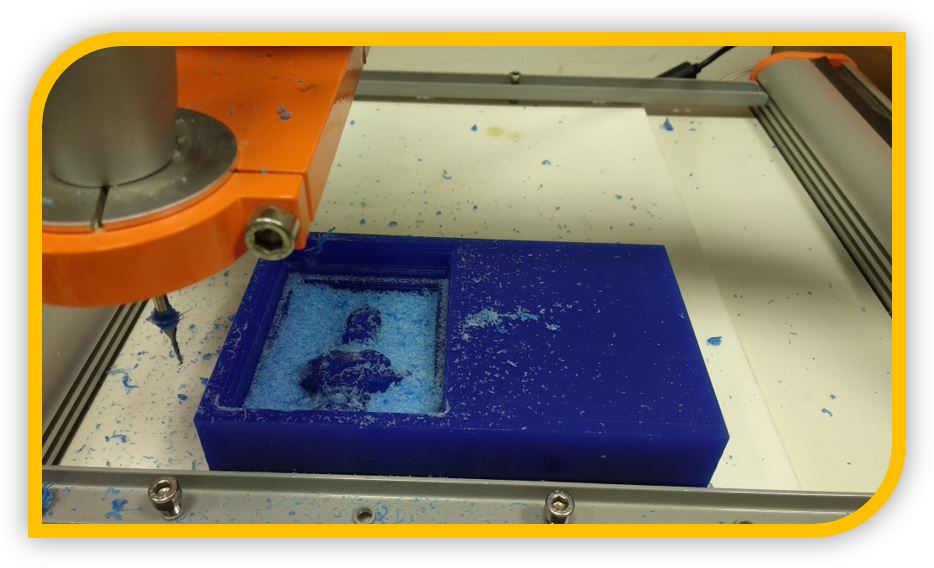

MILLING THE BACK OF ISAAC PERAL'S MOLD
I open a new file and set the material.
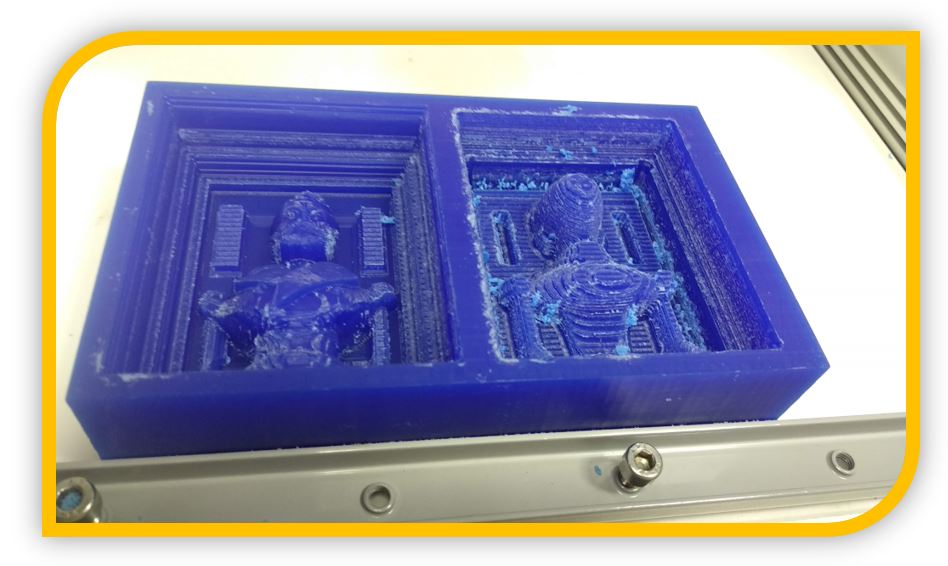
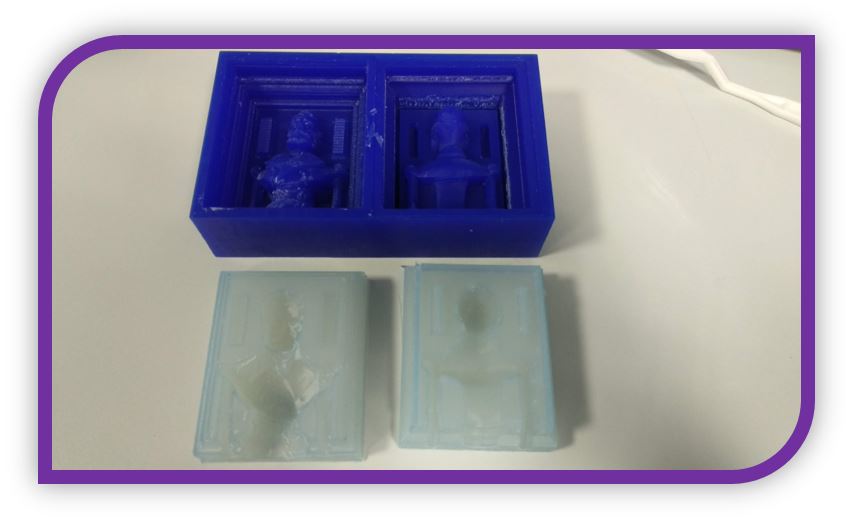
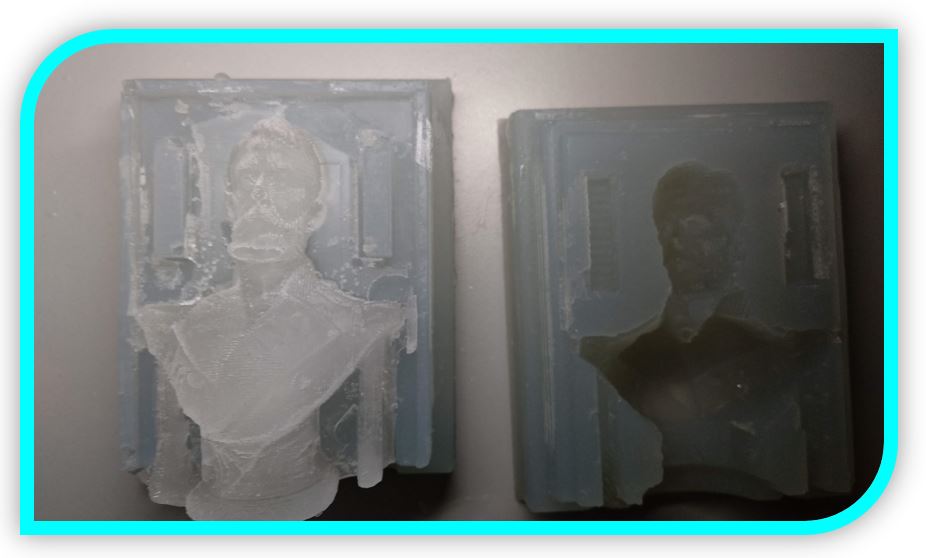
5.- Casting. Food silicone mold:
With the wax milling, I have the mold to pour the food silicone and get the final mold to use with the chocolate.
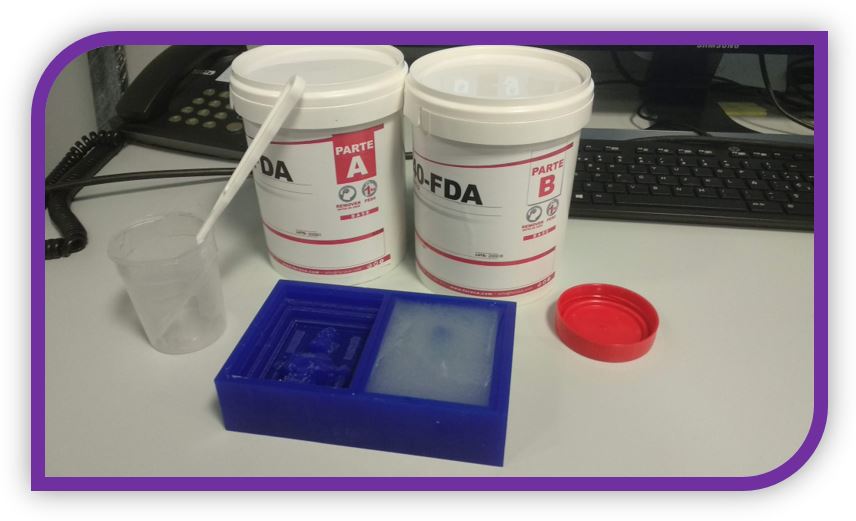
To use food grade silicone, I follow the instructions on the technical sheet:
• Step 1: Prepare the original molds. Prepare a perfect original mold and clean it completely before the operation. Make sure the original molds and mixing tool are completely clean to avoid contamination problems.
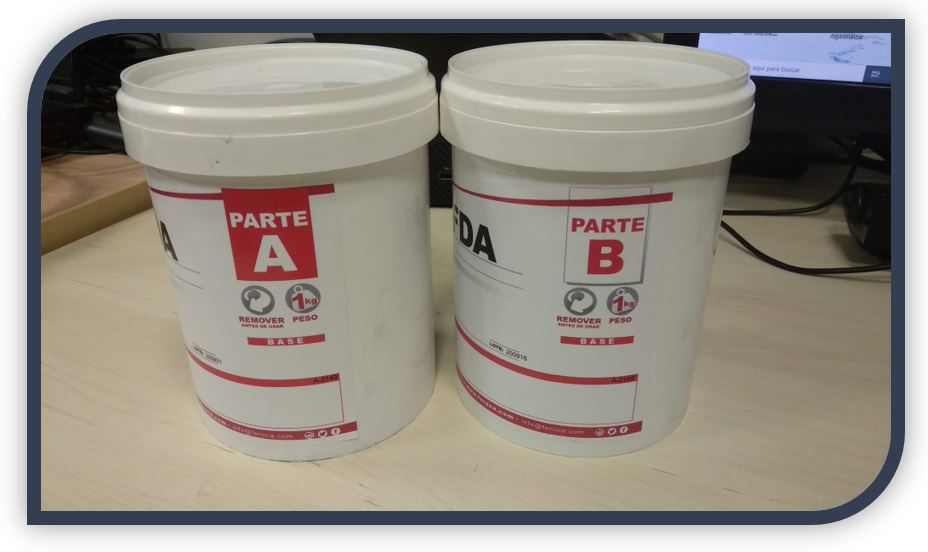
• Step 2: Take the same amount of Part A and Part B of silicone and mix evenly. The platinum curing mold of this silicone is a two-part flowing liquid, please measure the quantities exactly, any variation may cause a change in hardness or even poor curing.
• Step 3: Degas in a vacuum system. A highly recommended step that does not take more than 10 minutes, otherwise a curing with internal crosslinking can be caused that makes the following steps not work correctly.
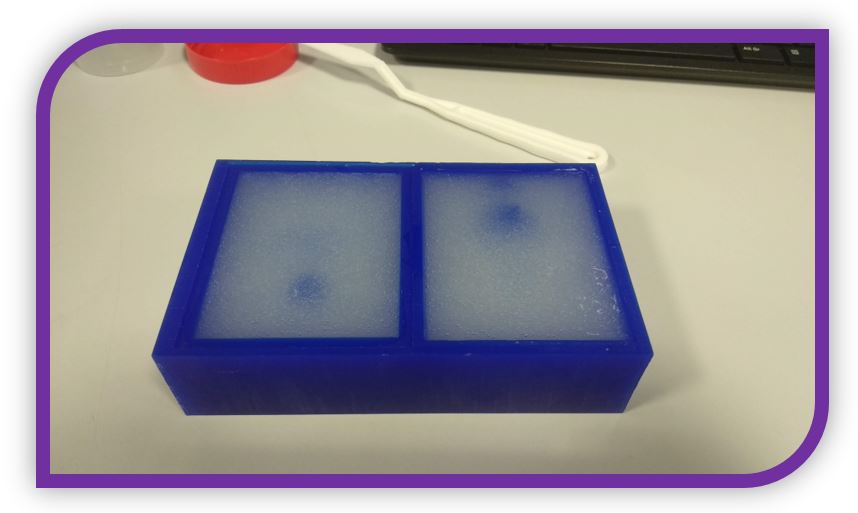
• Step 4: Strain or brush the mixture. We always recommend casting for simple one or two part molds and brushing for advanced complex molds. In simple molds the air bubbles come out alone in a very high proportion.
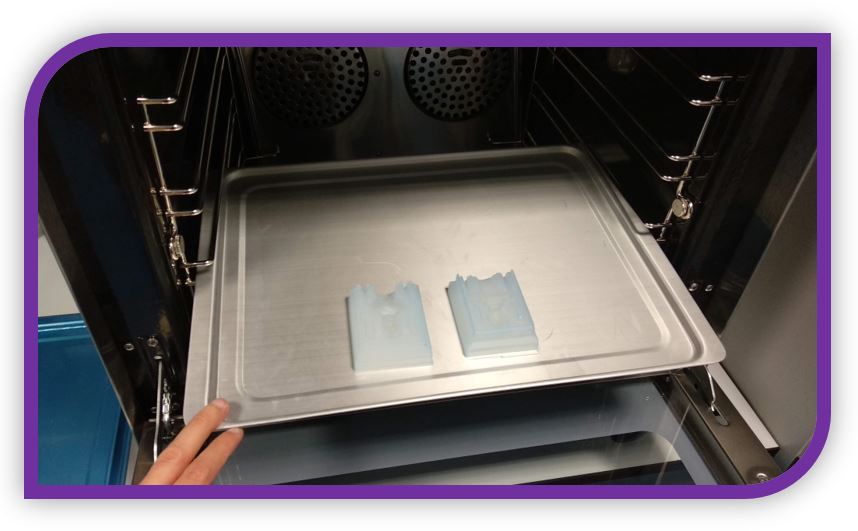
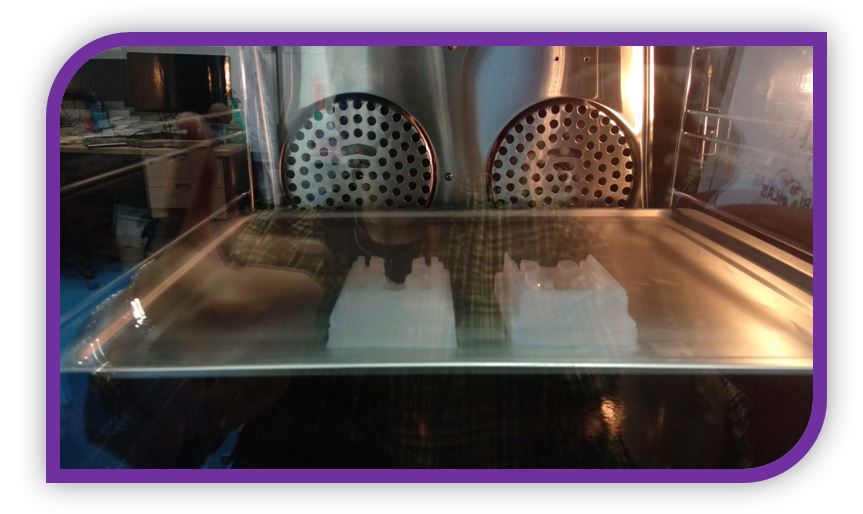
• Step 5: After 24 hours. Unmold the original and place the mold in the oven at 100ºC for 4 hours. Let cool and wash the mold cavity well with dish soap. Rinse well and dry before use.

6.- Silicone for food (for group work):
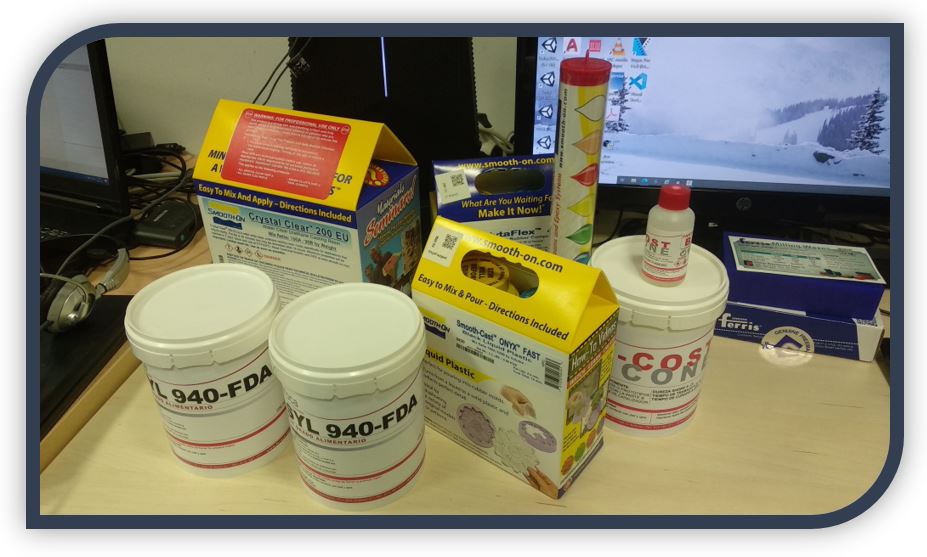
One of the materials that we are going to document in the group work is a silicone to make food molds. Of the silicones that exist on the market, we are going to use the: EASYL 940-FDA.
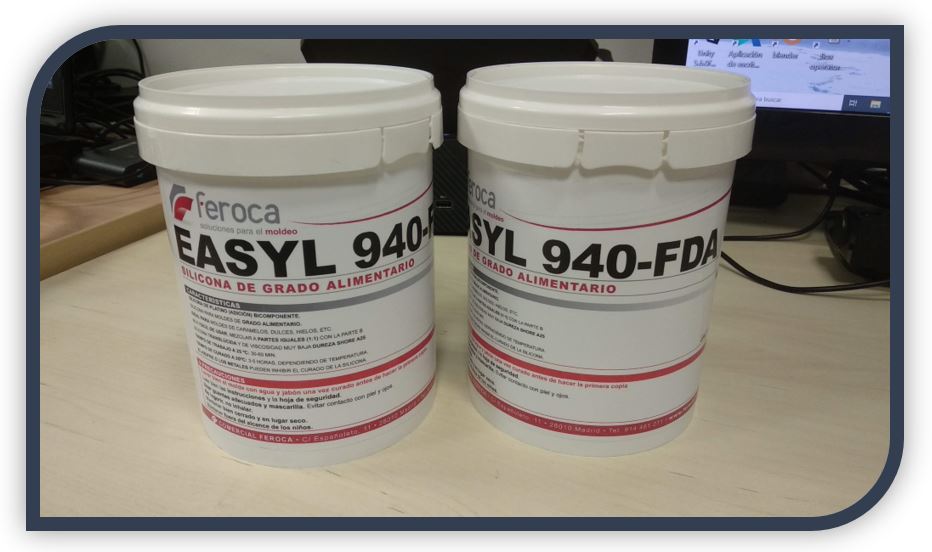
EASYL 940-FDA is a two-part silicone, platinum-cured or addition type, with a mixing ratio of 1A: 1B in volume. It can cure at room temperature and also under heat.
As main recommendations for use:
■ Good ventilation.
■ Wear waterproof gloves, such as butyl rubber, neoprene, or PVC.
■ Safety glasses with side shields.
https://www.feroca.com/documentos/SILICONAS_ALIMENTARIAS.pdf
https://www.feroca.com/documentos/FT_EASYL_940_FDA.pdf
https://www.feroca.com/documentos/HS_EASYL_940_FDA_ES.pdf
ACMOS 82-2405 RELEASE AGENT.
*** Warning: I do not use mold release agents in my work. The silicone came off easily as it was flexible. If this is used, the food use of the mold is lost
With this silicone, a mold release agent can be used. It serves to prevent the food grade silicone from sticking excessively to your wax mold. In this way it can be easily removed from the mold.
This complement to unmold the silicone, is a little more dangerous, according to the technical data sheet:
Hazards:
■ Extremely flammable.
■ Irritating to skin.
■ Toxic to aquatic organisms, may cause long-term adverse effects in the aquatic environment.
■ Vapours may cause drowsiness and dizziness.
The general recommendations for using the mold release agent are:
■ Good ventilation.
■ Use only chemical protective gloves with CE marking category III according to EN 374.
■ Safety glasses with side shields.
7.-Using Chocolate:
I'm going to do a test for casting chocolate in the food silicone mold.
To carry out this process, I will use a chocolate bar that I will melt in two saucepans. One pot I fill with water and the other pot I float inside, with the ounces of chocolate.
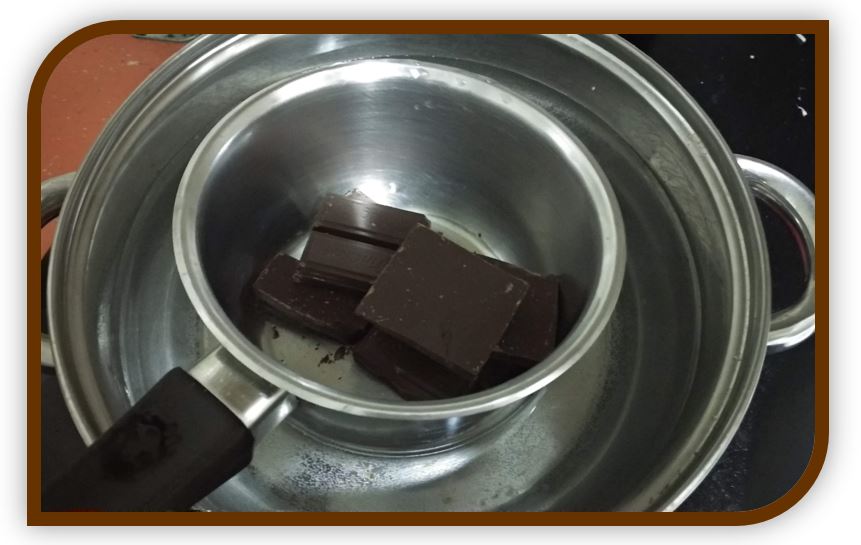
Then I start to heat the pot with water until it boils and the chocolate will melt.
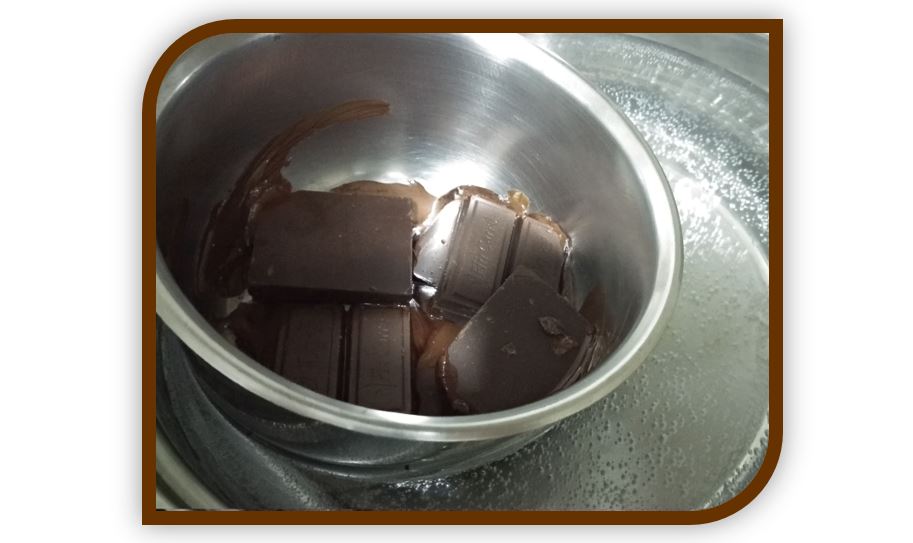
When the water is boiling, I have to wait a while and stir the chocolate until it is as liquid as possible.
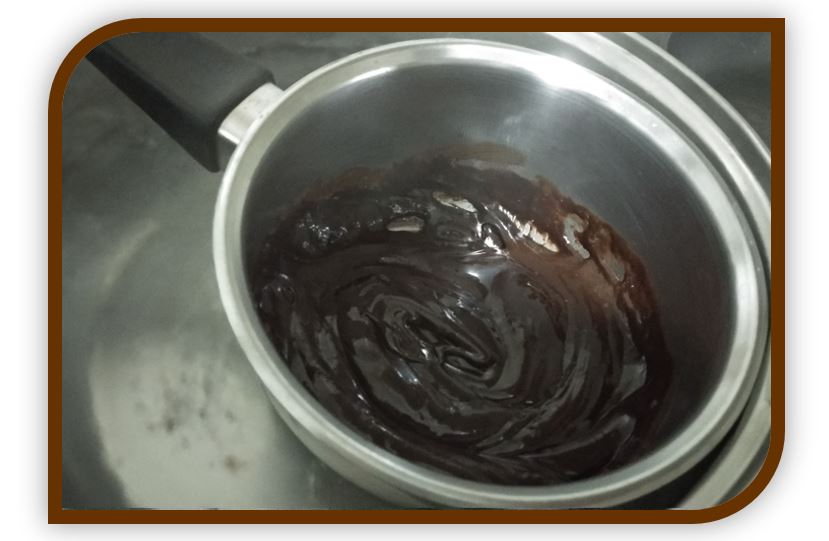
When the chocolate is ready, you just have to cast it into the mold.
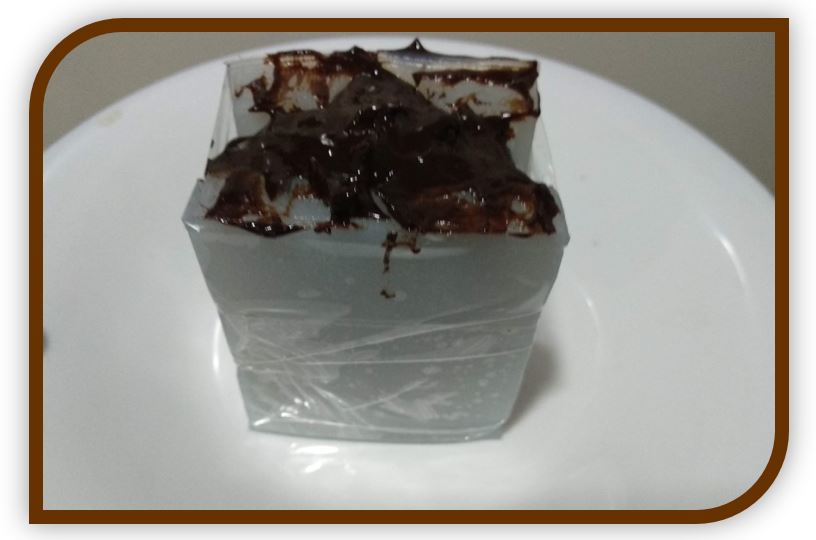
In this step, I put it in the refrigerator to make it solidify faster.
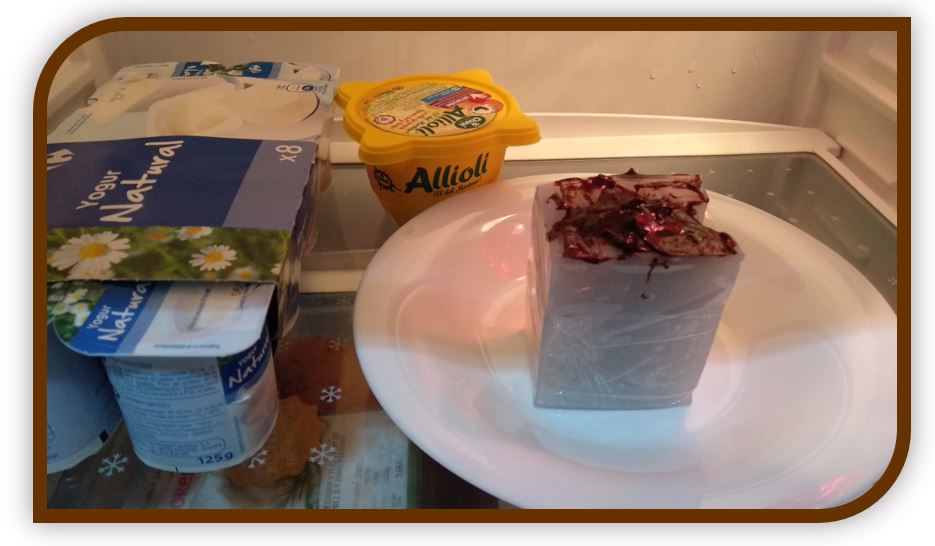
After a while, I took it out already solidified.
The result is the following:

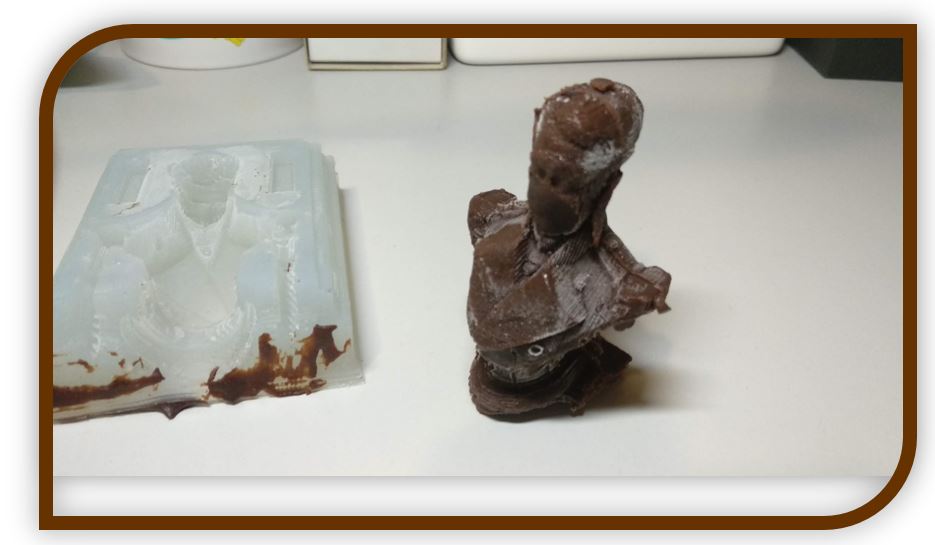
The face has not been very well, it seems that the chocolate has formed an air bubble or it has not filled the entire hole of the mold correctly, it has been left without a nose.
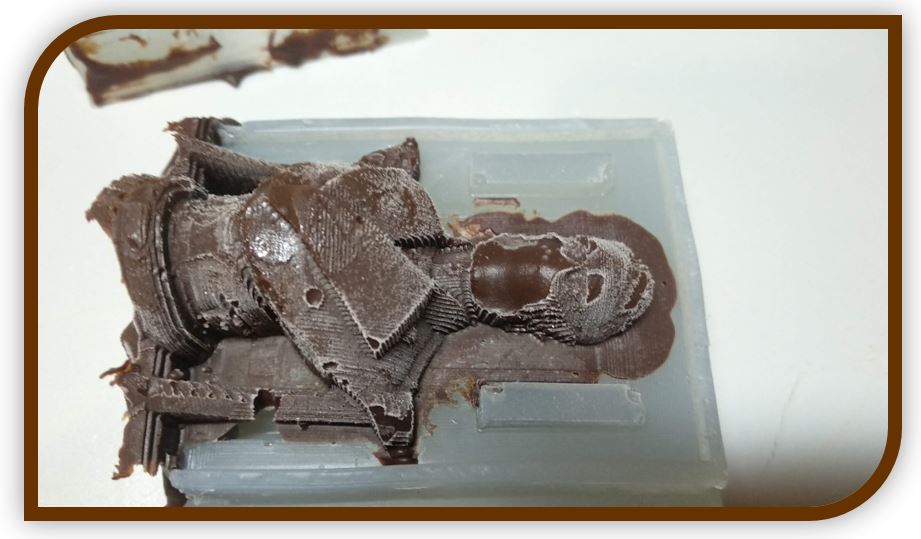
It's a shame, because the rest of the figure has been very good. I will wear this figure in the wildcard week
8.-Using water (ice):
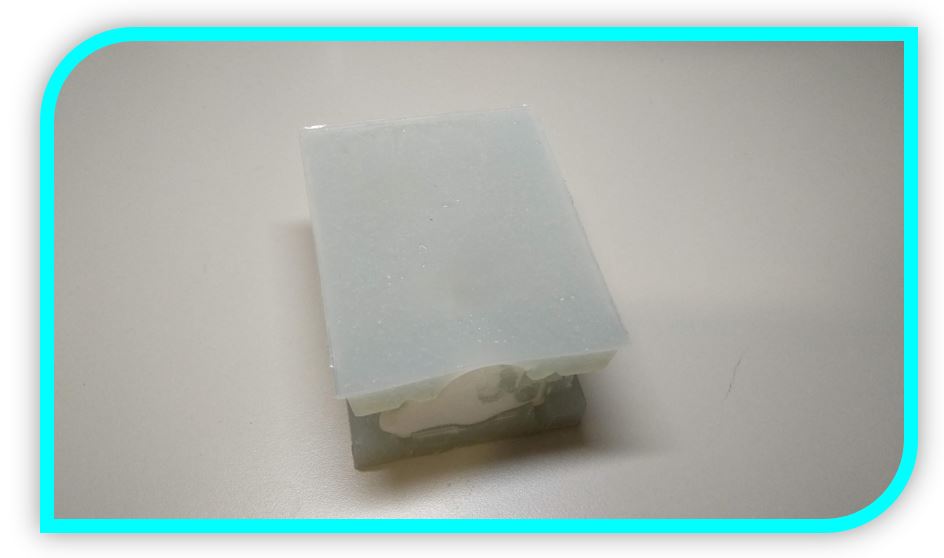
Another test that I did with the food silicone mold was with water to make an ice cube for drinks.
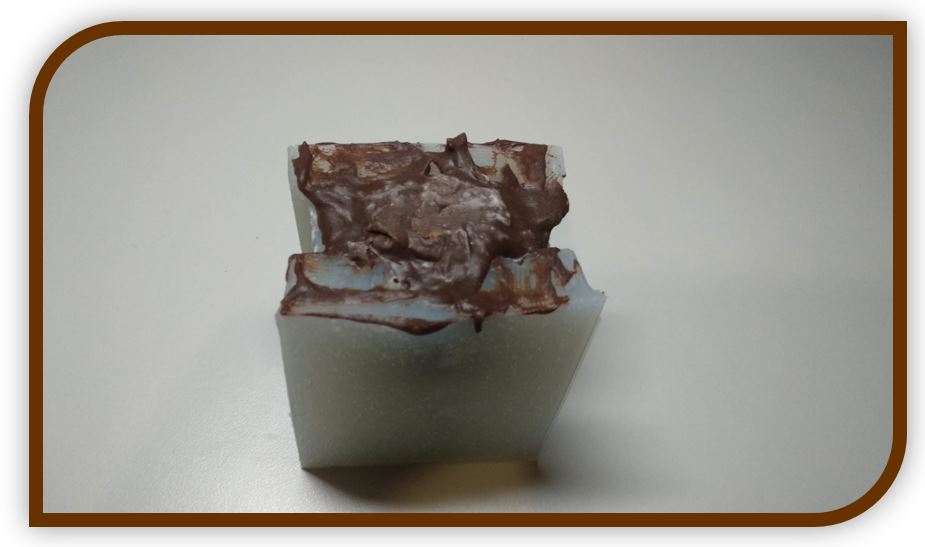
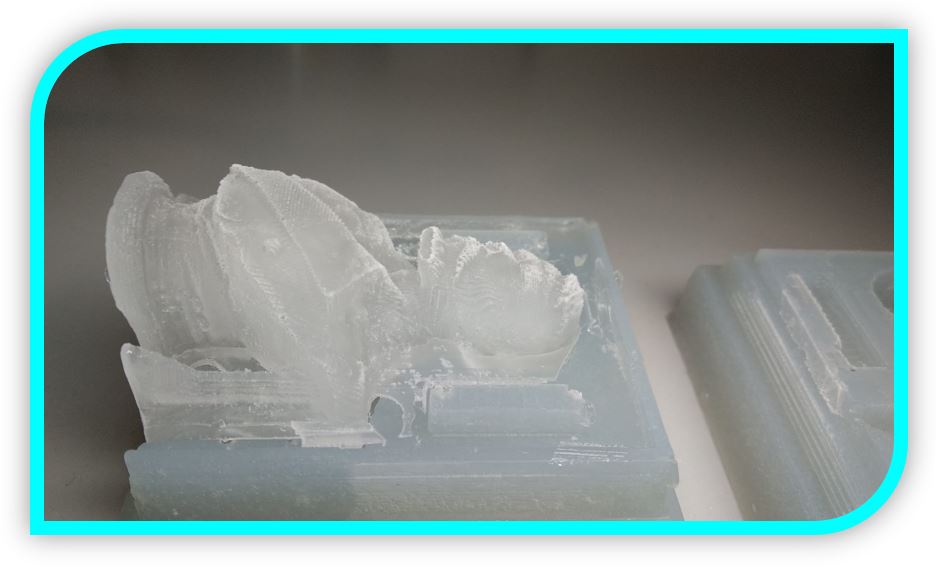
The result has been quite curious. This is the mold just taken out of the refrigerator:
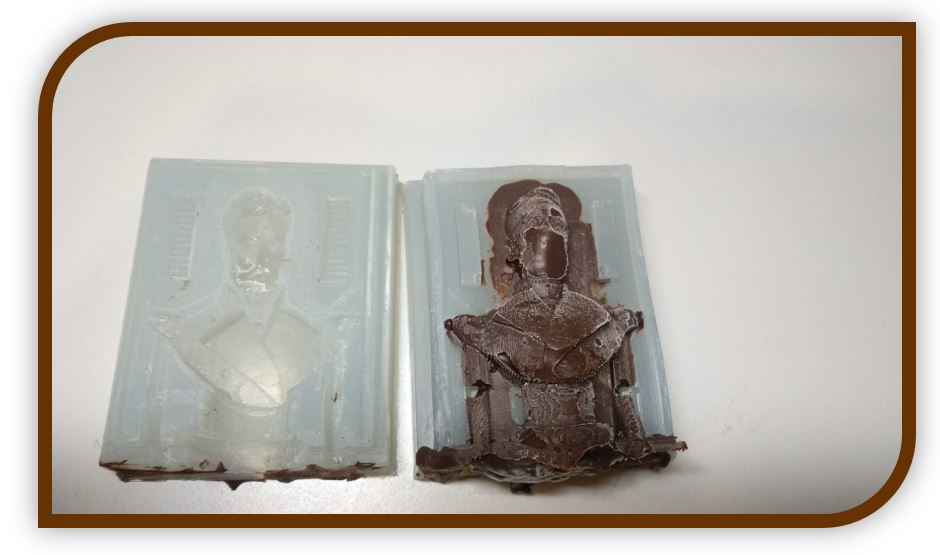
the result when opening it from behind:
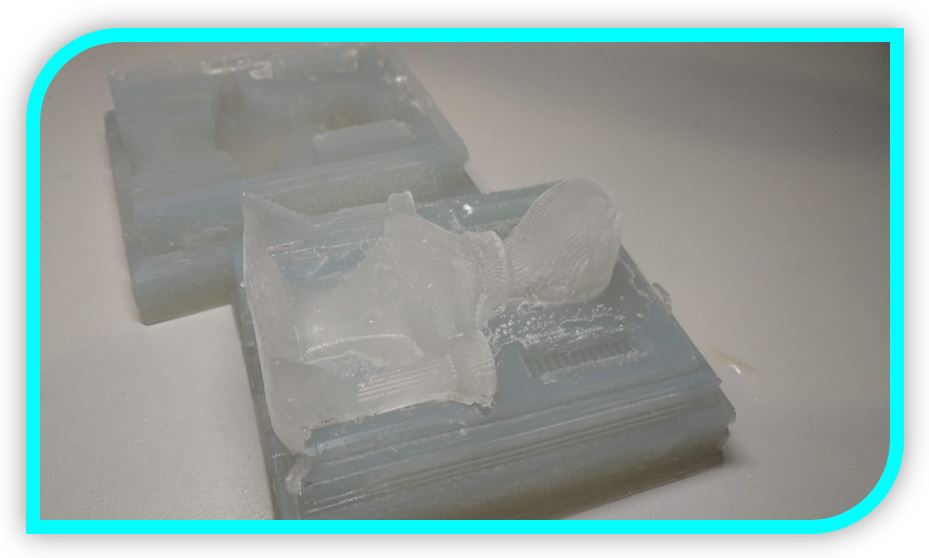
the result from the front:
To test correctly ... you need a glass of something, for example whiskey:
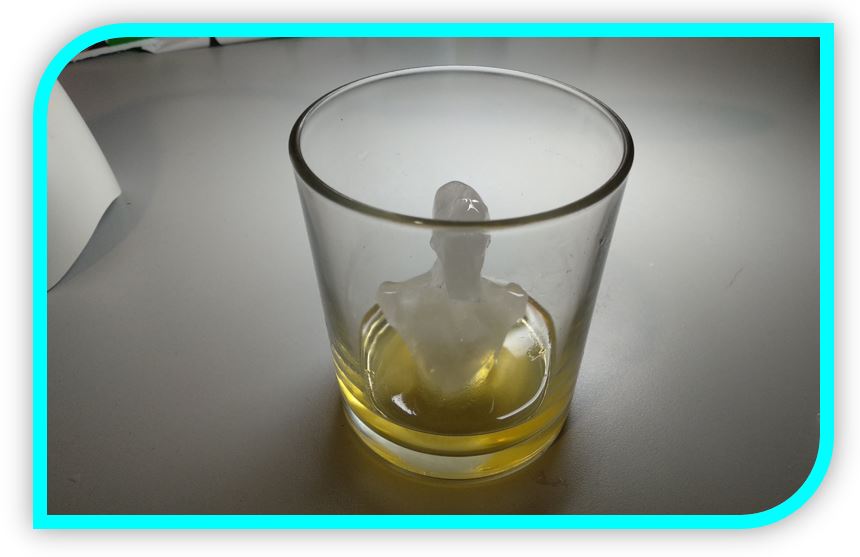
The end result, a stylish glass.
9.- Experience and conclusions from week 11:
This week has been interesting, I had never made a wax mold. I only knew the theory of a Manufacturing subject when I was studying at the University.
As in previous weeks, I had time to show my progress in the Regional Review but I could not show the results with chocolate not ice. I got them a couple of days later.
The molds I made work fine, but for next time, I have to improve the thickness of the walls. With this solution, the two parts of the silicone mold should join better, without the walls being easily deformed.
In addition, as the colleagues also told me in the Regional Review, it would be interesting to see the finish milled with a spherical bit, it will get a better result, but the small bit I had broke. Will try next time.
“What went wrong”: The chocolate test did not go well. It seems that being a very dense chocolate, it does not fill all the gaps. I should have used a more liquid chocolate, with more milk.
“What went well”: The ice test was very good. I also did another test with elastic resin, which was good.
“What will you do differently next time”: As I have commented, I would use a more liquid chocolate. Also, even if the walls of the mold were thin they worked well, I would try to make them a little thicker, because being deformable, they will close better.
10.- FILES