SLA 3D Printing
I’ve an SLA printer a few months ago. SLA printers unlike FDM printer doesn’t turn a solid filament into a viscous cord to print parts. Instead, SLA printers turn liquid resin into solid parts. Those resins have fascinating property. They solidify when exposed to UV rays. This interesting property was soon used for 3D printing, By focusing a laser beam toward a thin layer of resin, we can selectively solidify the resin.

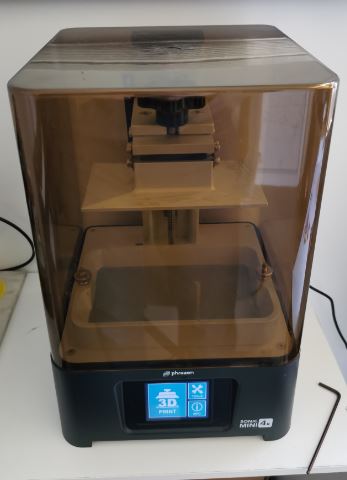
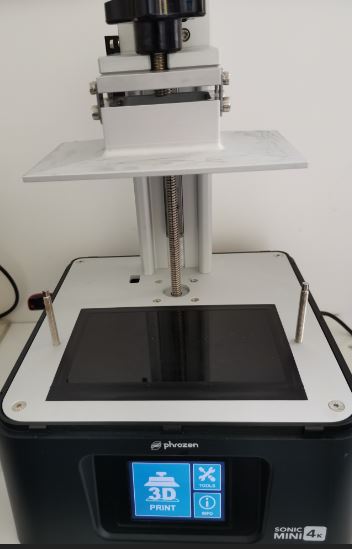
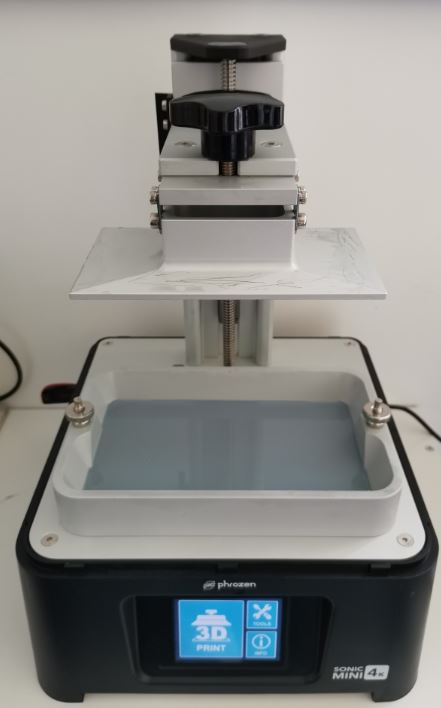
This process is now used in DLP printers. Unlike SLA printer, they use an LCD screen and a UV projector to selectively polymerize parts. My Phrozen mini 4k is equipped with a 4k LCD and a powerful UV projector offering a very good and fast precise parts. Those parts can be used to print figures or even small gear !
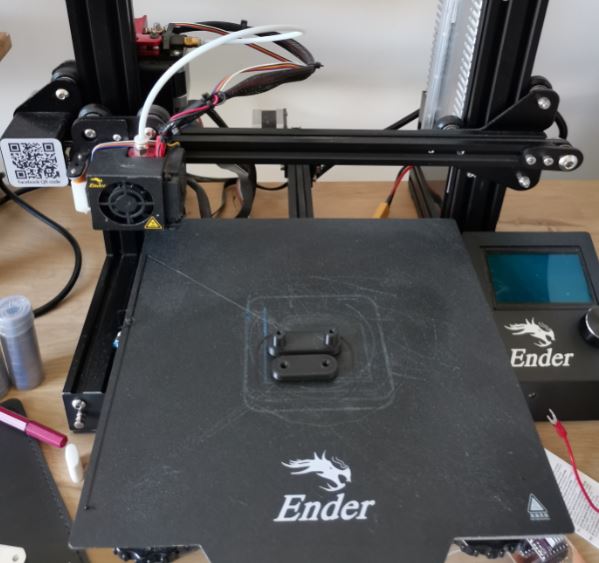
Here is my machine :
Group test
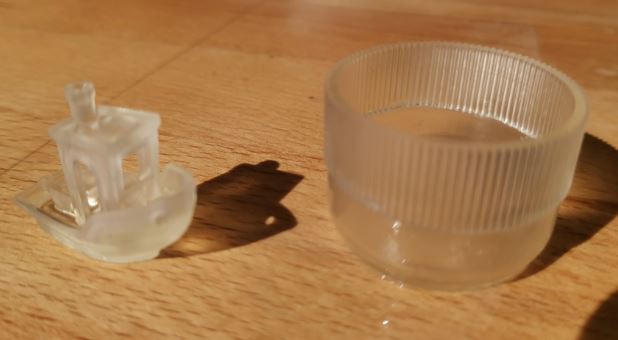
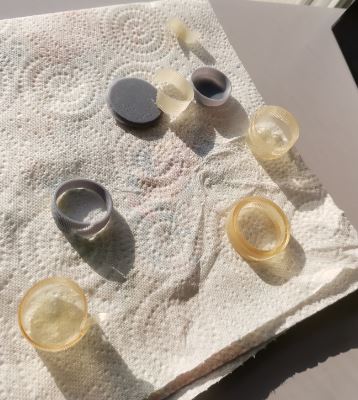
I also showed how to print SLA parts to Sylvain at the fablab, but I’ve done my assignment at home for more comfort as SLA printing can be a bit messy.. We successfully printed these test parts :
After a while exposed to the sun, the part don’t smell bad and are fully solid. This is probably the smallest benchy I ever printed. One very interesting things about DLP printers is that only two parameters change the print time, total part height and the layer height. Actually the layer complexity, unlike FDM printers, does not change the print size. This mean that you can just print 4 parts instead of one without making your print longer in time. You’ll of course use more resin but no more time.

Personal assignement
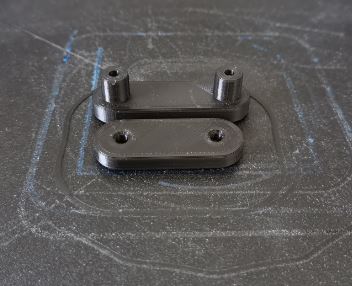
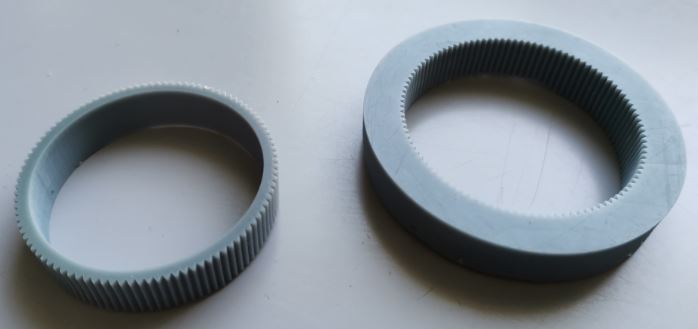
I designed a harmonic drive for my final project. Using Spur gear add-on in Fusion 360, I generate two gears and designed the wave generators. The wave generator will just act as a bearing holder. Each bearing will deform the deformable flexspline (moving gear) So I started my FDM printer and printed those bearing holders :
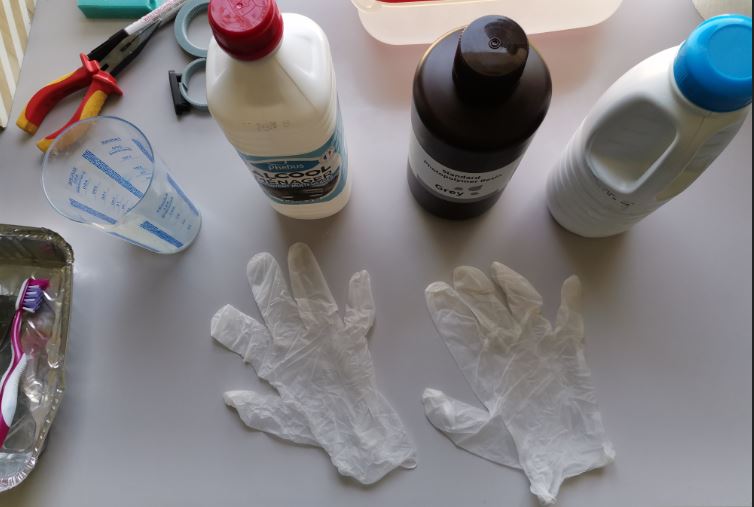
Time to switch to SLA printing ! But firstly, safety ! SLA is not without danger. It is very messy and may cause severe injury to your imune system. Resin are really hazardous and should not be used in not ventilated room. Please open windows and use ventilator. Wear mask, goggles, gloves as much as possible.
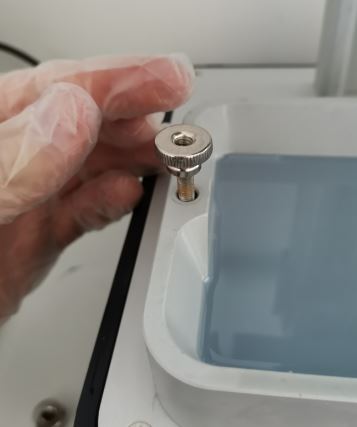
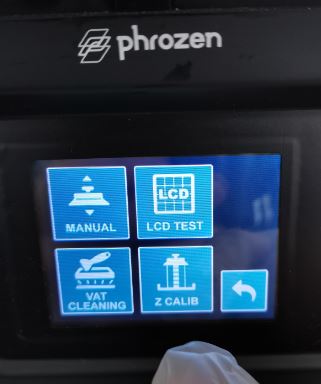
We need to setup the zero calibration of the printer. Start by removing the resin vat by unscrewing both side.
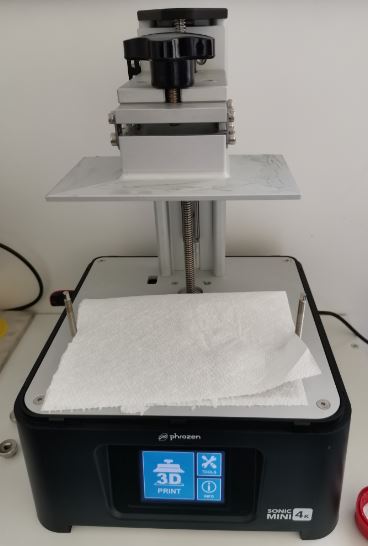
Using a wet towel (Alcohol, isopropanol) clean the LCD, resin may fall over or go through the transparent sheet eventually.
When everything is cleaned up, place a thin piece of paper on the LCD screen. I’m using ether a paper towel of print paper.
Then unscrew the aluminum bed to make it loose.
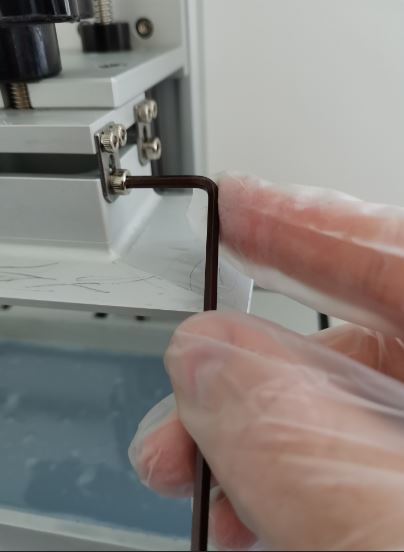
When you’re sure it can move freely (You may break the LCD if not), start the zeroing process.
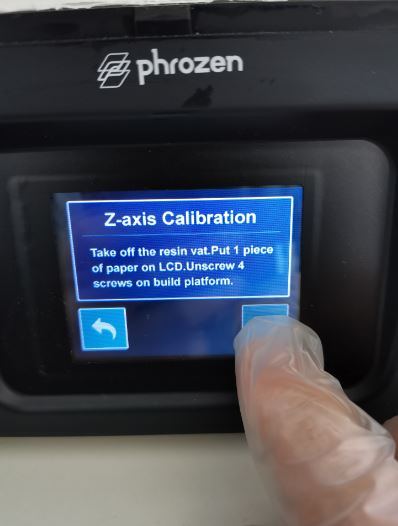
The printer will go down to the piece of paper. When it stops, press gently the buildplate to ensure the paper is blocked. Then tighten all the screws back. Follow the last steps on the screen and pu the resin vat back (don’t screw one side totally before the other, tighten them together).
Close the machine and start to print :) I’ve done tons of experiment with different resin and settings…
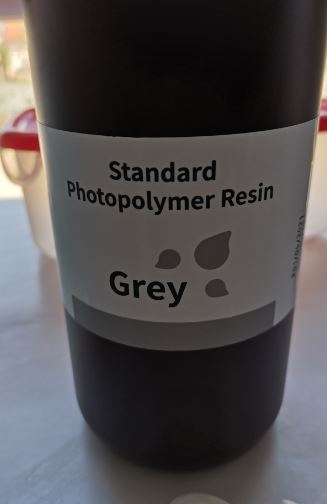
Finally, I got satisfying result using this resin from eleegoo (cheaper than resin from phrozen). But afterwards I realize that resin from Phrozen are less aggressive (less allergy), have lower odor and the parts are stronger… So they are worth it…
Then I assembled all parts and got this result :
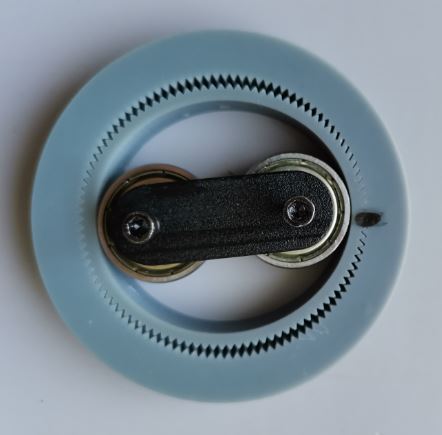
The prototype worked for a few rotations but the inner gear finally broke. The deformation are too important resulting in high stress and fatigue in the part. I need to re-design those parts using smaller gears. But the concept worked as you can see here :