Interface and application programming
This week we had to :
- Write an application that interface a user with an input &/or output device we made
- Compare as many tool options as possible
Lidar analyser
Each year, the French robotics cup call hundreds of robotics enthousiast. As one of them, and member of a team, I’m taking parts to the challenge since 2017.
This challenge isn’t about robot figthing even if lot’s of them die in the process… The challenge is peaceful and robot needs to acheive complex tasks such as object manipulation, strategy … Of course the robots are fully autonomous, when the match start, we can’t interfere in the program.
If you’re intersted by how what kind of task the robot should make, please watch a short match.
This year we decided to implements a Lidar in our robot to avoid opponent. As we had some problem with our previous solution, switching to Lidar seems a good idea. However, I need to mention that we are only using microcontroler in our robots. Thus, I need to optimize the code to be powerful enough to run on a microcontroler. Which wasn’t so easy.
How it works ?
We are using two Teensy board in ou robot. The first is in charge of : - Strategy - HMI - Actuators - Communication - Sensors - Motion planning - …
The second one is in charge of the Lidar. We are not sure if the secondary teensy is neccessary but for a prototype it’s ok.
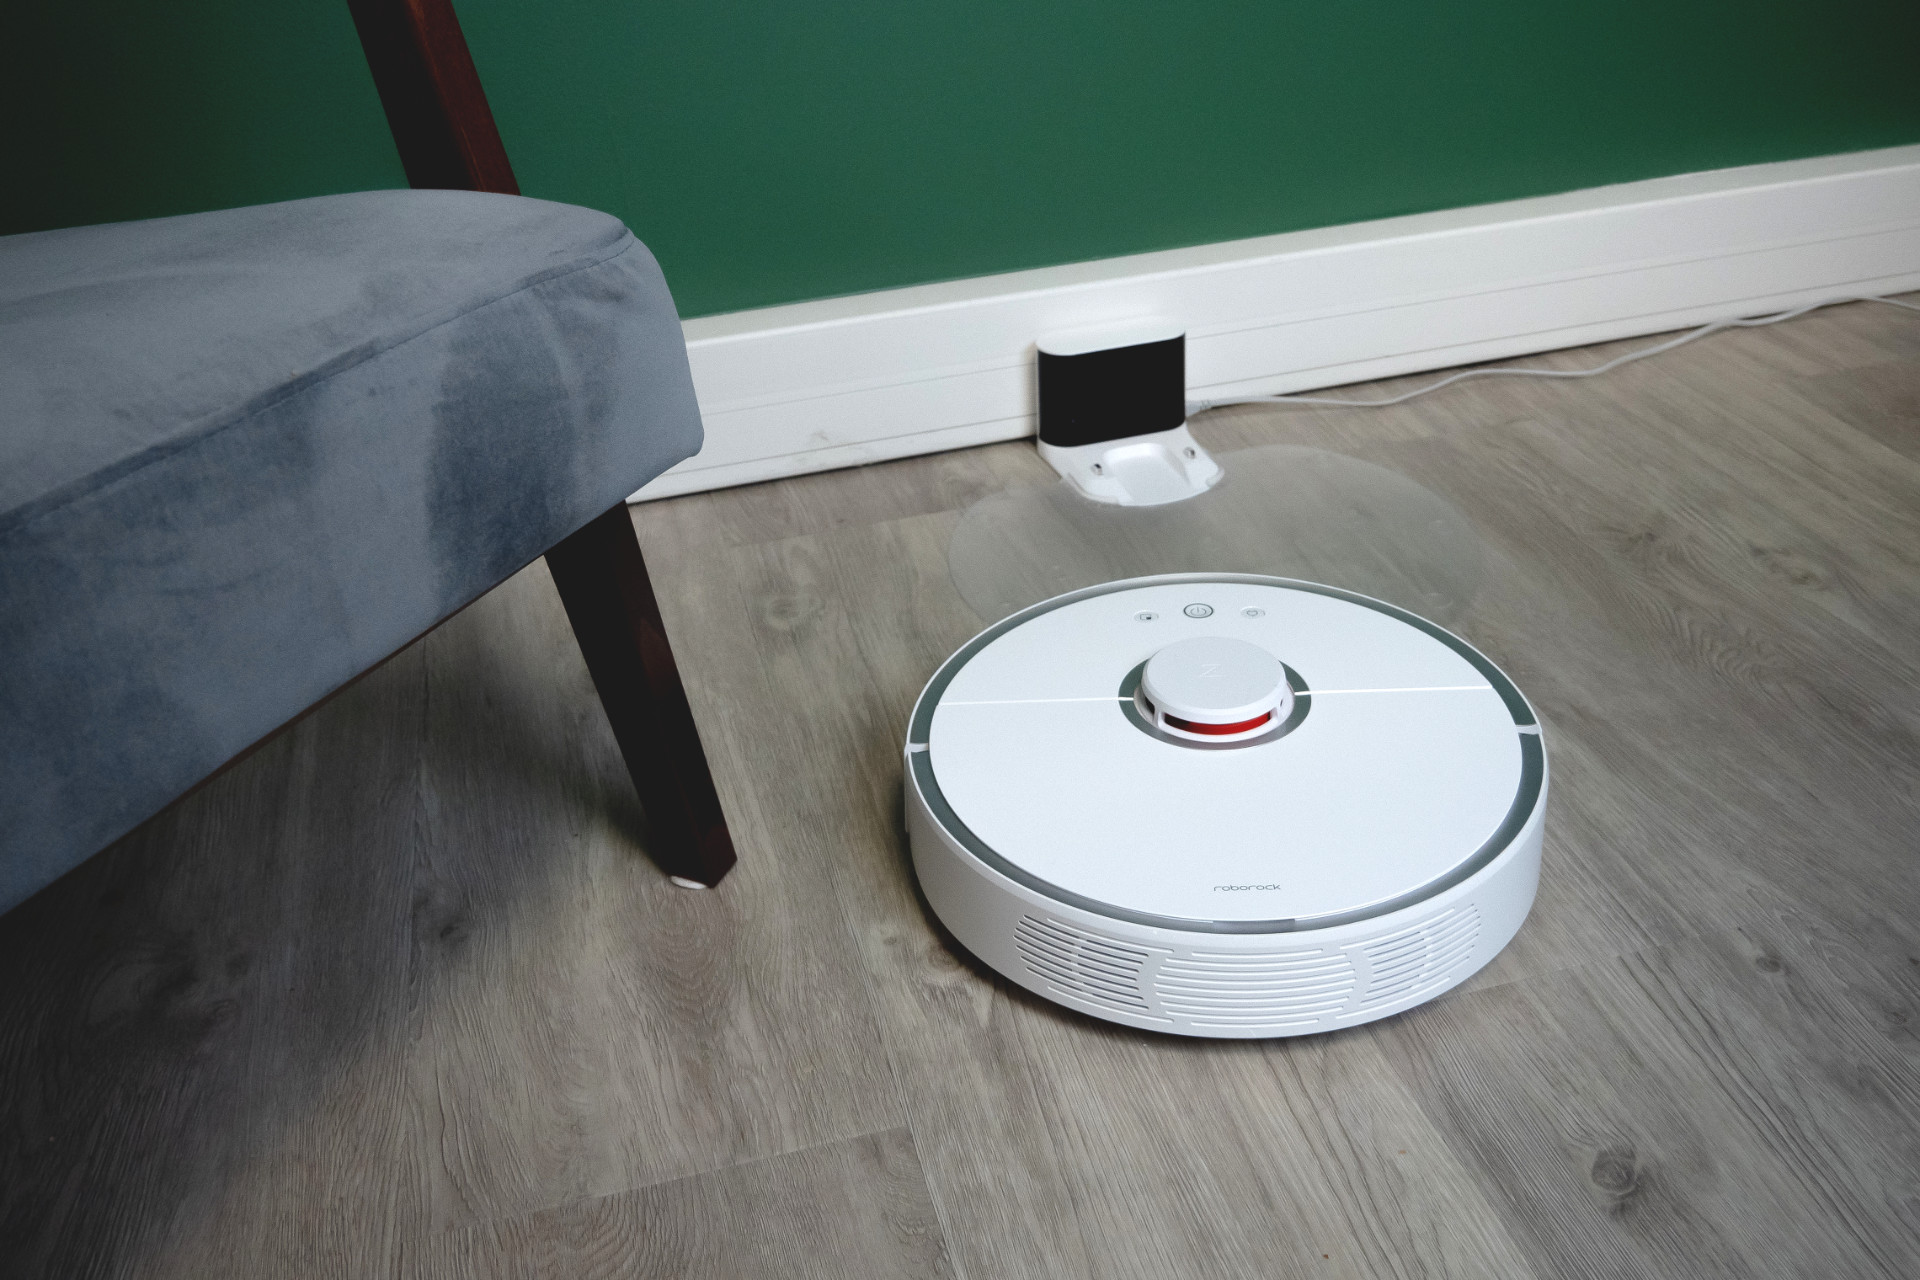
I began by programming the teensy to get data from the Lidar. I used a cheap LD06 Lidar. This lidar is available for ~80€ in france You have propably seen a lidar one day. Their are very common in autonomous vacuum robot :
Lidar are a great piece of technologie. Their are in fact faster than light ! No joke, here is how it works :
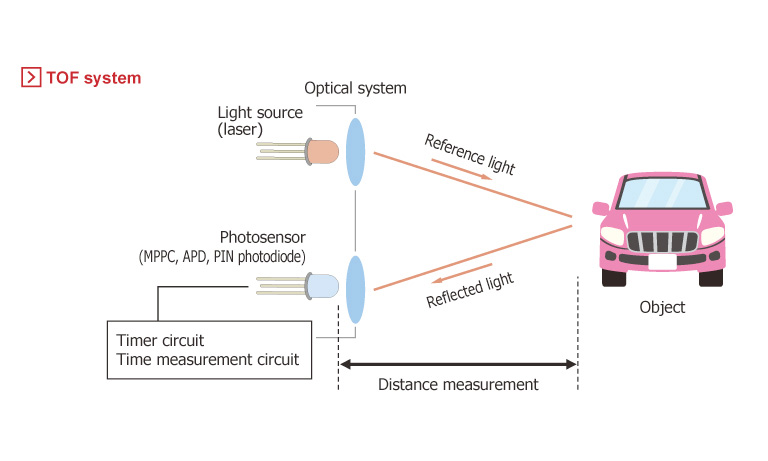
A laser is emmiting light which reflect on a distant object and come back to the photosensor. The onboard microcontroleur measure the time the light took to make the travel and the distance is deducted from those measure.
Our LD06 is a 2D Lidar fast enough to perform 4500 measure per second ! Impressive ! Obviously I won’t read and parse those 4500 point. But I will use part of this information to perform obstacle avoidance and path planning.
Microcontroller (C++) program :
Here is the code running in the Teensy :
//
//   _______       _       _      _     _
//  |__   __|     (_)     | |    (_)   | |
//     | |_      ___ _ __ | |     _  __| | __ _ _ __
//     | \ \ /\ / / | '_ \| |    | |/ _` |/ _` | '__|
//     | |\ V  V /| | | | | |____| | (_| | (_| | |
//     |_| \_/\_/ |_|_| |_|______|_|\__,_|\__,_|_|
//
//     Author  : Nadarbreicq, JulesTopart
//     Version : 0.0.1
//     Last update : 24 / 04 / 2022

#include "TwinLidar.h"

void setup(){
    //--- INIT ---
    Intercom::init();
    Debugger::init();
    Lidar::init();
    Debugger::log << "Init OK.";
}

void loop(){
    Parser::readSerial();
    //Intercom::checkSerial();
    Debugger::printBuffer();

   delayMicroseconds(100);
}
Not a lot to say about this part. The teensy initiatlize the serial communication with : - The PC : Debugger - The lidar : The sensor - Intercom : The communication with the main microcontroller (Strategy)
Then the loop function execute forever. First, the teensy read the incomming data from the lidar and store them as Points (distanse and angle) in an array. Then, It just copy those data into the PC Serial port to forward data to my processing application.
If your interested by the code, eveerything is available Here
Processing (Java) application
![]()
Then I began to work on my Processing application Processing is a very simple IDE made to facilitate the developpement of small software.
In processing, as an ancestor of arduino, you’ll use 2 main function : - setup : which is executed once - draw : Which is executed forever
Each time the draw function is executed, the graphical application is rendered. Which means that if you draw things in the draw functions, they will be rendered at the end of the function execution.
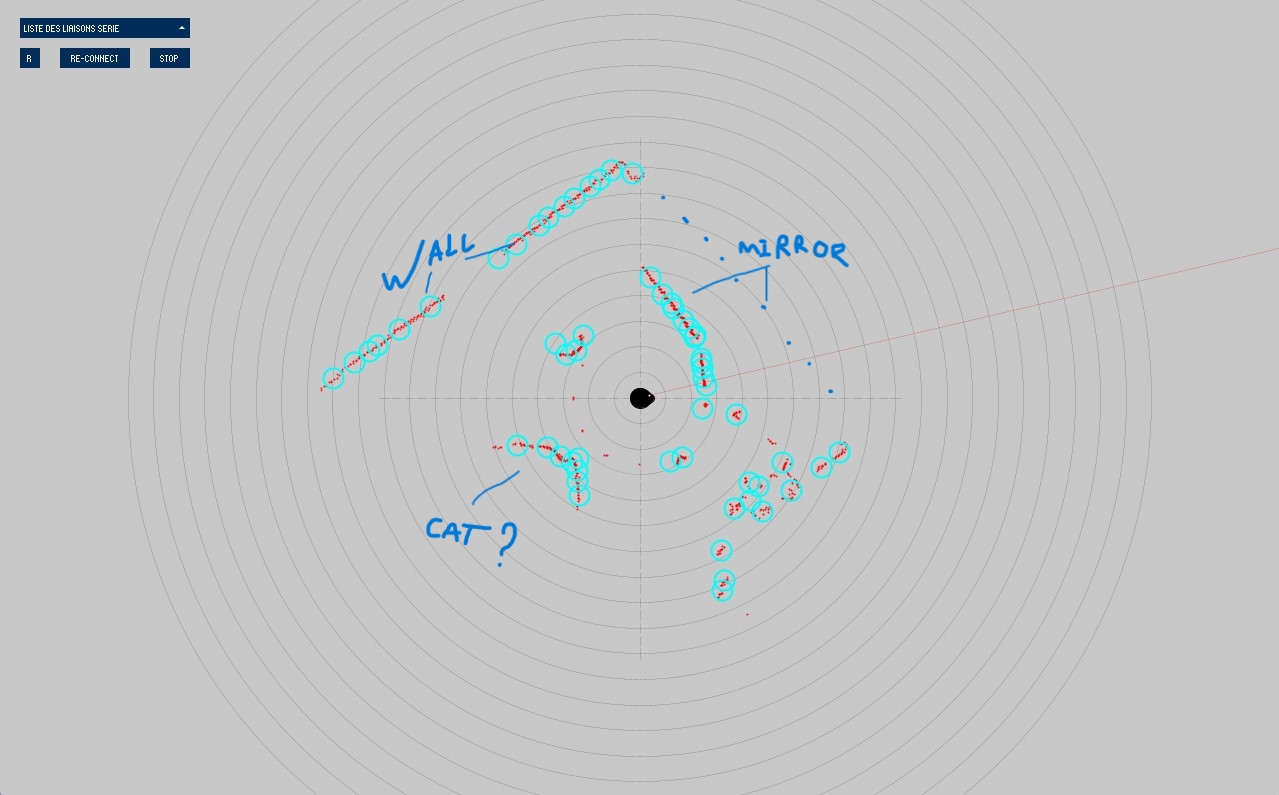
I began by drawing/programming a simple coordinate software. As my lidar will display point using distance and angle, It make sens for me to use concentric circles.
int circleCount = 10; //Number of concentric circle
int spacing = 10;   //spacing between circles

void setup(){
  size(600,800);    //Create the 600x800 window
}

void draw(){
    background(200); // Reset the screen by filling with light gray
    noFill();       // Disable filling to make circle hollow
    stroke(255);    // Use White as circle color
    for(int i = 1 ; i <=  circleCount; i++){
        ellipse(width/2,height/2,spacing*i,spacing*i);
    }

}
When you click render you get this :

After a while, I created a new Tab and a class to render the coordinates system properly. Here is the function :
PolarSystem coordSystem = new PolarSystem();
class PolarSystem{
float radius = 0.8;
int subdivision = 20;
PolarSystem(){}
void draw(){
center();
noFill();
strokeWeight(0.2);
stroke(80);
float dR = radius/subdivision;
float dRpix = toPixel(dR);
for(int i = 1; i <= subdivision; i++){
circle(dR*i);
line( dRpix*i/2 - 5, 0, dRpix*i/2 + 5 ,0);
line(-dRpix*i/2 - 5, 0, -dRpix*i/2 + 5 ,0);
line(0, dRpix*i/2 - 5, 0, dRpix*i/2 + 5);
line(0, -dRpix*i/2 - 5, 0, -dRpix*i/2 + 5);
}
resetMatrix();
resetStroke();
}
};
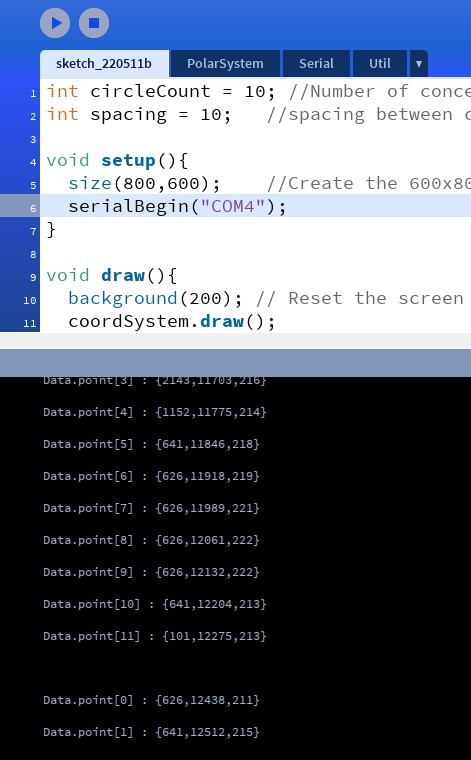
void setup(){
size(800,600); //Create the 600x800 window
}
void draw(){
background(200); // Reset the screen by filling with light gray
coordSystem.draw();
}
Here is the result :

Perfect ! Isn’t it ? Now It’s time for Serial communication.
To gather data from the lidar, I need to communicate with it using the USB Serial. There is a library in charge of the serial communication in Processing.
So connecting to USB Serial is simple as that :
import processing.serial.*;          // Import the serial library
Serial myPort;                       // Create the serial port object

boolean connected = false;
int baud = 115200;

public void serialBegin(String port){
 printArray(Serial.list());
 myPort = new Serial(this, port, baud);
 println("Serial connection has begin on port " + port);
 myPort.bufferUntil('\n');
}
This small function will open the desired Serial port. After that, each time the teensy is sending data trough the serial port, Processing will call an event function named serialEvent.
Here is the difficult part. I began by just printing the incomming message trough the console :
void serialEvent(Serial p){
    if(connected == false) connected = true;
    while(p.available() > 0){
        println(p.readString());
    }
}
When you run the sketch, you get the first data coming trough the Teensy straight to the PC Serial port.
To facilitate the Serial connection I decided to add a very simple UI. This UI will allow the user to switch the COM port of the board. To make the UI Simple, I used a GUI Library nammed ControlP5.
Here is how to create a few buttons and a dynamic list containing available COM Ports:
import controlP5.*;                  // Import the CP5 library
ControlP5 cp5;                       // Create the CP5 object

// Dynamic list
ScrollableList serialList;

// Buttons
Button serialBegin;
Button serialStop;
Button serialRefresh;

// State of the buttons
boolean clicSerialBegin = false ;
boolean clicSerialStop = false ;
boolean clicSerialRefresh = false ;

void createGUI()
{

  cp5 = new ControlP5(this); // Initialize Library Event handler


  cp5.getTab("default")
     .activateEvent(true)
     .setLabel("Liaison Serie")
     .setId(1)
     ;

  serialList = cp5.addScrollableList("dropdown")
     .setCaptionLabel("Liste des liaisons serie")
     .setPosition(20, 20)
     .setSize(170, 800)
     .setBarHeight(20)
     .setItemHeight(20)
     .addItems(Serial.list())
     .setOpen(false)
     .moveTo("default")
     ;

  serialRefresh = cp5.addButton("serialRefresh")
     .setCaptionLabel("R")
     .setPosition(20,50)
     .setSize(20,20)
     .moveTo("default")
     ;

  serialBegin = cp5.addButton("serialBegin")
     .setCaptionLabel("Connection")
     .setPosition(60,50)
     .setSize(70,20)
     .moveTo("default")
     ;

  serialStop = cp5.addButton("serialStop")
    .setCaptionLabel("Stop")
    .setPosition(150,50)
    .setSize(40,20)
    .moveTo("default")
    ;

   println("Bievenue dans l'interface LiDar");
   println("Appuyez sur 'h' pour faire apparaitre l'aide");
   printArray(Serial.list());

   serialList.bringToFront();

  cp5.get(Button.class,   "serialBegin")  .setVisible(GUIVisible);
  cp5.get(Button.class,   "serialStop")   .setVisible(GUIVisible);
  cp5.get(Button.class,   "serialRefresh").setVisible(GUIVisible);
  cp5.get(ScrollableList.class, "dropdown").setVisible(GUIVisible);
}

void keyPressed()
{
  if ( key == 'v' ) GUIVisible = !GUIVisible;
  if ( key == 'h' )
  {
    println("Help for the beacon interface");
    println("'h' - Help");
    println("'v' - Visibility of the GUI");
  }
}
Here is What you get when running the createGUI function :

We need to somehow parse those data to store a list of Points. I created a Point class to store the distance and the angle of the point in polar coordinates and an other one in cartesian coordinate. When data are incomming, their are checked, converted, and store in a point array.
class Point{
  PVector pos;
  color c;
  int opacity;
  int cluster = 0;

  Point(){
    pos = new PVector();
    pos.x = random(-1,1);
    pos.y = random(-1,1);
    c = color(255,0,0);
    opacity = 255;
  }

  Point(float x, float y){
    pos = new PVector();
    pos.x = x;
    pos.y = y;
    c = color(255,0,0);
    opacity = 255;
  }

  Point(PVector origin){
    pos = new PVector();
    pos.x = origin.x;
    pos.y = origin.y;
    c = color(255,0,0);
    opacity = 255;
  }

  void update(){
    opacity -= 5;
    if(opacity < 0) opacity = 0;
  }

  void draw(){
    translate(width/2, height/2);
    strokeWeight(2);
    stroke(c, opacity);
    point(pos.x,pos.y);
    //line(0,0,pos.x,pos.y);
    resetMatrix();
  }

};


class PolarPoint{
  float _distance, _theta;
  int _intensity;

  PolarPoint(){
    _intensity = 100;
    _distance = random(-0.8,0.8);
    _theta = random(-0.8,0.8);
  }

  PolarPoint(float distance, float theta, int intensity){
    _intensity = intensity;
    _distance = distance;
    _theta = theta;
  }

  void draw(){
    center();
    rotate(_theta);
    strokeWeight(2);
    stroke(map(_intensity, 0,100,0,150),0,0);
    point(_distance,0);
    strokeWeight(4);

    stroke(0);
    point(0,0);
    resetStroke();
    resetMatrix();
  }

  void debug(){
    println("polar coordinate : [" + _theta + "°, " + _distance + " u]");
  }

  Point toPoint(){
     return new Point((_distance* cos(_theta)), (_distance*sin(_theta)));
  }

};
Now I able to display the points on the coordinate system.
 ;
;
The last step is to interprete those points to take decision. My my goal is to detect and opponent, not obstacles. This is my attempt on K-Mean clustering algorithm :
More info on K-mean algorithm here :
Qt Comparison
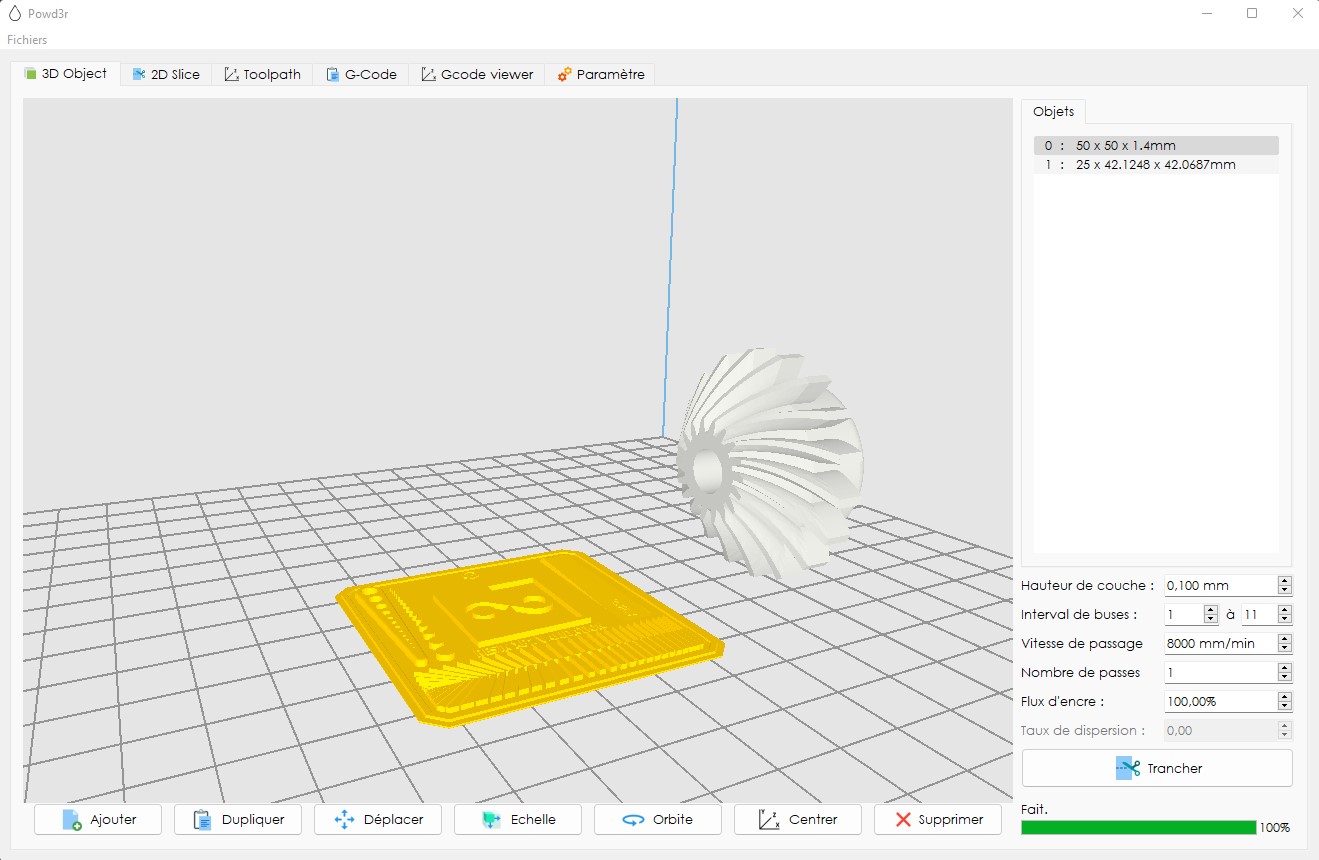
Ususally I’m creating application using Qt. Qt is a C++ Framework used to make professionnal application. My last project with Qt was a 3D slicer for 3DP printing.
C++ is a very powerful programming language that can be used for complex task. It is more optimize and it is faster than python of Java for instance which are interpreted language.
The problem with C++ is that it requires very advanced programming. You need to implement everything mannually or usng difficult library. This language is far away from our thinking habits.
The cool things about Qt is the Qt creator tool. You can easily create your own UI by using the widget toolbox.

But once you UI is created, you have to create the logic behind it yourself. Connect a button to a such function…
For instance I had to create my own 2D engine to drawn lines and stuff on the screen…

Or even my own 3D engine using OpenGL !
Compared, to processing, Qt is way powerful. You can create big projects with heacy calculation and rendering behind it. Those kind of app can be selled afterward.
Processing provide all the function you need without too much work. The 2D engine exist as well as 3D engine, Font management, file management… But it is much slower and it may be difficult to create big project with it.
Download
Here is my full code, If you are interested :