Helmut Uwe [OOVAE] Terton - Fab Academy |
||
Helmut Uwe [OOVAE] Terton - Fab Academy |
||

The idea of designing a sound object is based on Fibonacci numbers and sequences resulting in the golden means.
We see lots of Fibonacci sequences reflected in nature, such as fern unfolding, fern leaves, sunflower seed pods, the nautilus shells and the shape of galaxies.
I started collecting different images from the internet which I won't display here because of copyright issues.
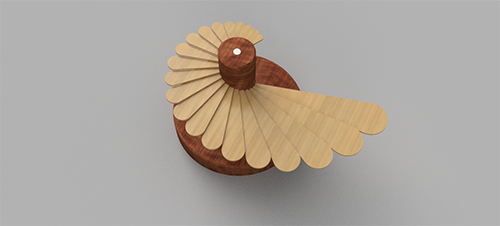
Afterwards, I settled on the shape of a nautilus shell that could inform the design and sound of my first sound object.
I sourced a shell online and bought it from a nearby seller.
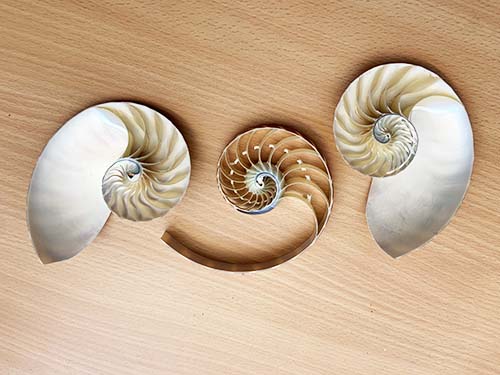
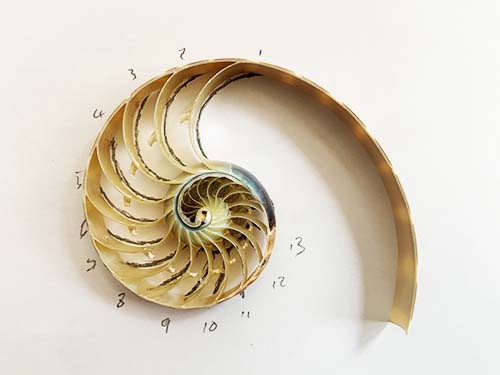
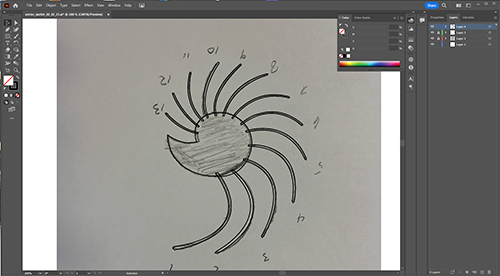
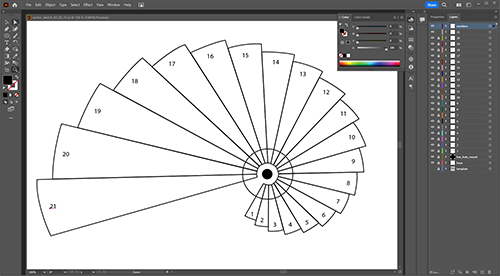
Once I had the shell, I traced it's shape with pencils, the inner segments were meant to become wooden panels to play and to produce some sort of sound.
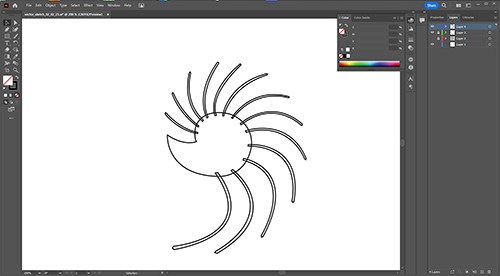
The pencil sketches were transferred as template images into Adobe Illustrator to start the 2D visualisation of the sound object.
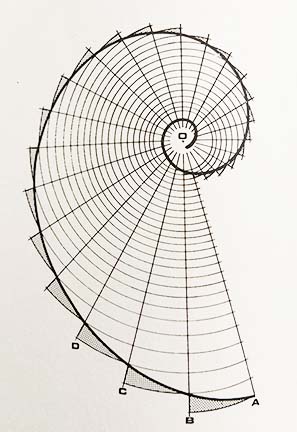
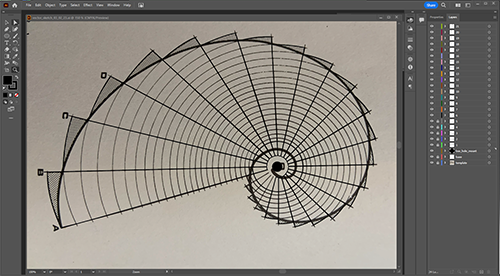
While I was working on it one of my friends gave me a book on proportional harmonies in nature, art and architecture based on Fibonacci sequences The Power of Lines by Cyorgy Doczi.
In this book I found the following illustration that also represents the unfolding of a fern leaf. I thought that the panels in this illustration could become the wooden panels/wings for the sound object/instrument.
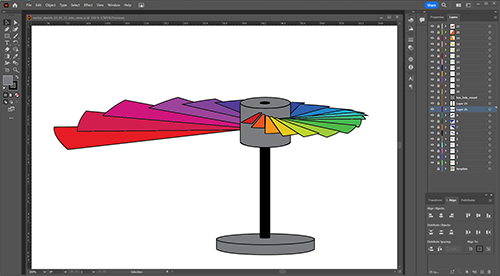
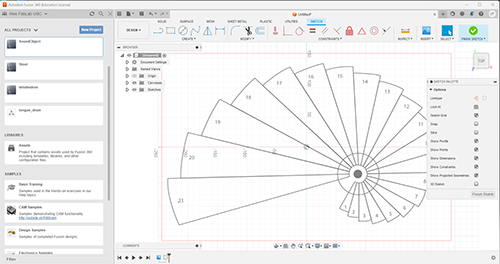
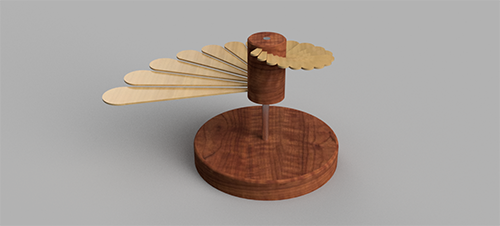
I imported the image into Adobe Illustrator and started tracing the shape turning it into a sound object with a base and stand. I altered the top down view illustration in a way so that it looks 3D.
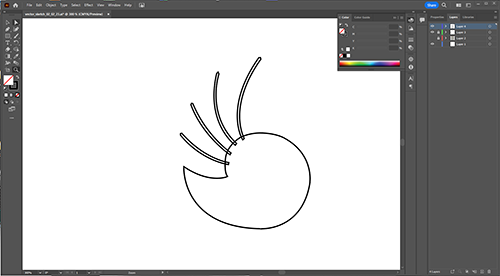
Based on the new fern leaf image, I changed my design idea to a more horizontal spiral design.
I altered the top down view illustration in a way so that it looks 3D.
Inspired from the vector illustrations I started modelling the object using FreeCad, after watching a few tutorials and spending three hours with FreeCad, I decided to give up. FreeCad does not work for me, it is not intuitive and has little in common with other CAD or 3D visualisation software I have used in the past, which were mainly Autodesk products.
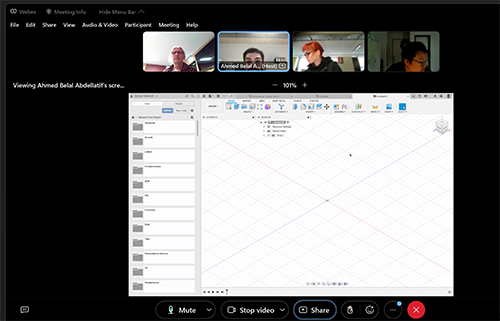
Last year I have started using Fusion360 but did not get far with it either but this time I wanted to give it another crack. Ahemed provided us with a very detailed and encouraging Fusion360 tutorial. Thank you Ahmed.
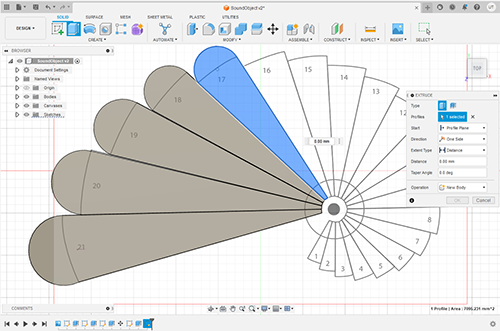
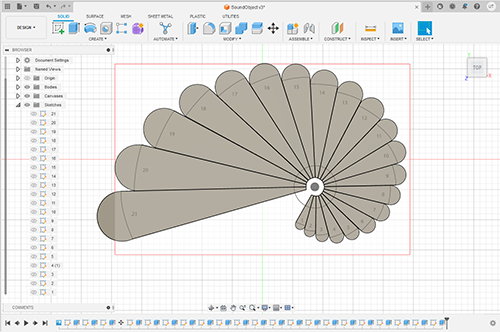
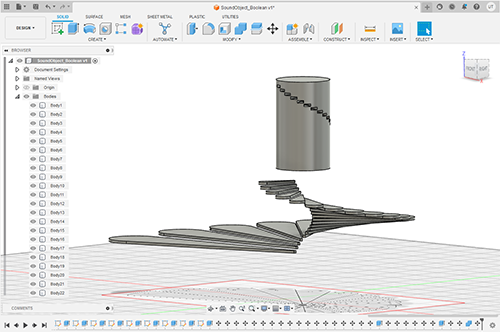
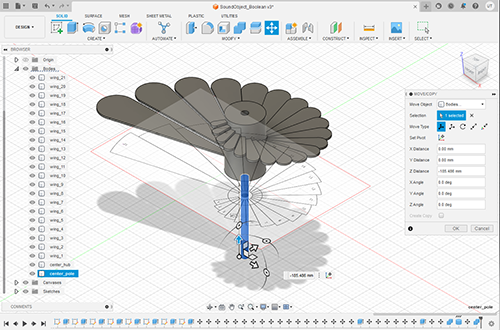
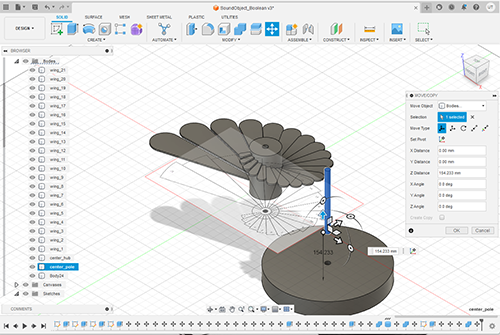
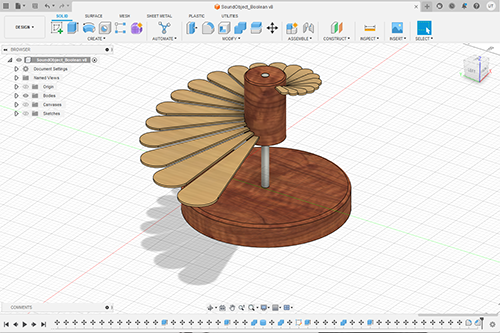
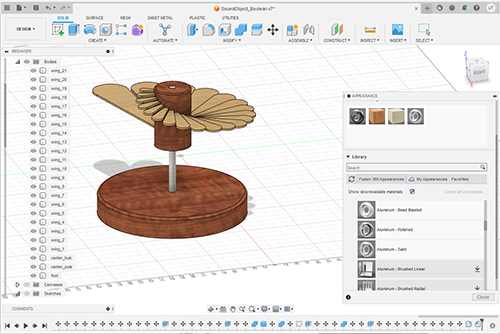
I imported the same vector-sketch of the unfolding leaf that I had used in FreeCad and started tracing the individual elements in Sketch mode. It felt a lot easier than last year, the extrusion function is simple and in a few hours I was able to accurately model the sound object, apply textures to it and render it out.
Animate and Simulate was another task of our assignment for week 2.
The plan is to visualise in 3D the workings of the project.
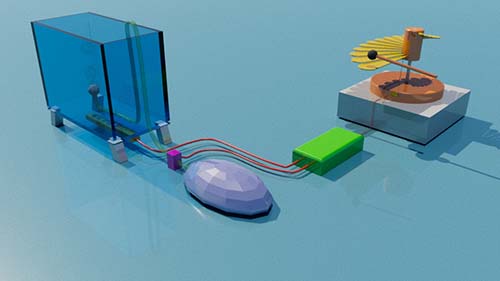
The sounds emitted when the sound object is played should be recorded either by a microphone or by piezo sensors (piezoelectric) that can detect vibrations of the individual tongues. The analogue frequencies and amplitudes created will be digitalised via a microphone sound sensor (KY-038 or LM393).
The data is then sent to an Arduino UNO for further processing by executing specific code. Based on the nature of frequencies and amplitude brackets a signal is sent to mini solenoid valves that will release air pressure to aerators submerged in a water tank. Signals will be also sent to a smart LED strip that allows change to light intensity and colour. Both, the colour and intensity change plus the duration of air bubbles represent the sound created when the instrument is played and therefore will visualise the sound quality in a specific manner.
This project is a prototype of a greater art project where I will use the four elements of Fire, water, air and earth to visualise sound. The greater art project is not part of the FabAcademy studies and falls outside of the program timeline.
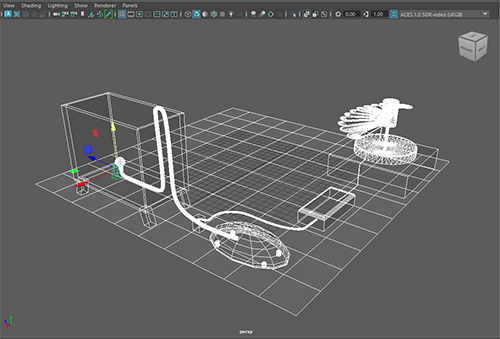
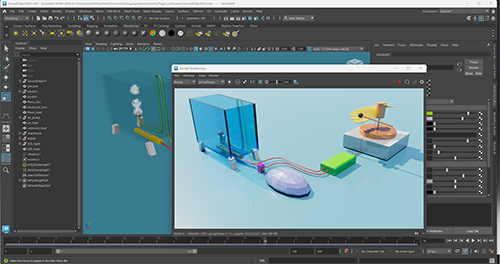
I have chosen Autodesk Maya as a software to be used for the visualisation.
The sound object modeled in Fusion has been saved as an OBJ file and then imported into Autodesk Maya. OBJ files are transferrable between all Autodesk products.
I started modelling all the items using polygon primitives and manipulated them using extrusion, edge, face and vertex manipulation.
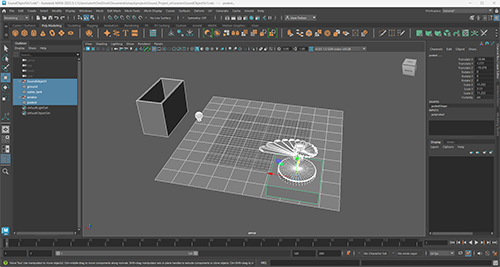
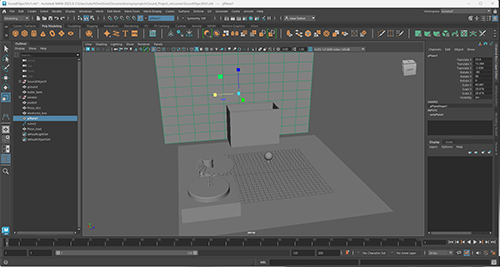
I encountered issues with drawing curves in 3D space, after googling the issue and watching a Youtube tutorial I learned that I had to create a vertical plane and make it active in order to draw a curve in vertical space.
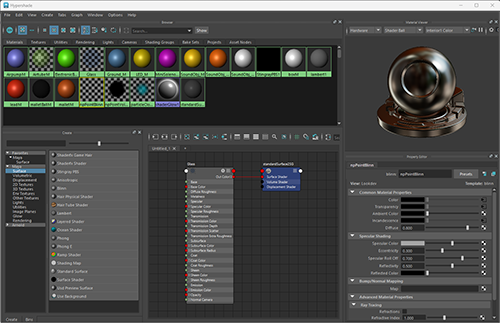
After having completed all objects also known as props, I then applied different materials to the probs to apply different colours to the objects.
Next step was setting a global light to illuminate the scene.
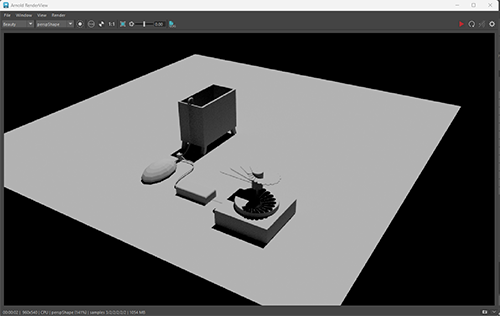
The test renders came out dark, which is quite normal with the Arnold render engine that comes with Autodesk Maya. To overcome this issue, I had to increase the light intensity.
I am pretty happy with the initial renders.

Top Down View of the Sound Object in Adobe Illustrator file
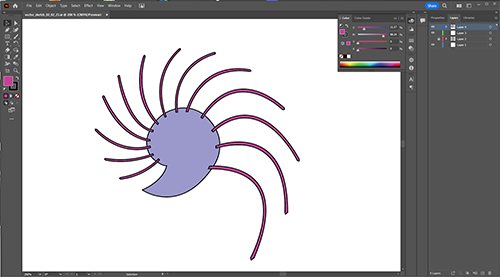
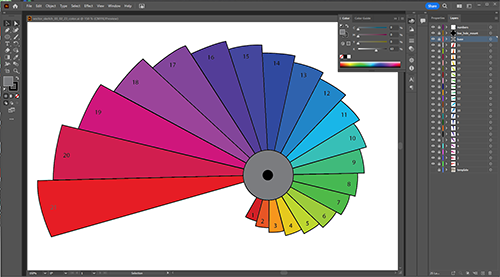
Finished Sketch Top Down View in Colour of the Sound Object in Adobe PDF file
Finished Sketchof the Sound Object in Side View Adobe PDF file
Finished Sketch of the Sound Object in Side View Adobe PDF file
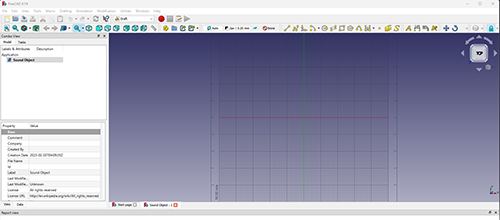
Sound Object Fusion 360 file