Helmut Uwe [OOVAE] Terton - Fab Academy |
||
Helmut Uwe [OOVAE] Terton - Fab Academy |
||

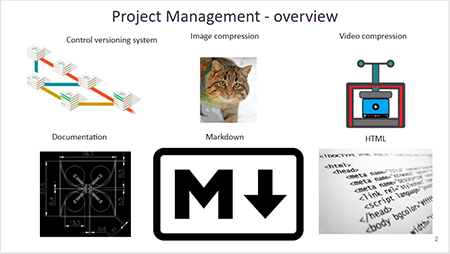
The first week I learned about project management and documentation, both are essential in order to successfully design and develop a project in collaboration with others.
For control versioning we are using Git, according to Wikipedia (2020)Git is a distributed version-control system for tracking changes in any set of files, originally designed for coordinating work among programmers cooperating on source code during software development. Its goals include speed, data integrity, and support for distributed, non-linear workflows (thousands of parallel branches running on different systems), (Wikipedia, 2021).
Git was created by Linus Torvalds in 2005 for development of the Linux kernel.
I am using a laptop running Windows 10 operating system. Git runs best on Linux or Mac so I was anticipating to run into some difficulties when installing Git.
I followed the instructions provided by the FabAcademy website.
First step is installing a SSH key to enable SSH or Secure Shell which is a cryptographic network protocol for operating network services securely over an unsecured network.
I used CommandPrompt to generate the SSH key.
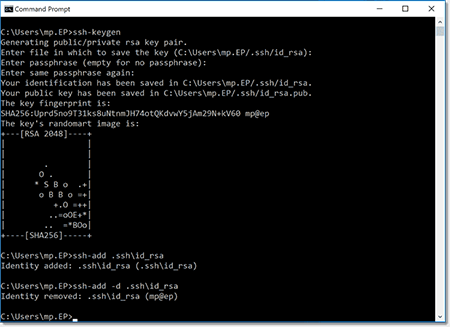
Once the SSH Key was generated I downloaded Git from https://git-scm.com/download/win and tried to install the GitGui that comes with GitBash.
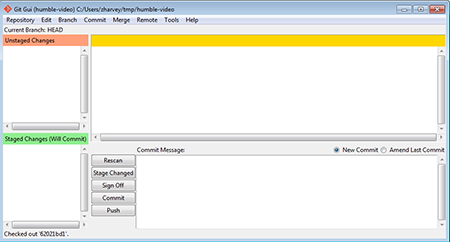
The GitGui focuses on allowing users to make changes to the repository by making new commits, amending existing ones, creating branches, performing local merges, and fetching/pushing to remote repositories. GitBash is an application for Microsoft Windows environments which provides an emulation layer for a Git command line experience.

When trying to connect to the Kamp-Lintfort FabLab server I encountered a problem:
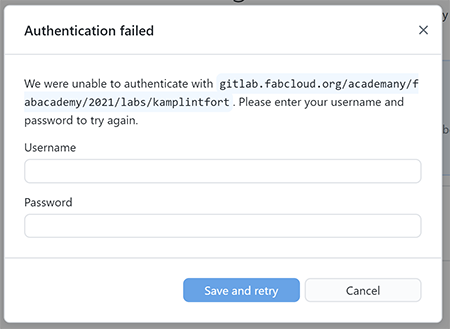
During the tutorial on the 26-01-2023, I encountered problems connecting to the GIT server. With the help of Ahmed and Marcello from the Kamp-Lintfort lab I was able to connect to the server and upload a hello.txt file as a test.
To solve the problem we had to delete the old SSH key from 2021 (from my previous studies) and installed a new SSH key. The new SSH key was then copied into the GitGUI.
The GitGUI can be downloaded from here: https://git-scm.com/downloads/guis

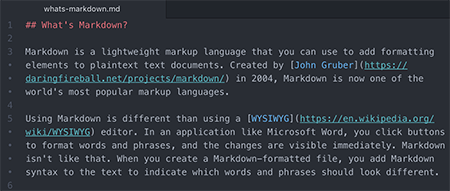
The Markdown Guide is a free and open-source reference guide that explains how to use Markdown, the simple and easy-to-use markup language you can use to format virtually any document. It is very easy to learn and therefore ideal for beginners.
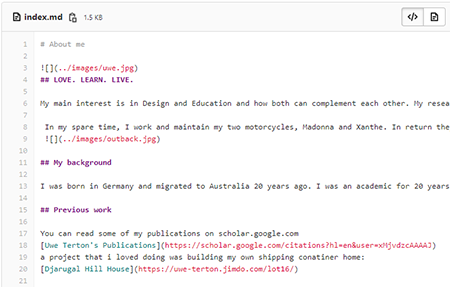
I used MD to write content to go into the FabAcademy's template residing in Git.
Here is an example of some code for the about me section:
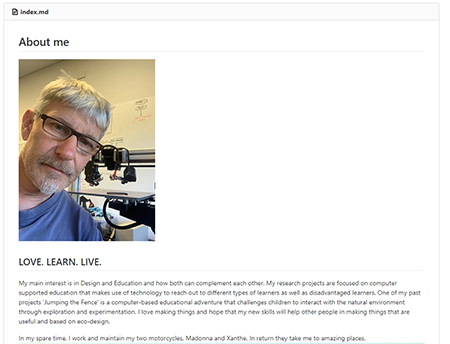
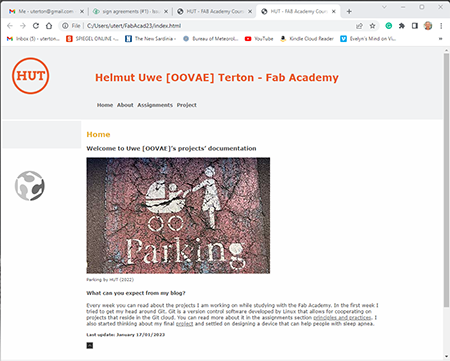
and this is how it looks once transferred into HTML and displayed in a web browser.
Wikipedia has the following definition on HTML:
"Hypertext Markup Language (HTML) is the standard markup language for documents designed to be displayed in a web browser. It can be assisted by technologies such as Cascading Style Sheets (CSS) and scripting languages such as JavaScript.
Web browsers receive HTML documents from a web server or from local storage and render the documents into multimedia web pages. HTML describes the structure of a web page semantically and originally included cues for the appearance of the document".
Wikipedia,2021.
In 1980, physicist Tim Berners-Lee, a contractor at CERN, proposed and prototyped ENQUIRE, a system for CERN researchers to use and share documents. In 1989, Berners-Lee wrote a memo proposing an Internet-based hypertext system.[3] Berners-Lee specified HTML and wrote the browser and server software in late 1990.
I started learning HTML in 1992 while studying Media Sciences at the Eberhards-Karl University in Tuebingen. Those skills plus my screen design skills acquired in 1989 helped me to land my first job as a web developer with 21TORR.
Good place to learn HTML is the W3schools.com website the same goes for CSS and Javascript and many more web programming languages.
The FabAcademy is recommending to use Brackets as a HTML/CSS editor. It is an open source editor and free of cost. It works fine if you have lots of experience and most of the <tags> in your head.
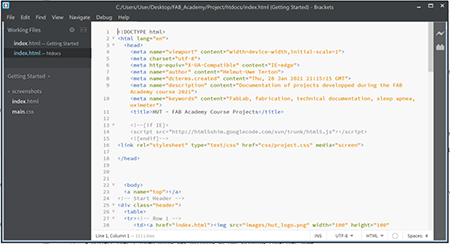
I figured out how to display HTML code in my documentation using a table and the <pre> tag.
Here is an example of some HTML code including comments that describe what each element in my code does. This is very helpful for other developers to make sense of my coding and be able to continue using my work.
It is all about sharing!!!
 <body>
  <a name="top"></a>
<!-- Start Header -->
<div class="header">
 vtable>
  <tr><!-- Row 1 -->
     <td><a href="../index.html"><img src="../images/hut_logo.png"
width="100" height="100" alt="Helmut Uwe Terton" border="0"></a></td><!-- Col 1 -->
  	<td><img src="../images/1a.gif" width="100" height="1" alt="spacer" border="0">
</td>
     <td><h1>Helmut Uwe [OOVAE] Terton - Fab Academy</h1></td><!-- Col 2 -->
  </tr>
  <tr><!-- Row 2 -->
     <td><img src="../images/1a.gif" width="100" height="1" alt="spacer" border="0">
</td><!-- Col 1 -->
  	 <td><img src="../images/1a.gif" width="100" height="1" alt="spacer" border="0">
</td>
     <td><div class="sidenav"><p><a href="../index.html">Home</a>
<a href="../about/about.html">About</a>
<a href="../assignments/assignments.html">Assignments</a>
<a href="../projects/projects.html">Projects</a></p>
</div></td><!-- Col 2 -->
  </tr>
</table>
</div>
<!-- End Header -->
I have copied and pasted plus added my name to the student agreement to my wbsite into the student agreement section.
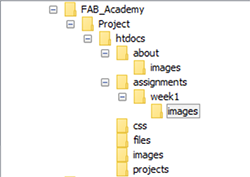
My file system is using a folder structure that has htdocs as it's parent folder. The naming convention is: all lower case, including file extensions, and the use of underscore (orange_tree.ext) between words, nospaces or special characters. The names are kept meaningful.
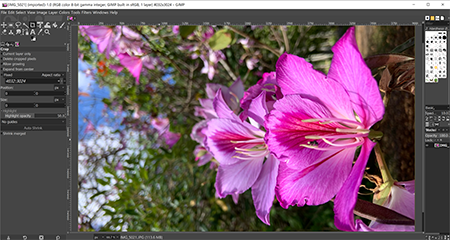
I installed Gimp2.10.22 from gimp.org. Gimp is a very powerful imaging software on parr with Adobe Photoshop. We use Gimp to manipulate images and export them to be used for the web.
Images to be dispalyed in a webbrowser should be relative small in file size and specific file formats have to be used such as JPG, GIF, PNG, WEBP,HEIC, AVIF and others.
It is a good idea to use JPG format for photos with gradients and GIF for graphics. PNG can be used for both.
In Gimp go to File > Export and choose the correct format and follow the prompts. Medium quality for JPGs will do the job and 256 colours for GIF.
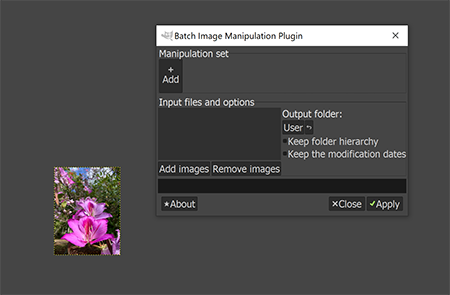
Bimp is a plug-in to Gimp and can be downlaoded from https://alessandrofrancesconi.it/projects/bimp/ that lets you do batch tasks such as rename, scale, rotate, color correction and more to multiple files (Fig. 15)
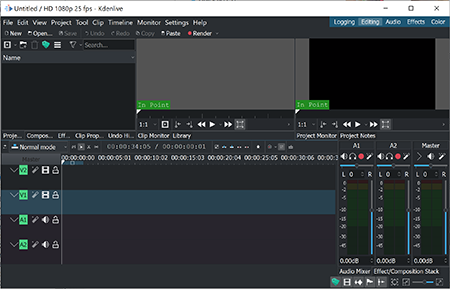
On the kdenlive website it says: Kdenlive is an acronym for KDE Non-Linear Video Editor. It works on GNU/Linux, Windows and BSD. Kdenlive integrates many plugin effects for video and sound processing or creation.
I must admit I haven't used KDenlive yet but learned from my tutir Daniele that it can compress video files, really small.
This is an important feature when it comes to technoical documentation to have small video files that load quickly and can be more easy accessed.
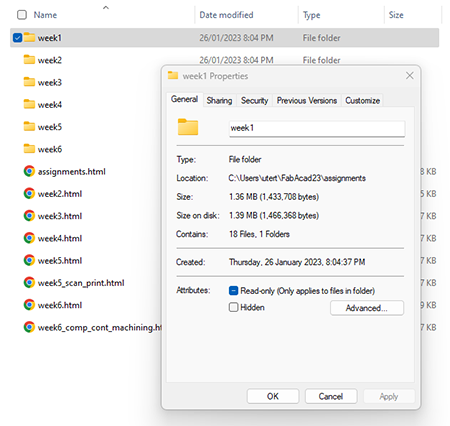
To make sure that for each weekly assignment I am under the allocated 10MB, I check the directory properties as illustrated. If the file size is over I will have to go back to the imaging software either GIMP or equivalent to optimise the file size and choose the correct image format as suggested by Neil.
Photos =*.jpg
Graphics *.png
Currently, I am using both GIMP and Photoshop. The following illustrations explain how file sizes can be controlled in Photoshop.
There are different file formats suitable for the web but the most common ones are JPG, GIF and PNG.
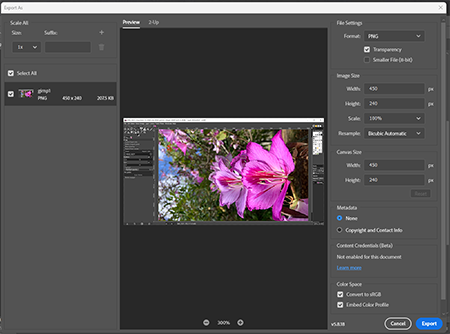
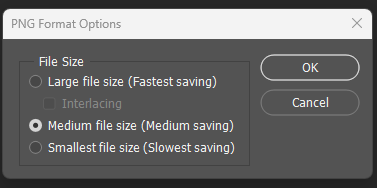
Those formats are already compressed or files with image information lost. There are certain ways to reduce the file size even further. For JPG it is to reduce the quality levels, PNG and GIF to reduce the amount of colours present. To achieve the reduction of file sizes the build in methods of software as well as online services can be facilitated.
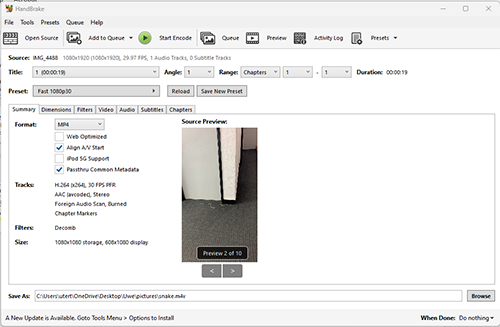
Neil, suggested that all videos for our documentations should be in landscape format and of small file size 10MB not exceeding.
To achieve that I am using a free software called HandBrake that can be downloaded here: https://handbrake.fr/
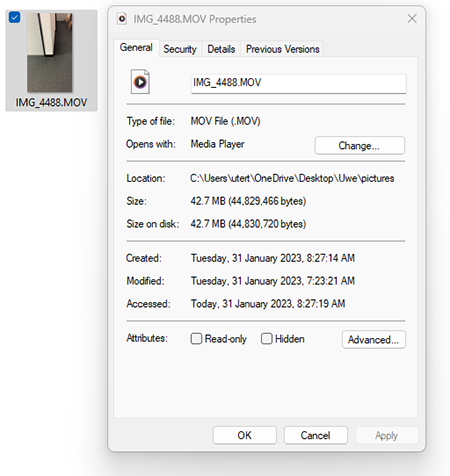
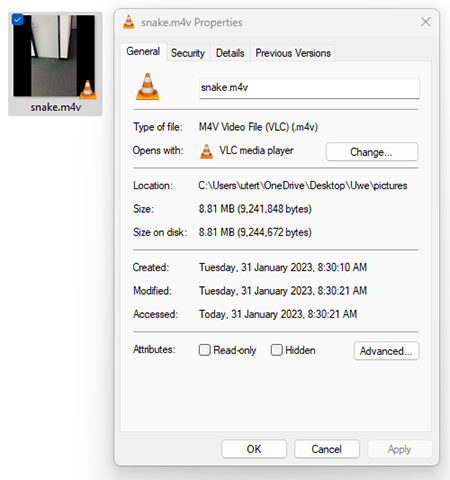
The following screenshots illustrate how the original video went from 42MB to 8.8MB.
The original uncompressed file format was MOV ( Apple's native movie file). It has been converted to a more web friendly M4V file.
There are many video file formats suitable for the web, the full list can be viewed at https://en.wikipedia.org/wiki/Video_file_format
My first sketches on my idea for a sound object and sound visualisation through air bubbles can be found under
Final Project >>
In 2021, I already had created an access to the FabAcademy GIT server but have lost my GITBash software on my laptop. After installing a new version I used the old SSH key but it didn't let me access the GIT server.
With the help of Ahmed and Marcello from Kamp-Lintfort I was able to delete the old SSH keys and install a new one.
This allowed me to connect to the server and push my website files online.
It's all about time management. For the next assignment, I plan to start before the lecture. All information is on the FabAcademy 2023 https://fabacademy.org/2023/ website. I also try to organise all the materials for the assignments in advance and do the same for the final project.
I learned lots, what my students would learn and achieve in one semester we did in just one week. Learning to use GIT, markup language, HTML, CSS, basic DOS commands, imaging and video software was a lot to take in. I am grateful for all the students who did the course before me and left great resources to get inspired and learn from, I also am very fortunate to get taught by Neil Gershenfeld, who is a legend and so are my tutors Ahmed and Marcello.