Assignments
1. Principles and practices
2. Project management
3. Computer Aided design
4. Computer controlled cutting
5. Electronics production
6. 3D Scanning and printing
7. Electronics design
8. Computer controlled machining
9. Embedded programming
10. Mechanical Design
11. Input devices
12. Molding and Casting
13. Output devices
14. Networking and communications
15. Interface and application programming
16. Wildcard week
17. Applications and implications
18. Invention, intellectual property and income
19. Project development
6. 3D Scanning and Printing
Assignment: Design and 3D print an object (small, few cm3, limited by printer time) that could not be easily made subtractively.3D scan an object, try to prepare it for printing (and optionally print it).
Scanning
Spoiler: The finished rock: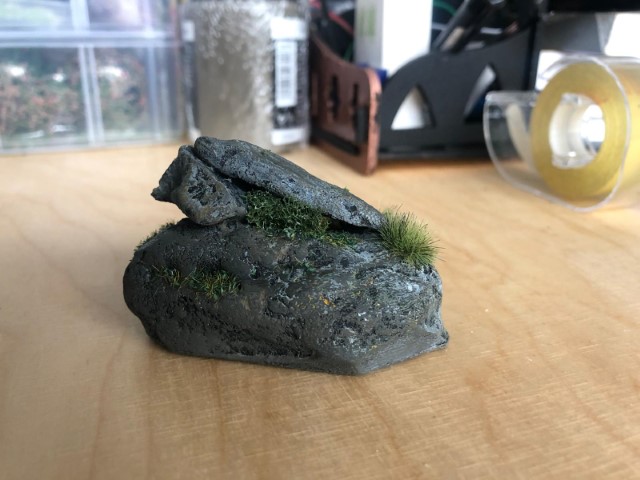
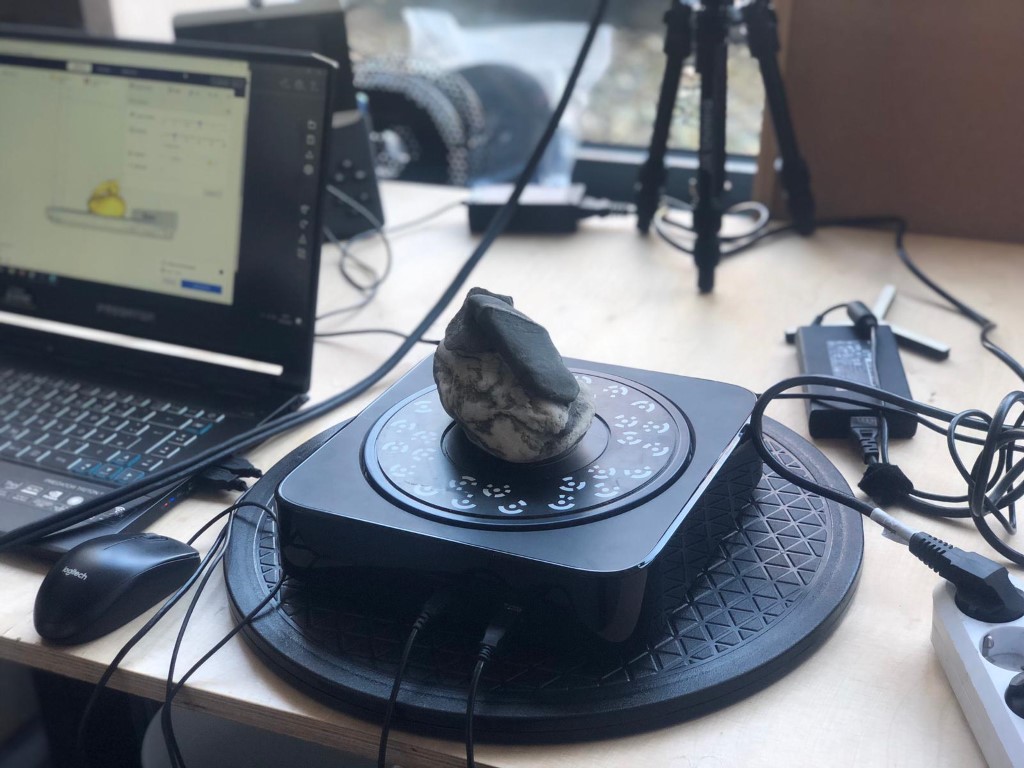
To scan, I chose the Einscan pro 2x Scanner because I never used it before. To start, I had to install the fitting software, it's called EXscan Pro. This was my model, just a few stones (and my setup):
It usually will ask to calibrate first. I didn't need to do this because the Scanner was used before on the PC I was using. The software didn't work on my pc due to gpu problems.
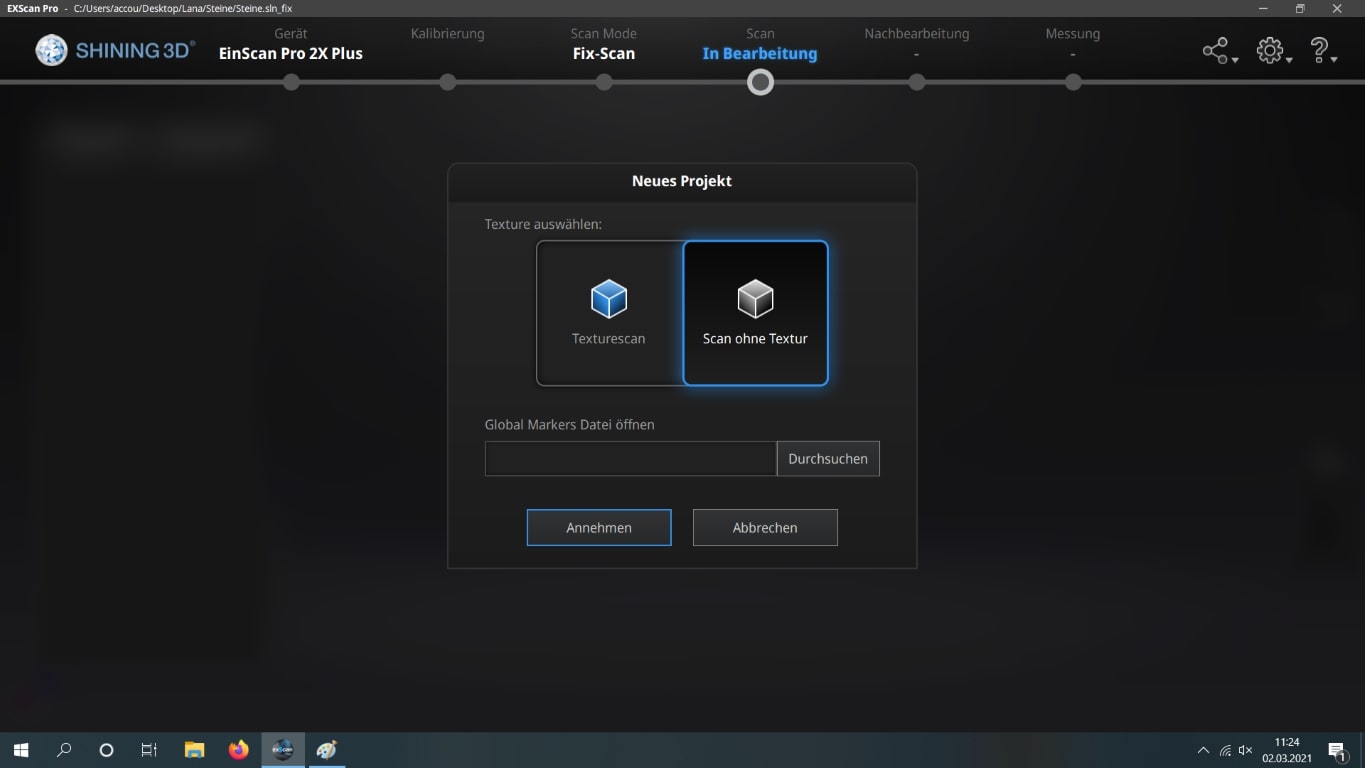
After calibrating, the scan can start. You can either load an existing scan or make a new project. I chose "New Project".

Then the program will ask if this project is a scan with a texture or without- I chose "without" since I plan to just print it out.
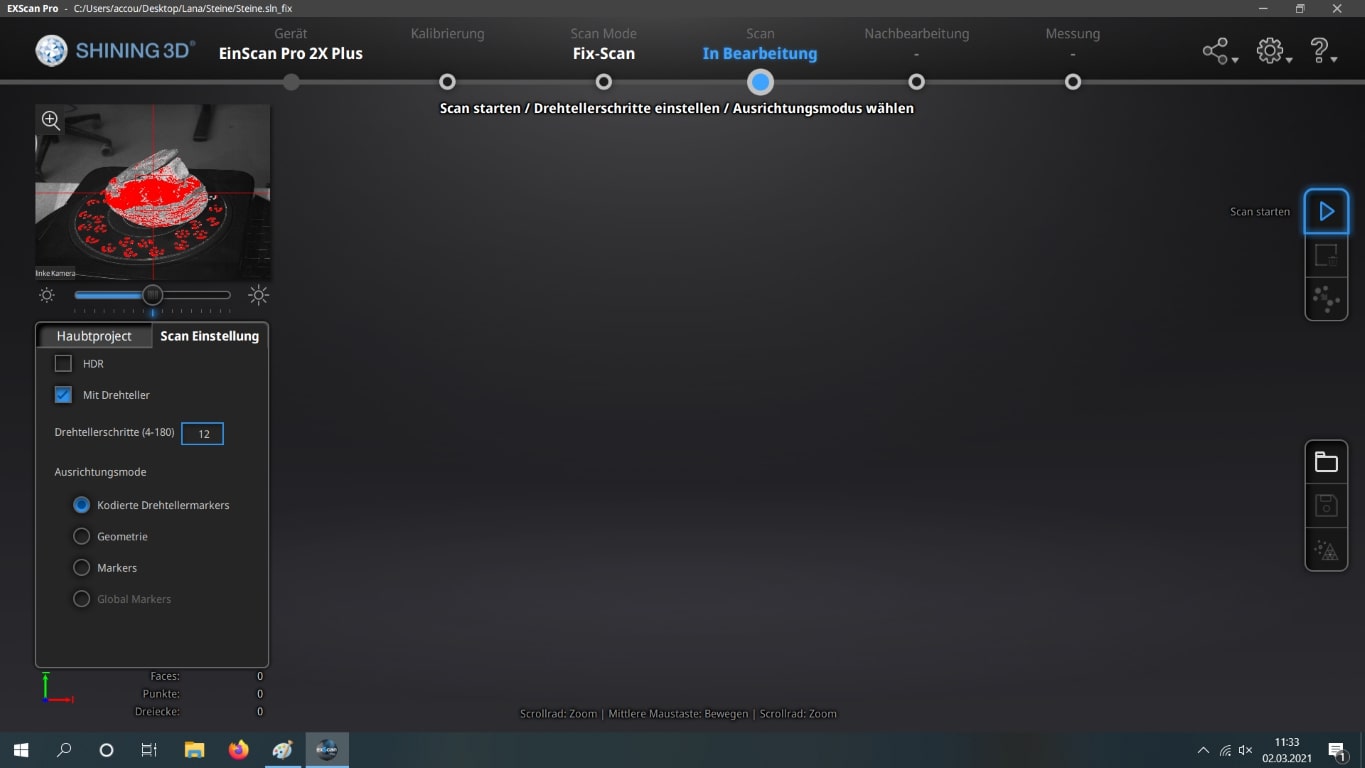
Then you'll come into the scanning menu, I used a turntable, so I checked the turntable-box. I chose as steps "12", because I didn't want it to take too long but my object was still quite complex.
After scanning, you can redo the scanning as much as you like, until it has lesser holes. Don't worry about the smaller holes! Just click on "save" if you're satisfied with the result. If you moved your object around like I did, you need to accept this pop up as well.

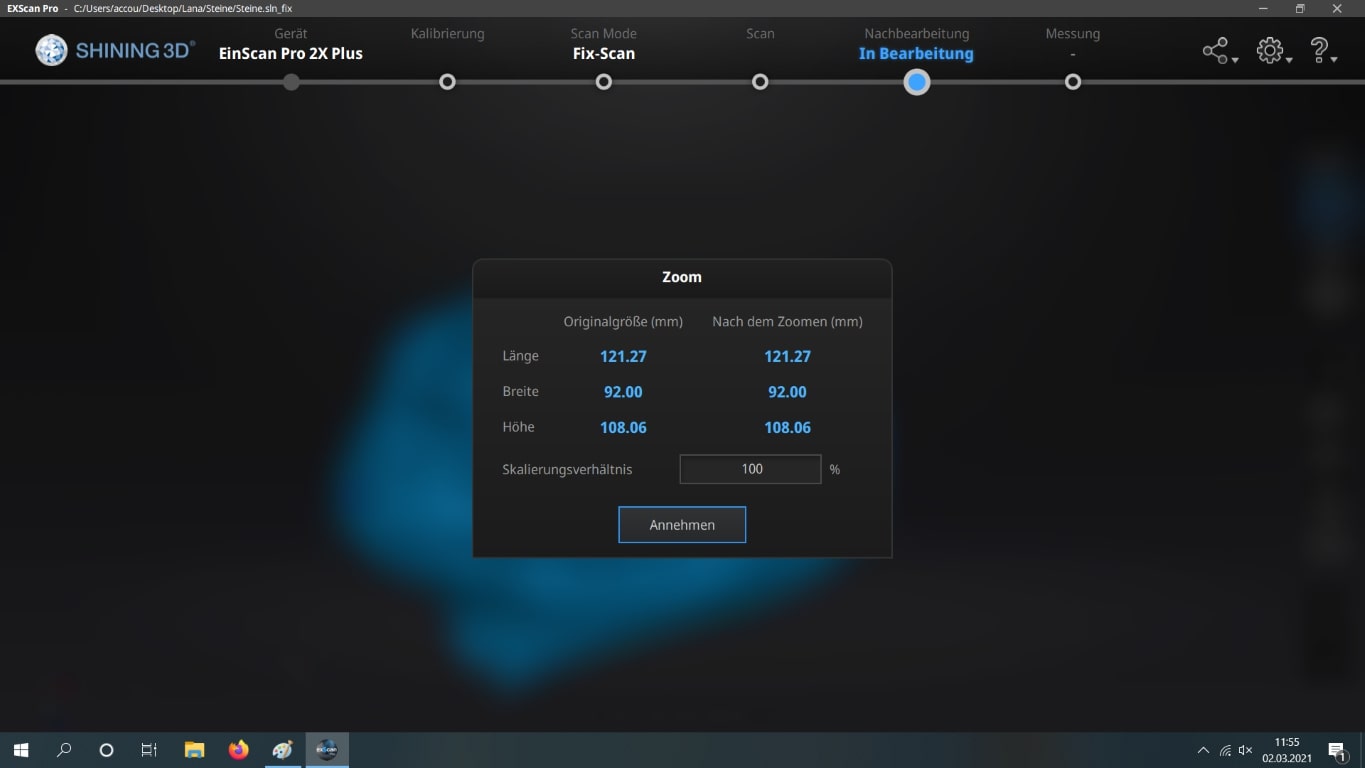
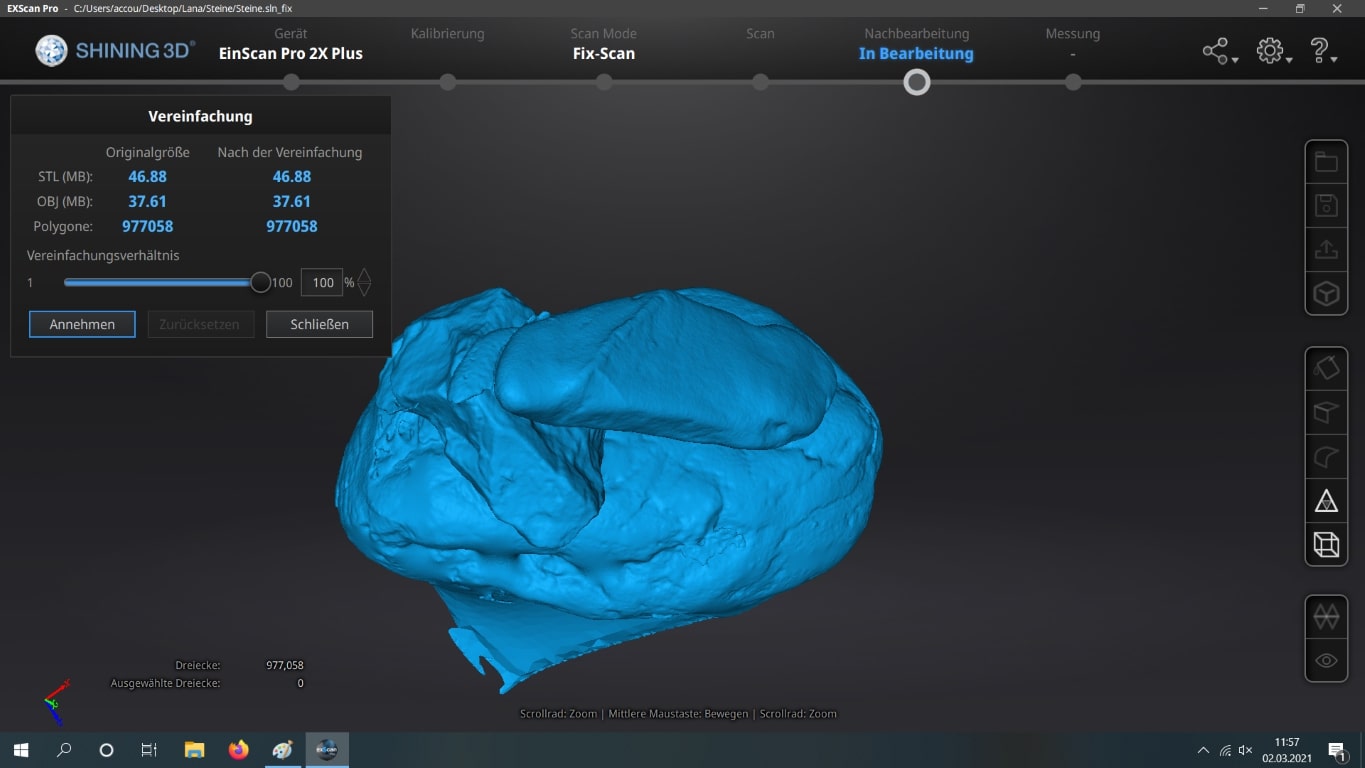
Now I clicked on "minimize polygons" on the right- it looks like a triangle. And I set it to about 97.000 polygons.
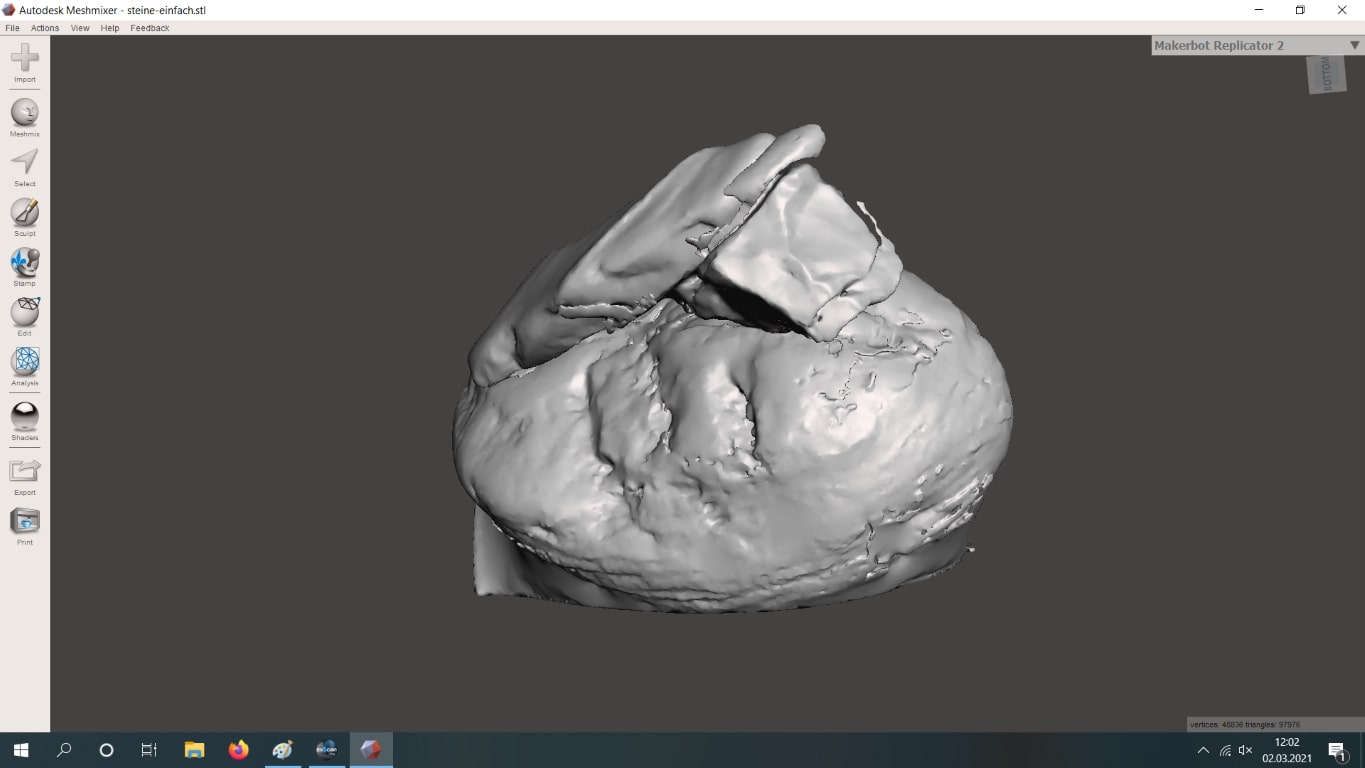
Save everything (I saved it as a closed object, which made my model look a lil' funky). That's why after that, I opened Autodesk Meshmixer and cut the funky bottom off (edit>cut).
Printing
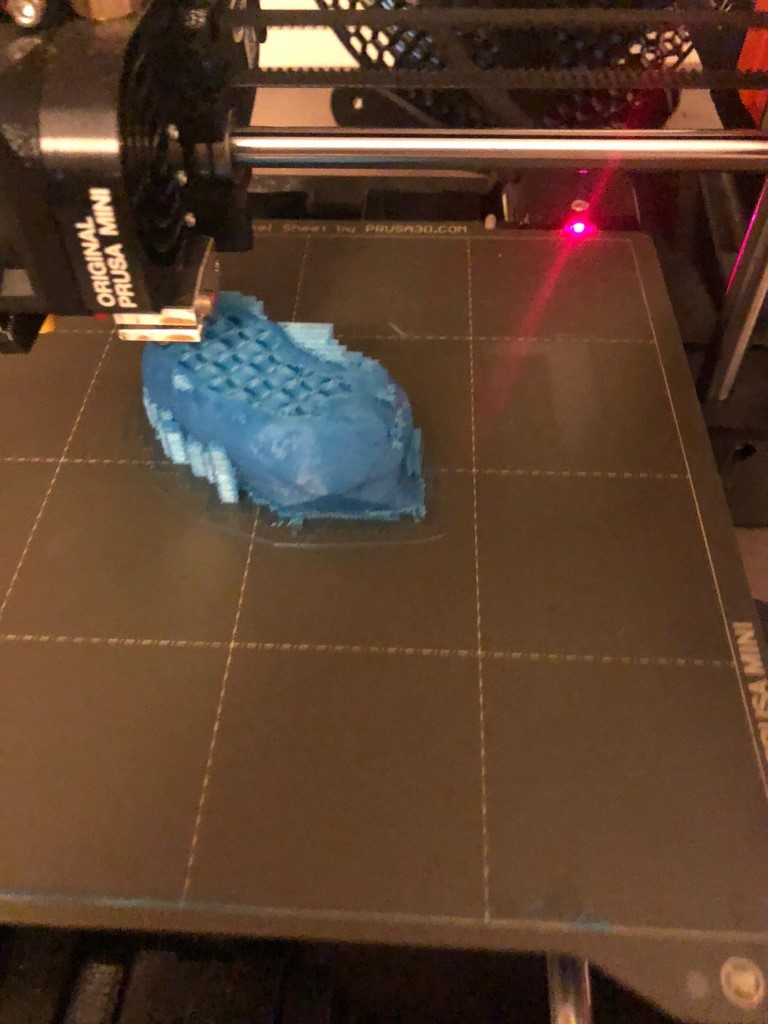
For printing, I used a Prusa Mini and the Prusaslicer. I also used the classic settings (15% infill, support structure: yes, print: 0.05mm):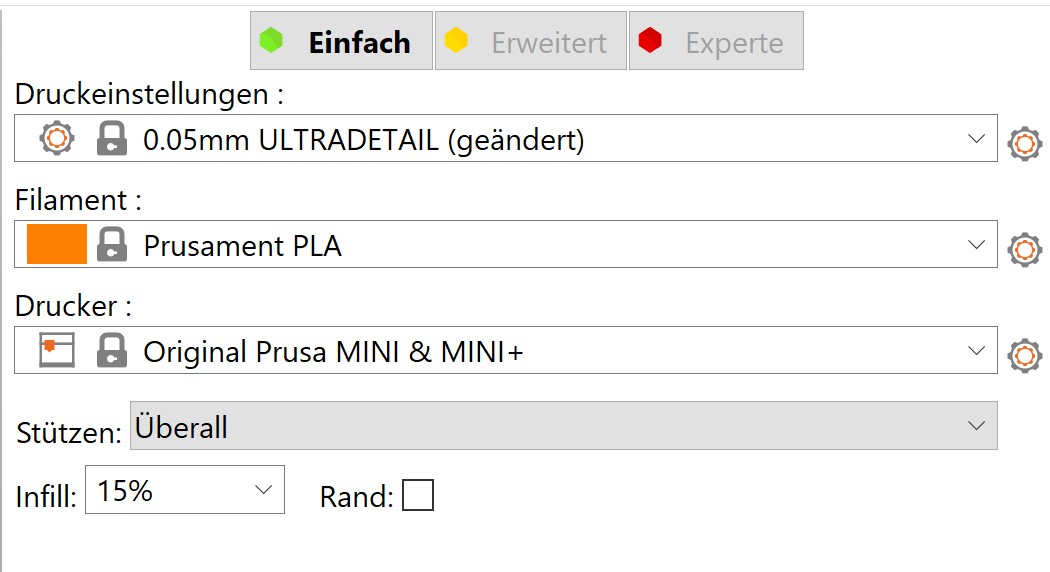
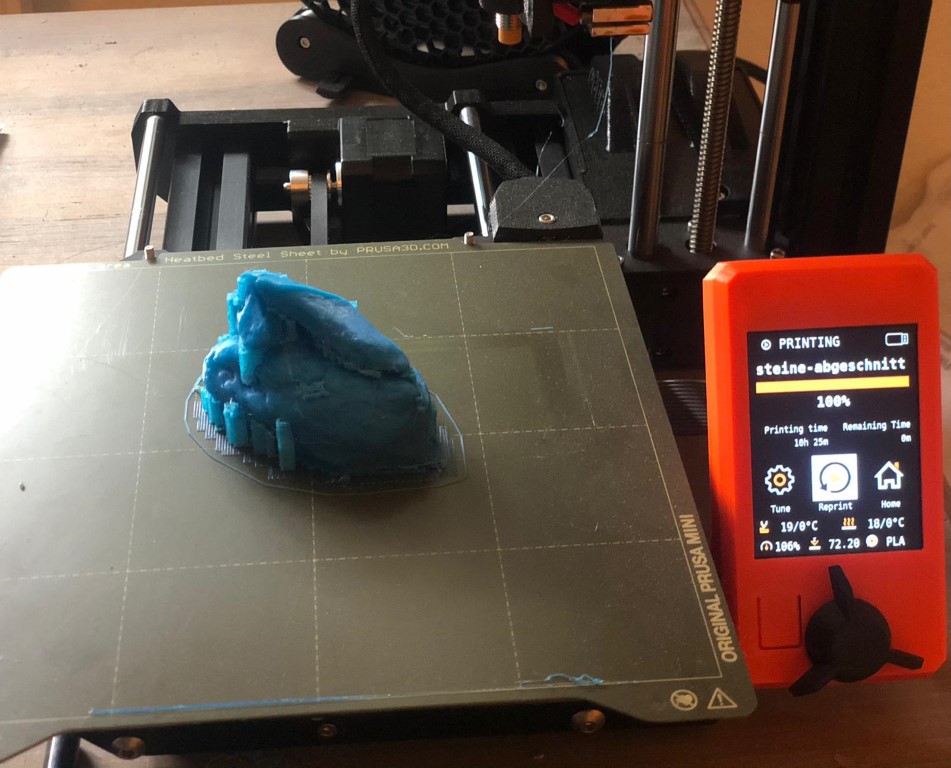
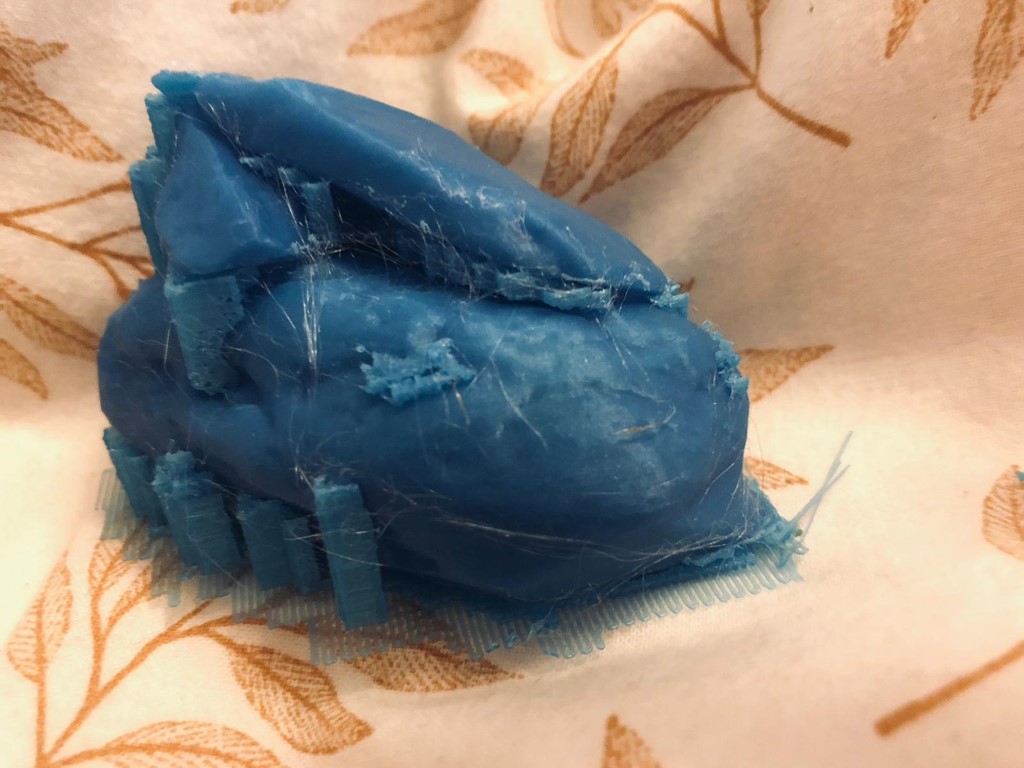
This is the finished result! You can see all of the cracks of the stones. It looks very cool. I only have to clean it up.
Group Assignment
Since Jonas already tested our Prusa Minis, I chose to just throw an extern file to a Prusa MK3 printer. The reason for that was that we already have a lot of those testing files from Neil, and our Lab boss didn't want too much of them laying around.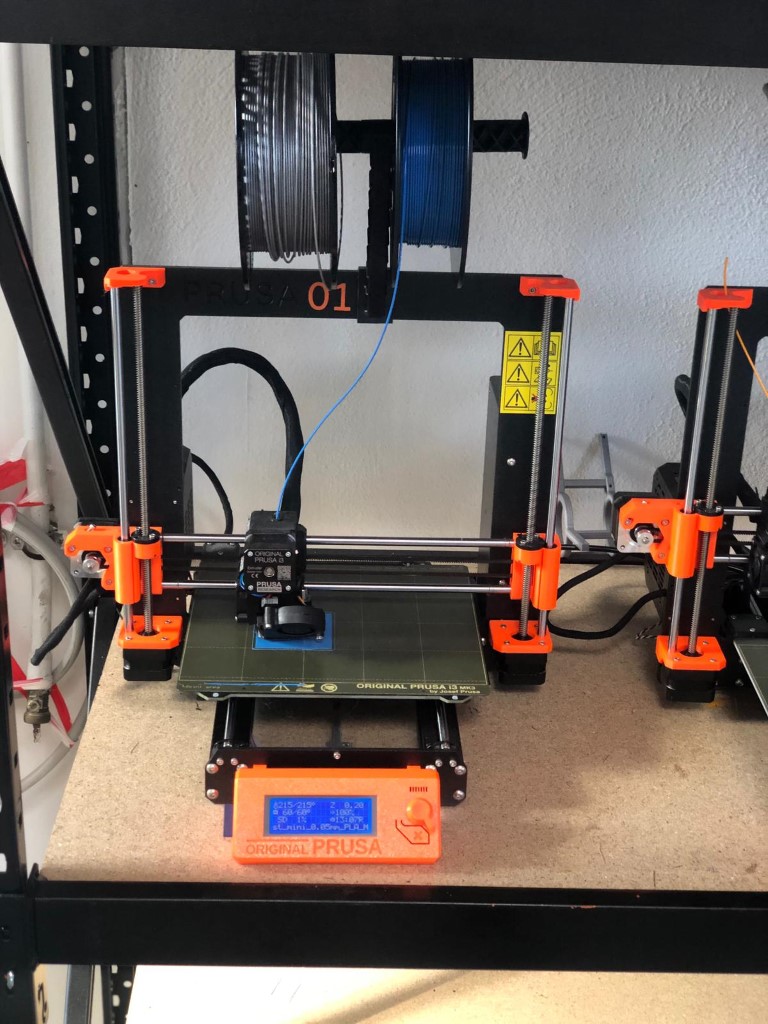
So I already started the print but I forgot our new rule "no printing when nobody's in the lab" so yeah due to Corona there was nobody there and my print had to be stopped :(.
That's why I tested the same design on my prusa mini at home. If you'd like to see the results, Jonas van Hagen documented the Prusa Mini tests on his page.
Design rules
Since the Prusa Mini was able to print bridging, I used it to my advantage in design. The overhangs were also printed fine, that was important for the eyes and the snout of the snake head. Since the Prusa Mini was able to print walls as thin as 0.4mm and as thick as 3mm, I didn't need to worry about that. The finish on the Prusa Mini was beautiful, even though my snake head was quite rounded. This was clear before since the group assignment had shown this before.Design
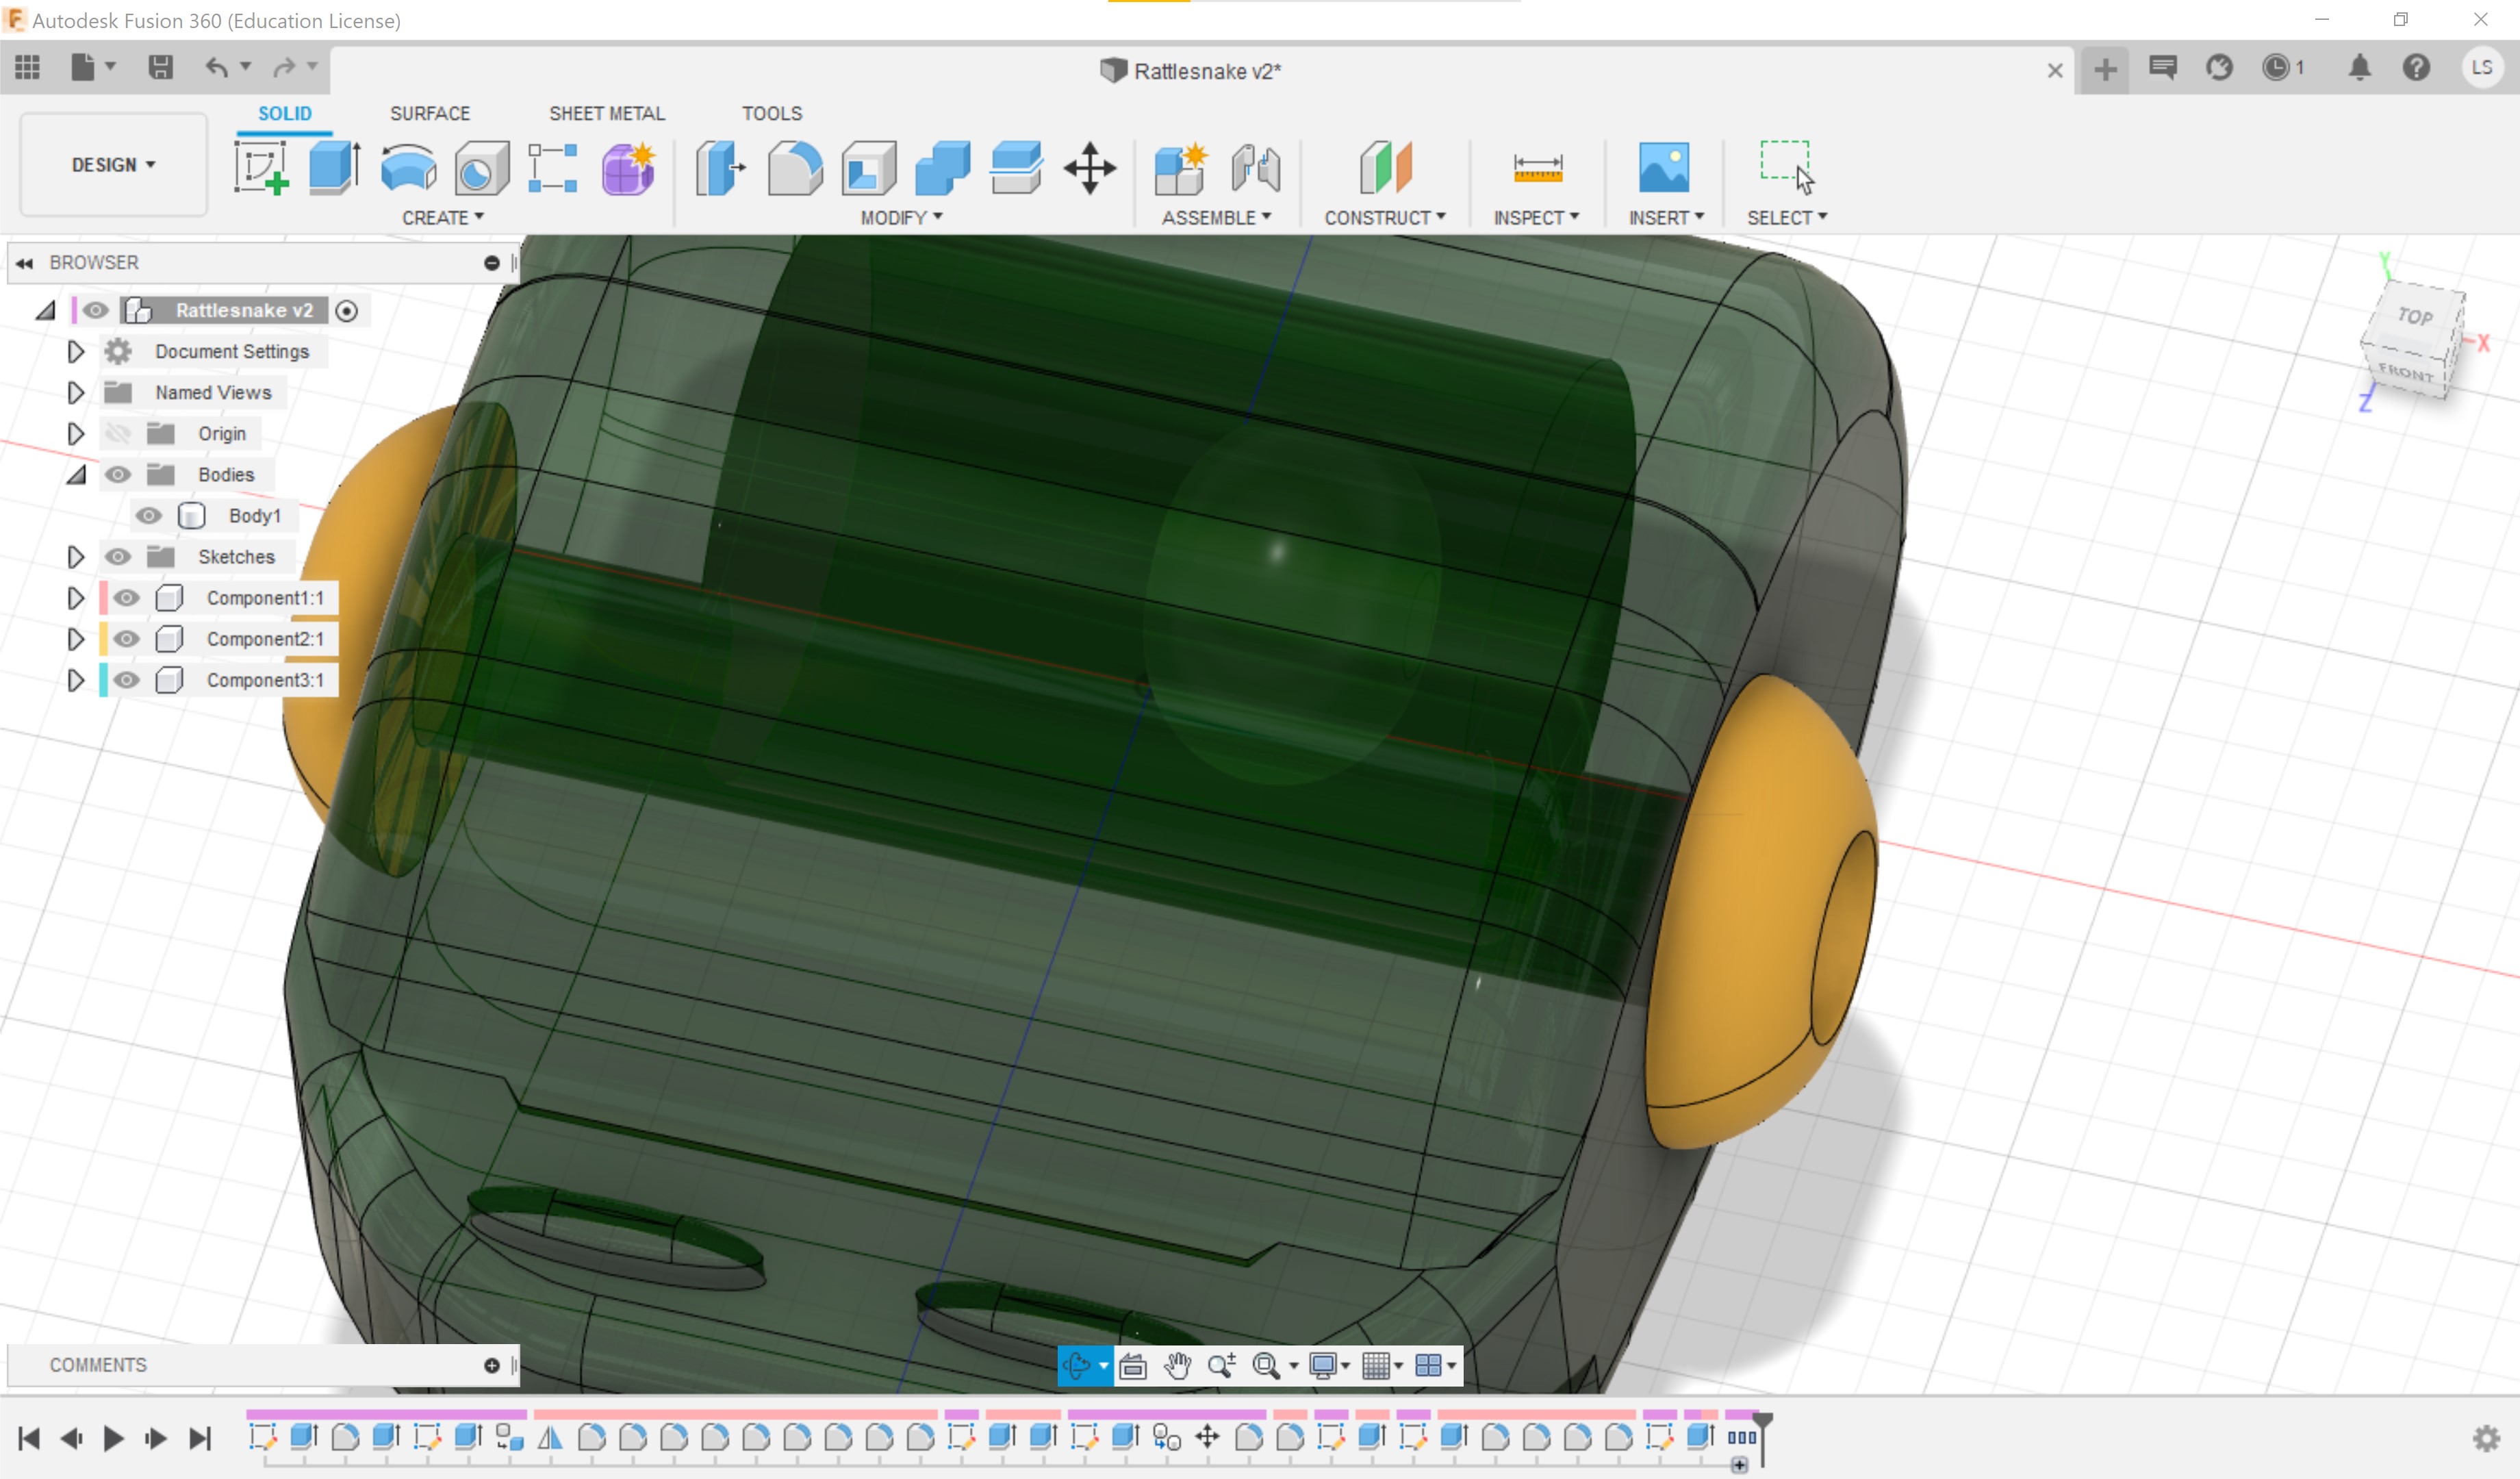
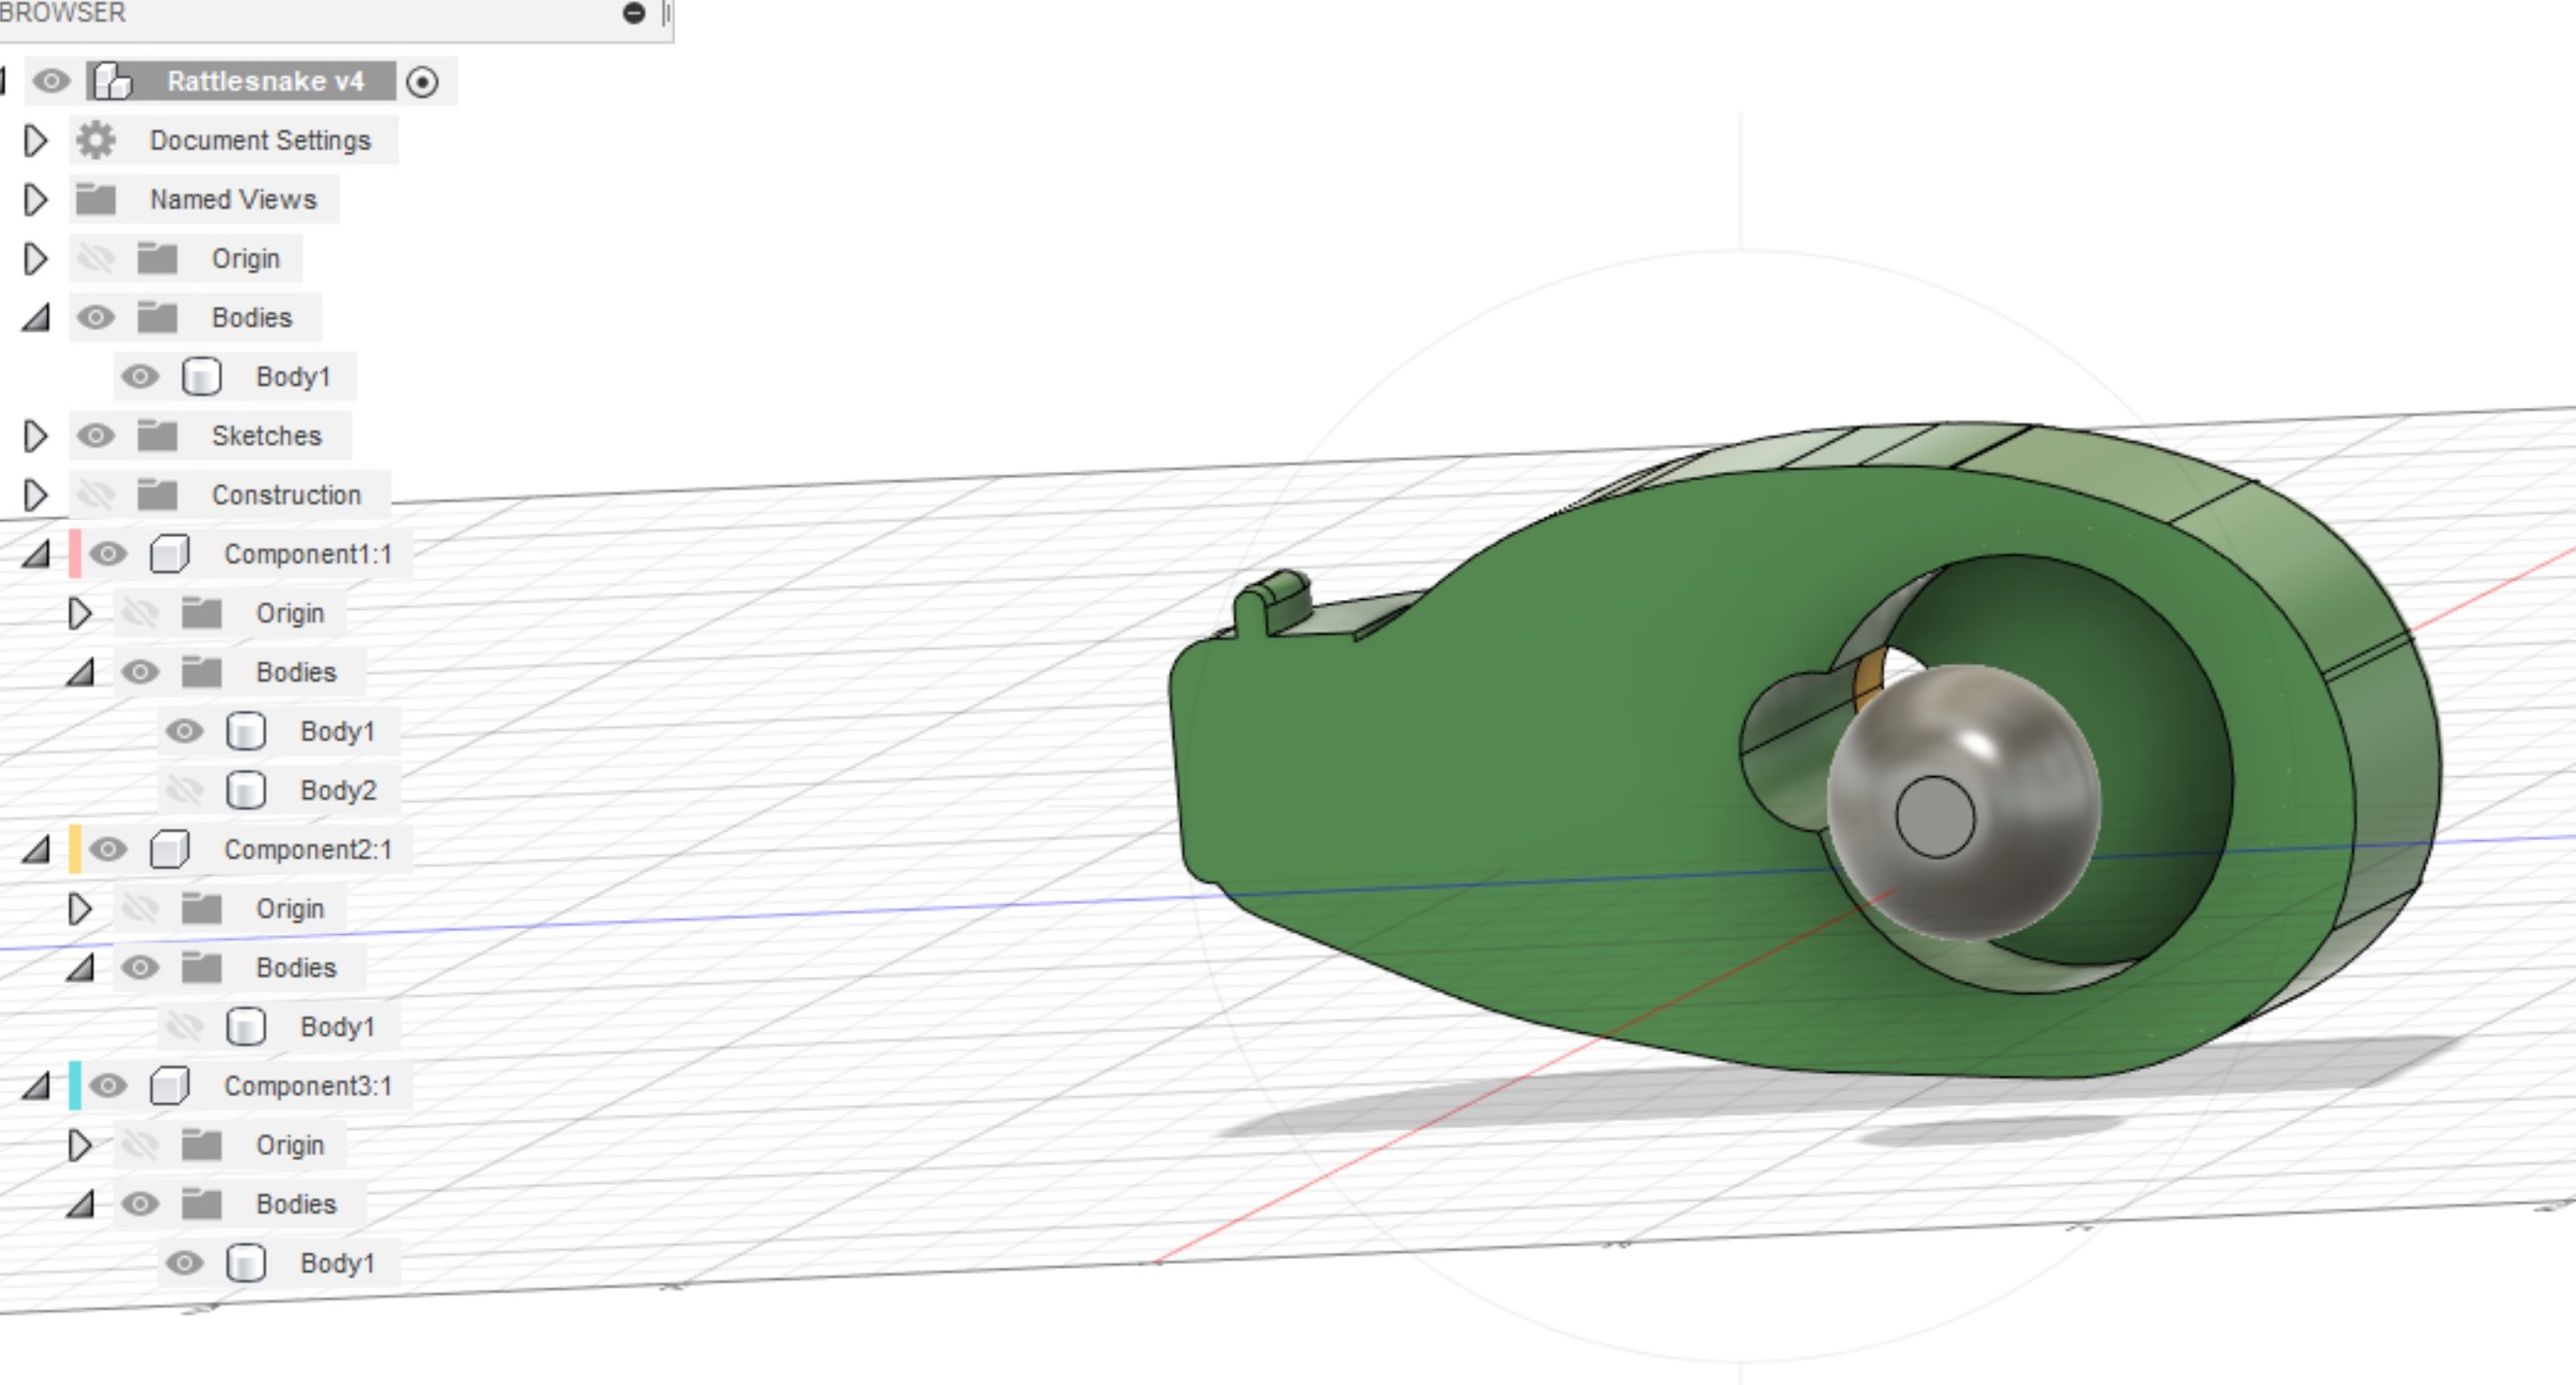
I designed a little rattlesnake. It's a snake head with a small flat ball inside so it can make a rattling sound. I made it so that it's only possible to do it additive and not substractive.
In the following pics you can see where the ball is placed:
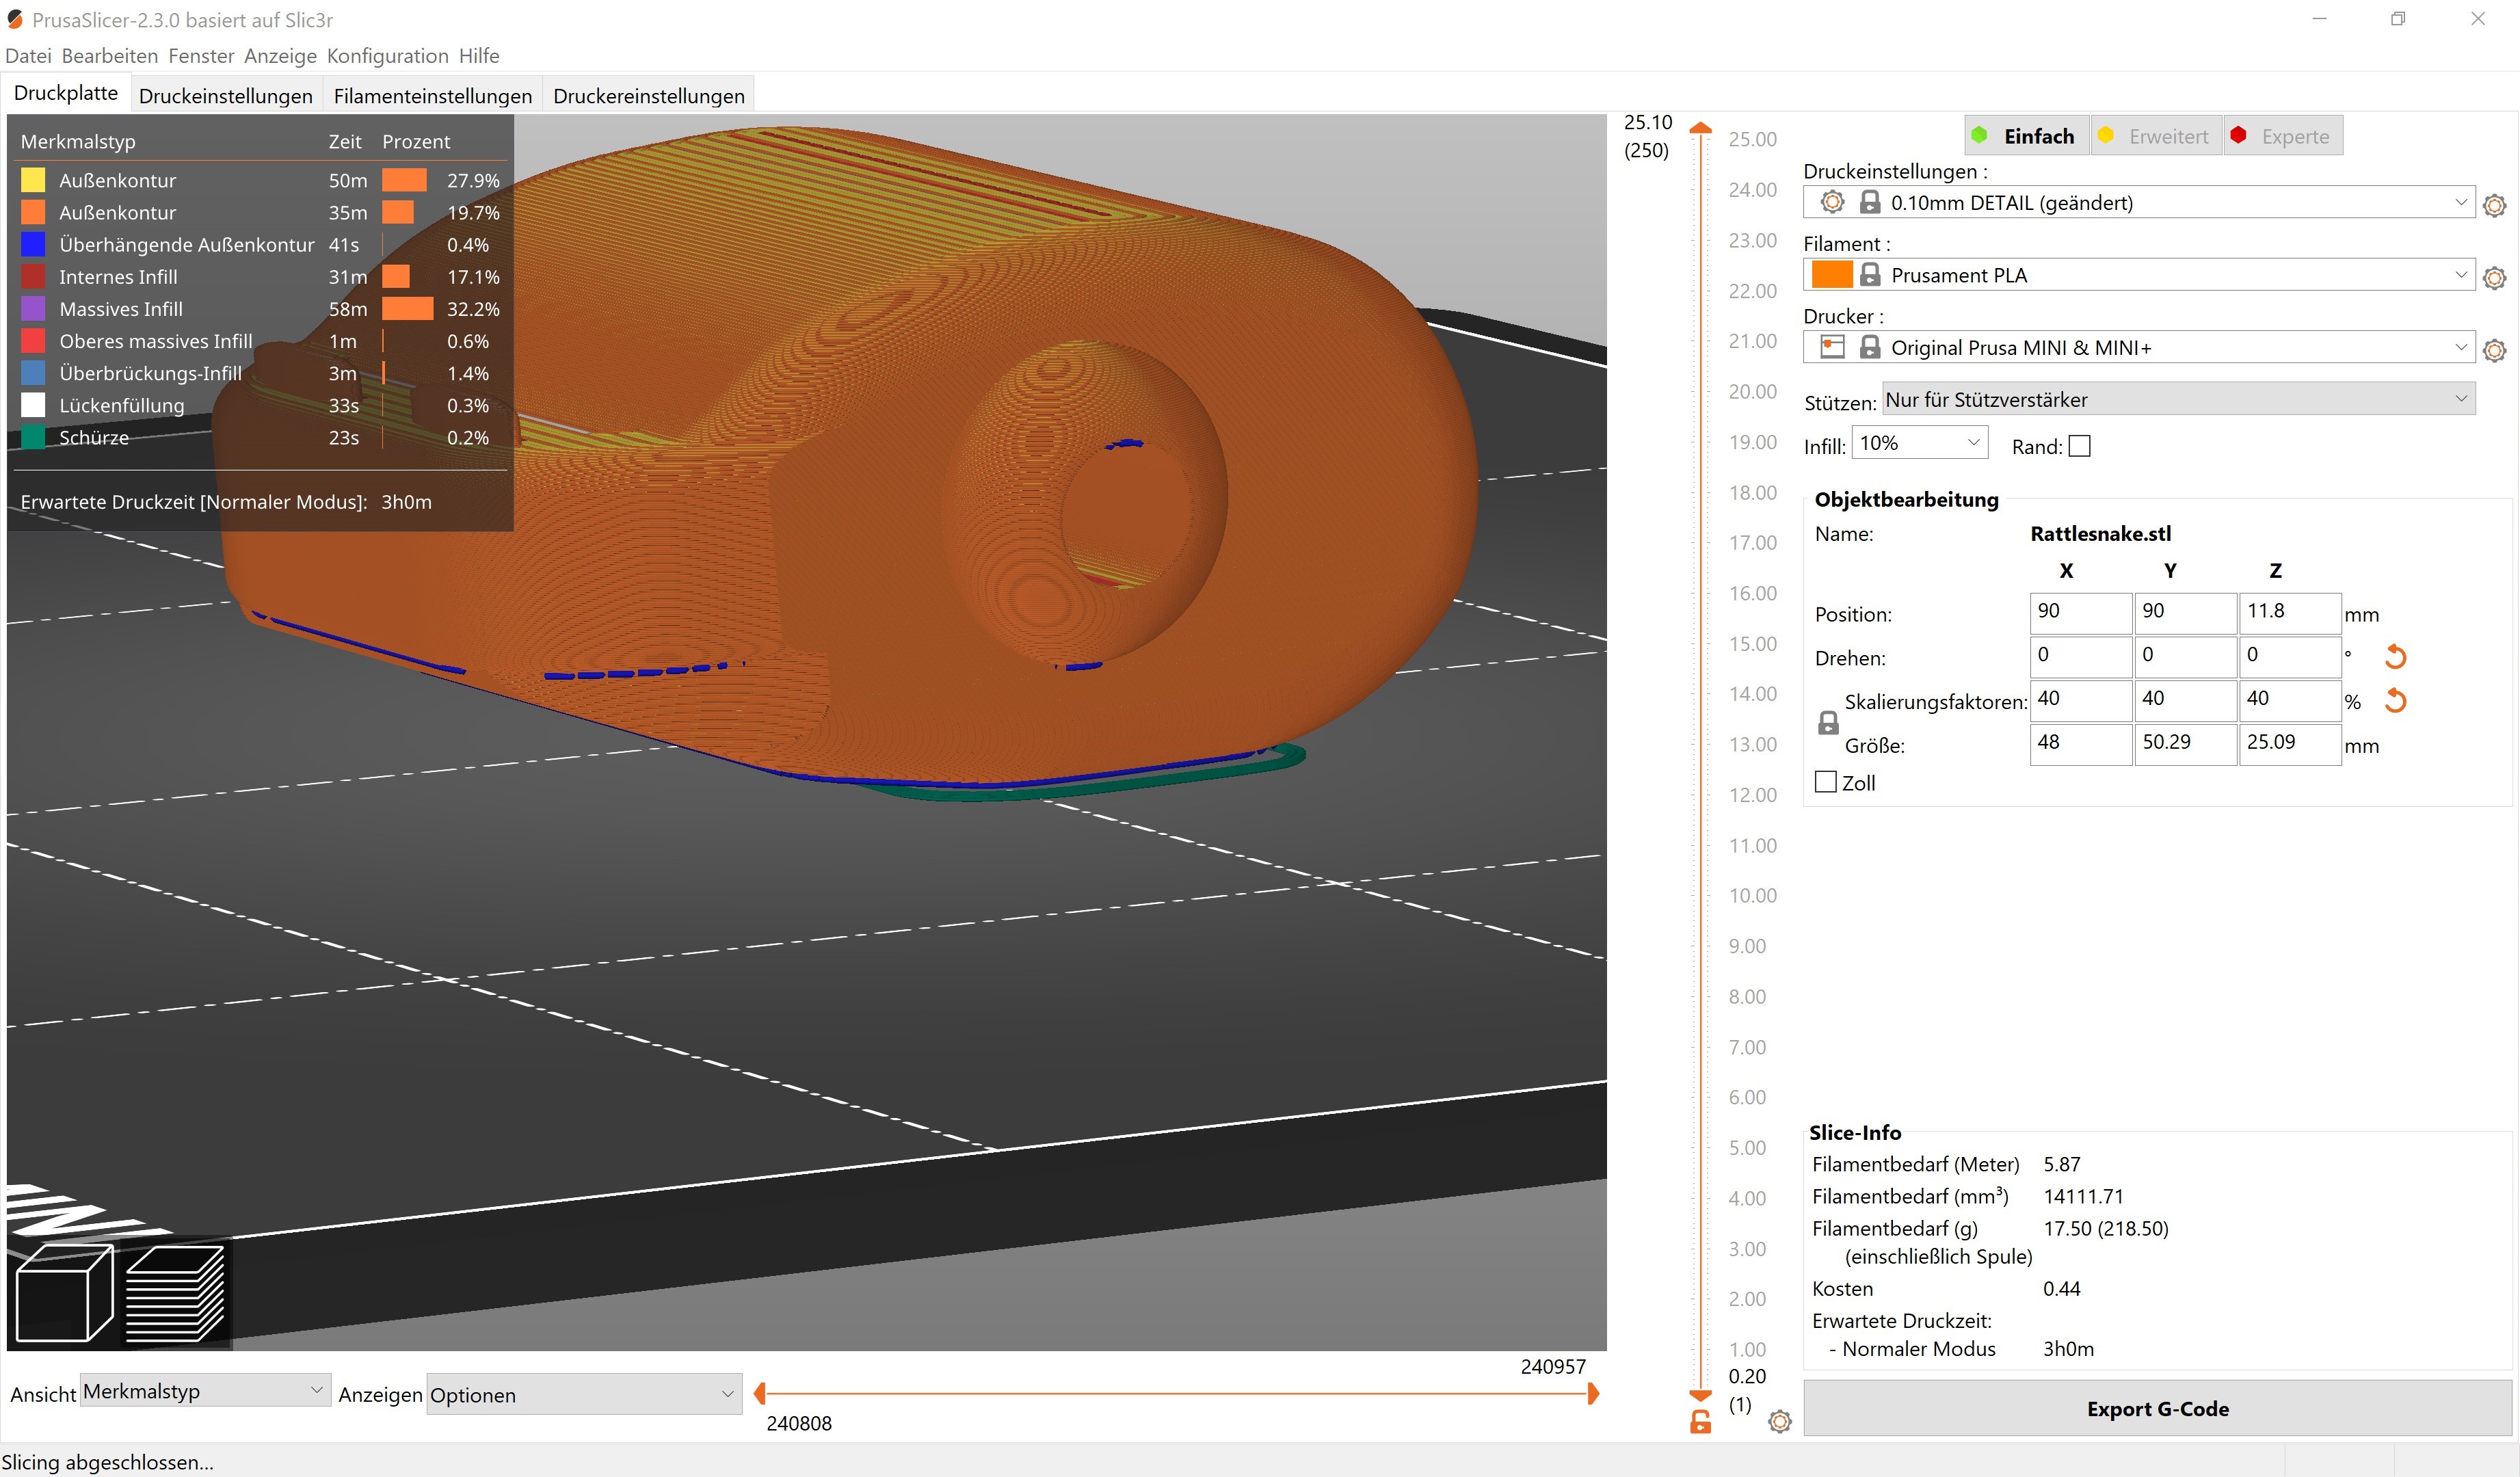
And here you can see my prusa settings. I made my model smaller to save time.
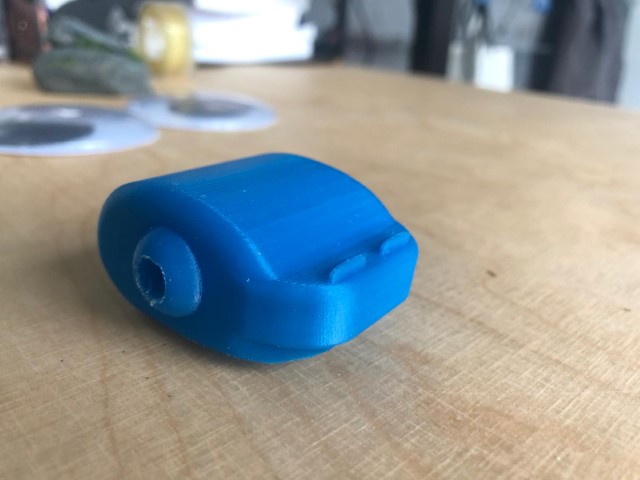
This is the printed rattlesnake:
How I use Fusion360
I start with a new document.
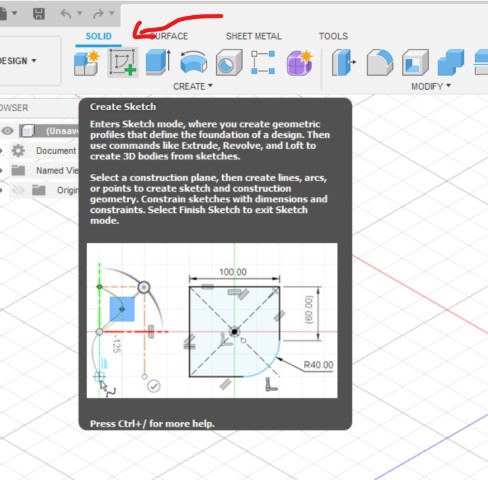
Then I create a sketch.
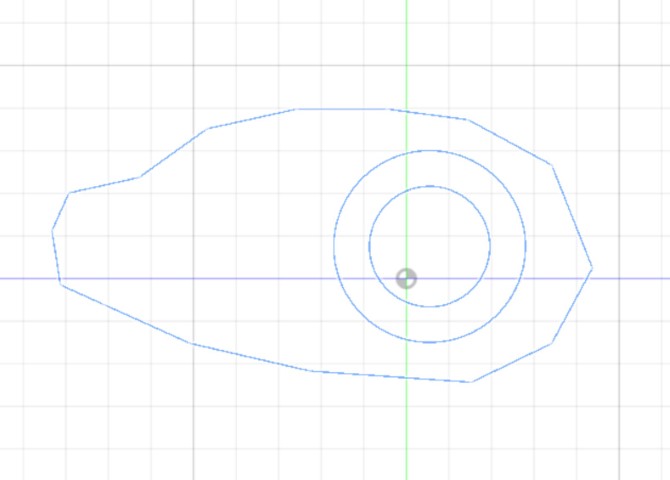
This is what I ended up with.
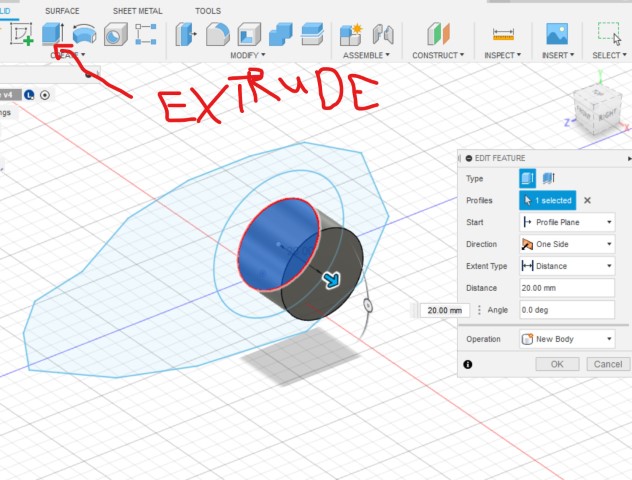
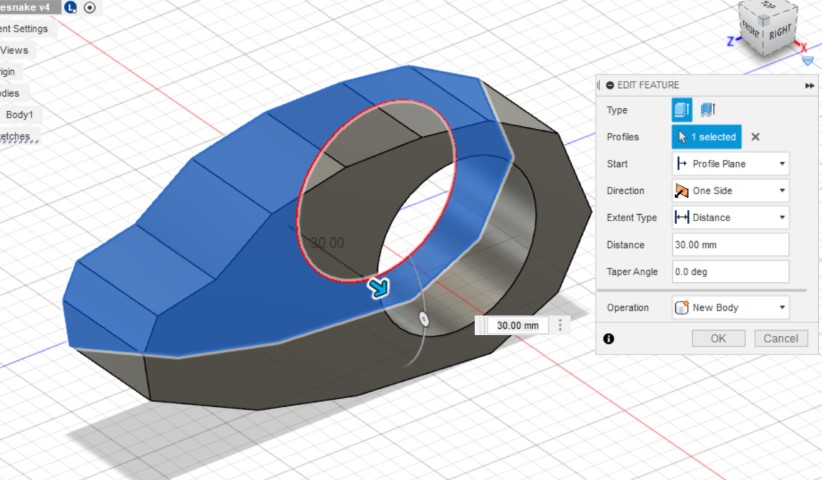
I extruded the inner circle and the outer form.
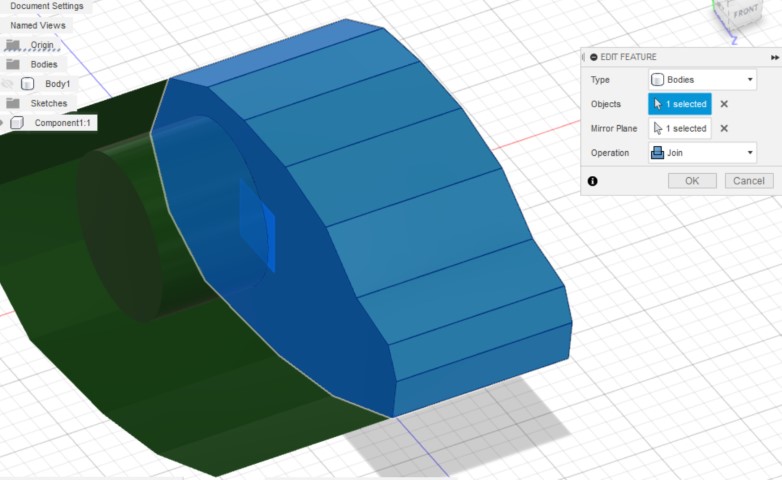
After that, I mirrored everything.
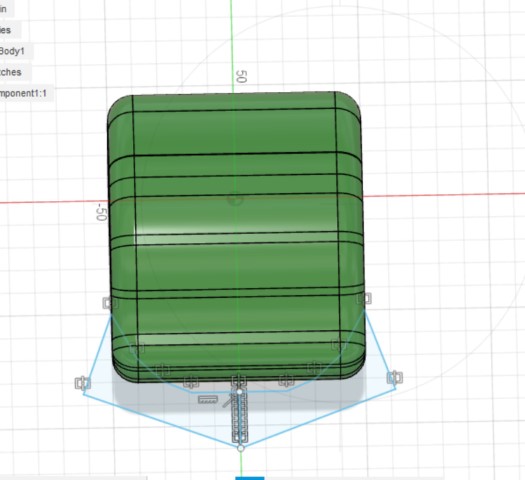
Following up, a whole lot of fine alterations.
You can see all of it here in the video: