This week, we had two tasks to fullfill. First we had to design and 3D print an object that could not be made subtractively.
Second task was to 3D scan an object and print it.
For the first task I used Fusion 360 to design a small object, which can't be made subtractively. I came up with a crystal like object, which I created and printed:
For the slicing of the models I used Prusa Slicer, which is based on Slic3r. You can find more about Slic3r and other slicers based on it, like SuperSlicer, HERE.
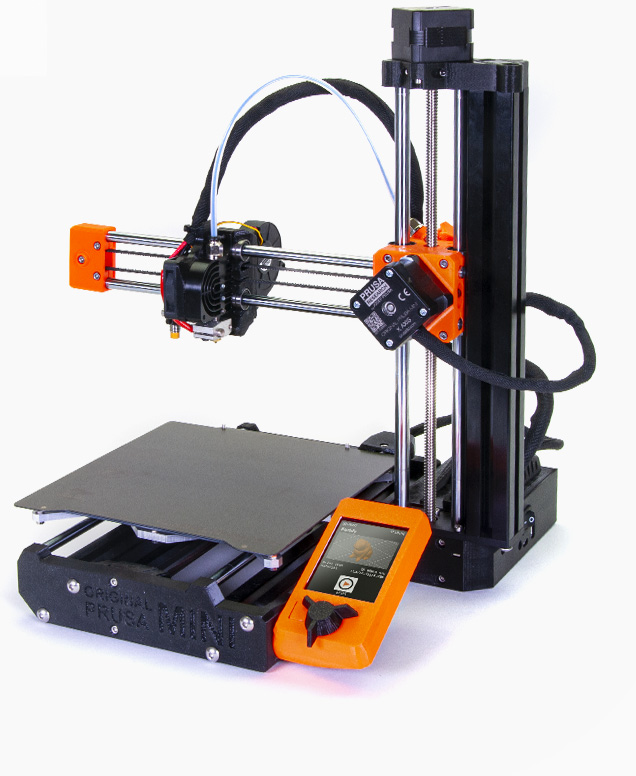
After starting Prusa Slicer I selected the printer I used, in this case a Prusa Mini, and selected the 0.2mm qualtiy preset for PLA filament. I set the infill to 15% and didn't change anything else.
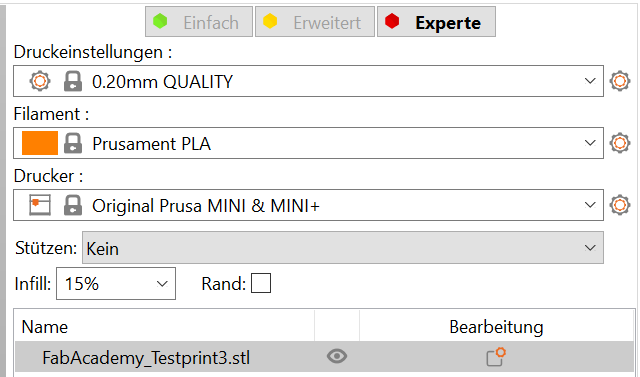
If you print with Prusas own printer I highly recommend the presets, they are very reliable.
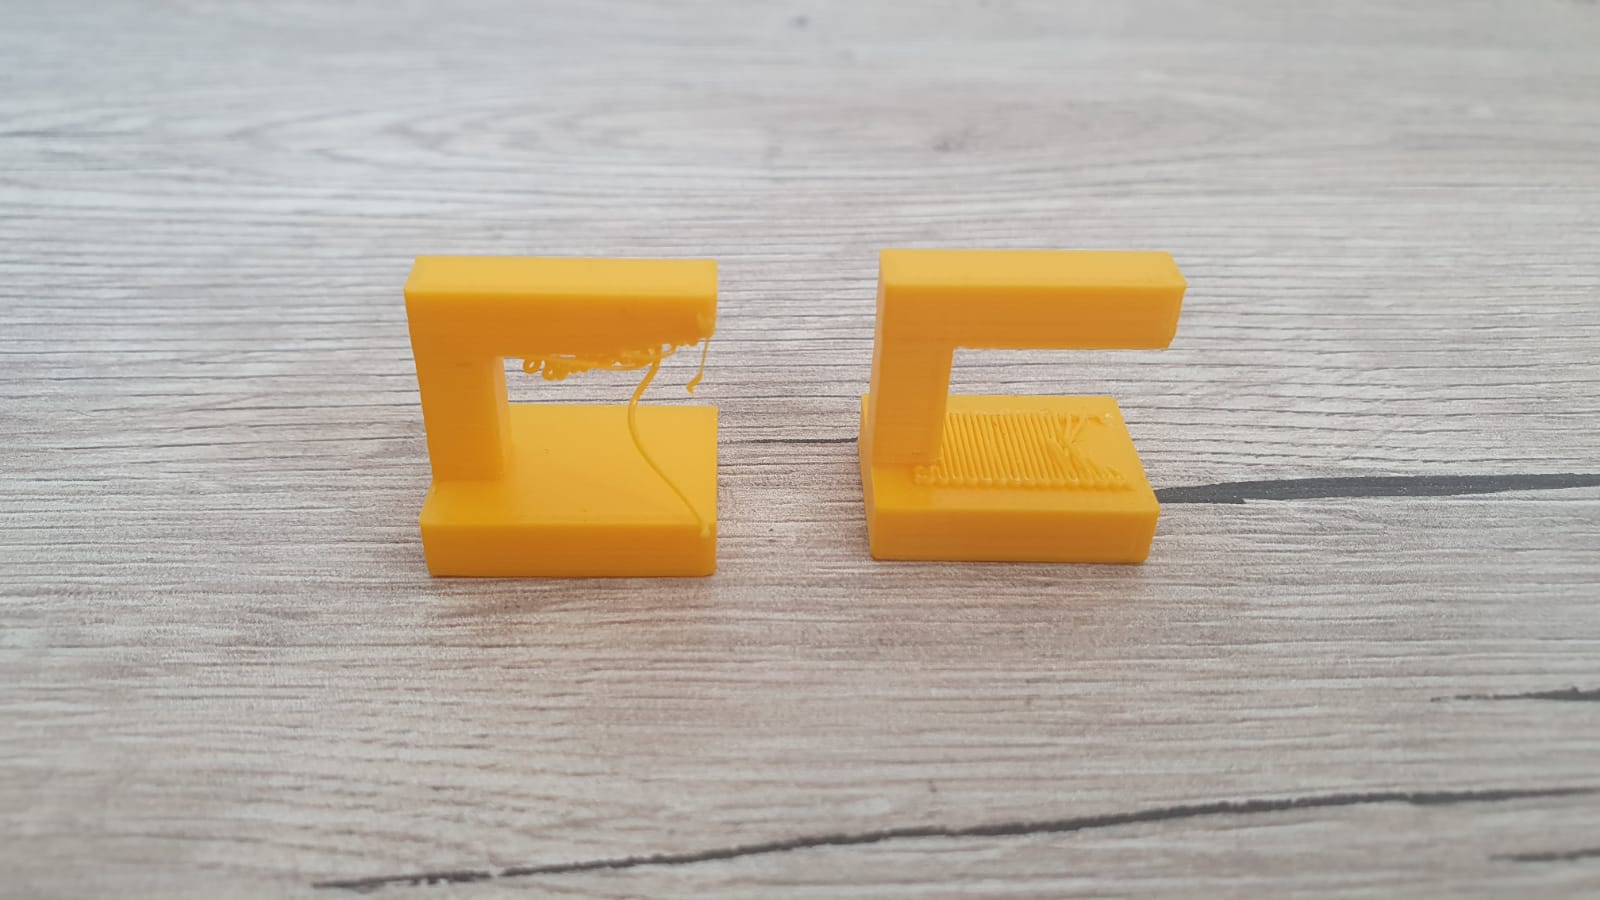
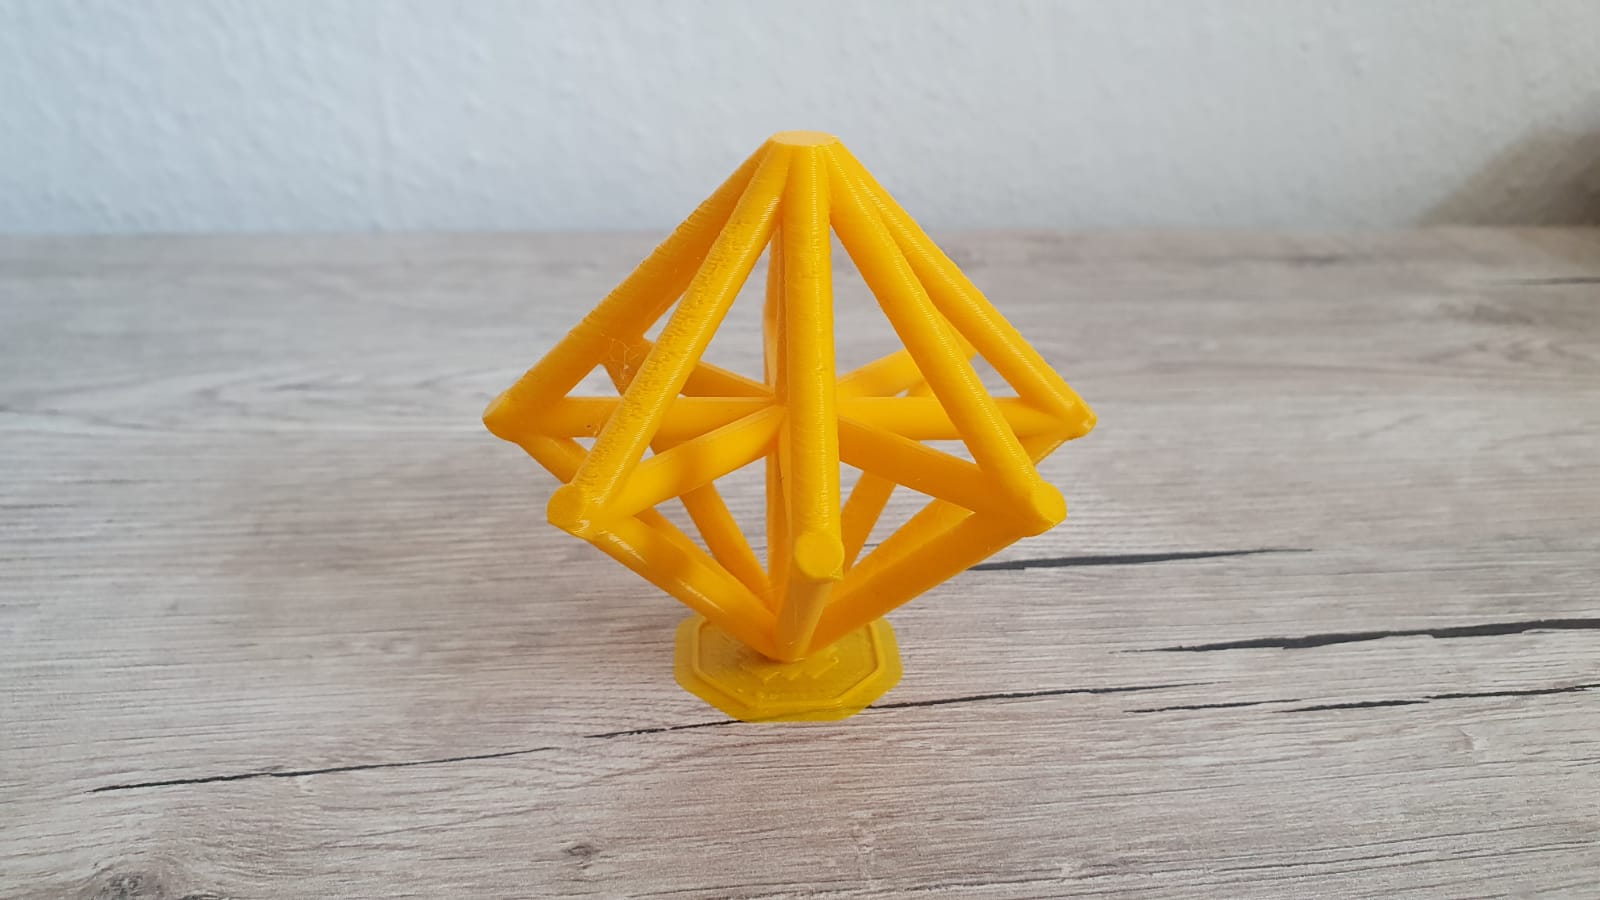
Here you can see the first version of my 3d model:
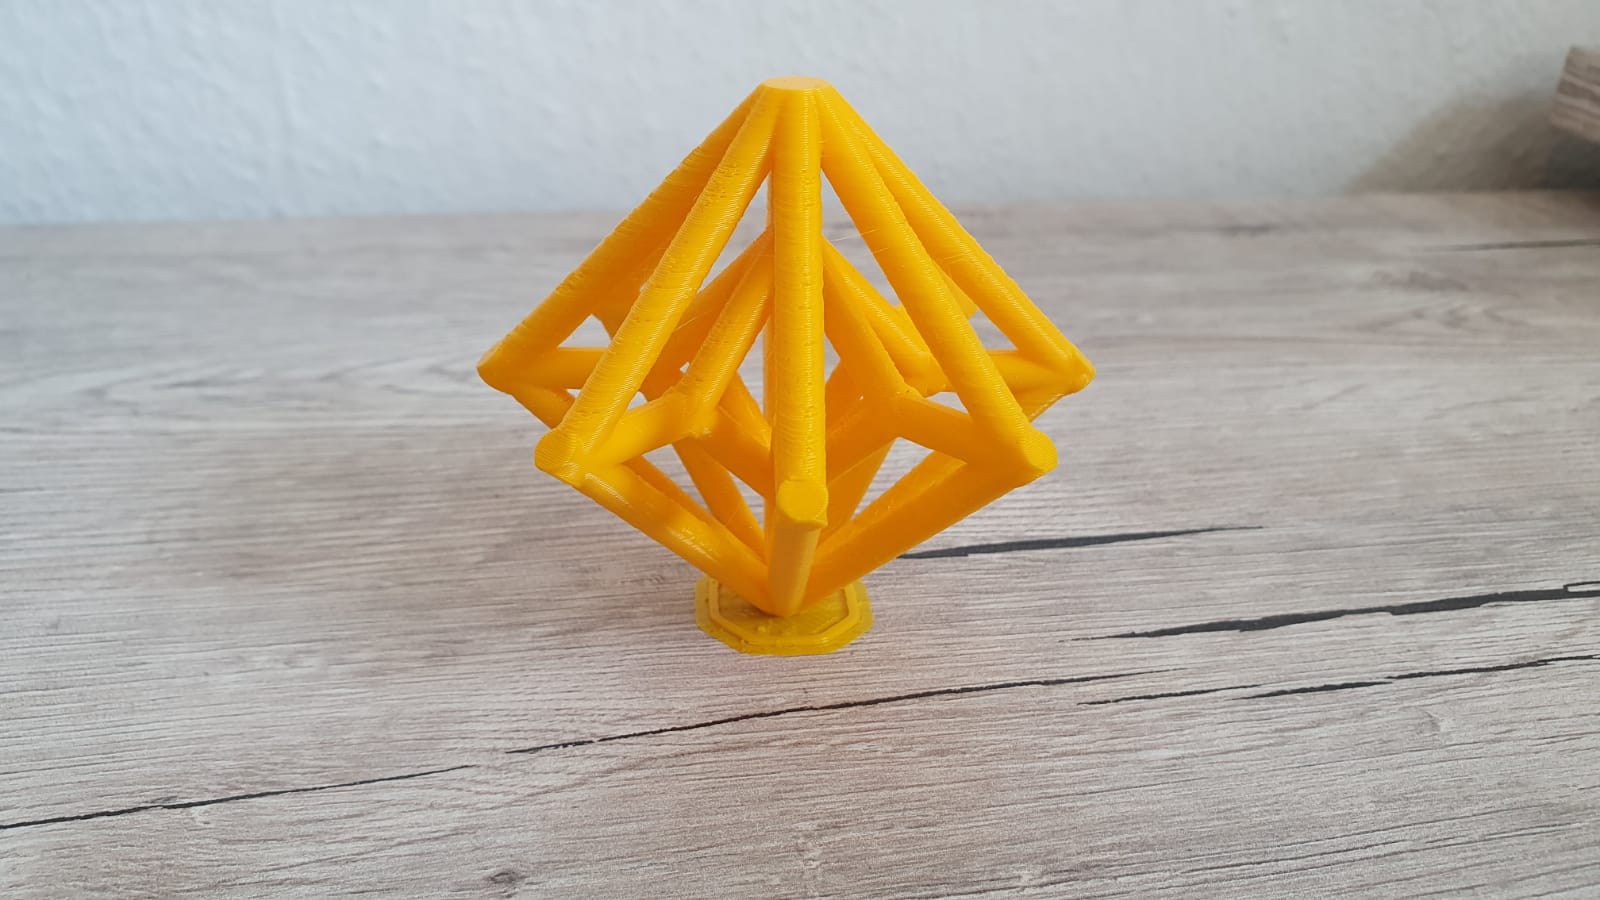
I quickly decided that the design wasn't complex enough, so I made a second variant with small changes:
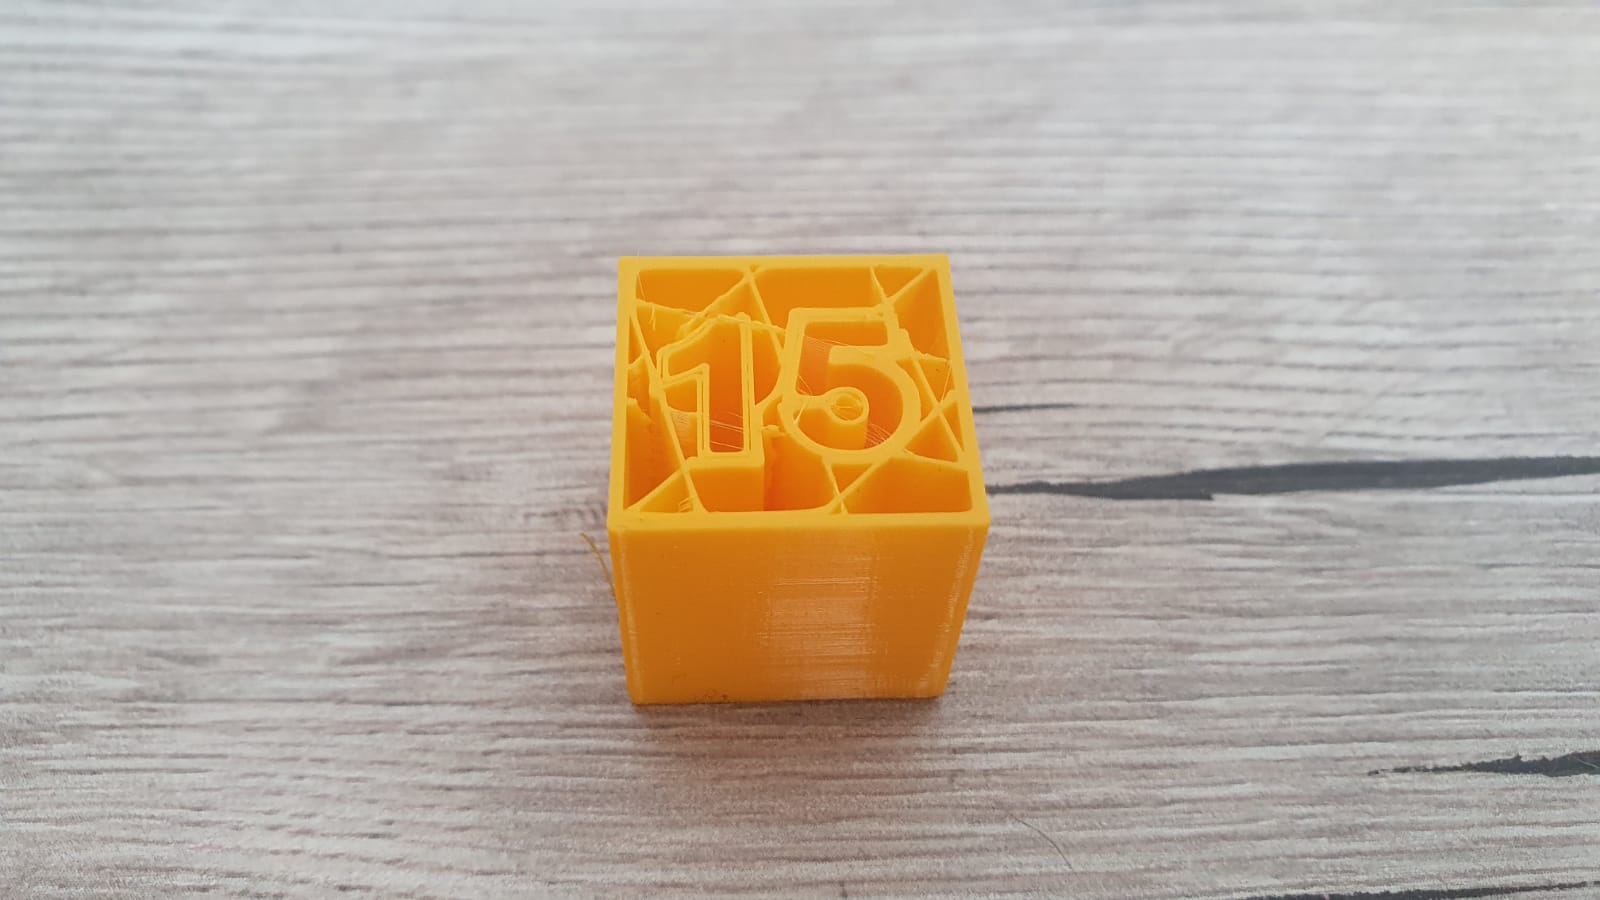
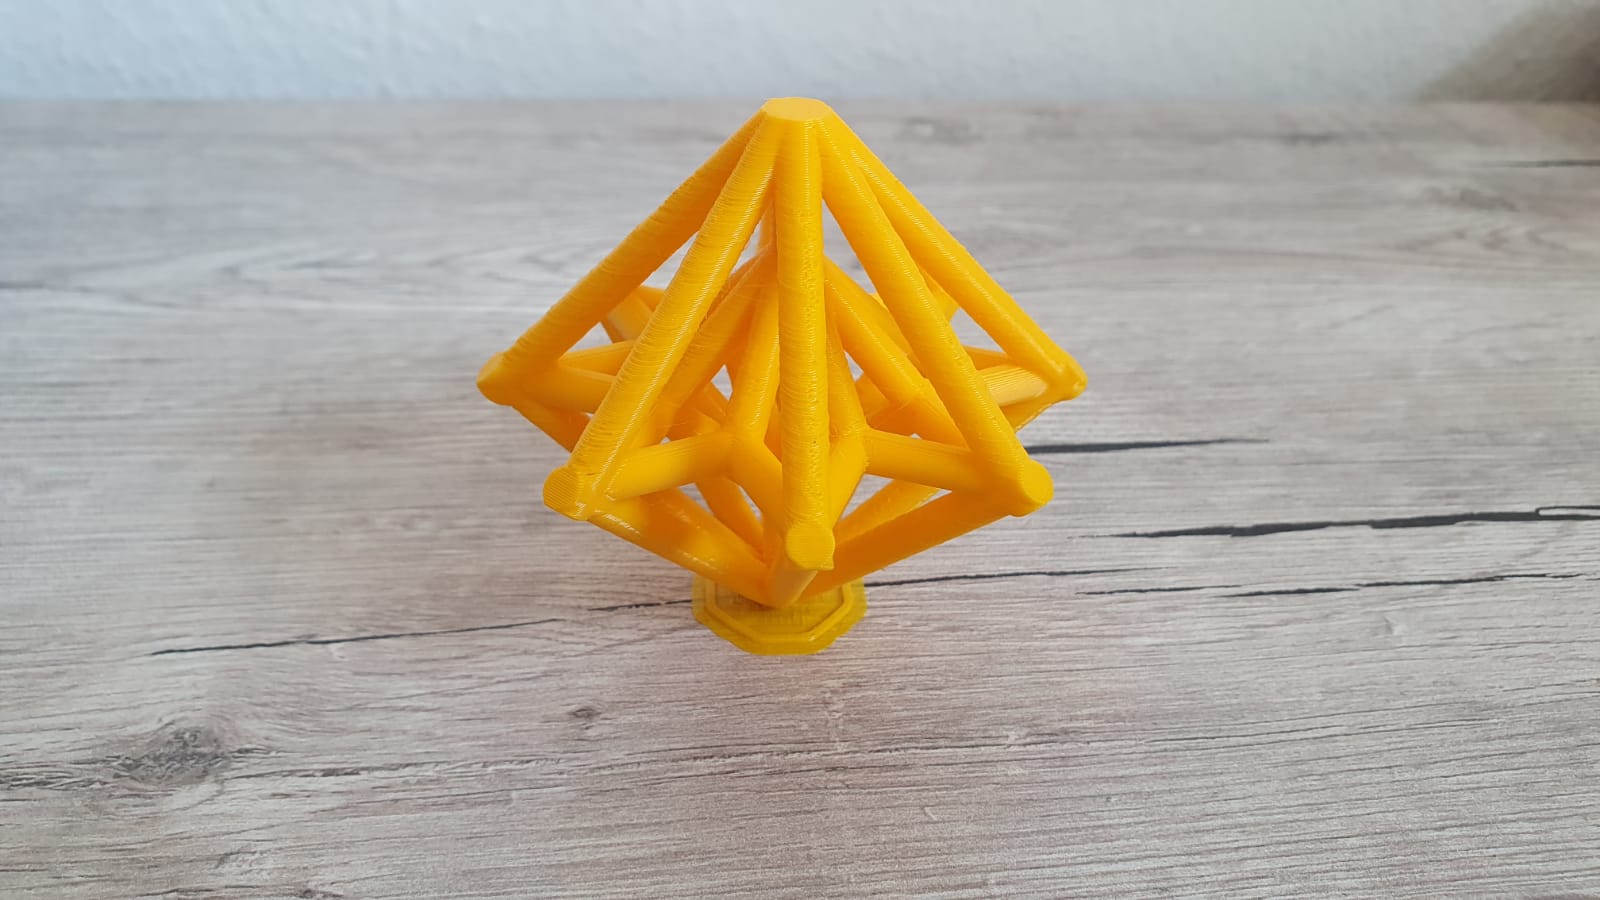
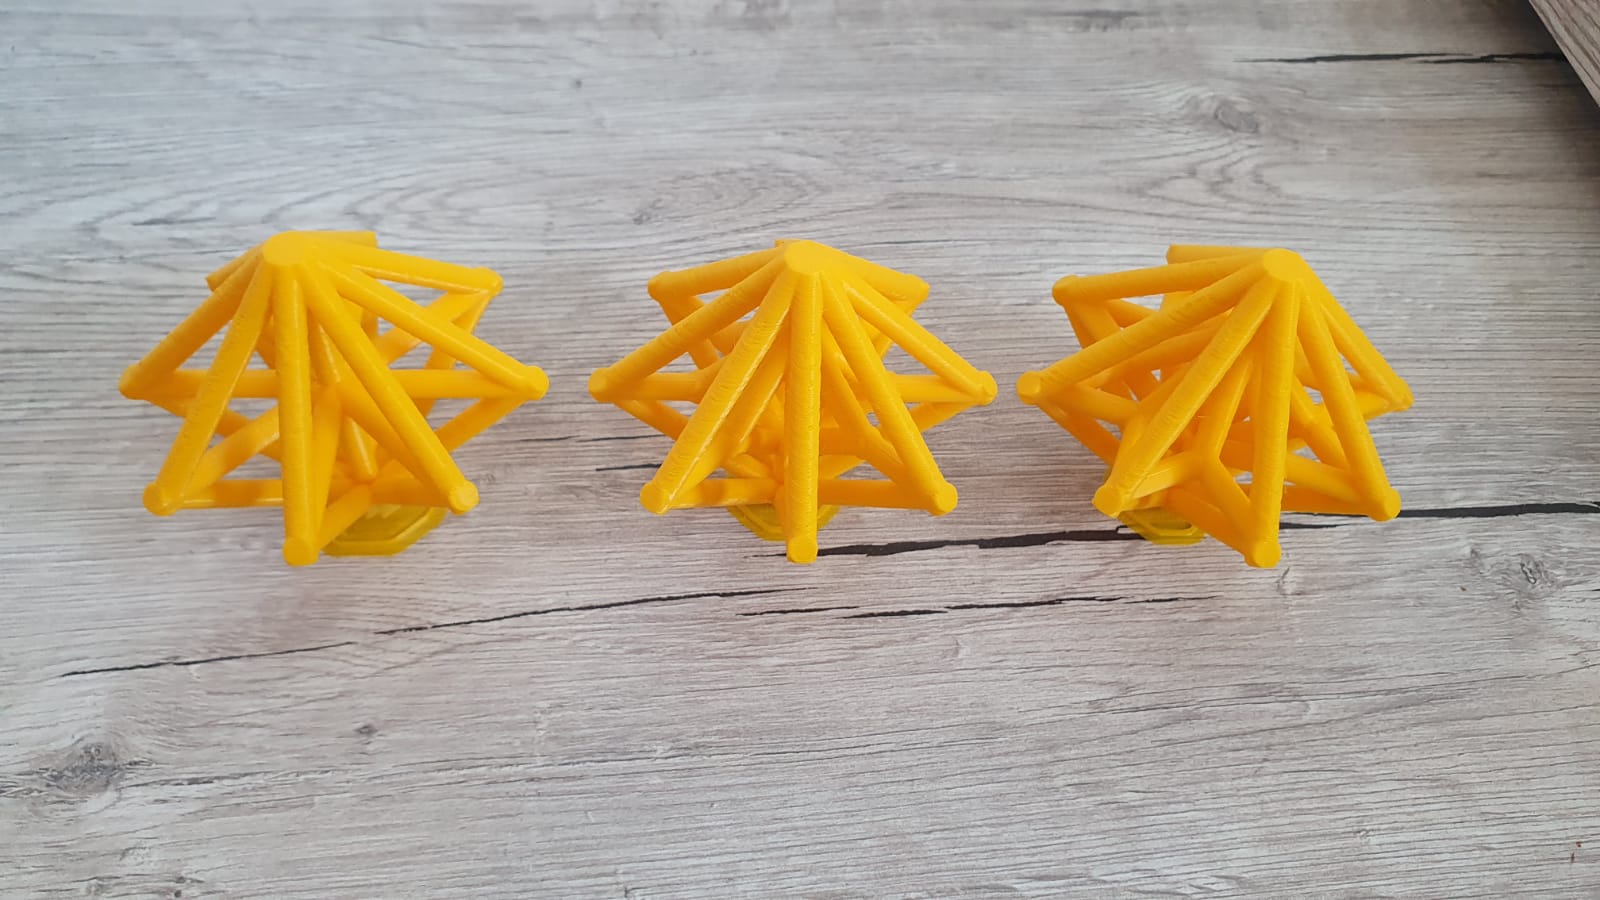
As I was also not satisfied enough I changed it again and came up with this, final, design:
Here you can compare them side by side:
To understand how I designed them yyou can whatch the video below, which will show you step by step of the creation of the 3rd model:
For the second task I used our EinScan Pro 2X Plus.
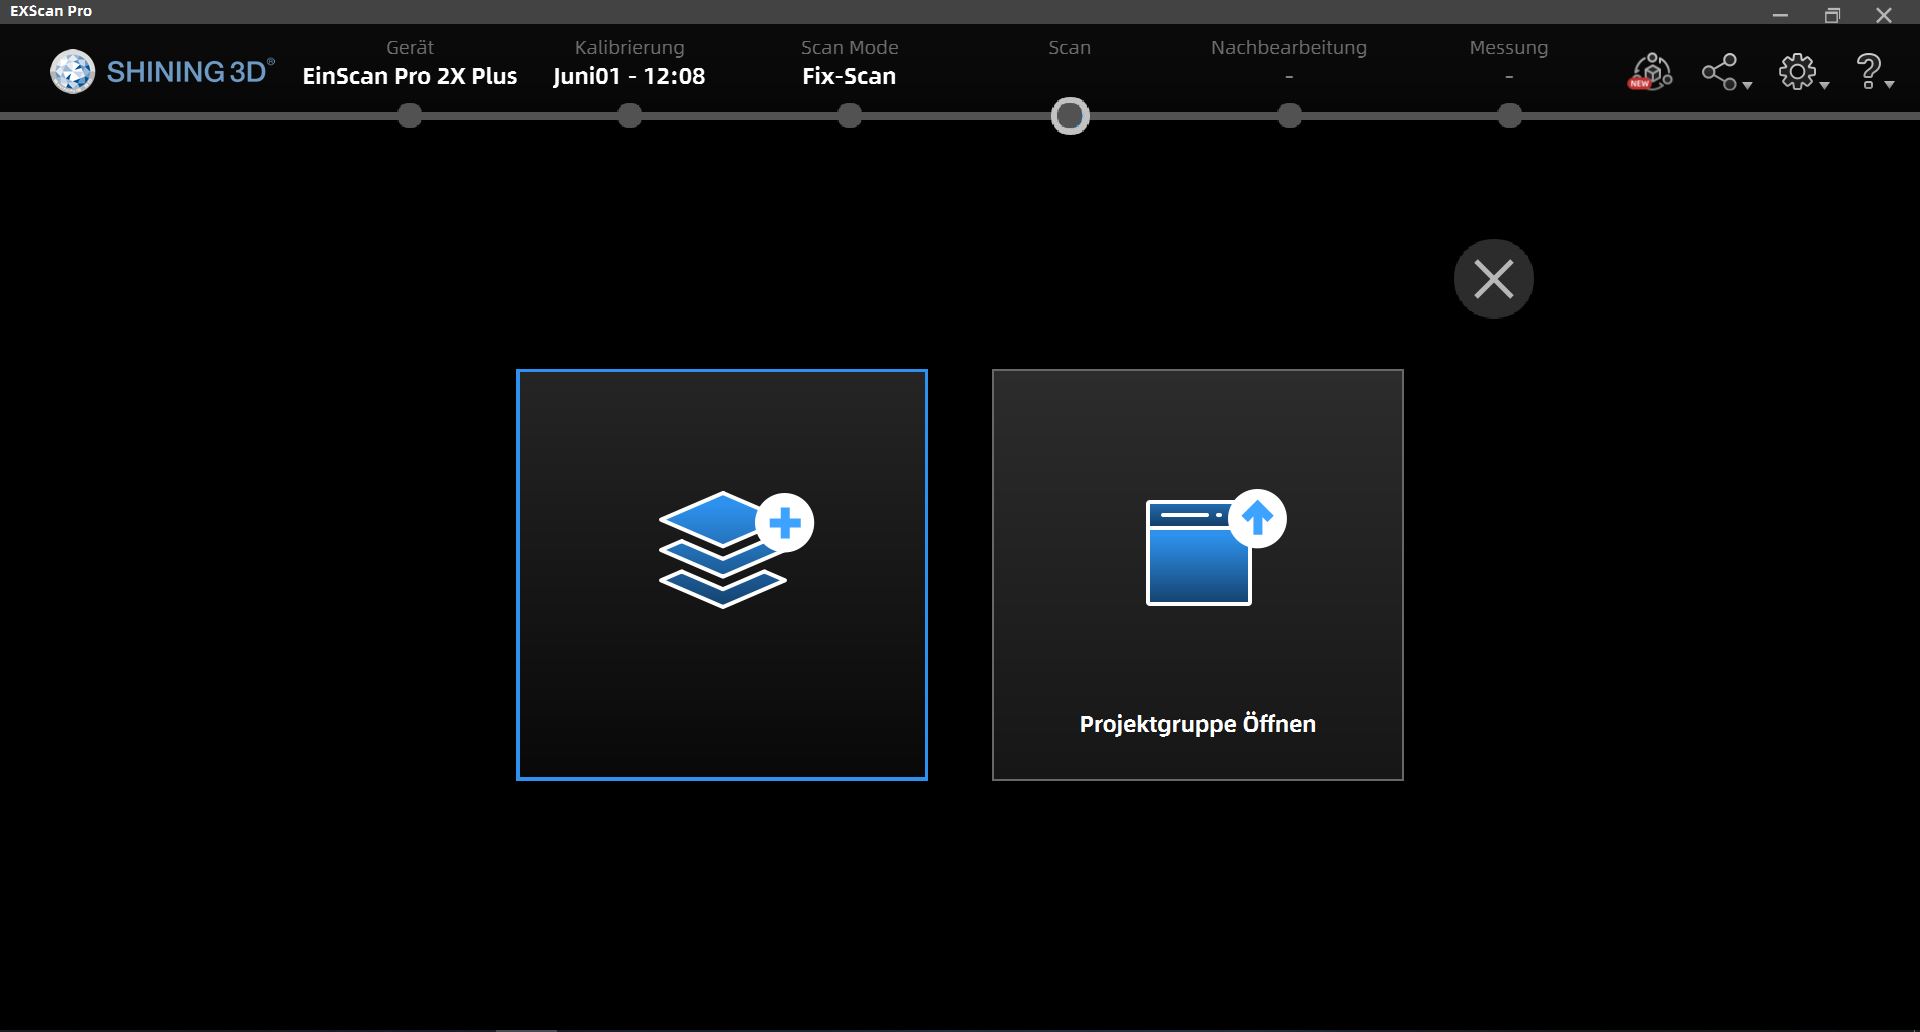
As I have never used it before I first downloaded the software. Note that there are different software-versions for the different EinScan models, I first downloaded and installed the wrong version and had to uninstall and reinstall the right version afterwards.
This is the right version for our scanner.
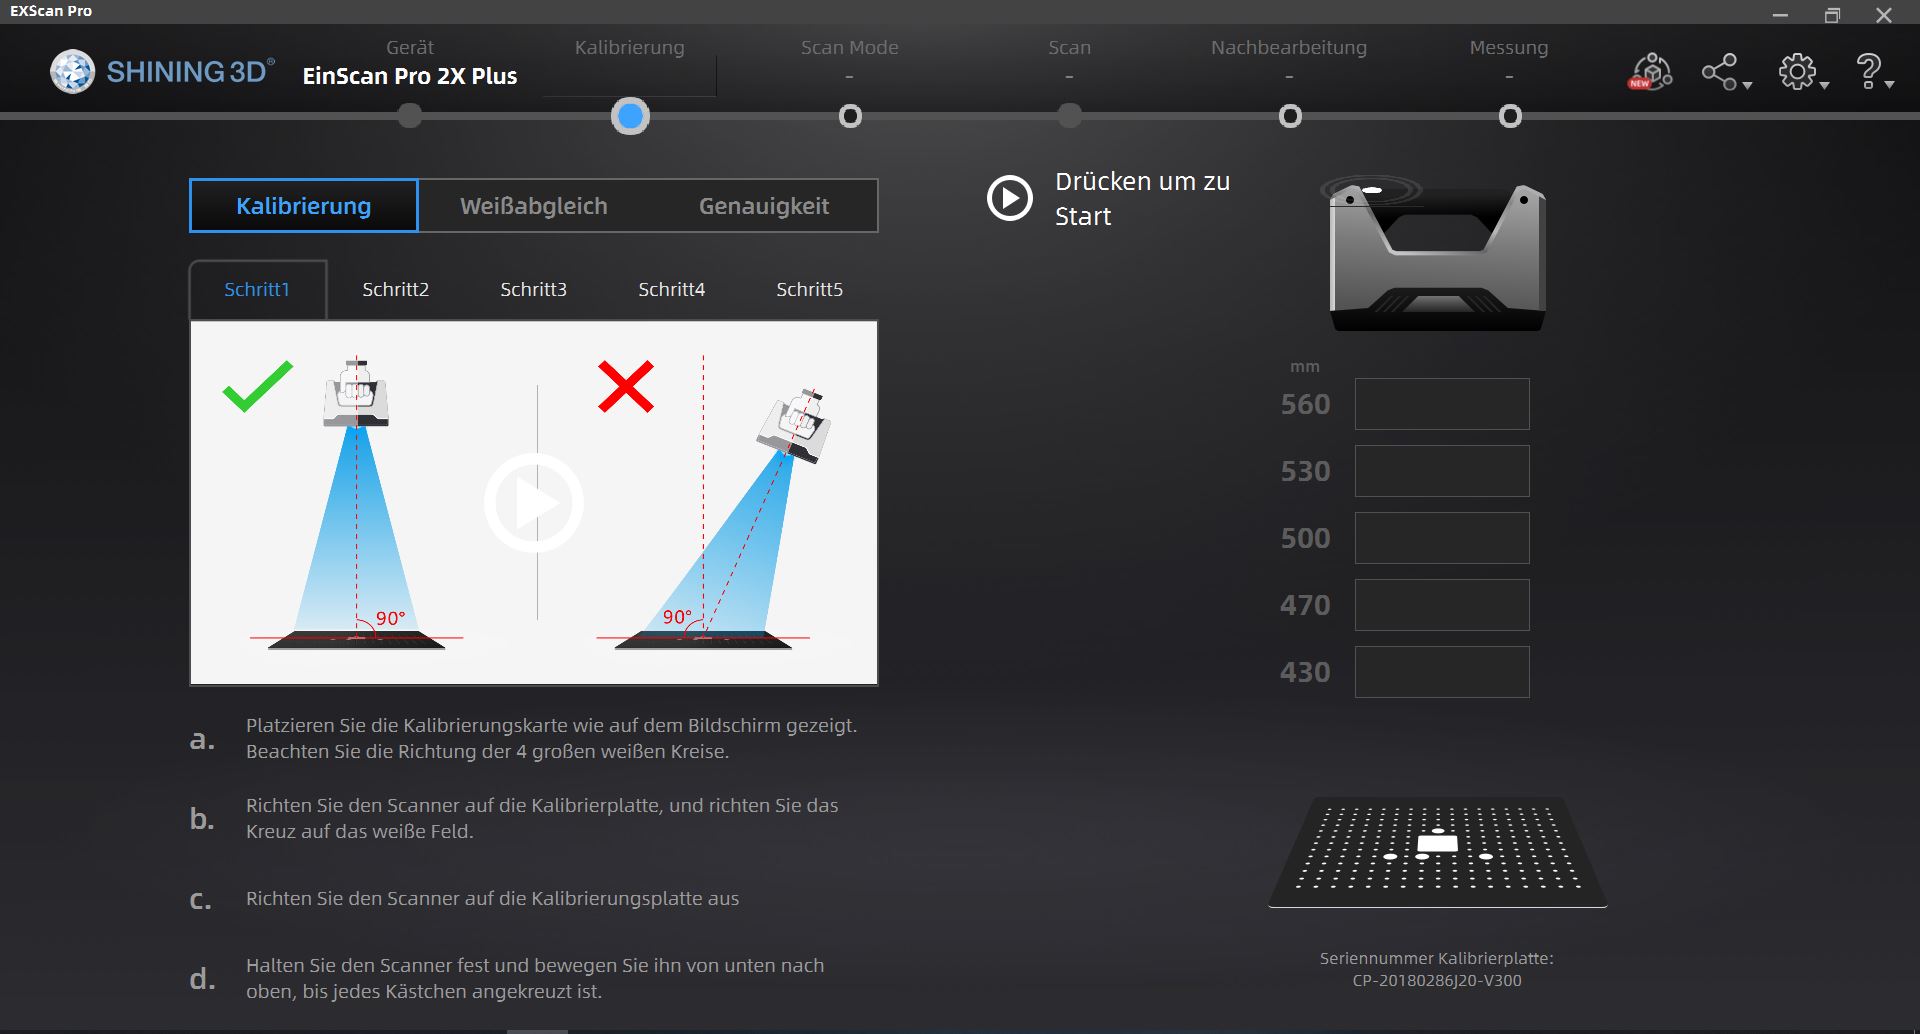
I created a new project and started by calibrating the EinScan.
There is a automatic calibration mode, which tells you exactly, what you have to do.
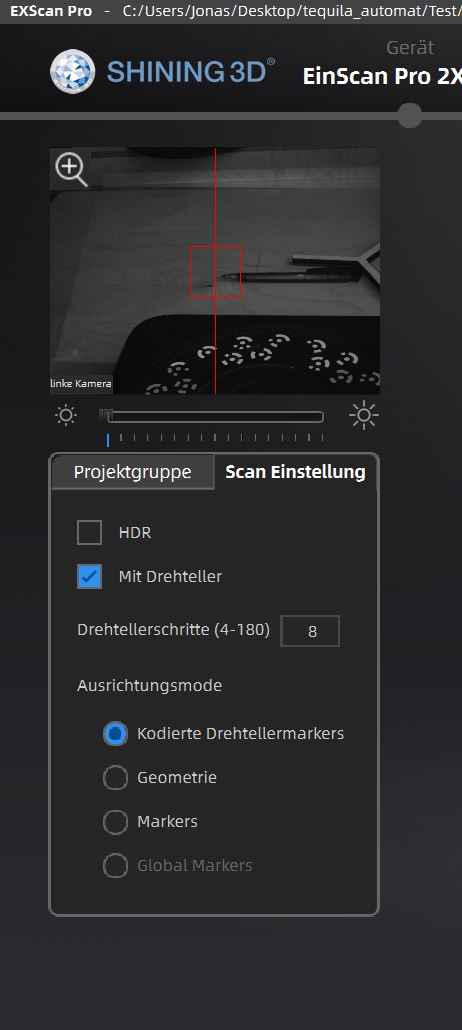
After that I used the EinScan turning table to position my object, selected how many turn the table should make, in my Scan I used 16 turns in total, and started the scan.
Here you can see the model after the scan has finished:
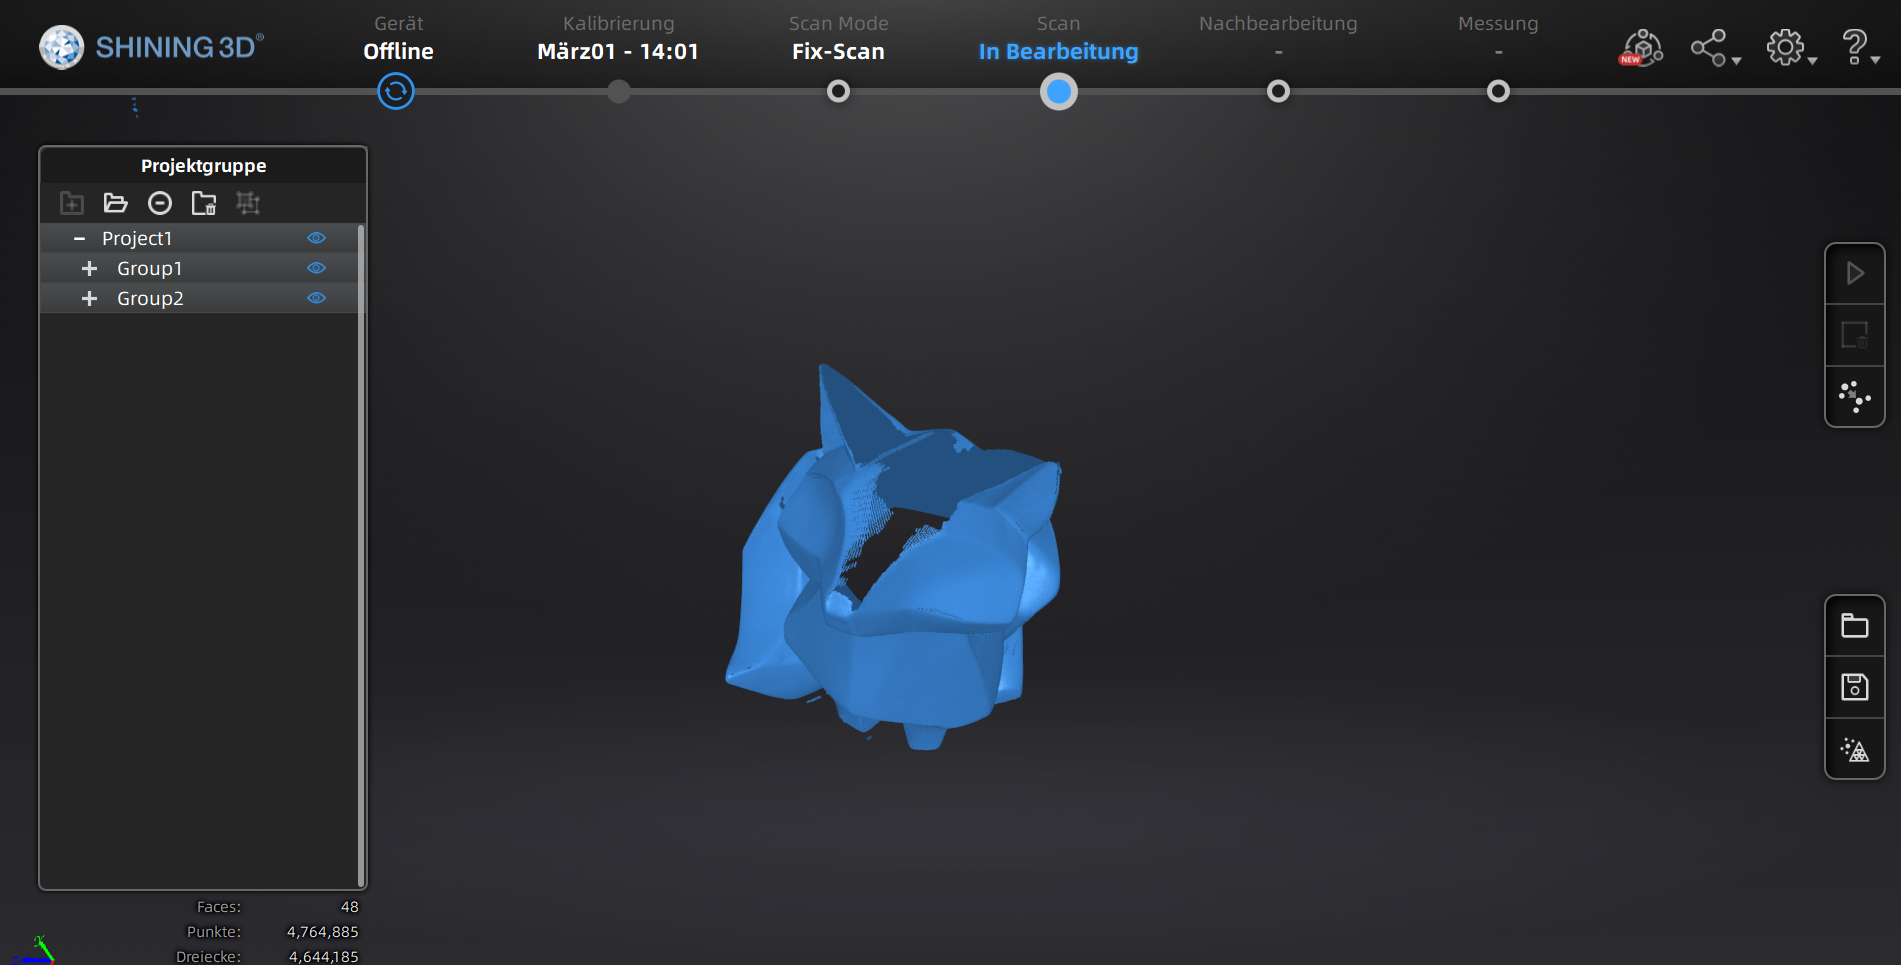
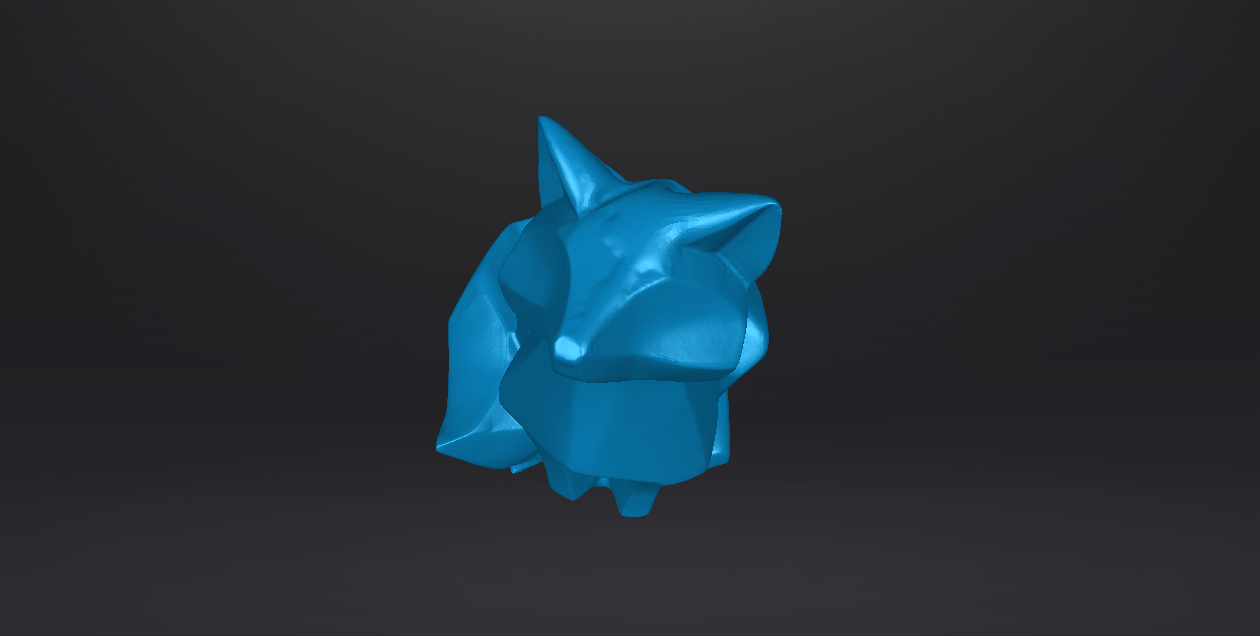
As you can see there are still a lot of holes in it, so the EinScan software uses a mesh function to calculate the missing triangles and creates a finished .stl file:
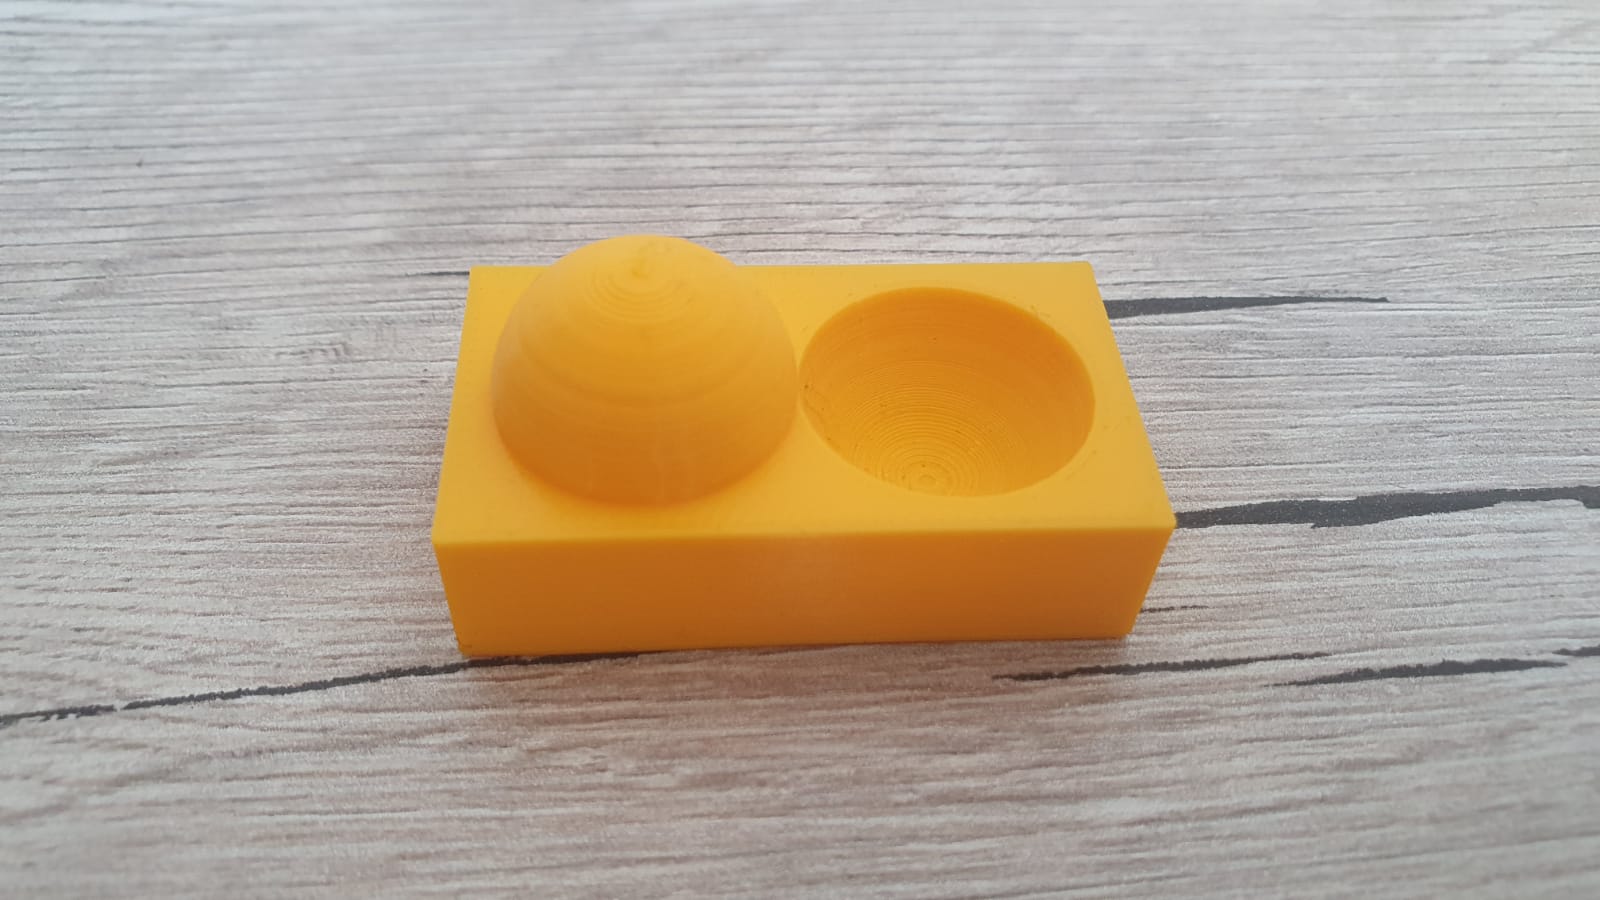
I then printed the exported .stl file, so that I can compare the original model with the scaned version.
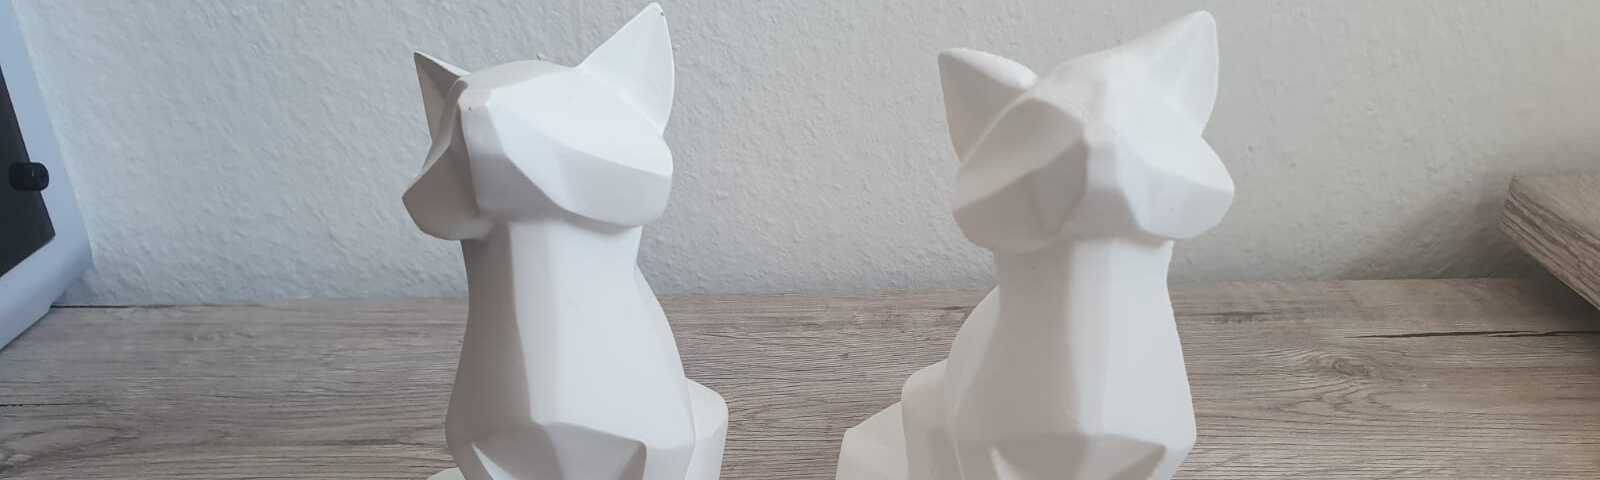
Here you can see the original model and the printed model side by side:
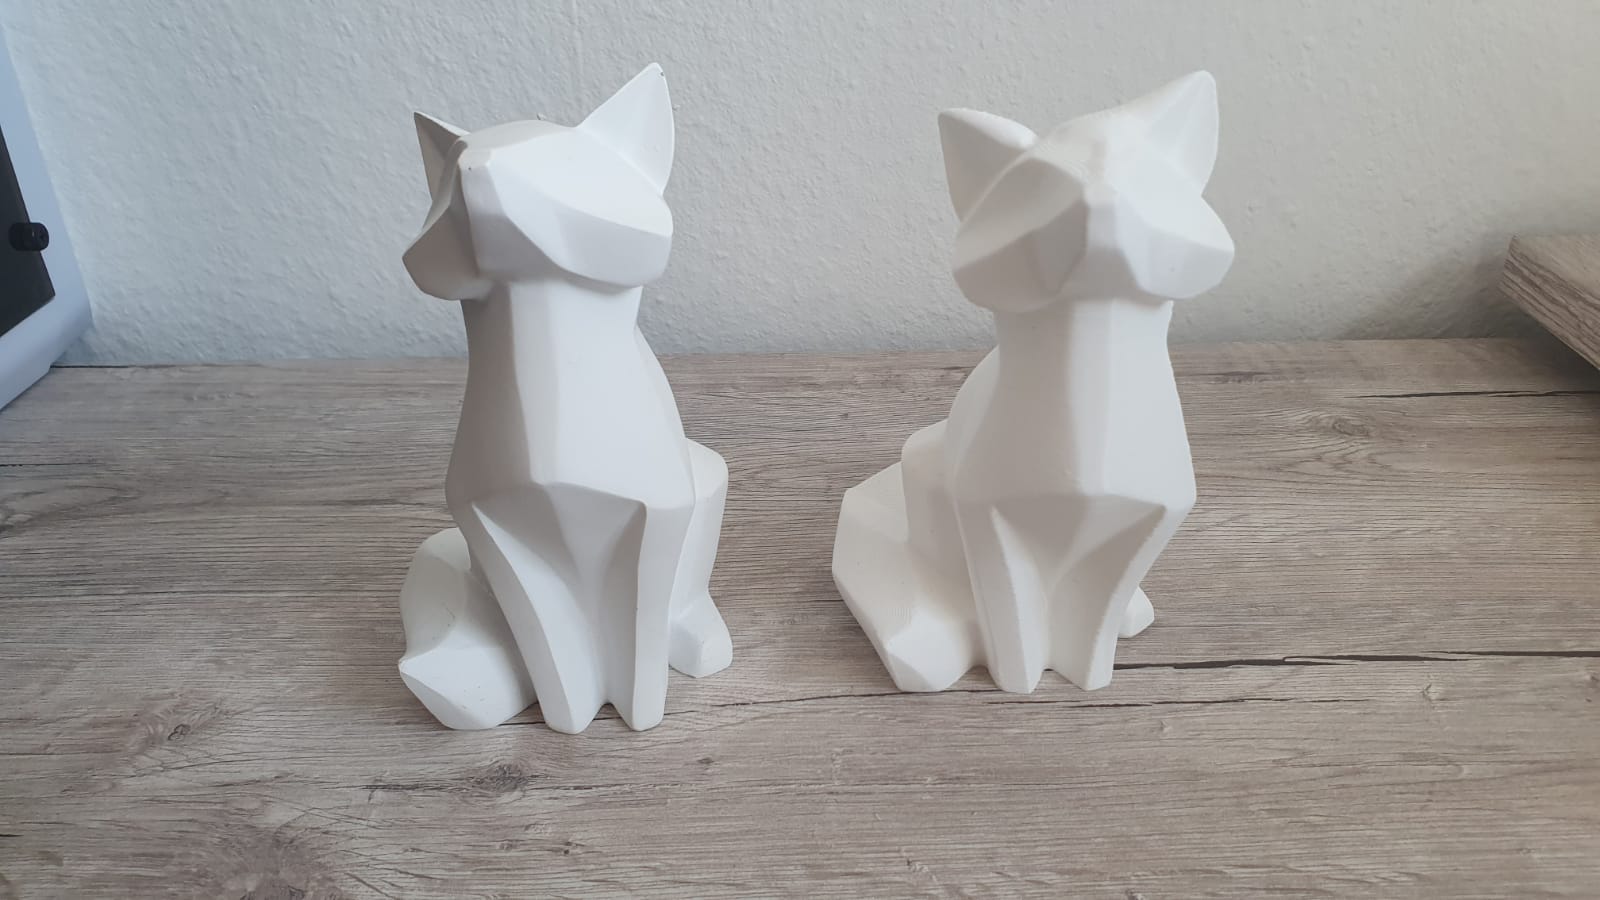
As you can see the scan has only some minor differences, like the ear, where the software had to guess and fix the holes in the scan.
For a better model I could easily increase the amount of turns per scan, to get even more detail!
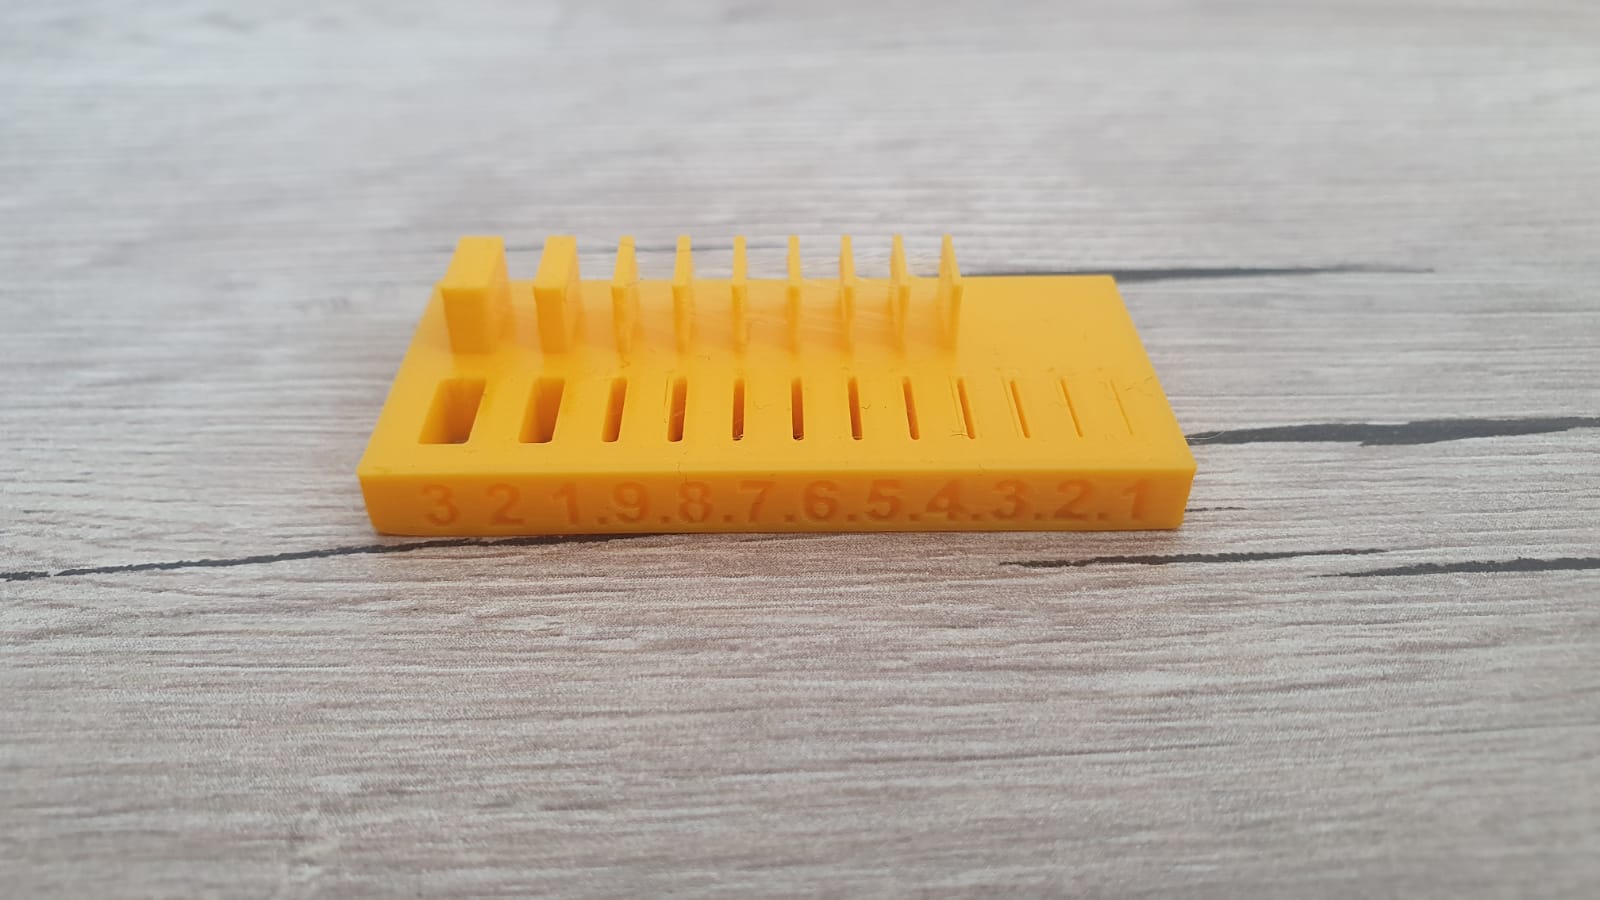
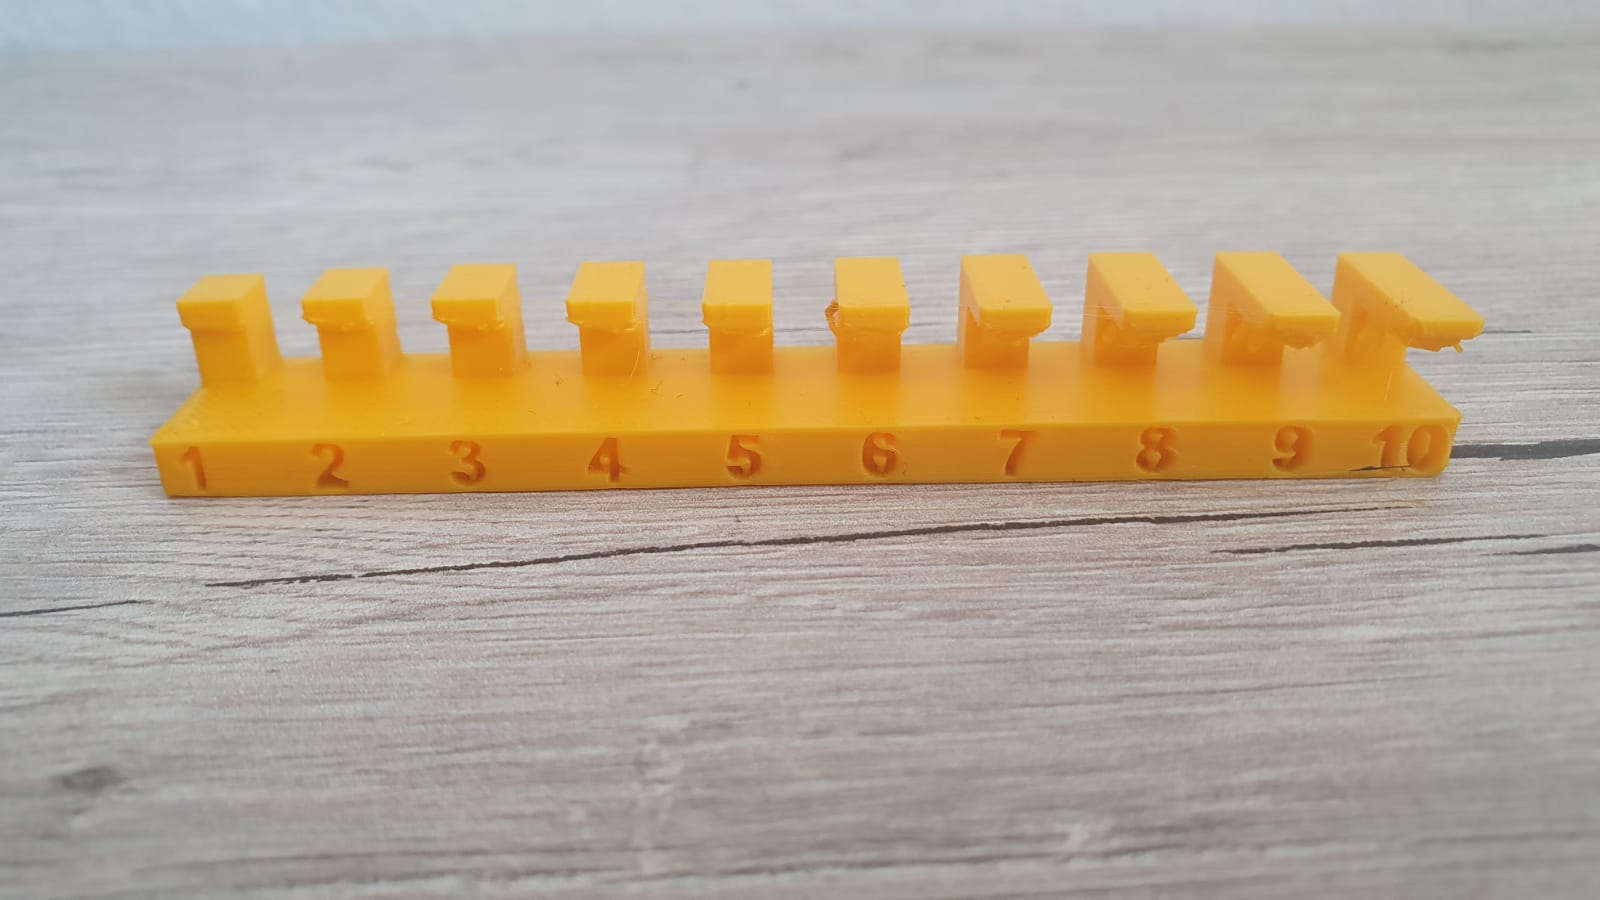
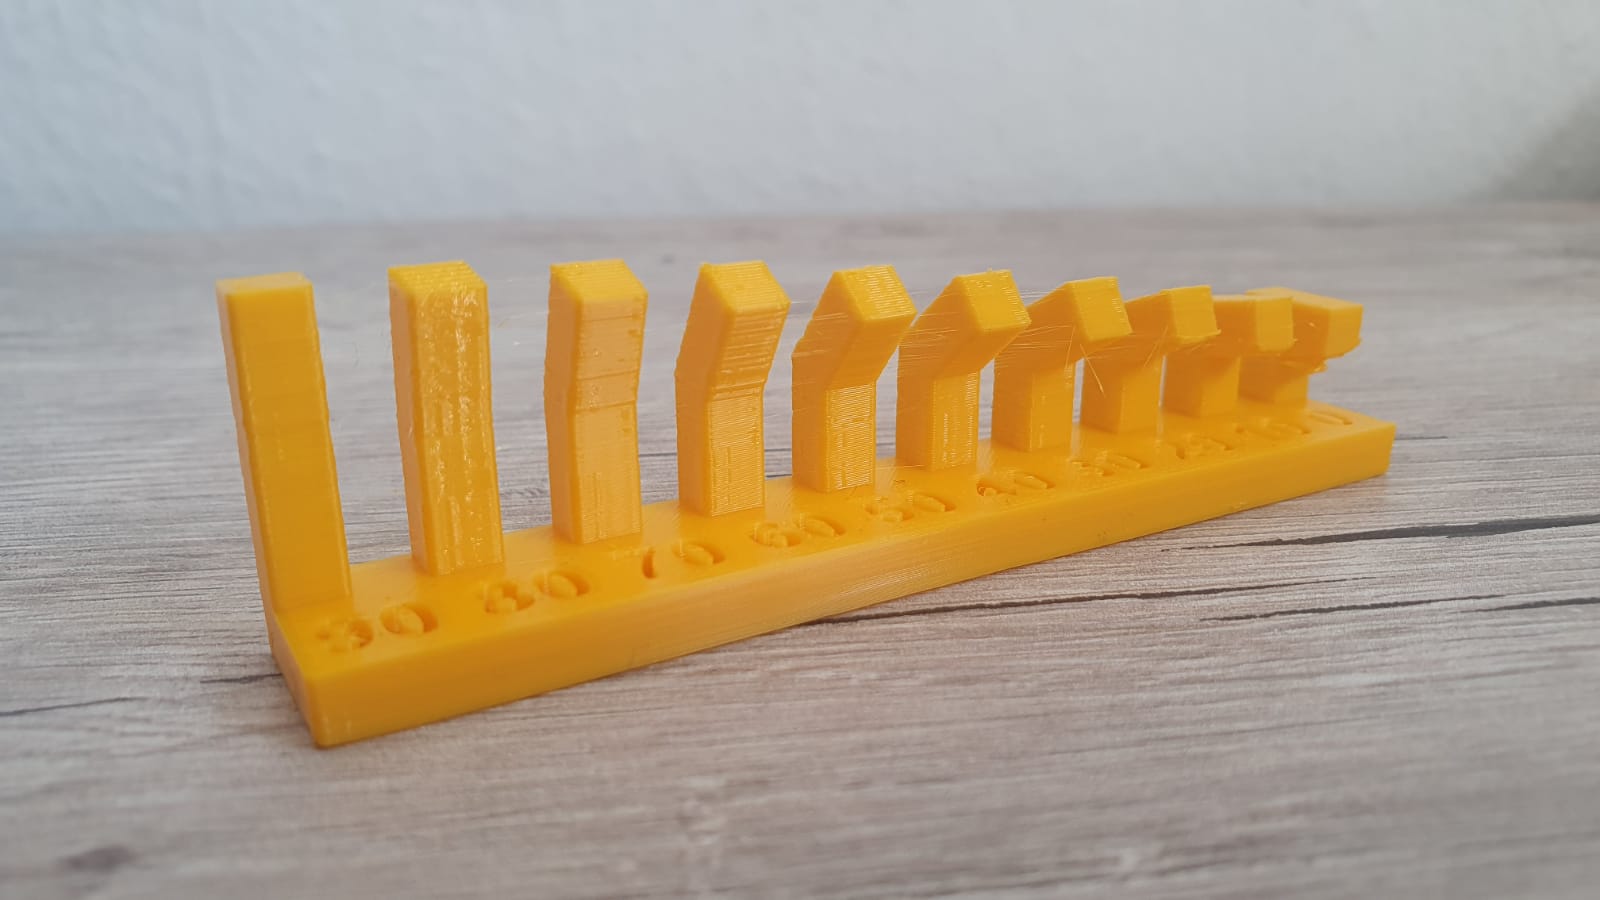
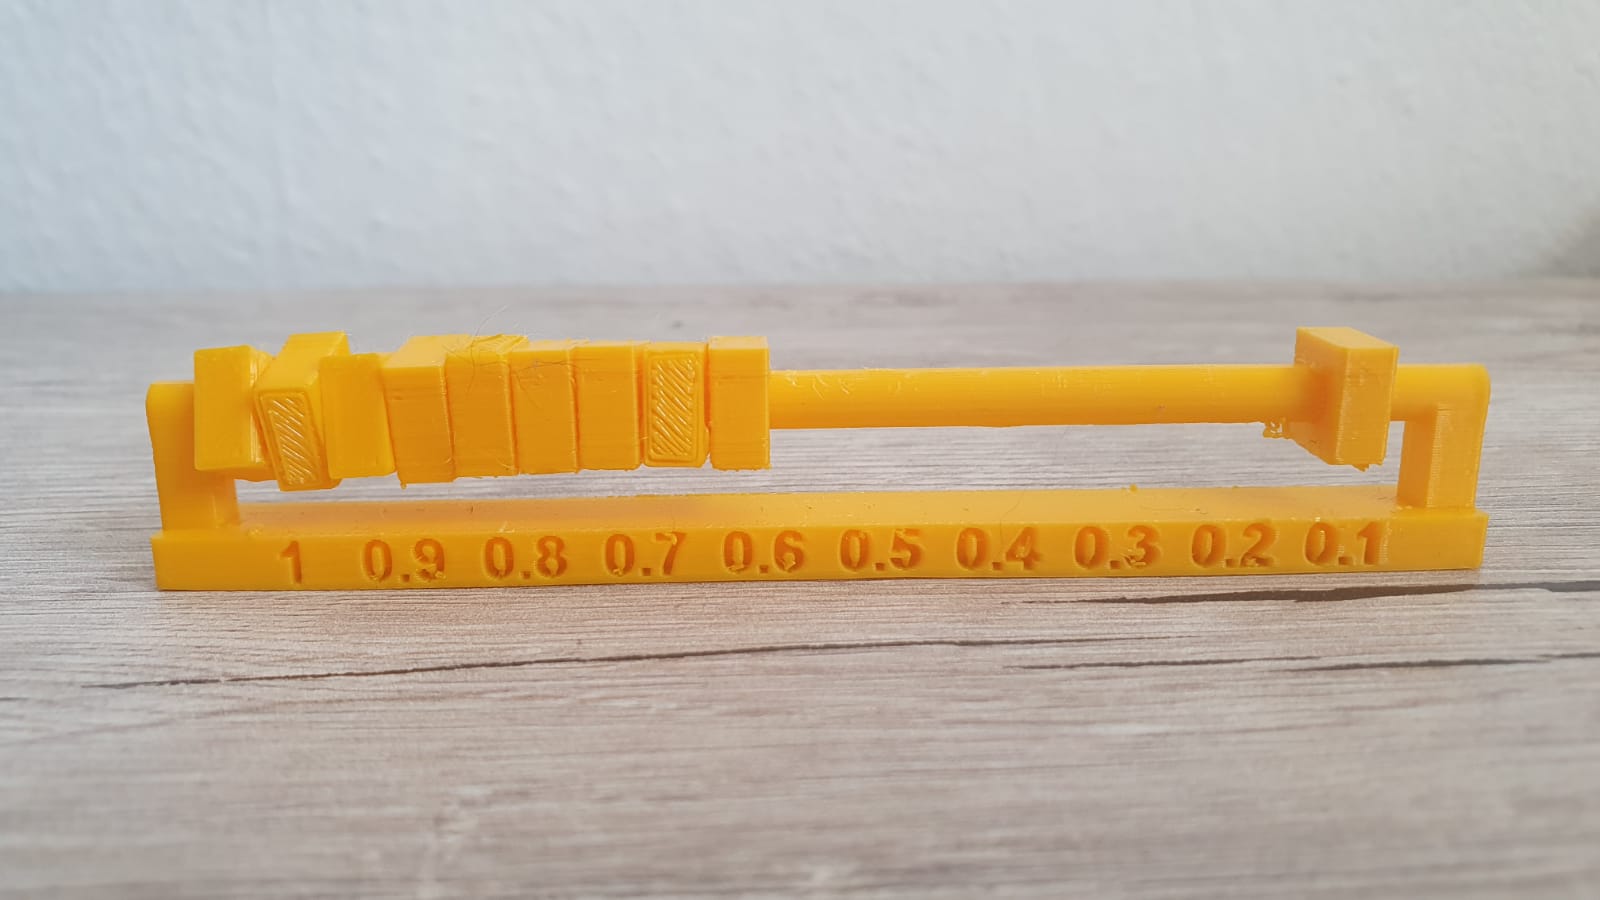
As group assignment we had to test the design rules for our 3D printer. Due to the pandemic situation I only got the Prusa Mini here at home, which I will test.
| Quick Specs | |
|---|---|
| Print Volume | 180mm x 180mm x 180mm |
| Filament | 1.75mm PLA / PETG / ASA / ABS / Flex |
| Technology | FDM |
| Max Temp. | 280°C |
| Max Speed | 200mm/s |