Final Project
Idea
So the idea for my final project is to build a forest diorama. Diorama is the term used to describe showcases in which scenes with model figures and landscapes are displayed against an often semi-circular painted background. Popular representations are, for example, historical scenes, social milieus (a temporarily popular motif were so-called wedding cribs), professions or animals in their natural environment.My diorama should be a little different. I would like to create something magical. The following picture shows my sketch (it doesn't show enough trees, I left most of them out for clarity):
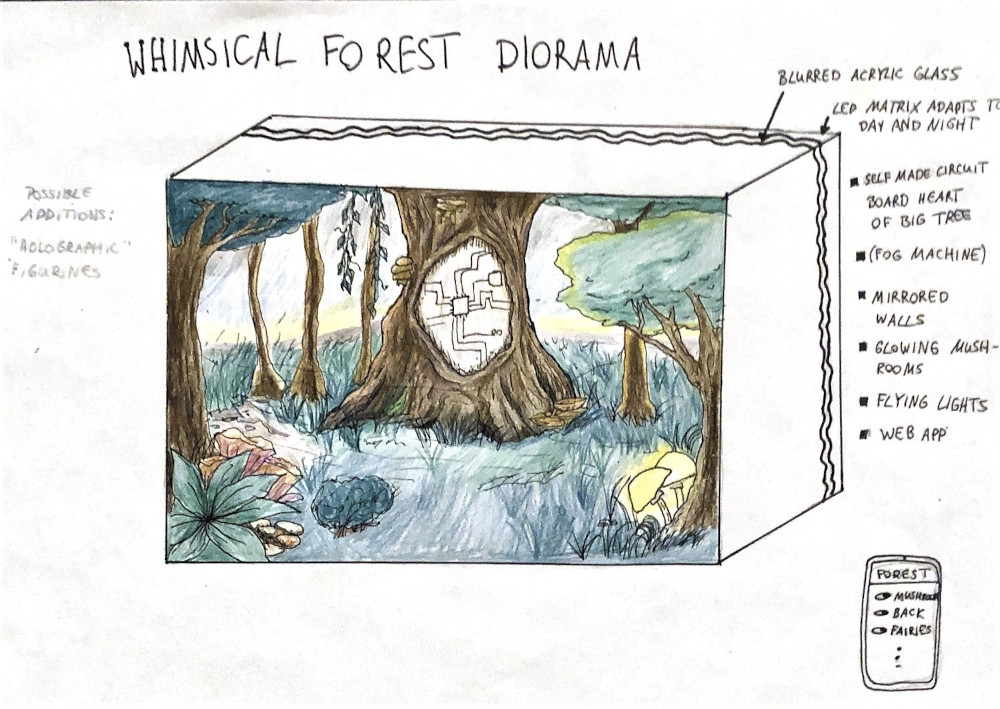
My forest should be able to adapt to different light conditions. At night, the stars are shining, in daylight its foggy and light. Glowing mushrooms should be part of the scene, fairy lights, and maybe some other light sources. I'm also thinking about a fog machine, but first I'd have to check if its harmful to the electronics.
Materials needed
- Filament
- Neopixel matrix
- Silicone (optional, used for the mushrooms
- Styrofoam
- Fake Grass
- Acrylics and fake mud
- Fake leafs
- Mirrors
- some cookies (in case of hunger)
- Thin wire
- Blank copper pcb's
- SMD parts
Technology needed
- 1 AtMega328p
- 1 AtMega45
- A wiring system for serial communication
- Static grass applicator (optional, I used one and it changed the game!)
- (Fog machine)- Maybe next time!
DIY Parts
- I made the main board
- The wiring system for the neopixel led matrix in the back
- The wiring system and code for serial communication
- The input photoresistor board
- 3D designed all the parts to the case
- Laser cutted the front glass and the milky glass in the back
- Used a computer controlled hot wire to cut out pieces for the flooring
- Scanned some rocks and 3D printed them for a more realistic appereance in the front
- The flocked surfaces are also made by me with the use of a static grass applicator
The Applications and implications,Invention, intellectual property and income and the Project development can be viewed here:
Journey
Planning and 3D design
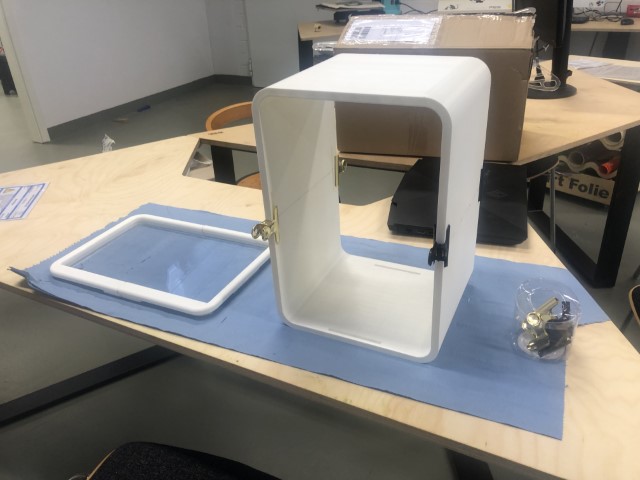
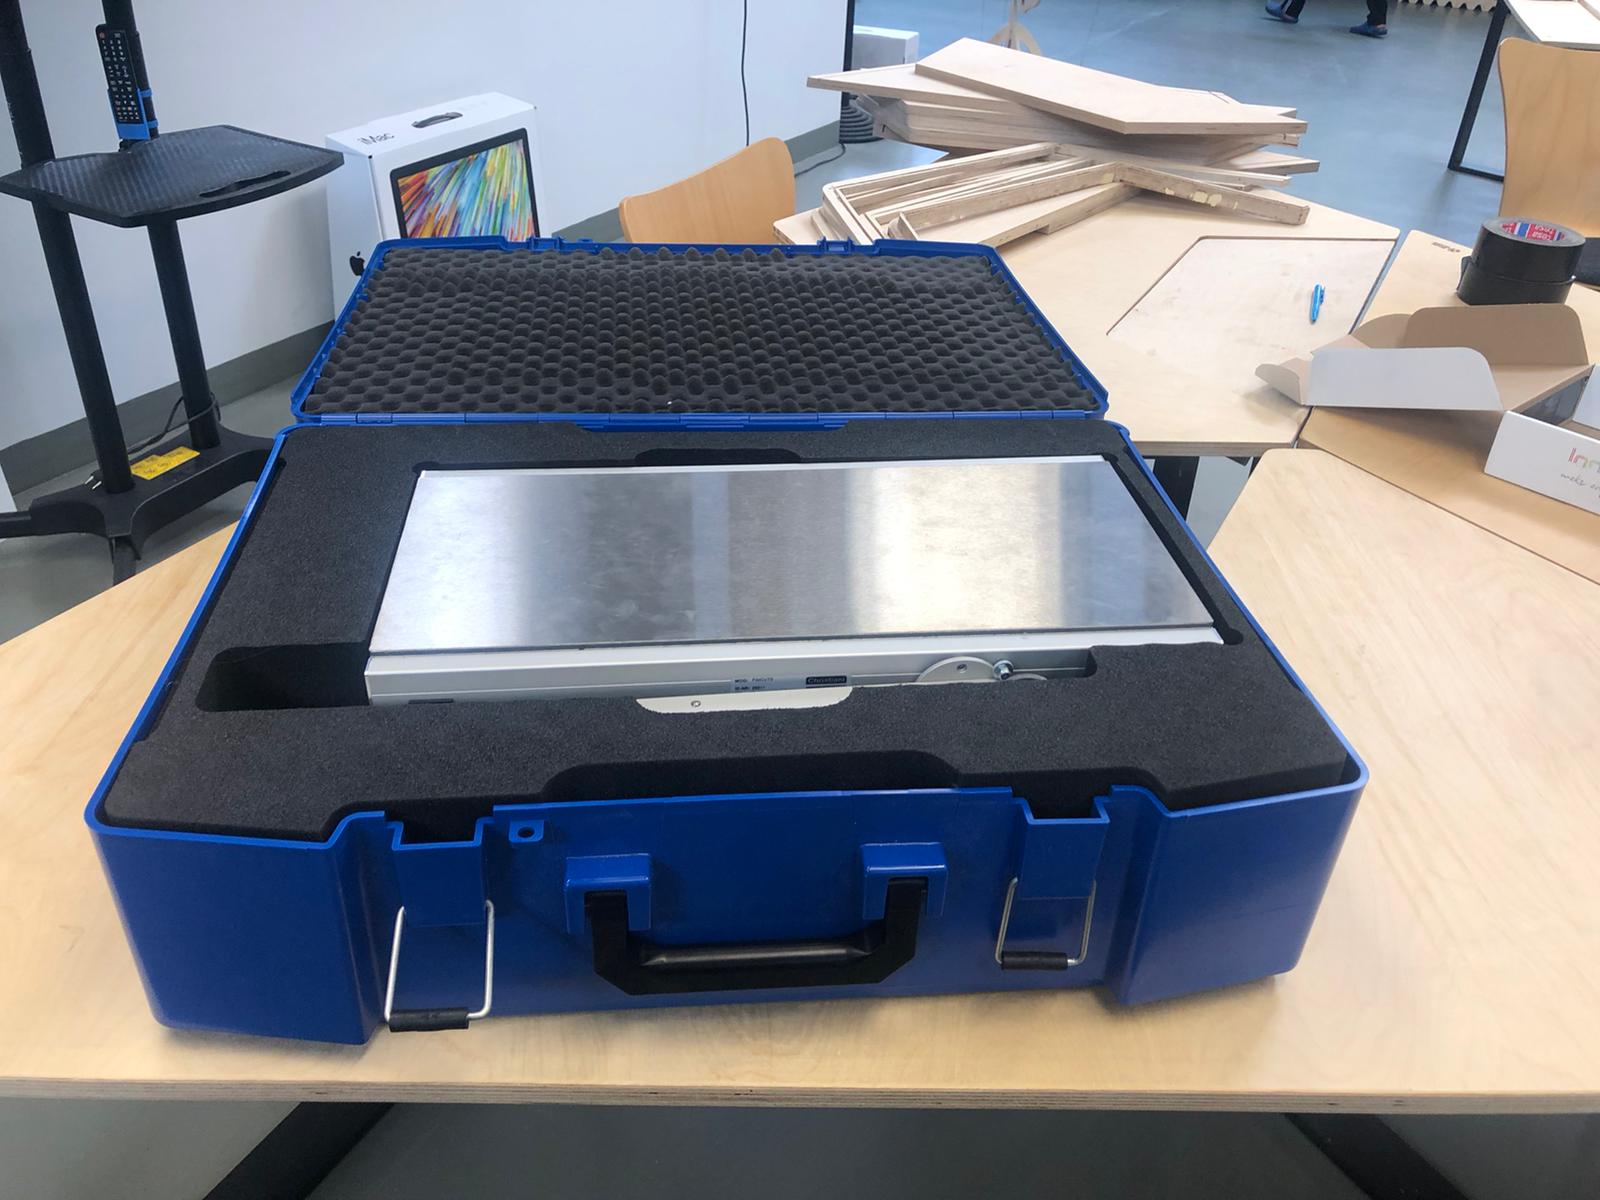
Here you can see the case which I designed in Week 3:
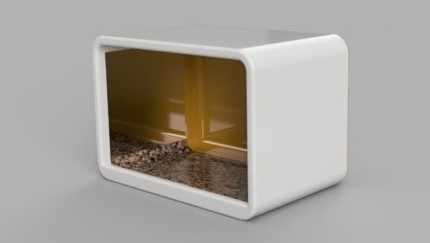
This is supposed to be the case for my diorama, I tried to give it a touch of the late 60's.
Why? Well I just made up a story in my head to explain my choice of design: Aliens have a tiny "terrarium" in
their 60's/70's spaceship which they use to examine unknown matter in the forests of the earth
(I was kinda influenced by 2001: A Space Odyssey, also a little bit by the living room of a friend and a teeeeny
tiny bit by a specific world in Super Mario Odyssey).
And here's a sketch of the "source tree"- an old tree with an integrated board.
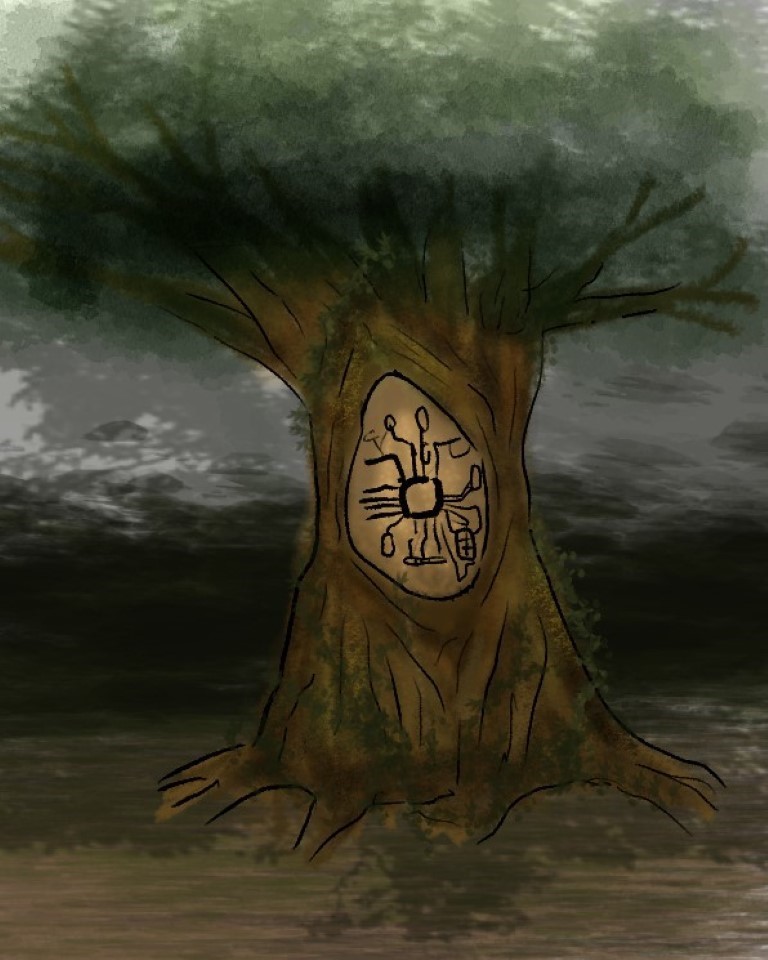
I know the idea of the source tree is also a little bit from some Zelda games, oh well.
Here you can see it made in fusion and next to it you see how it is integrated into the case.
3D printing
I printed all of my designs out. I used three different printers for it. The small trees were printed by the Prusa Mini, the big tree and the front pieces for
the case were printed by the Ultimaker S5 and the case was printed by the Artillery Sidewinder X1.
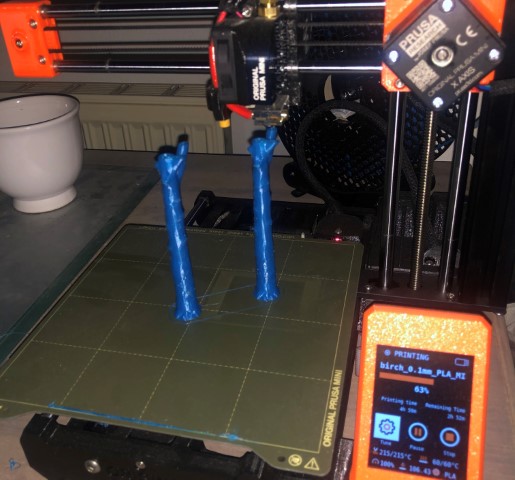
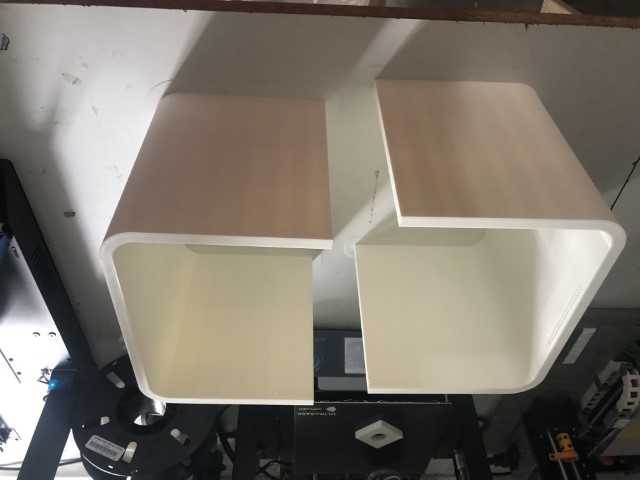
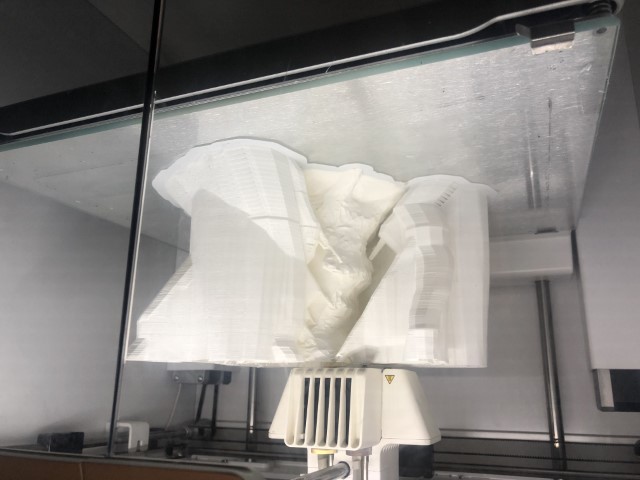
That was due to the reason that the prints took a long time and some of them needed a big printing space.
3D scanning
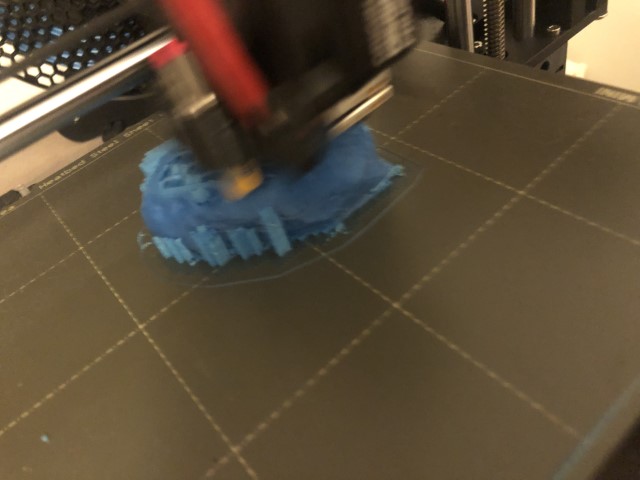
I scanned a few rocks because it was hard to design them and still looking realistic. I did this in Week 6.
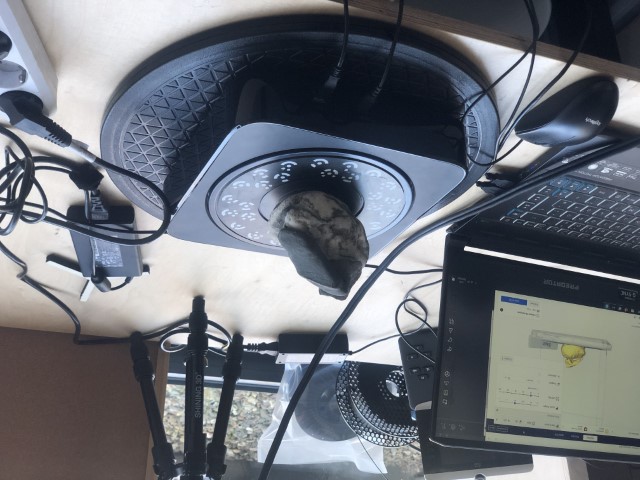
This was the printing process- the prusa Mini was quick!
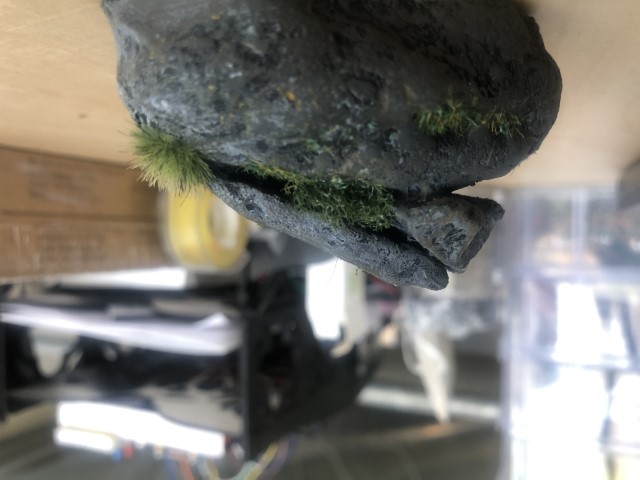
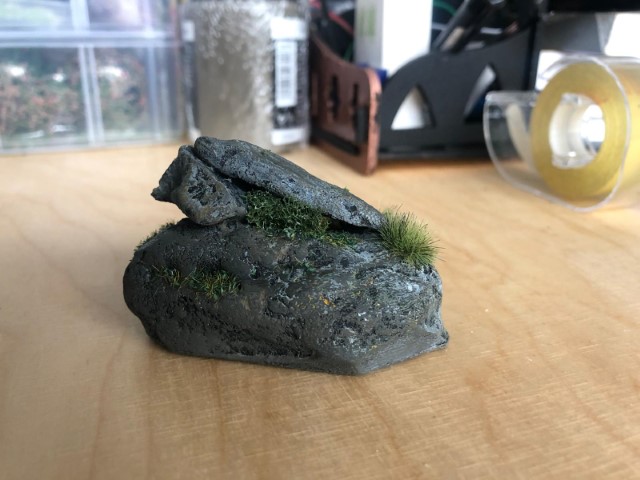
After printing, I painted it and glued on fake grass. I think it looks nice.
CAD
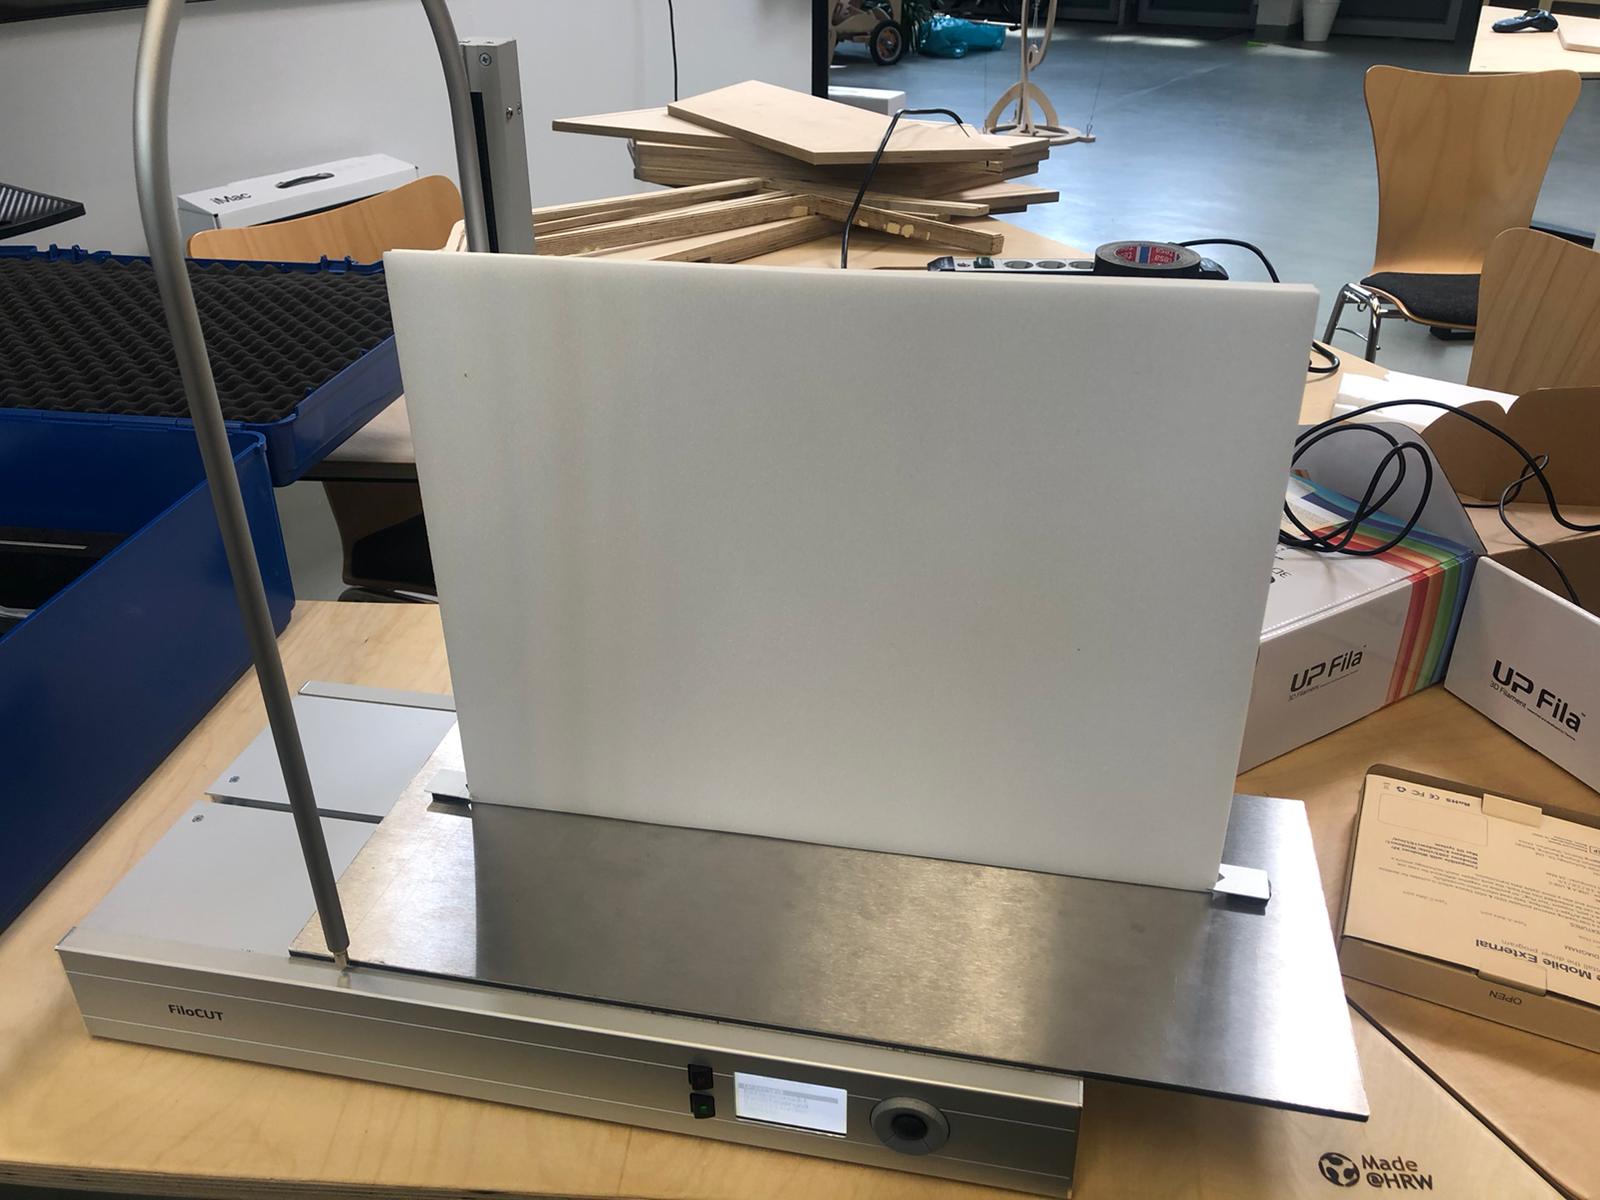
I was eyeing our computer controlled hot wire cutter in Week 16, the FiloCut.
This one was perfect for my ground pieces!
I actually used two boards stuck together so that I can make two corners at once.
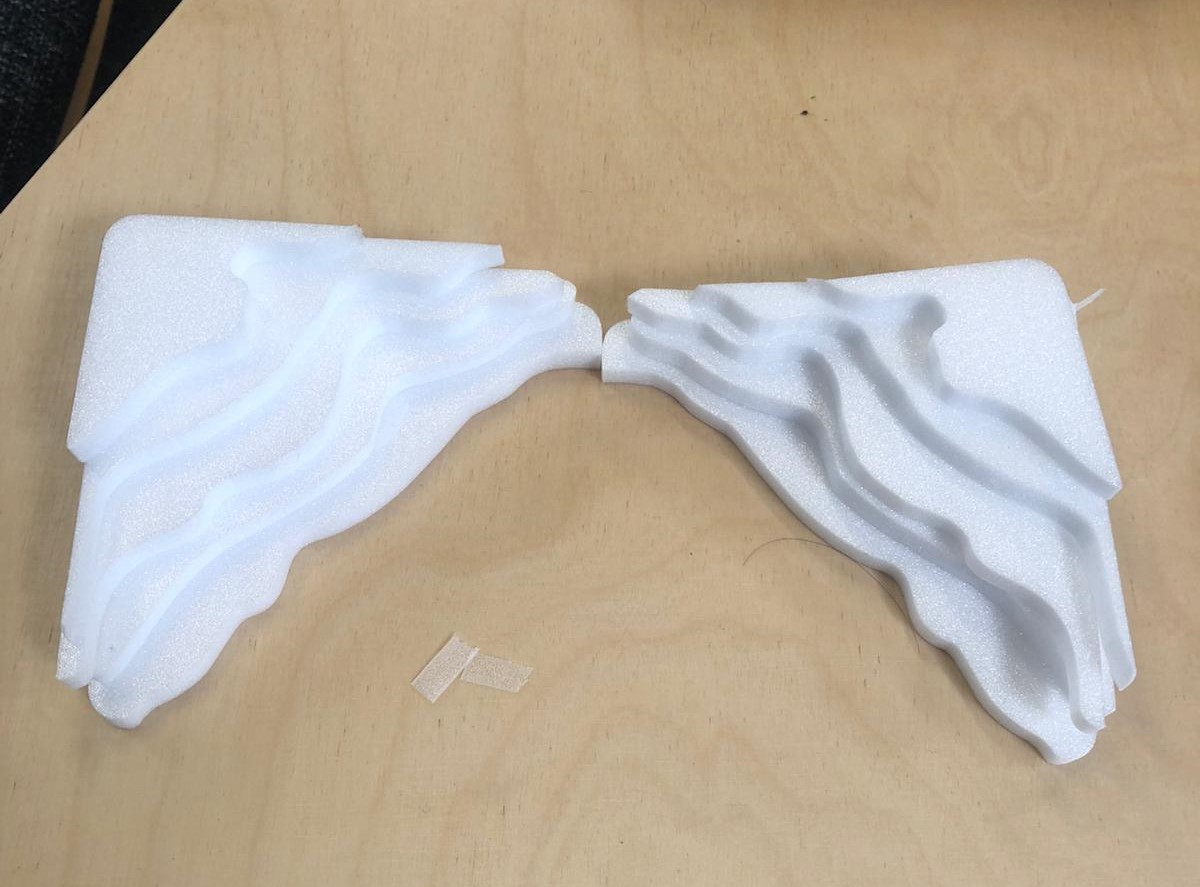
That was the result! Ready for foam friendly glue!
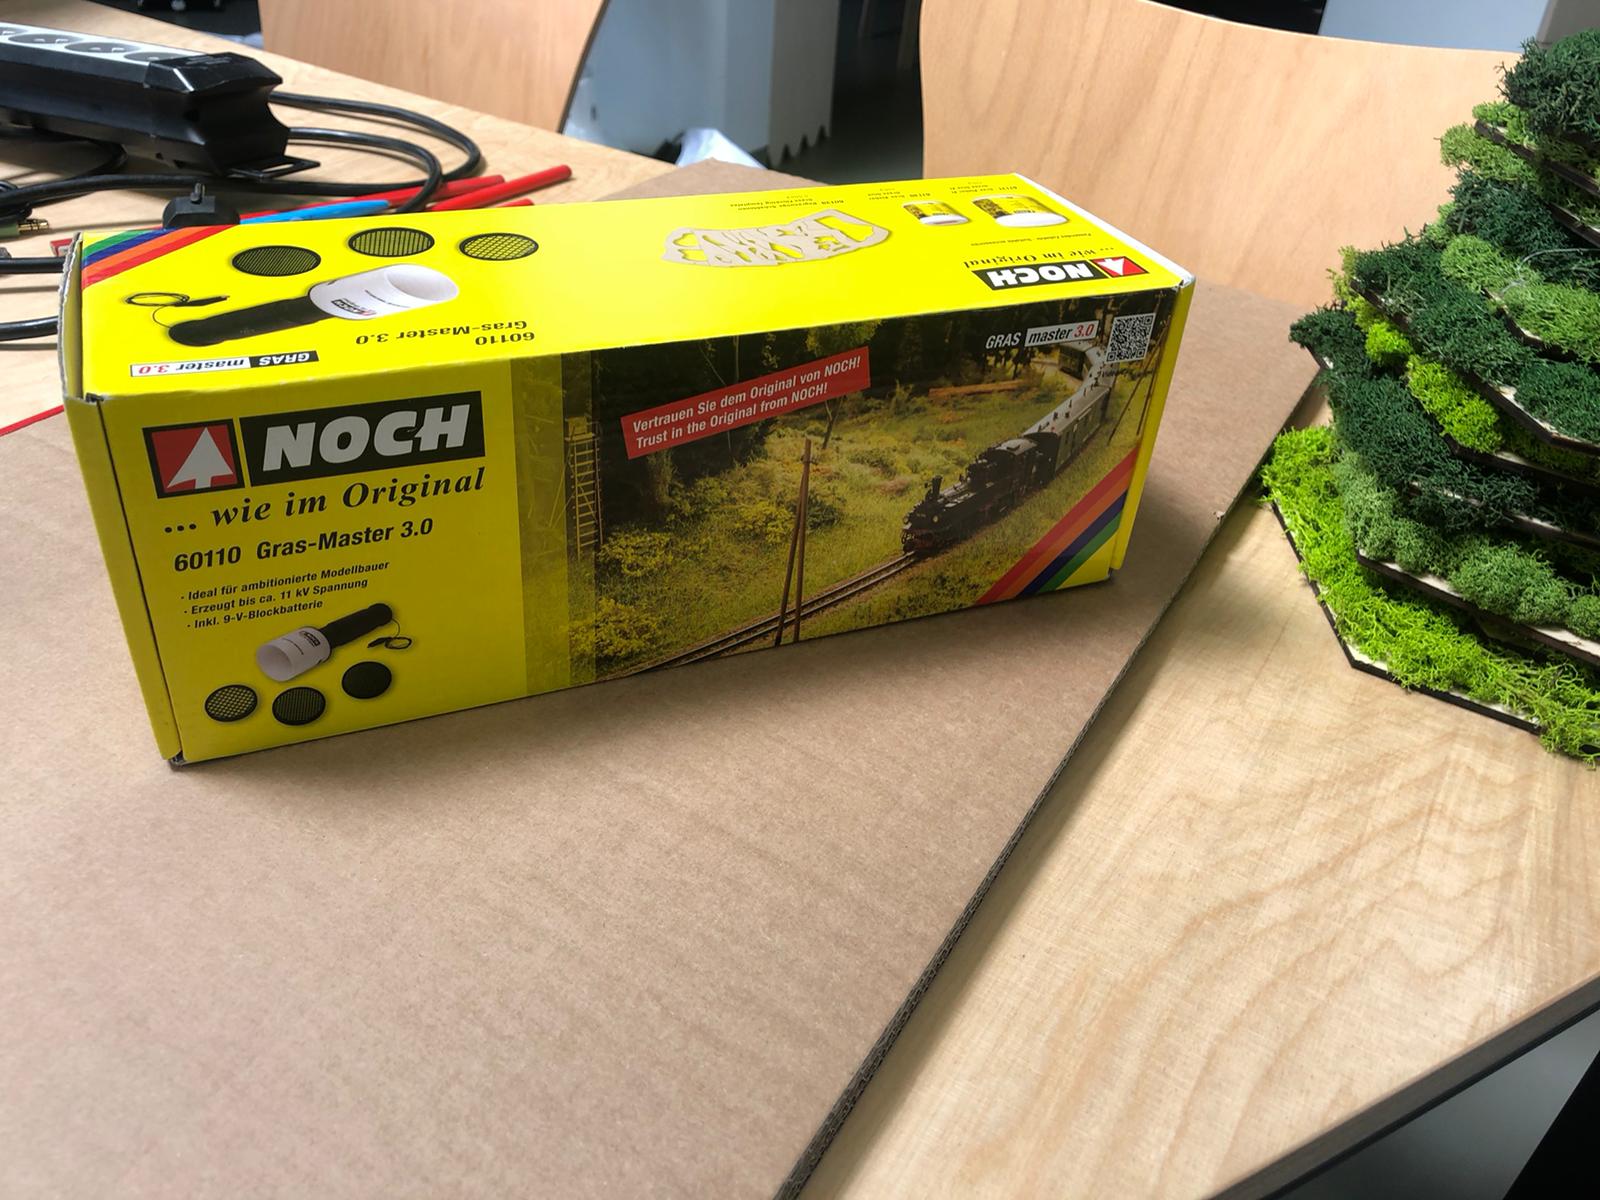
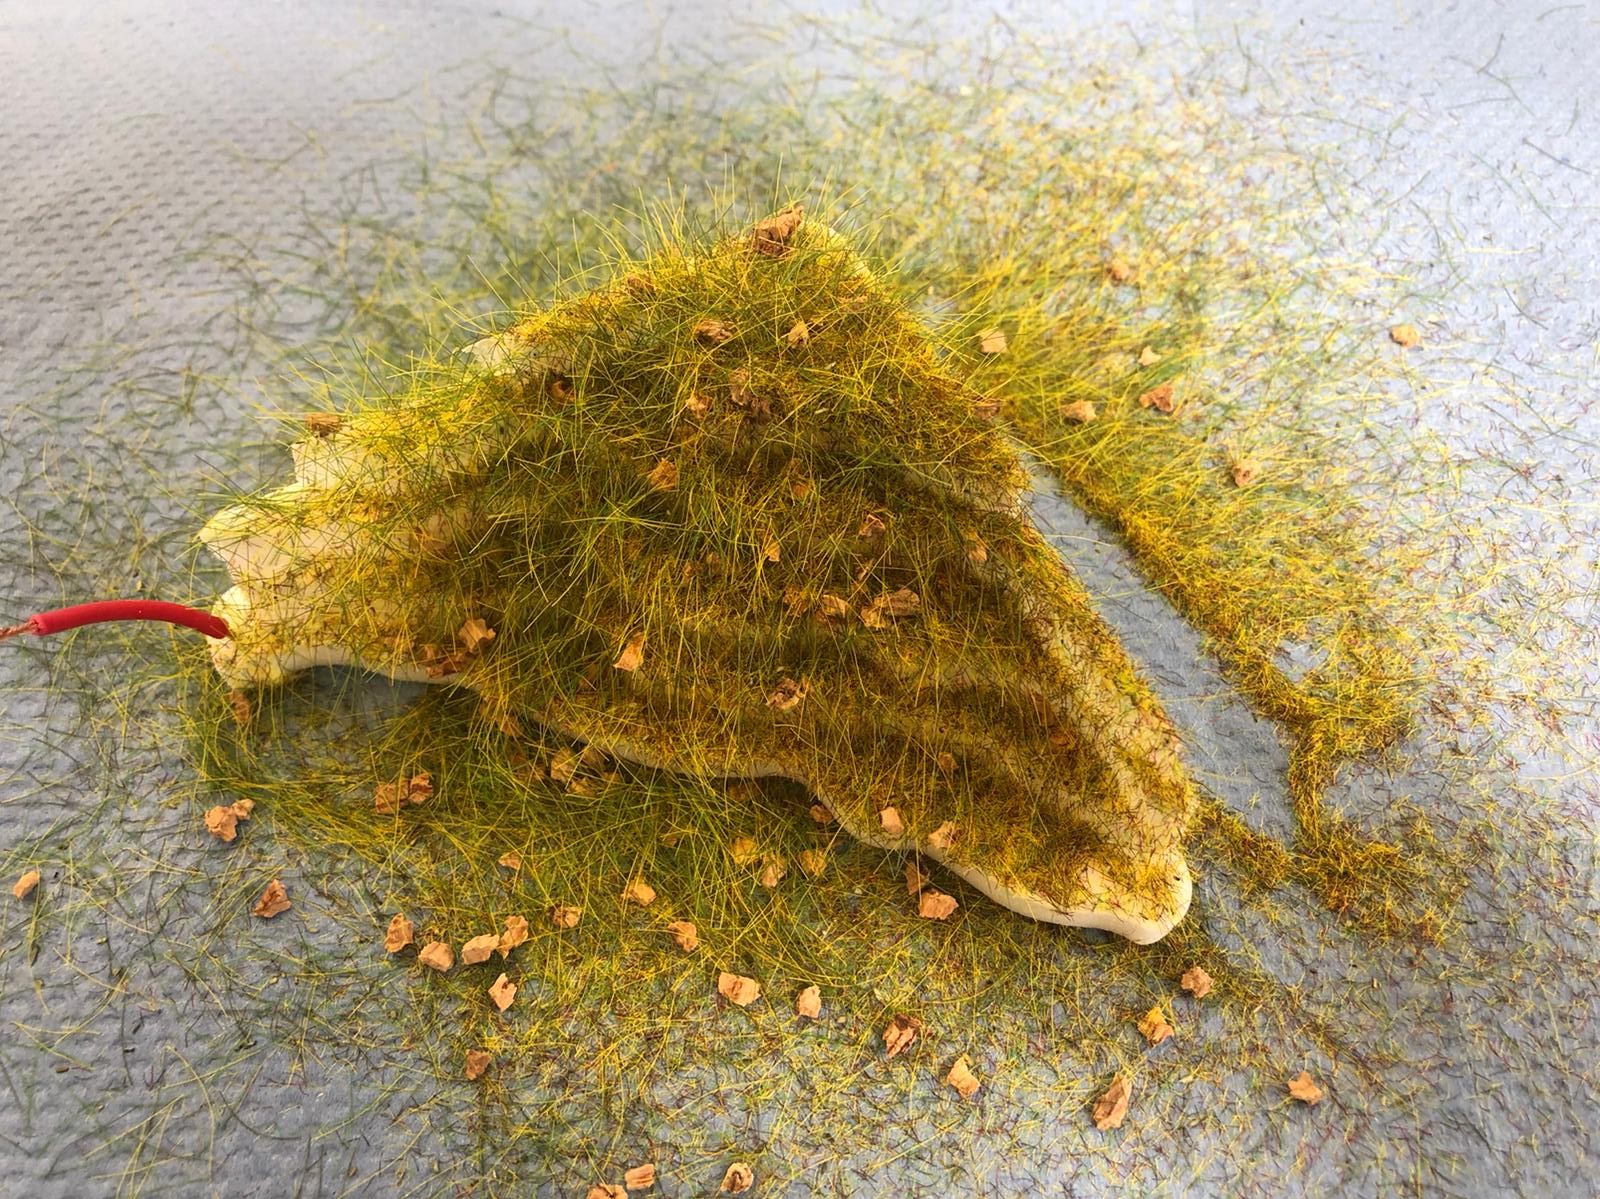
I decided to use this Gras-Master 3.0 for flocking my corners. I'm not sure if this is available outside of German speaking countries. But I've seen an Australian using this so maybe it's possible. I sadly don't know where he got it.
It is a cool device which creates an electrostatic field where the grass stays upright. It looks so much more realistic that way.
Now I just slather some electrostatic friendly glue on (like wood glue or special electrostatic friendly glue). And I need a conductive material for the GND line of the device. I connect it with the included clamp which is attached to it.
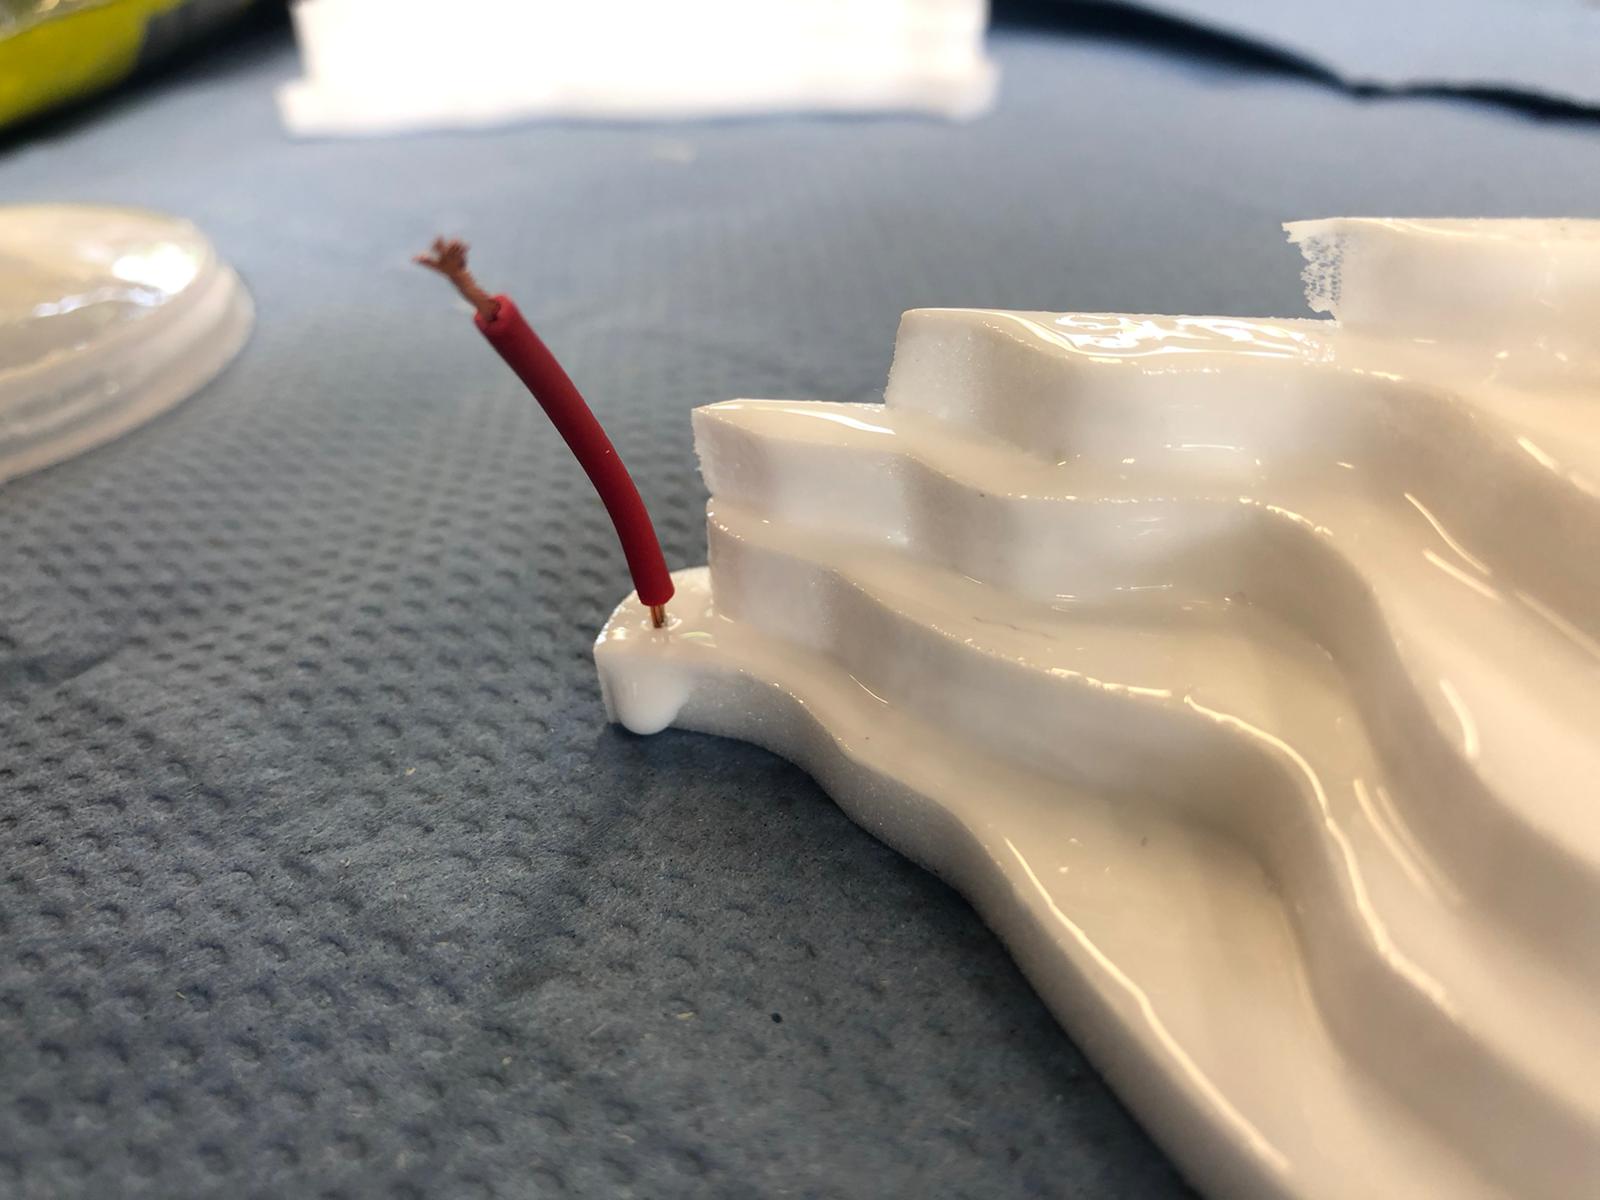
Wow looking really fancy! Now it just need to rest and dry completely out.
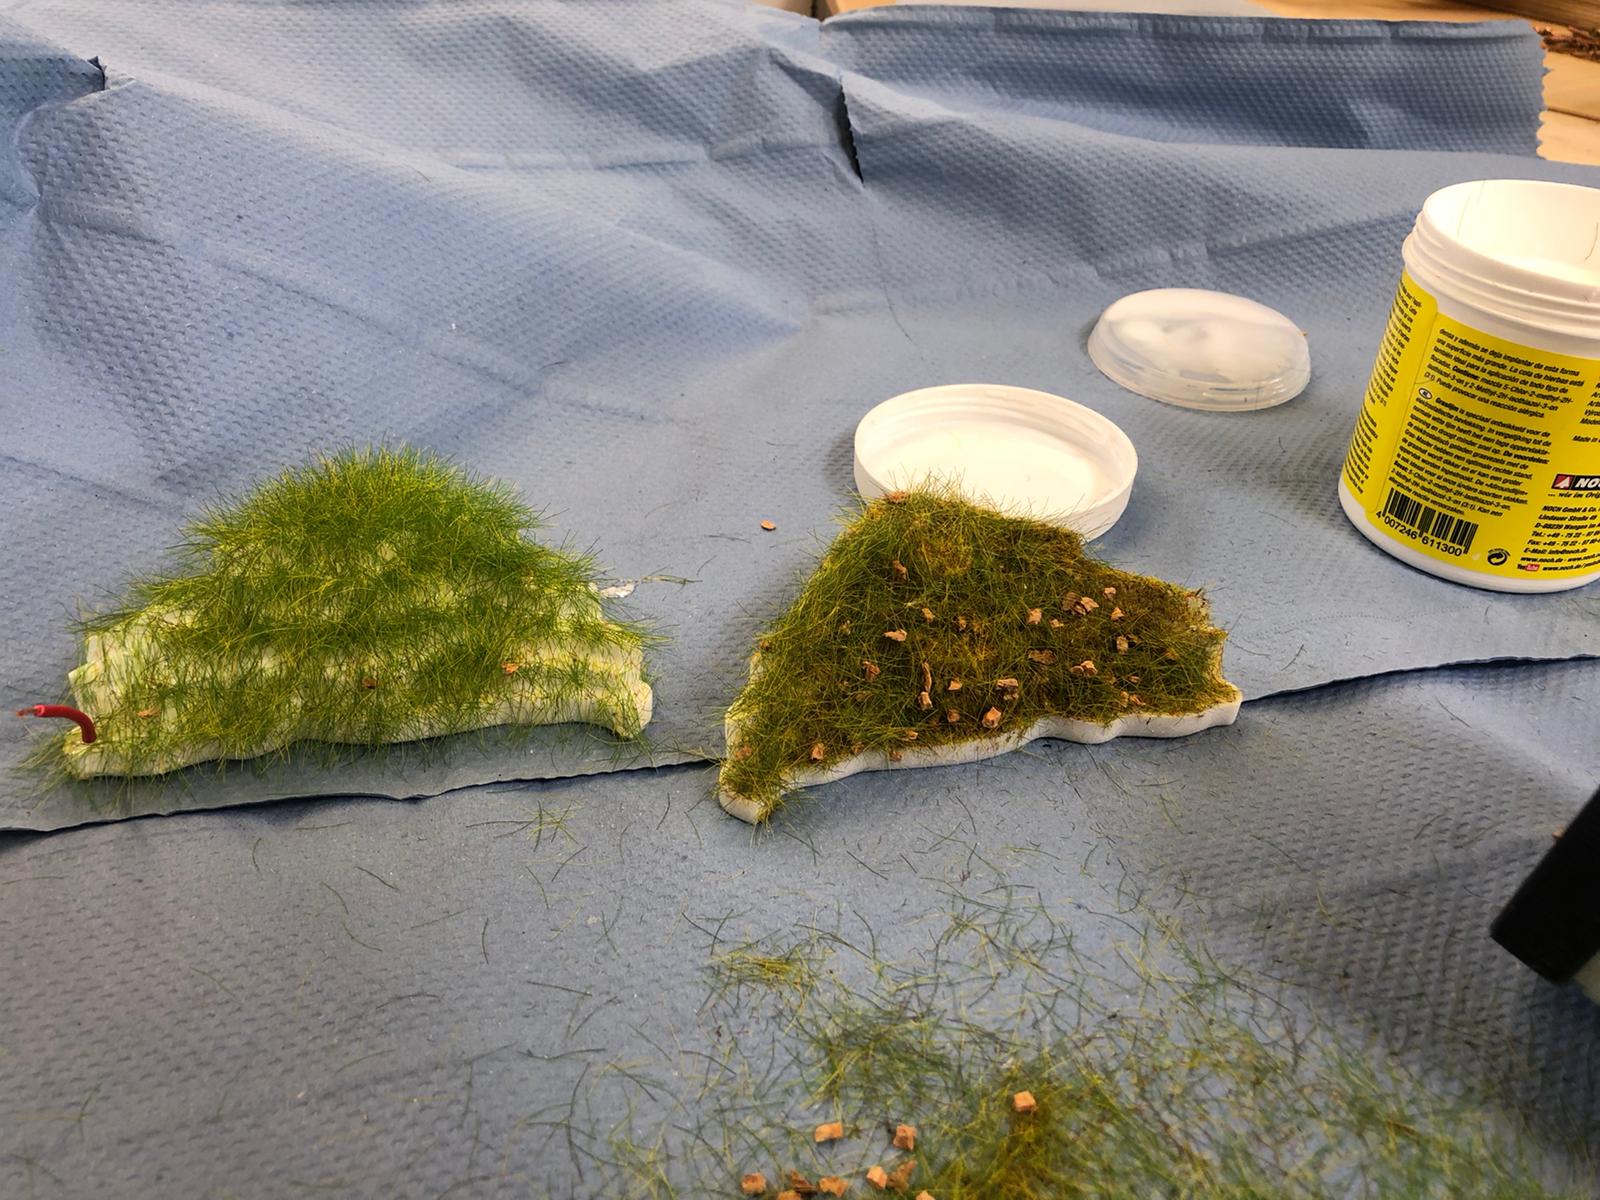
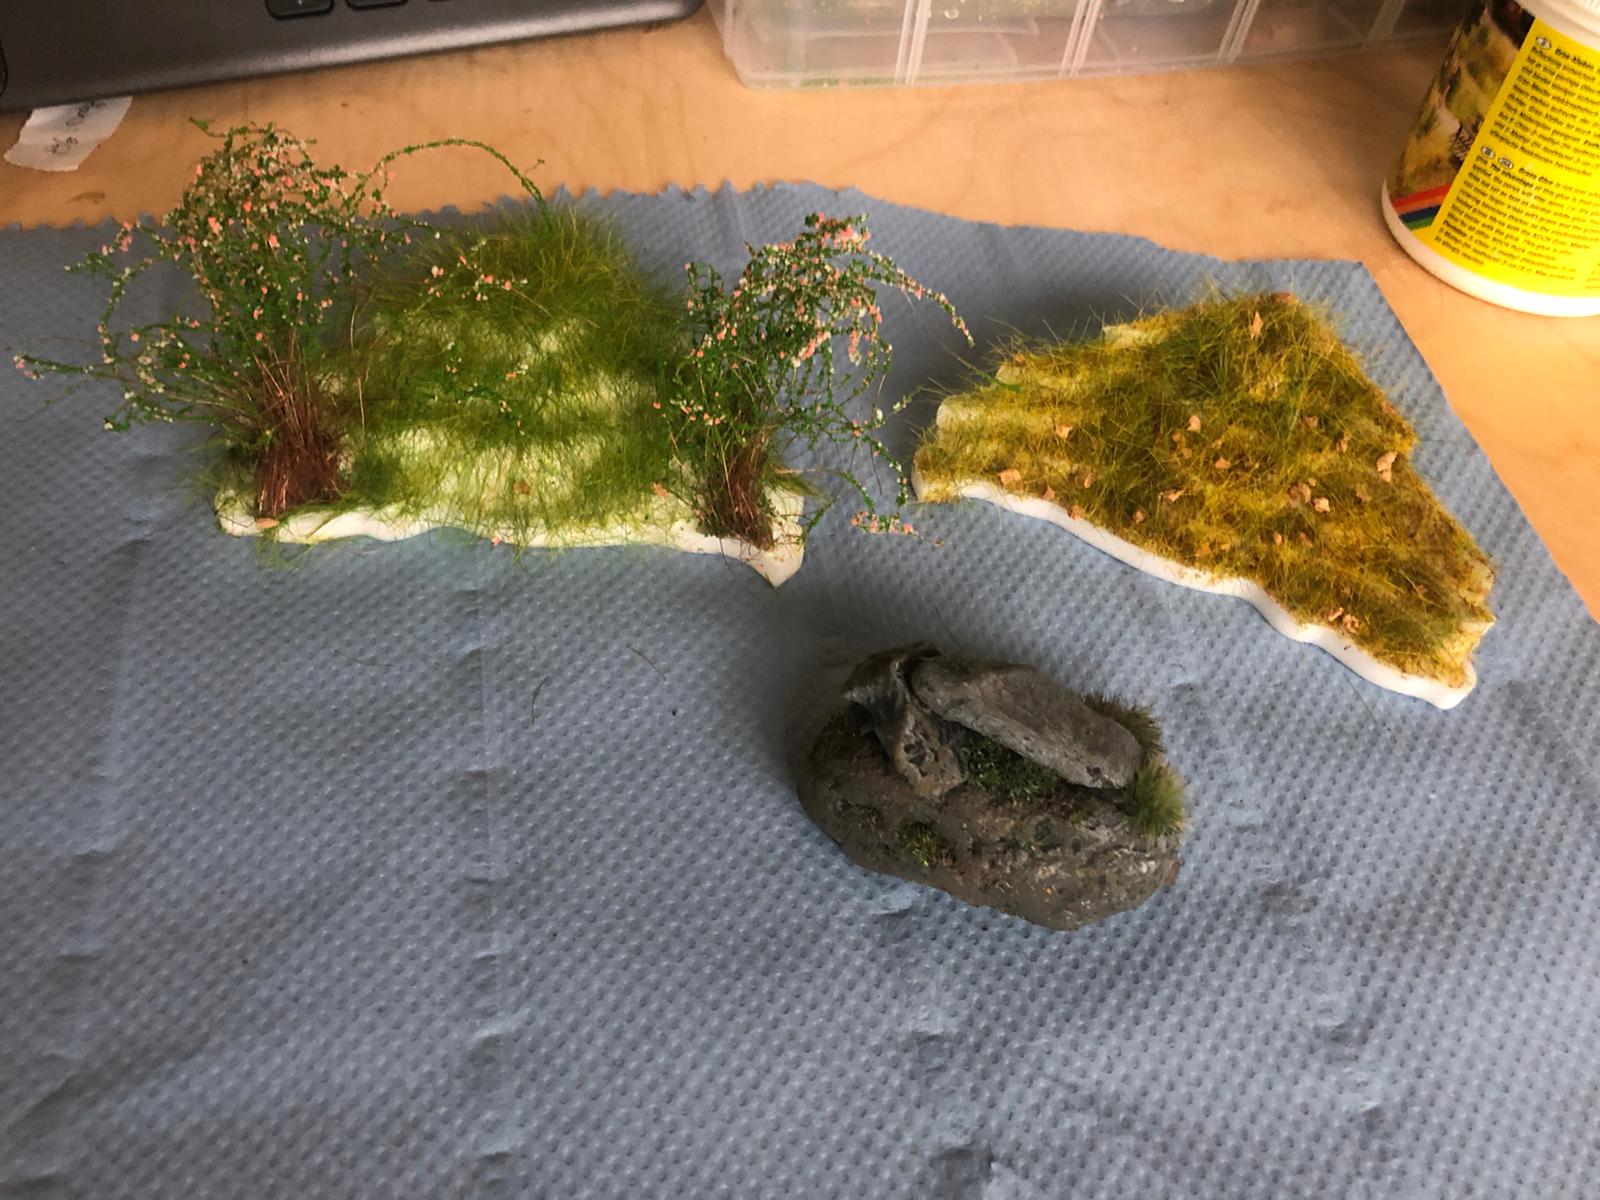
Here are the finished pieces.
Circuits & Electronics
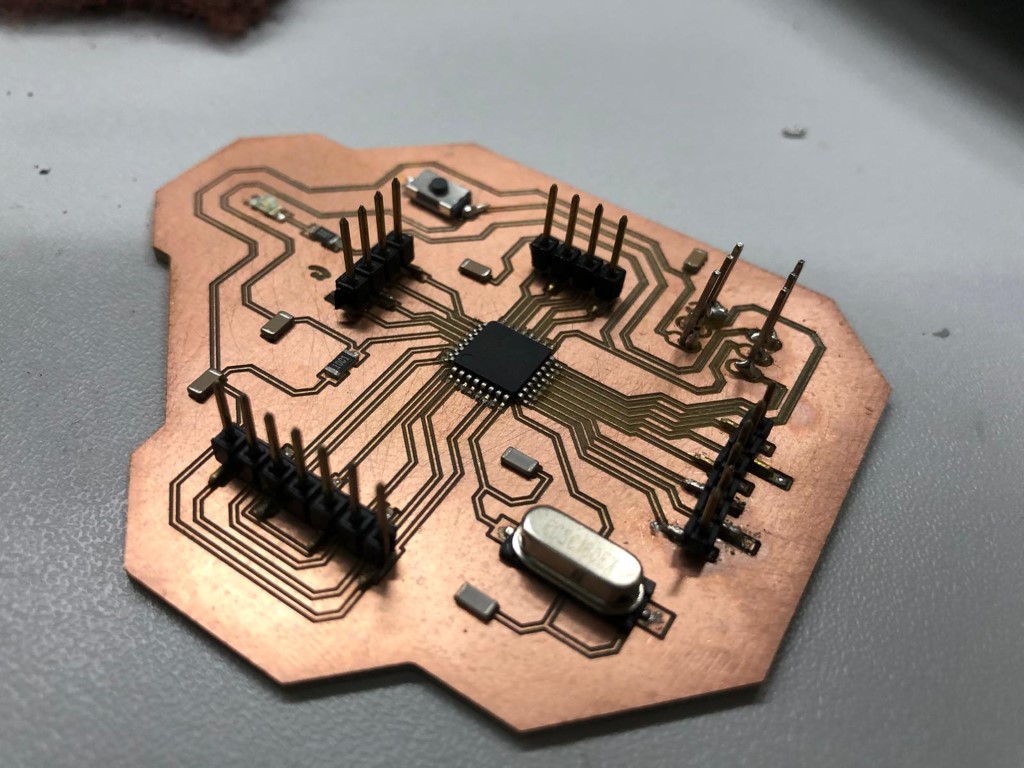
First board, the heart of the tree, which I made in Week 7:
This is the finished design:
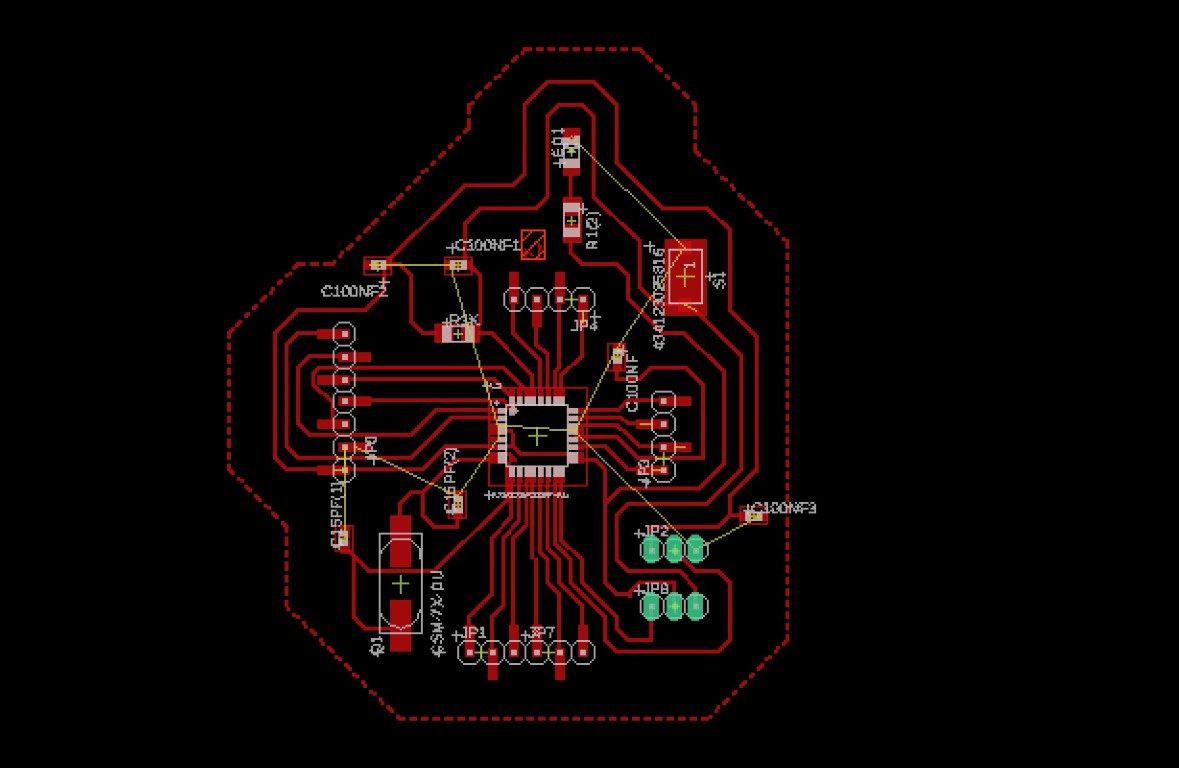
And this is what it looked like done:
Parts:
| Parts | Type | Value | Eagle keywoards |
| ATmega328p | TQFP | - | ATmega328P-AU |
| Crystal | - | 16MHZ | Q1 |
| Resistor | 1206 | 1 KΩ | R1K, R1k(2) |
| LED | 1206 | - | LEDRAD |
| Capacitor | C | 100nF | C100NF, C100nf1 |
| Capacitor | C | 15pF | C15oF(1), C15pF(2) |
| Button | - | - | 434123025816 |
The second board, the fox made in Week 11:
And this is it!
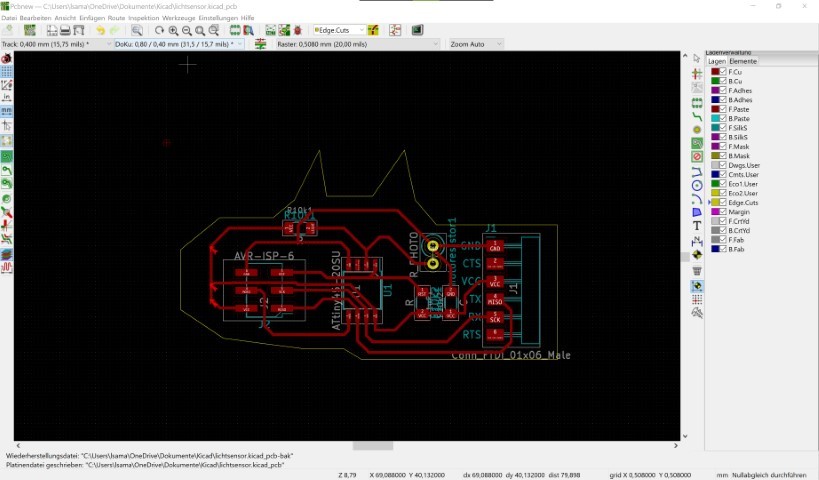
I switched to KiCad, best descision in this year!
And here are my parts:
- 1 SMD Capacitor 1uF (1206)
- 1 FTDI SMD 01x06 Male Pinheader (2.54mm)
- 1 ISP SMD Pinheader (2x03, 2.54mm)
- 1 THT Photoresistor
- 2 10K Ohm SMD Resistor (1206)
- 1 ATTiny45-20SU
Here is the nice lil fella done. I named him Nugget.

Networking
Made in Week 14.This is how the tree should communicate with Nugget and an other possible board.
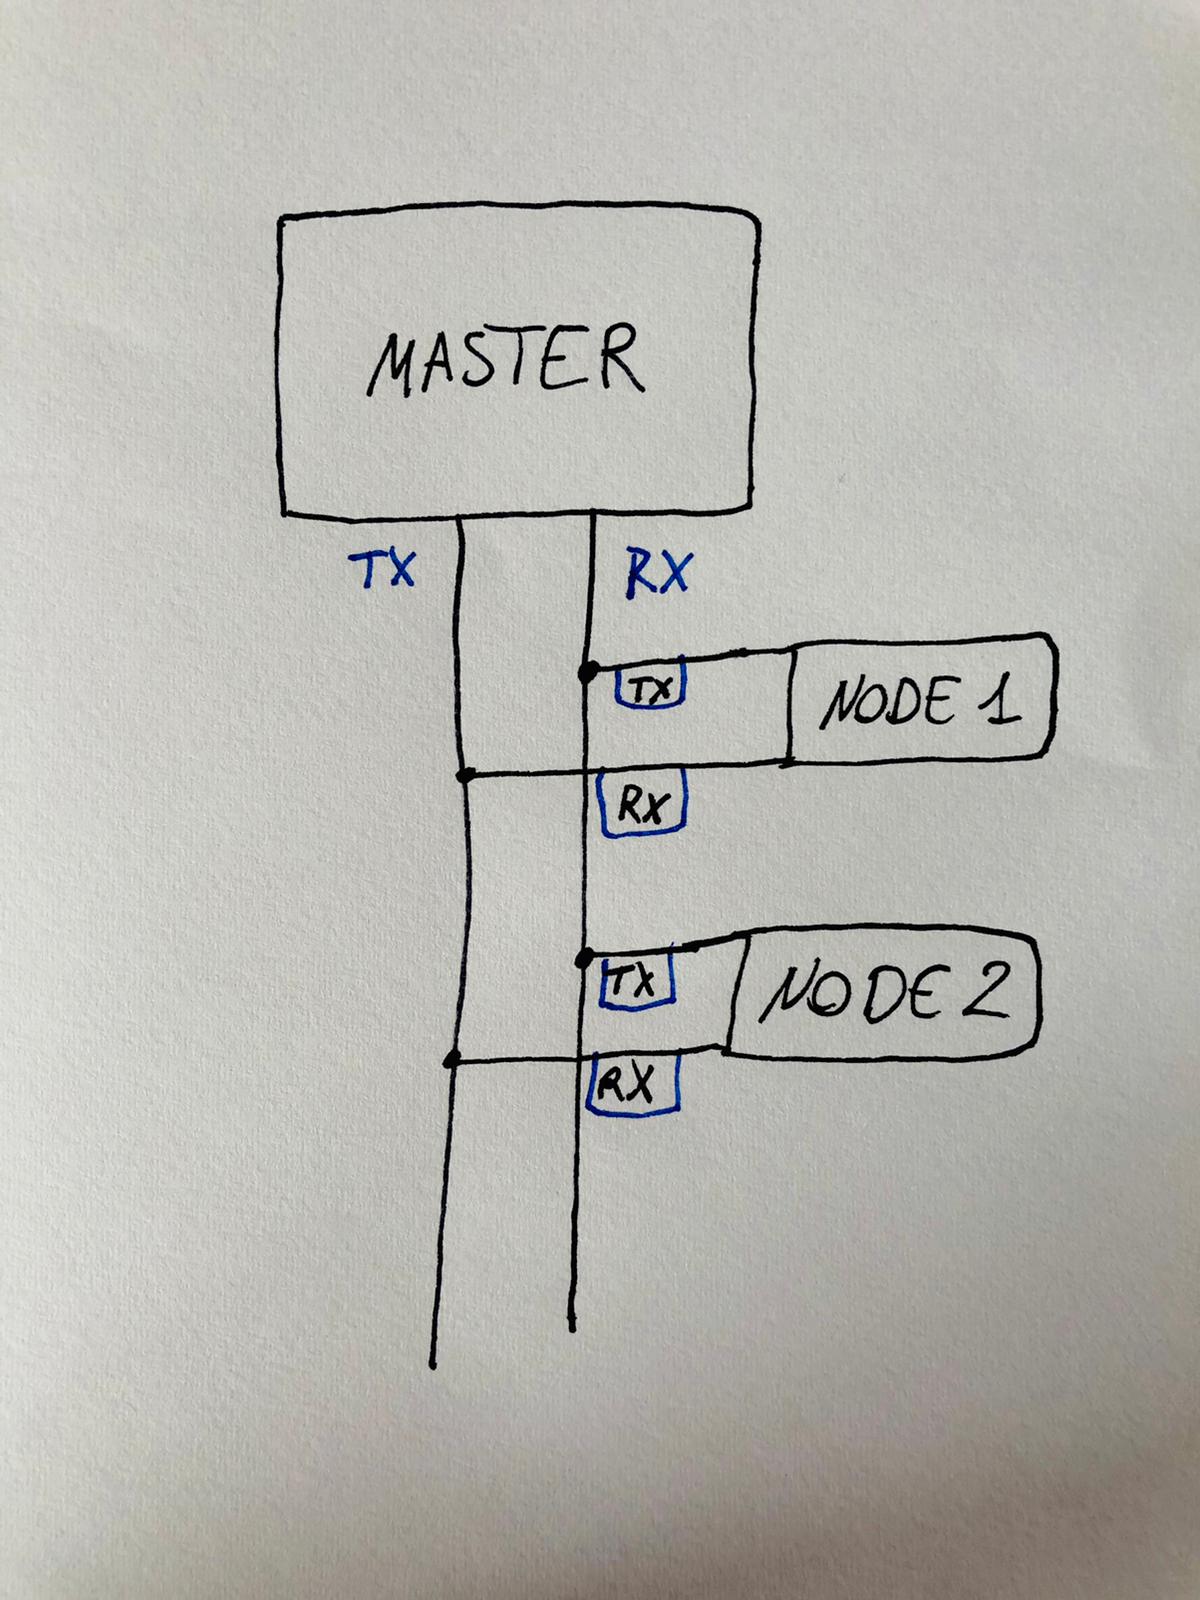
So this is what I've done to test the connection:

Finishing
After 3D printing all of the trees I glued wire to the stems and let it dry. The I covered all the trees with mod podge and tissue to look more natural.Starting the paint job...
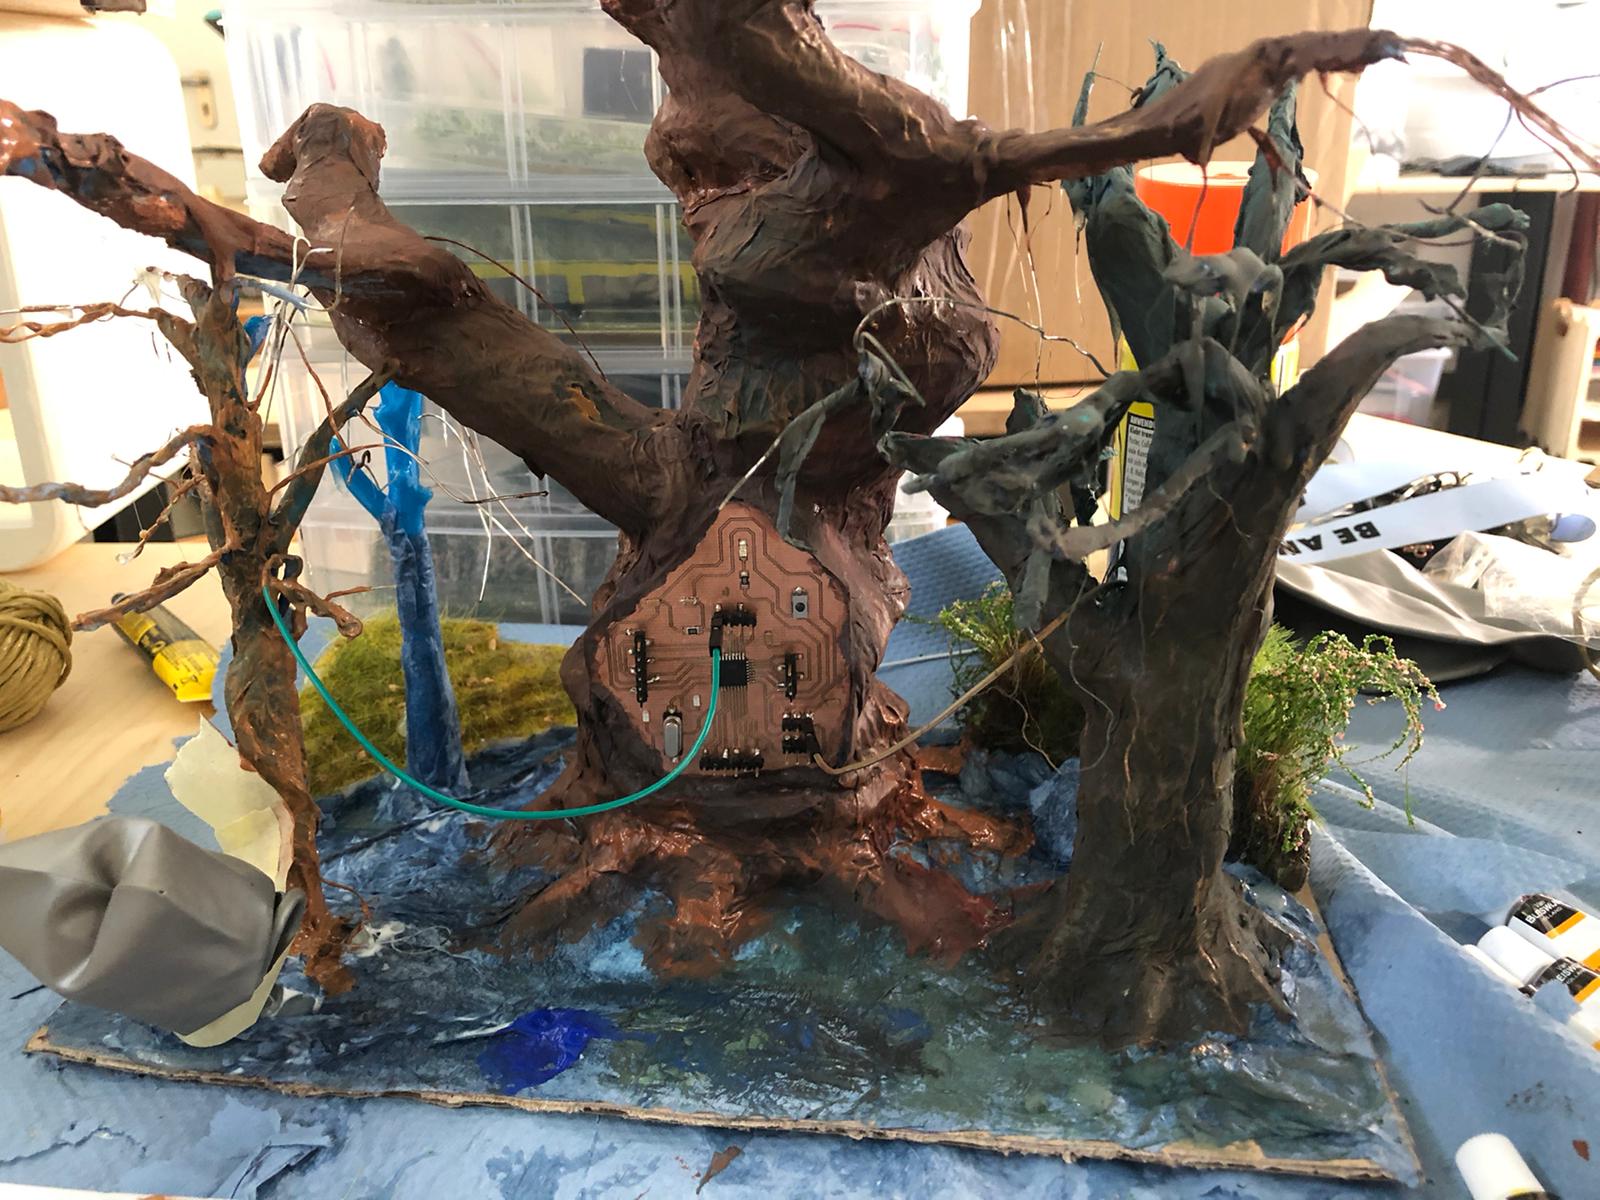
Finishing the paint job and testing the mushroom lights.
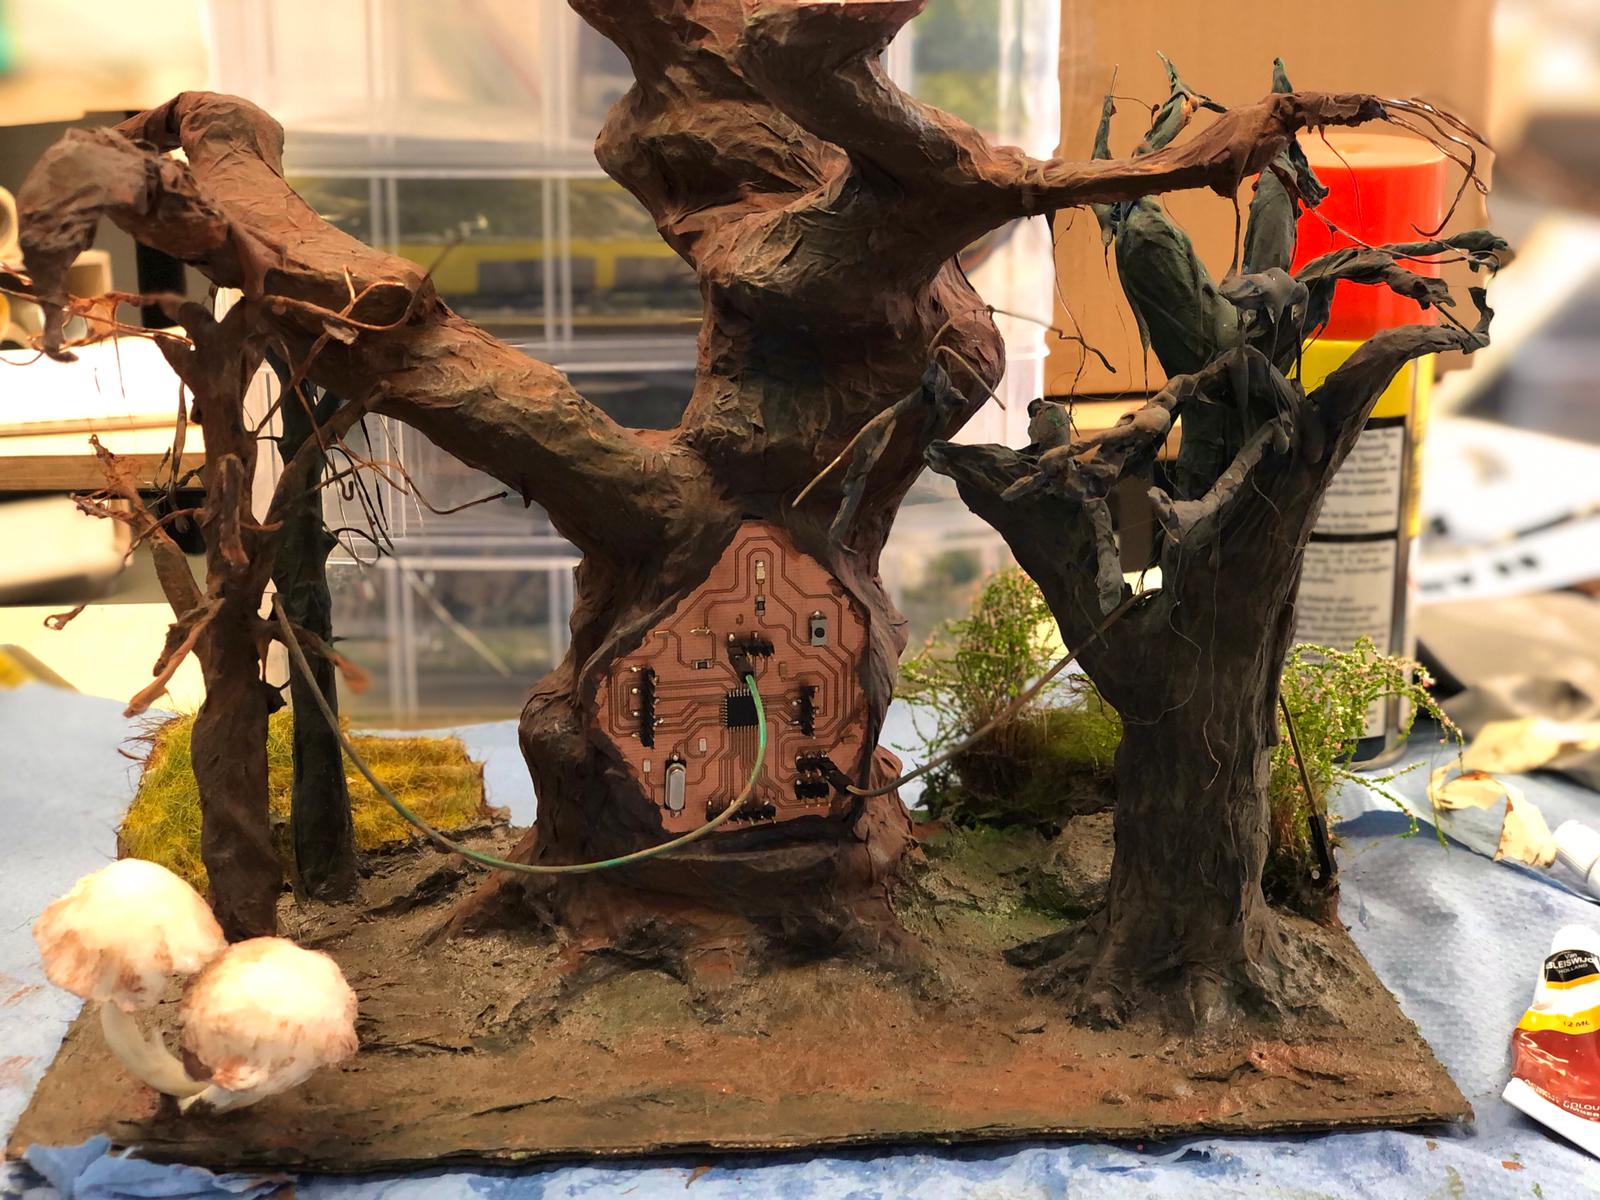
Greenery added! Now it doesn't look dead anymore, although the dead forest inspired me to do a halloween themed forest diorama.
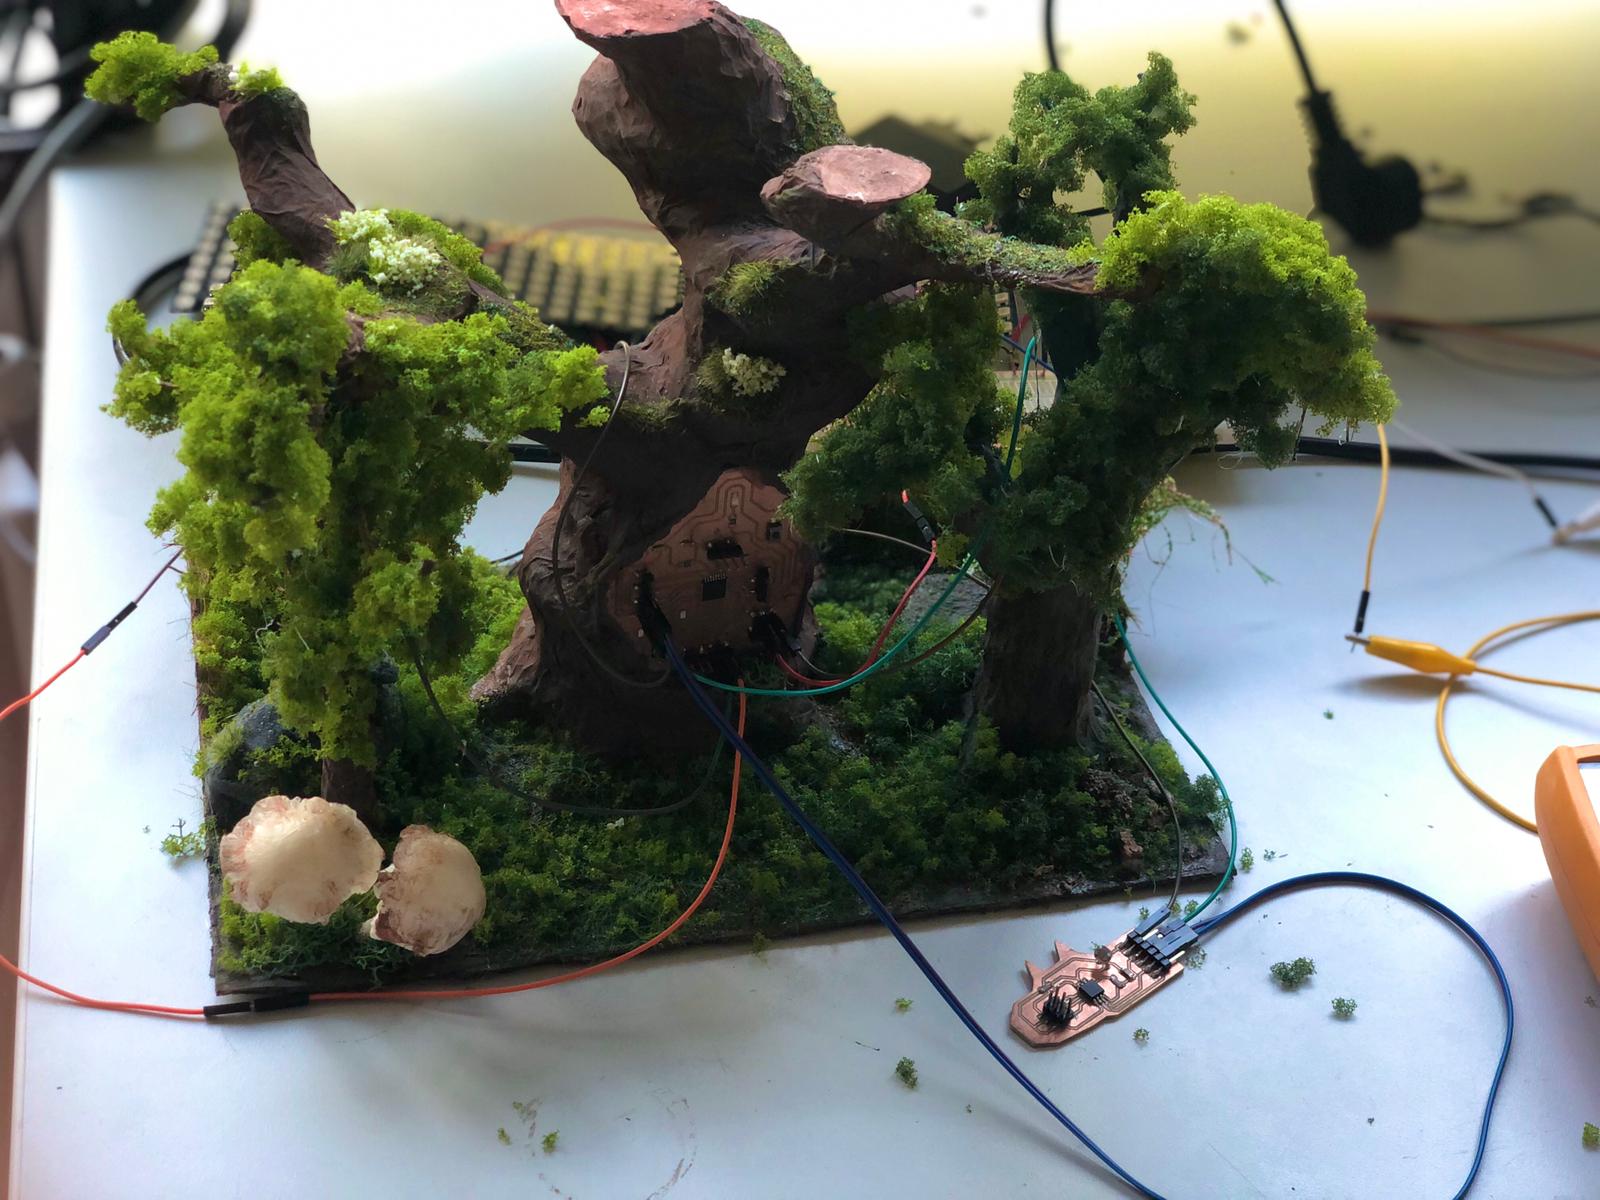
Testing everything!
Later I painted the cables to match the environment. And then, last but not least put everything into a box. I glued mirror tiles on the left and the right to make it look bigger on the inside- like a TARDIS. Do you see it? This is what it looks like in the dark- it's very hard to film. Here you can see how portable it is and the size with me in comparison.
 That was it!
Final Video
It was an amazing journey. Thank you for reading.Downloads
- 3D Designs
- Board designs
- Programs