Week 8
EMBEDDED PROGRAMMING
Week 8 - Assignments
Group assignment
- Compare the performance and development workflows for different microcontroller families
- Document your work (in a group or individually)
Individual assignment
- Read the datasheet for the microcontroller you are programming
- Program the board you have made to do something, with as many different programming languages and programming environments as possible.
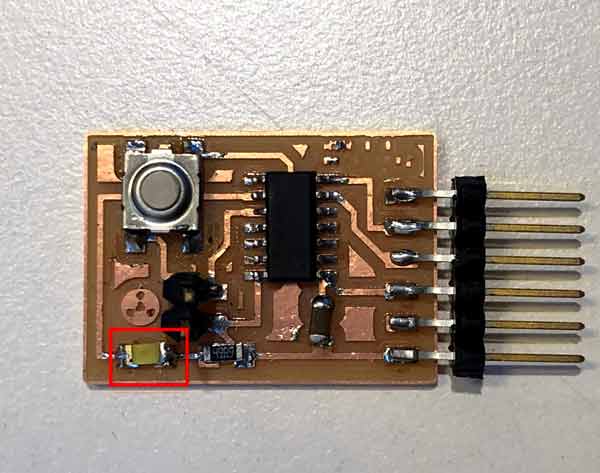
Programing the board that i made in week 6
First thing is to download the software Arduino program and set it up
I followed this tutorial on how to program the ATtiny1614 board with Ardoinu Uno Programming the new ATtiny from Arduino using UPDI.
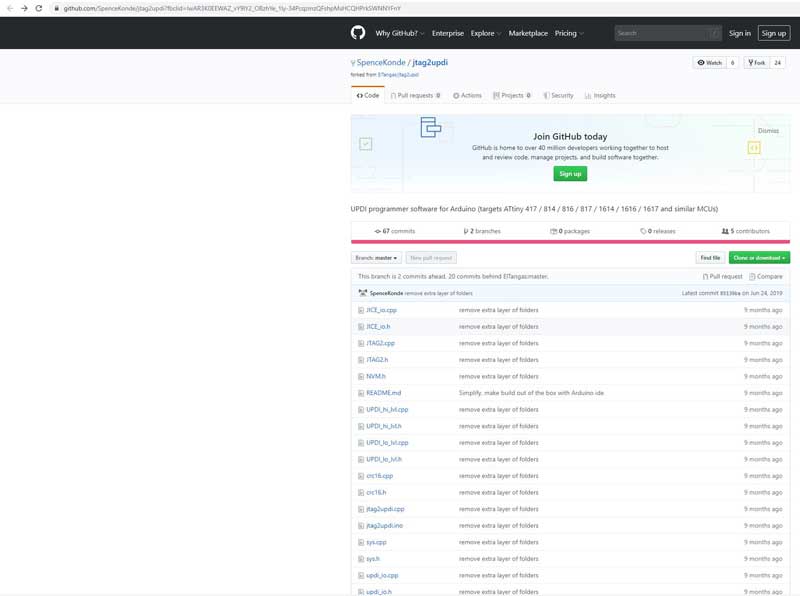
I downloaded a special UPDI_programer for Attiny
UPDI programmer software for Arduino
File -> Preferences, enter this URL in Additional Boards Manager
To install the Board Manager http://drazzy.com/package_drazzy.com_index.json
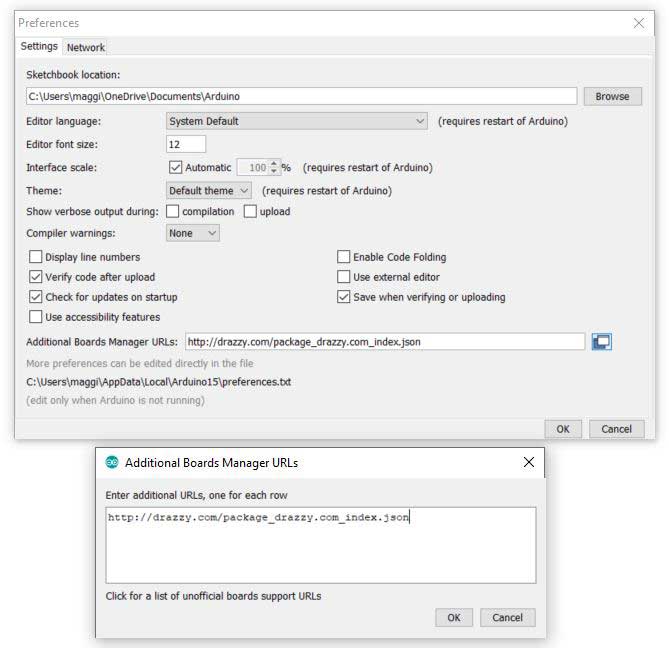
Tools -> Boards Manager
Select "megaTinyCore by Spence Konde" and click "Install".

To make the board blink the on board led we need to look at the Attiny 1614 data sheet and see where the data pins are
Attiny 1614 data sheet
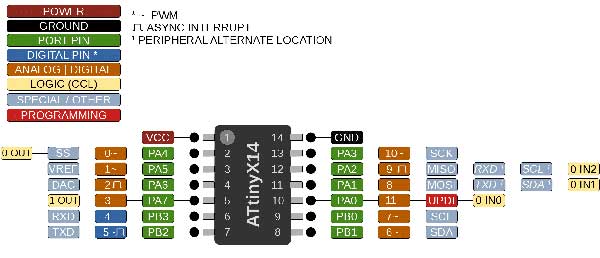
From the data sheet we can see that the pins 6 and 7 are data pins
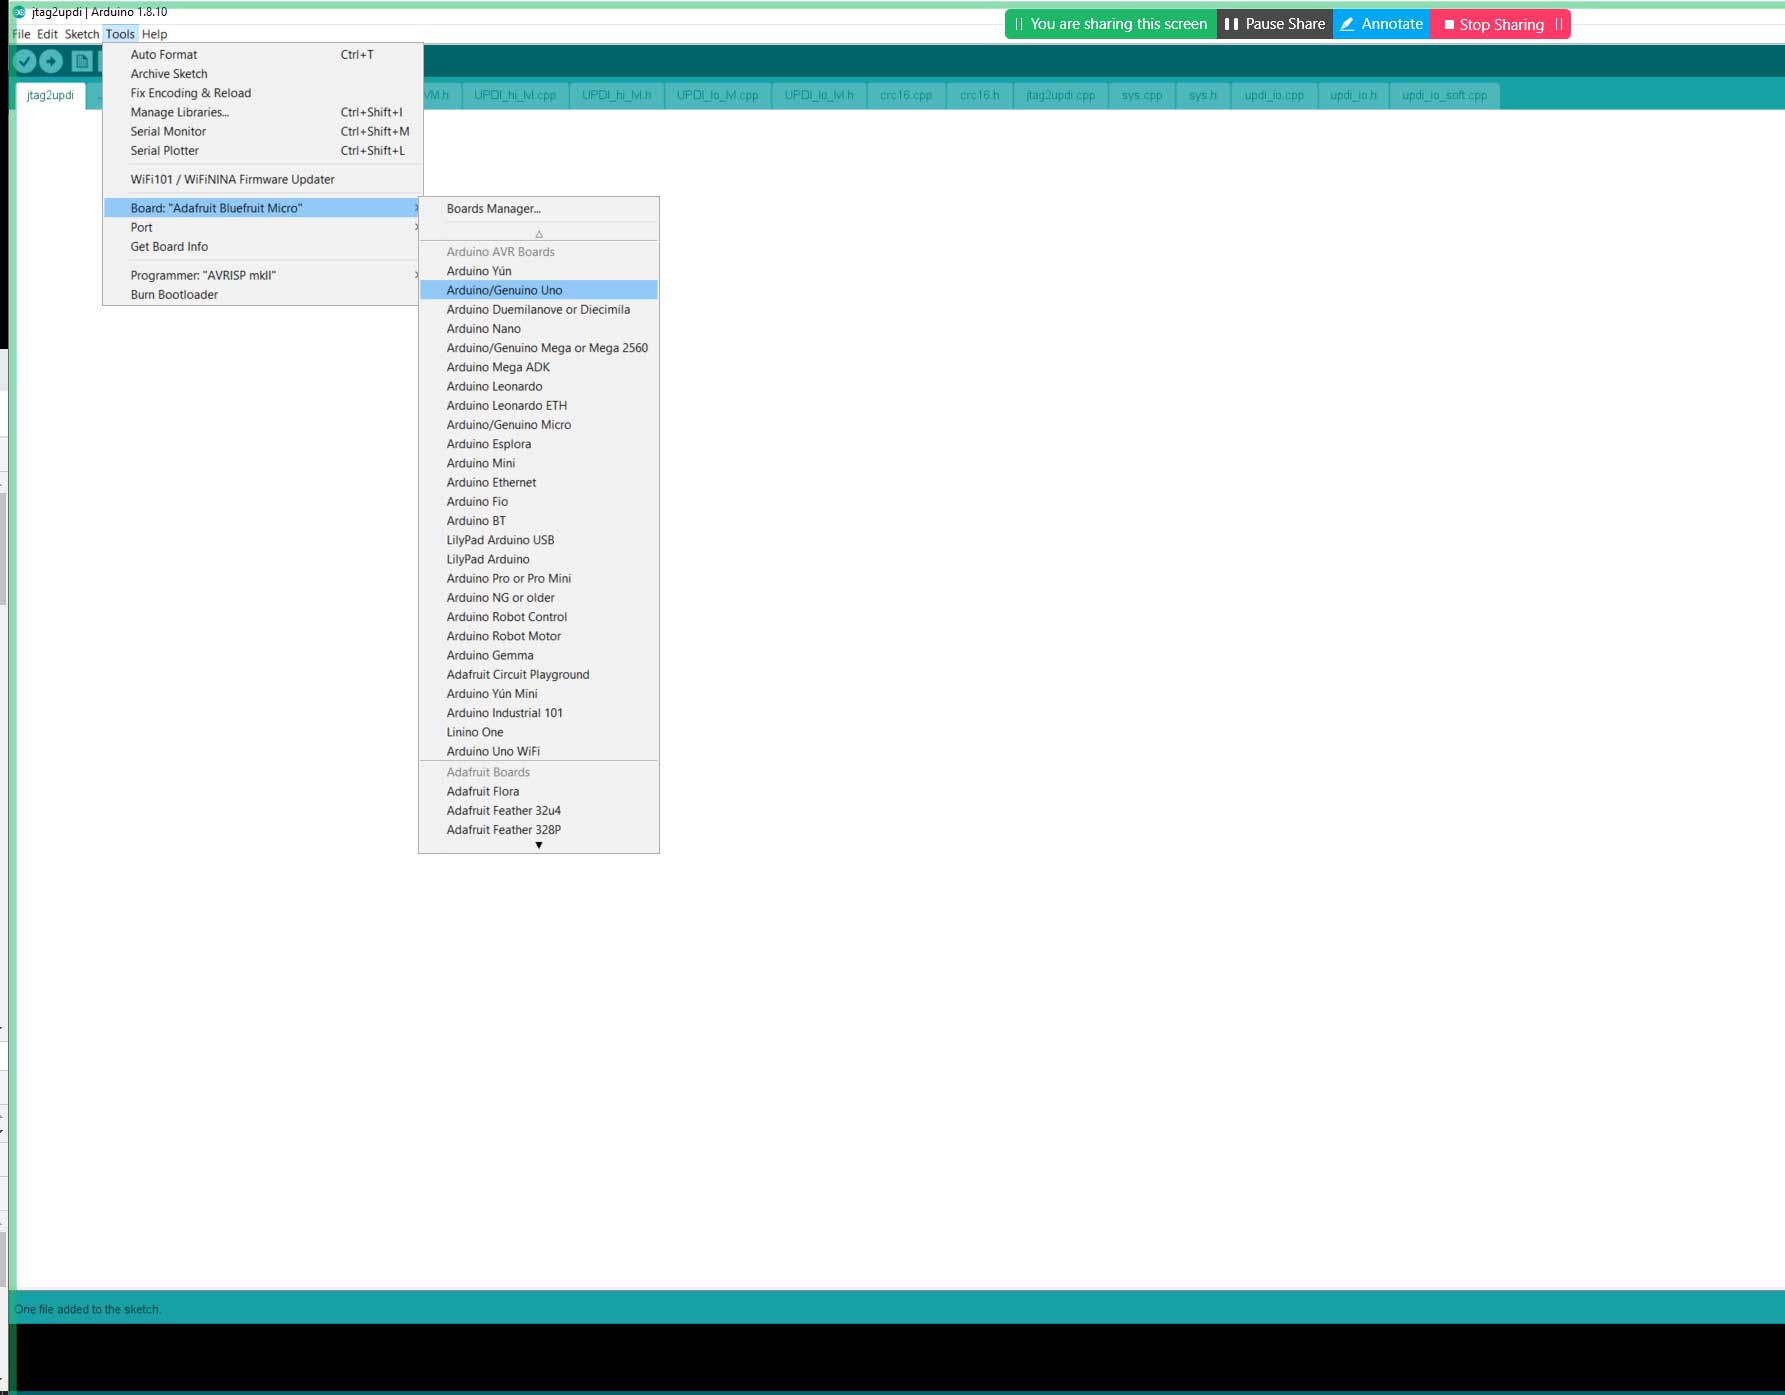
Select the jtag programmer
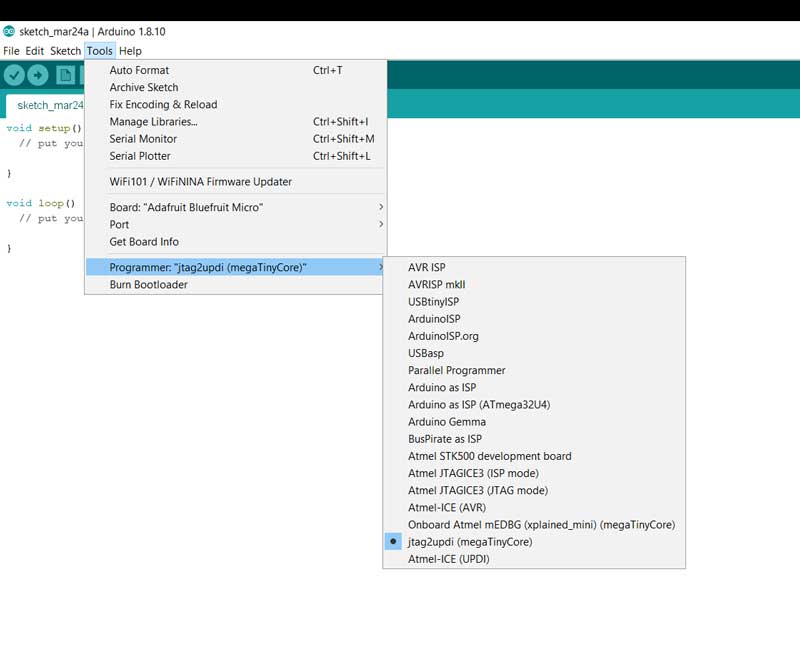
And select the correct board. Ardoino Uno
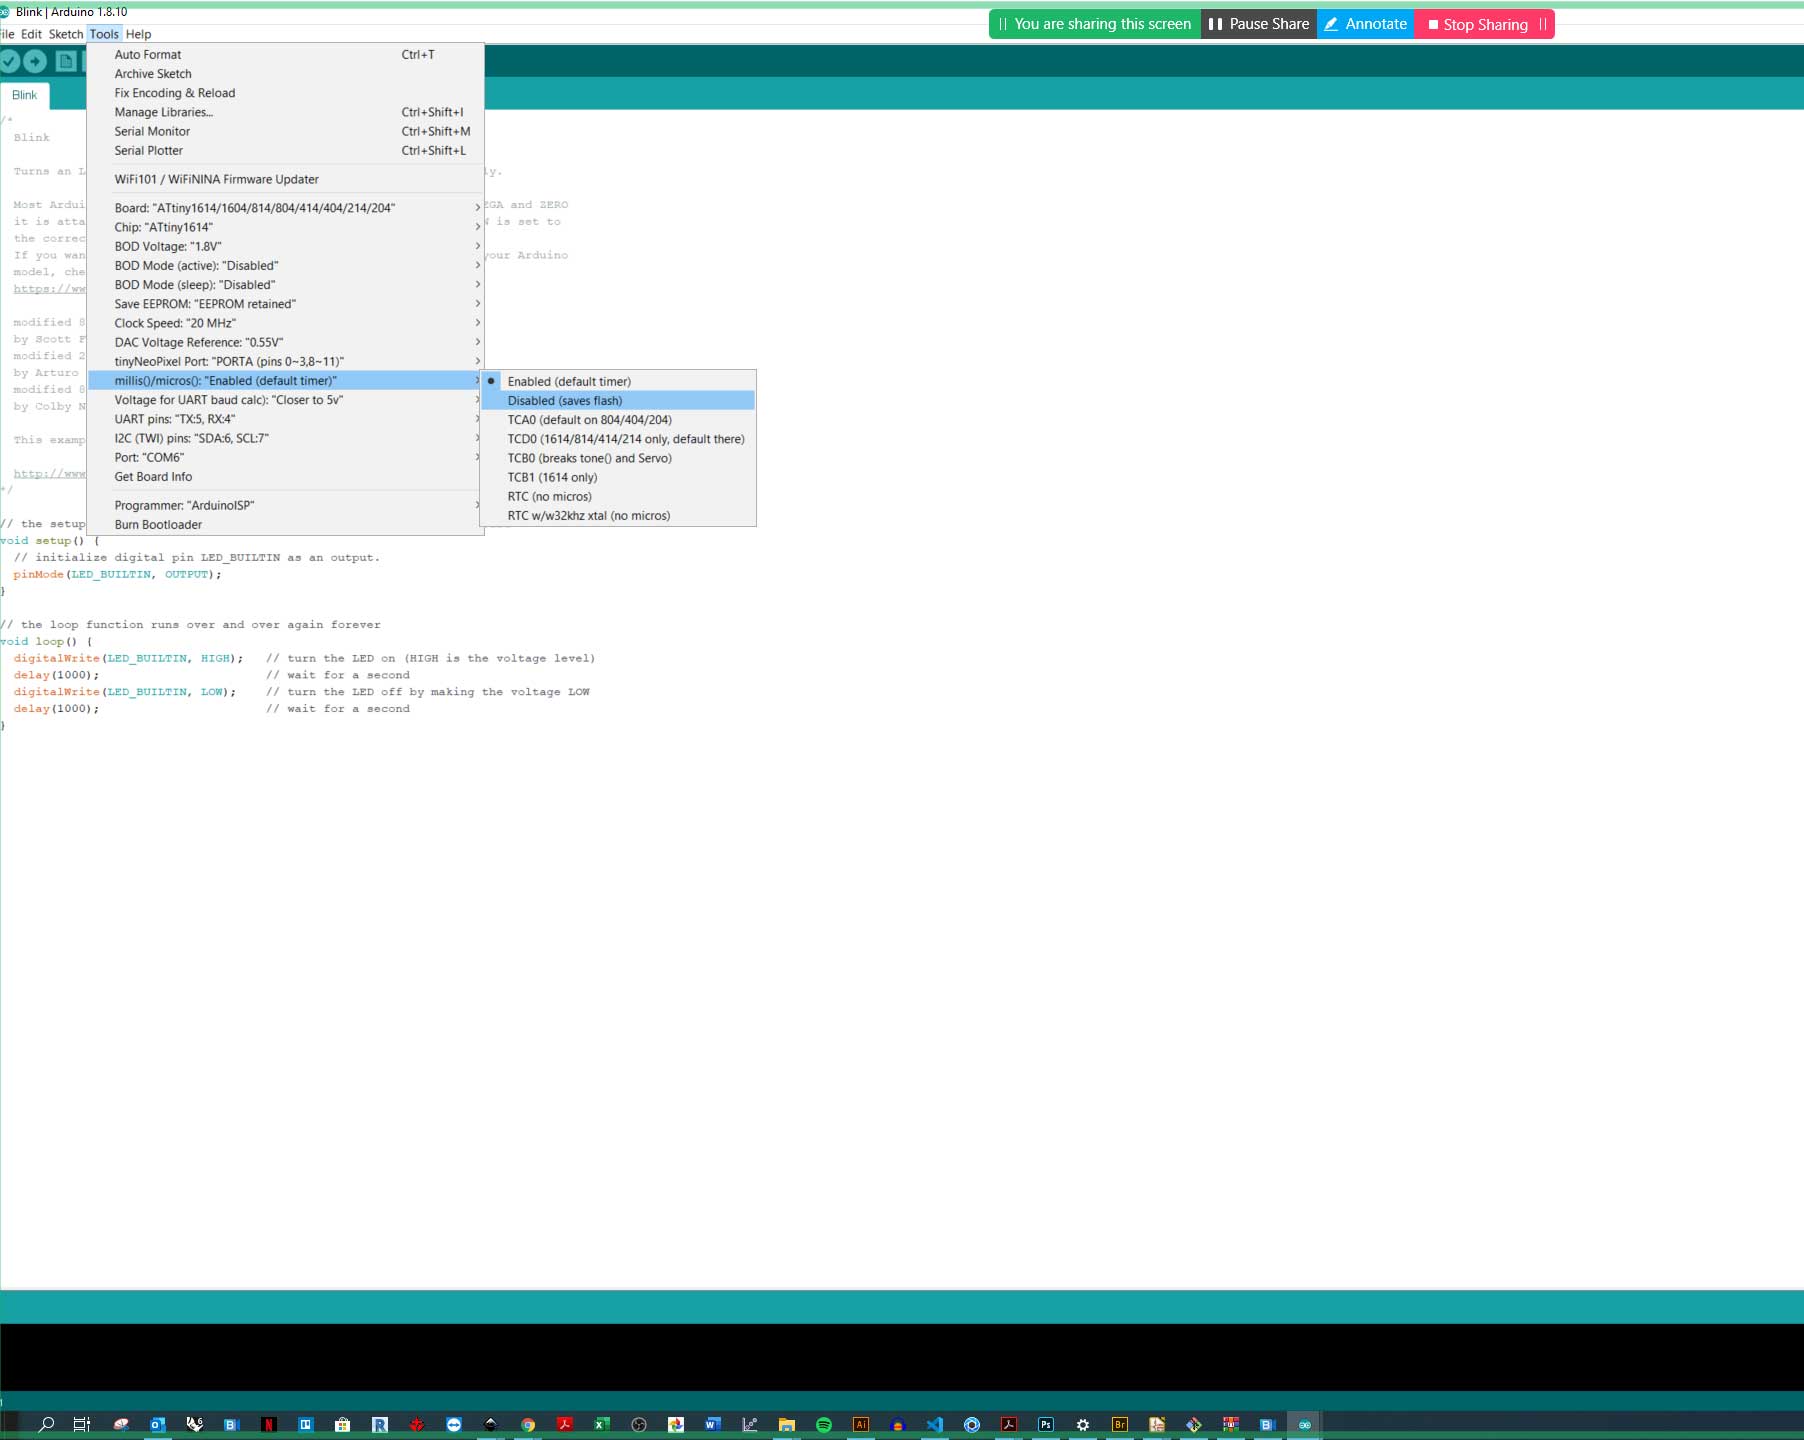
Before we can program the ATtiny1614 chip we have to got to Tools->mills() -> Disable item flash
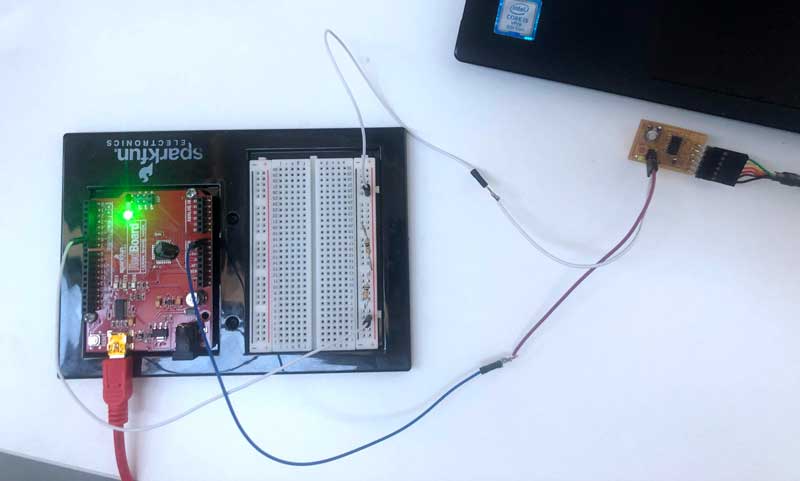
We have to ad a few components to the Arduino Uno board so we will be able to program the board. 10uf capacitor is placed between reset pin and ground. This is done to obstruct the board from resetting. If this not done the programmer will not end up in the bootloader. We also have to have a 4.7k resistor between the datapin 6 on the Arduino and the UPDI pin on the ATtiny1614 board. The other pins are connected to "ground" on both boards.
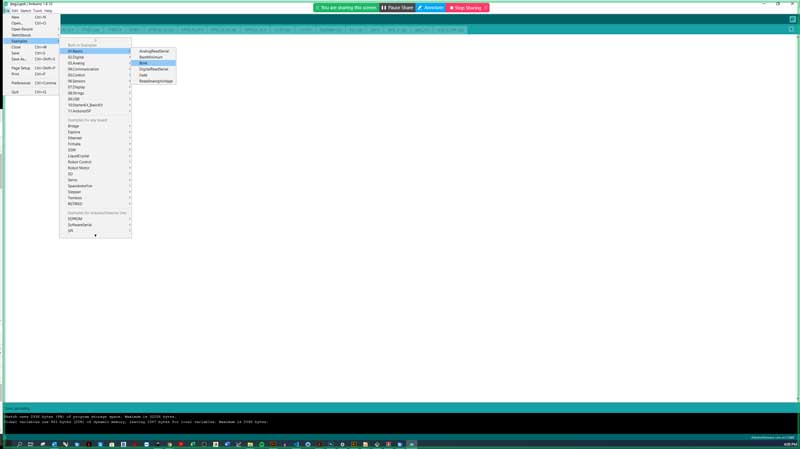
To check that i could program the chip I Selected The Blink sample from the Arduino program.
I was not able to get my board to blink. I then found out that my led light was not working
I did not have a spare led so I decide to do a serial print instead to check my board
Serial Print - Prints data to the serial port as human-readable ASCII text. This command can take many forms. Numbers are printed using an ASCII character for each digit. Floats are similarly printed as ASCII digits, defaulting to two decimal places. Bytes are sent as a single character. Characters and strings are sent as is