Week 7

Computer-Controlled Machining
- Group assignment
- Test runout, alignment, speeds, feeds, and toolpaths for your machine
- Document your work (in a group or individually)
- Individual project
- Make (design+mill+assemble) something big
- Demonstrate 2D design development for CNC production
- Describe workflows for CNC production
Learnig outcomes
Work table
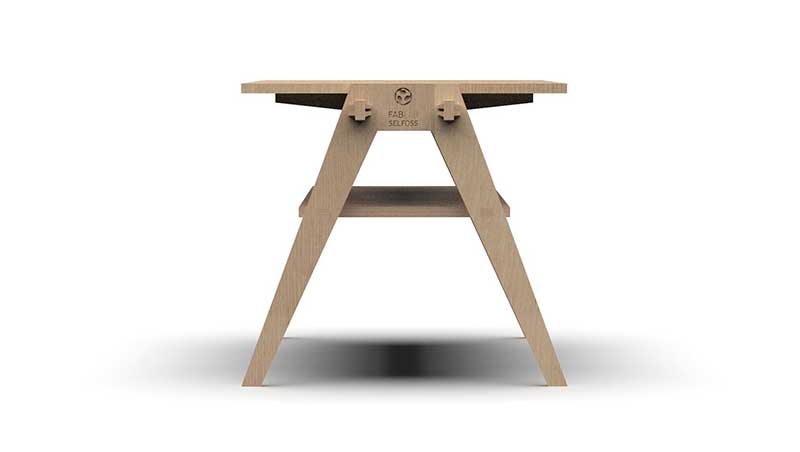
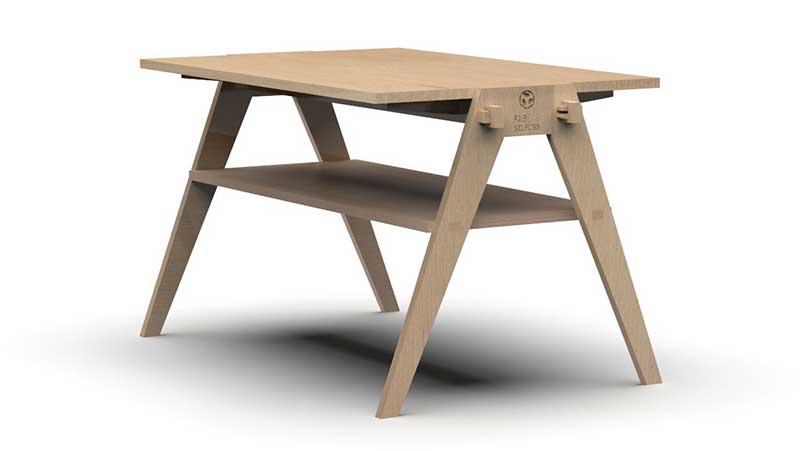
For this week i decided to design and make a standing work table for the fablab
At first I did a sketch on my Ipad.
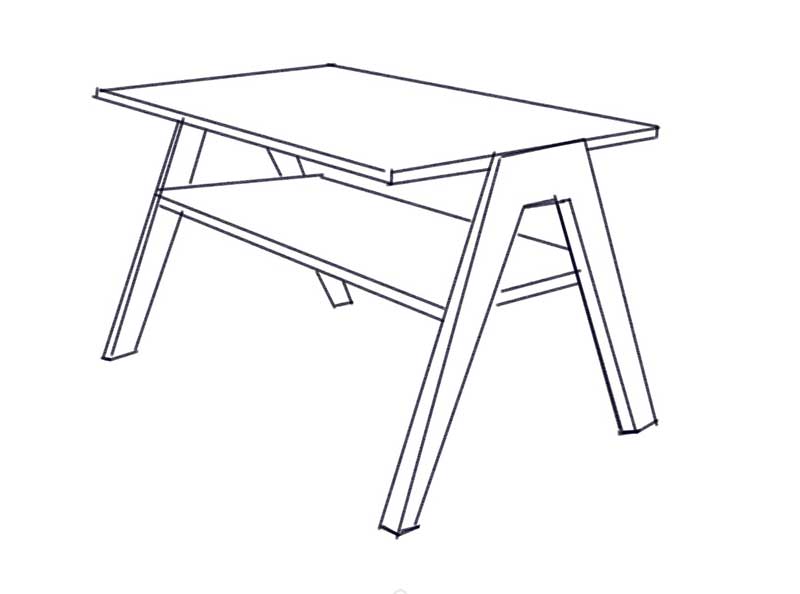
This table is designed for a CNC machine and without any additional components like screws and bolts.
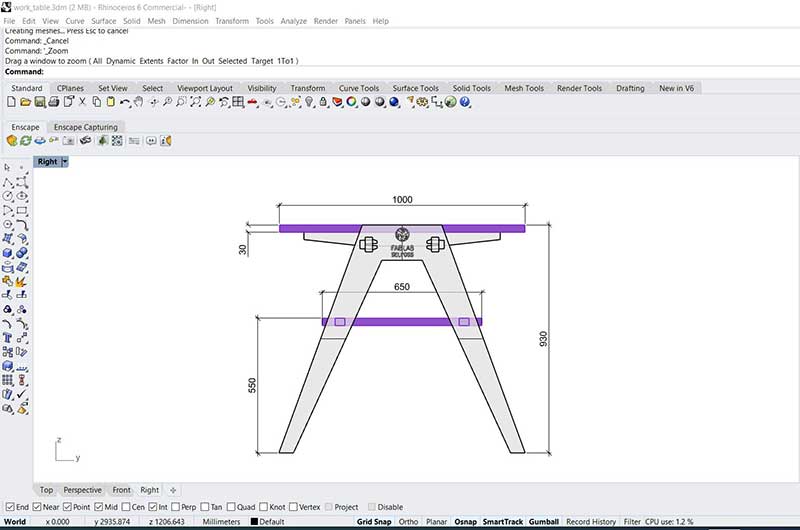
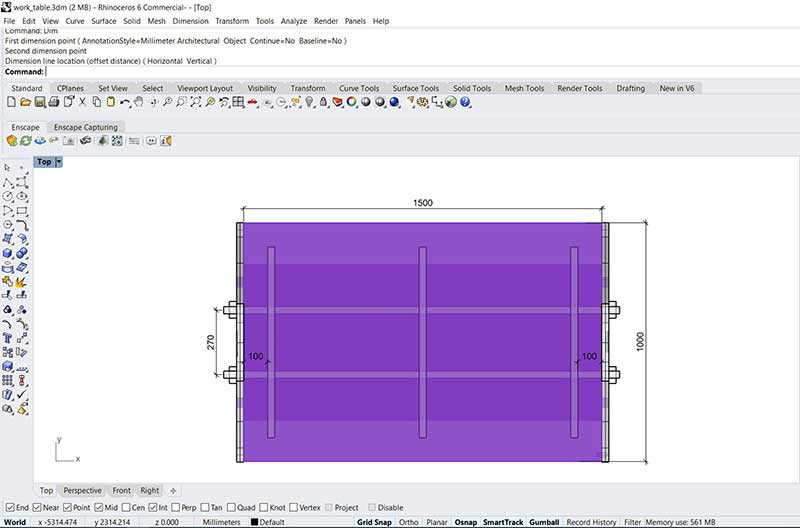
Here we can see the dimensions of the table that I designed in Rhino
FRONT VIEW

SIDE VIEW
TOP VIEW
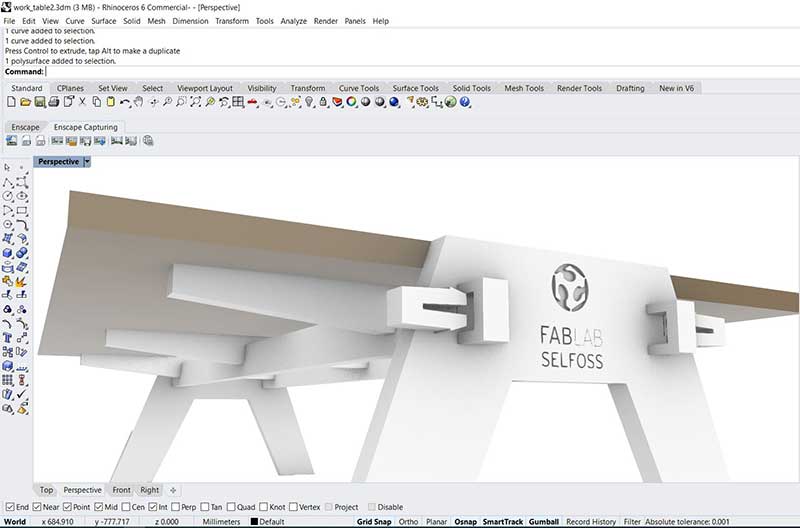
Work table rendered
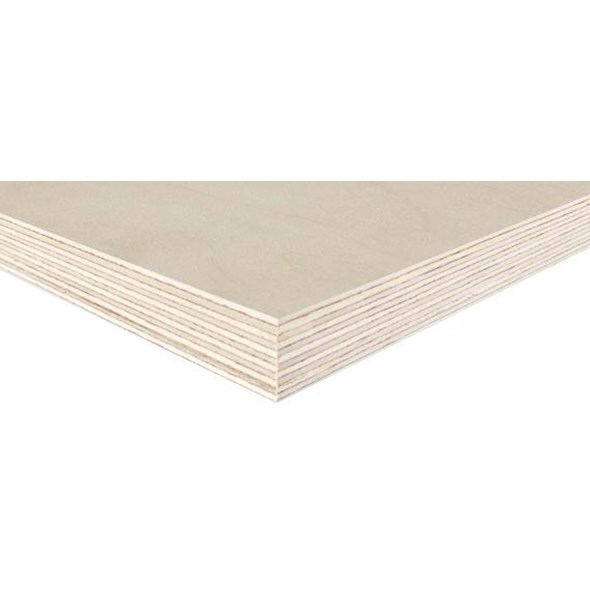
I decided to make the table in 30mm Birch Plywood
I used joinery splits on the ends to make the table more sturdy
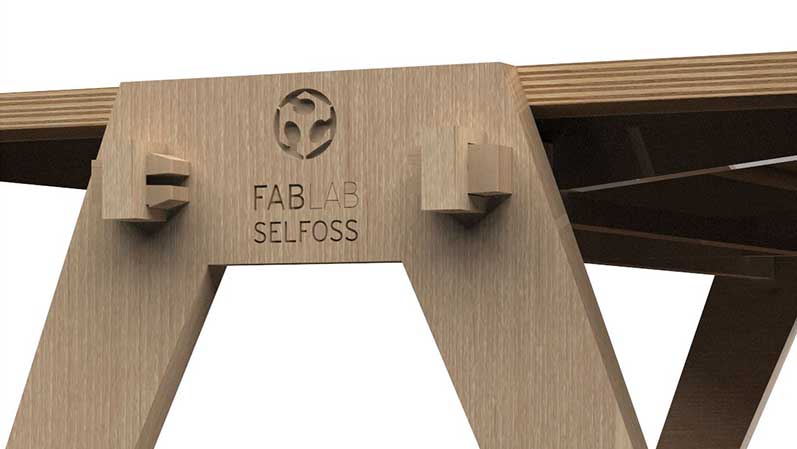
Joinery detail image
Turntable image
Left click and hold to move the table. Double click for full screen.
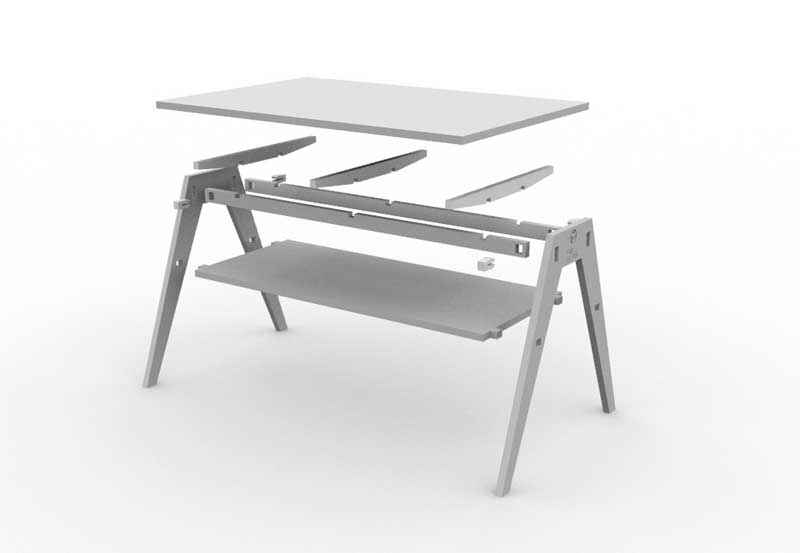
And here you can see how the table is put together
Preparing the file for CNC Machining
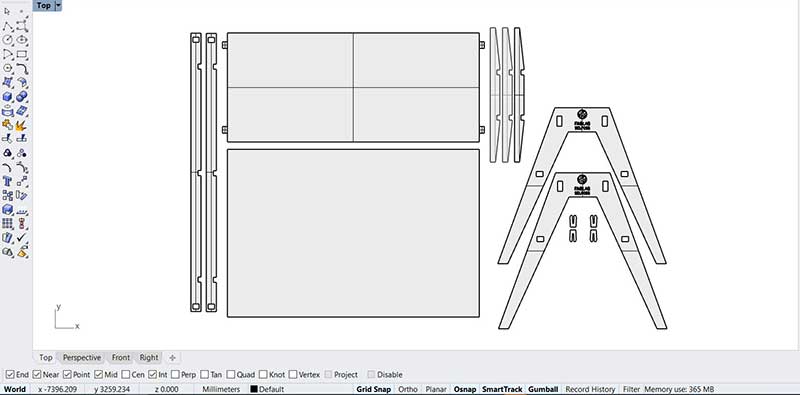
Next step is to arrange the parts so they will fit on the Plywood 30mm plate 2440mm x 1220mm

30 mm Plywood
Magnús St. Magnússon © 2020| v1
Madefor FabAcademy