Week 5
3D Scanning and Printing
Week 5 - Assignments
Group assignment
- Test the design rules for your printer(s)
- Document your work and explain what are the limits of your printer(s) (in a group or individually)
Individual assignment:
- Design and 3D print an object (small, few cm3, limited by printer time) that could not be easily made subtractively
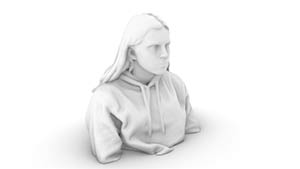
- 3D scan an object, try to prepare it for printing (and optionally print it)
Testing the printer
Autodesk research scientist Andreas Bastian has developed a test procedure designed to help creators better calibrate their machines and showcase their printers’ capabilities to backers on Kickstarter. He developed a single, consolidated STL file that tests a printer’s dimensional accuracy, resolution, and alignment. For example, poor execution of the “bridging” feature shown below will lead to a saggy and stringy print. A well-calibrated printer will make the horizontal feature with fewer of those issues.
Participating creators can download the file and instructions here on GitHub, print tests, and share the images and videos on their project pages. Backers can also use the file to talk objectively about the quality of machines they receive.
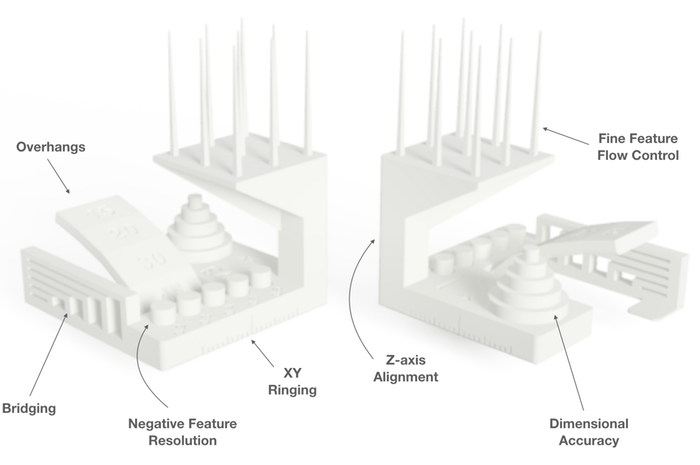 Kickstarter
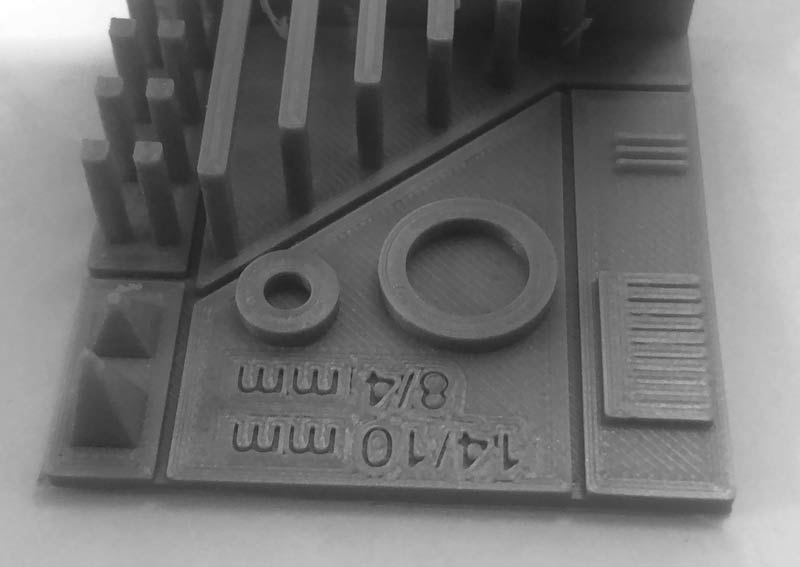
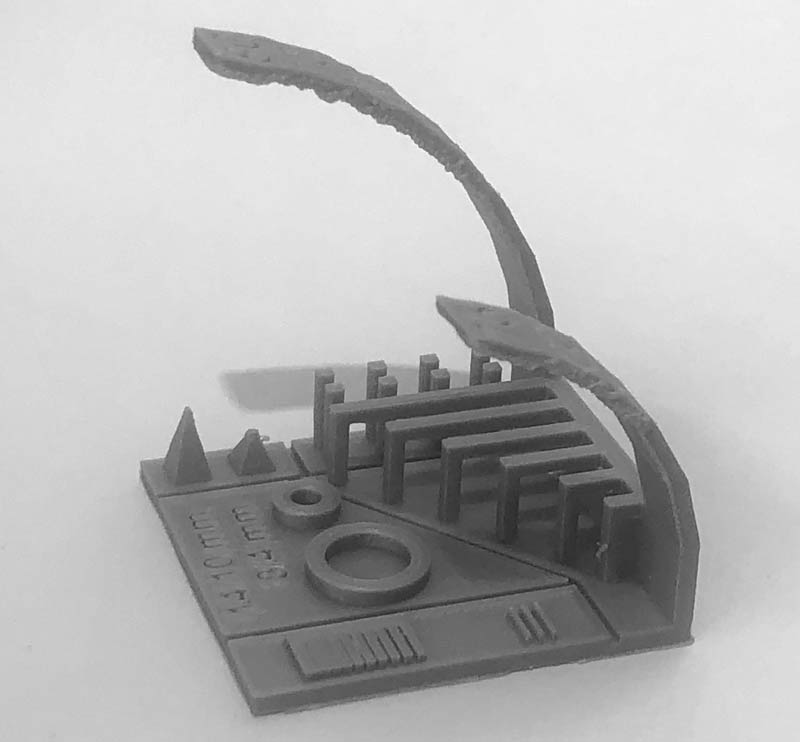
Test file printed
Here is the resault of the Ultimaker 3 test
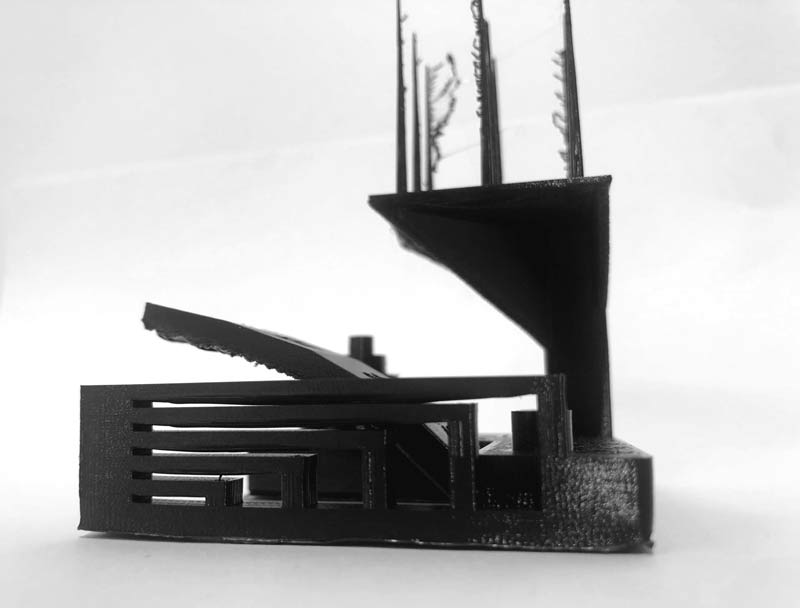
Bridging is looking good.
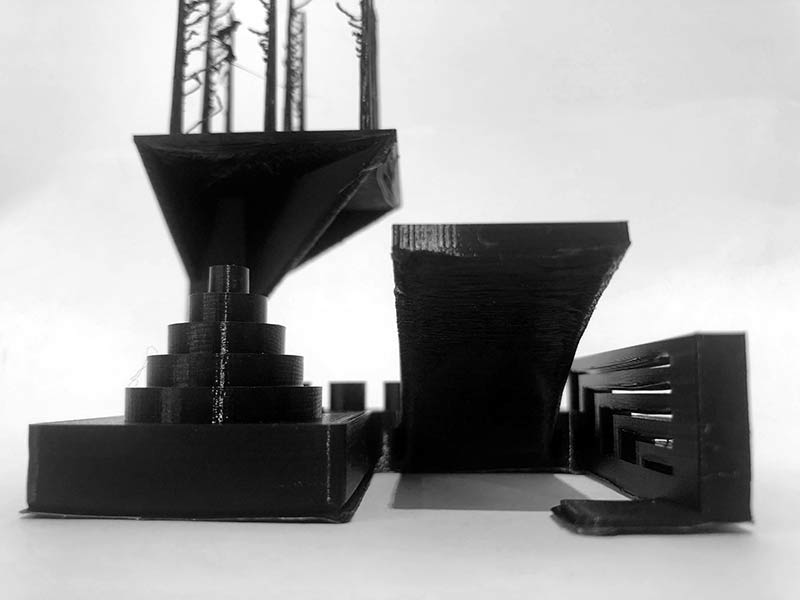
Fine feature flow on upper deck is stringing
Overhangs looks good but is rough near the end.
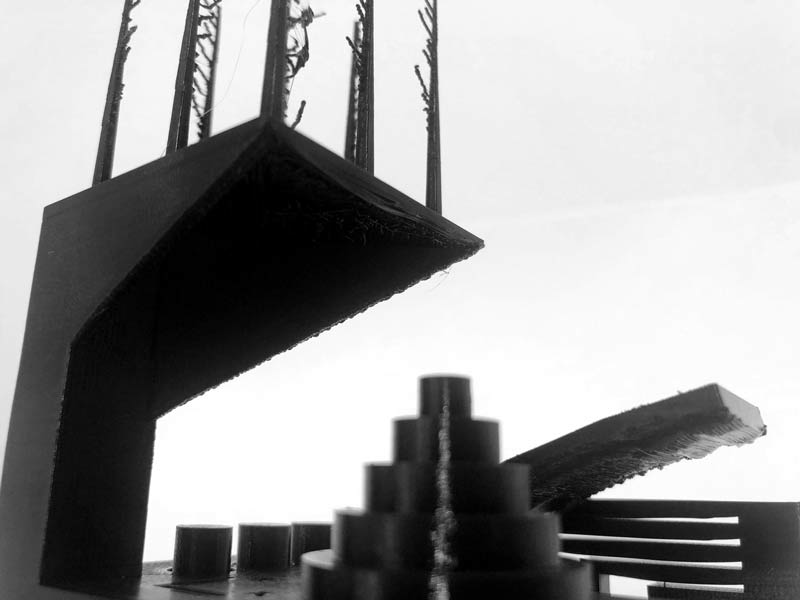
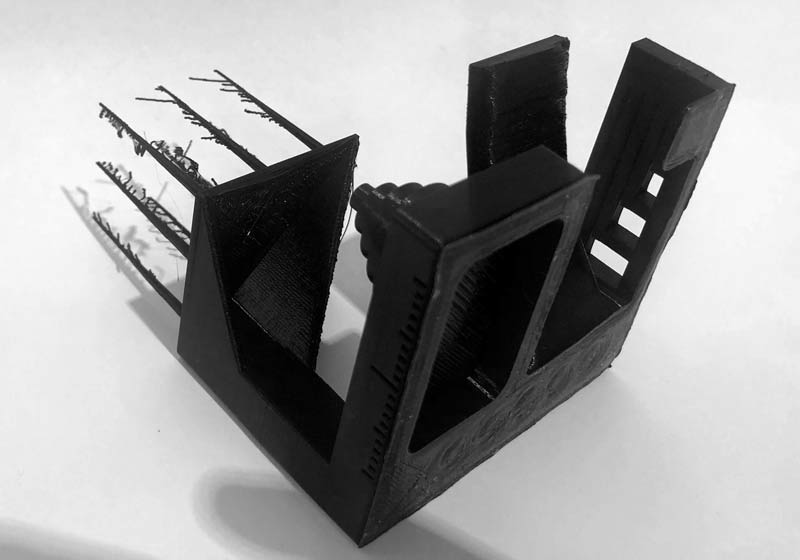
Under the upper deck looks fine.
I also found on Thingiverse a diffrent type of test that i also printed out
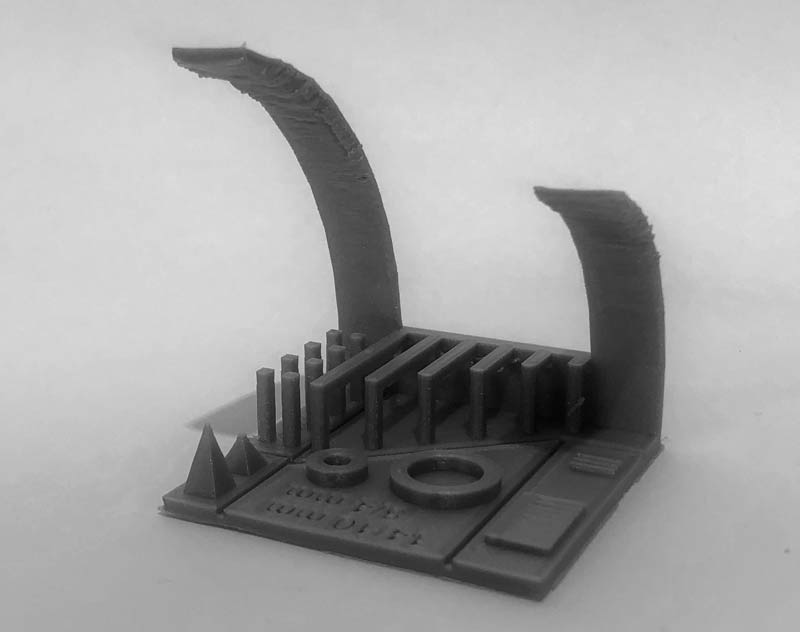
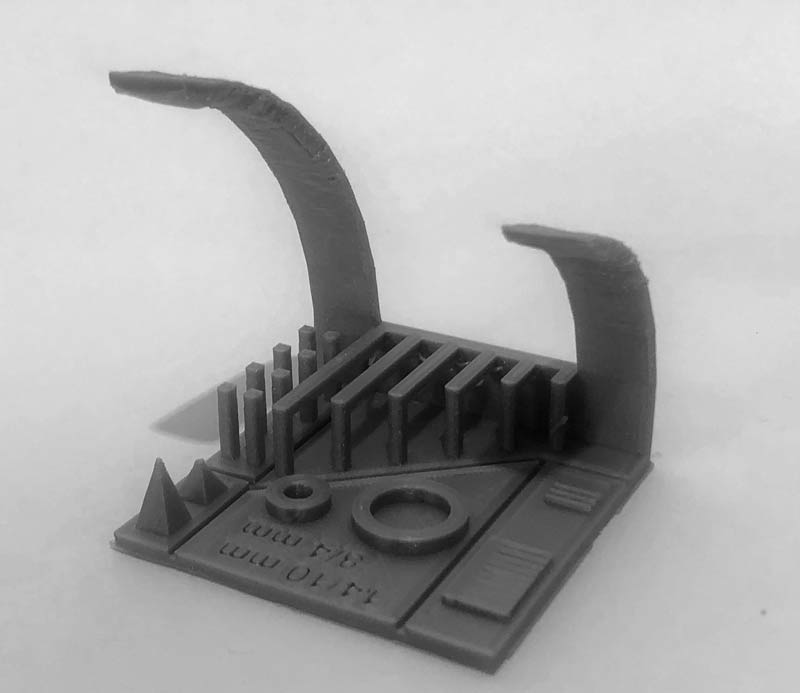
3d scanning and printing
In the lab we have a Structure Sensor 3d scanner and a Ipad pro that i used to 3d scan
Structure Sensor
The scan software i used is Skanet
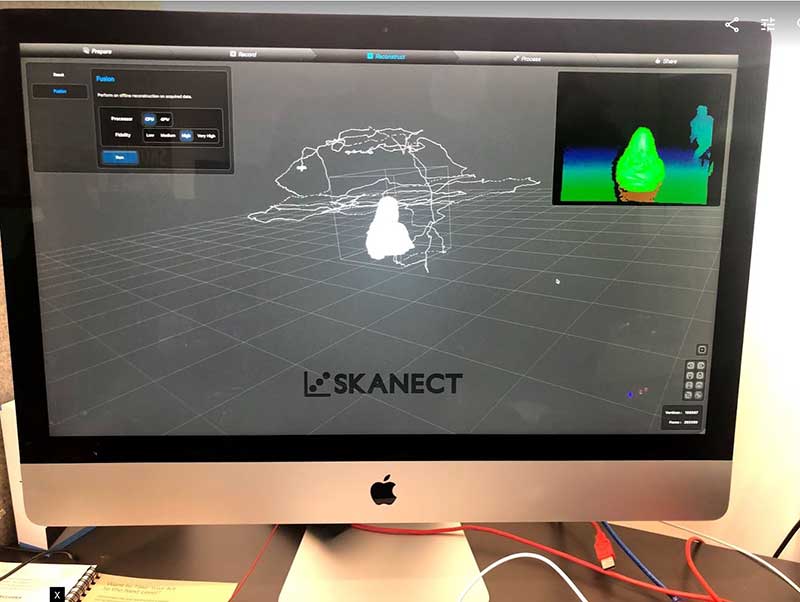 Skanect occipital
Then i used að Ultimaker 3 to print out my scan
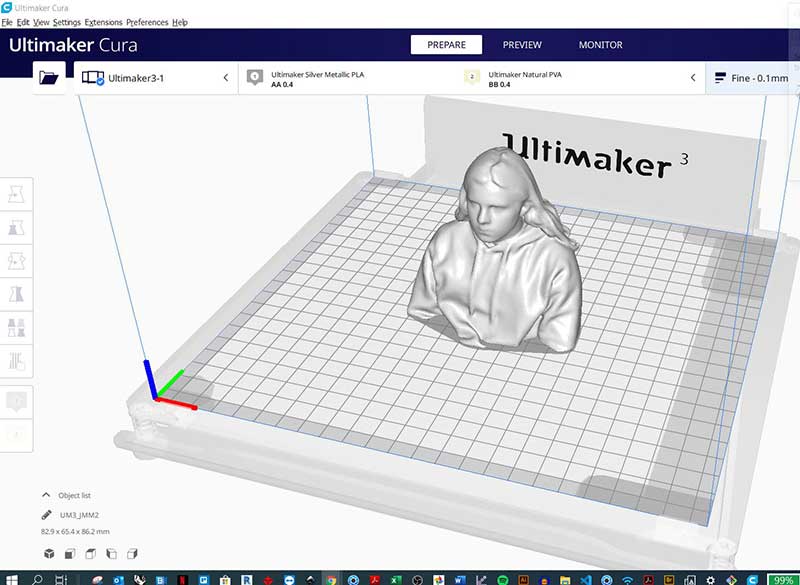
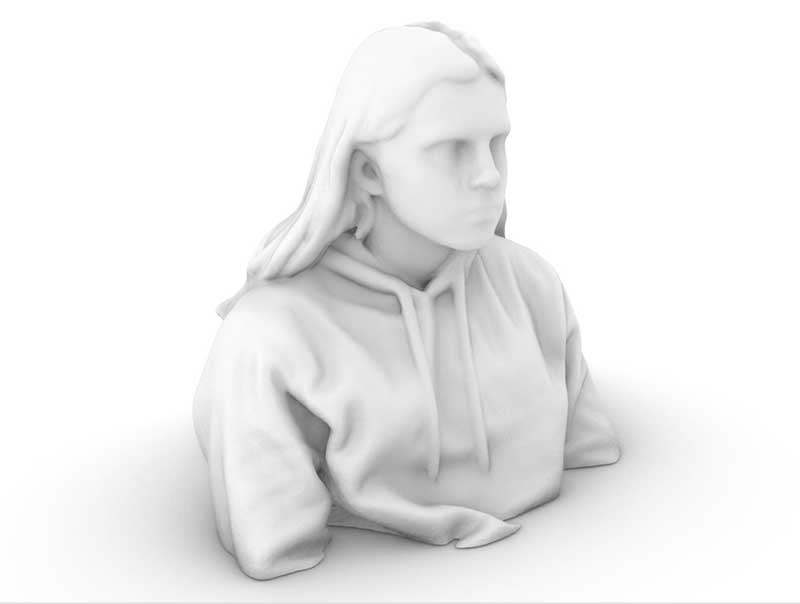
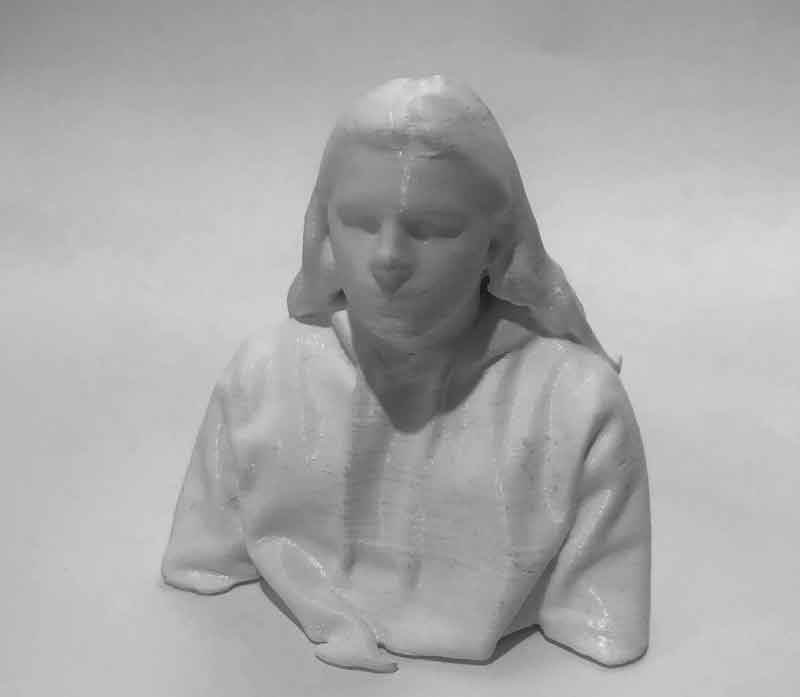
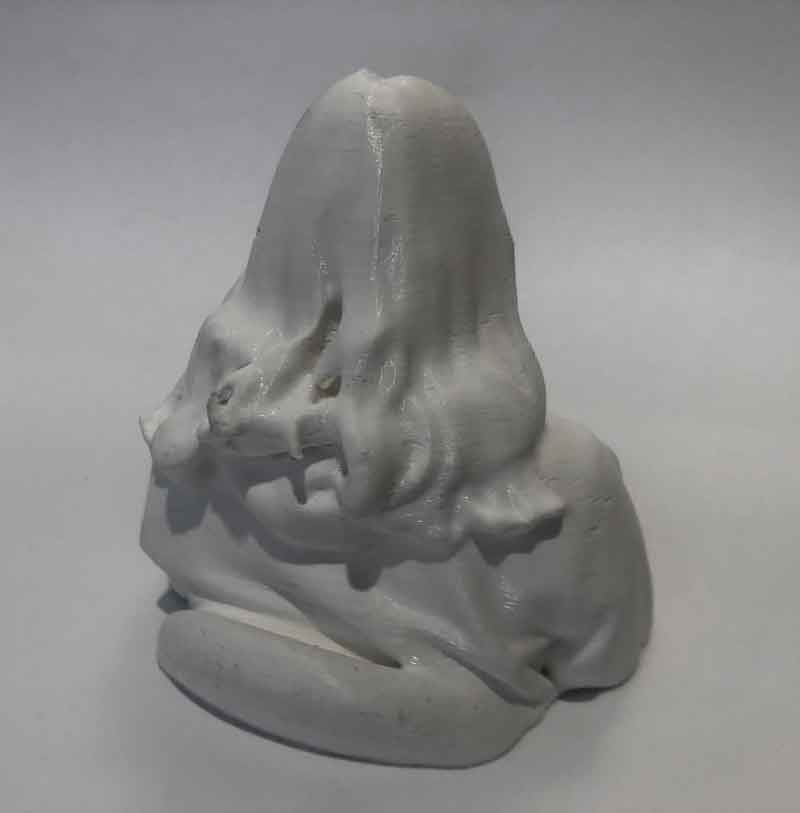
3d print of the final project
Water Jet Turbine
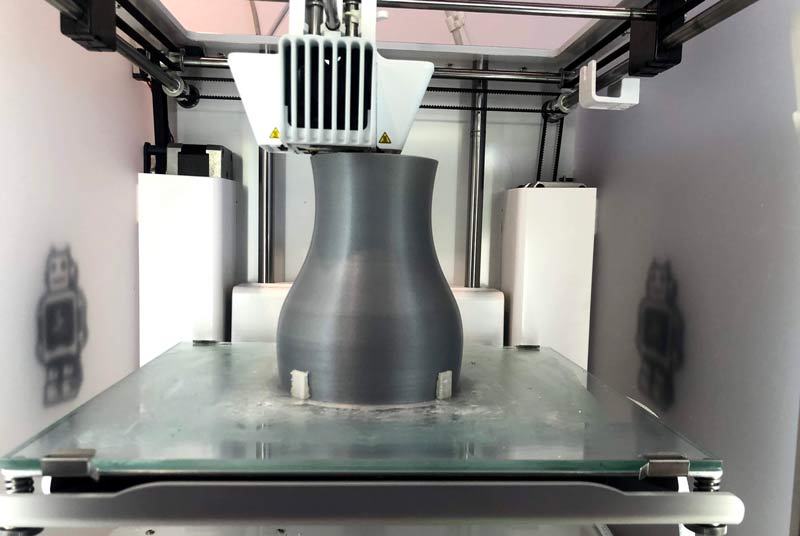
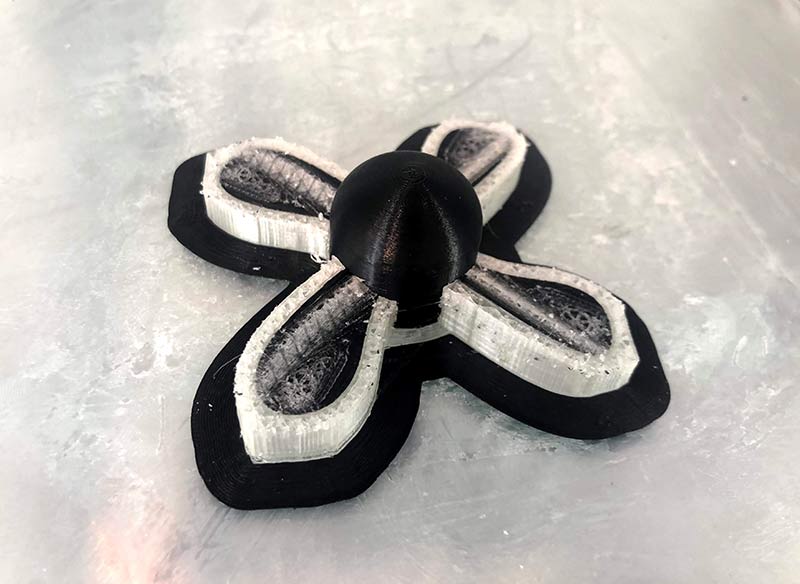
The prop was printed separatly and attached to the model
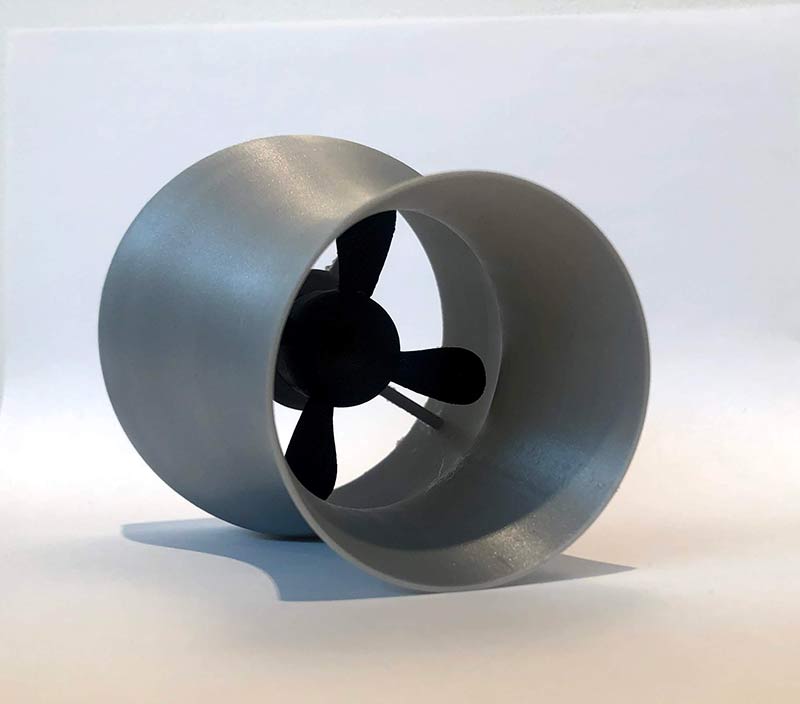
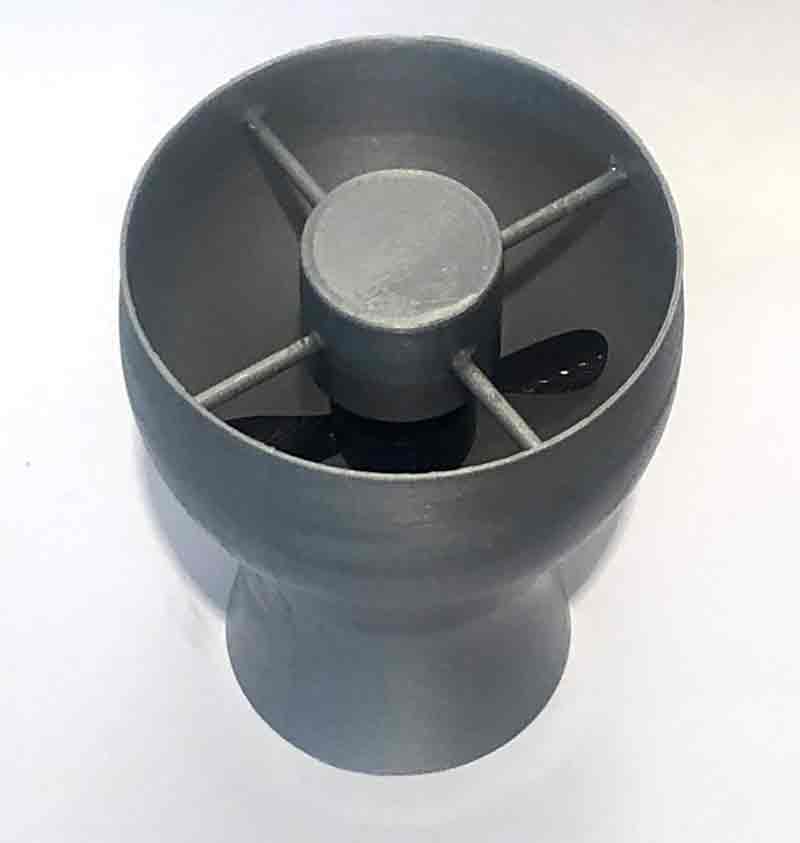
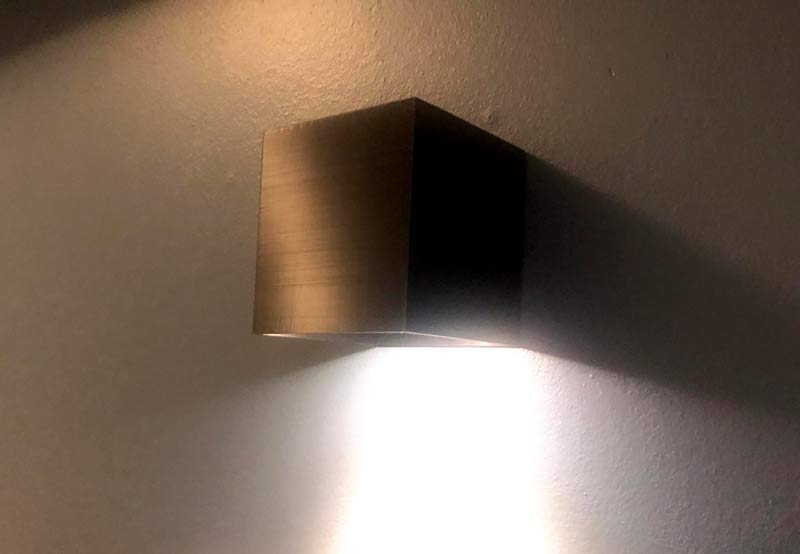
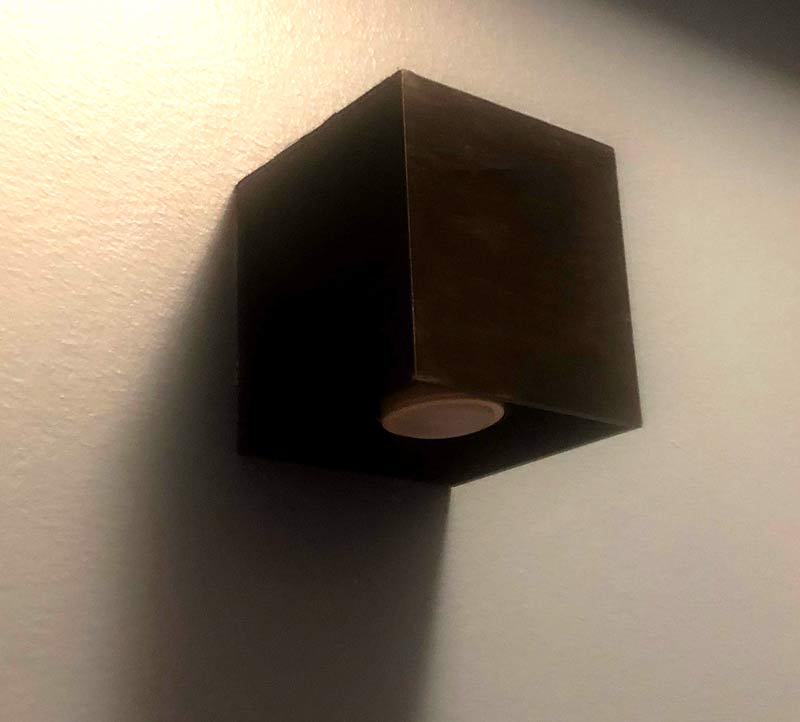
3d printed - Cube wall light
Wall light that i printed for my home and connected a led light to it
Magnús St. Magnússon © 2020| v1
Madefor FabAcademy