1. Principles and practices
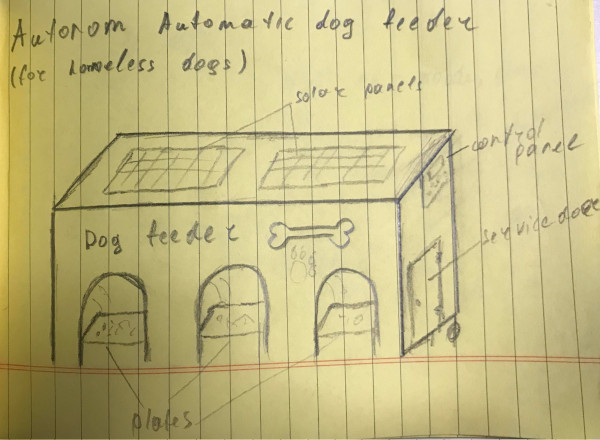
To understand what was going on in my head in 2020, we need to take a look at my first final project sketch, which was an automatic dog feeder. Eventually, I changed my mind and opted for a wooden scooter for my final project. But let’s delve into my thoughts from February 2020.
Project Proposal: Public Dog Feeder
Introduction:
While there is a plethora of dog feeders available in the market for household use, there remains a significant gap in solutions tailored for public use. Our proposed product seeks to address this gap by introducing a dog feeder designed specifically for public spaces. This innovation will not only enhance the well-being of dogs but also contribute to public safety and cleanliness.
Target Audience:
Our target audience primarily comprises local governments responsible for managing public spaces such as parks and tourist attractions. By implementing our public dog feeder, these entities can effectively manage dog populations, promote responsible pet ownership, and improve overall public experience.
Functionality:
The public dog feeder will be equipped with the capability to accommodate multiple dogs simultaneously, with options for a boxy or cylindrical design. Each feeder unit will contain a reservoir for dog food, segmented into compartments corresponding to individual feeding plates. A valve mechanism will regulate the dispensing of food, ensuring that each dog receives the appropriate portion size.
Additionally, dogs will be fitted with microchips containing relevant information, such as dietary requirements, to facilitate automated feeding. The feeder will operate autonomously, with customizable parameters adjustable via a control panel. To minimize environmental impact, the feeder will feature solar panels for energy generation, ensuring maximal autonomy and ecological sustainability.
Design Considerations:
The design of the feeder prioritizes functionality, durability, and weather resistance. Furthermore, ease of maintenance and cost-effectiveness will be integral aspects of the final design.
Dimensions:
The feeder dimensions are as follows: height = 90 cm, width = 50 cm, length = 120 cm.
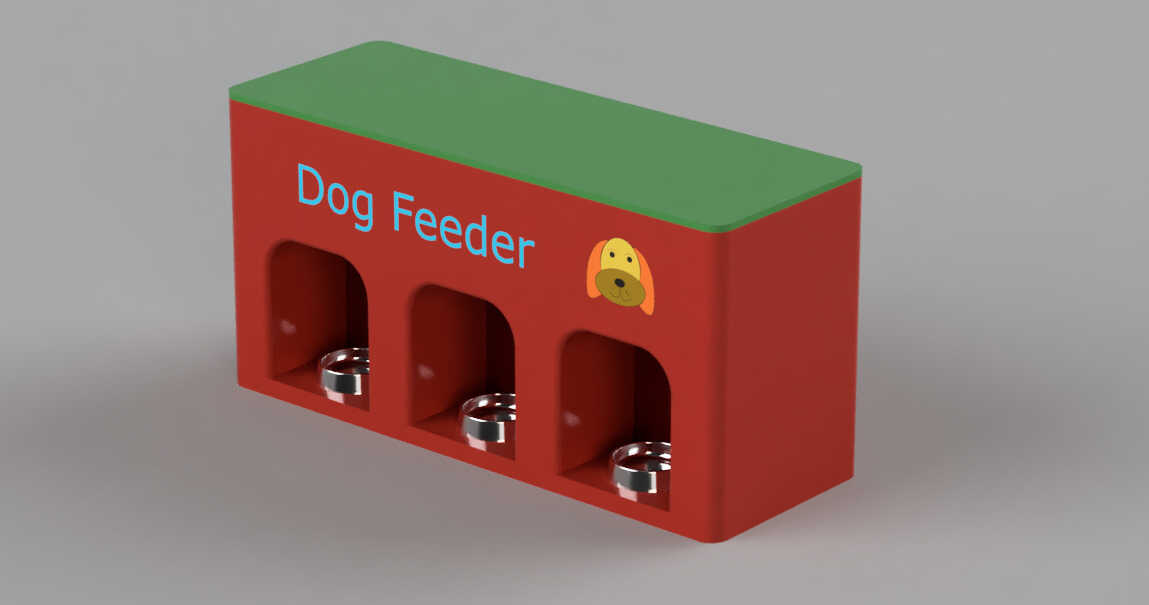
Renderings:
Please refer to the CAD renderings provided for visual representation of the proposed feeder design.
Conclusion:
In conclusion, our project aims to introduce a novel solution to the challenge of feeding dogs in public spaces. By collaborating with local governments and stakeholders, we envision a future where public dog feeders contribute to safer, cleaner communities while prioritizing the well-being of our canine companions.
Project management
I remade my website in 2024 using mkdocs template. But I will show my 2020 steps in the beginning.
2020 Using HTML
This is the first assignment that I’m doing during my Fab academy course. This week is named principles and practices, project management which means that I’m going to build a personal website and push it into the class archive, describing my final project. So lets start.
About Git
First of all, I have installed git lab for Ubuntu. That was not as easy as I thought. The process was full of errors. It took from me approximately 3 hours of tries. One of the reasons was the different lines in the tutorial which were not letting terminal understand the commands right. I used this tutorial
About personal website
The next thing to do was creating a personal web site. That was a challenge for me. I have tried myself in programming a few years ago and gave it up because It seems to be uninteresting and boring to me. But the day has come and I have to make a personal web site. Before I have only heard about HTML and CSS and I knew that they are related and being used in web development. That’s all I knew before today. Firstly I download code editor. I chose a Visual studio code from here. Luckily I like that editor because of its user-friendliness and simplicity in use. The second thing I did; I started reading and watching tutorials about HTML and CSS. When I got the point and start understanding the structure of the code, I started making some simple sites. The third step was to download a template. I choose that way because of the short time I had. The chosen template was downloaded from html5up.net. The fourth step was making changes and personalizing the template. I was commenting that parts that I don’t need (don’t know why I simply not delete them). I create a weeks menu, add a photo, write about the final project idea add some sketches. here are some usefull commands
1.Link:
<a href="https://www.example.com">Visit Example Website</a>
2.Image:
<img src="image.jpg" alt="Description of the image">
3.Paragraph:
<p>This is a sample paragraph.</p>
4.Heading:
<h1>Main Heading</h1>
<h2>Subheading</h2>
5.Code:
<p>Use the <code><code></code> tag for inline code.</p>
6.Bold Text:
<p>This is <strong>bold</strong> text.</p>
Here’s how my website code looks like
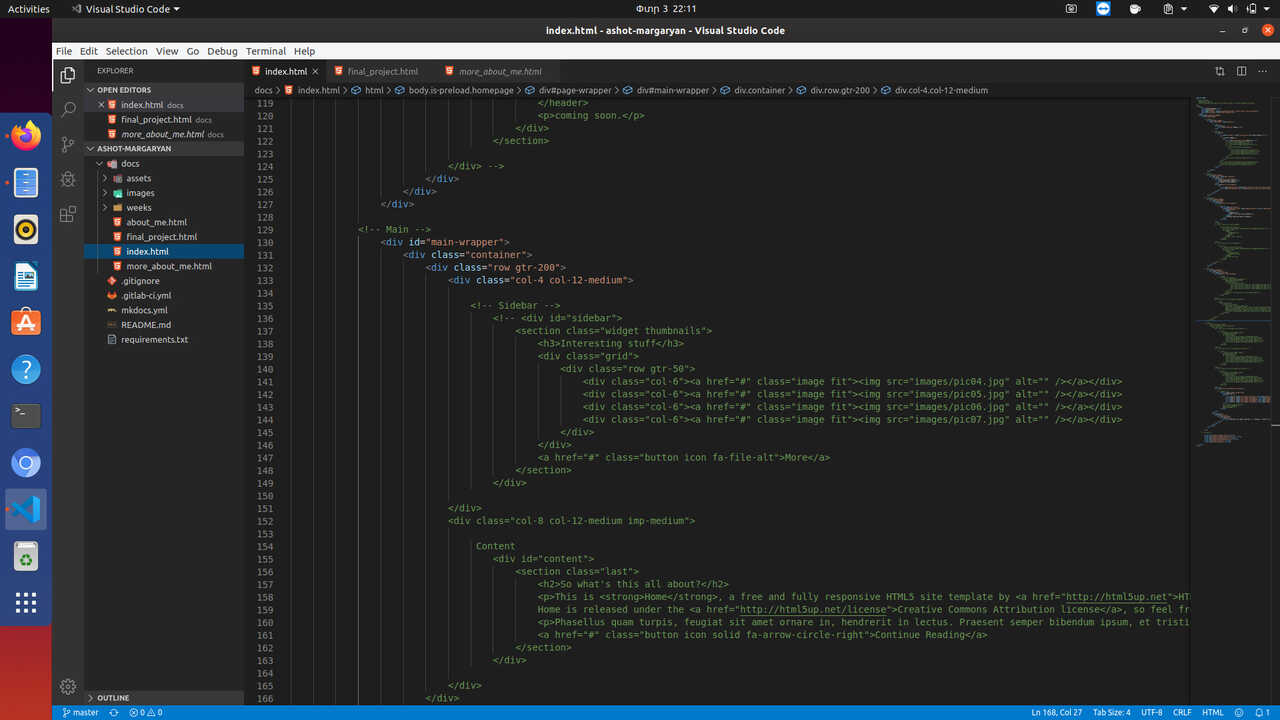
Here’s how my actual website looked before I switched to markdown
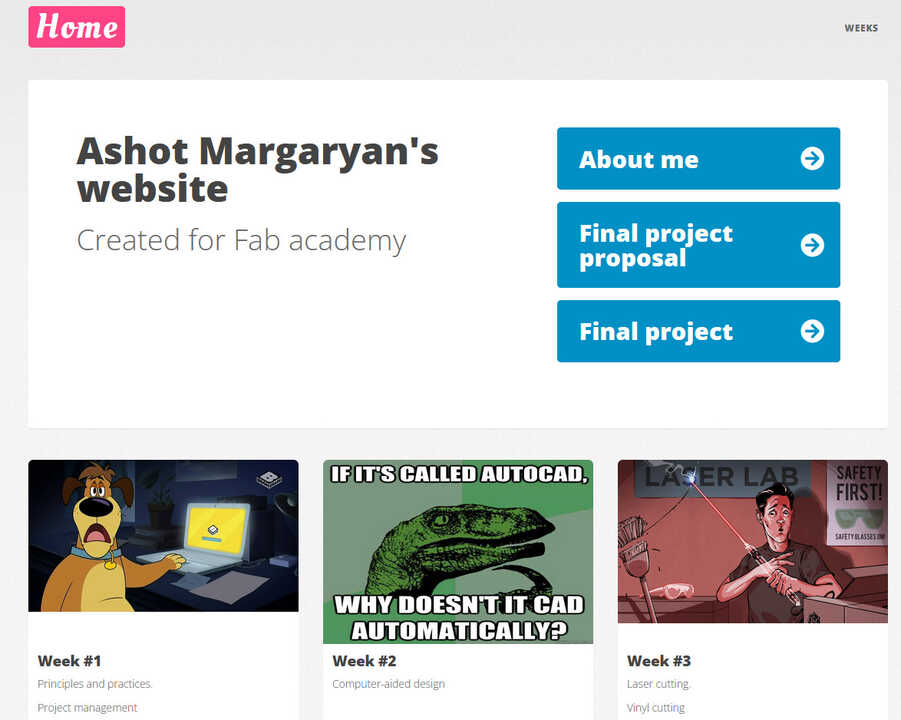
I used HTML5UP template Verti since they were responsive pages meaning that they resize and adapt for each sreen size and appear mobile friendly when accessed through mobile devices. I customized the images and texts and pushed it to my repo. I leared alot working with HTML but it was much slow and counterintuitive compared to markdown.
Conclusion
The most difficult part for me was setting up the Git. If you have to do that please read the tutorial it makes life easier. The HTML is pretty easy in use and there are tutorials about every aspect of it, but it’s much slower and not as intuitive as markdown. On other hand it’s much more versatile and you can customize it as much as you want.
2024 Using Markdwom and MkDocs template
Version Control
Git is an effective tool for project management, providing control over projects by allowing users to track changes, identify contributors, and observe the progress of projects by others in FabAcademy. To learn more about version control and Git, you can visit the following link: GIT
Here are the steps to get started:
1.Download the GIT software from its official website.
2.Create a new folder (e.g., on your desktop) to serve as your website folder.
3.Right-click to open the context menu and select "Git Bash here."
Git Bash and SSH-KEY
Configure your Git by following these steps (refer to Onik’s documentation for more information):
1.Set up your Git configuration with your username:
git config --global user.name "YOUR_USERNAME"
2.Set up your Git configuration with your email:
git config --global user.email "your email"
3.Generate an SSH key using the following command:
ssh-keygen -t rsa -C "your email"
4.Retrieve your SSH key using the command:
cat ~/.ssh/id_rsa.pub
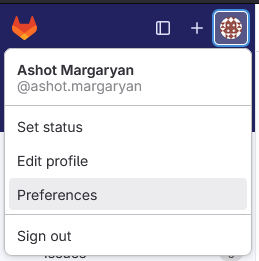
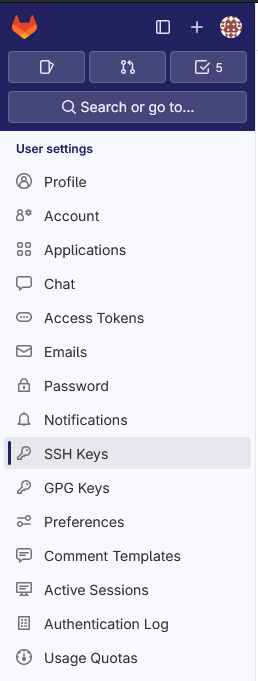
After this steps I went to my gitlab account clicked on my avatar and selected Preferances then SSH Keys here are the screenshots
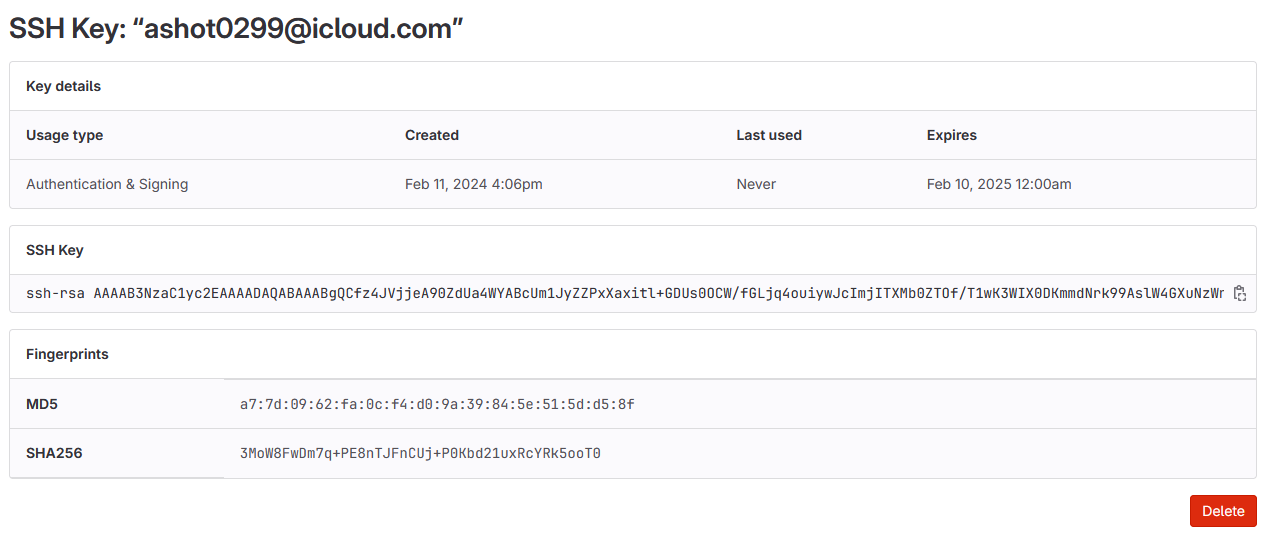
I had to delete the old ssh key since it was not active and I lost it.
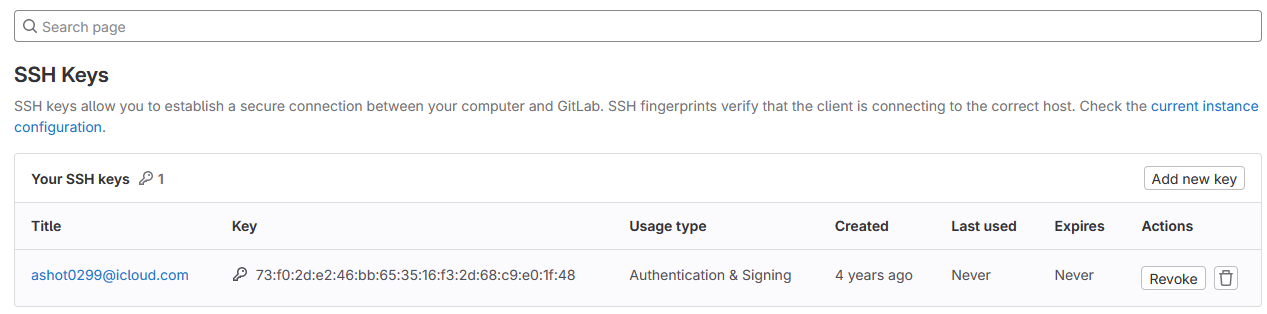
And here I uploaded the new one
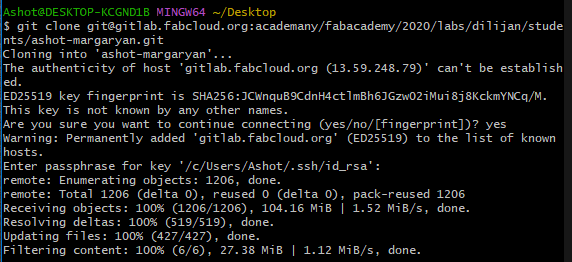
Then I went to my repository clicked Code and copied the URL under Clone with SSH

After that I went back to git bash and run this command:
git clone "Link goes here"
Here is the result:
Then I downloaded the (MkDocs) markdown template from here you can find Hugo, MkDocs and HTML templates developed by Julian who’s maintaining fabacademies servers and repos.

MkDocs is a static site generator that’s geared towards building project documentation. Source files are written in Markdown.
I modified my page added the student agreement part, about me and pushed it to my repo. Here’s how I changed the header color. Also I used our 2024 students first week documentation for making modifications on my page. Maria Elen
 theme:
  name: material
  palette:
    # try other colors https://squidfunk.github.io/mkdocs-material/getting-started/#primary-colors
    primary: amber
    accent: amber
  font:
    # See available fonts at https://fonts.google.com/
    text: Ubuntu
    code: Ubuntu Mono
  icon:
    logo: material/school
  favicon: images/favicon.svg
  features:
    - navigation.tabs
    - navigation.instant
Instruction for customization Material is here.
Most of the modifications I did by following this documentation.
Conclusion
Doing documentation for the first time after four years was really hard for me. I had to remember a lot of things that I hadn’t used during this time and had to ask for help from our new students and my instructor, Babken Chugaszyan. I also want to mention that doing documentation using Markdown was incomparably easier and faster than using HTML. I hope to further modify my website in the following weeks.