6. 3D Scanning and printing
Introduction
This week we were assigned three different tasks to complete with 2 being individual and 1 being a group assignment. The first individual assignment was to create a 3D print of something that is around a few cm^3 and to create a 3D scan of something. Our group project for this week was to create characteristics for our 3D printer, like we did with our laser cutter and cnc mill.
Group Project
This week, our group project was to create characteristics for our 3D printer, and we decided to do this first. Our group was able to learn many things about our printer that we did not know before, such as infill pattern, and others. I personally helped with printing and adjusting settings for the print. Here is the link for this weeks site
Designing the 3D print
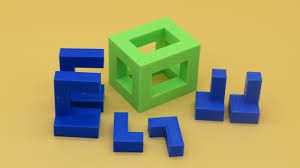
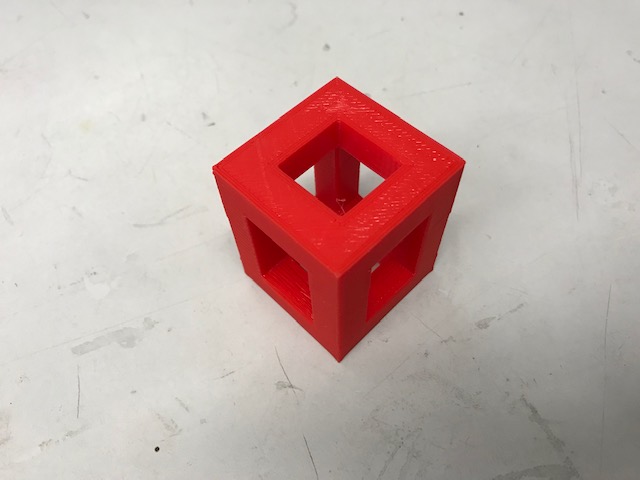
This week, one of the individual assignments was to design and create a 3D model that cannot be created by subtractive methods. The first thing I did was look up some designs on Google so that I could figure out what kind of thing that I would want to create. I eventually found this puzzle that I thought I would design.
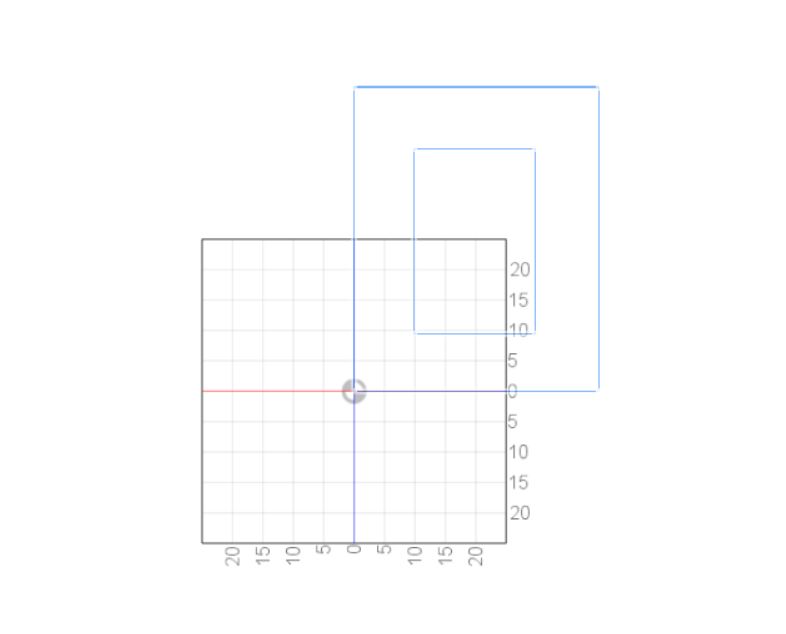
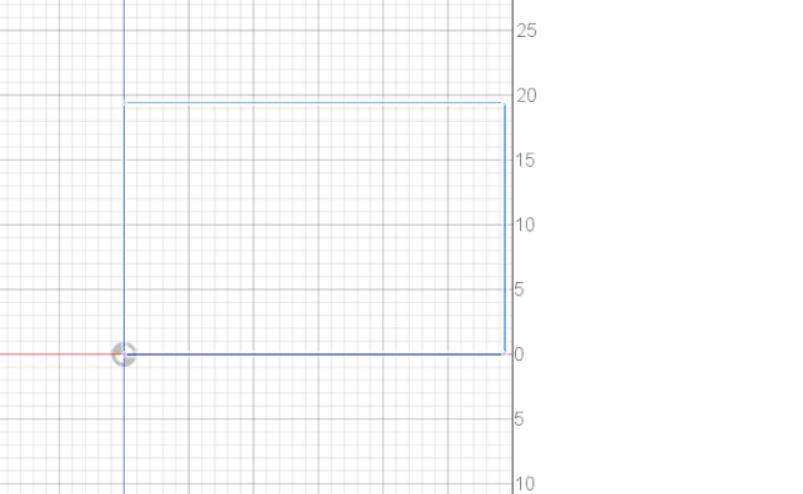
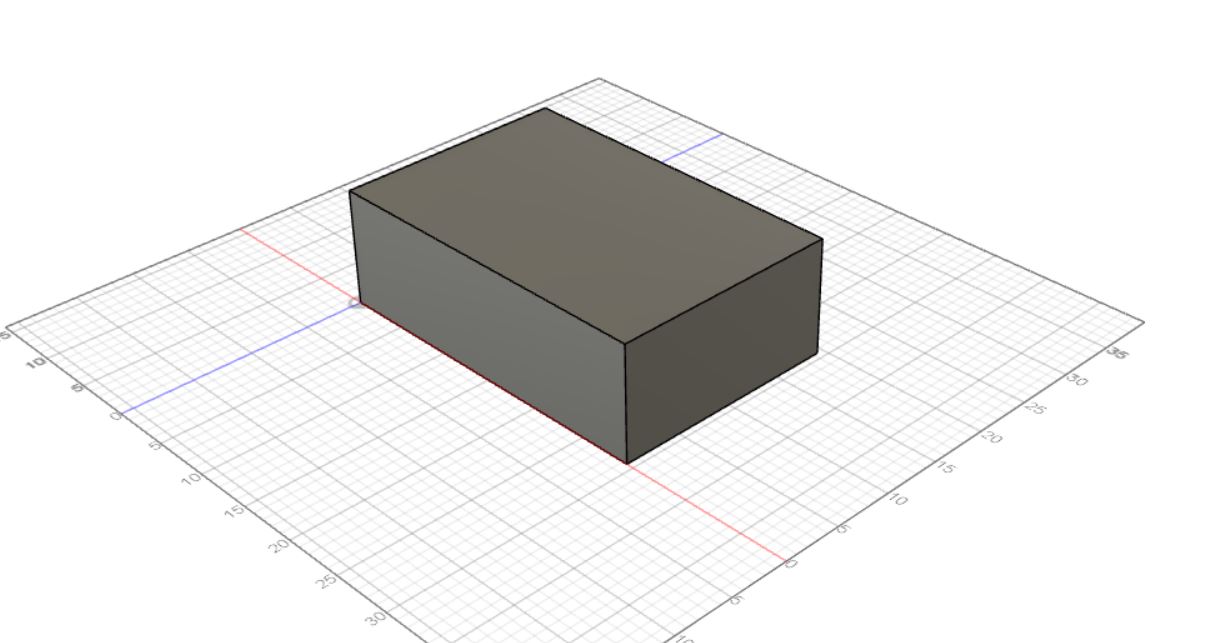
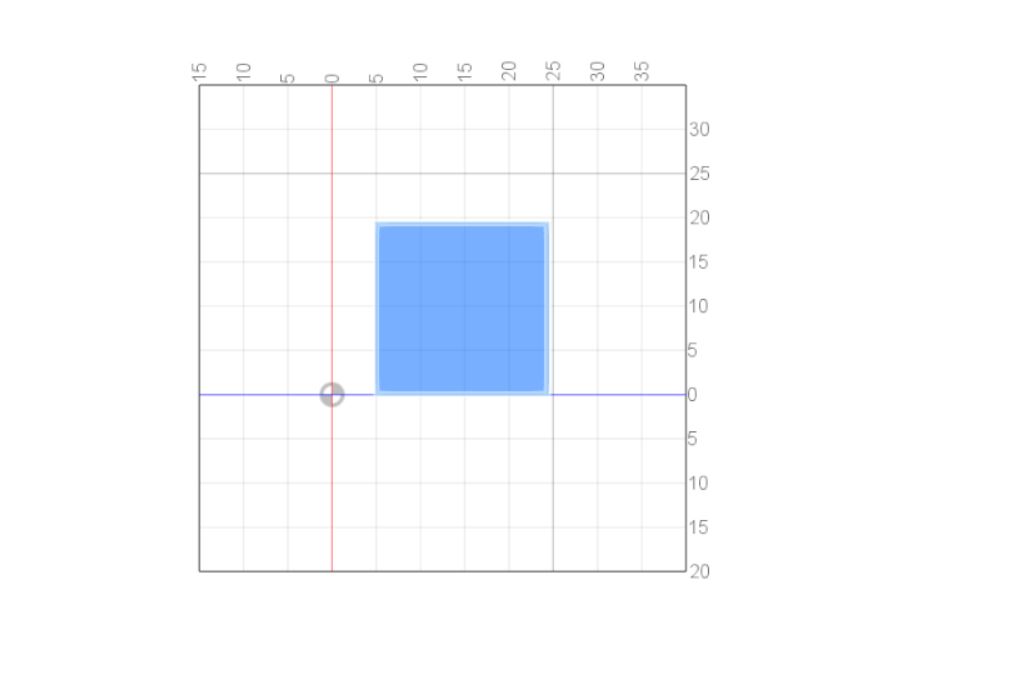
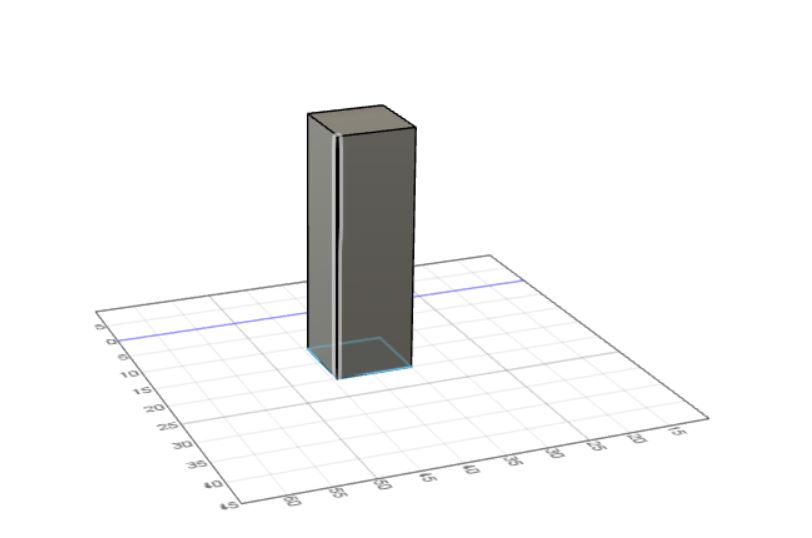
To start, I got on Fusion 360 and decided to create the first rectangular piece. To do this, I started off with a sketch.
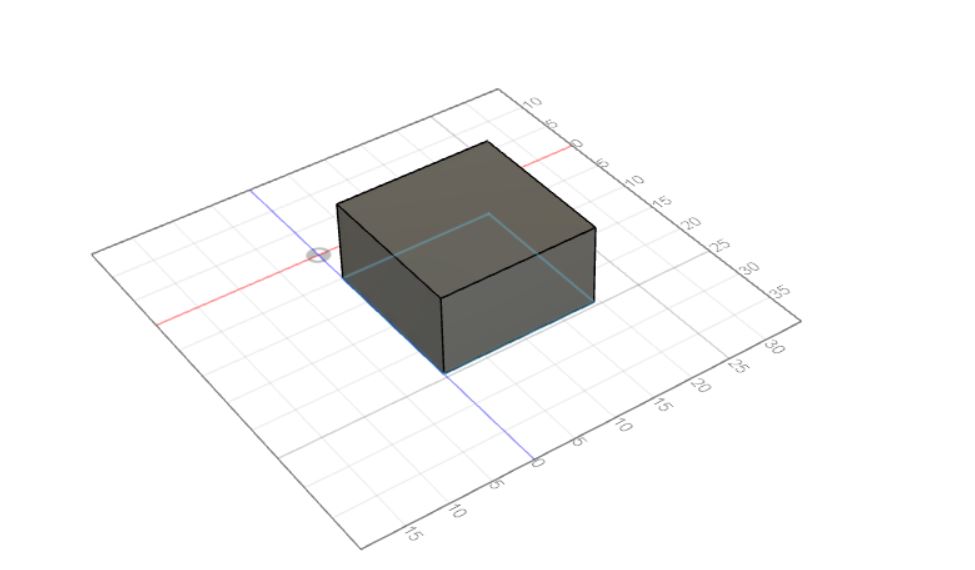
After I created the sketch, I extruded it
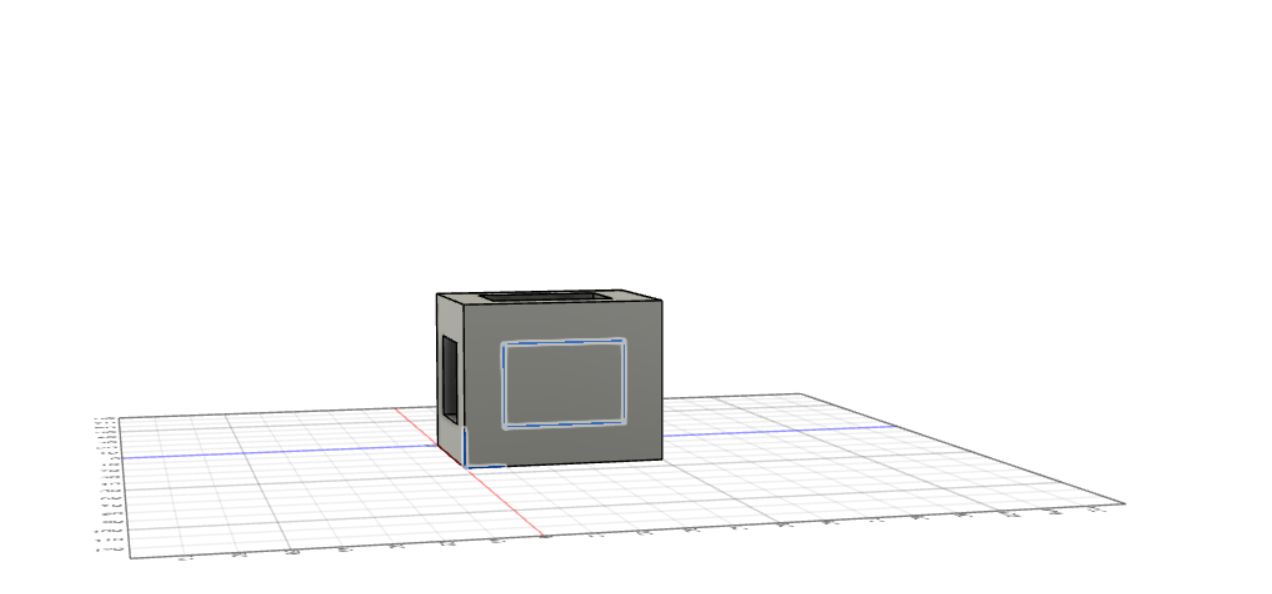
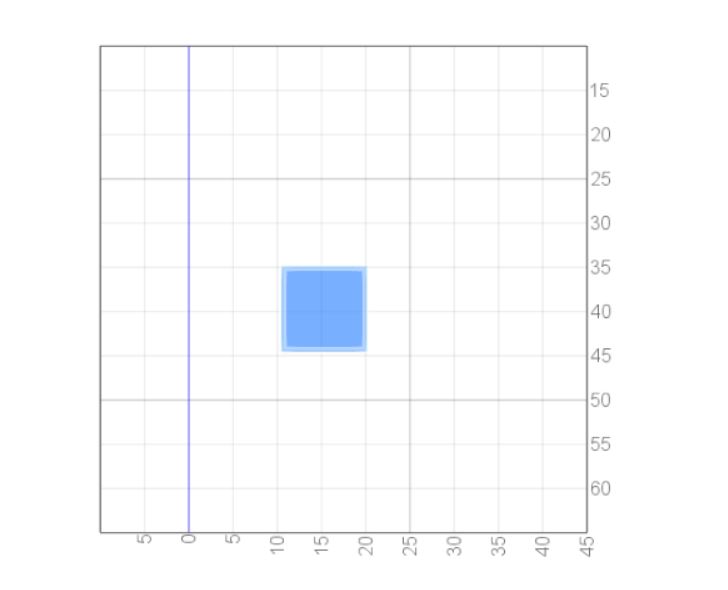
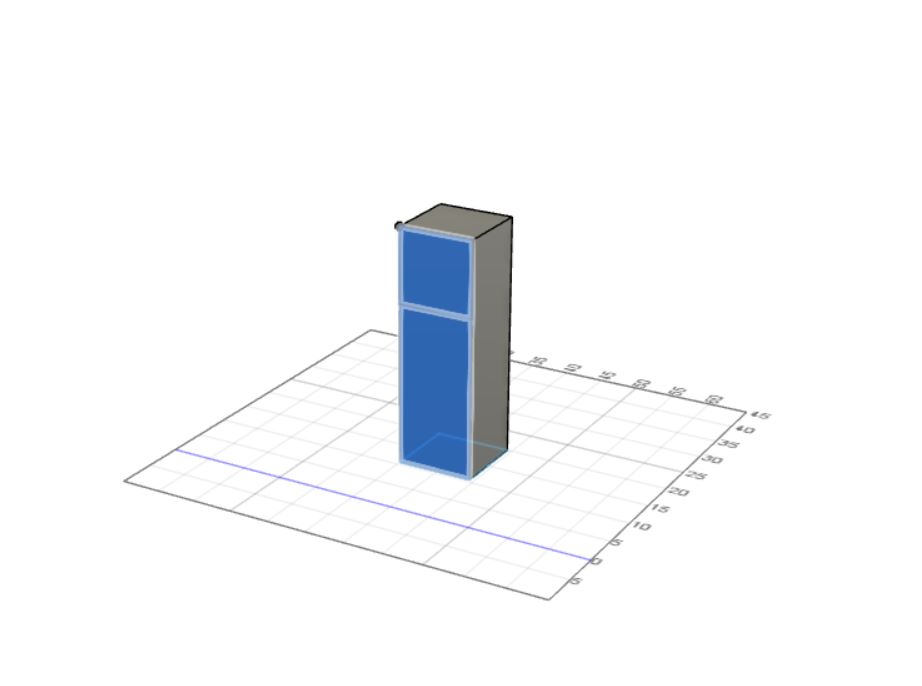
After the extrusion, I made another sketch at the top of the rectangular prism, which looks like this
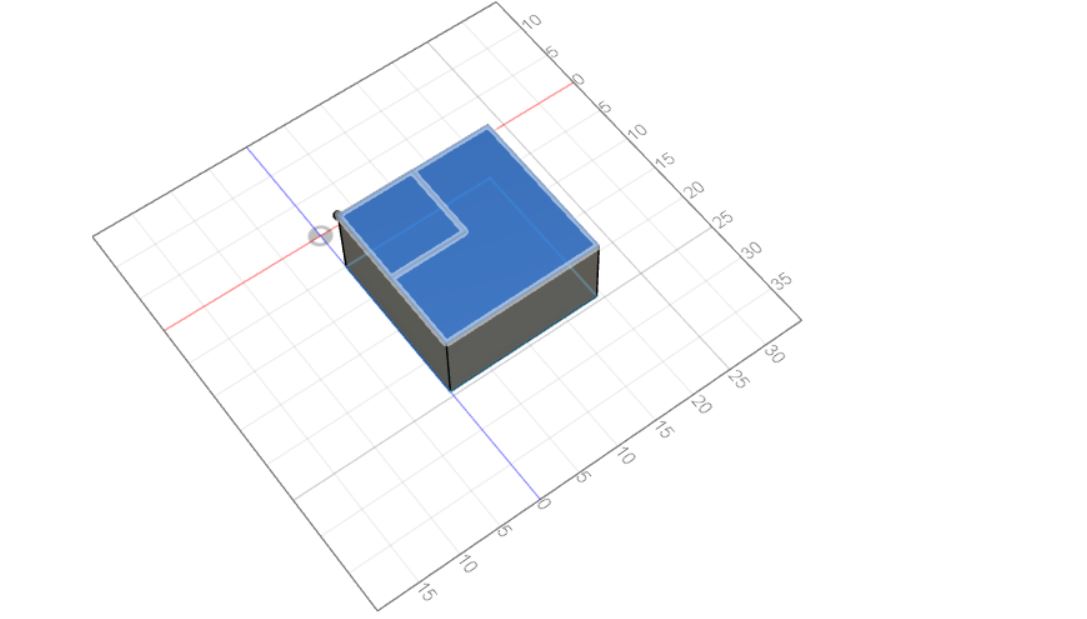
With the sketch in place, I was able to create a cut in the body, which looks like this
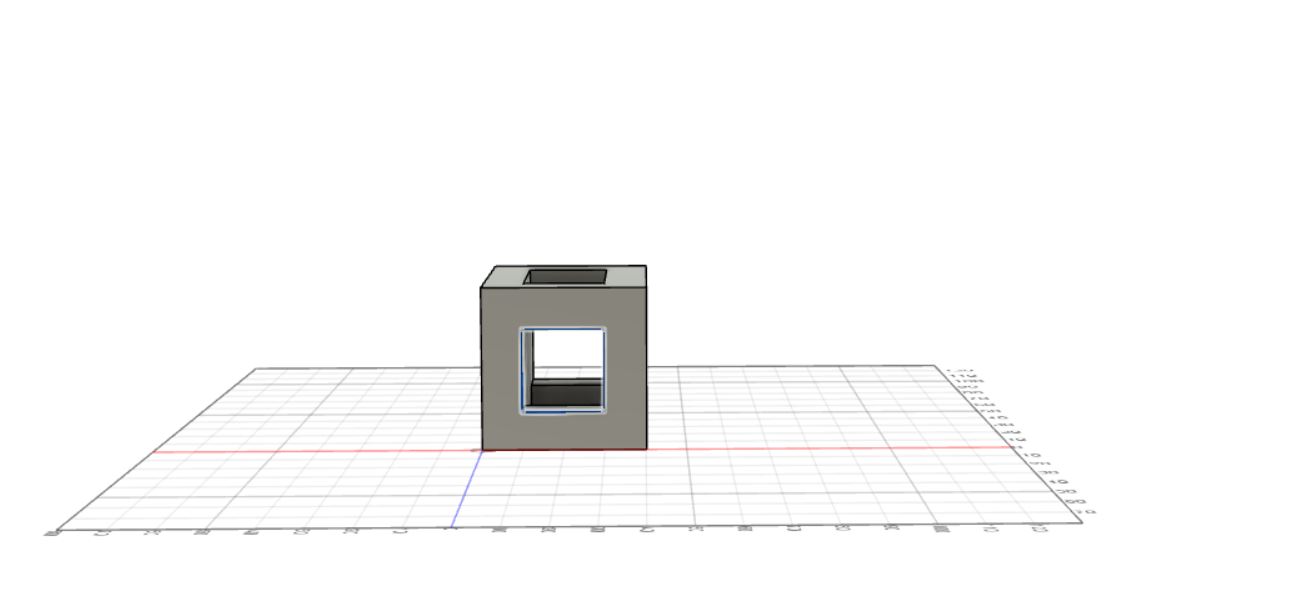
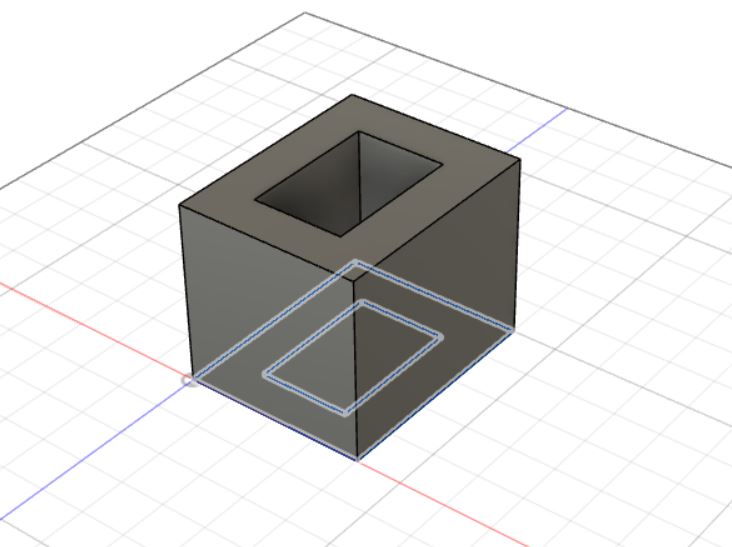
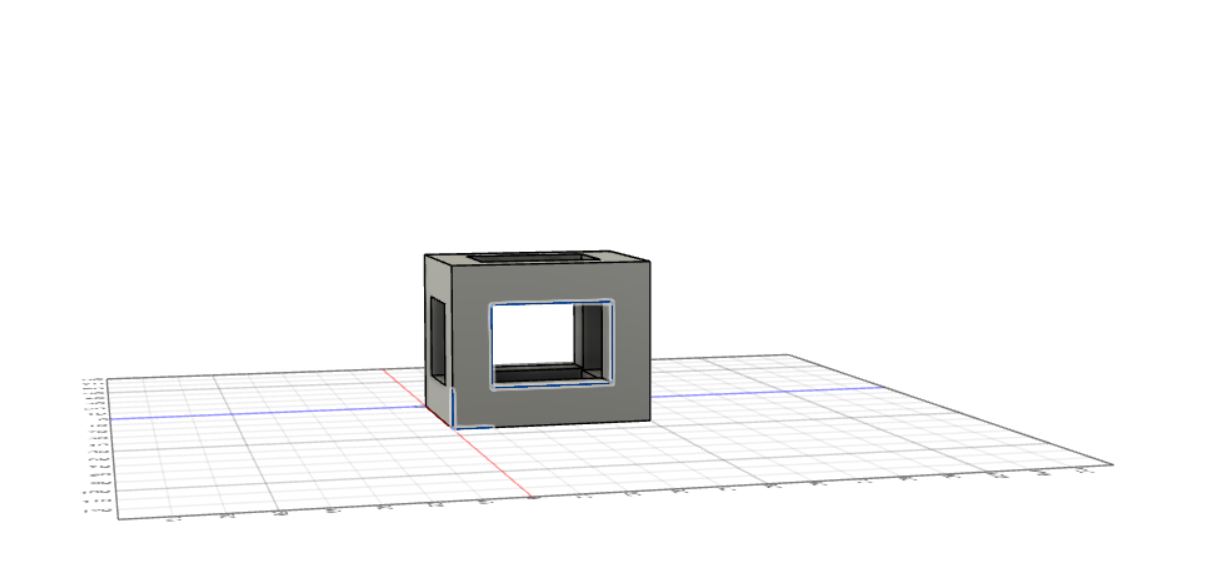
After that, I made my final sketch on the rectangular prism on the remaining side/ the only pair of sides that did not have an opening.
After the sketch was complete, I made another cut with this sketch, and the final prism looks like this
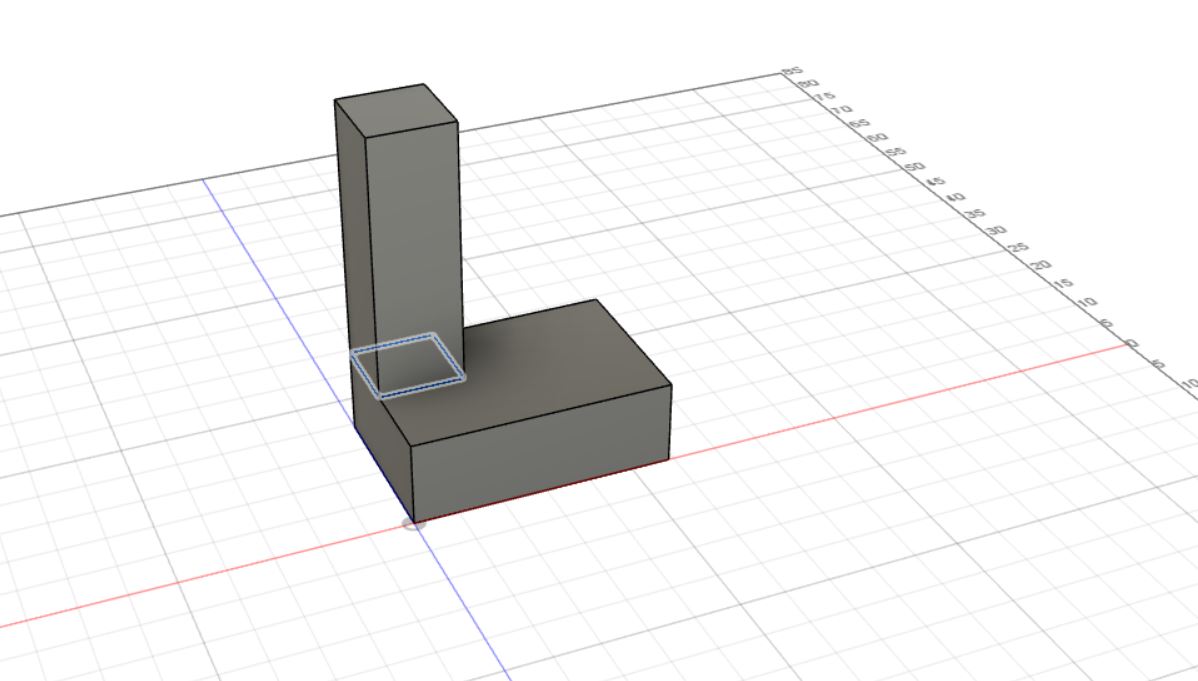
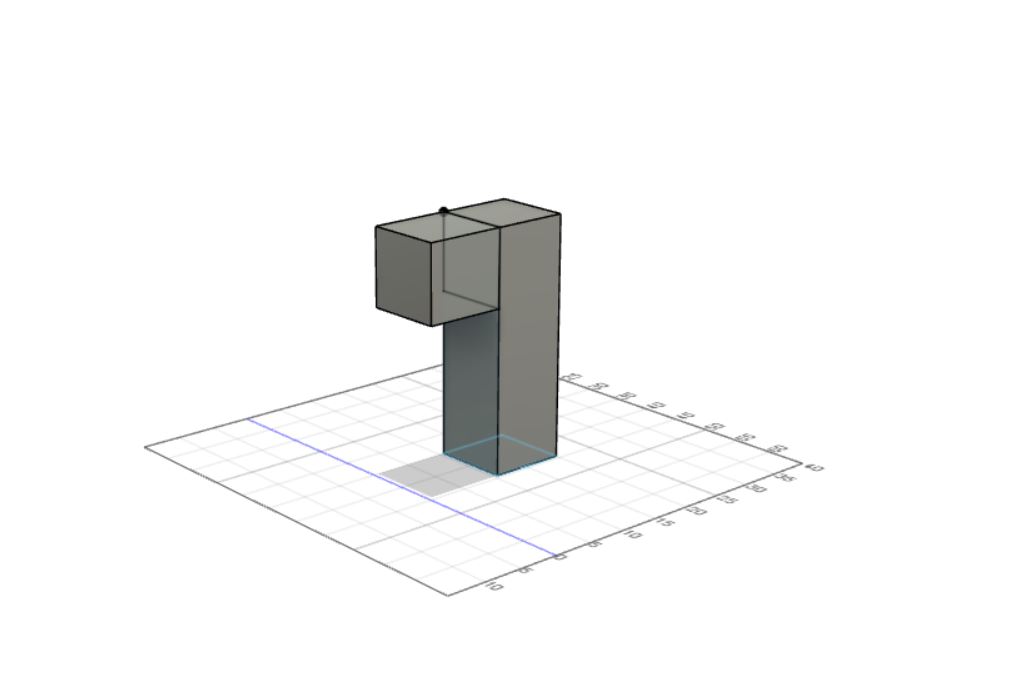
After the prism, I decided to create the most complicated piece, being the one that looks like a modern-style lamp. After hiding the first body, I created a sketch of the base
After I created the sketch of the base, I extruded the sketch, which looks like this
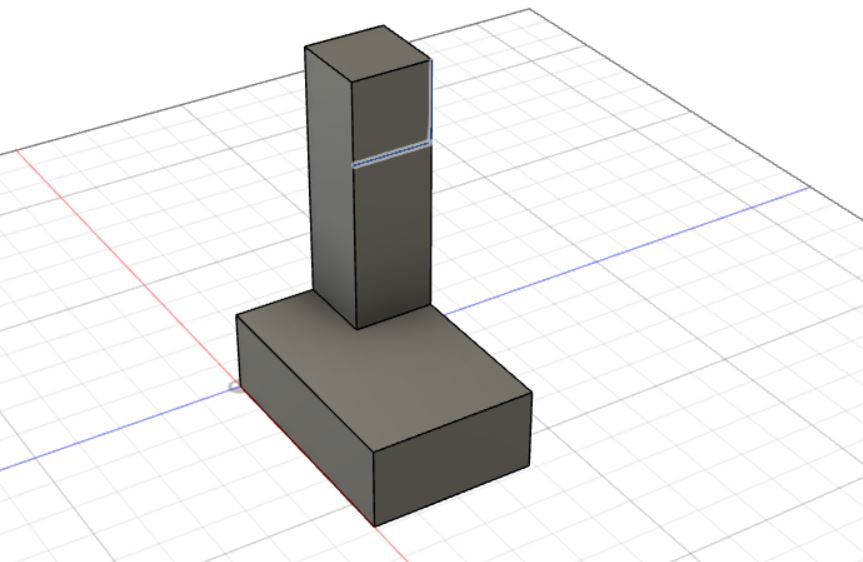
After the extrusion was made, I created a sketch of a square on the top left side of the rectangular prism which looks like this

After I created this sketch I extrueded it
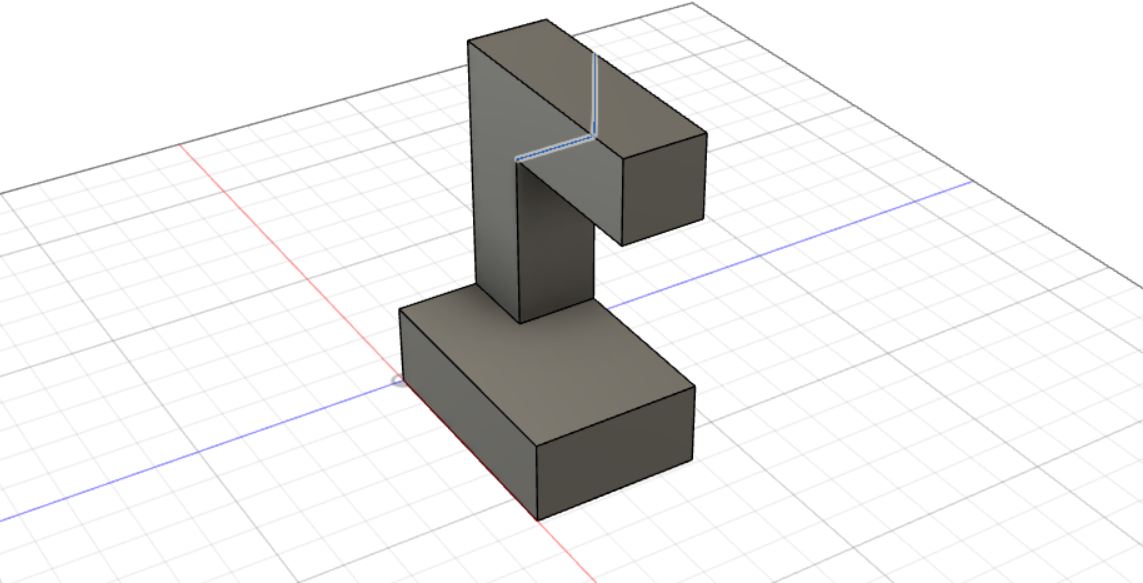
After that, I rotated the piece and created another square sketch on the top of the part I created with the extrusion
After the sketch was made, I extruded it to match the length of the main base sketch.
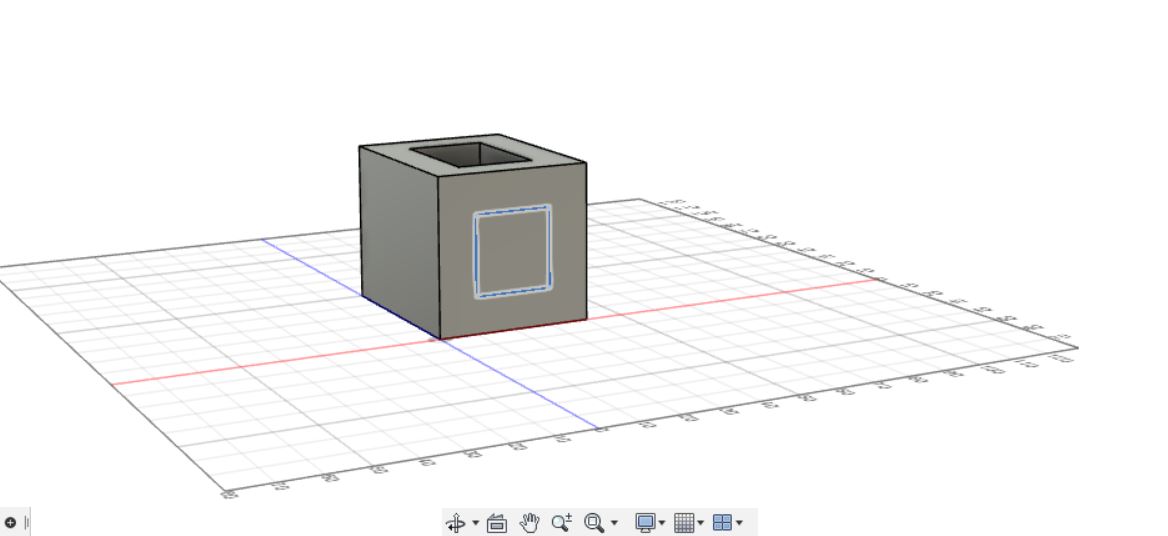
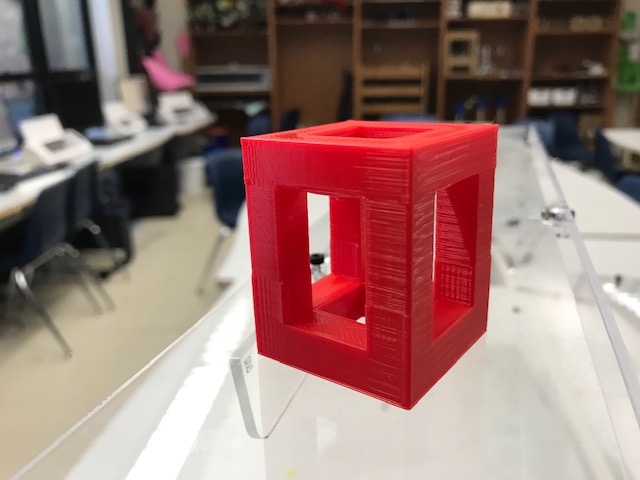
After this was complete, I hid the body, and I moved on to the next piece, which looks like the first piece without the third extrusion. As with the other two pieces, I created a base sketch
After I created the sketch, I made an extrusion
After the extrusion, I created a sketch of a square at the top left, just like the previous piece I created
After the sketch was created, I made another extrusion, just like the previous piece

After this, I was on my last piece, which looks like a 3D L. I started off with the long side of the L first, and I created a sketch of the small square base
After I made the sketch, I created an extrusion which looks like this
After I created the extrusion, I created another sketch at the top like I did with the third step of the second piece.
After I created the sketch, I made the final extrusion and I was done.
Printing
After I finished creating my files, I uploaded them to the lulzbot and imported them into Cura so I would be able to print them out. After adjusting a few settings such as rotating a few pieces for efficiency, I started the print, which took around 3 hours to complete.
As the print finished, I took off all the pieces and it came out well, especially with the settings that I had set it on.
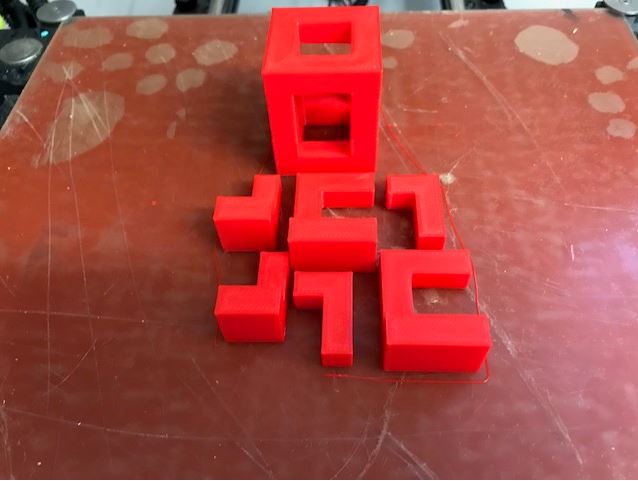
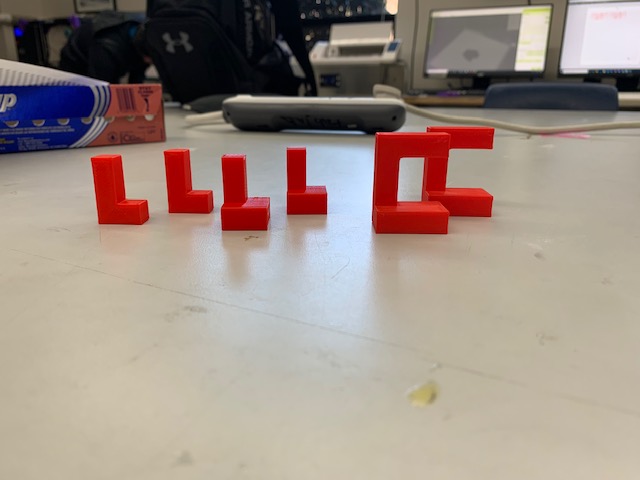
As I got all the pieces off, I tried to solve the puzzle, which was a little more complicated than I thought it would be, but after a couple of minutes, I was able to solve the puzzle, which looks like this when complete
I enjoyed making the puzzle, and I would definitely want to create more in the future.
3D Scanning
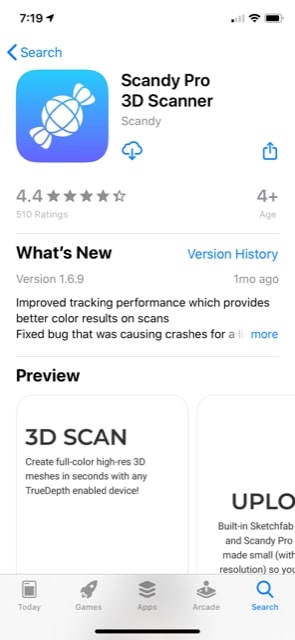
The second individual assignment for this week was to create a 3D scan of something that we had. For this assignment, I decided to take a different route, as I used my iPhone XR and used different programs to 3D scan different objects. The first app that I tried was called “Scandy” and this required me to use my front-facing camera, as it has a true depth sensor on it, giving it the ability to do things such as FaceID/ facial recognition.
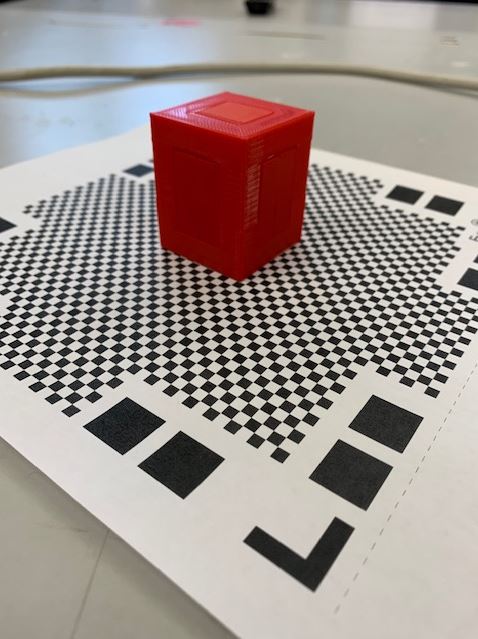
Although I thought that the scan was ok, I decided to try another app since it was not good enough. The second app that I tried was called Qlone, and this was different from the first app, as this used a different method to make the 3D scan. The app gave me a mat that I could print out, and it would use the front facing camera to scan the object. The mat needed to use the app looks like this
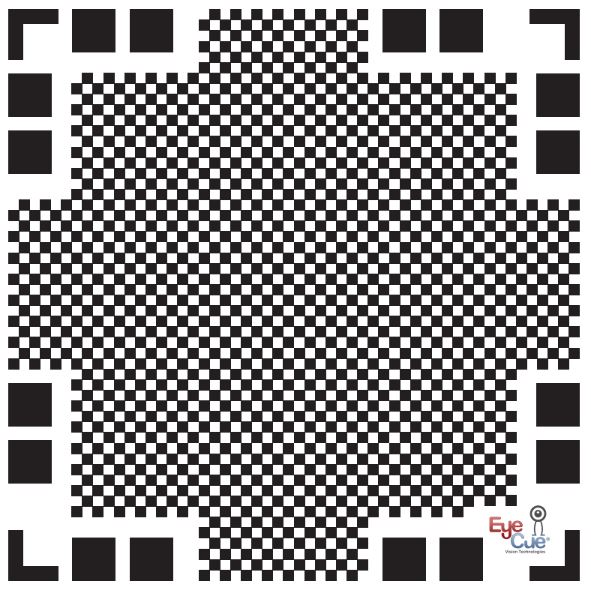

I printed out this mat, and then I placed my object on it and started scanning.
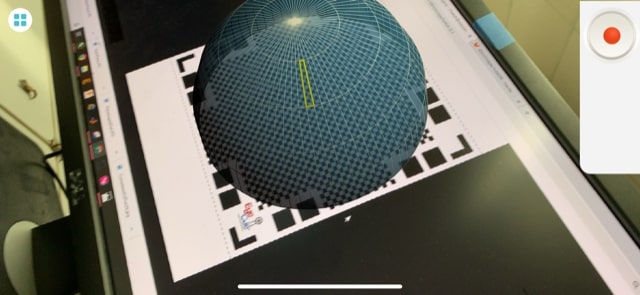
During the scanning, there is a half sphere that we have to go around, which acts as a guide for the scan, and that looks like this.
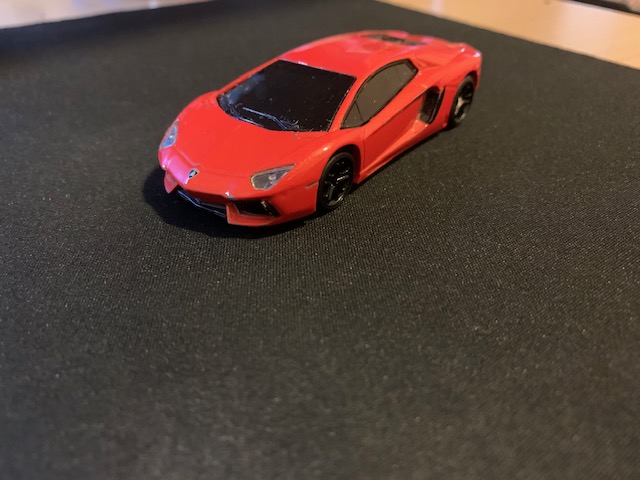
For my scan, I decided that I would make a scan of a toy car that I had, which looks like this regularly
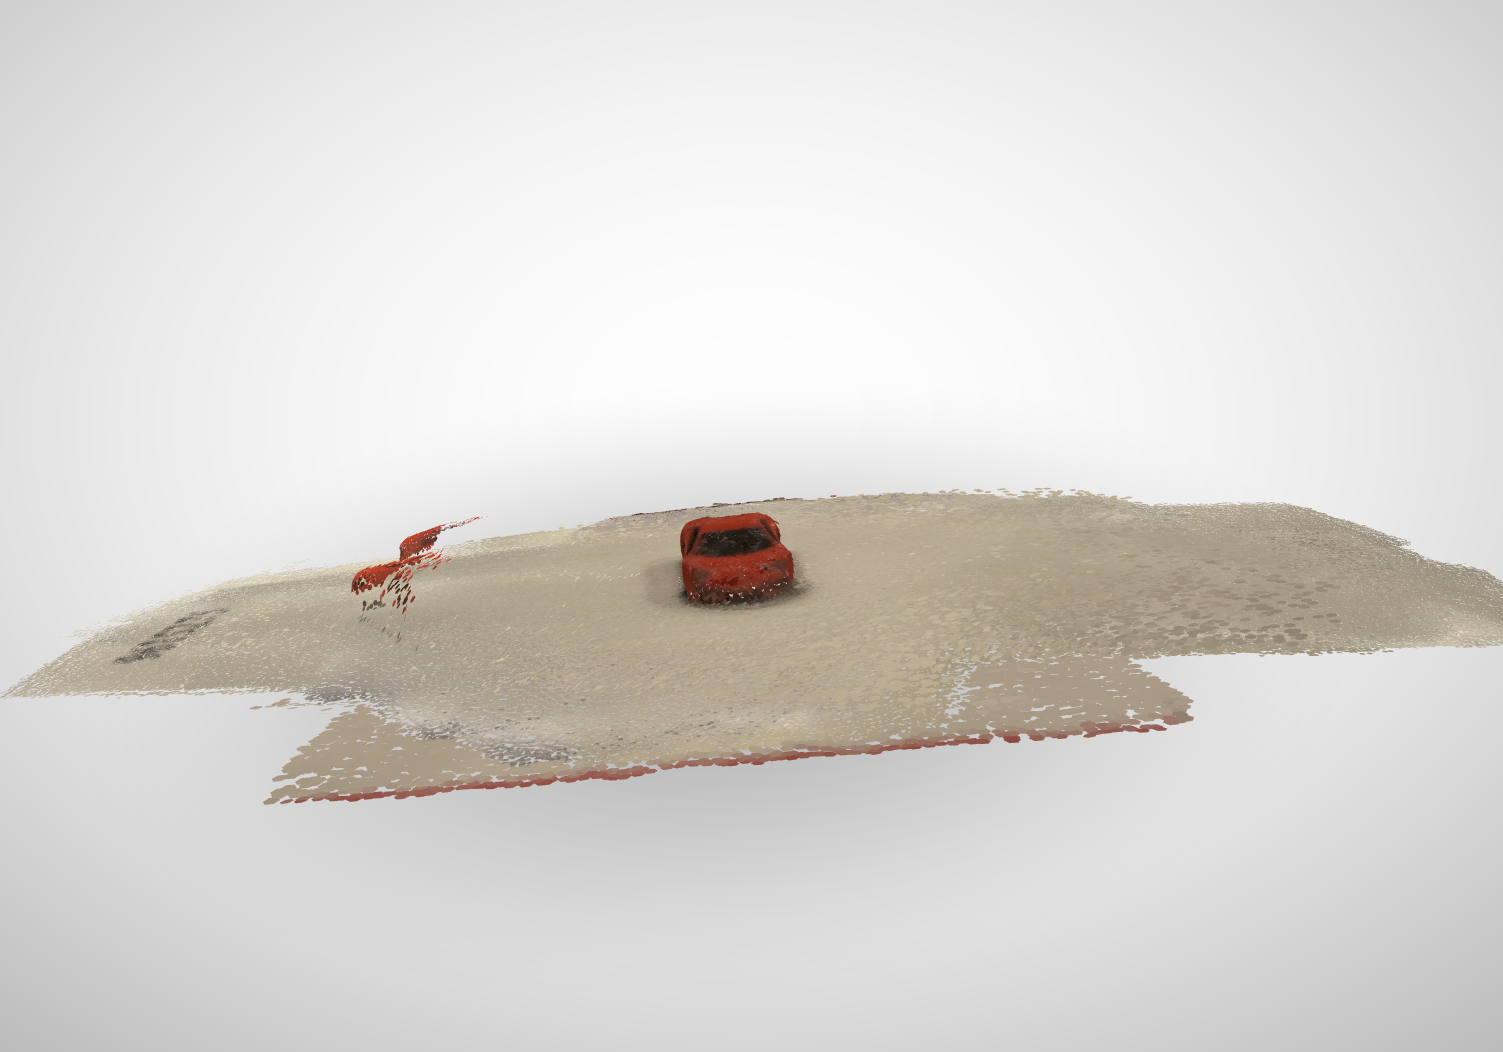
and after I scanned it, the 3D scan looked like this

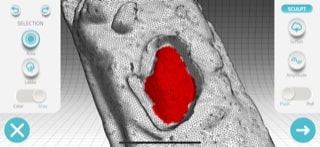
Since this was not perfectly scanned, the app had a sculpt environment where I could manually adjust the faces of my print, which worked well, and the final scan looks like this.

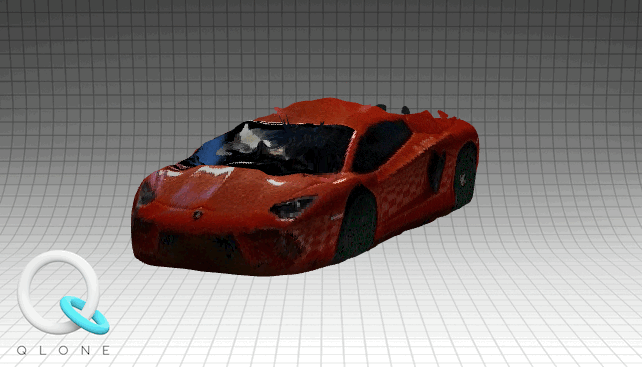
I also tried it a second time and here is how it ended up:
Summary
Overall, I enjoyed this week, working with 3D printing and scanners. I thought that the coolest part of this week was the 3D scanning, as it was something new to me, and I believe that it will be more useful in the future if I need to print something that I can scan. I hope to work with more interesting prints in the future, using this weeks knowledge of our printer’s capabilities, especailly with types of prints that cannot be done with subrtractive methods.
Files
Here are my files from this week Files