16. Molding and casting
Introduction
This week we were assigned two assignments, with one being an individual assignment and the other being a group assignment. The individual assignment for this week was to design a mold around the stock and tooling that you’ll be using, mill it (rough cut + (at least) three-axis finish cut), and use it to cast parts. The group assignment for this week was to review the safety data sheets for each of your molding and casting materials, then make and compare test casts with each of them.
Making the design on Fusion 360
The first thing that I decided to work on was my design for my mold. I wanted this week to contribute towards my final project, and therefore, I decided that I would try to design a mold for the outside of my wheels. I already had a model of what I wanted the wheel to look like from an earlier design as shown below.
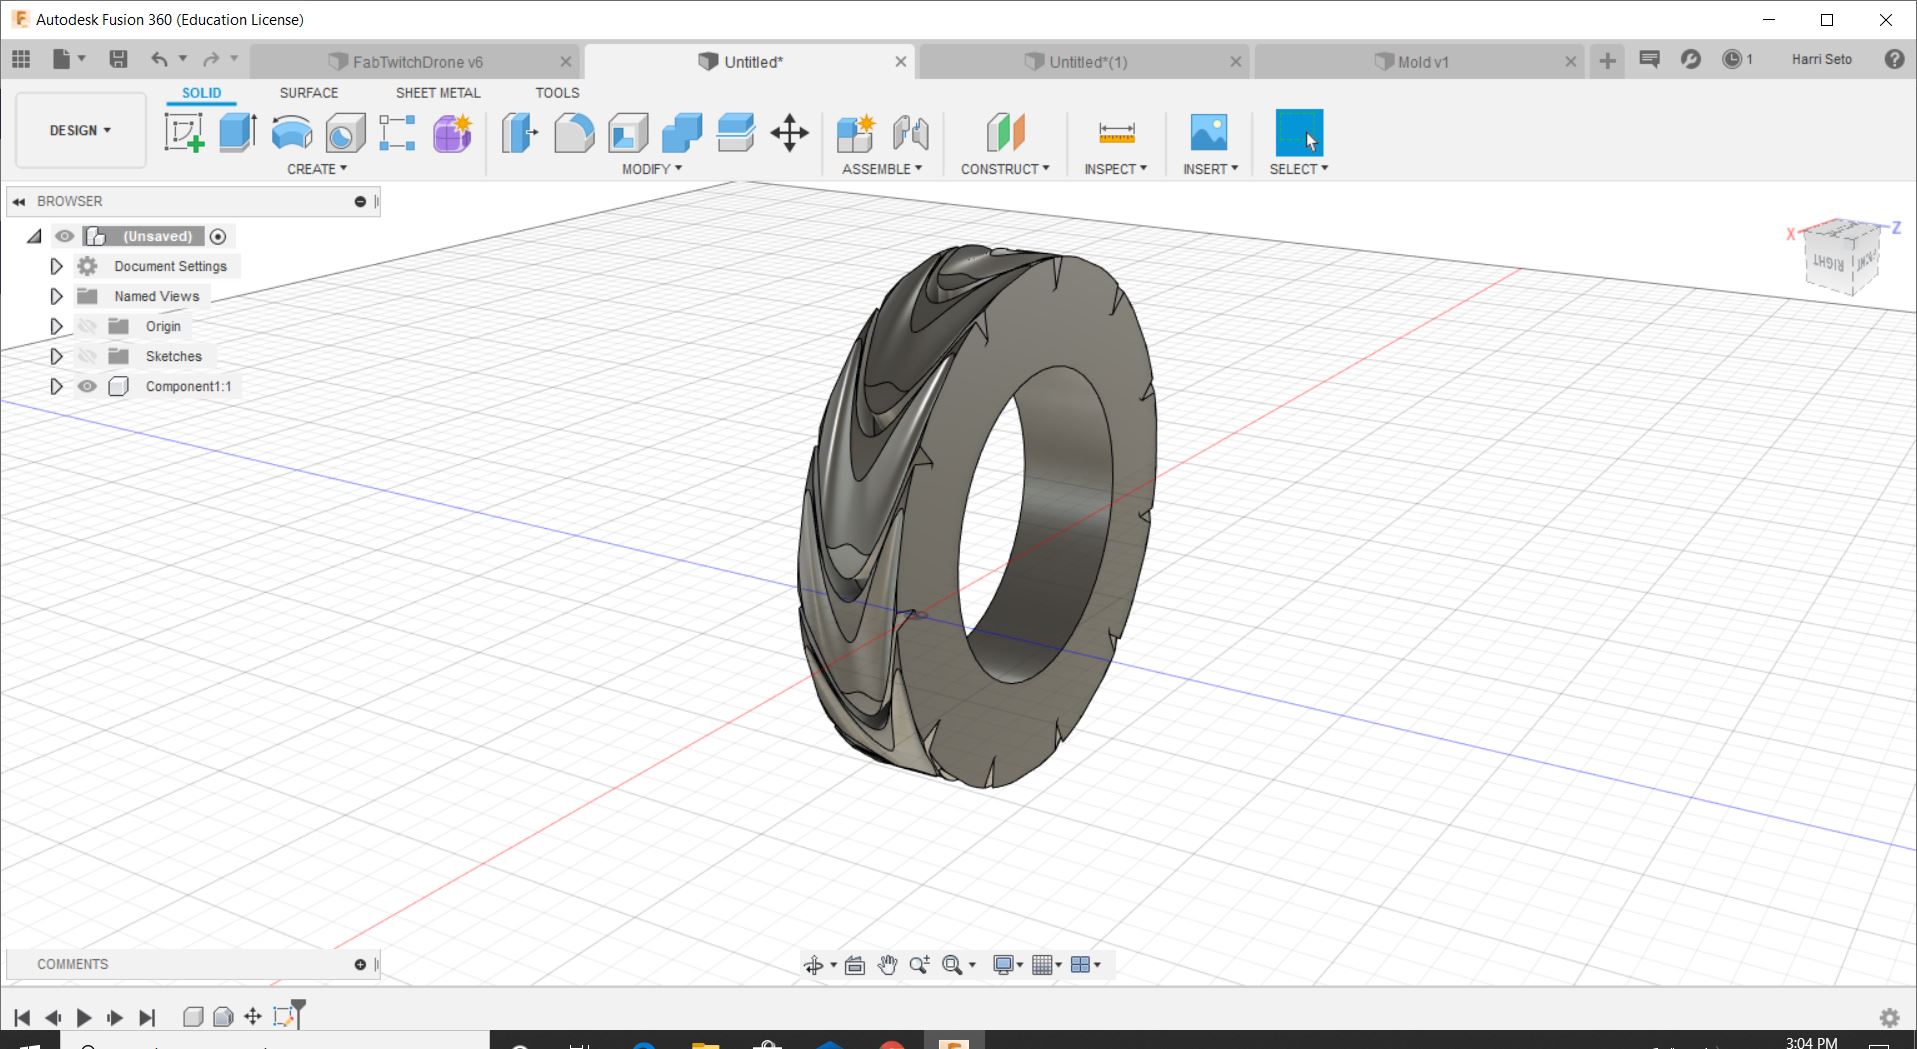
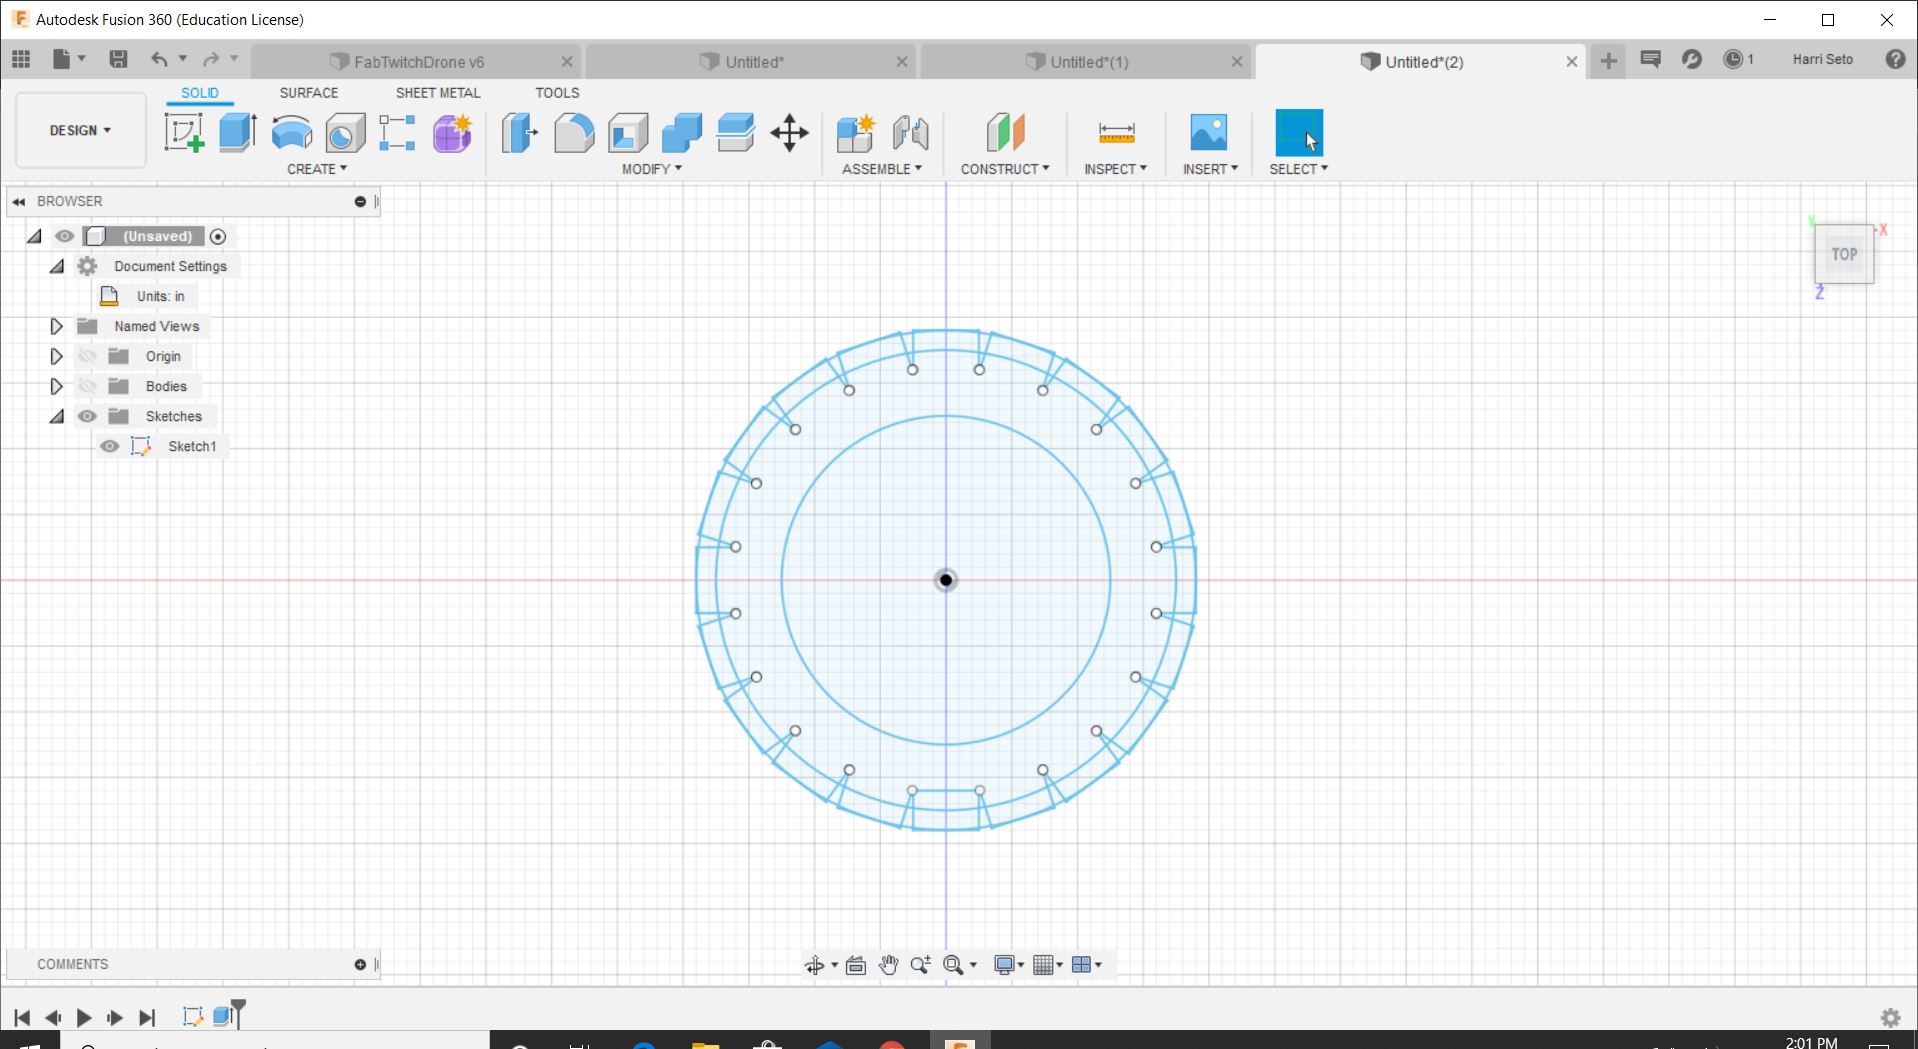
Although I really like this design, this cannot be cut out into a mold, so I decided to start fresh and try to design something similar. The first thing I did was that I created two concentric circles, and then I drew a rectangle at the bottom of the outer circle. After I did that, I created a circular pattern around the wheel, which ended up looking like this
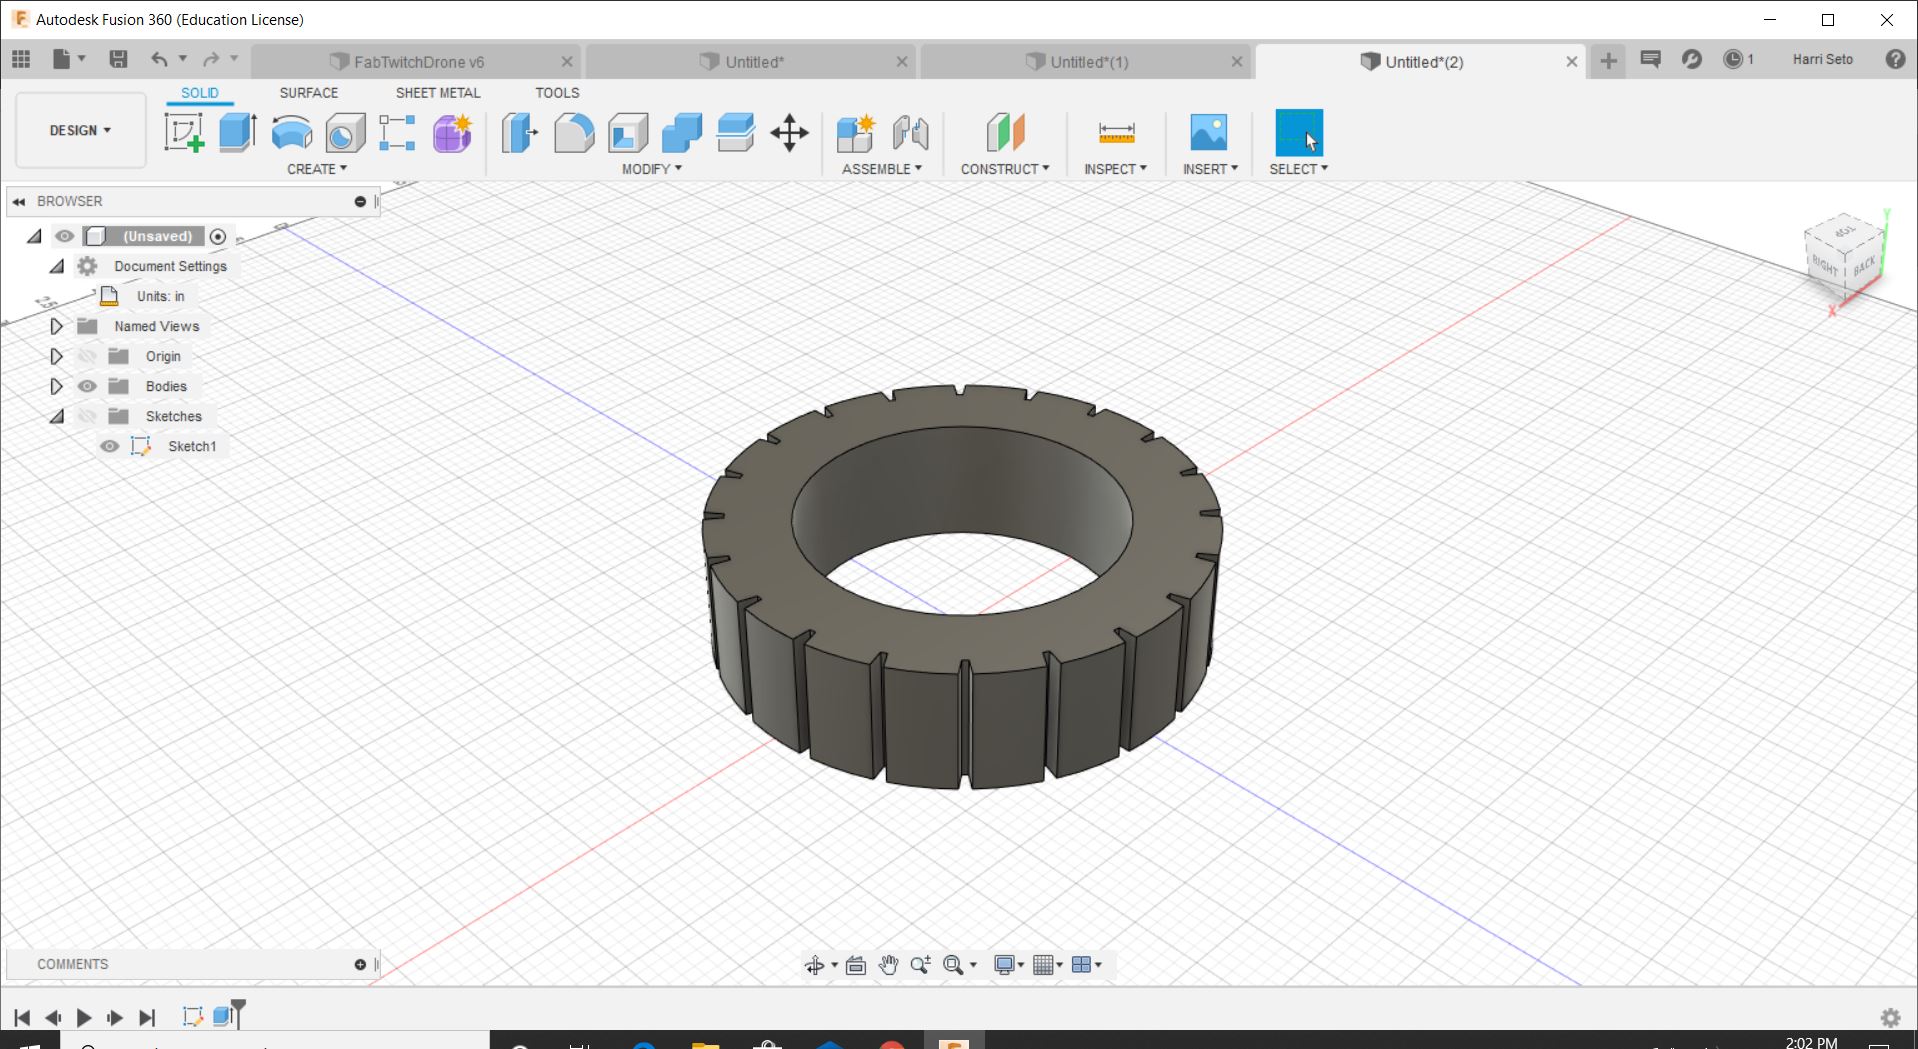
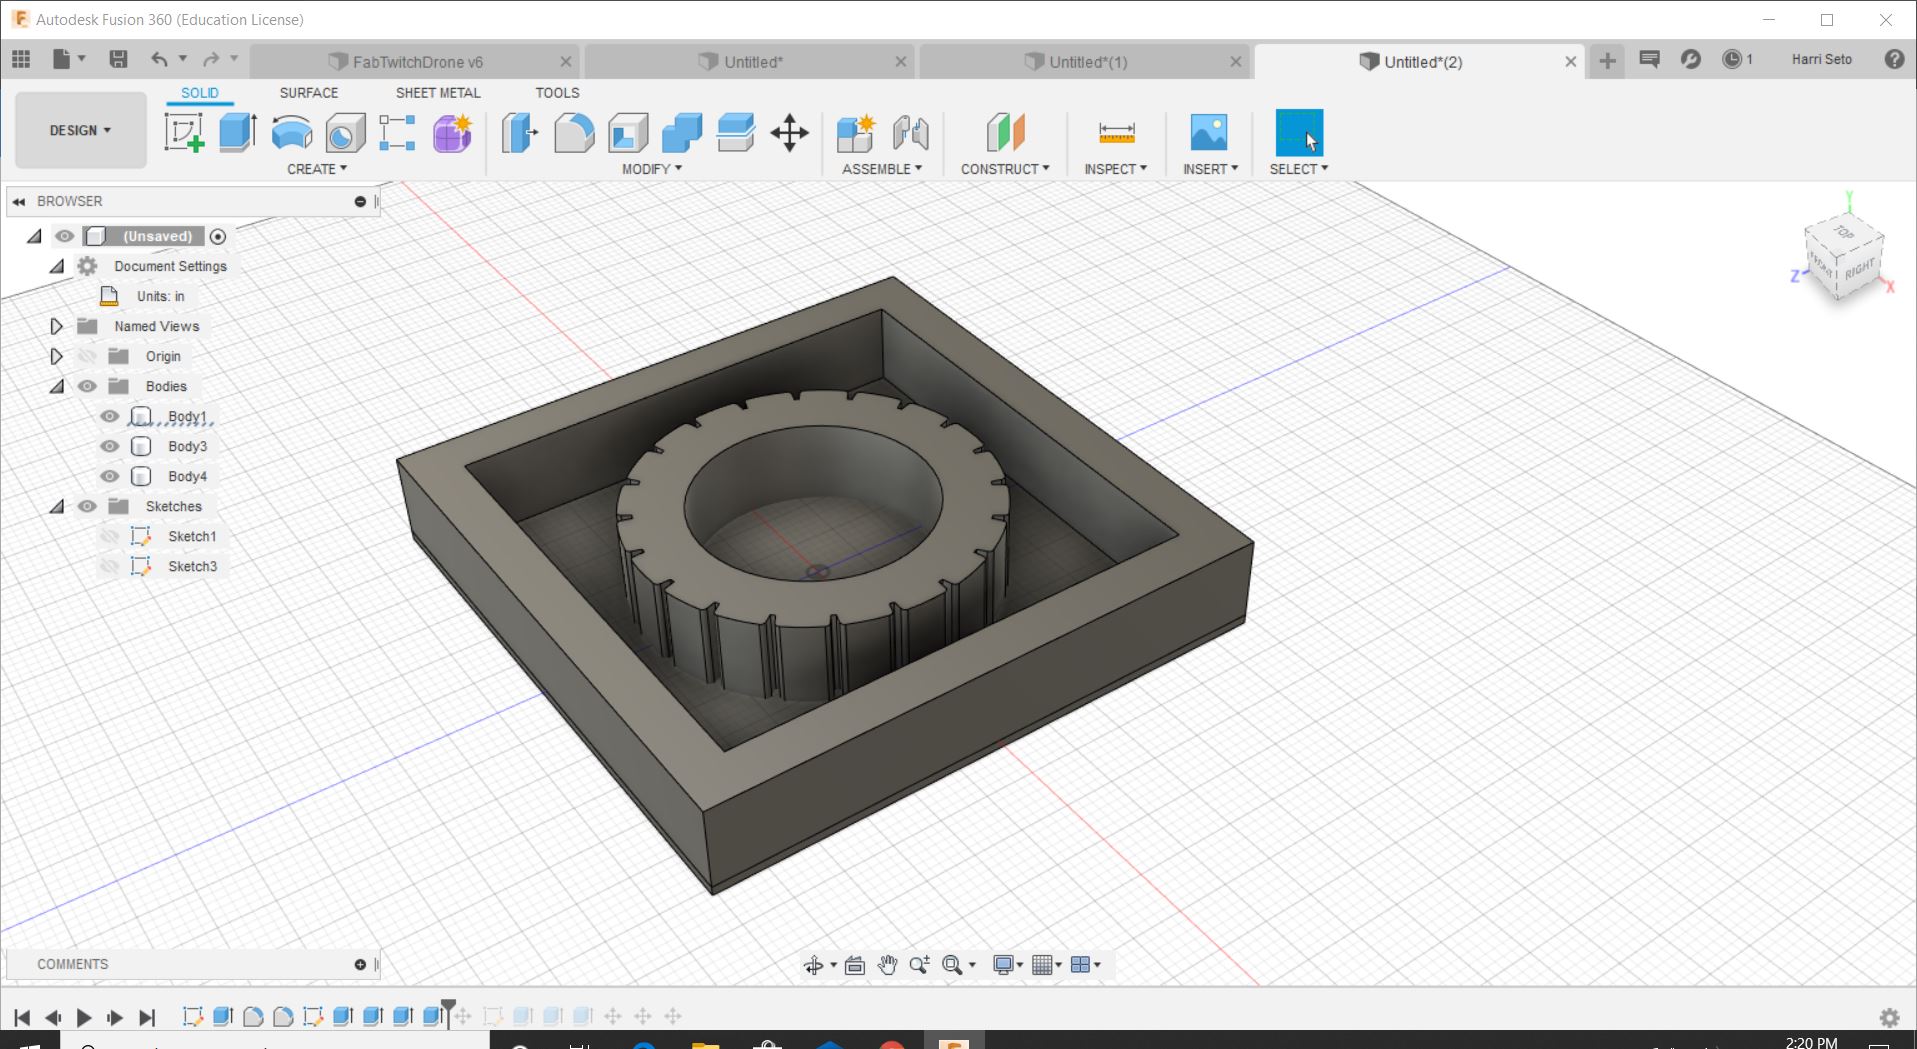
After I did that, I selected the parts that I wanted for the final shape of the wheel, and then I extruded the wheel an inch, which ended up looking like this.
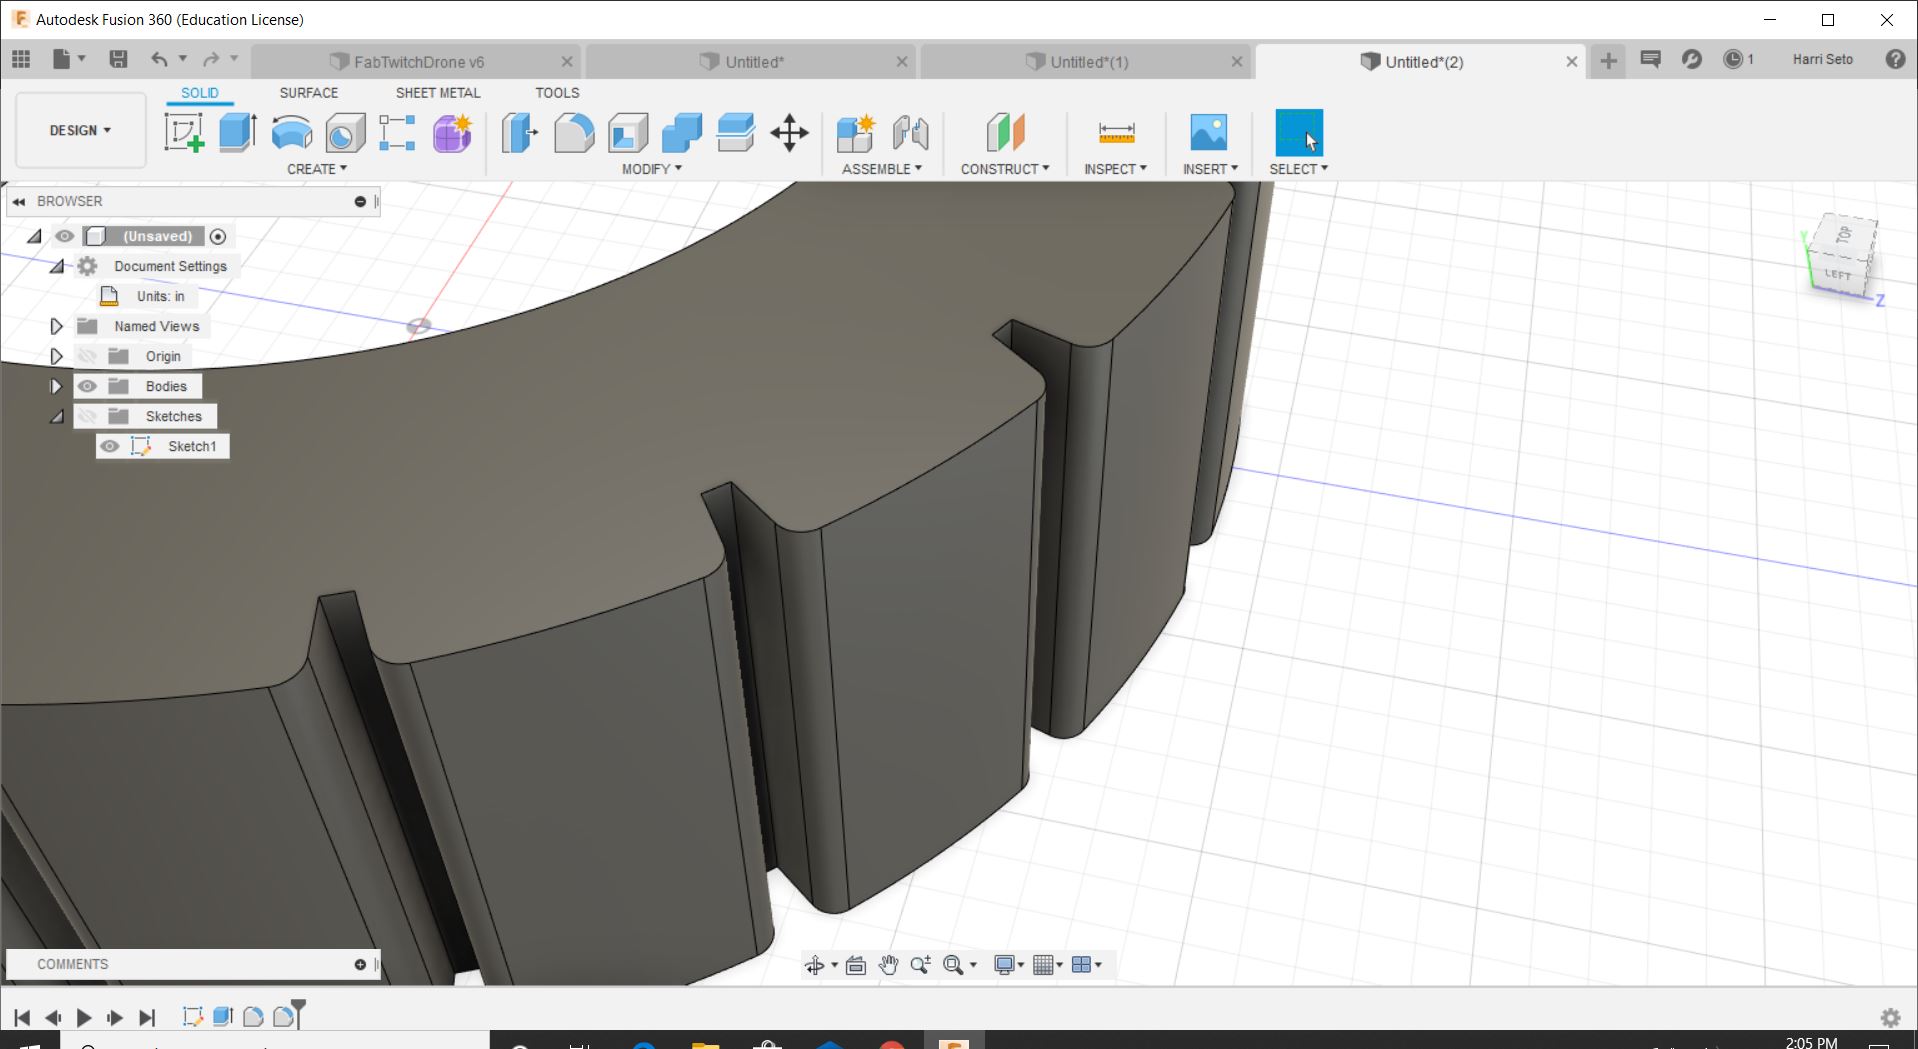
After I made the extrusion, I went around and selected the edges on the indent of the wheels, and I made a filet on them, which ended up like this
After I created the filet, I made the surrounding box for my design, which looked like this.
Once I finished the design, I decided to go from the design mode to the manufacturing mode in order to start creating the toolpaths.
Toolpaths
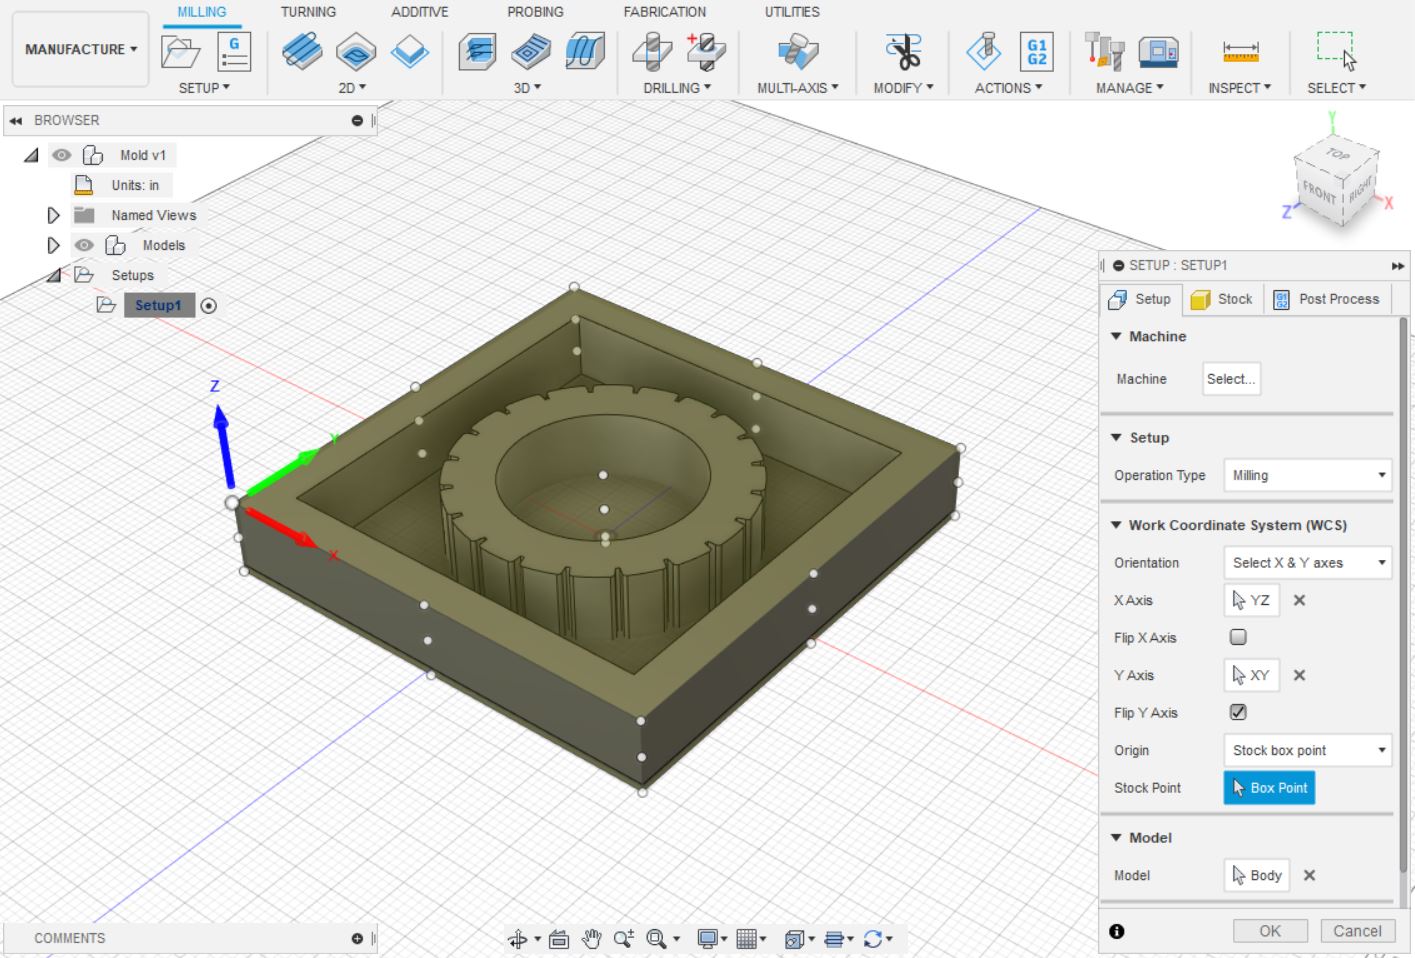
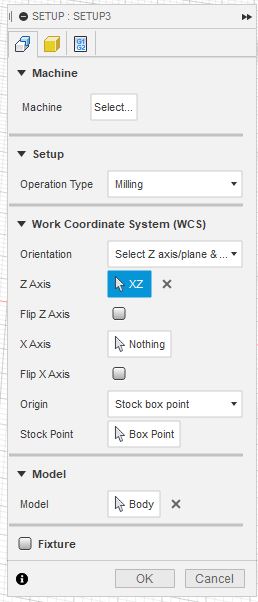
Now that I am complete with my design, I proceeded to create my toolpath my design. The first thing that I did was that I created a new setup in order to setup things such as the stock size and origin. When I first opened the new setup tab, an issue that I ran into was that the axes on my design were not setup correctly, so I had to change the orientation to select x & y axes in, and manually selected them in order to have the axes set up correctly. I also set the origin of the stock and the stock point as Box point. All of my settings from that section are down below:
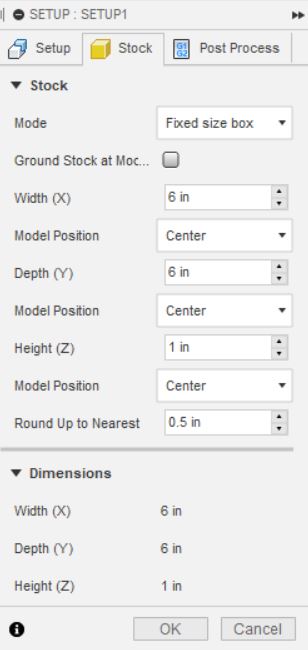
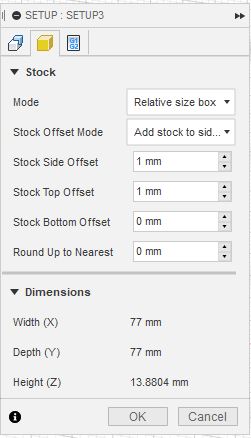
After I did that, I moved over to the stock, and all of my settings from that page are down below:
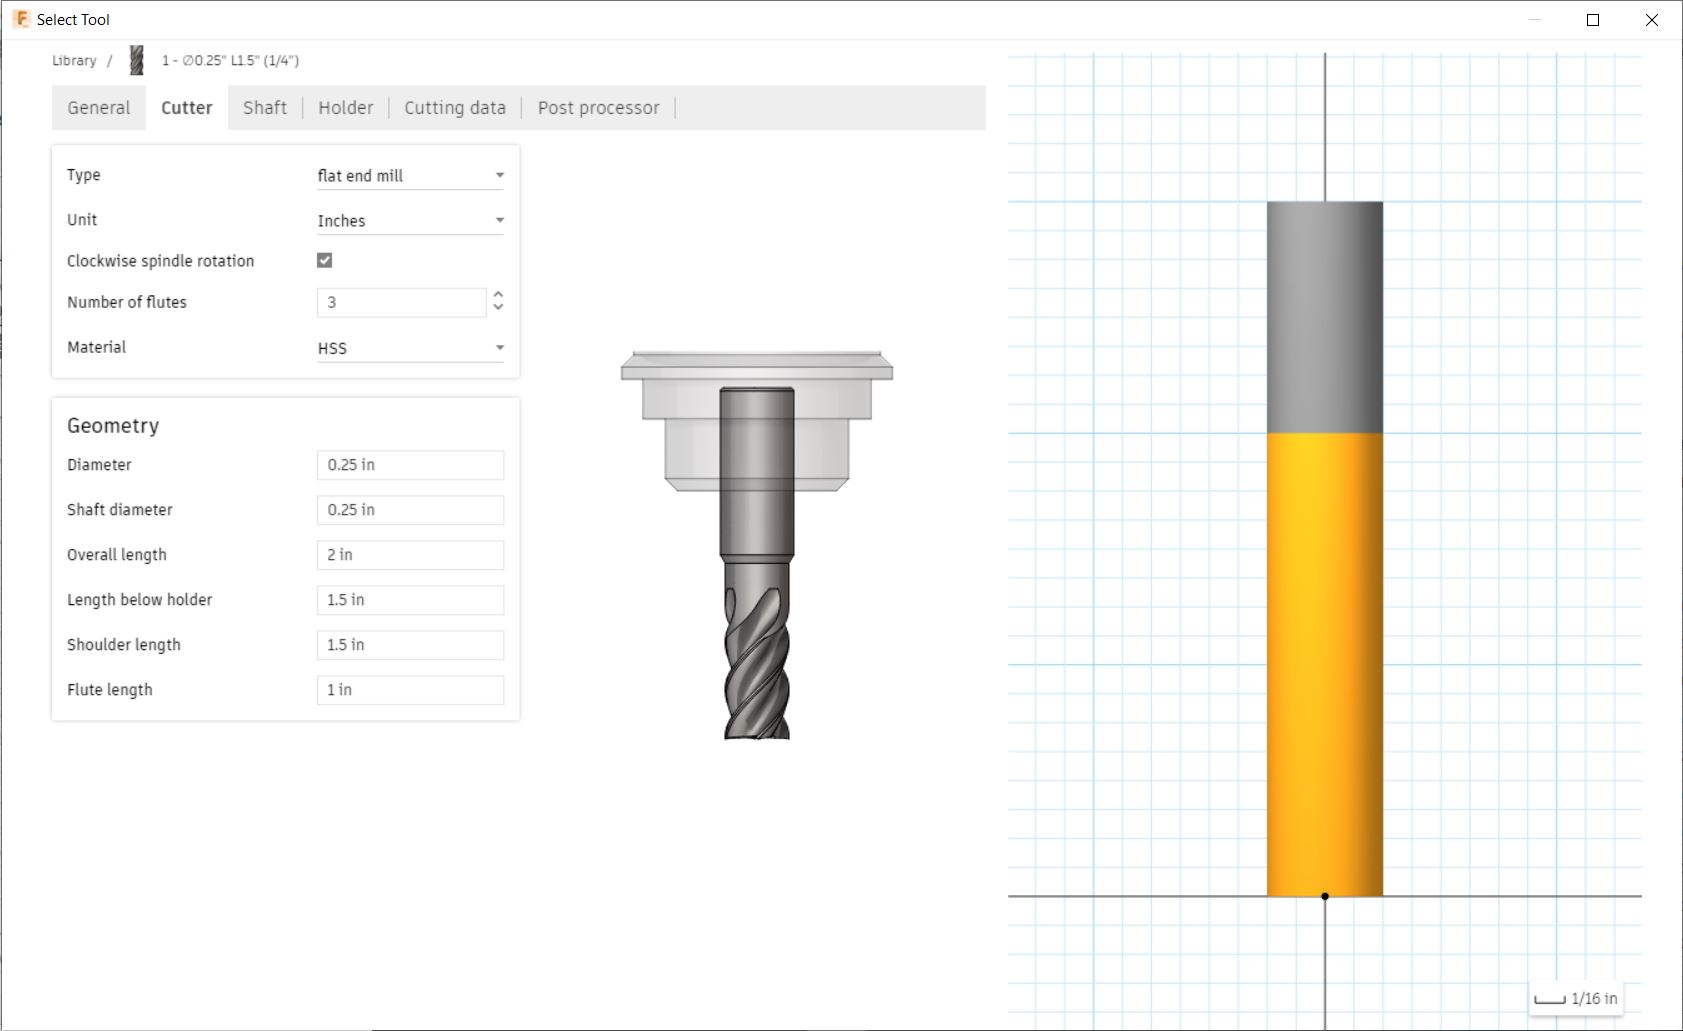
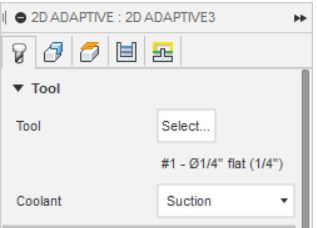
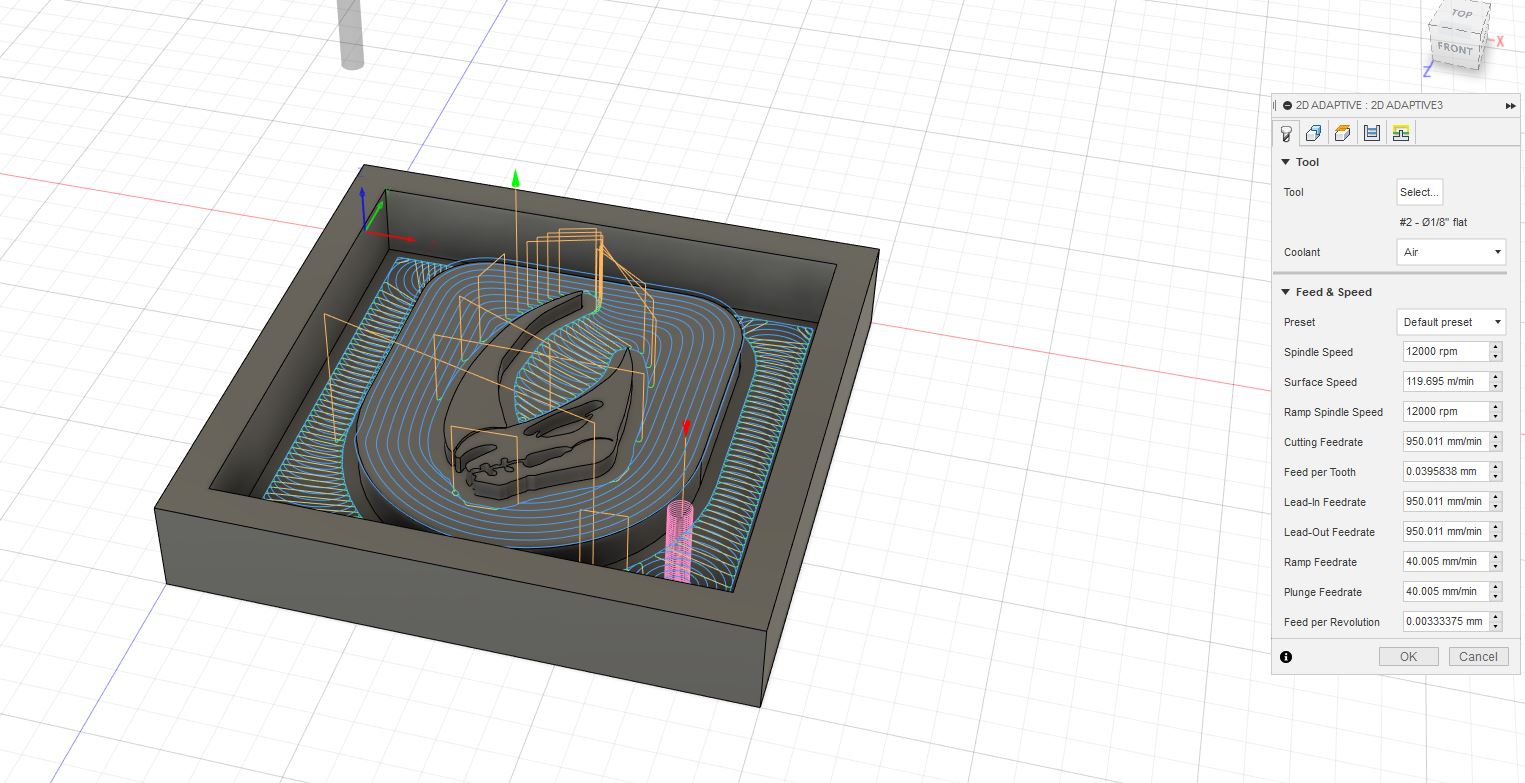
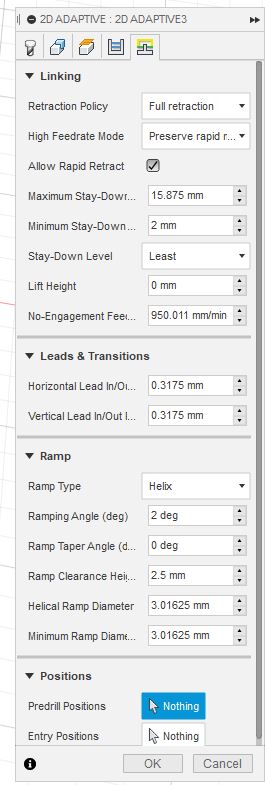
After that, I pressed ok, and now it was time to make the actual toolpath, which can be done under either the 2D or 3D selections on the top menu. For my design, I went under the 2D menu, in which I selected the 2D adaptive cut choice. The first thing that I had to do under this menu was to set the tool which I was cutting with.
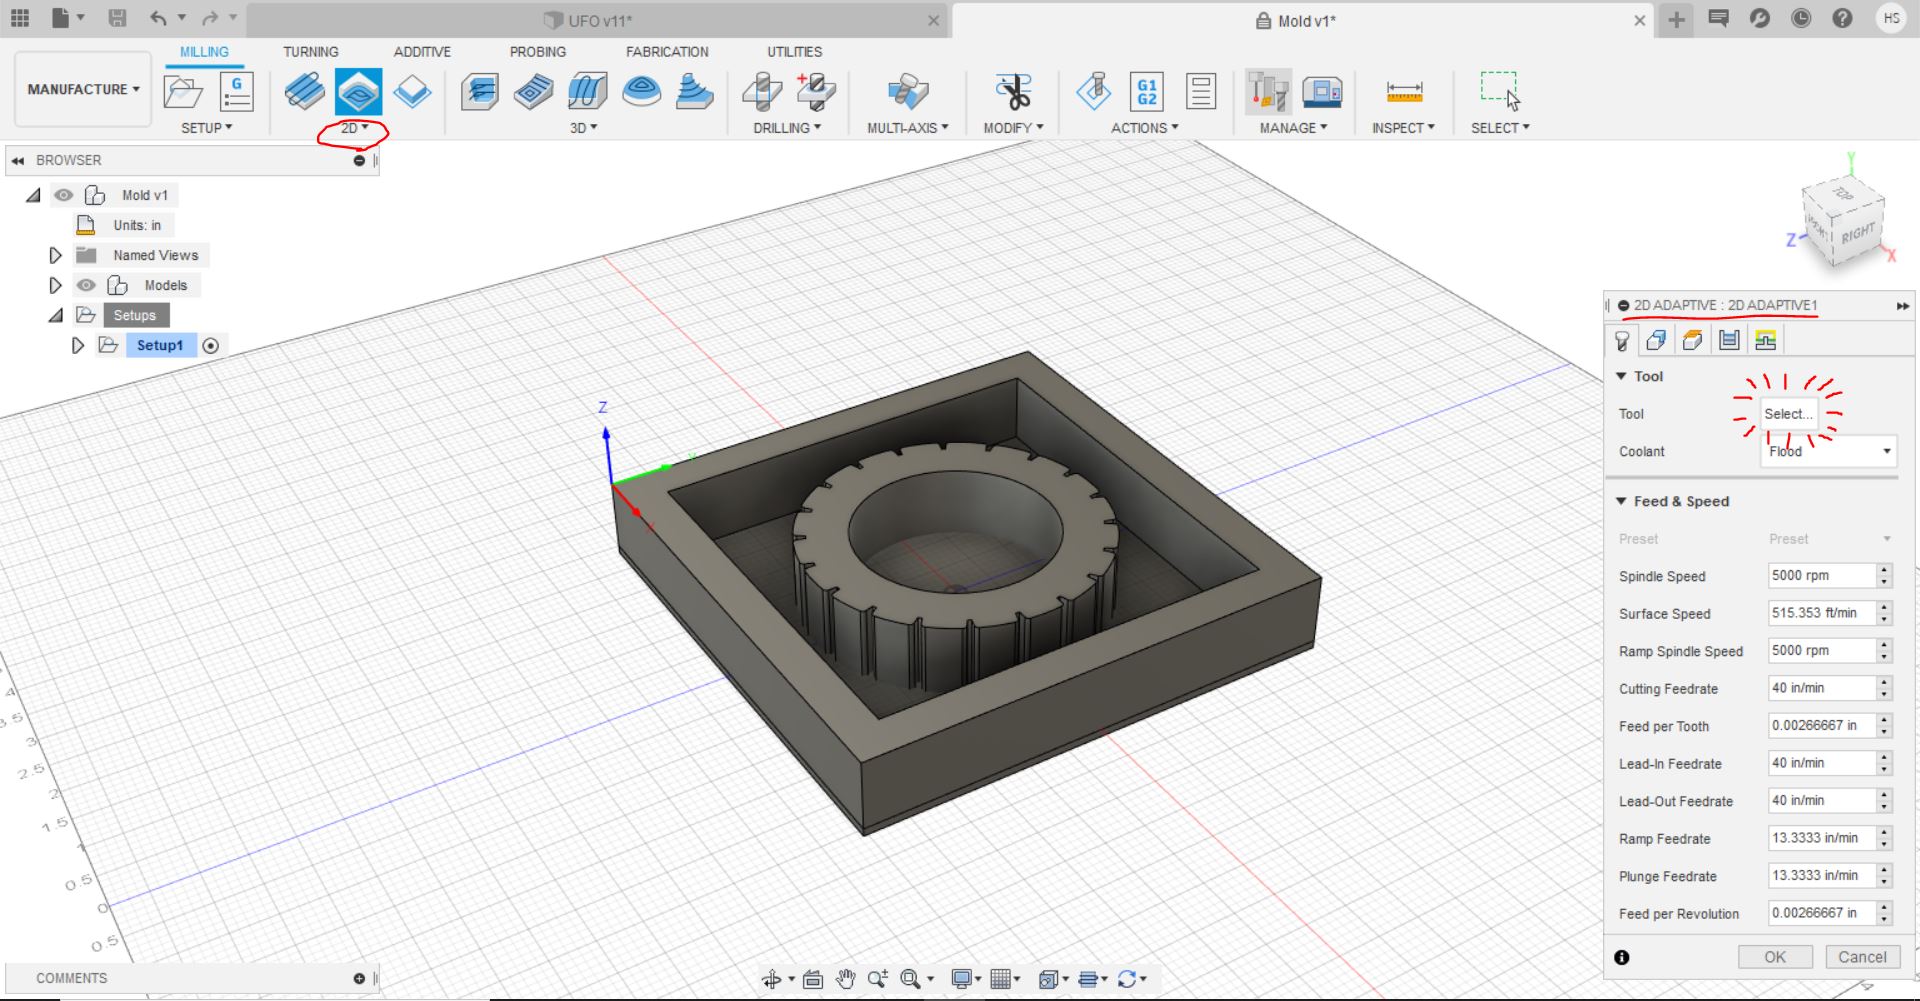
I went over to the ShopBot in our lab, and got all the information I needed about the tool and filled it out as shown below:
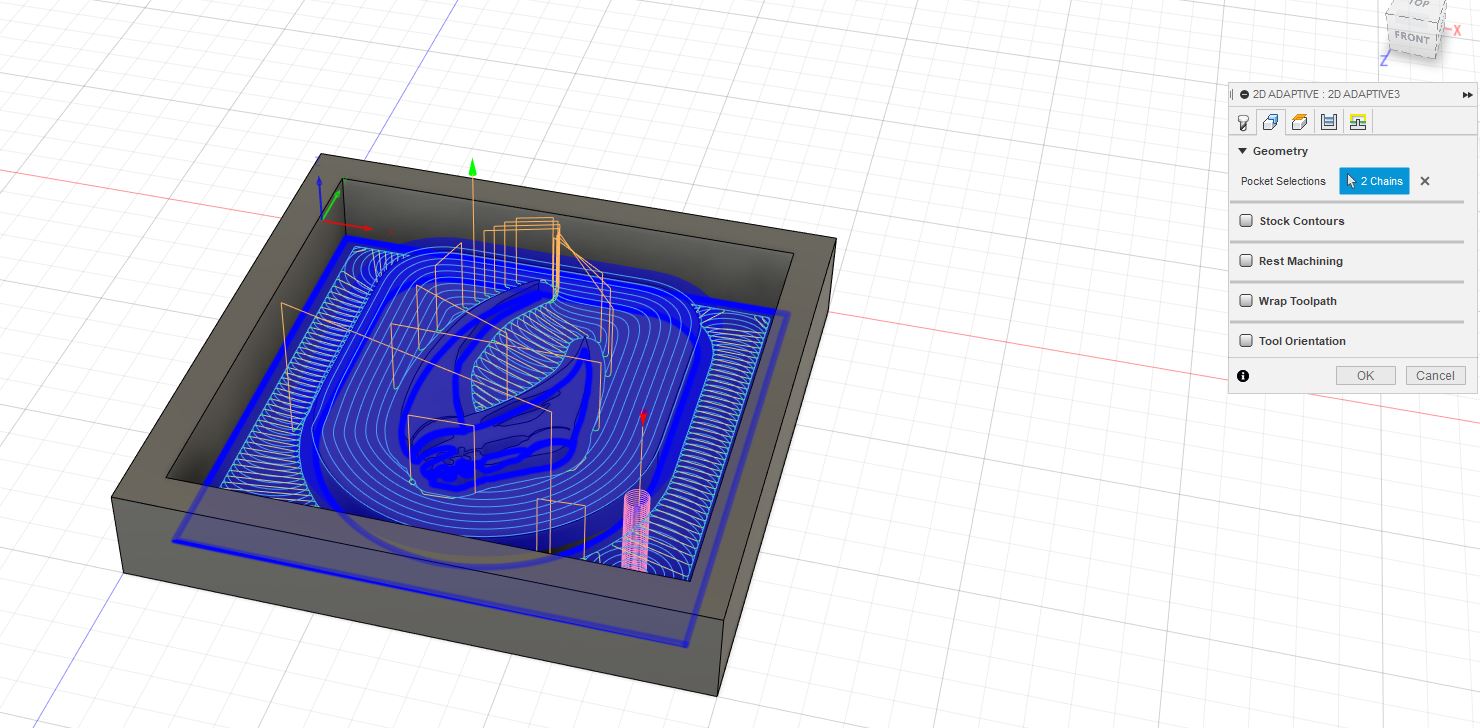
After this, I went over to the Geometry tab and selected the area on the inside of my design as that is where I wanted my cut.
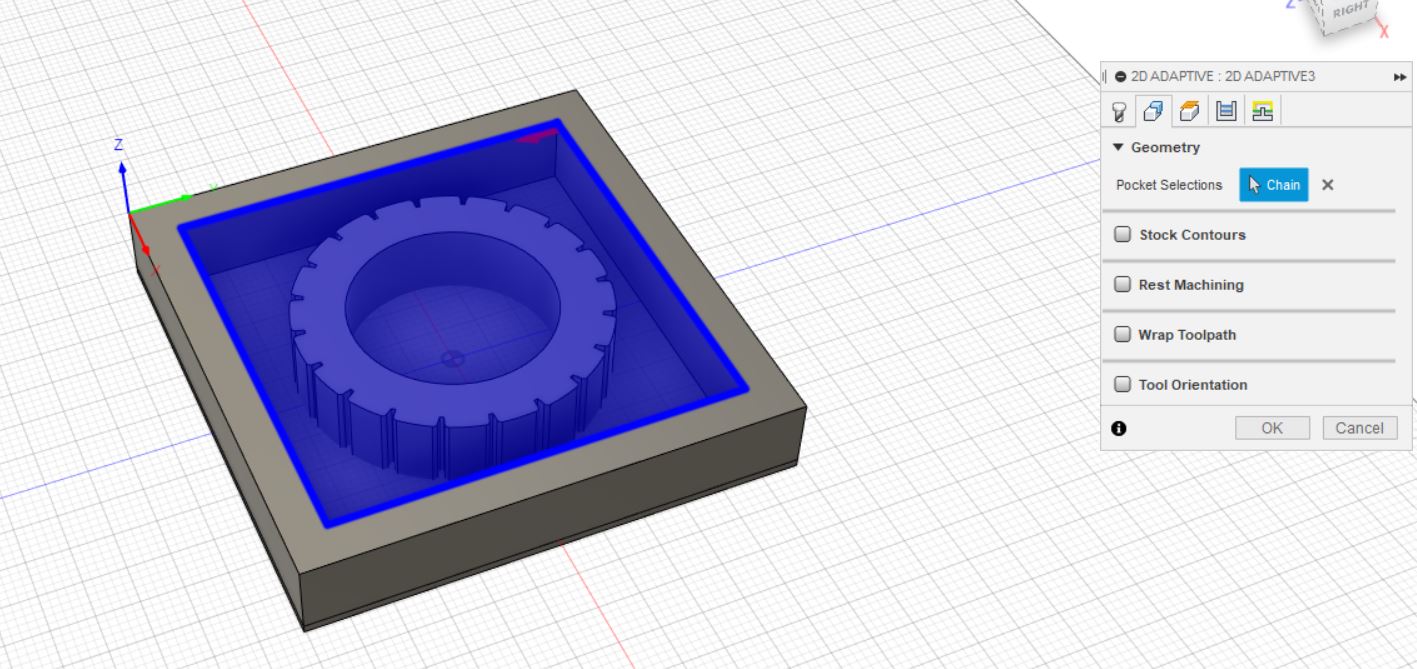
After this, I was set, and went to post processing on the setup and exported it to my ShopBot so I could cut out my mold.
A change in plans
As I completed my toolpaths, I looked through the storage room where all of the molding and casting material is kept, and there was no material to create a hard mold out of, so I had to think about another approach to this week. Then, I thought about 3D printing a mold so that I could directly create a cast out of it. I inverted the shape so that the 3D print would act as the mold and I could cast a soft material directly from it. I made sure to research if this was possible by looking it up on the internet, and after verifying it on several forums and the information about what temperatures PLA will melt or become amorphous. I realized I was good to go. Initially, I wanted to try the first design I had, but I figured that the supports would get stuck in between the spaces, and since molding and casting is a very exact and precise process, I decided it would be best if I used the second wheel design, and went to print out the design. The print ended up very nicely, and this is what it looked like:
After grabbing the print, I got some Mold Star Series part A and Mold Star-16 part B and was ready to make the cast. The information sheet for the Mold Star series that I used can be found here. I first got some water and poured it into my 3D print to measure the volume of the mold, and that figure turned out to be around 4mL. Looking at the information for the Mold star, the part A to part B ratio was 1:1, which means that I would need approximately 2mL of each. Then, I wiped my 3D print of all the water that was leftover in it, then, I got two separate containers, and poured out a little over 2mL of part A into one, and around the same amount of part B into the other, and then I poured the part B into the part A, and stirred for about 30 seconds. After those 30 seconds, I poured the mixed solution into the 3D print and had to wait 30 minutes for the solution to cure.
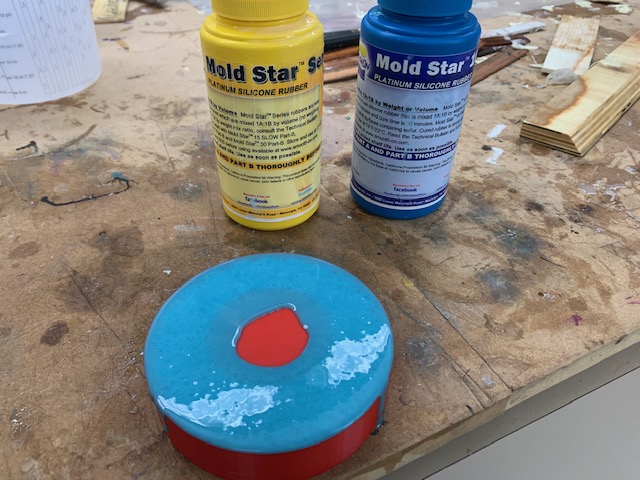
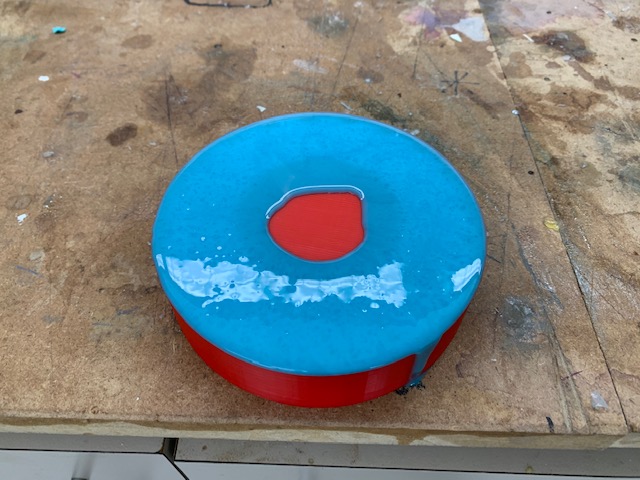
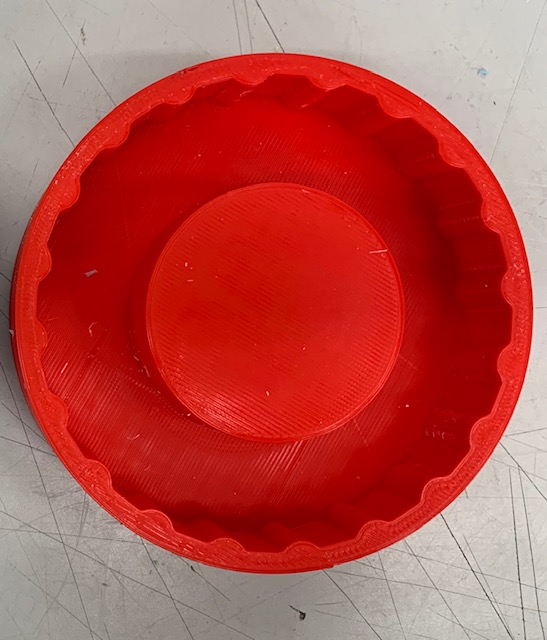
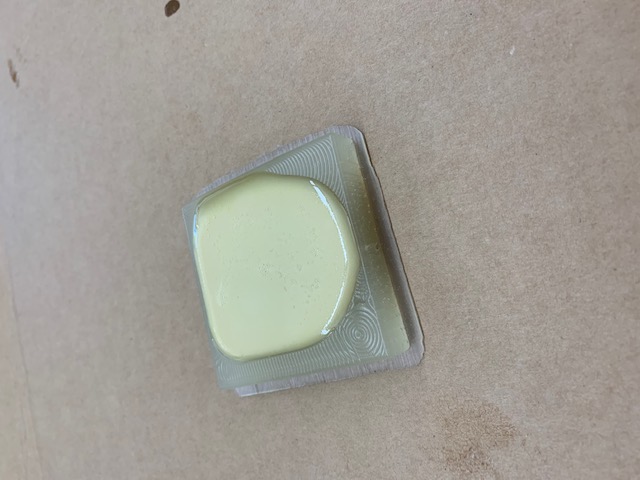
After waiting for about 30 minutes, I went back and checked on the cast, and it worked perfectly! Here is how my cast turned out:
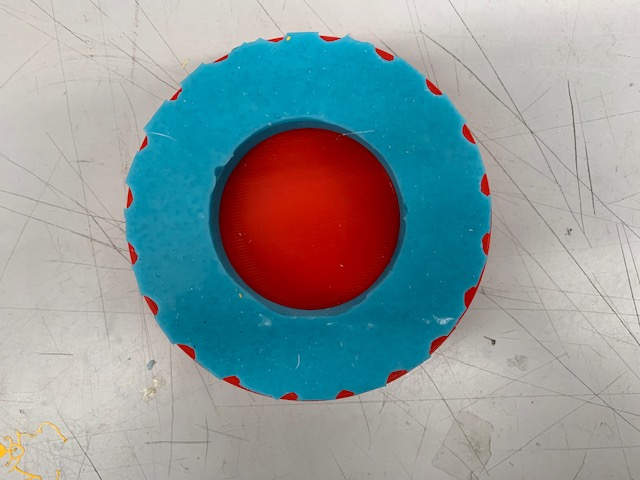
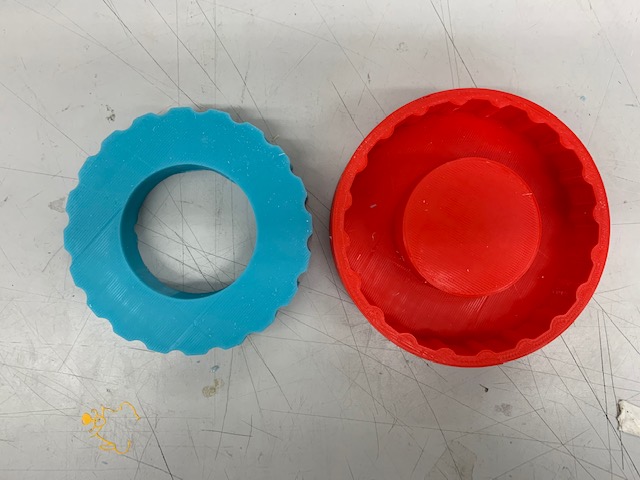
Since I had poured out a little extra on the top, I had to get an Exacto-knife and cut out the excess.
Part 2 - REVISED
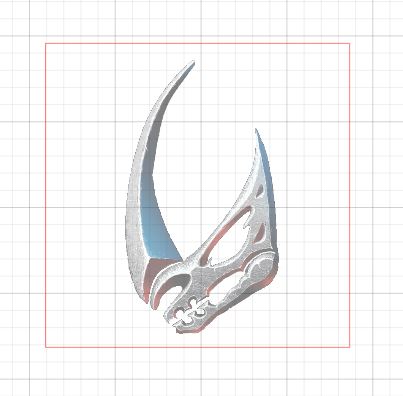
After review, I was directed to make another cast, but this time milling out the wax to create a mold (since I previously created the mold from a 3D print), then creating a cast. Since I had the opportunity to re-do this task, I decided to try another design for my mold. I was in the lab, and knew that I wanted to create a mold out of wax, since I thought it was cool to be able to create a smaller mold, and I saw other people create molds and casts out of wax, which turned out nicely. Thinking about size, and after looking on the internet for a while and considering what I could possibly make, I finally came upon the idea of creating the mudhorn signet from the Mandalorian. To start off, I got in the lab and found the wax that I would be milling out of, and got some calipers to measure the dimensions.
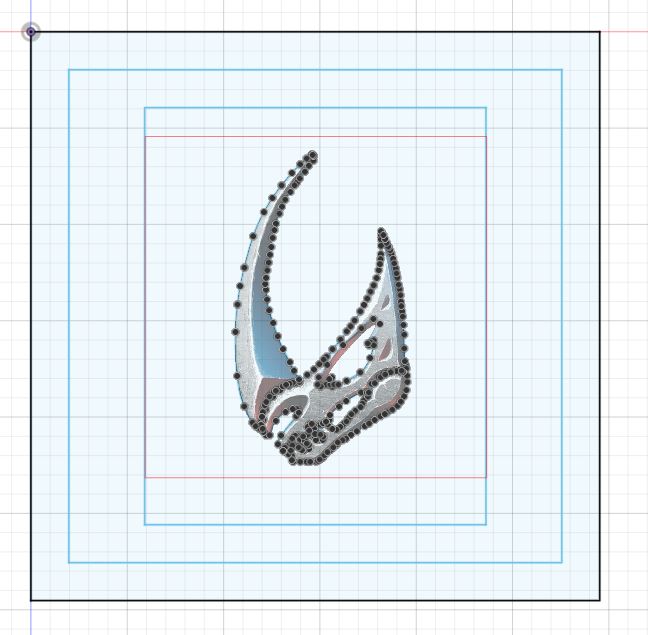
After that was set, I found an image of the signet and saved it so that I could create a canvas. This canvas would allow me to be able to trace the sketch, making it easier for me to create a model. I opened Fusion 360 and clicked on the insert button, which opens a drop down, which then I selected canvas. I imported my image in, then I selected the scale tool which allowed me to re-size the image to my liking. Once this was complete, I proceeded to trace the sketch using splines and added a border. Here is how it turned out:
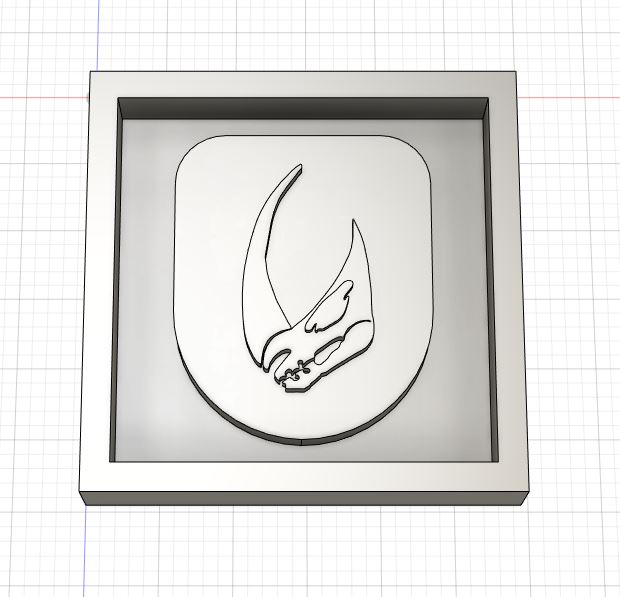
After this was done, it was time for me to extrude the shapes, so based off of the measurements that I took earlier, I made the neccesary extrusions accordingly. Once this was done, my model ended up looking like this:
After this was complete, I moved from the design environment on Fusion to the manufacturing environment, and the process is was the same as described before, with creating the new setup, then going on setting the stock and setting the geometry.
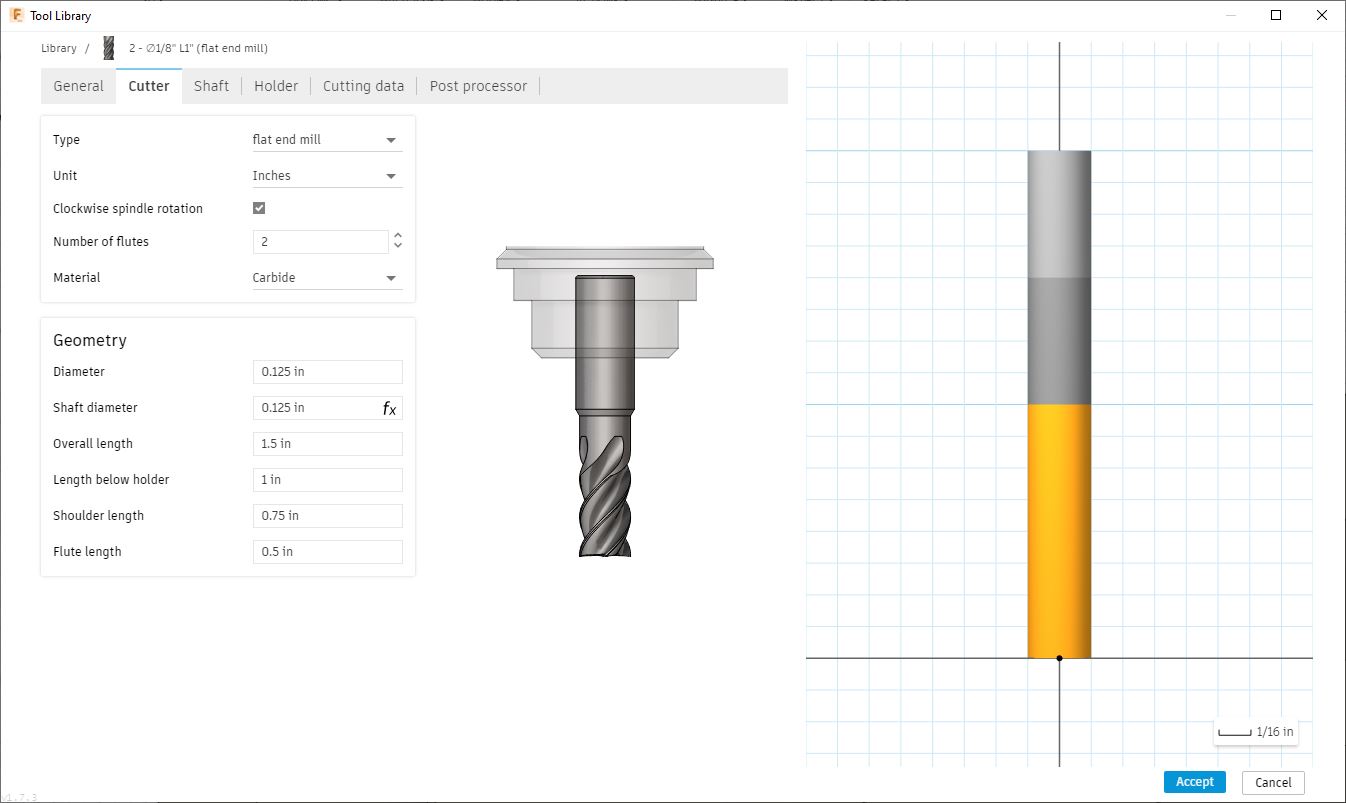
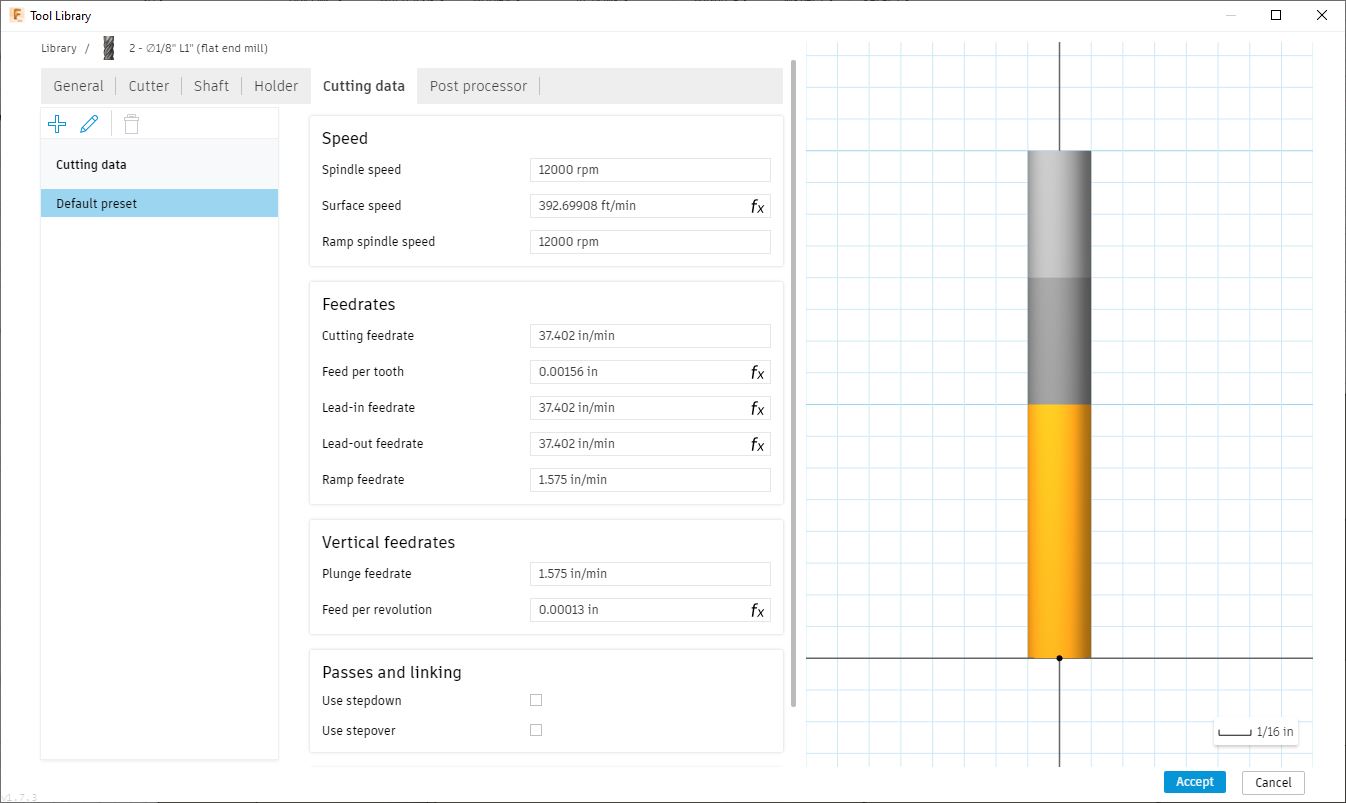
One additional thing that I had to do for these toolpaths different from the first time around is that I had to set a new tool, being the 1/8th flat end mill bit. This was a simple process, as I just made a new tool and inputed the measurements which I got using a caliper and I got the speeds and feeds from the bantam tools infosheet. Down below is what it looked like:
Once this was complete, I saved my file and went over to the Othermill in order to mill out of the wax. I got my piece of wax, attatched nitto tape to the bottom, and the job was estimated to take around 23 minutes.
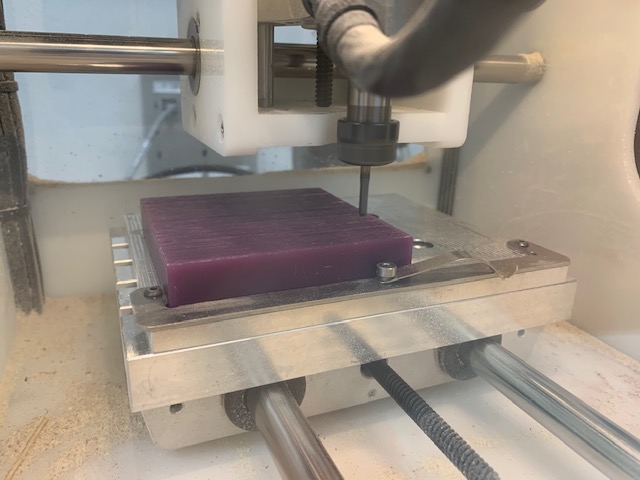
Making the mold
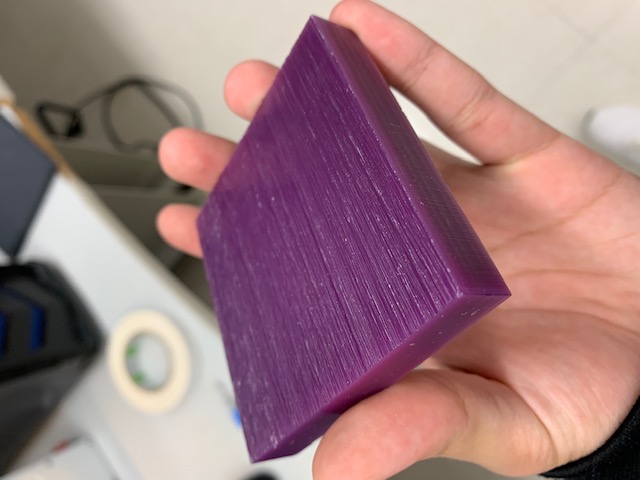
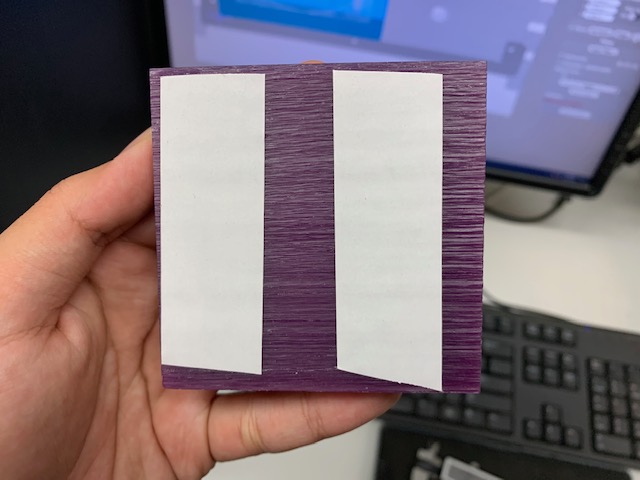
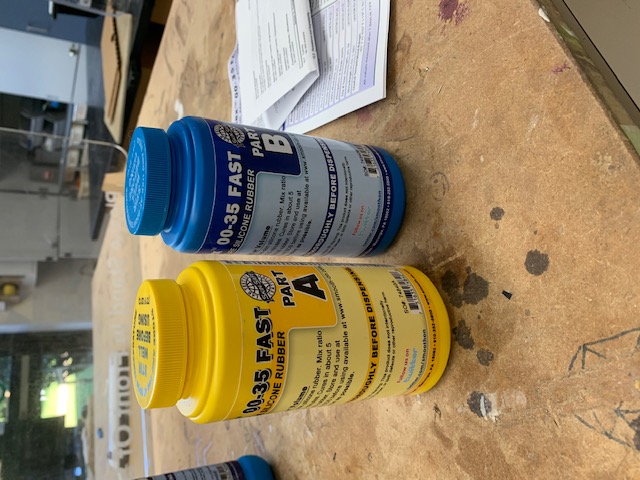
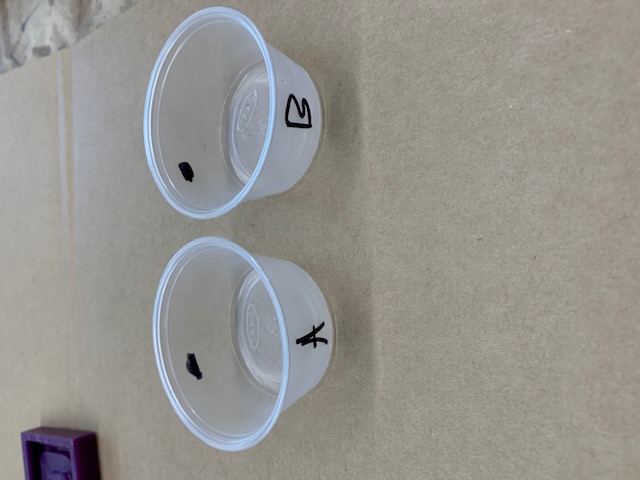
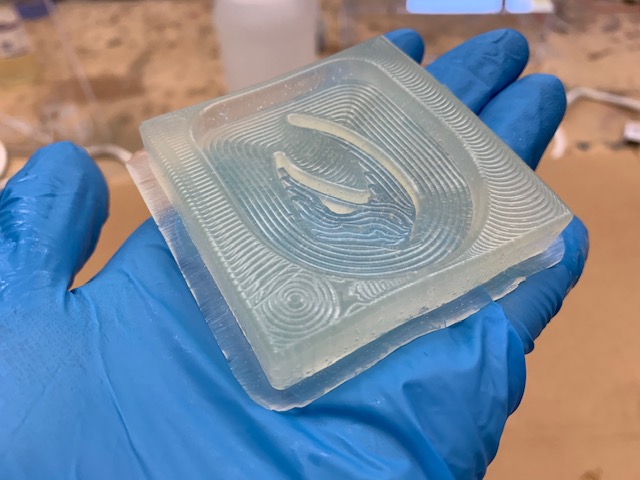
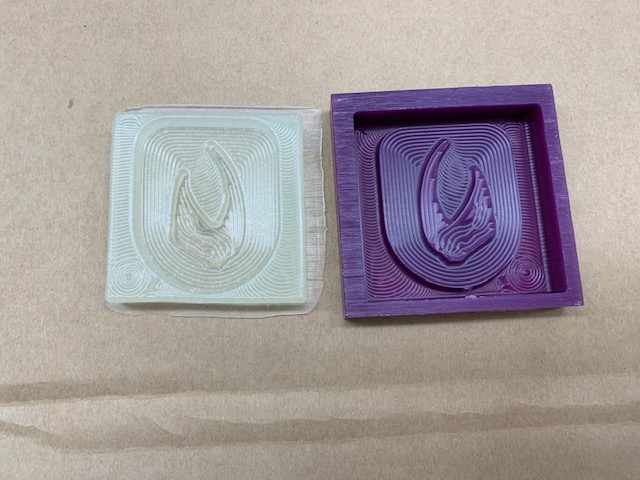
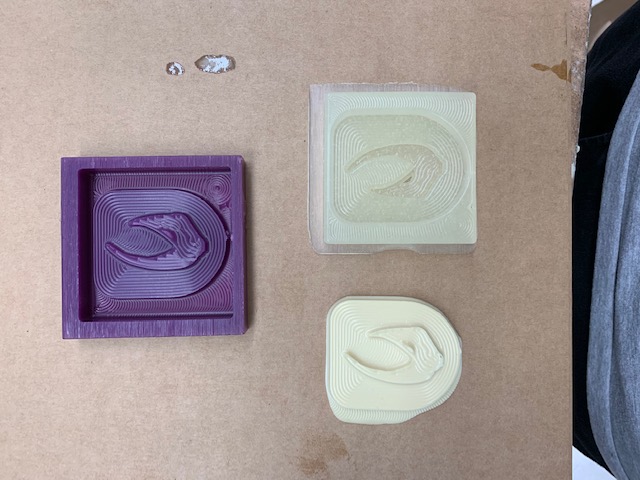
After the wax part was milled out, I went to go check it and it turned out very nicely. Now that the wax part is complete, I gathered the materials that I would need in order to create a mold. For this part, I decided to use ECOFLEX 00-35 FAST parts A and B. After reading the information sheet, I learned that I have to use a 1:1 ratio by volume, so I poured equal parts of both into separate containers. After I did this, I poured both part A and part B into one cup, and I stirred the mixture for around 1 minute. After this, I poured the mixture into my milled wax piece.
Once everything was poured in, I waited for about 7 minutes until I removed the completed mold from the milled wax piece, and here is how it turned out:
Making the cast
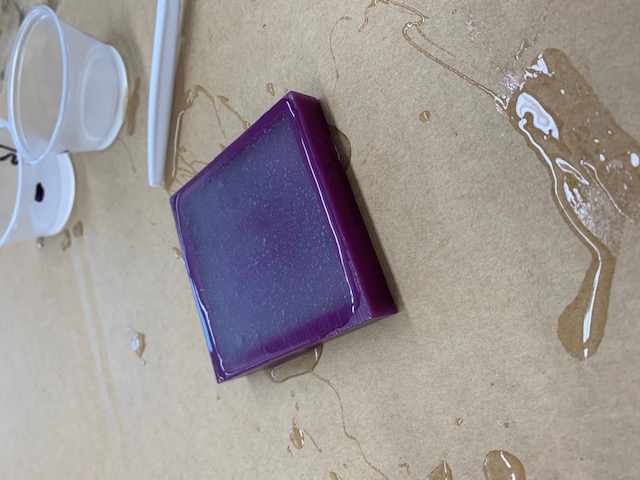
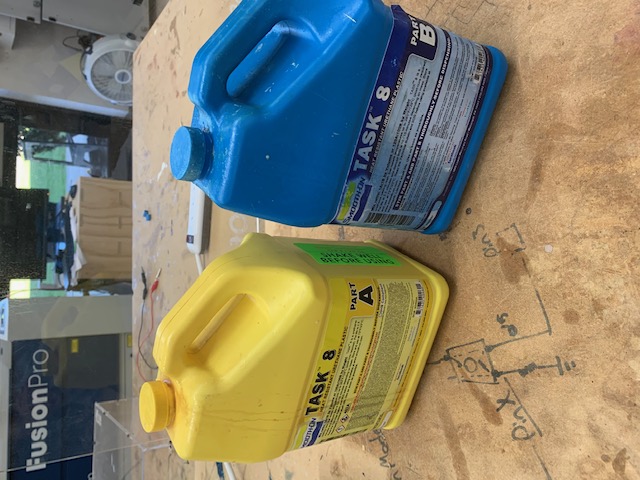
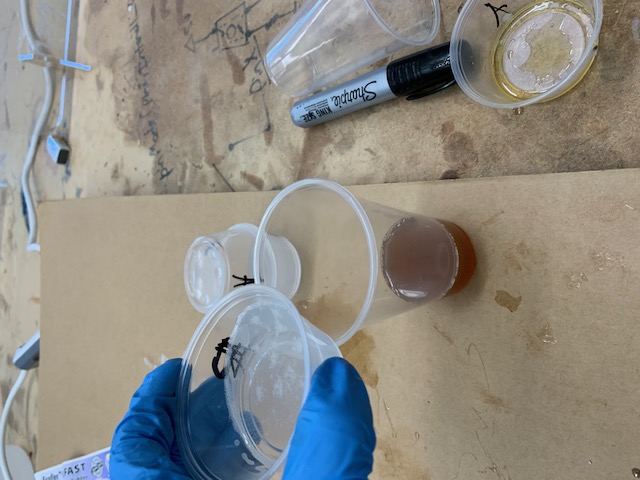
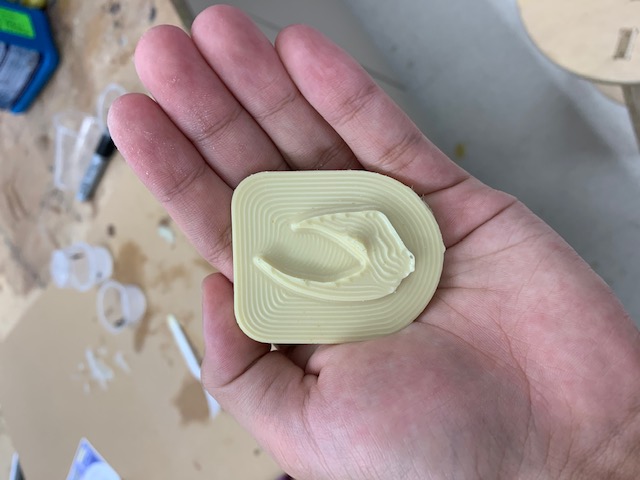
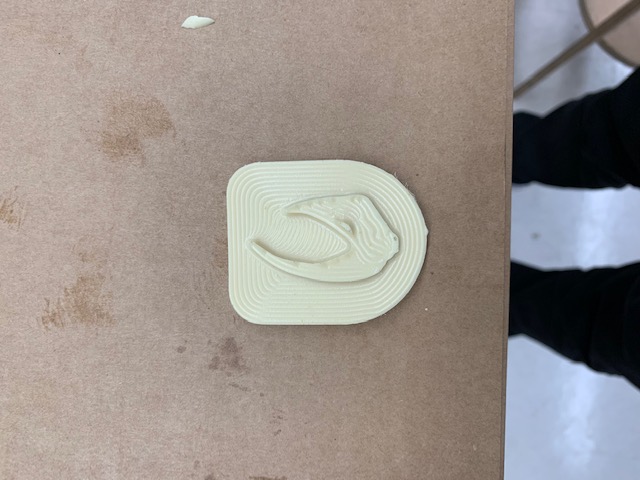
The next step, now that the mold is complete, is to create the hard cast. In order to create the cast, I used the Task 8 parts A and B. After reading the information sheet, I learned that I have to use a 1:1 ratio by volume, so I poured equal parts of both into separate containers like I did last time. After I did this, there was a slight difference in the process than when pouring in the mold, being that I would have to pour part A into the cup first, then part B on top of that. After I poured the mixture in the cup, I stirred for around 20 seconds, and since this mixture heats up quickly, I had to make sure that I did not spend too much time stirring. I then poured the mixture into my ECOFLEX mold, and waited. After about 10 minutes, here is how my cast turned out:
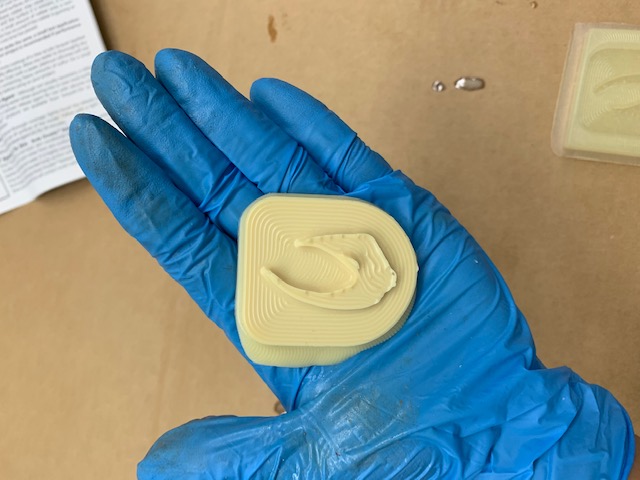
There was some excess on the side, so I sanded it off, and here is what it looked like after that:
Summary
This week, molding and casting was a week that I had been looking forwards to since the beginning of the class, and it was interesting to try something new. Although I did not end up using my original design or toolpaths to create a mold, I learned that there are always ways to make up for the thing that is not available at times, which I thought was pretty cool. I definitely would like to make a hard cast in the future to see what it is like, as I had it reverse this time, but molding and casting seem like a very wide open method of creation as pretty much anything can be molded and cast. Seeing my fellow peers’ casts were cool as well (they all did hard casts) as they had unique designs and applications, and I am definitely interested to try some different materials that are not in the lab on my own time as well.
Update I was able to make my hard cast and use the milling machine to mill out of wax to create my mudhorn signet. It was a bit different compared to the 3D print, as the process went by much quicker compared to having to wait for a 3D print, but the 3D print was definitely much easier, as you don’t have to create a structure to create the mold (wax in my case), and for smaller mold & cast jobs, I think it is great to use a 3D printed mold.
Group Project
The link to the group page for this week can be found here
Files
Here are all of my files from this week.