16.Molding and Casting

group assignment page
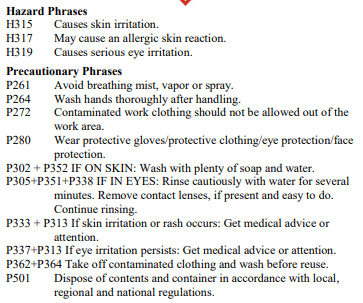
SAFETY DATA SHEET
I used this (PDF) file to follow the safety steps and be careful in using the materials that I will use
Datasheets
Design
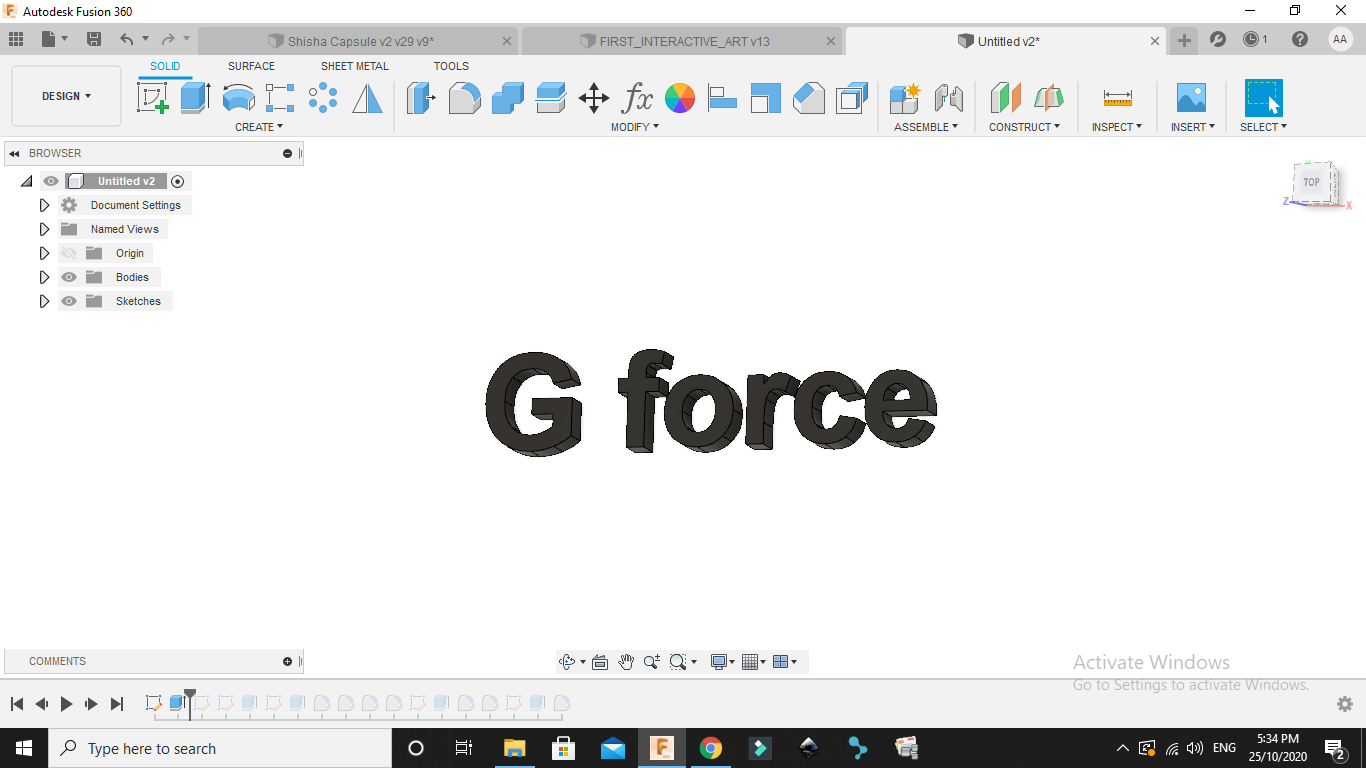
1.I started with simple text sketch in fusion360
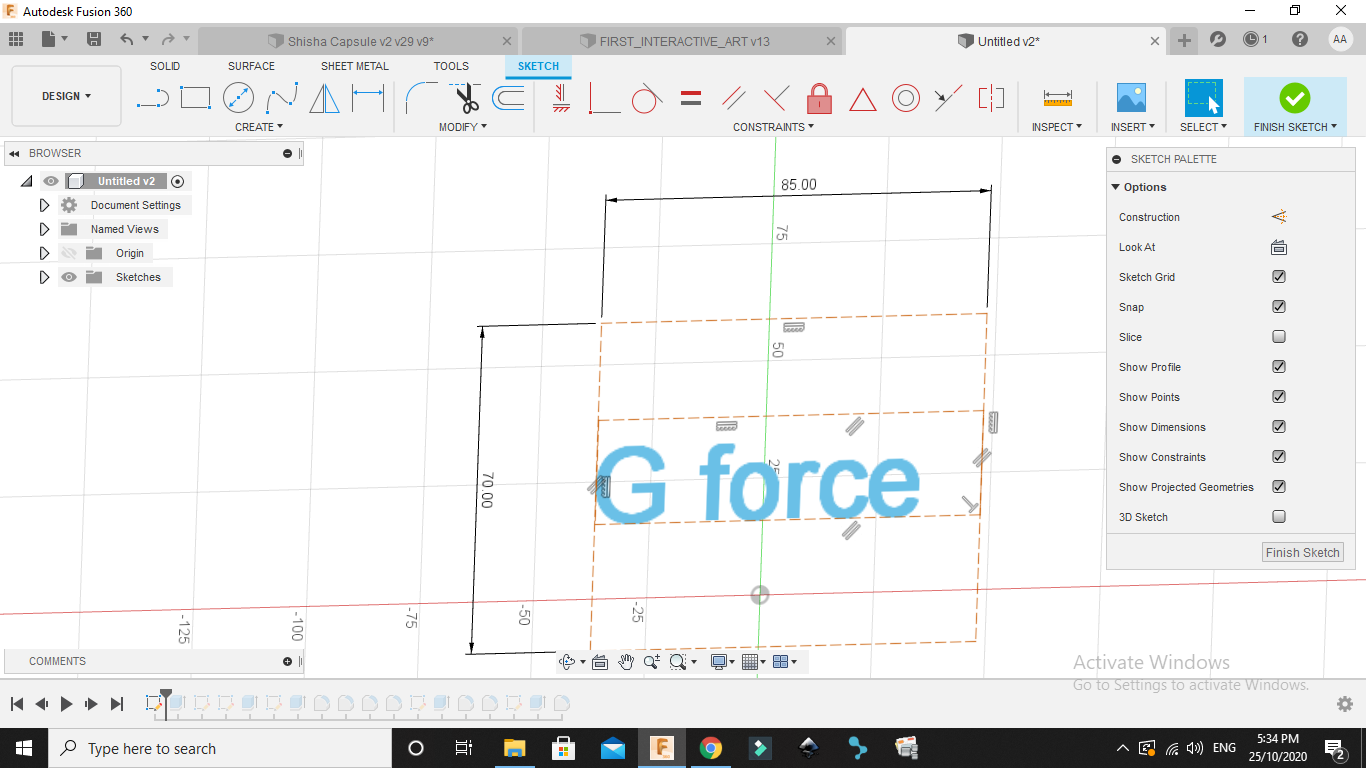 2.Then I extruded the text
 3.Then I sketcked and extruded a plate
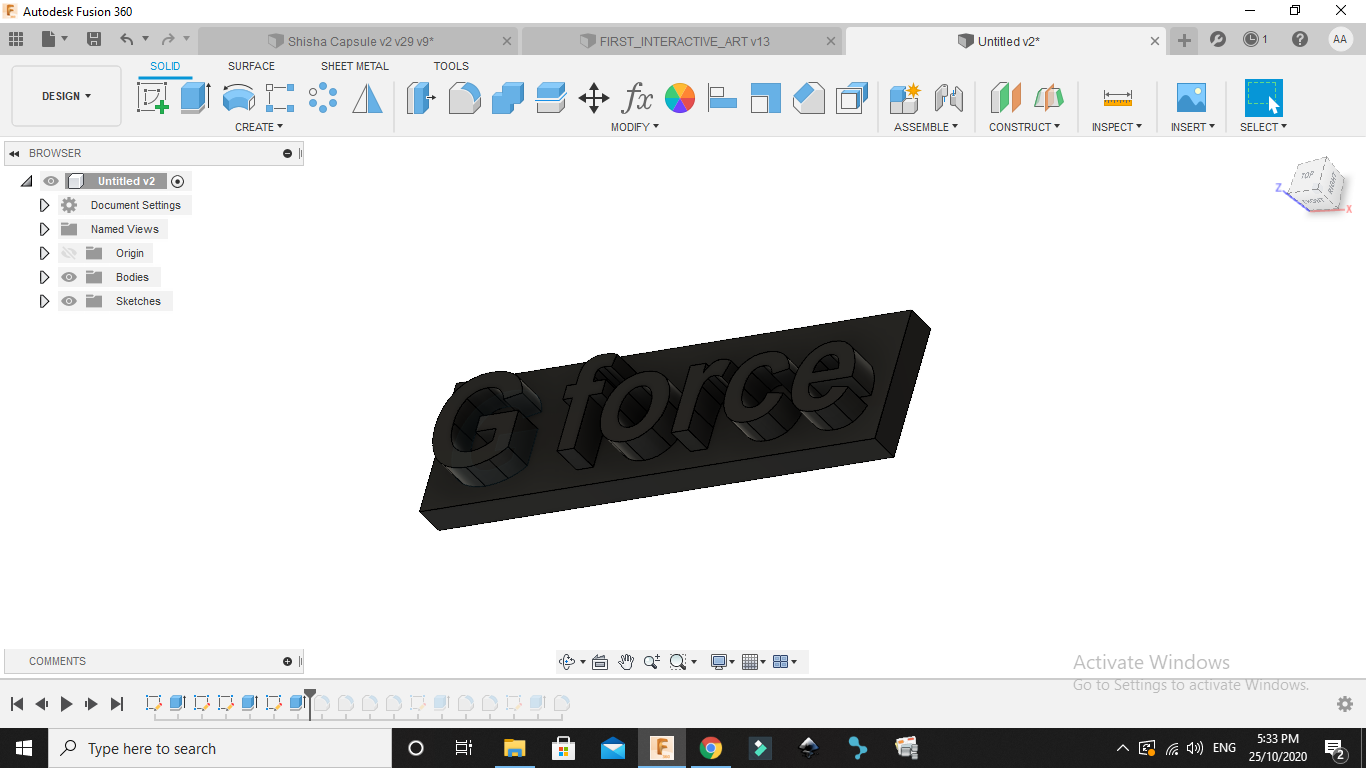 4.I added some fillets

File preparation
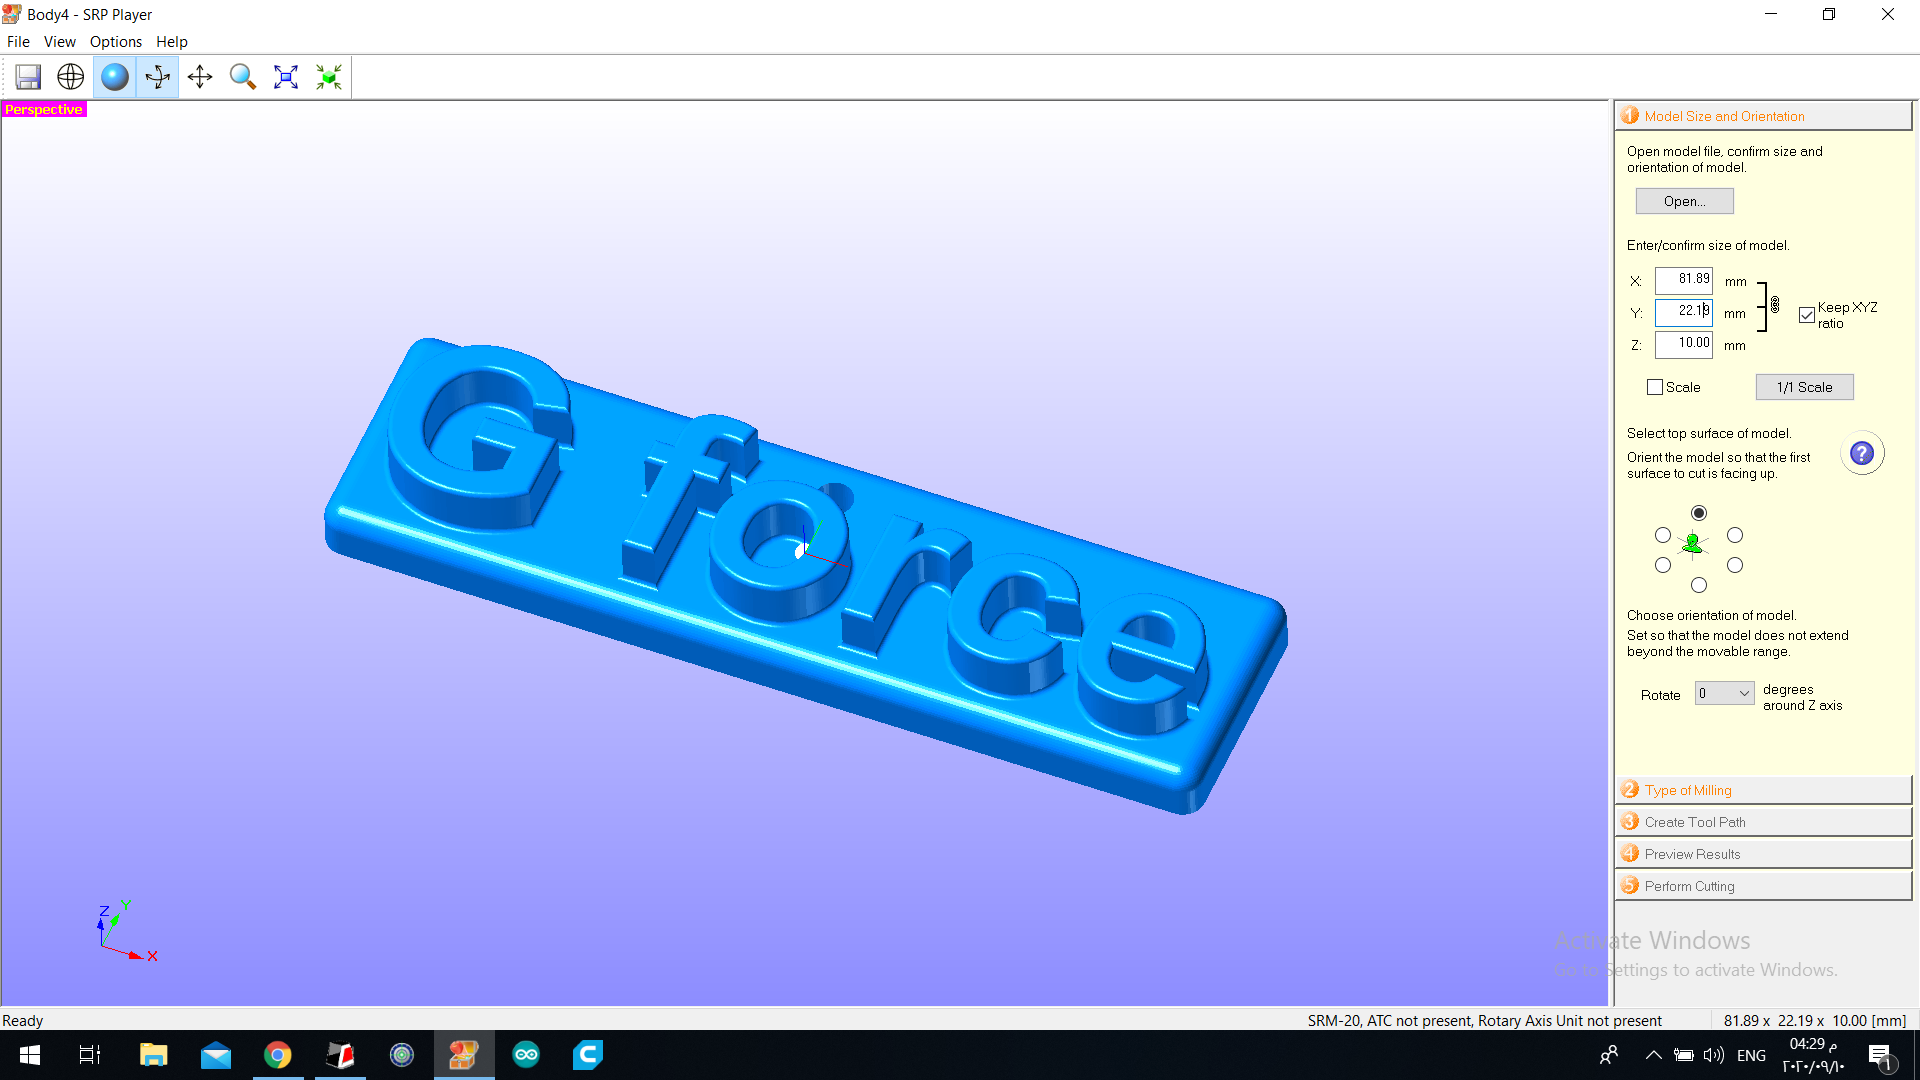
5.i opened srp player and imported the design
- srp player
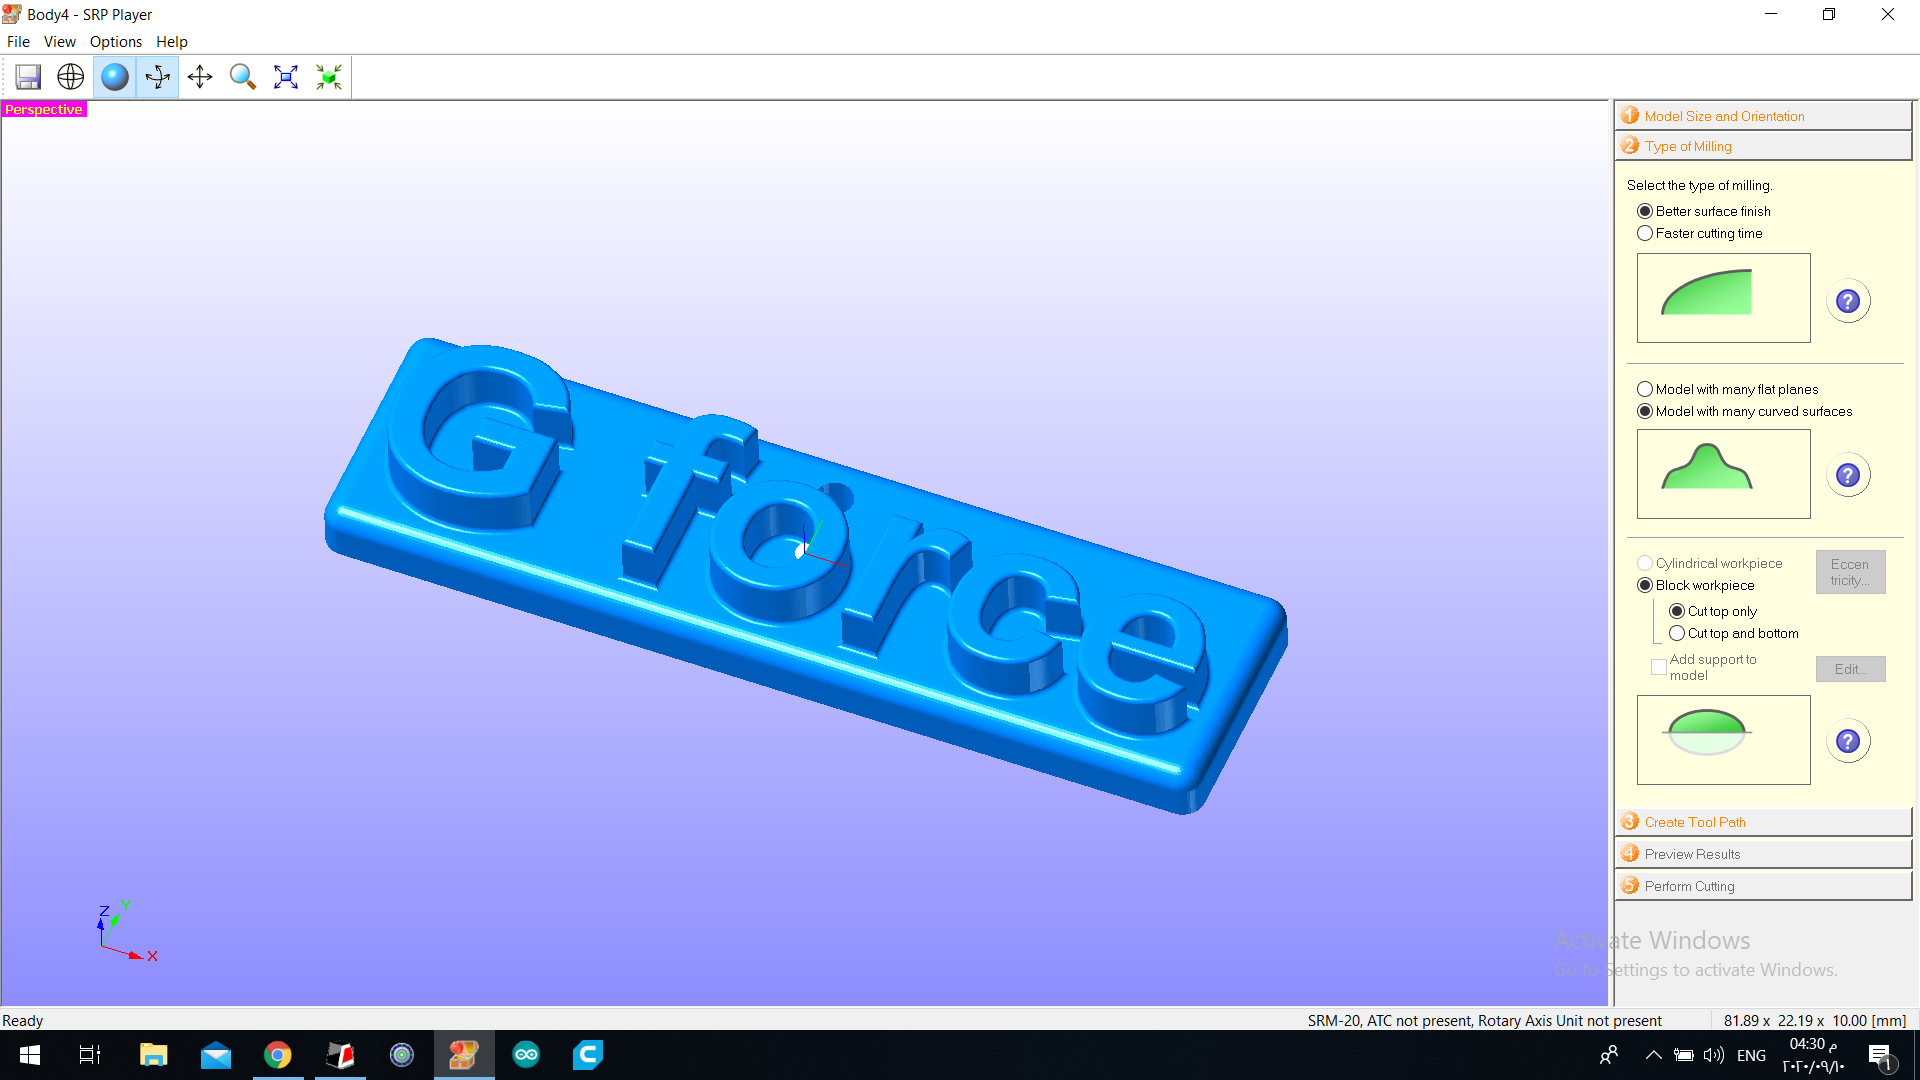
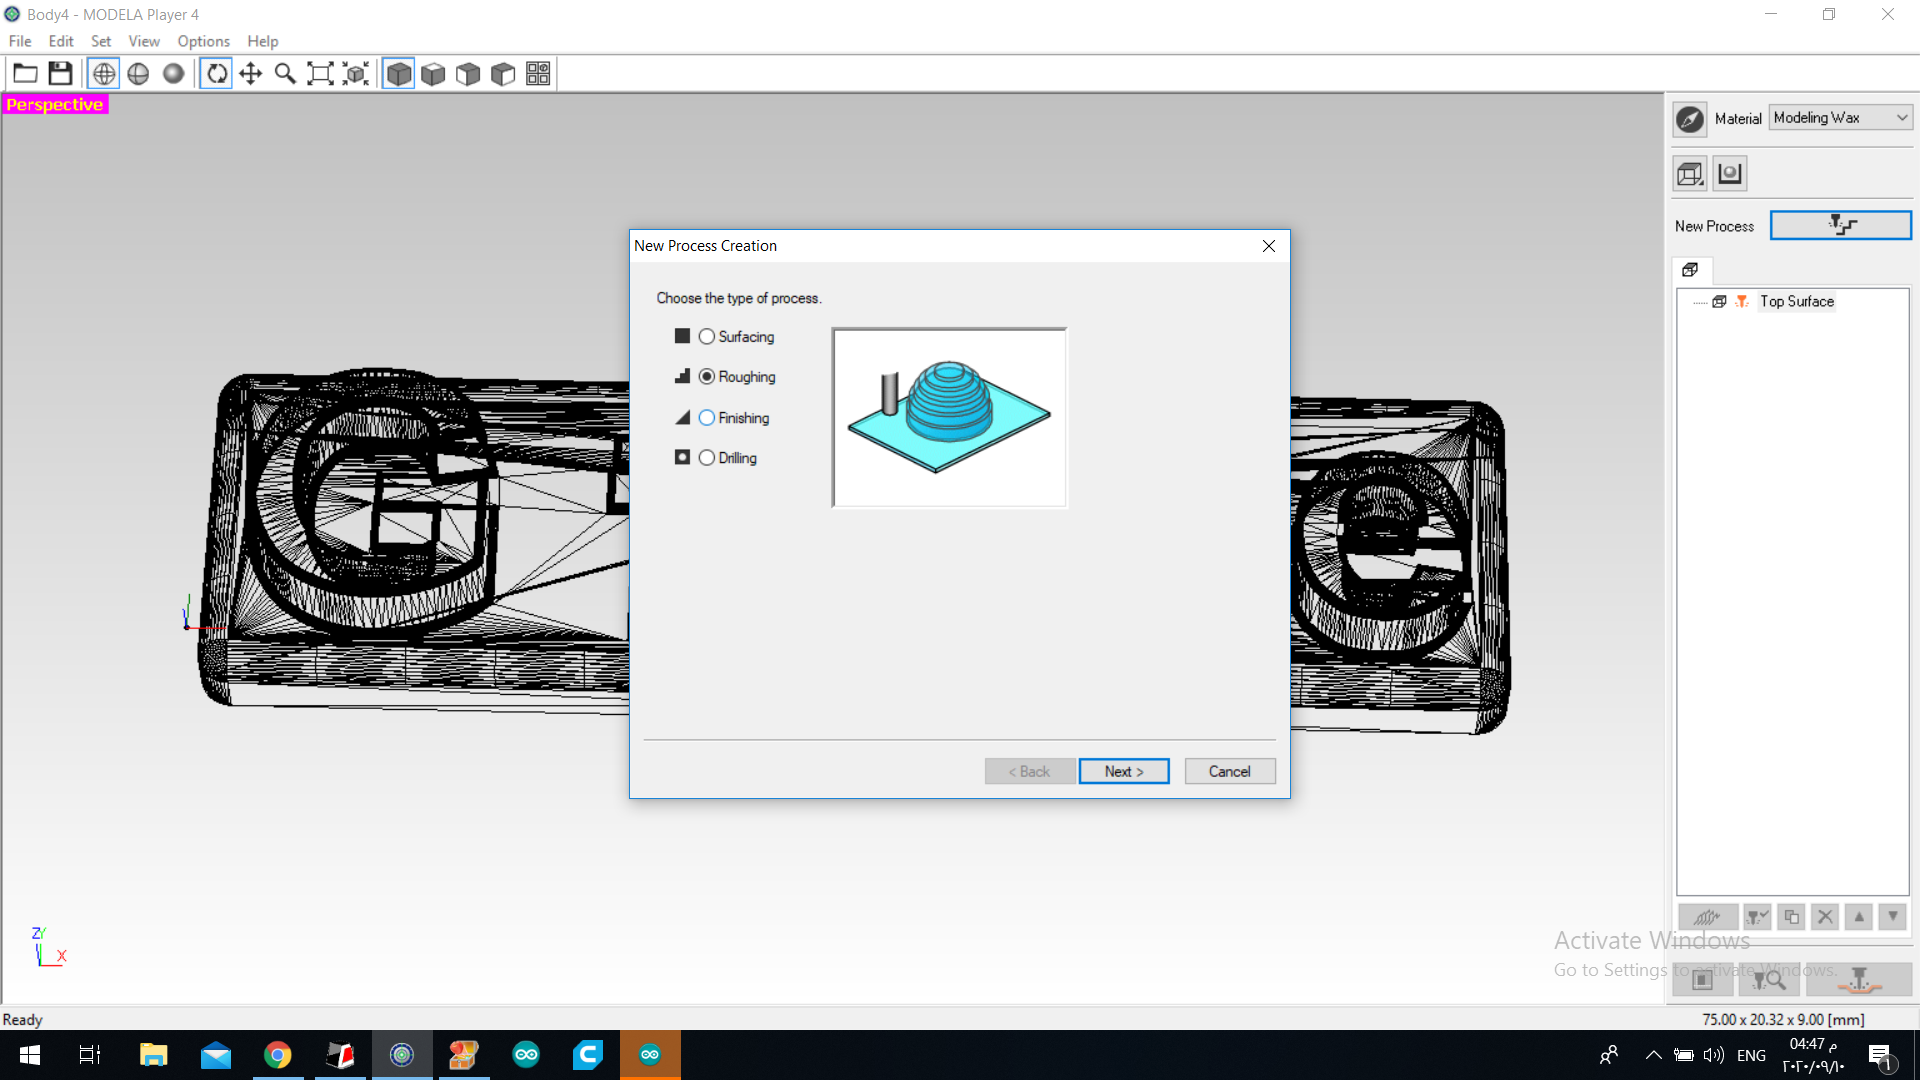
 6.I chose type of milling
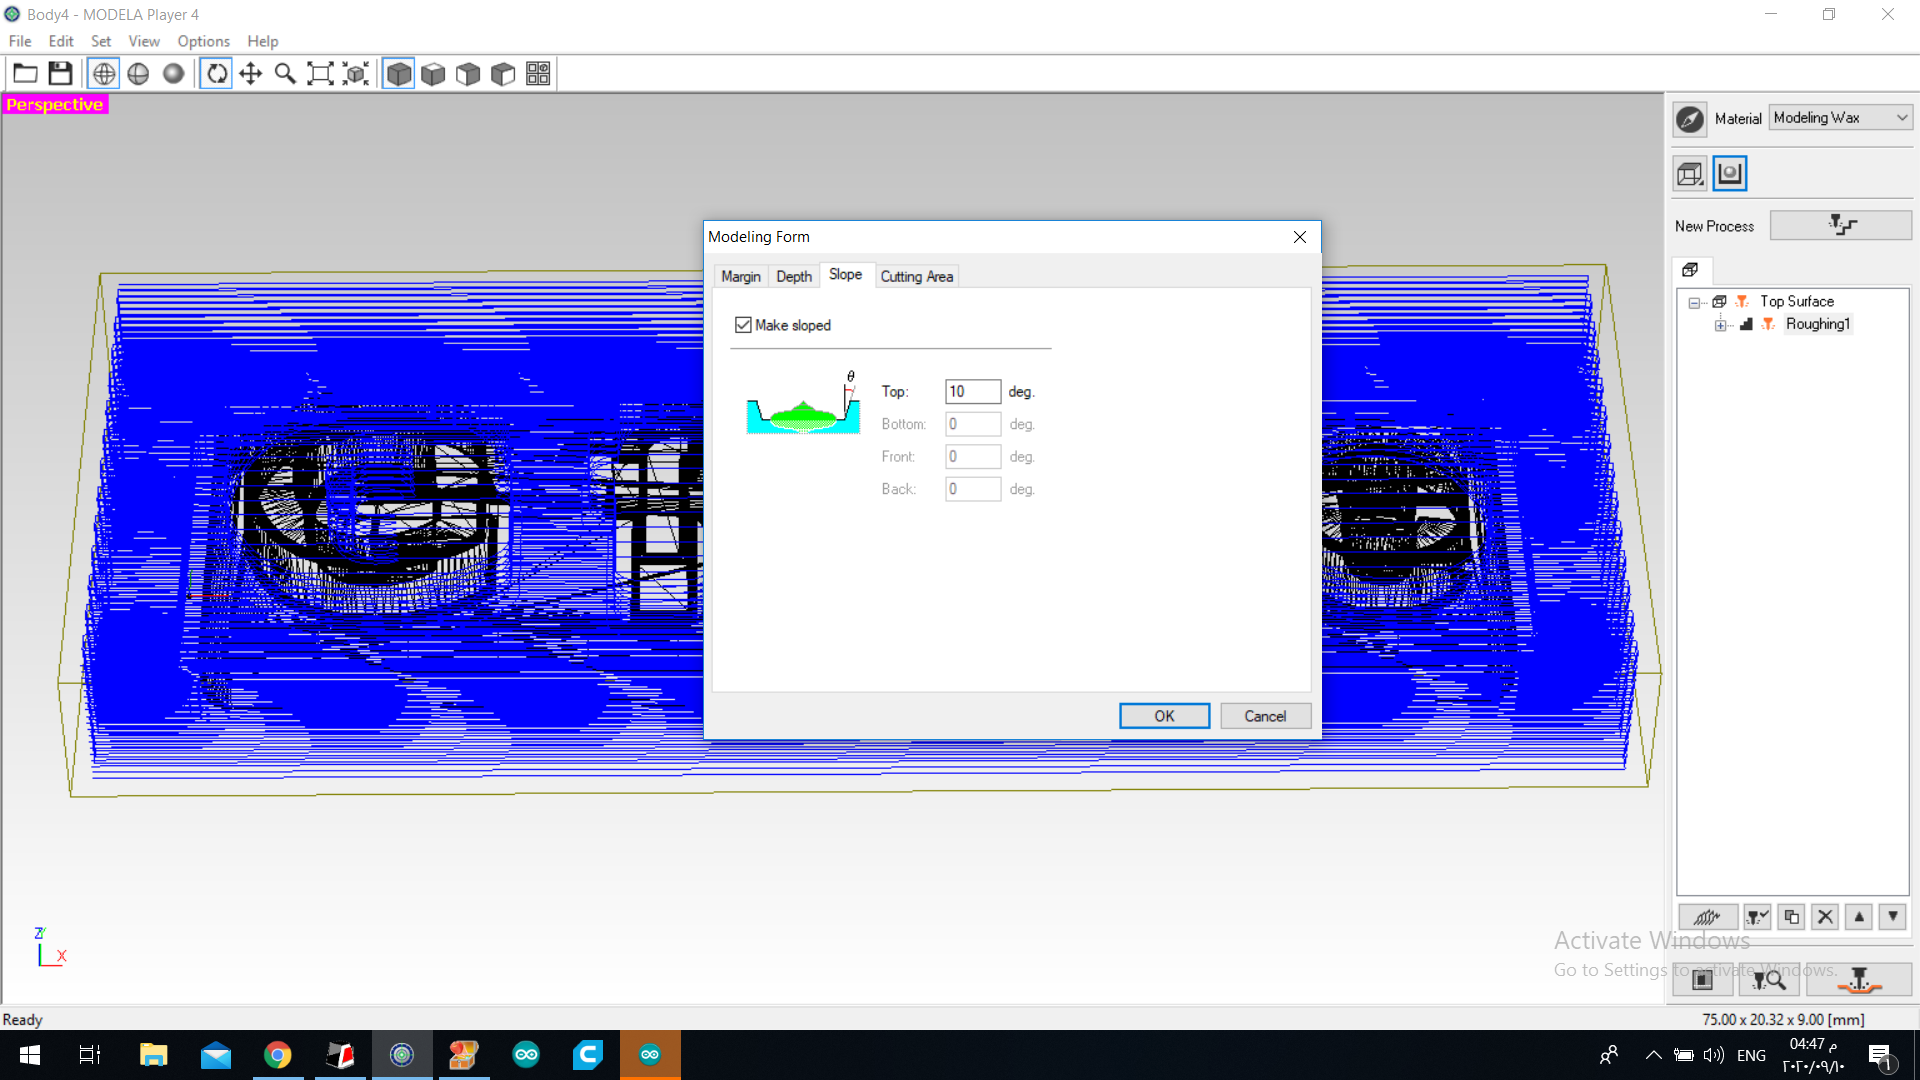
 7.i set the toolpath and added 2mm margen in all the sides for safety

 9.The first toolpath will be roughing
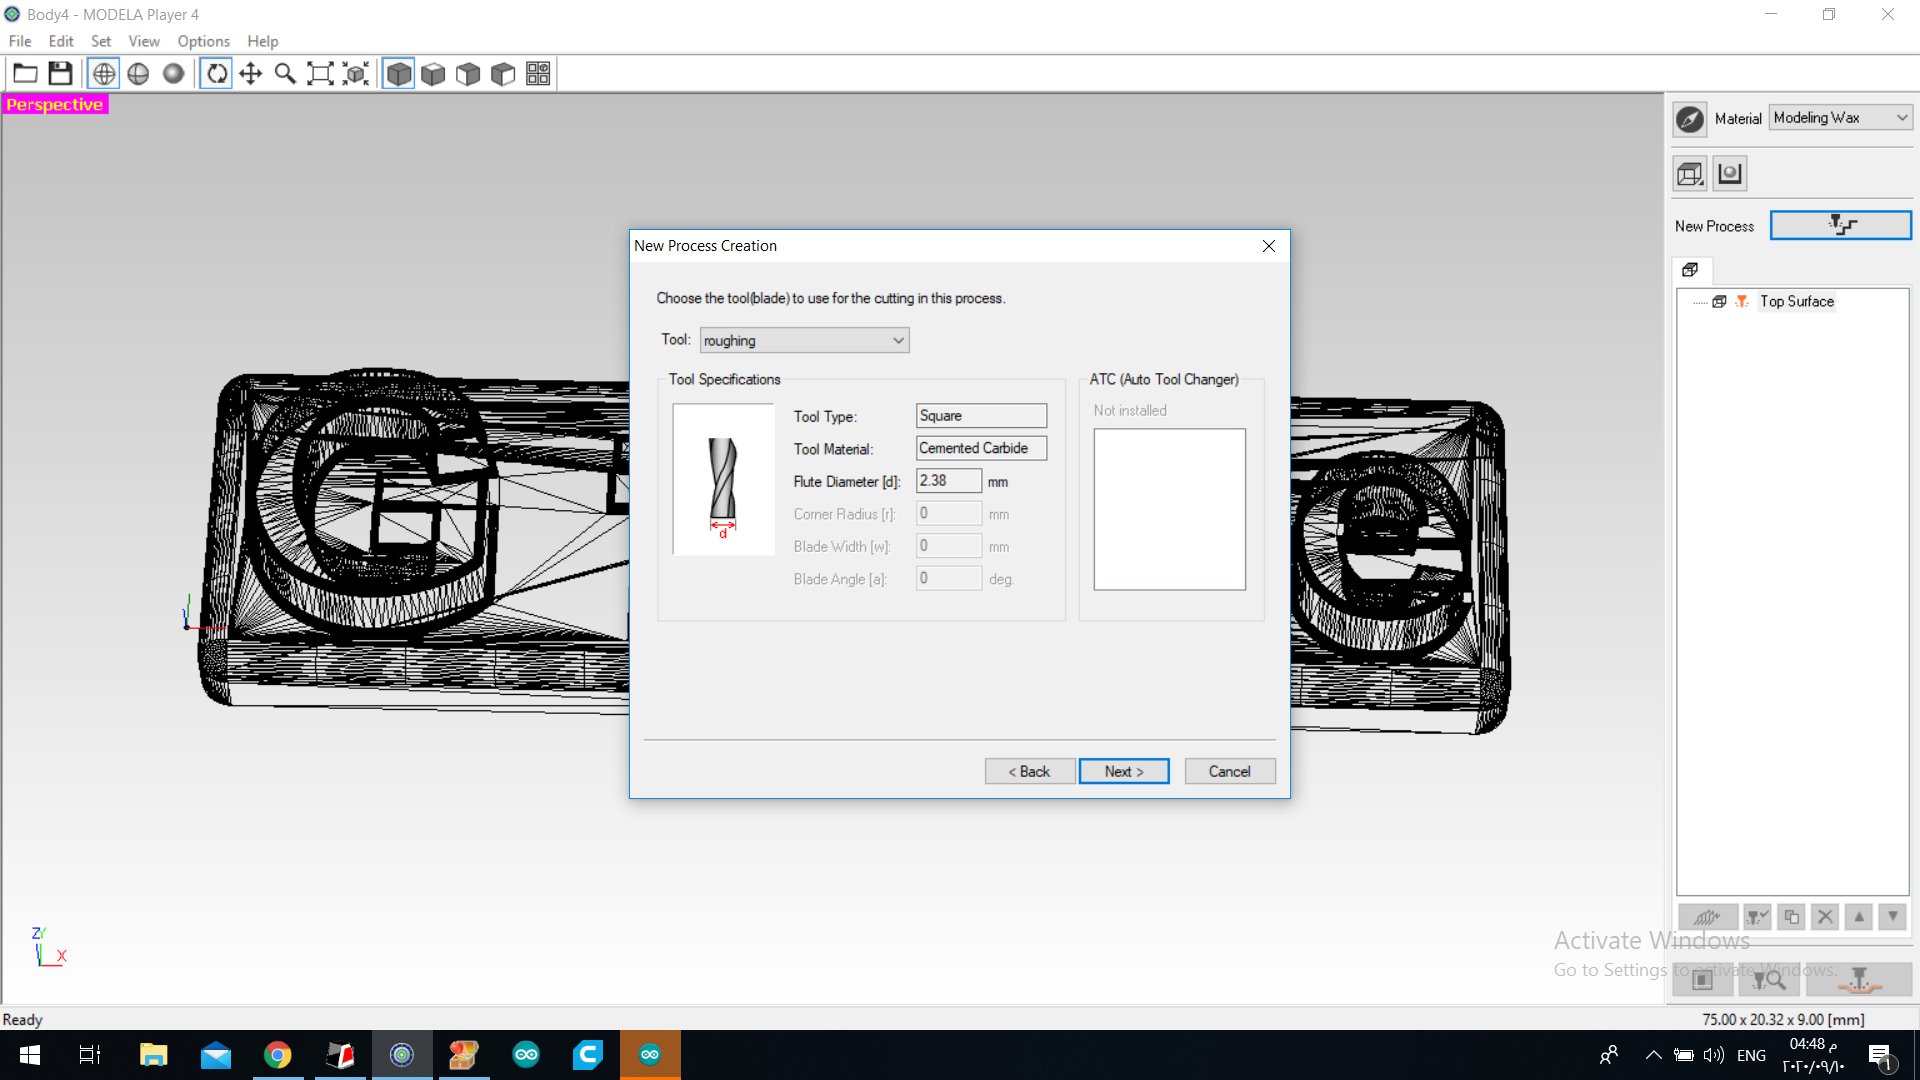
 10.Then we chose the mill bit
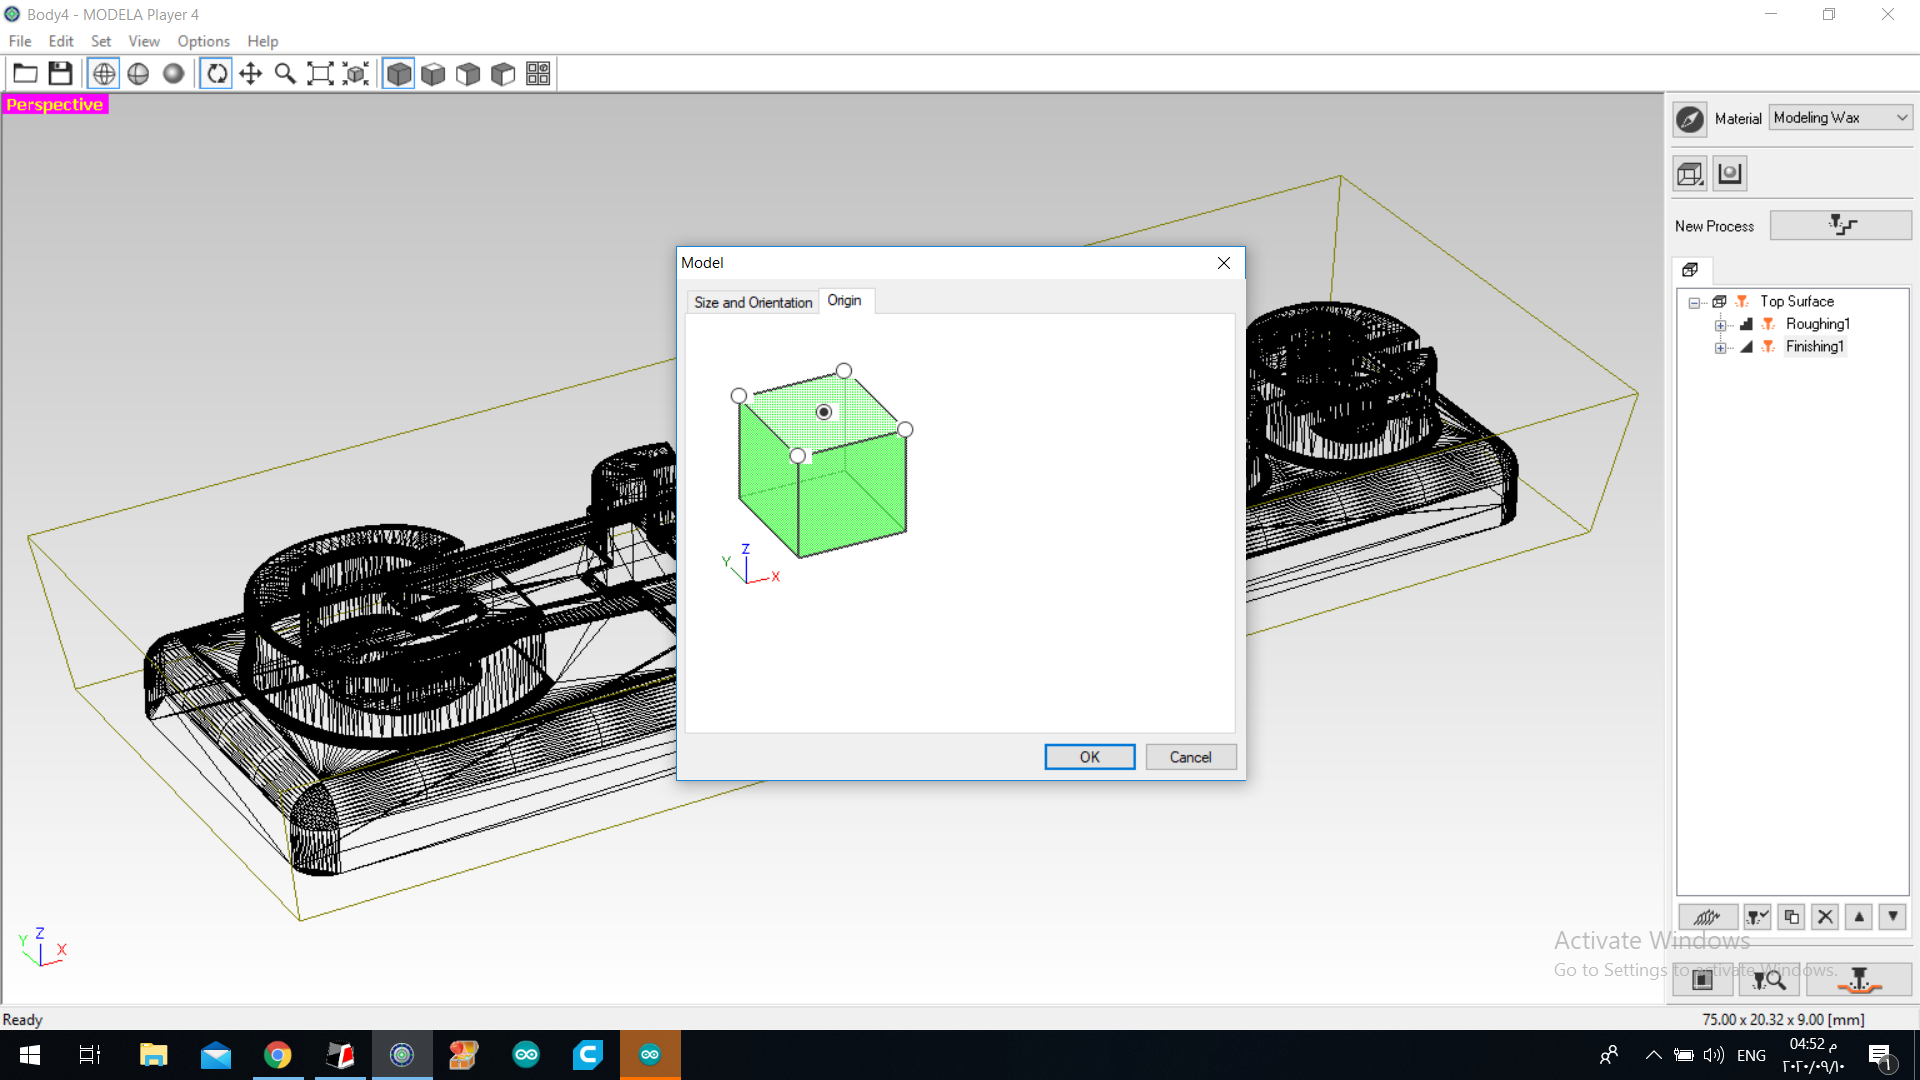
 11.then the model origin is in the middel
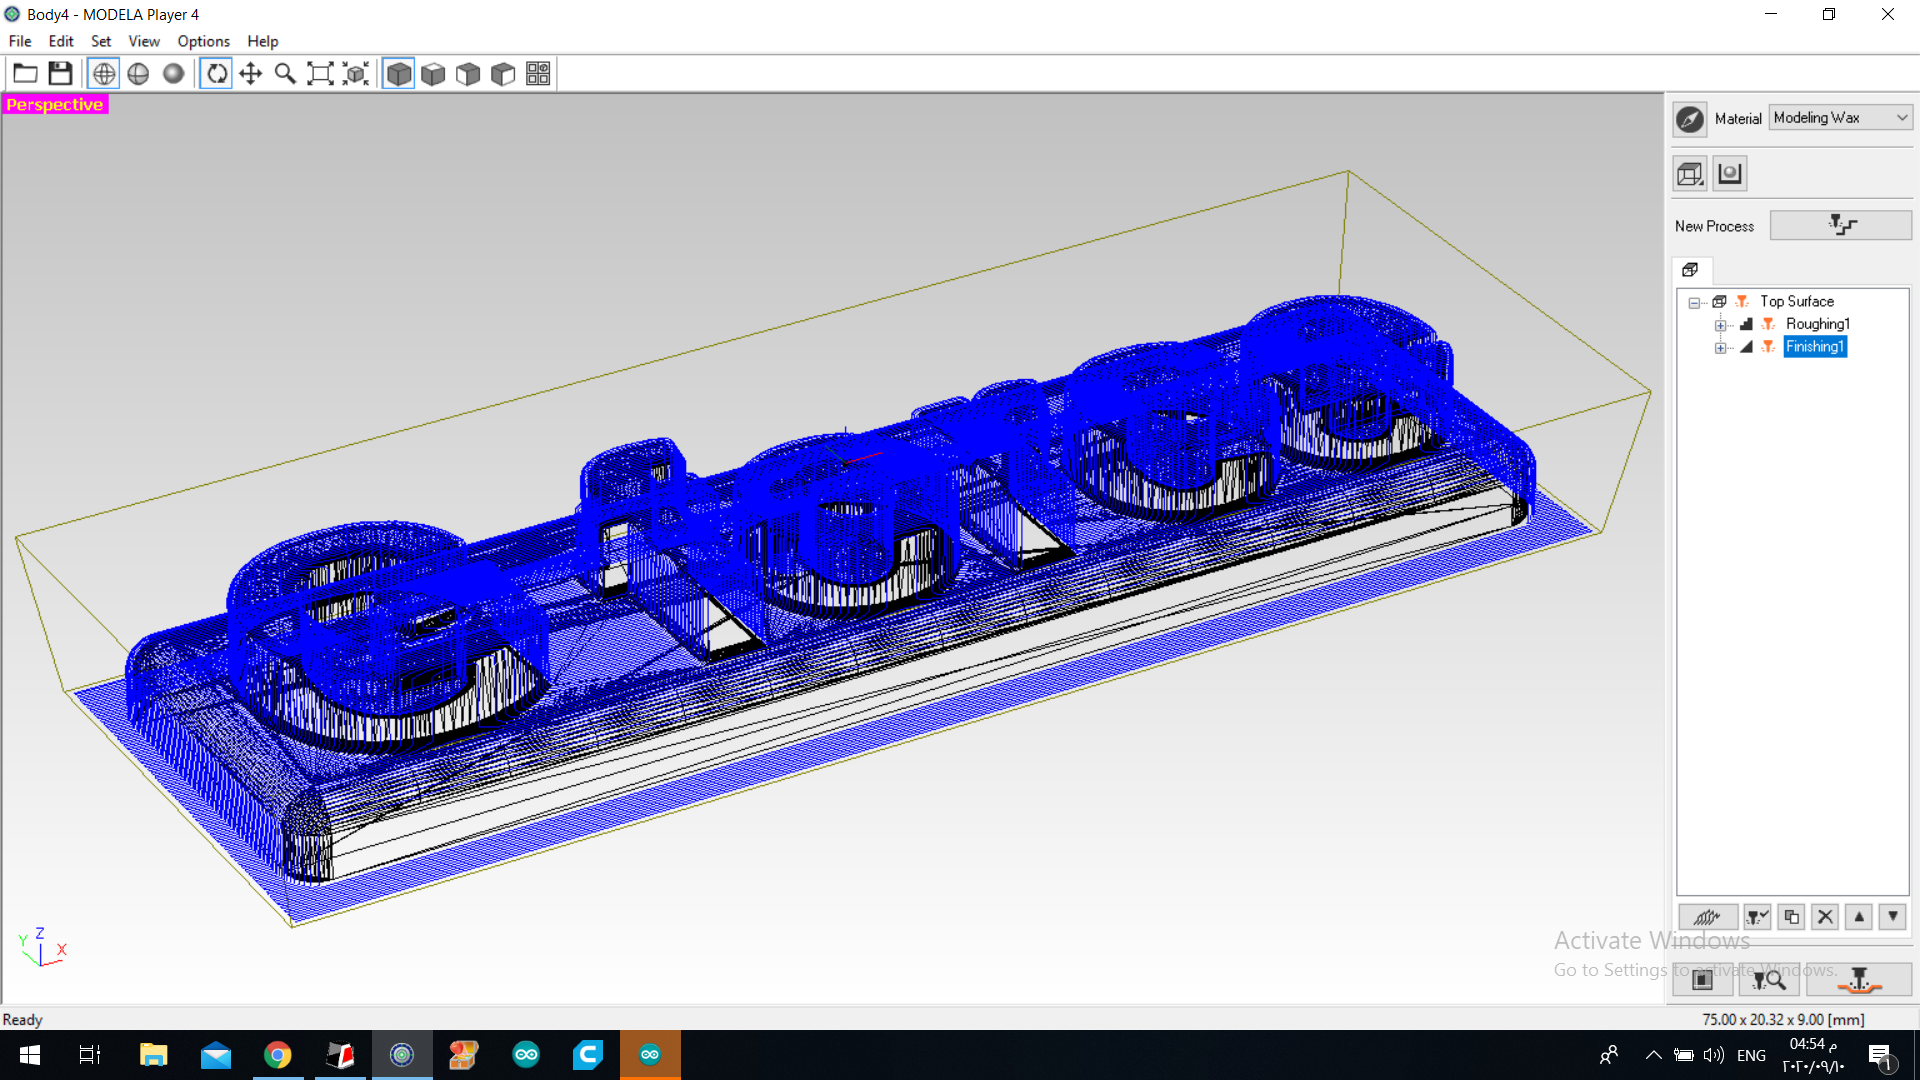
 12.Then the finishing toolpath
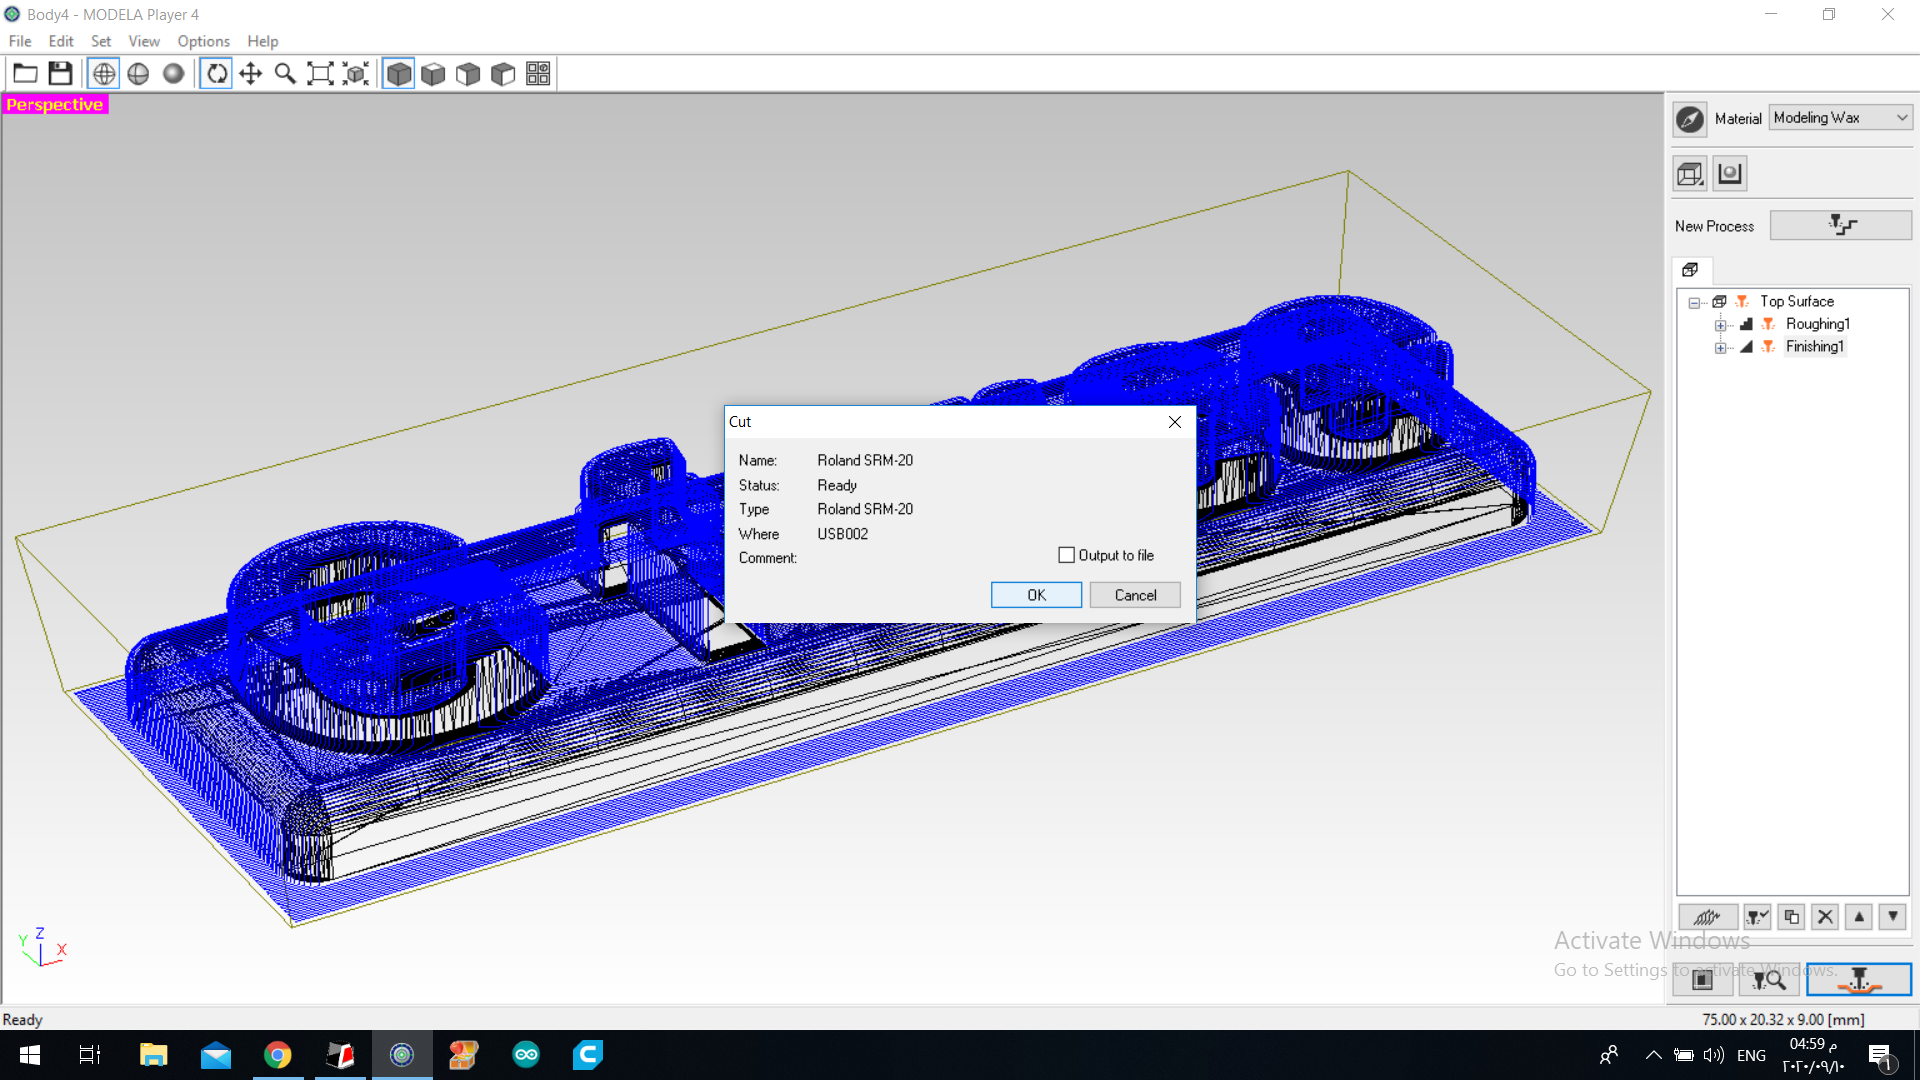
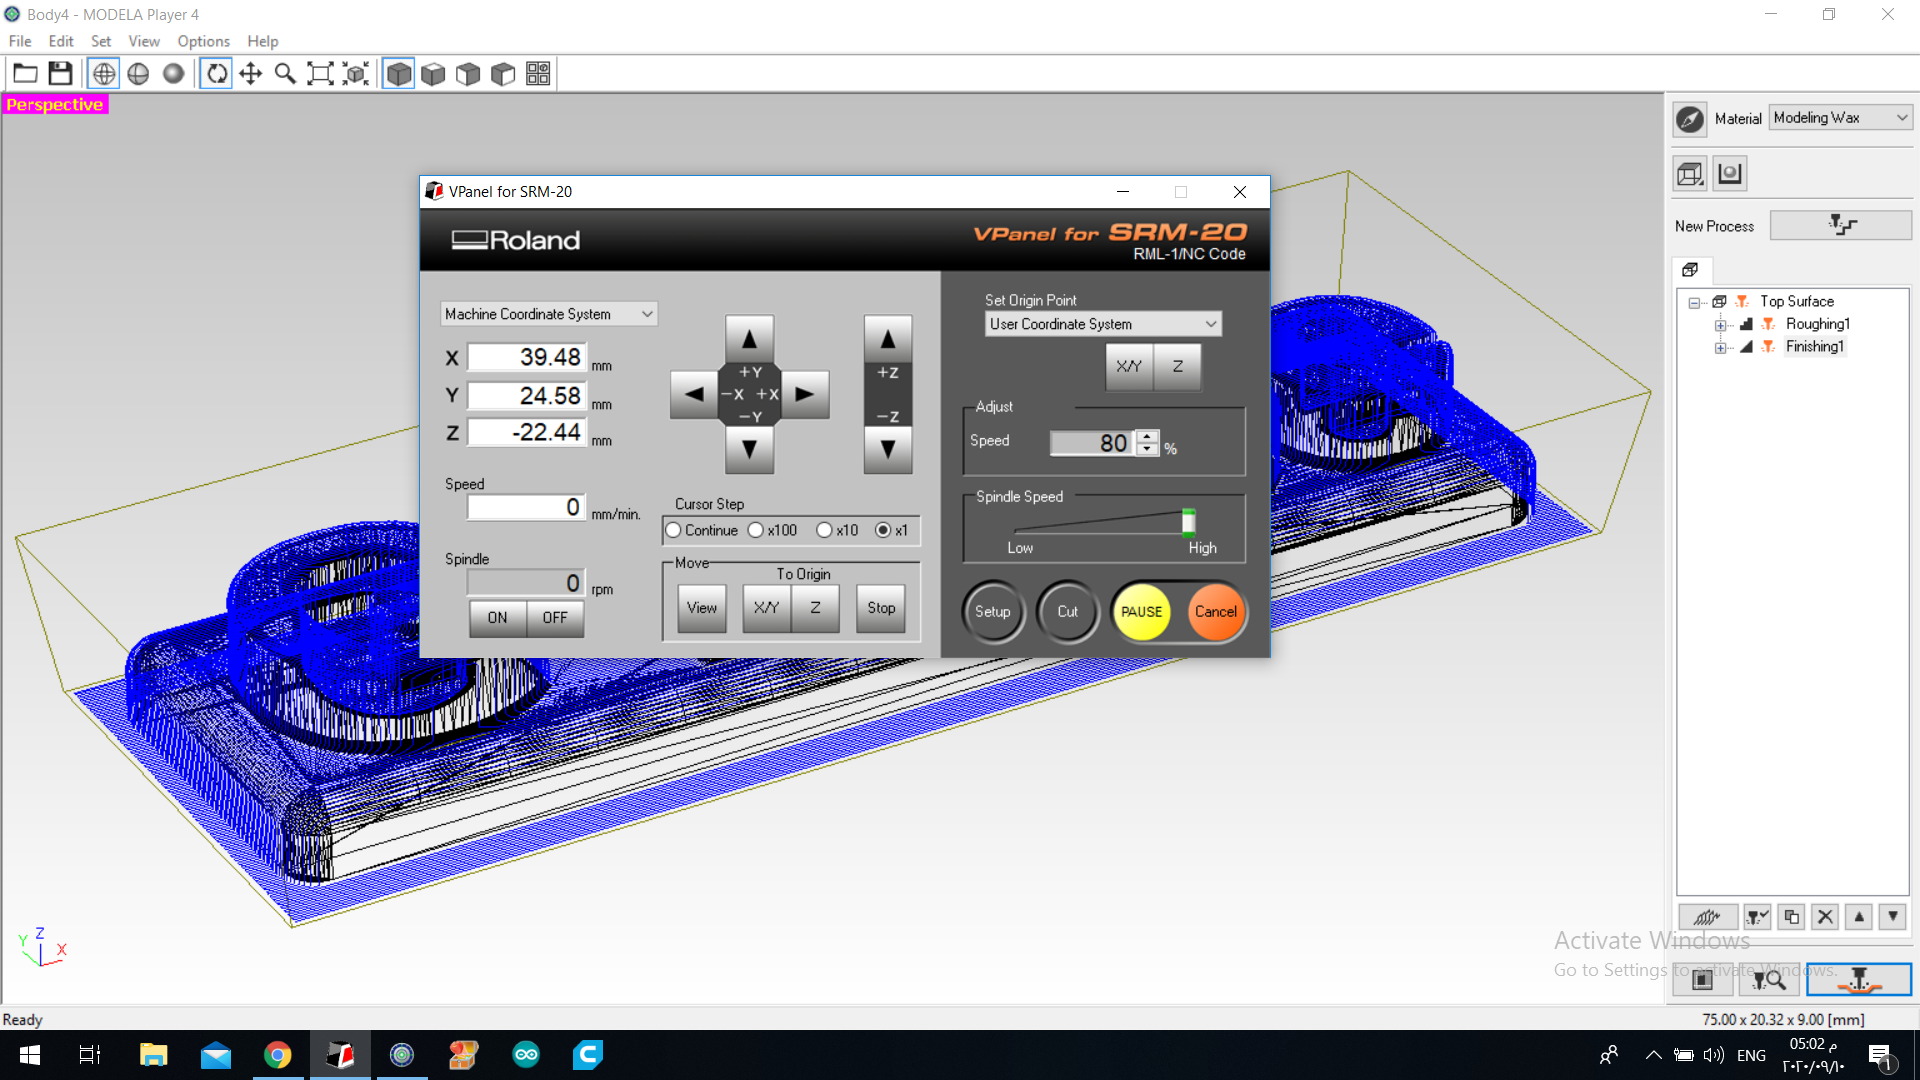
 14.I set the operation for our roland SRM-20
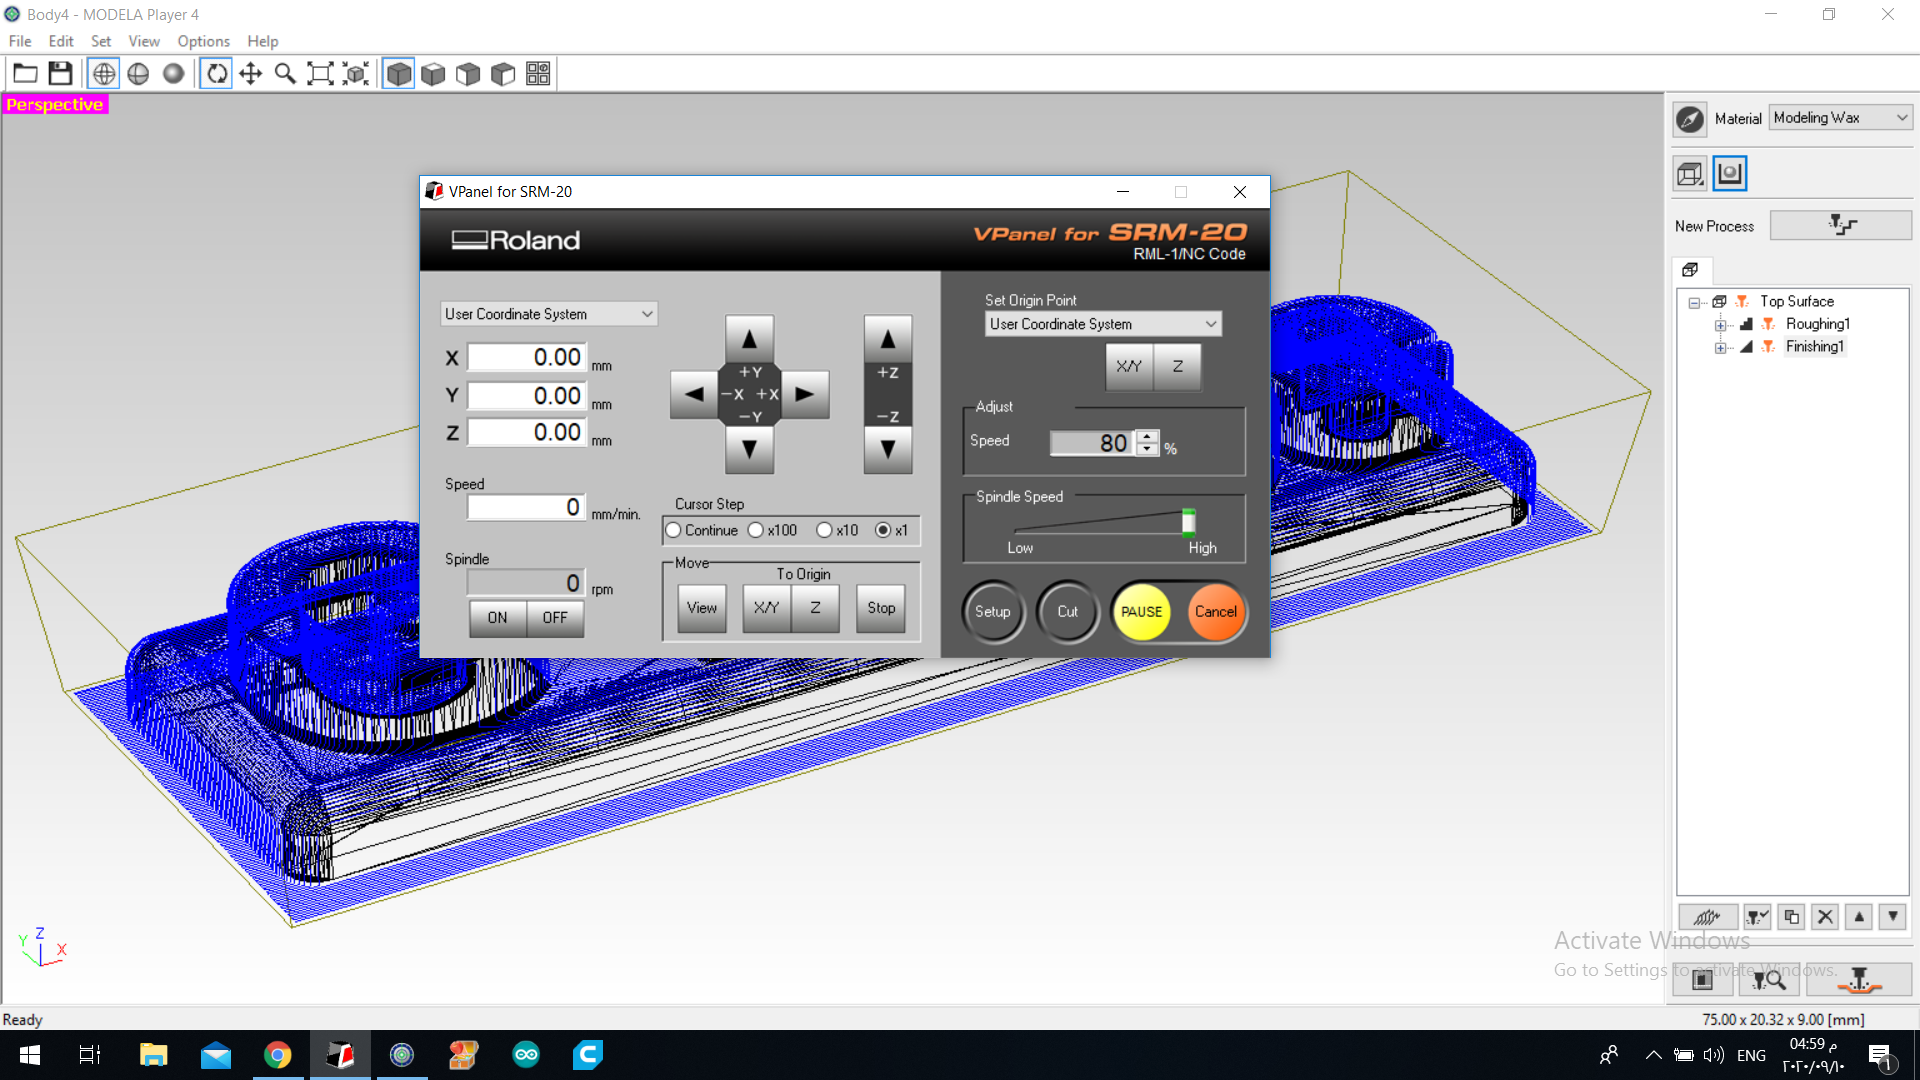
 15.we zeroed the axiss
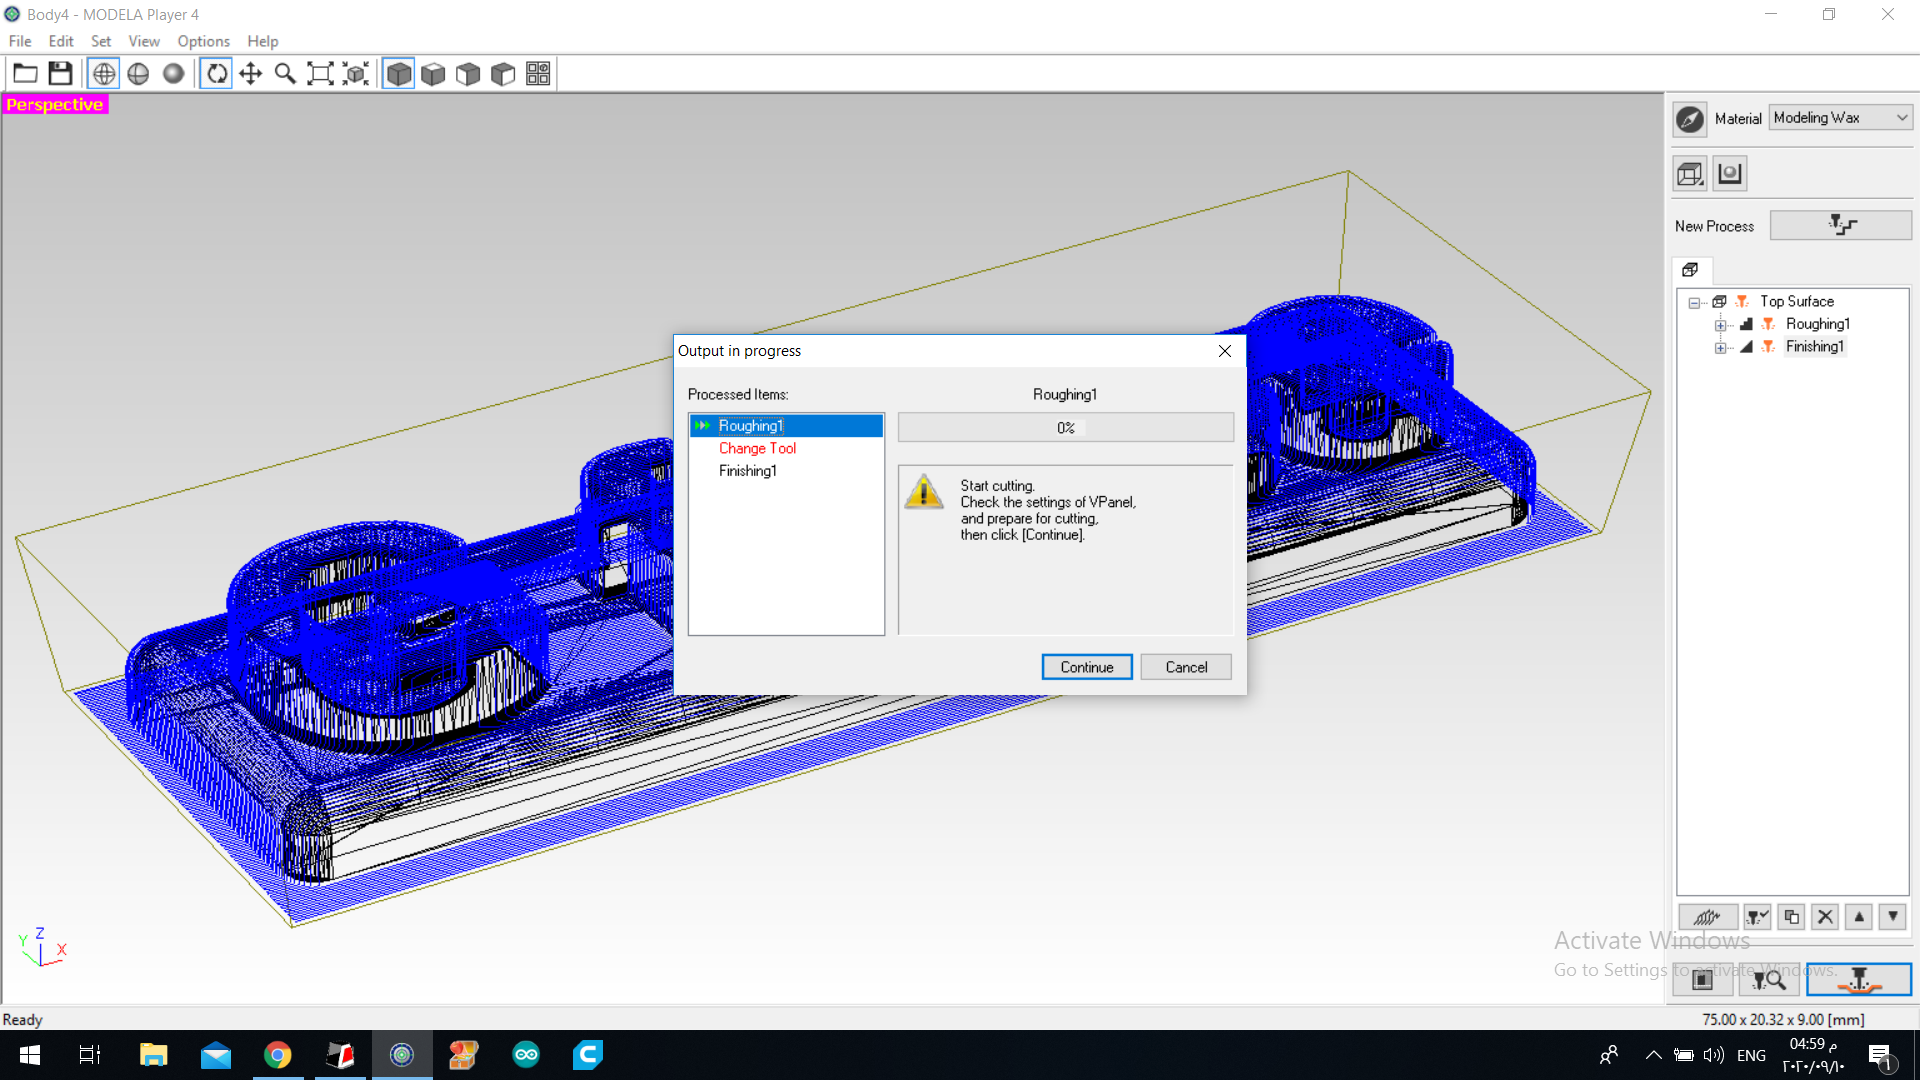
 16.A warning showed up and we skipped it
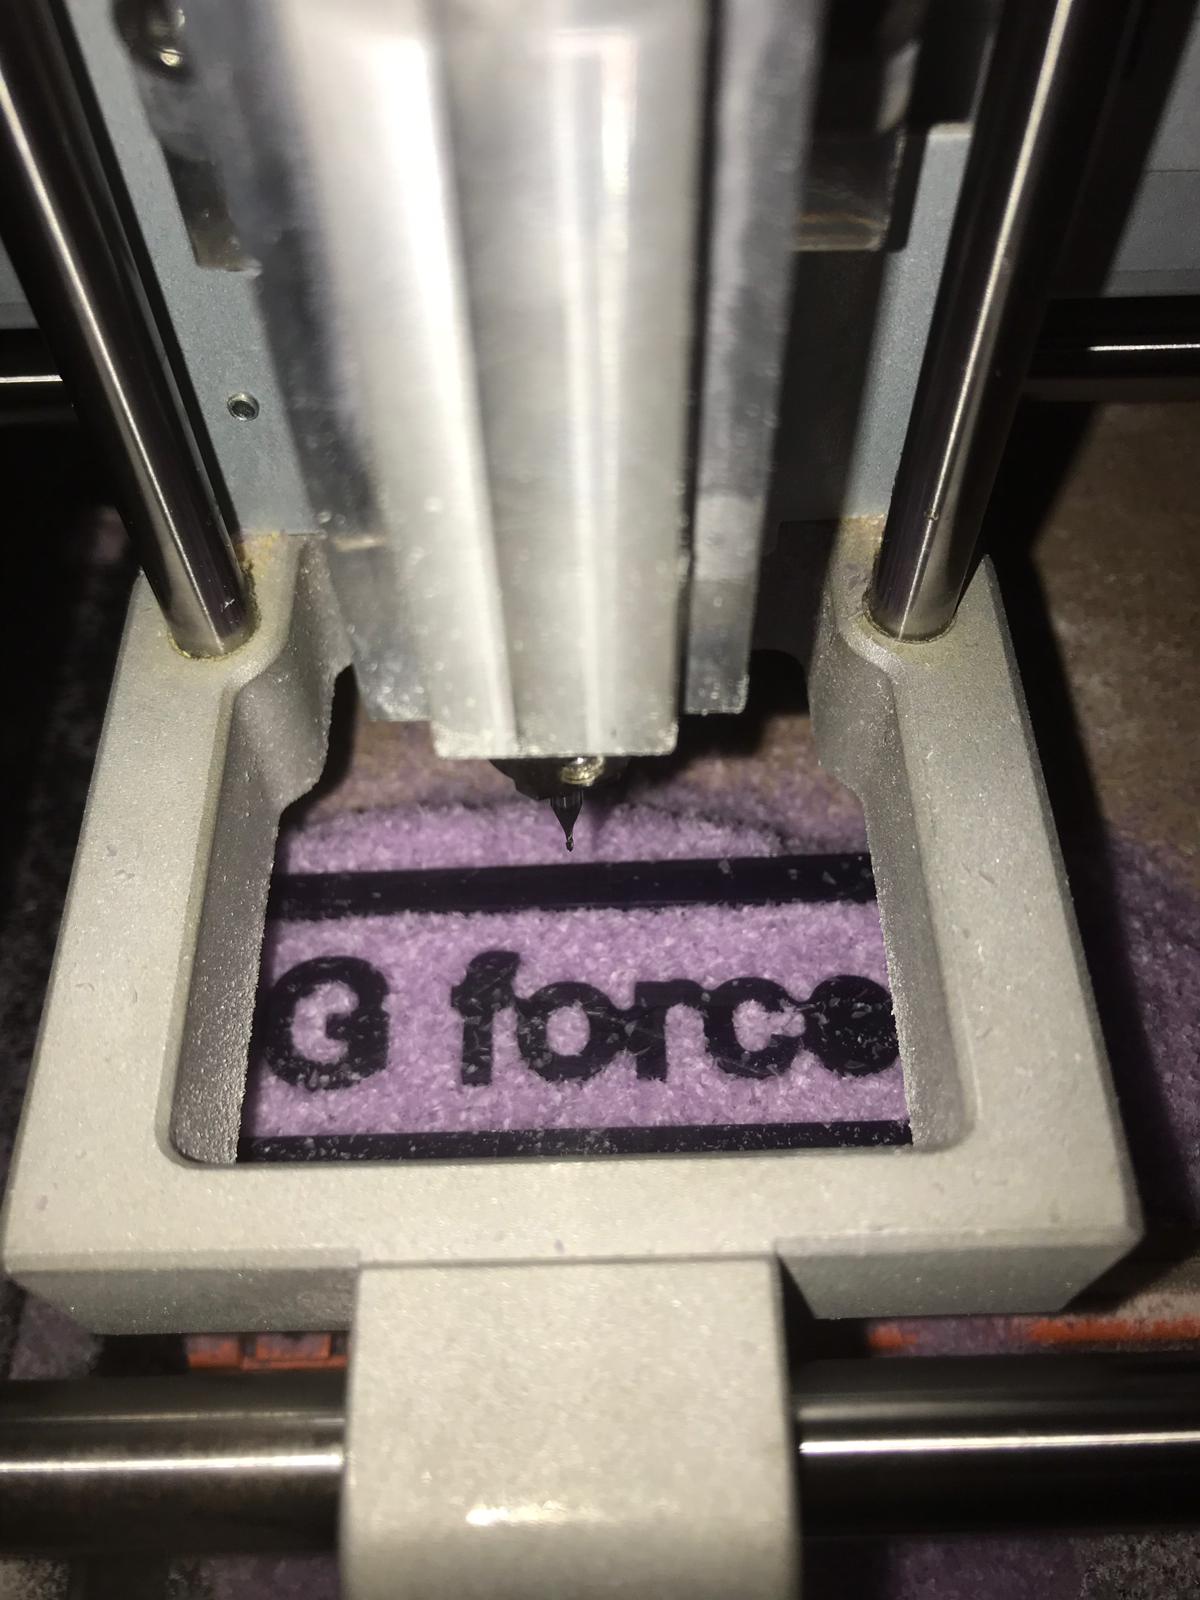
 17.the we started milling … of course before that we sticked the wax block in the machine using double sided tape
Milling
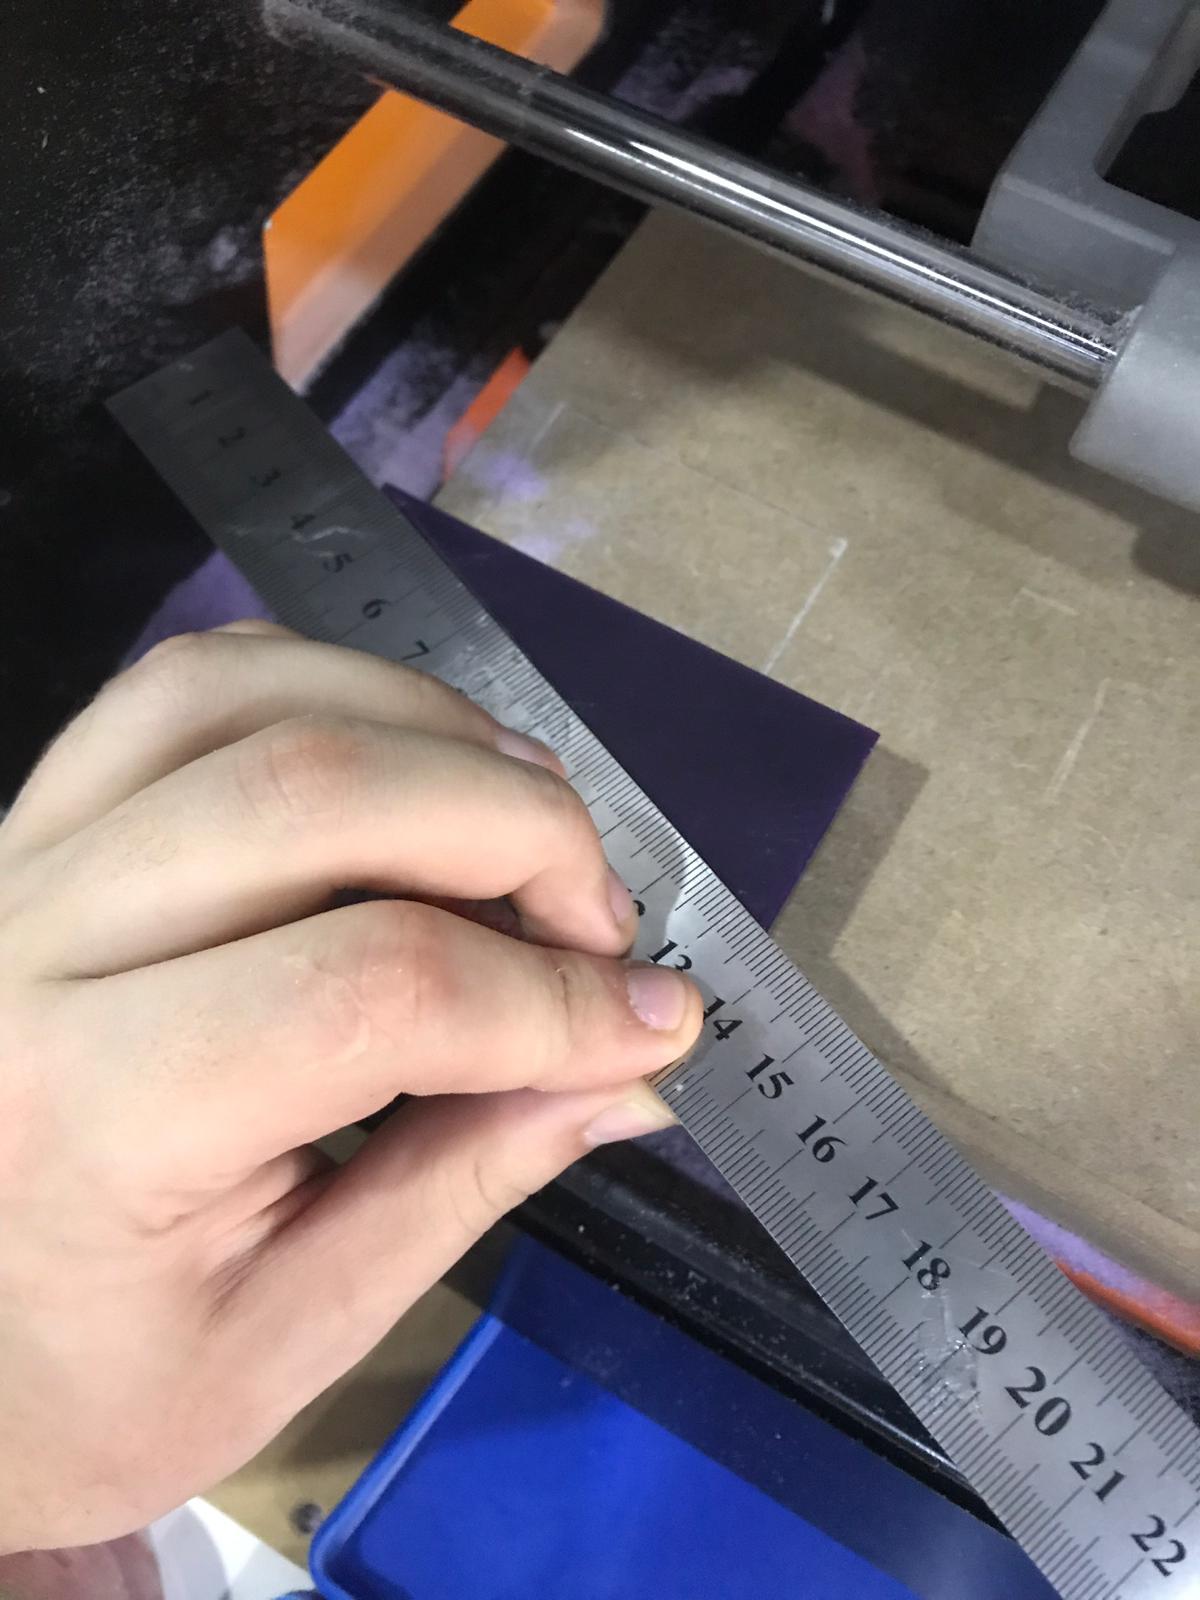
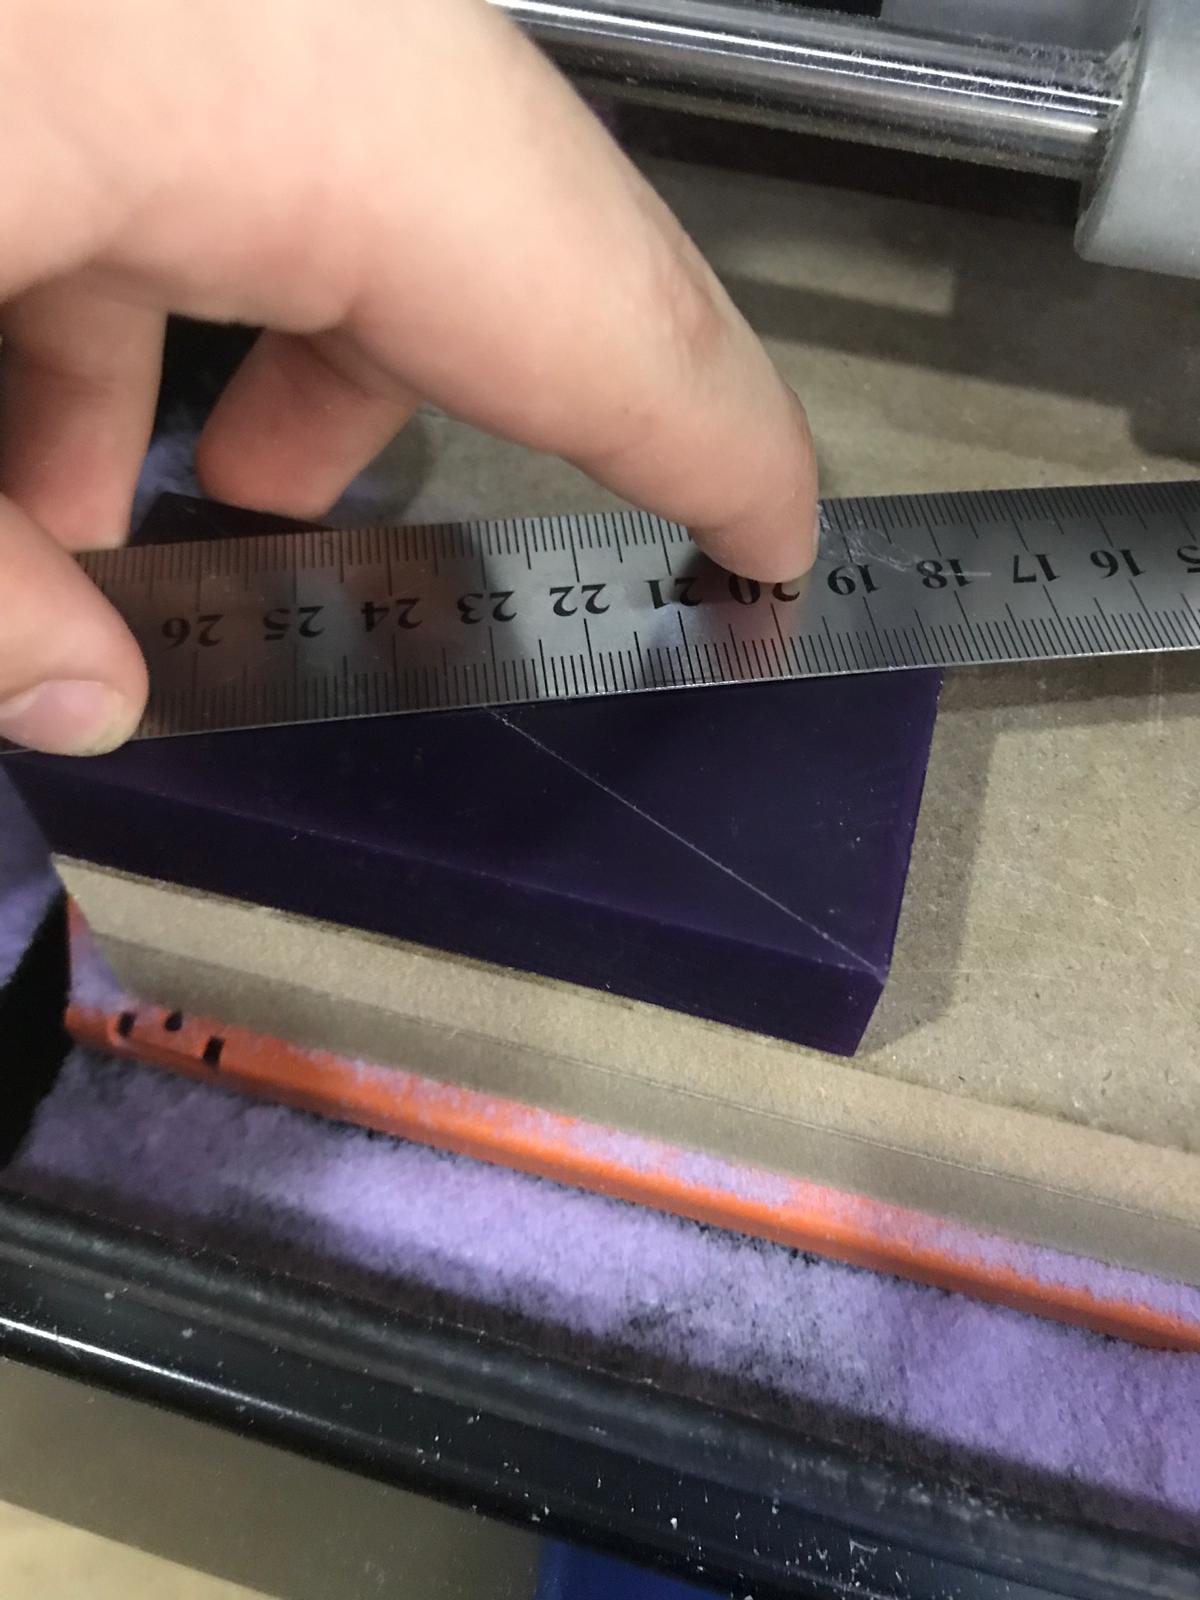
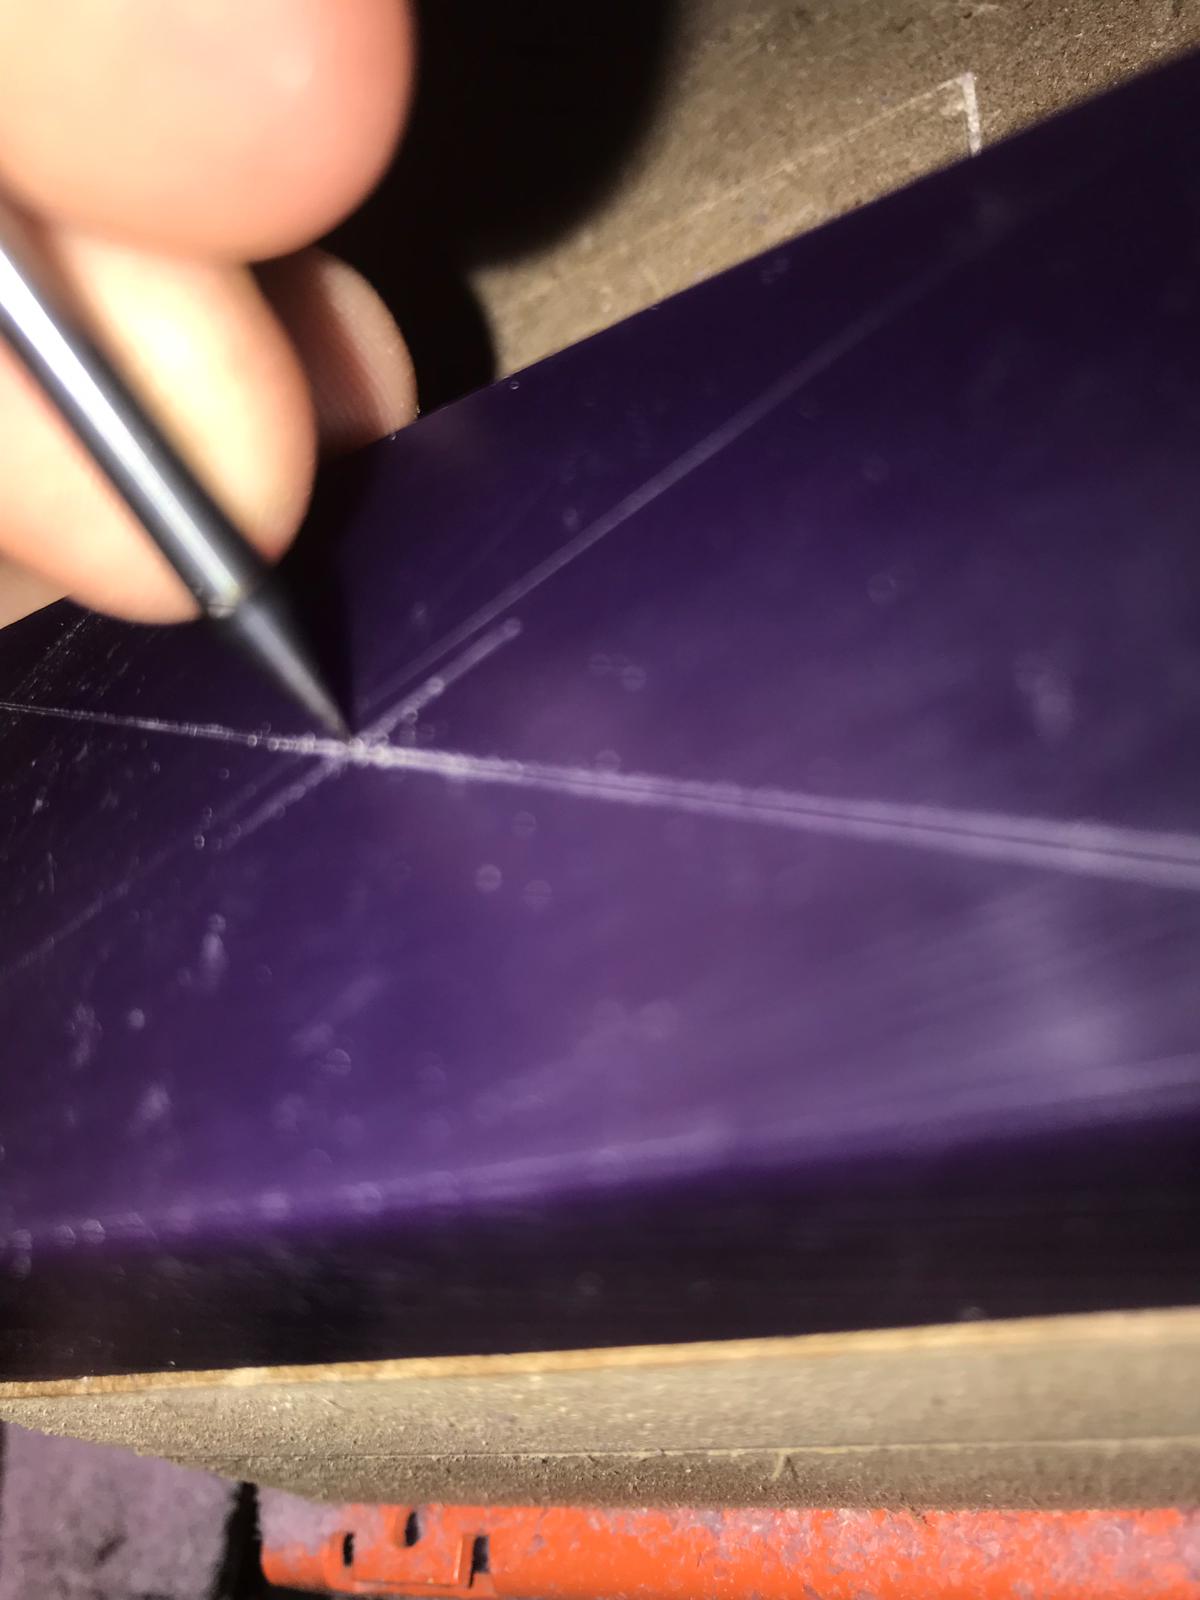
18.i measured the center of the block
 19.we sticked the wax block in the machine using double sided tape
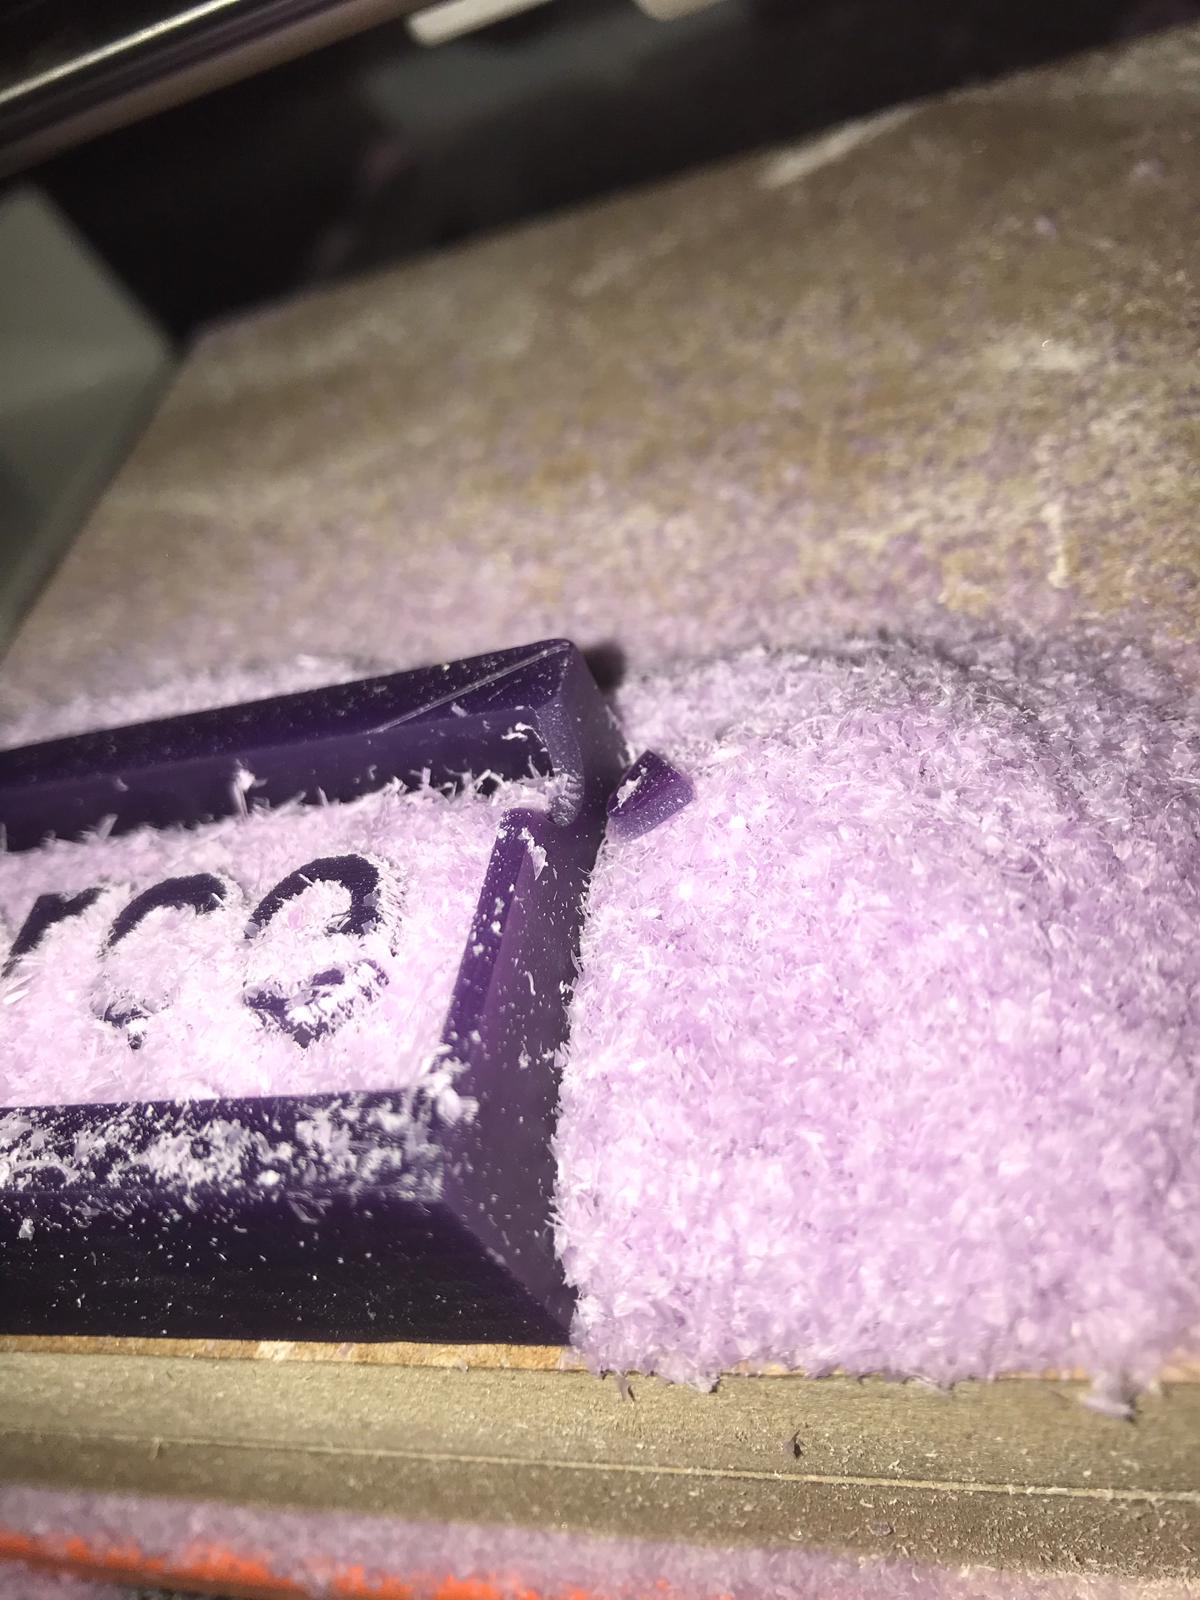
 22.milling has startted
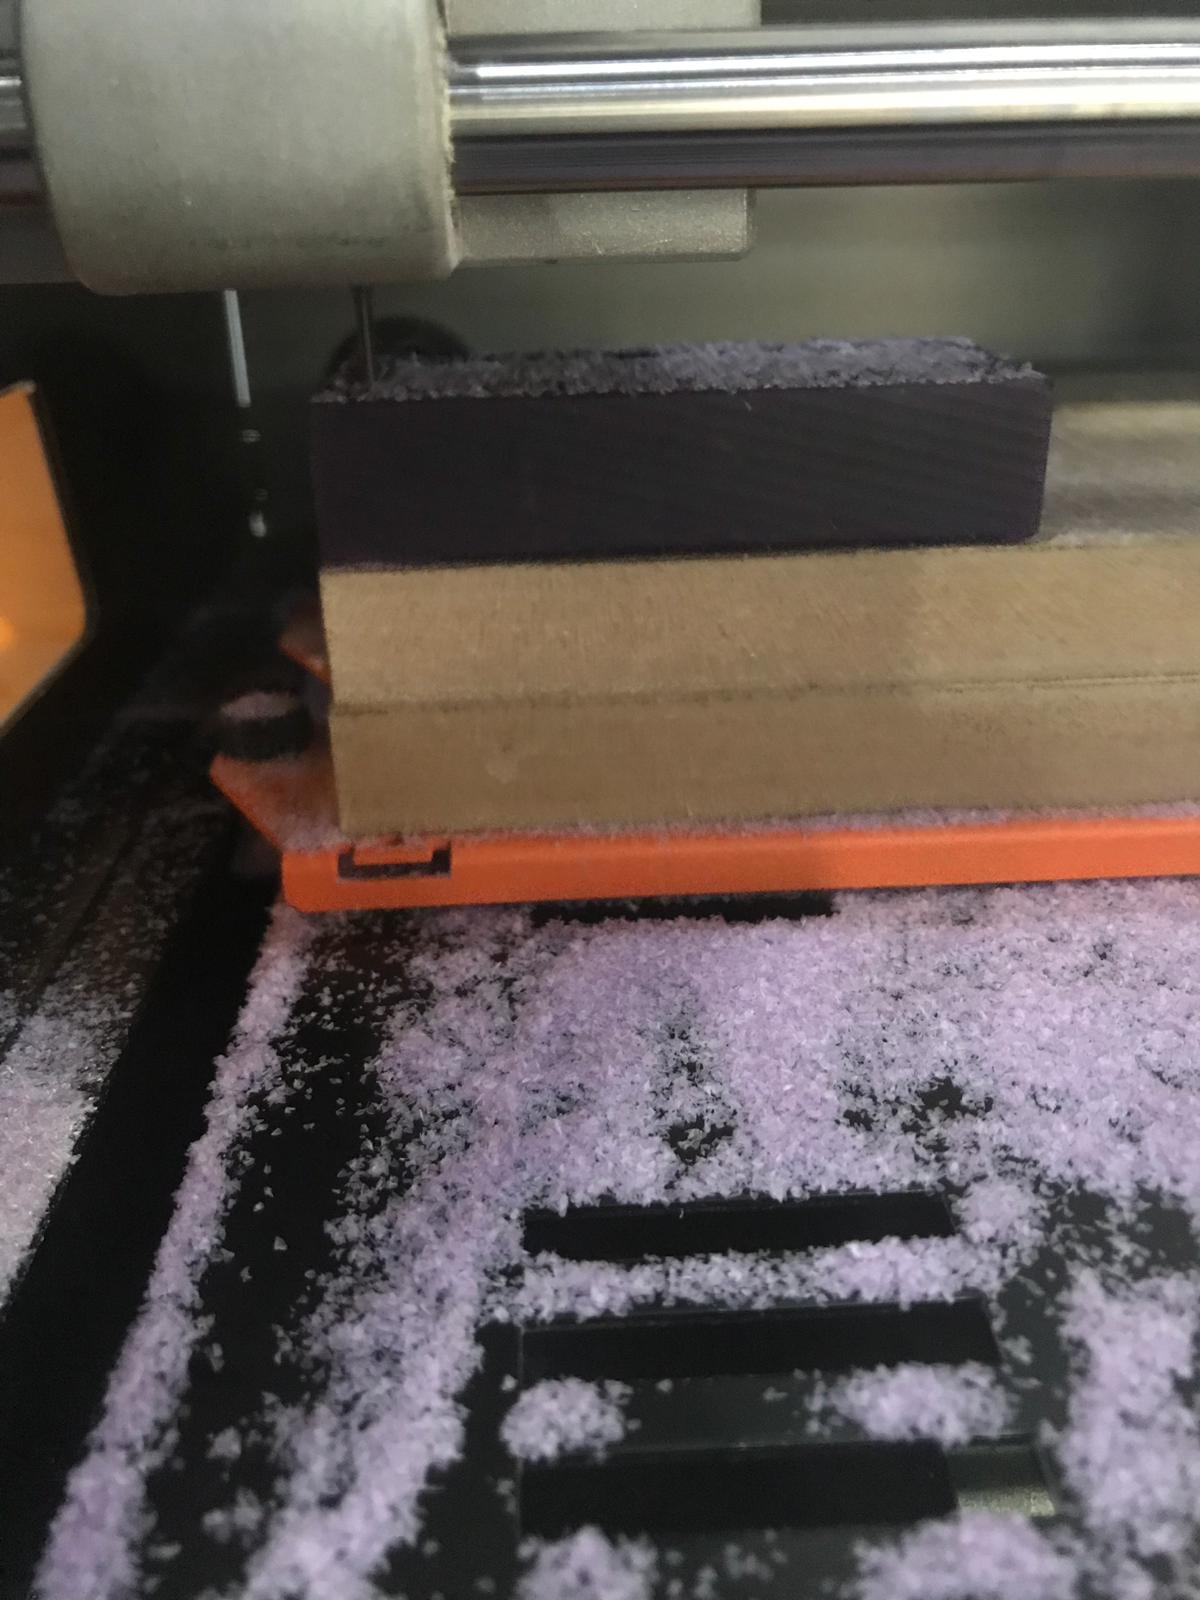 23.a small pice of the block got off so i had to glue a piece to hold the structure and stop leaking
MATERIAL SAFETY DATA SHEET
silicon casting
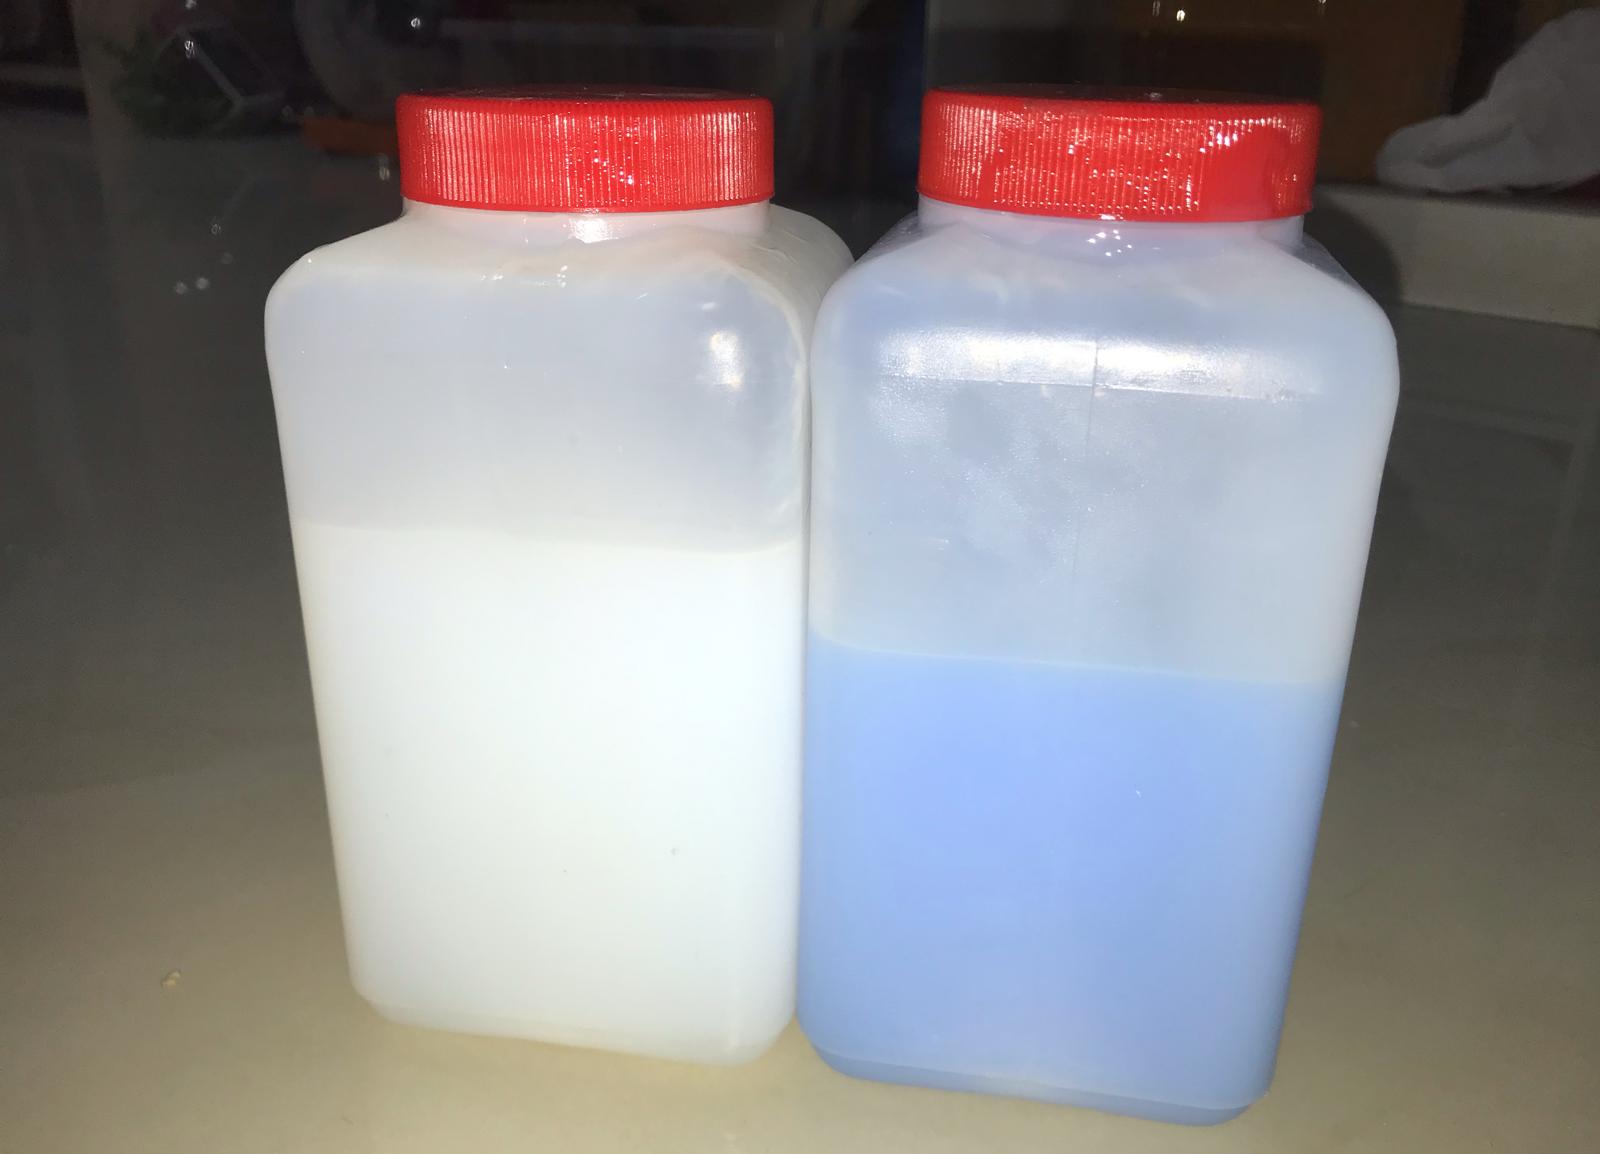
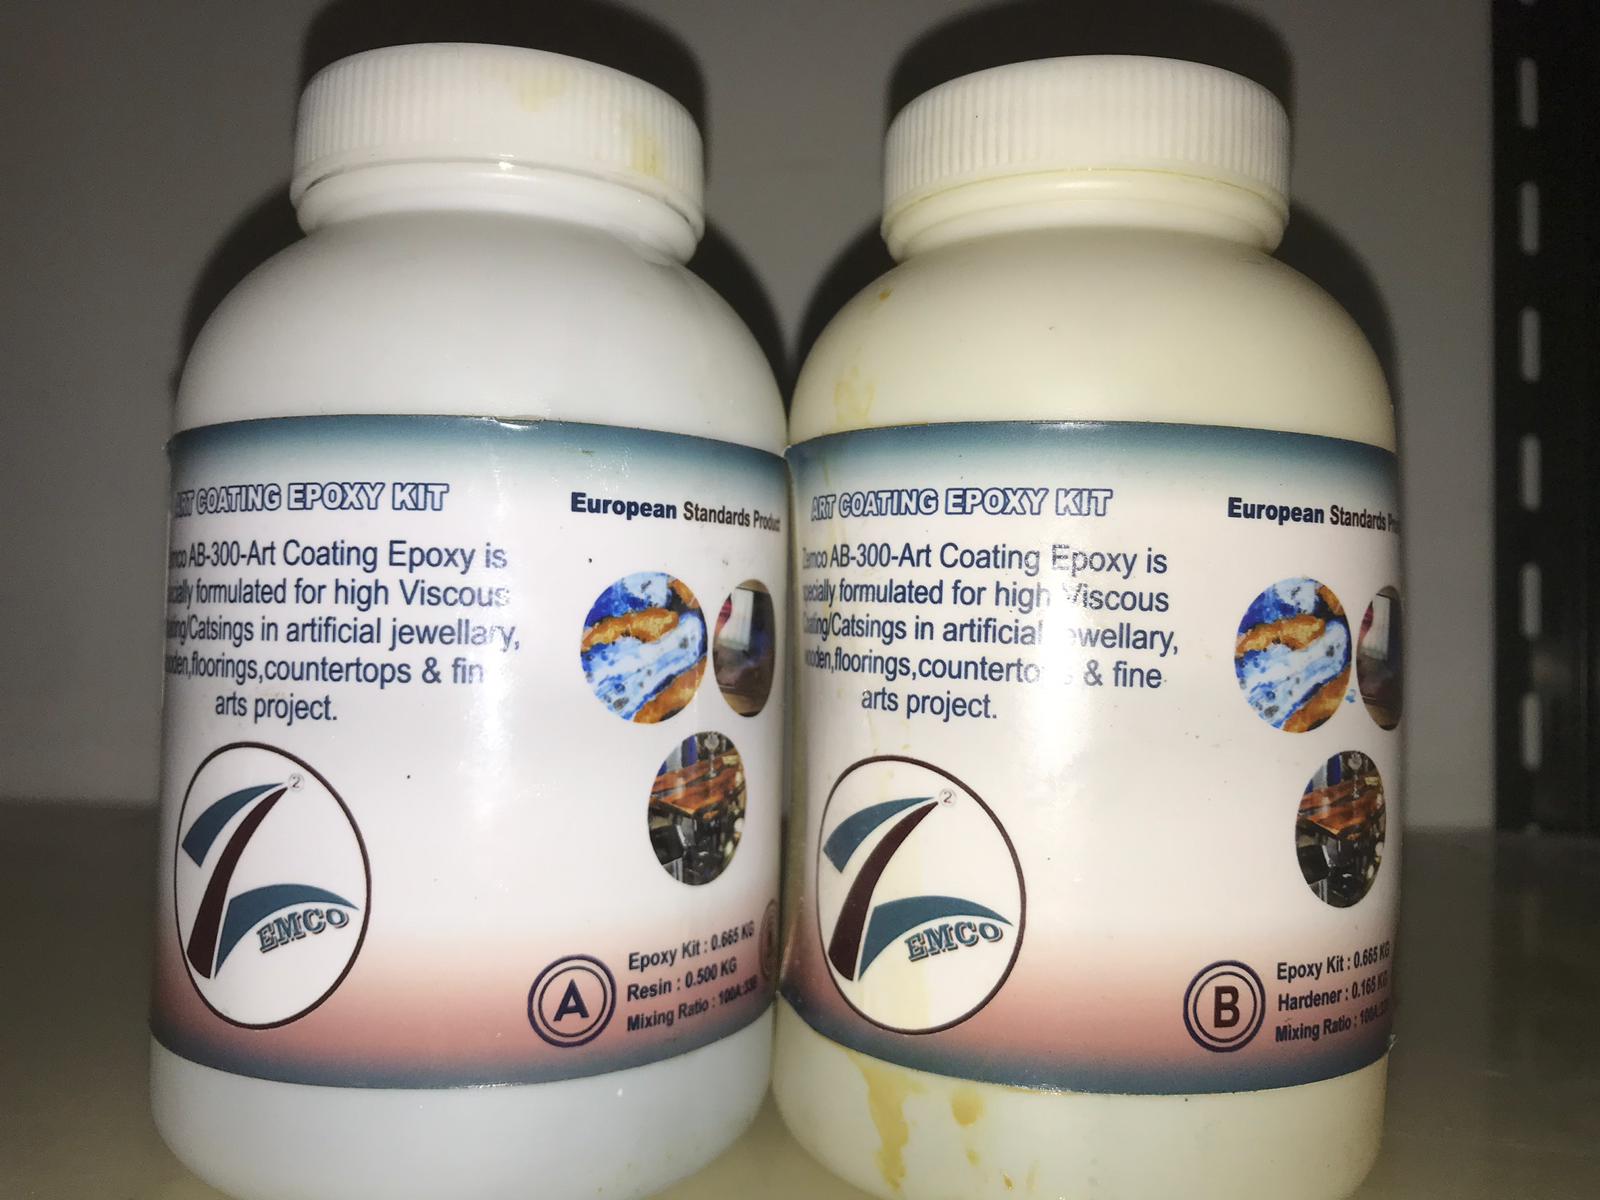
28.I used for the negative mold silicone with a ratio of 50/50 so i needed 26g so each will be 13g
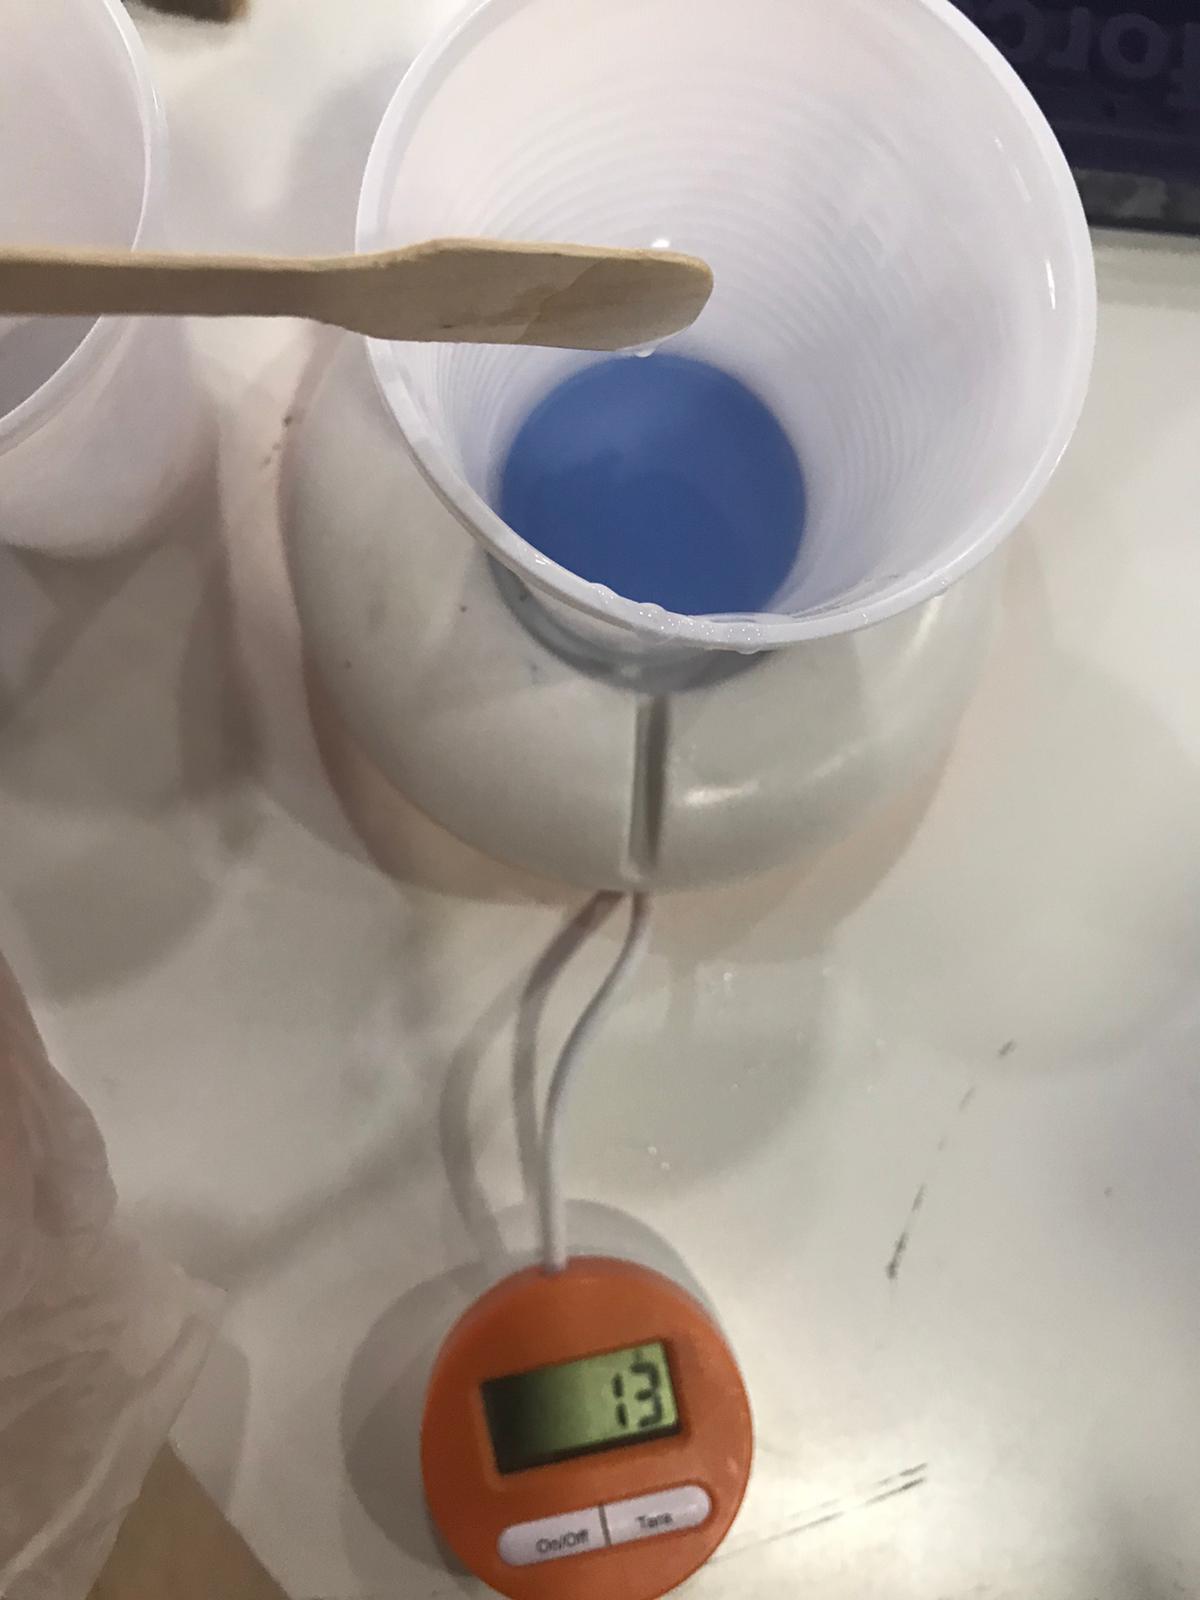
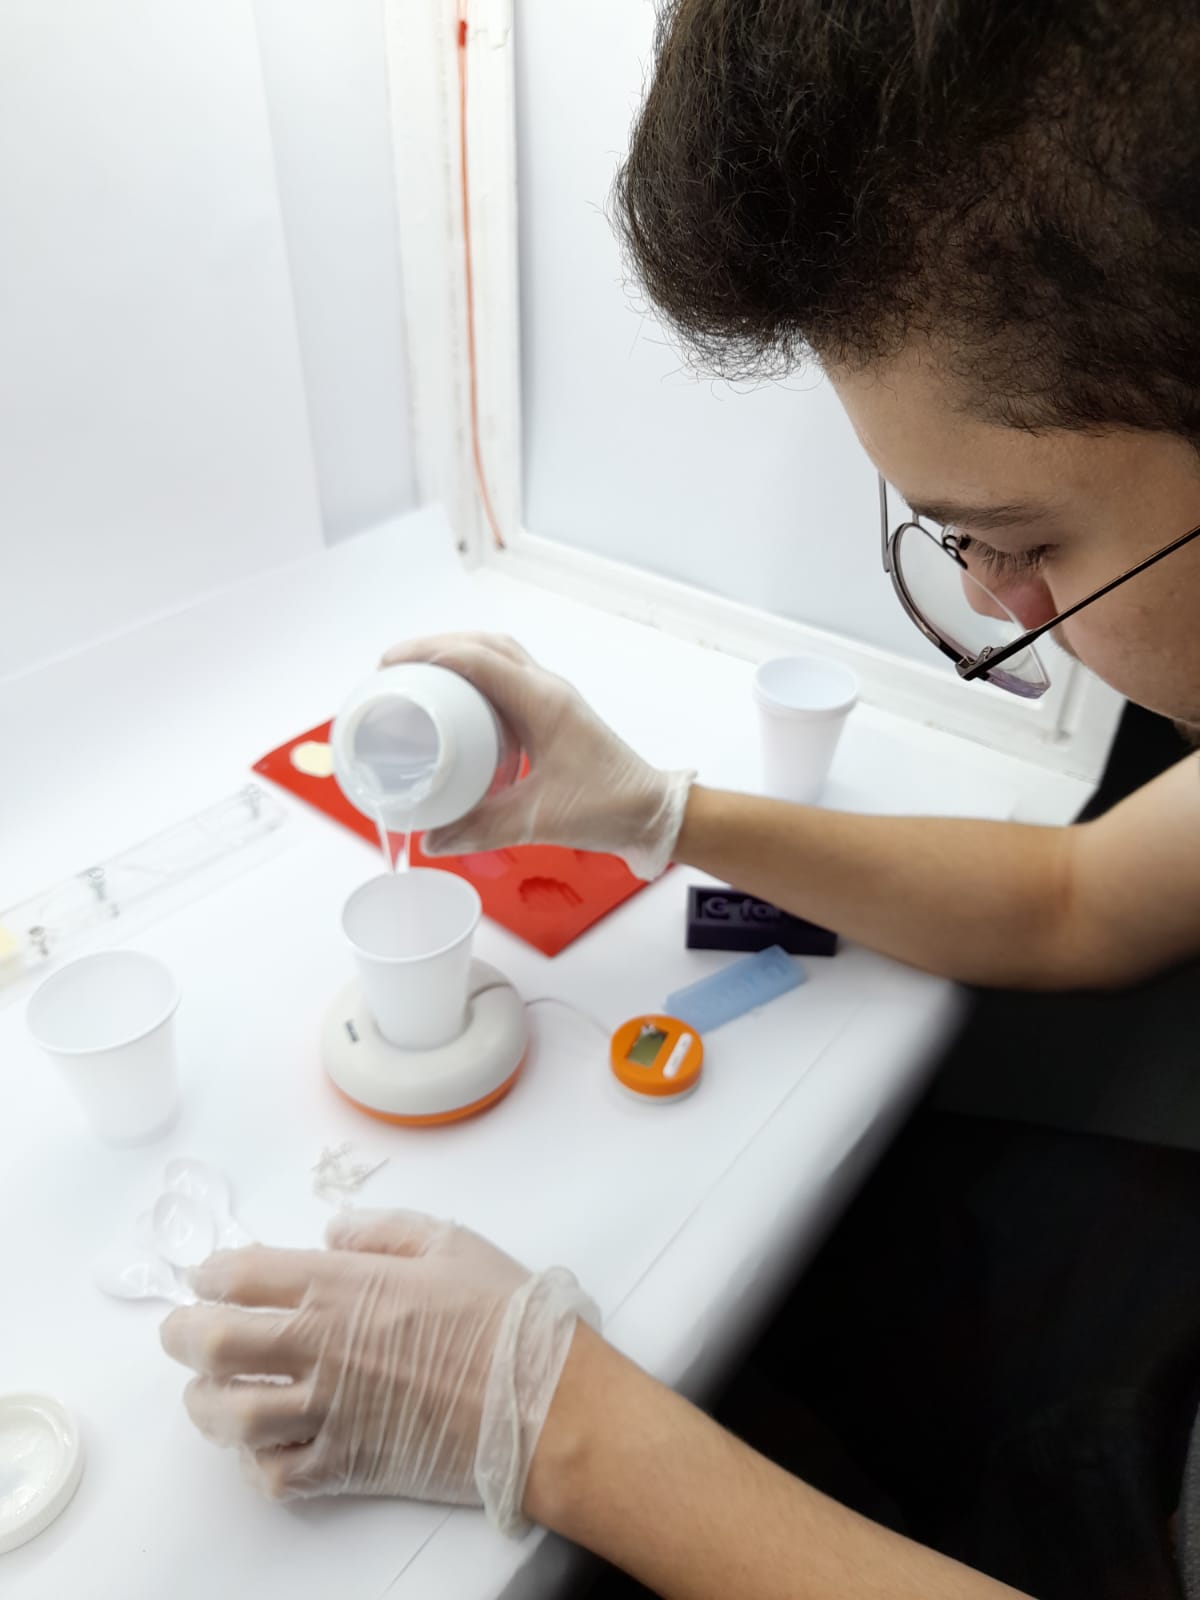
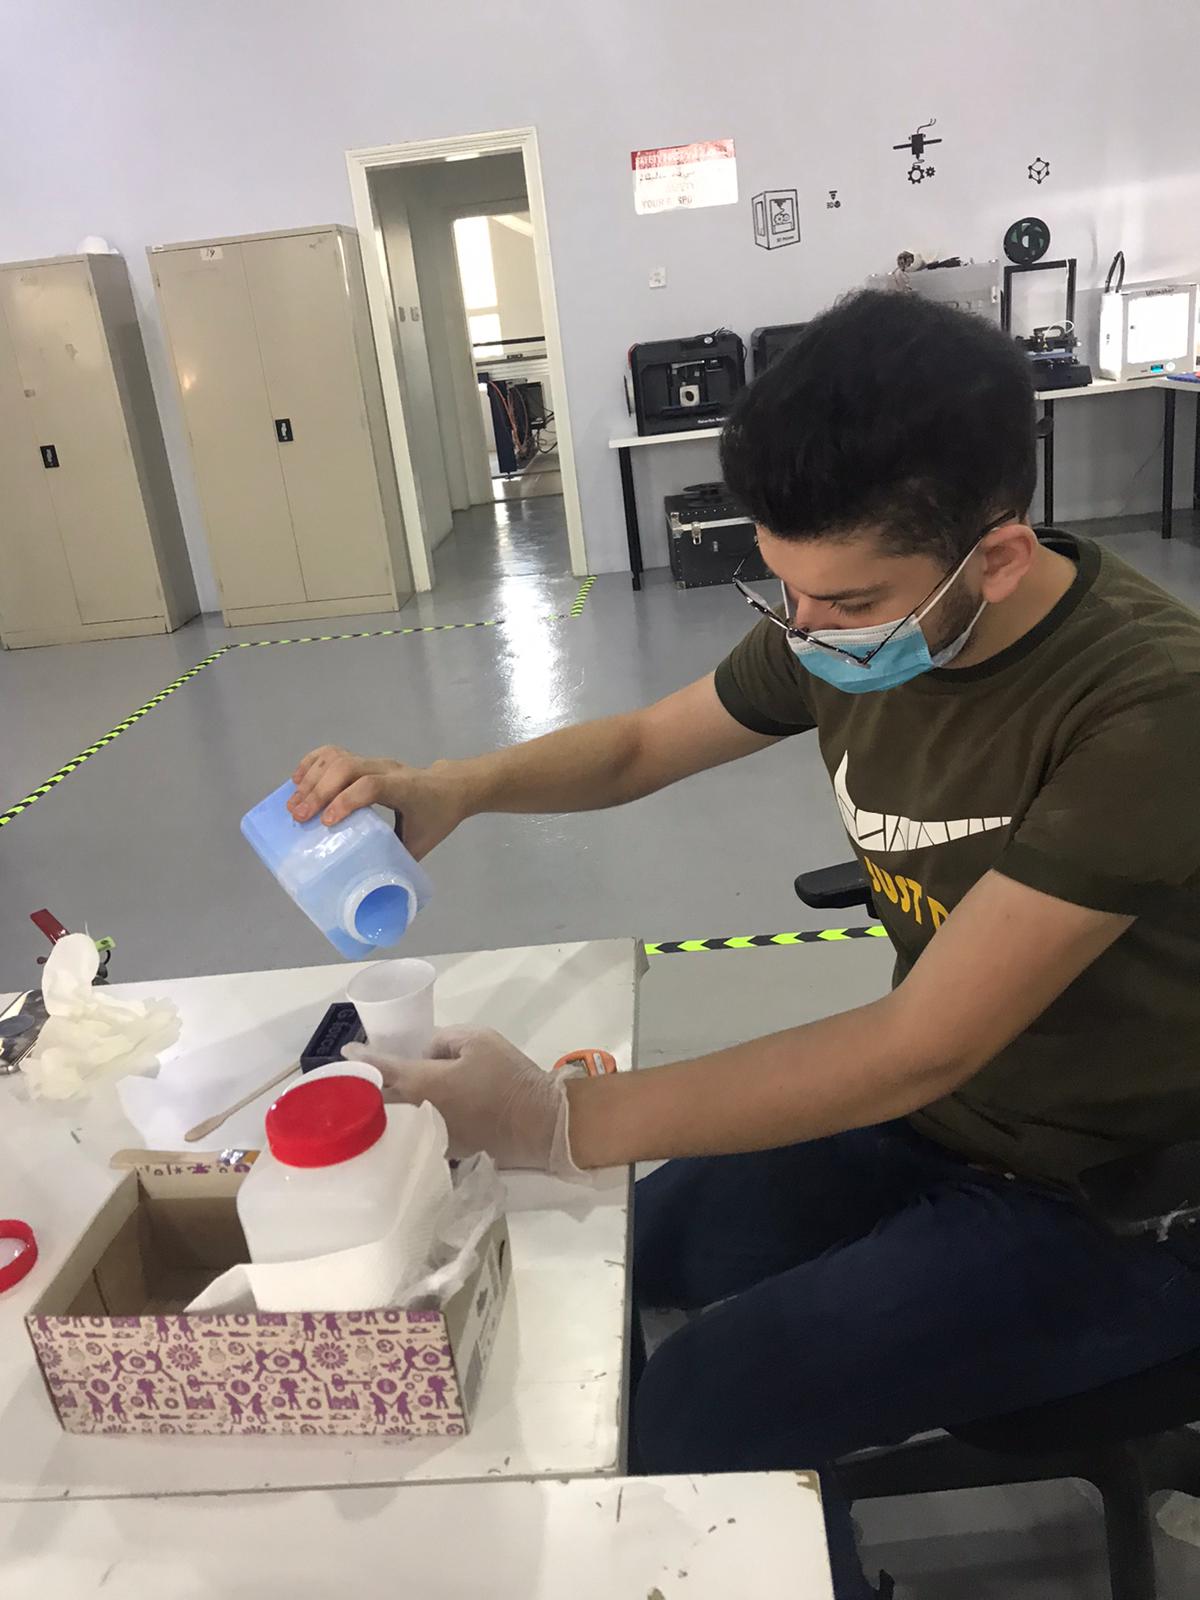 30. I started with 13g of product A
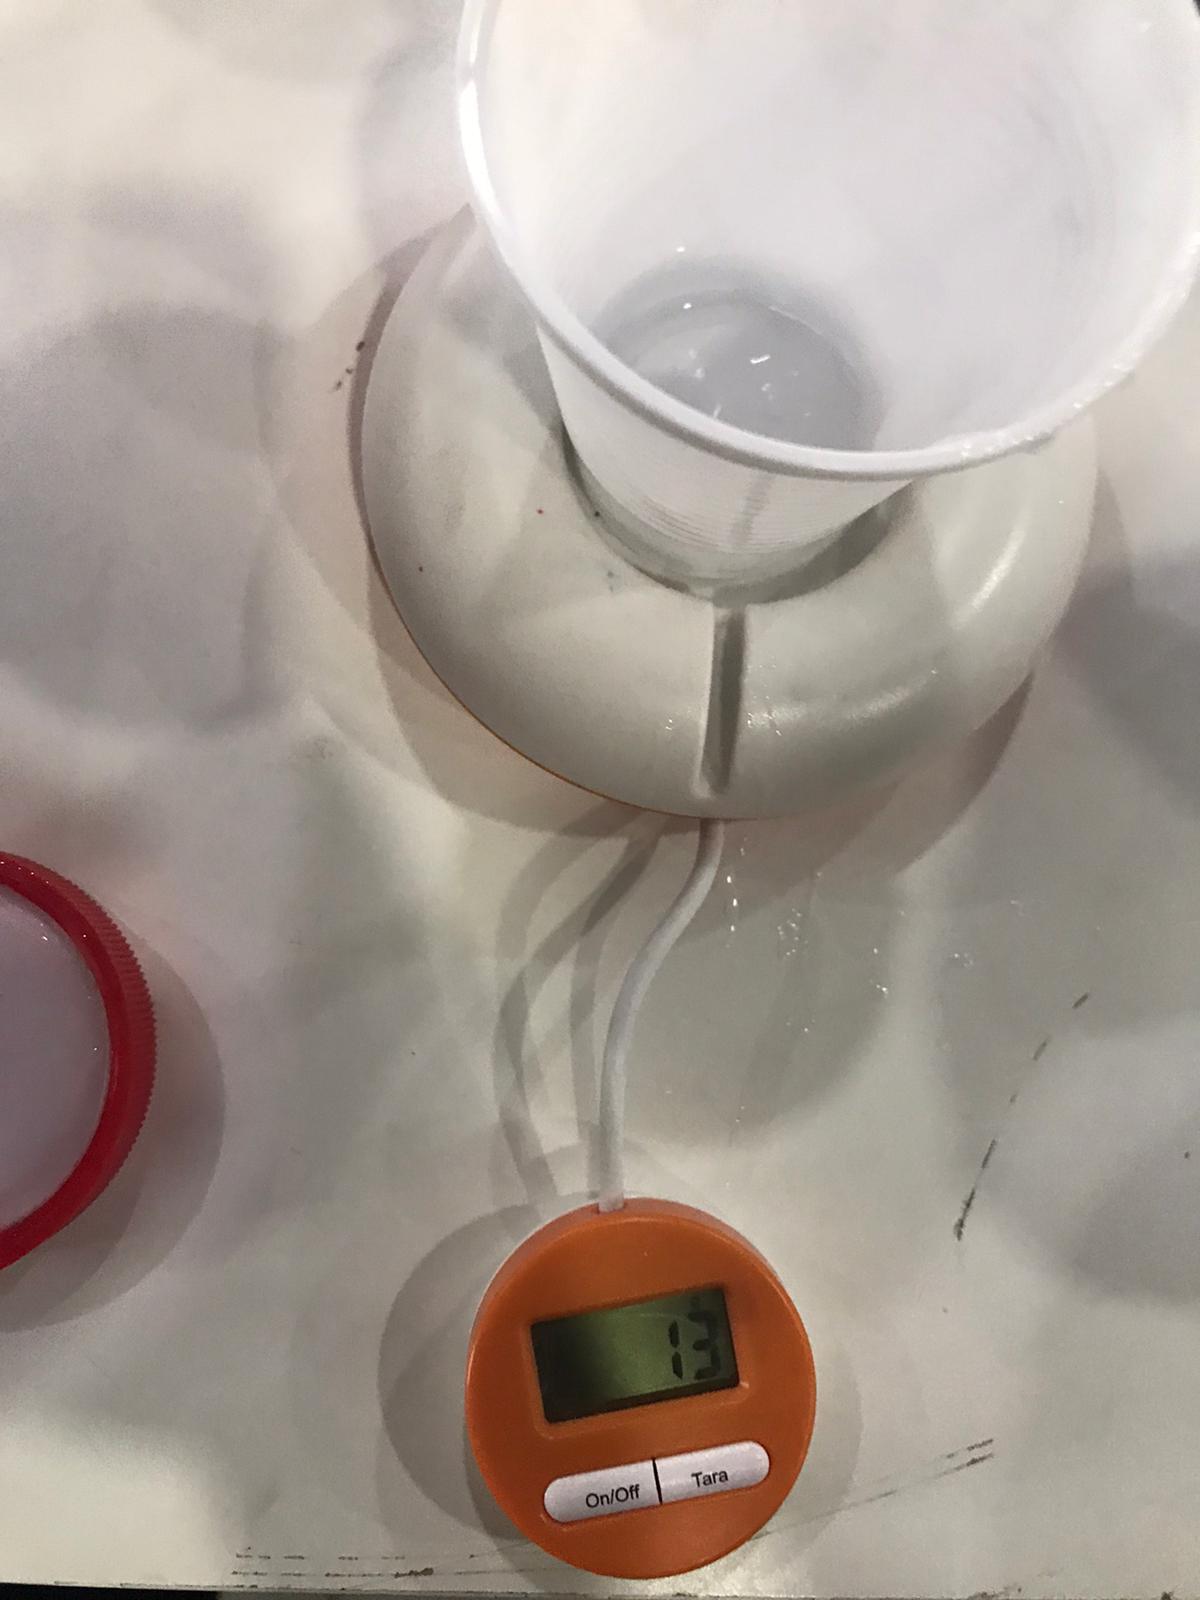
 31.Then with 13g of product B
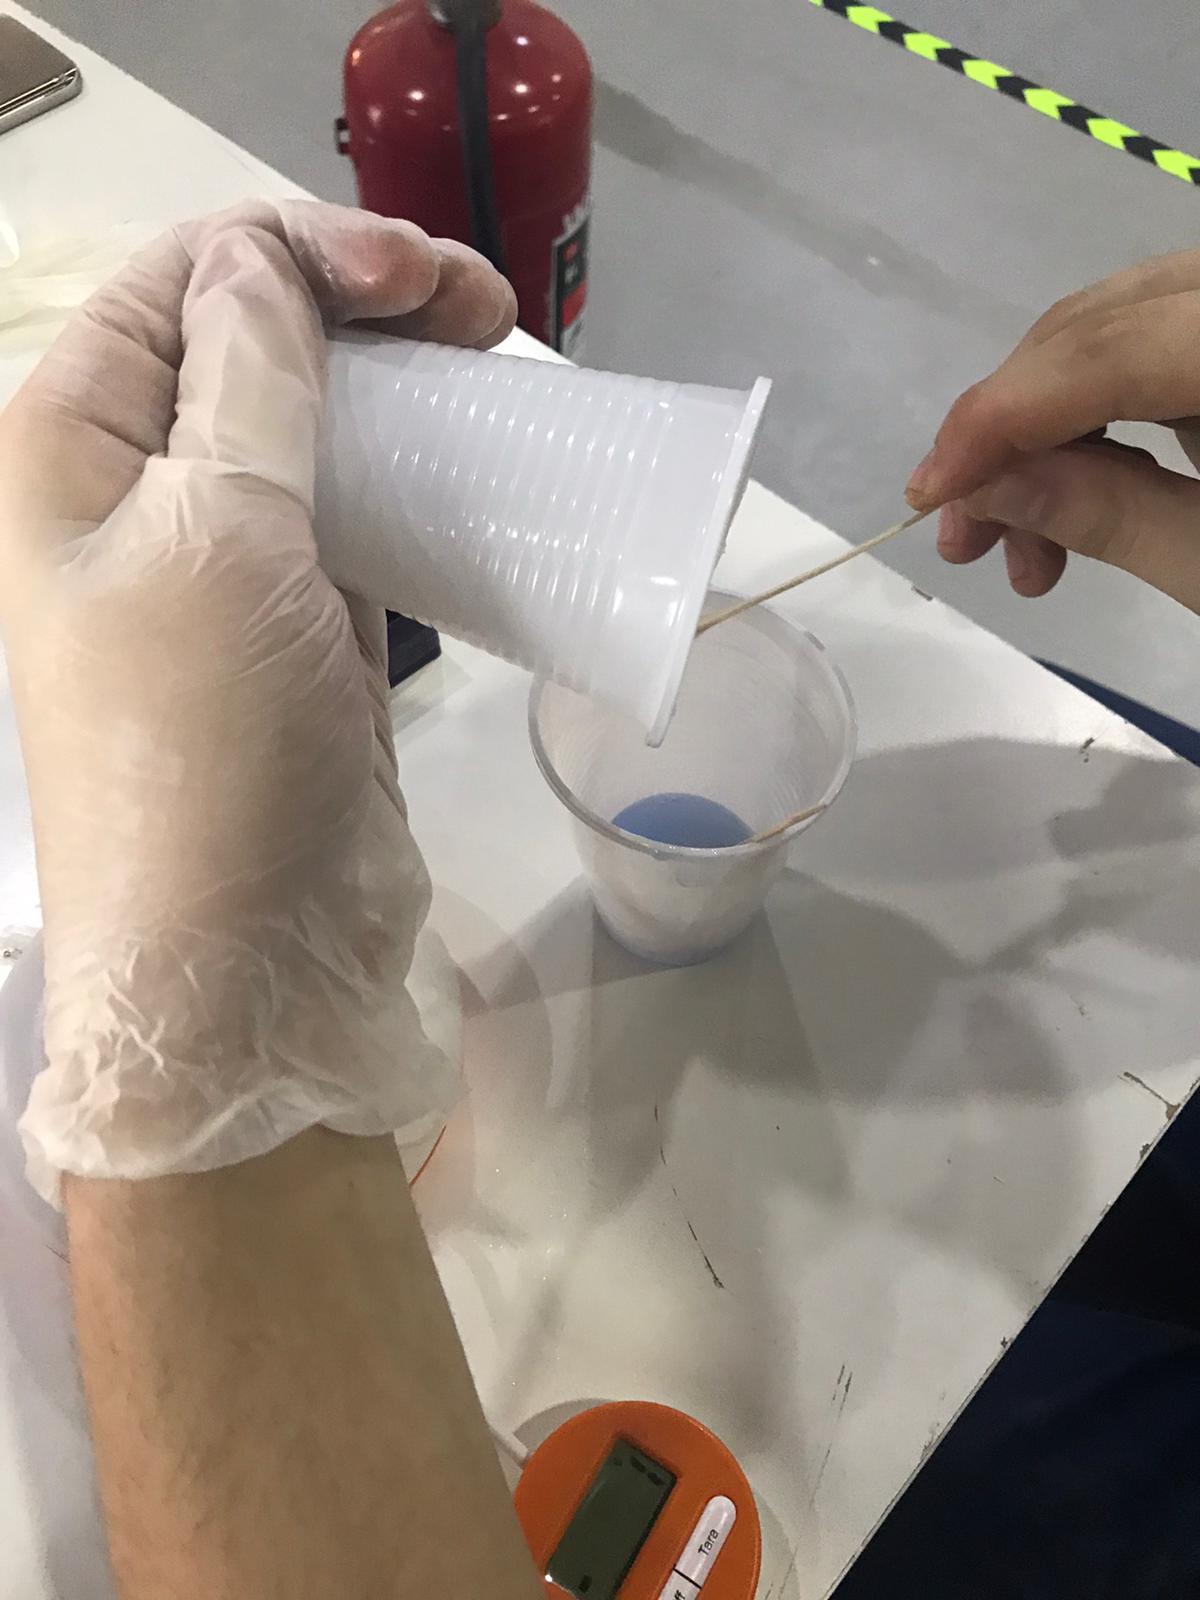
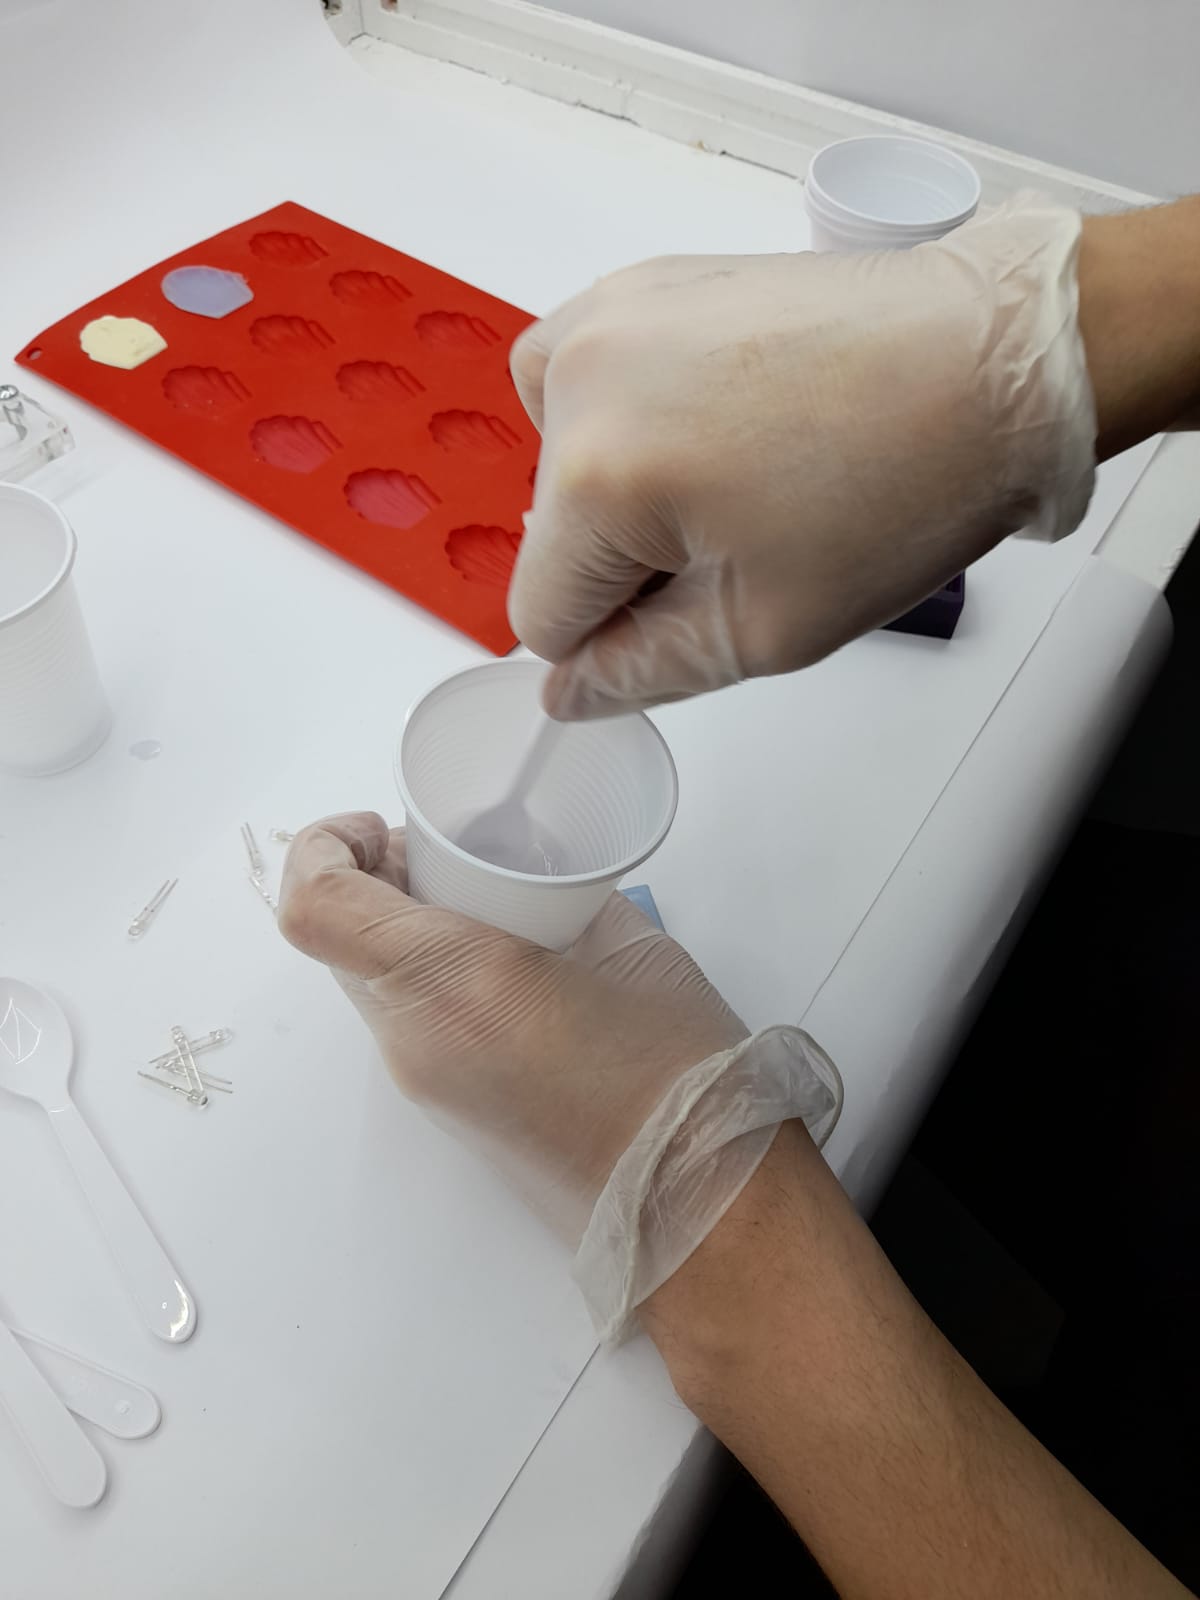
 33.i mixed them together
 36. after that I poured mixture to my positive wax mold and knocked the walls so any bubble can go out easily
 37.I left it to cure for 24hours
Epoxy casting
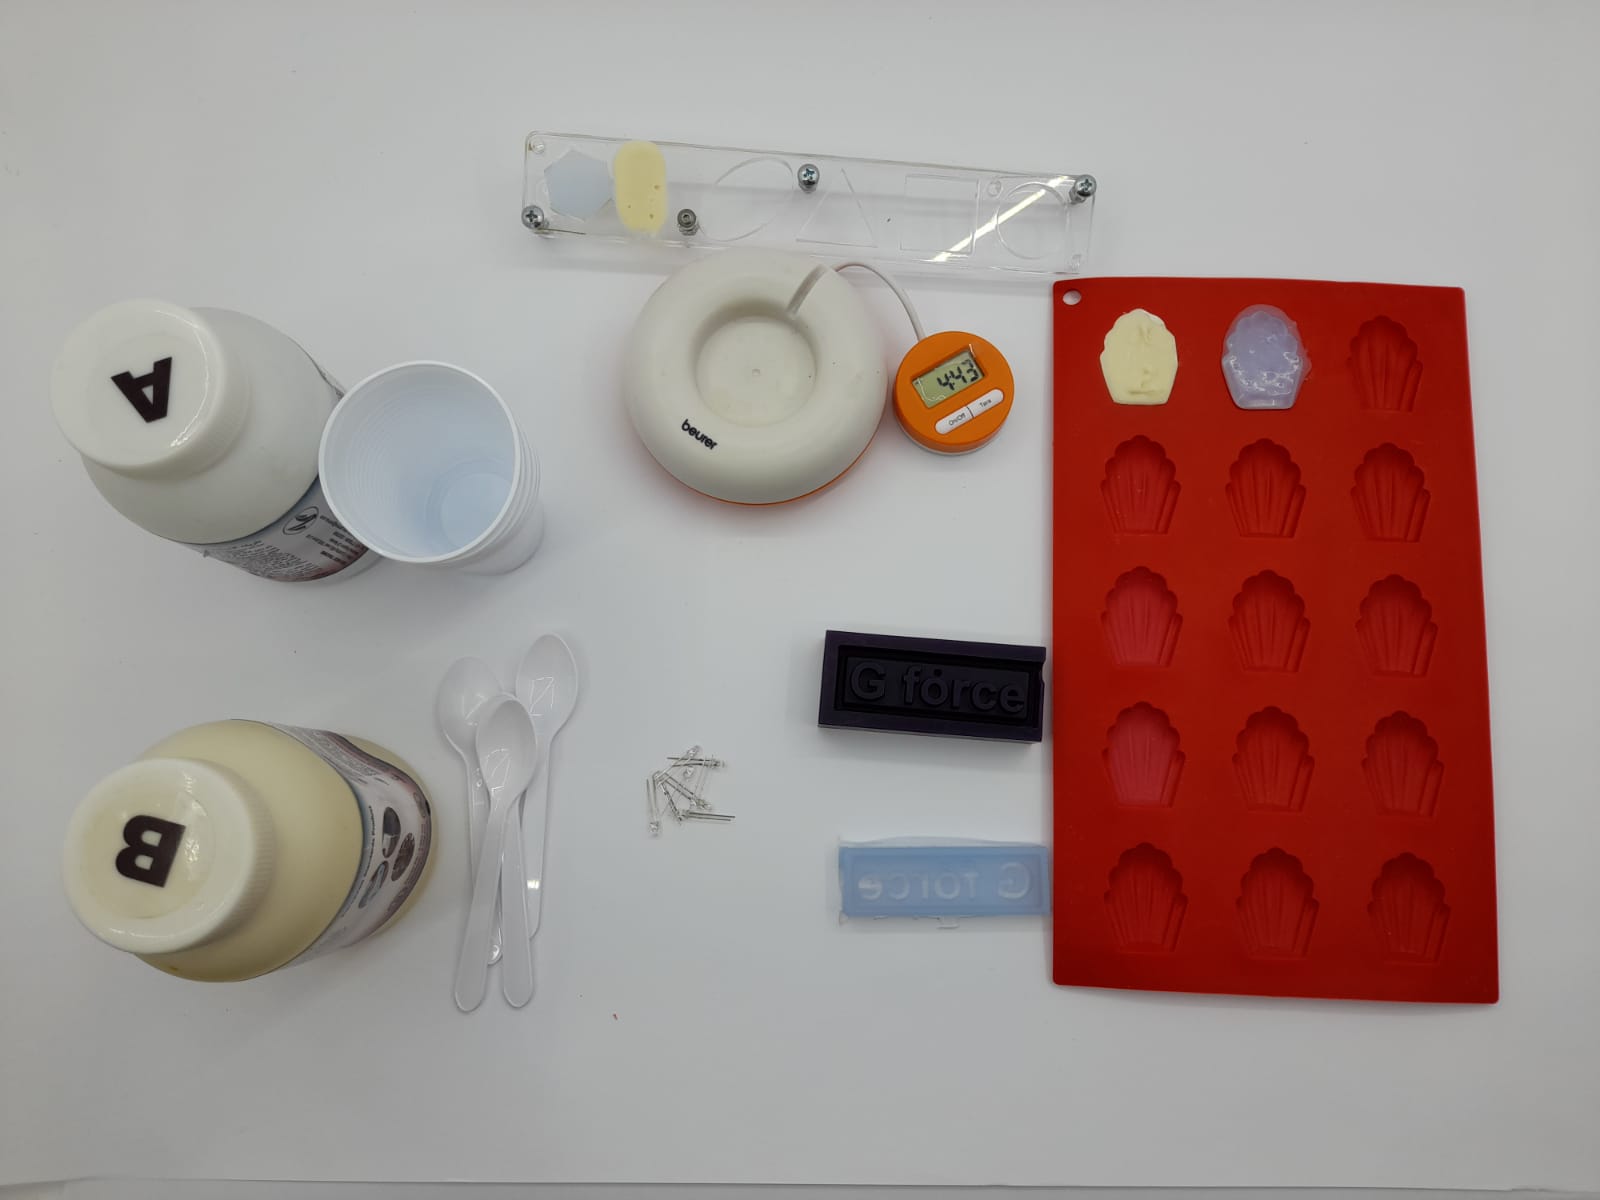
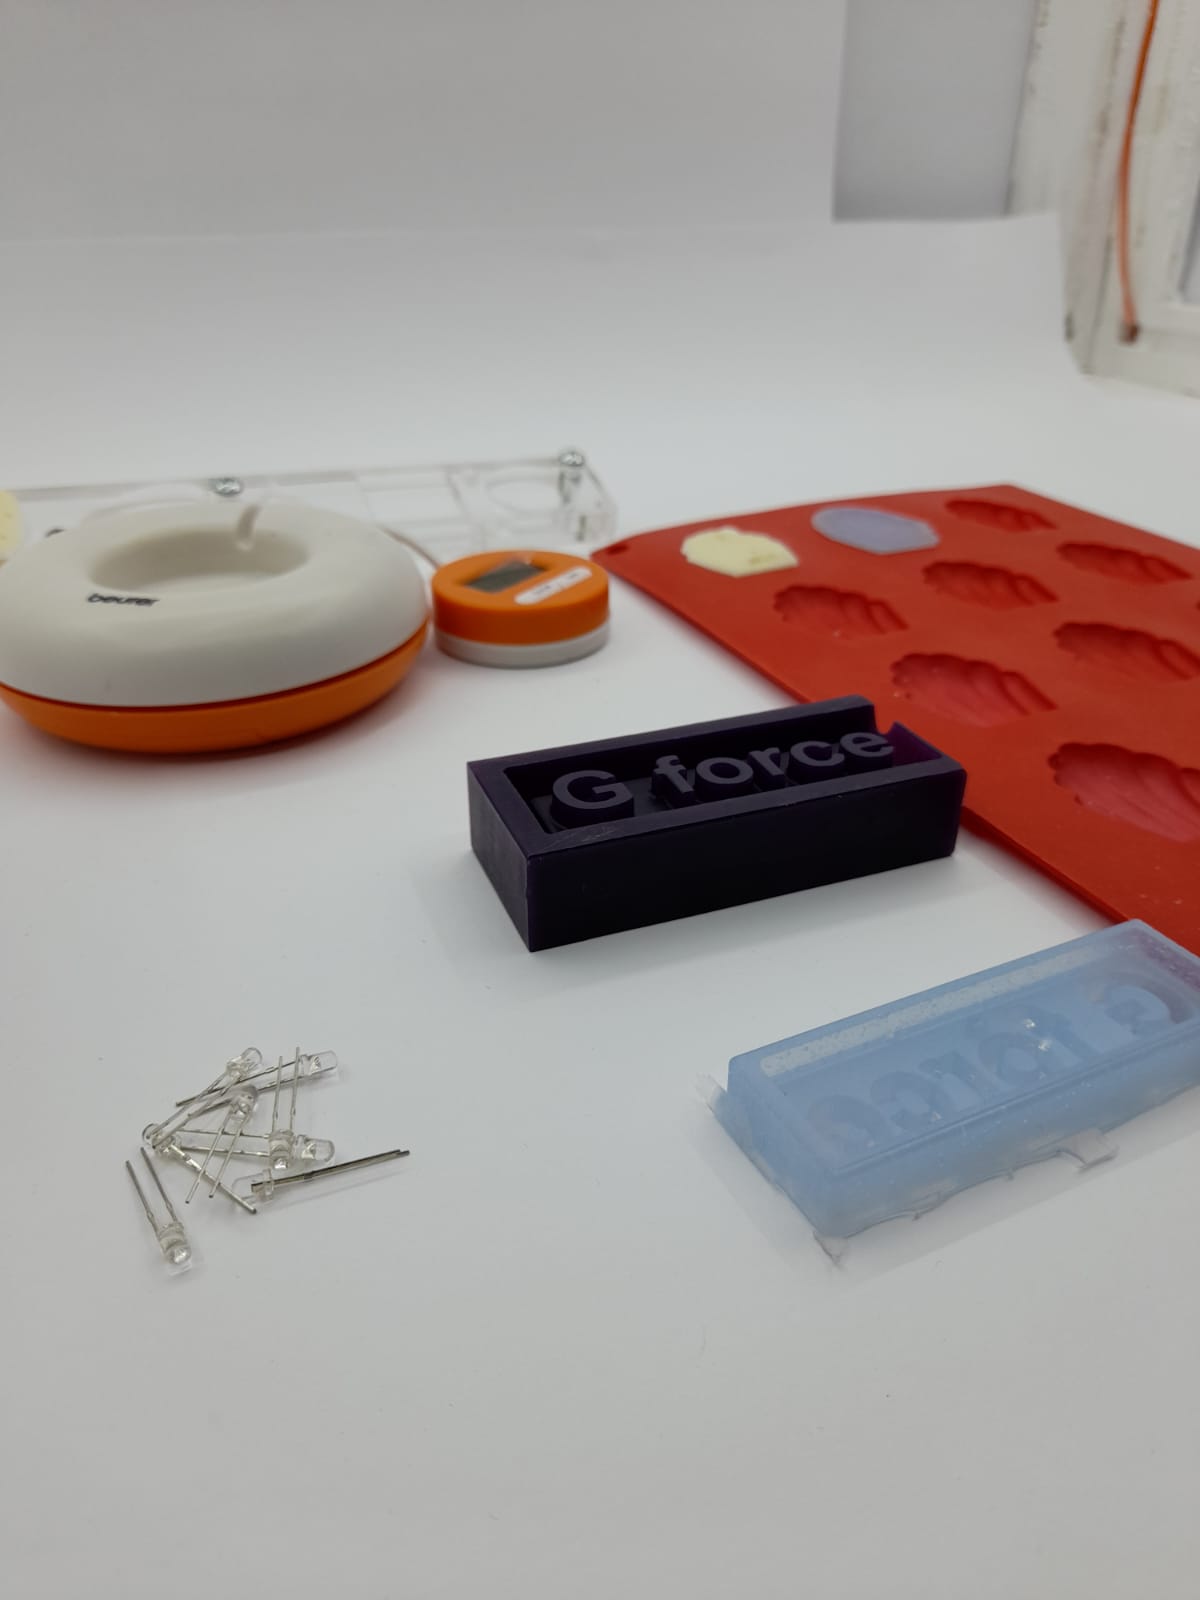
 38.For my cast These are the tools I need
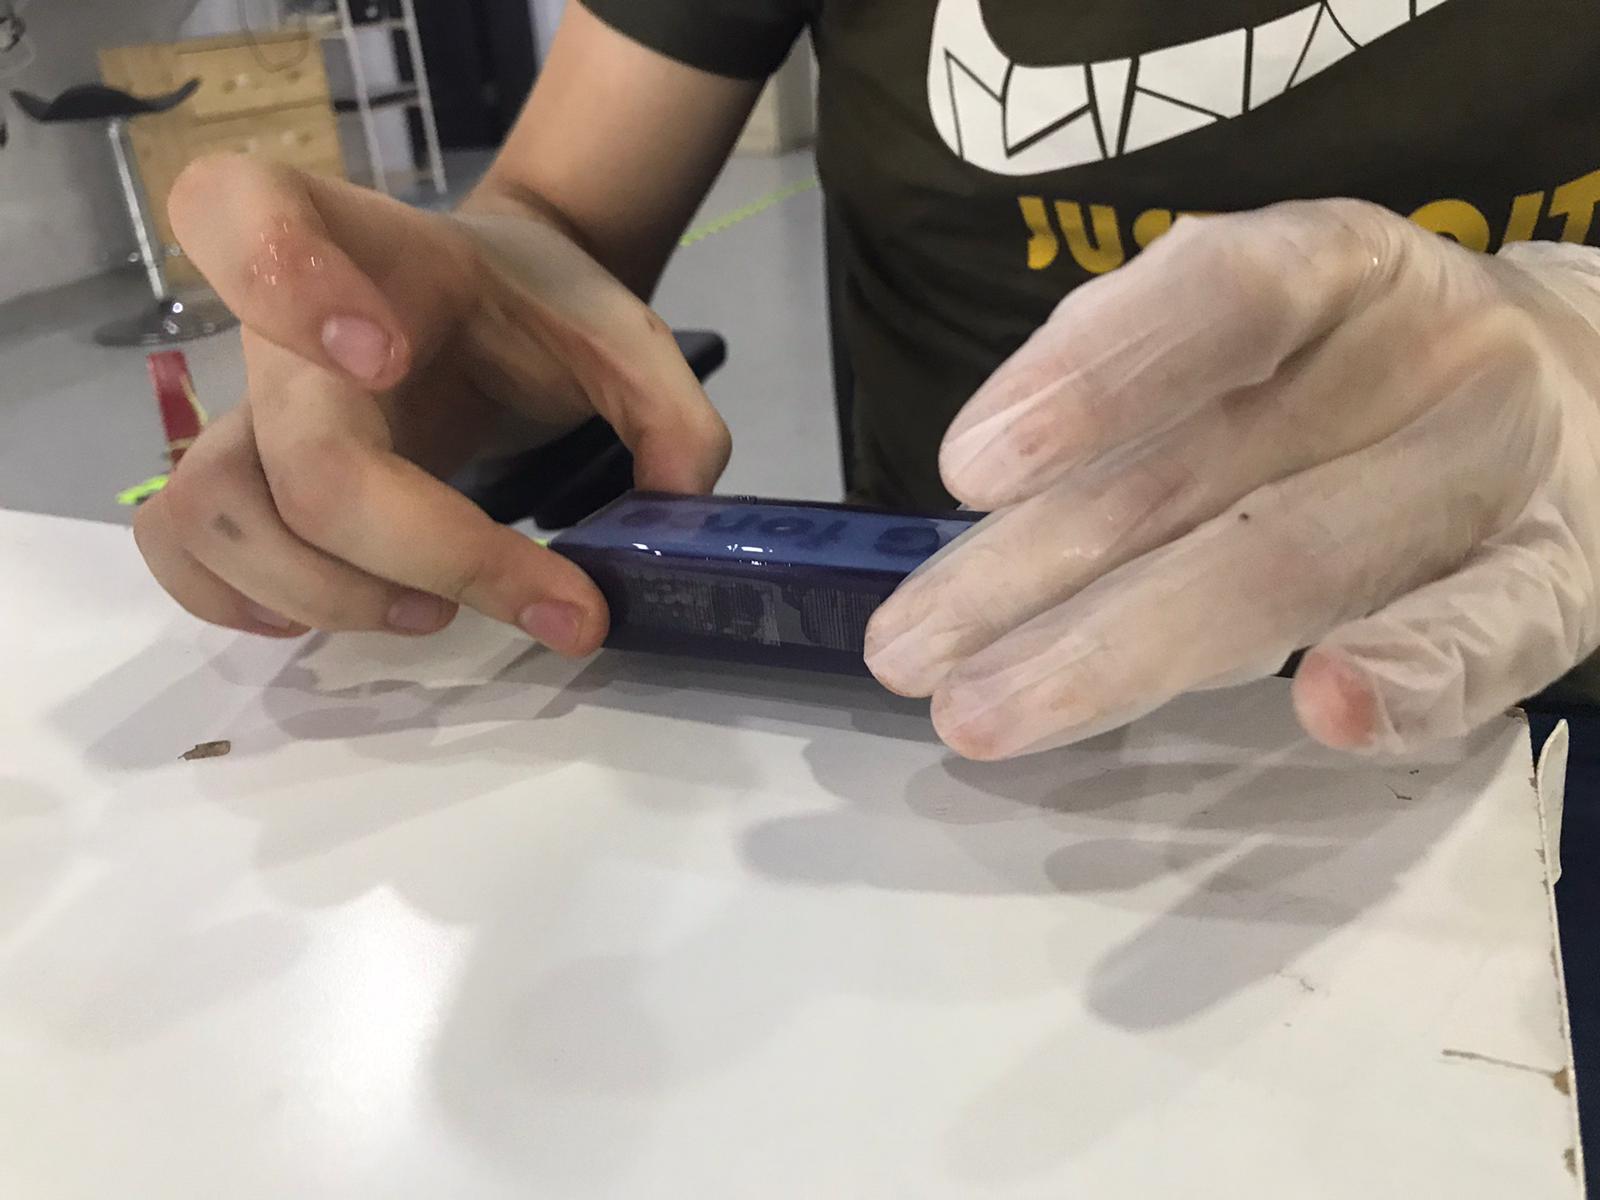
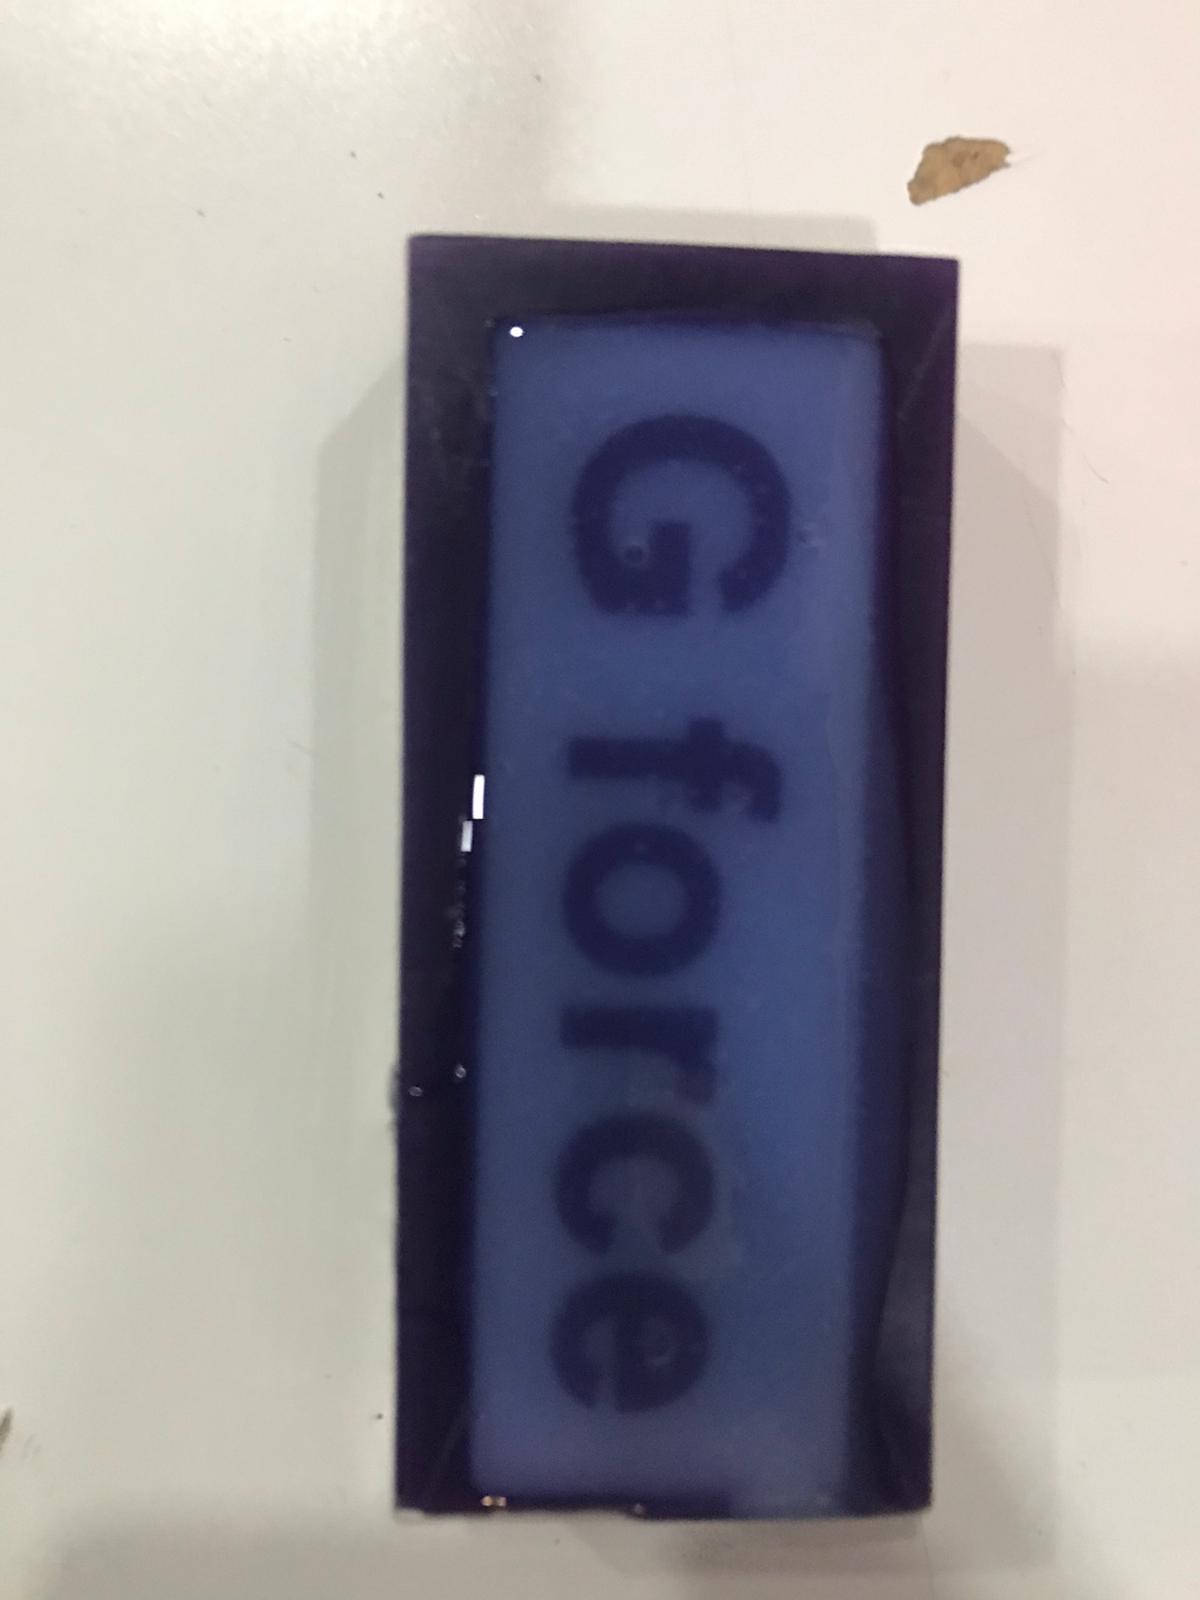
 39.I took off the cured mixture
 40. for the cast I used epoxy 1/3 ratio where i poured 75% of resin and 25% hardner
 42.I mixed them together
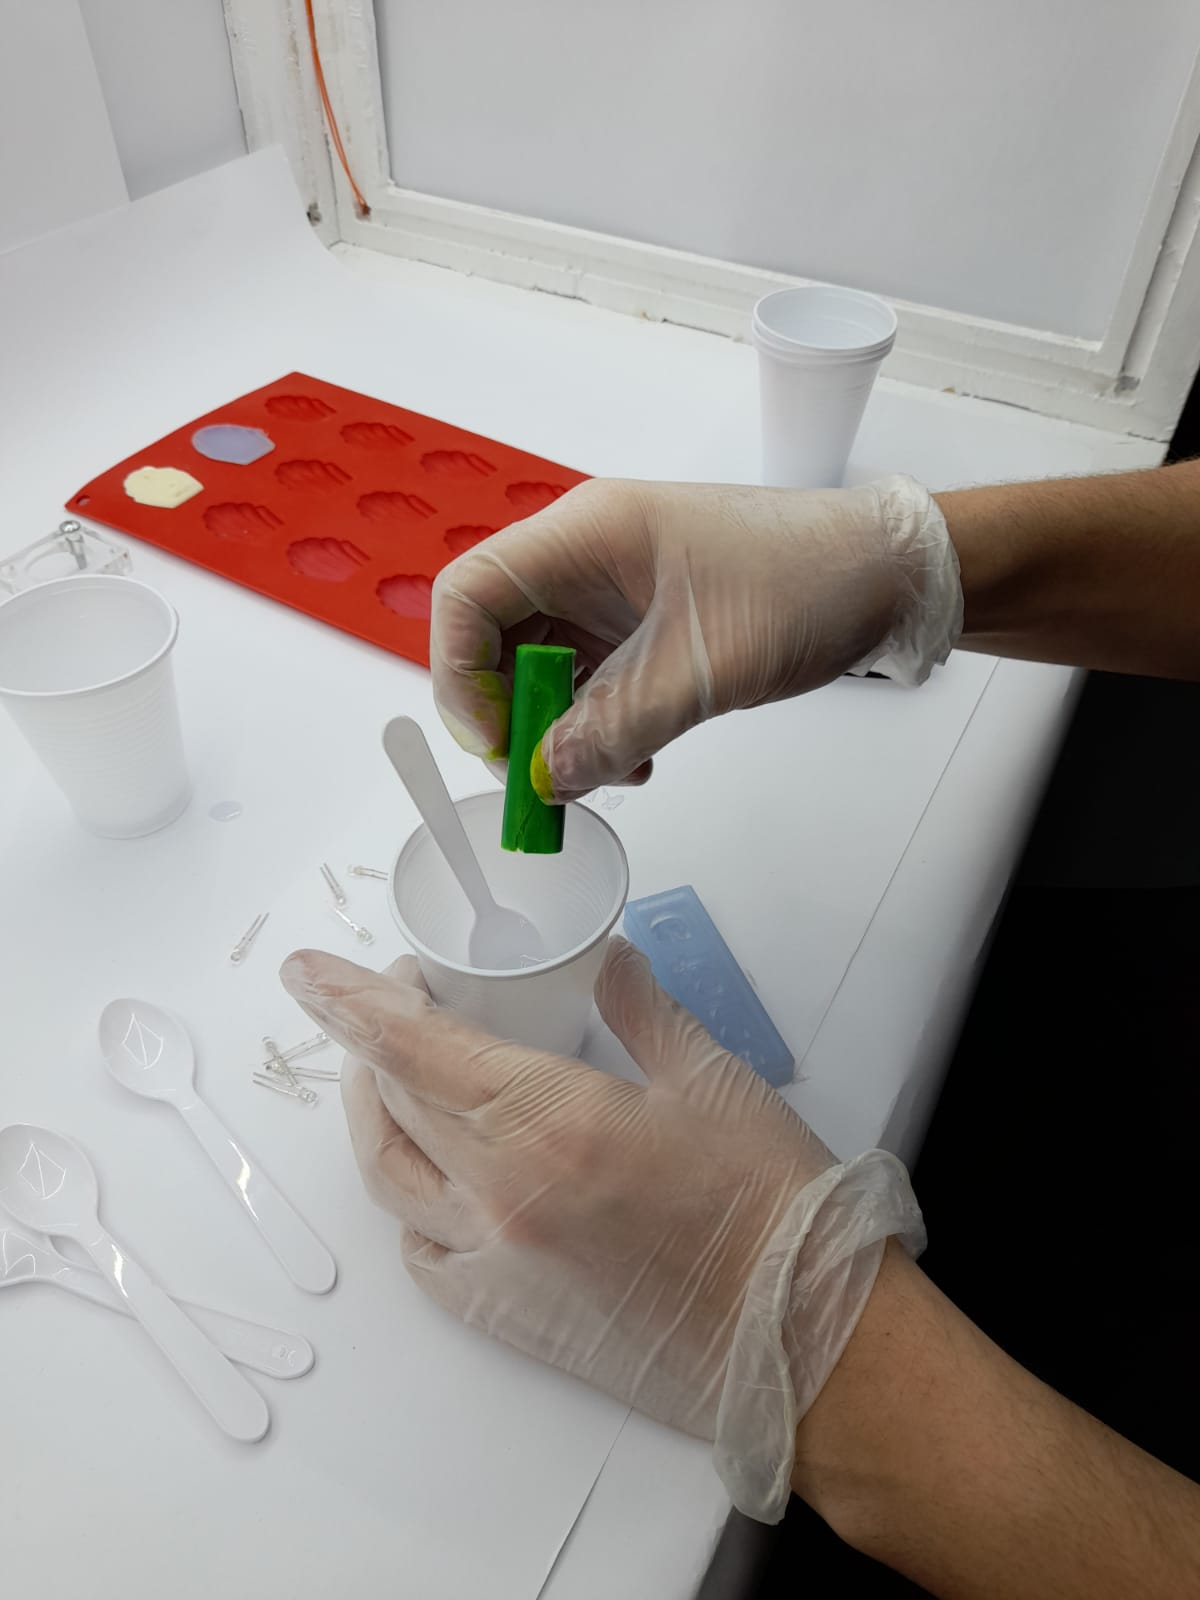
 43.I had an idea to color my mixture so i used a marker to get the green color and mixed it with them
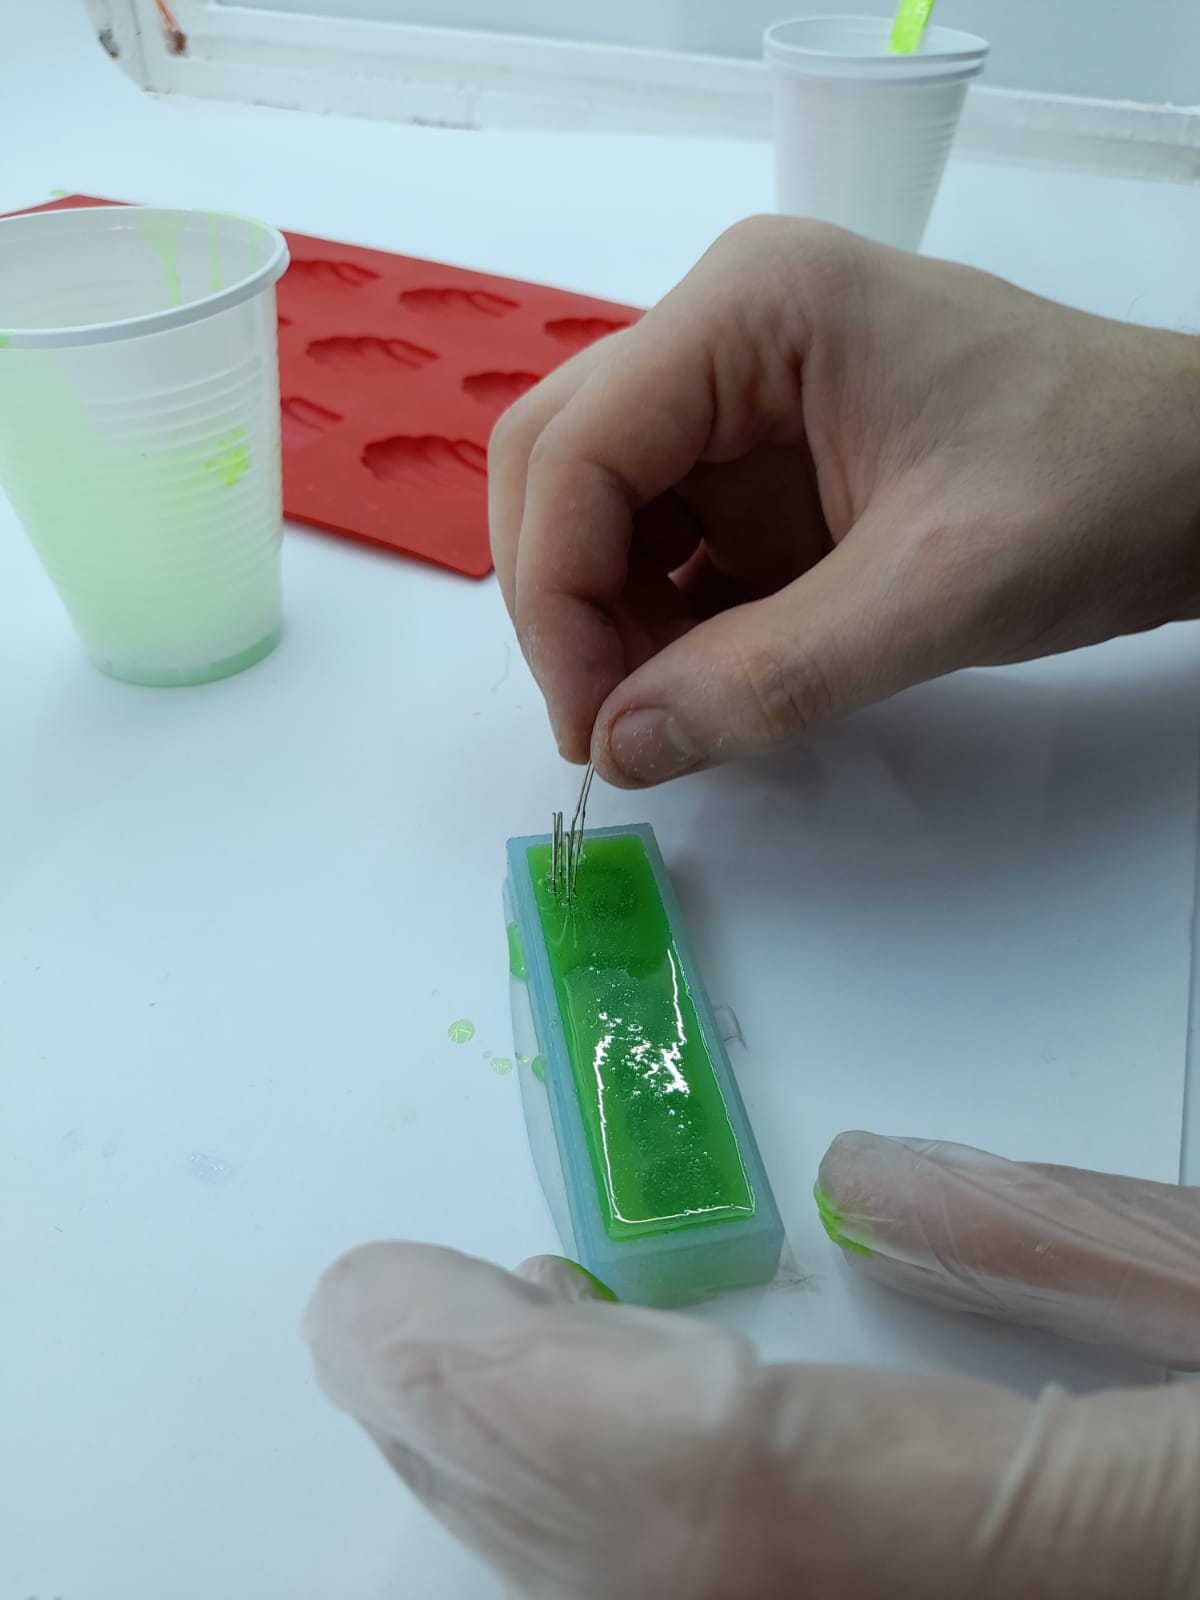
 46.I poured the epoxy in the negative mold and i also had an idea to put some LEDs
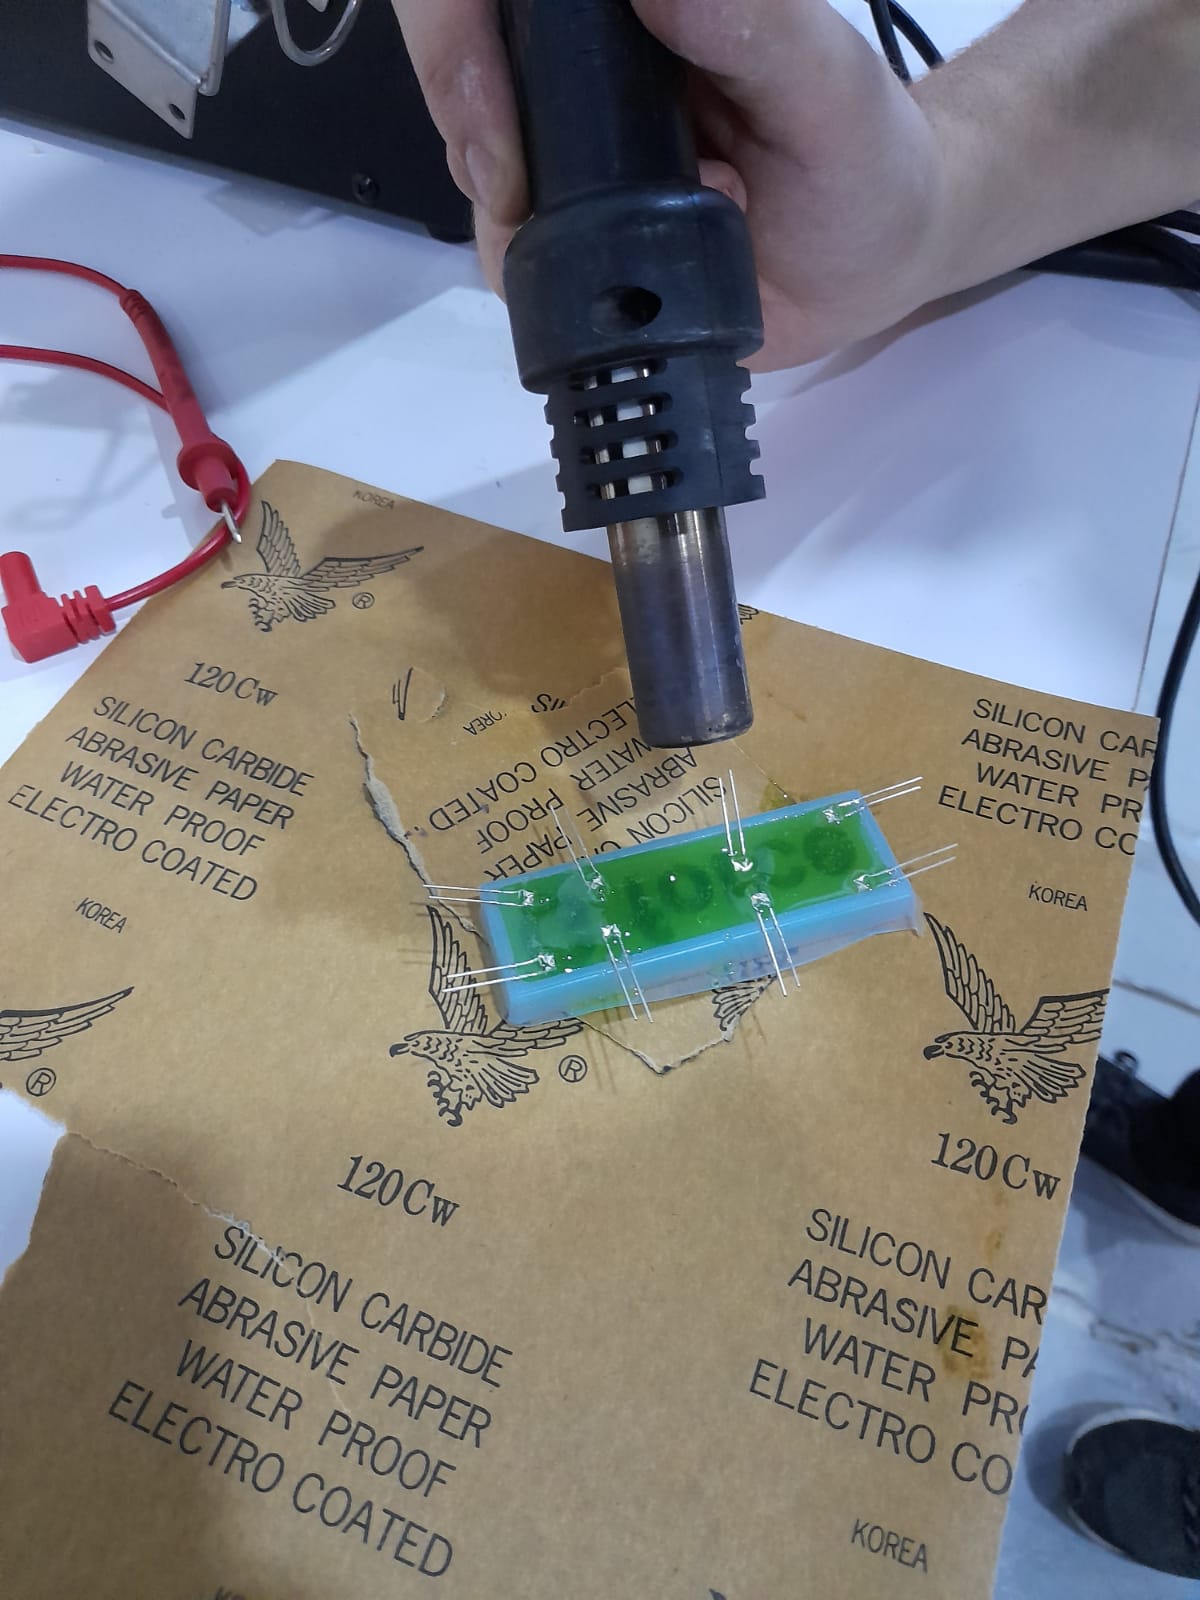
 49.i used heatgun to get out the bubbles
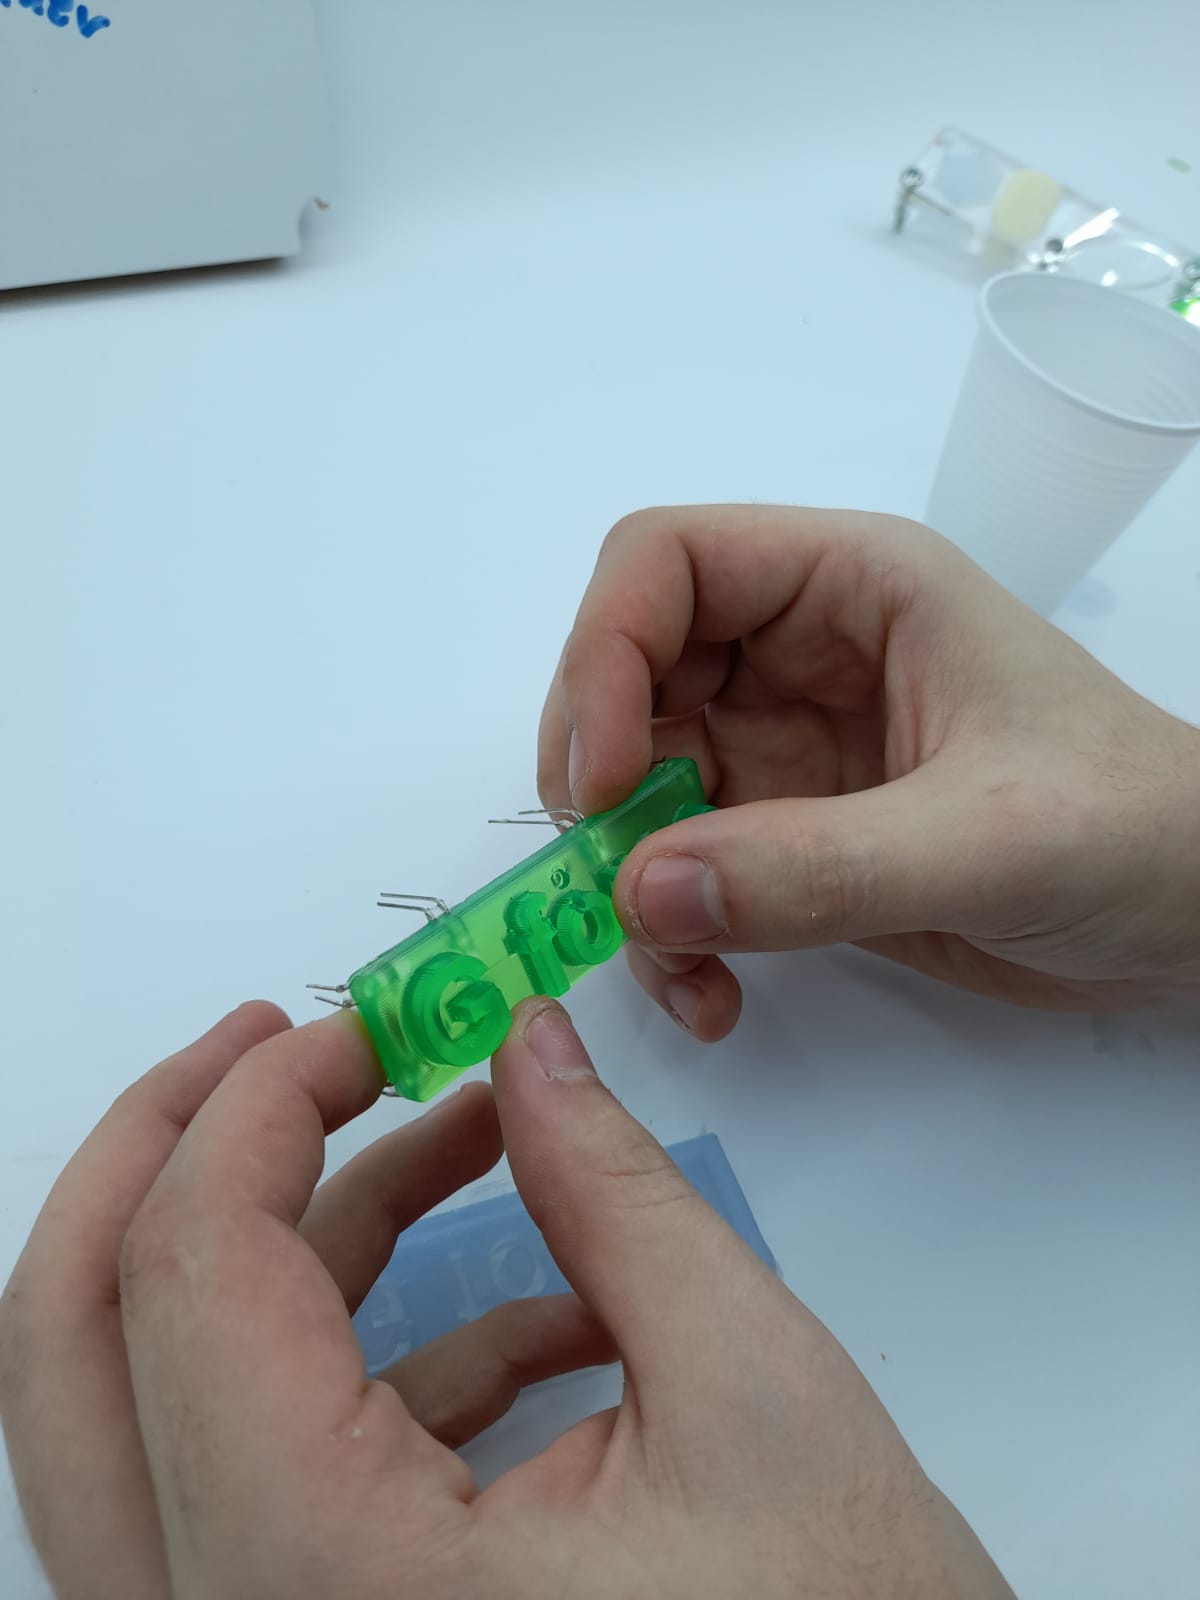
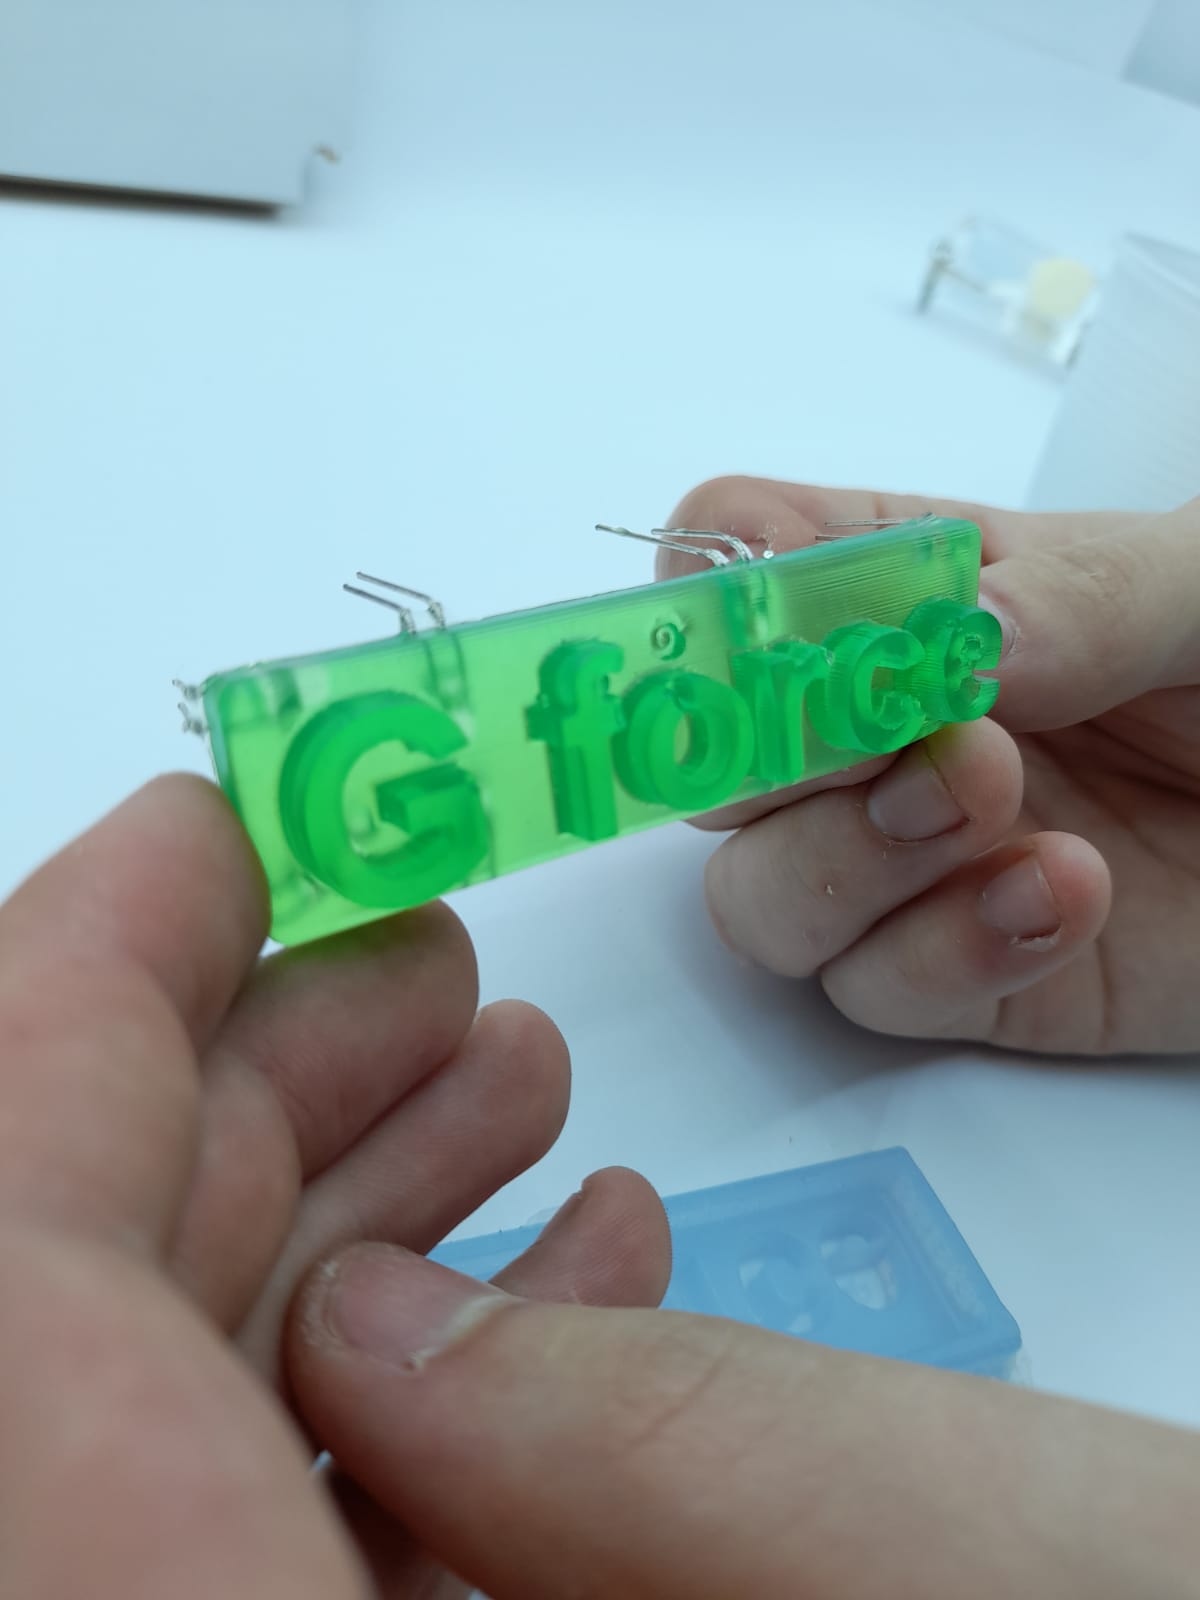
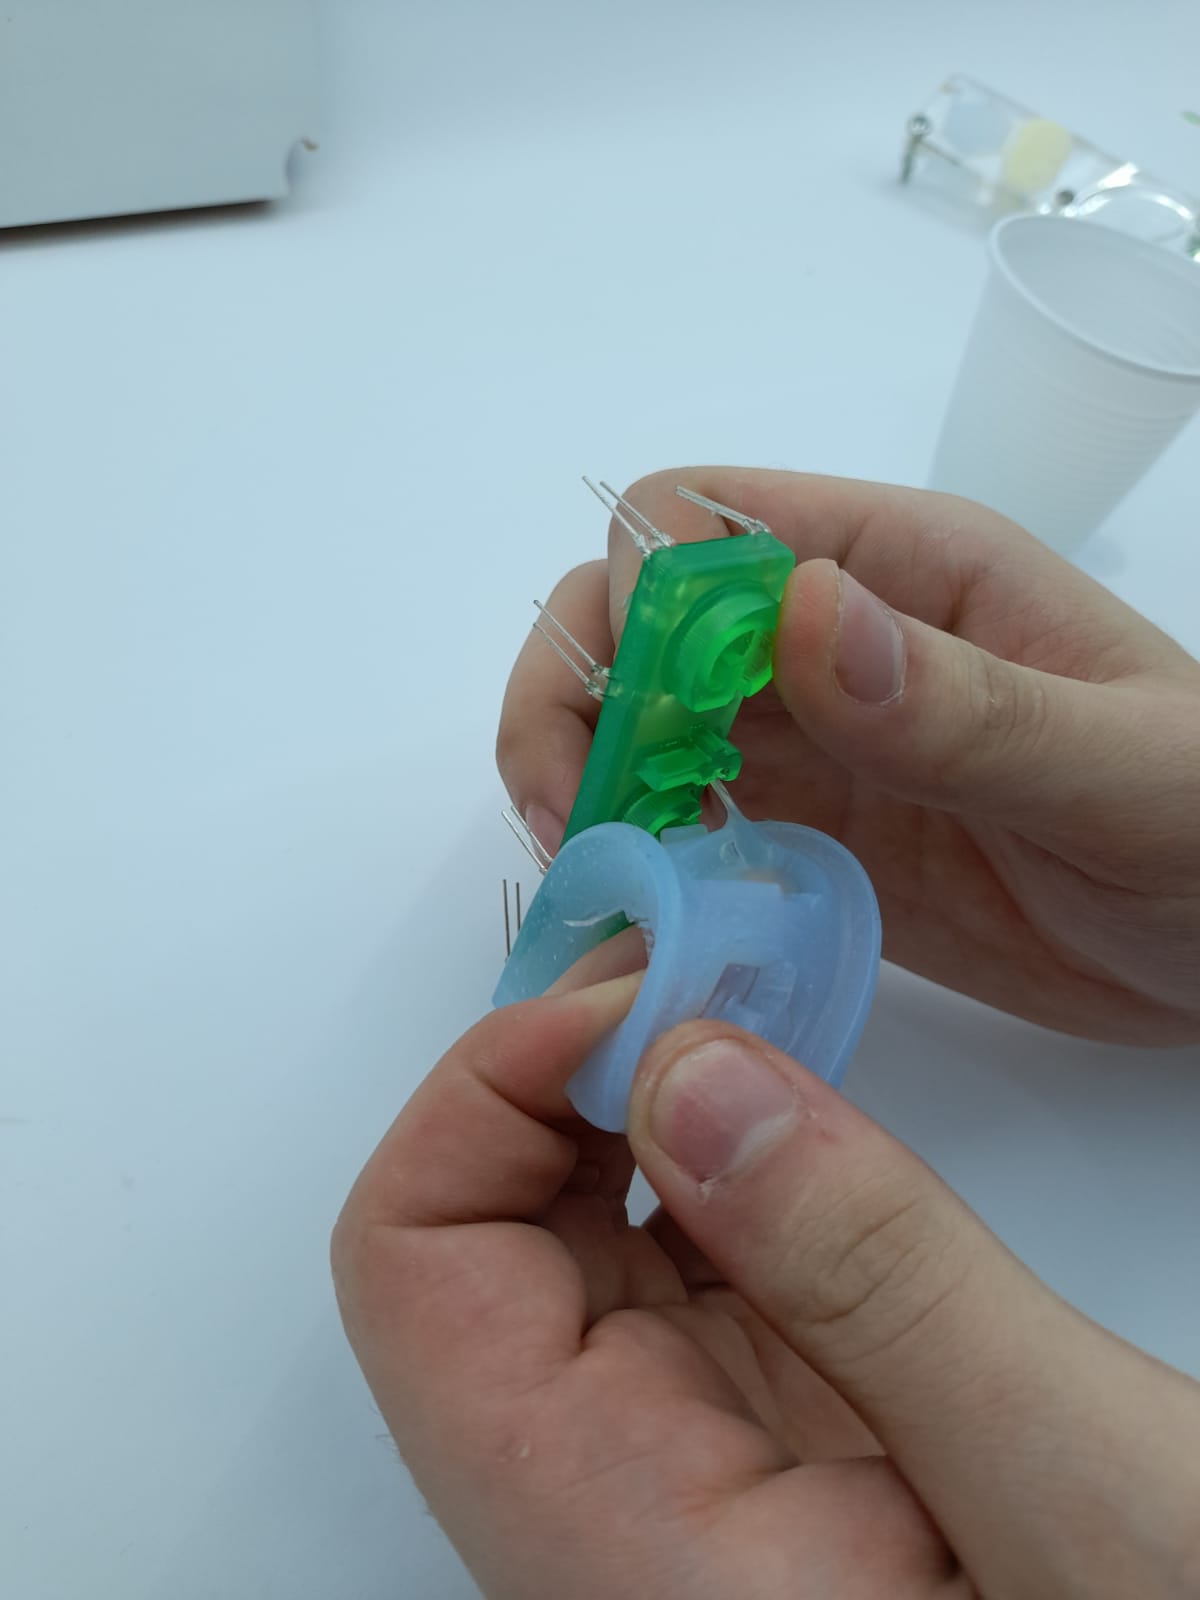
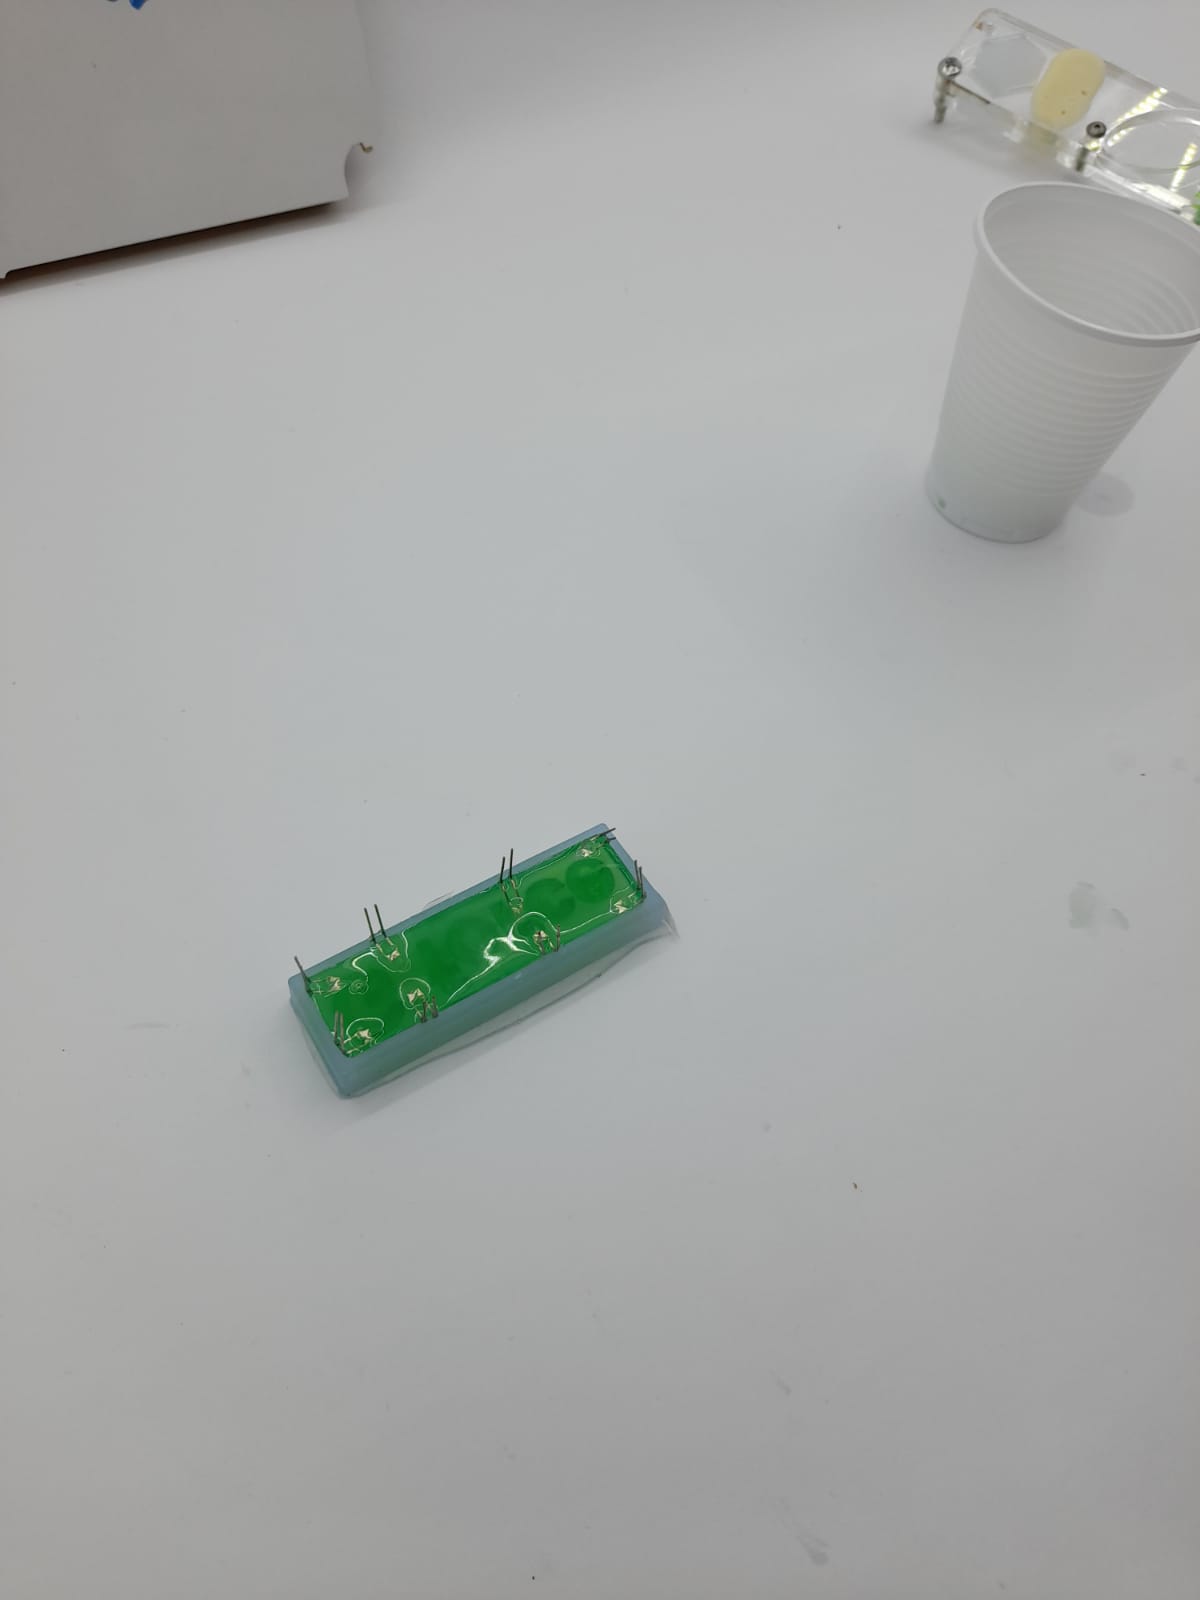 51.After 24 hours i took out the cast out
 54.
54.