4. Computer controlled cutting
Download file
group assignment page
mission
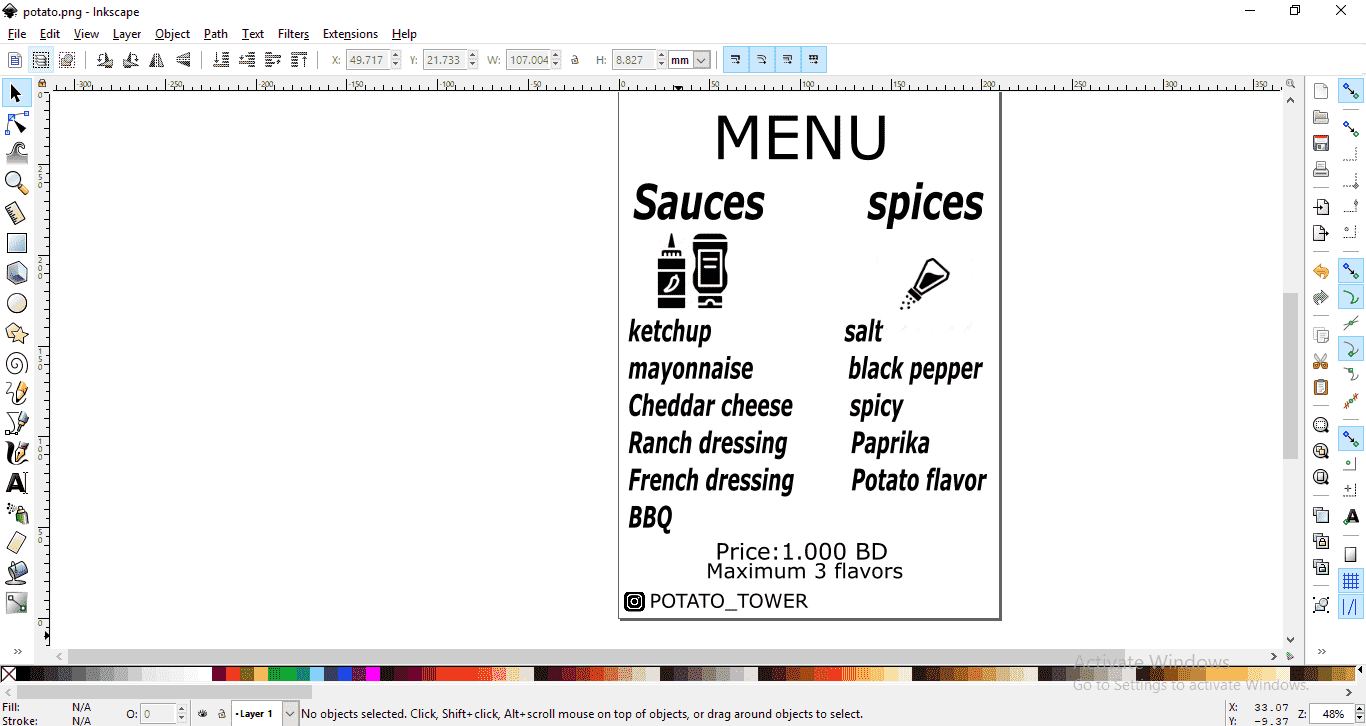
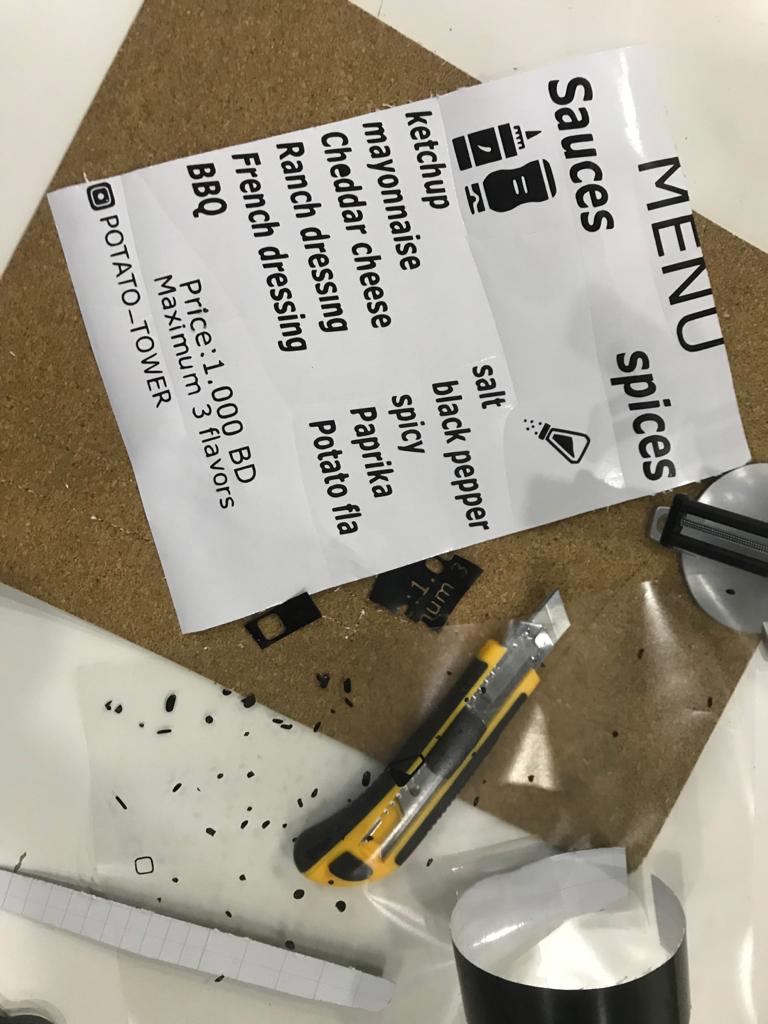
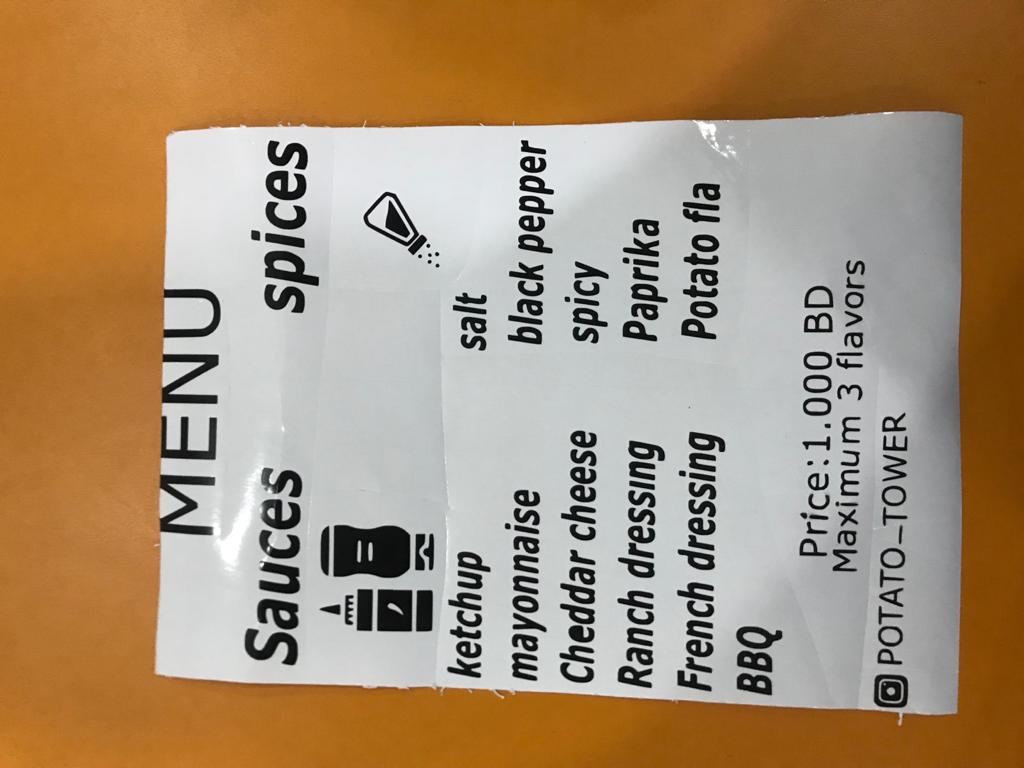
- I made a menu for my own Business
- I used (inkscape) to do 2D design
- I used (Fusion 360) Design 2D software with Press Fit
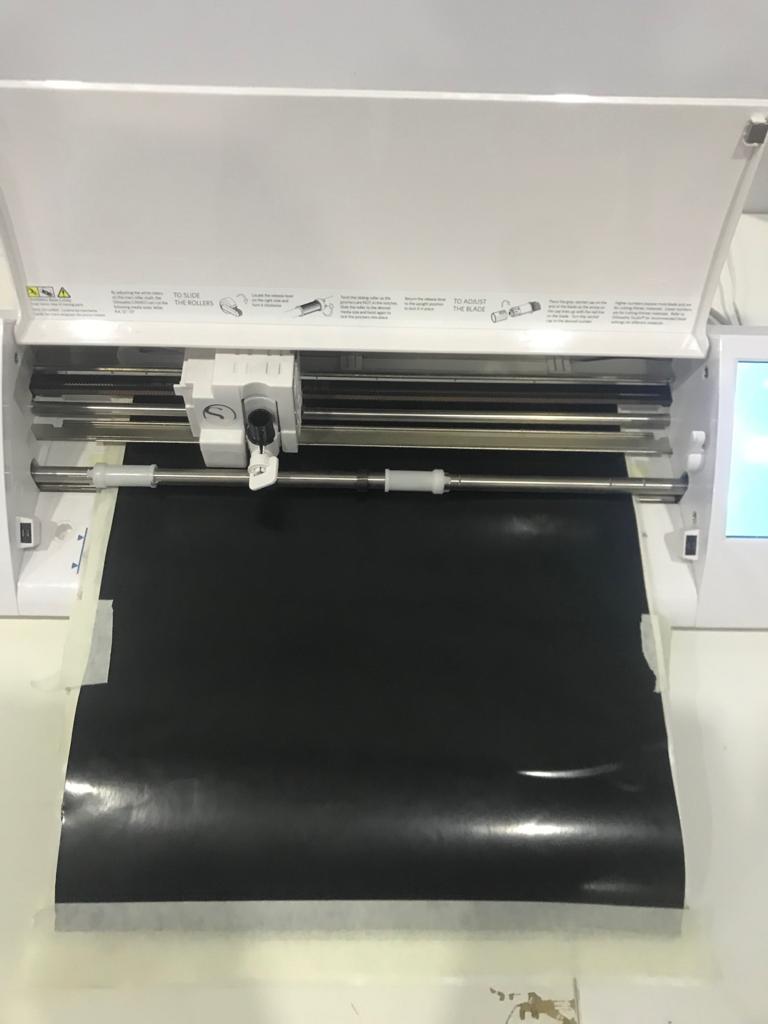
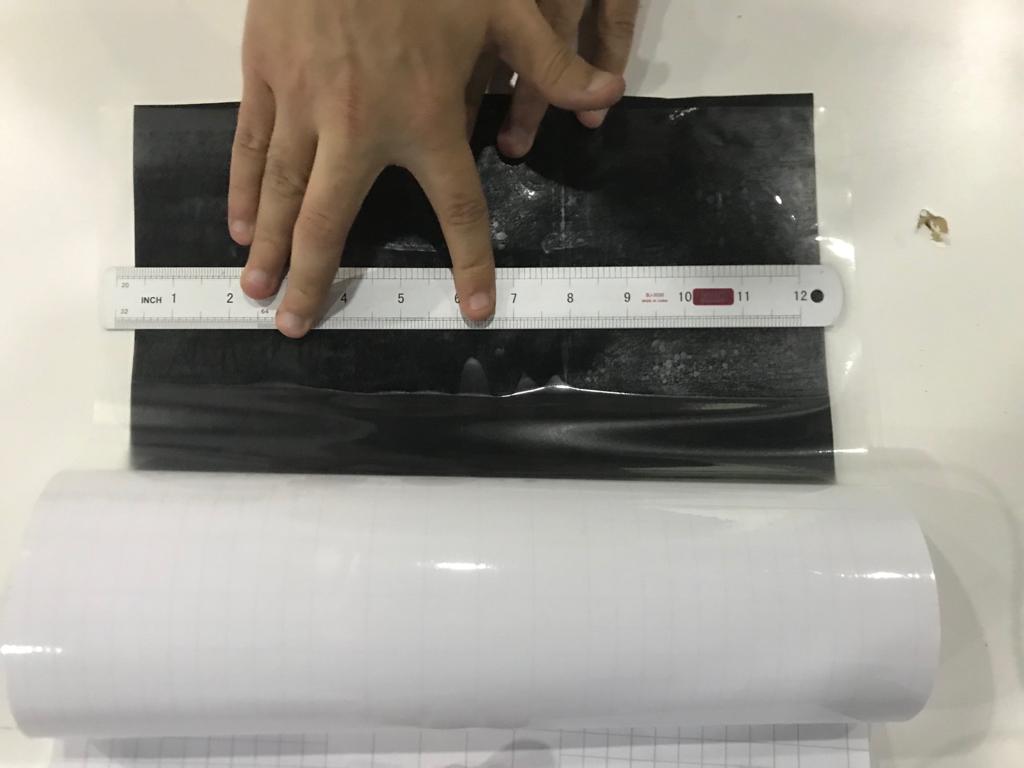
Vinyle cutter
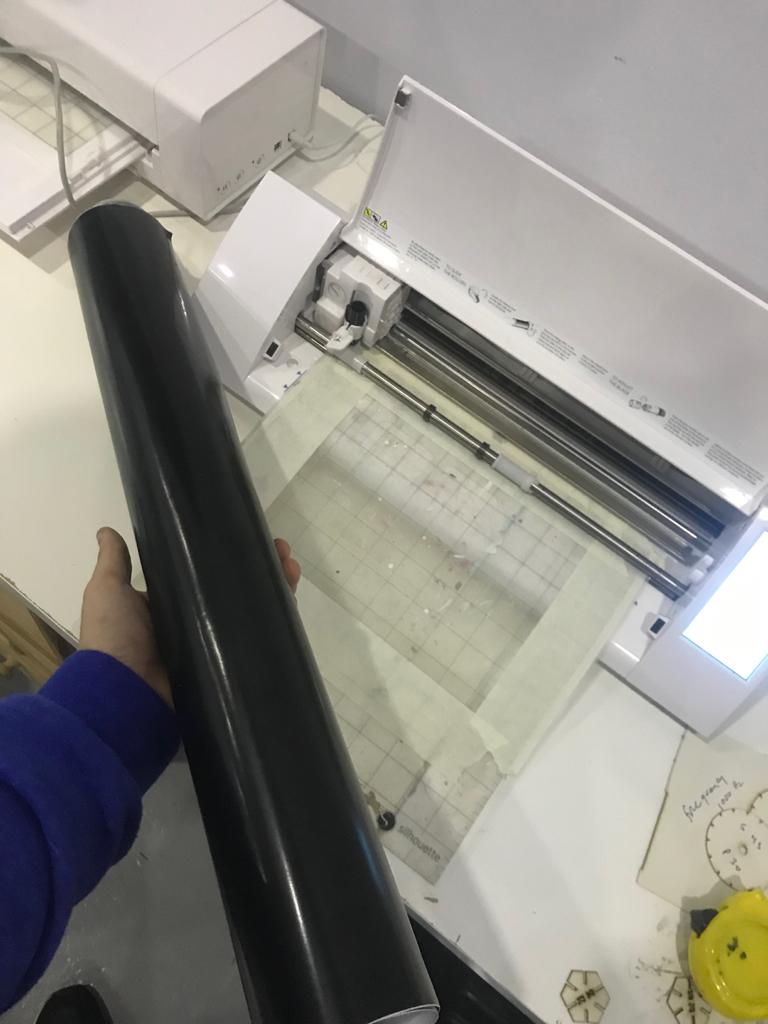
For this task, I have used my 2D vector design file from previous week work. The vinylcutter used in our lab is the Electric Silhouette Cameo 2 . This machine width is 12 inches, which means that the printed design file width shouldn’t be more than 12 inches. For the print length, it is limited only by the length of the sticker roll (the used one 2 meters approx. ). The following steps were followed to do the task:
- Install the silhouette studio software.
- Plug in and power on the Silhouette machine.
- Connect the Silhouette machine to your laptop using USB cable.
- Import your design file from the top left menu (File > Open > select the file you want to print).
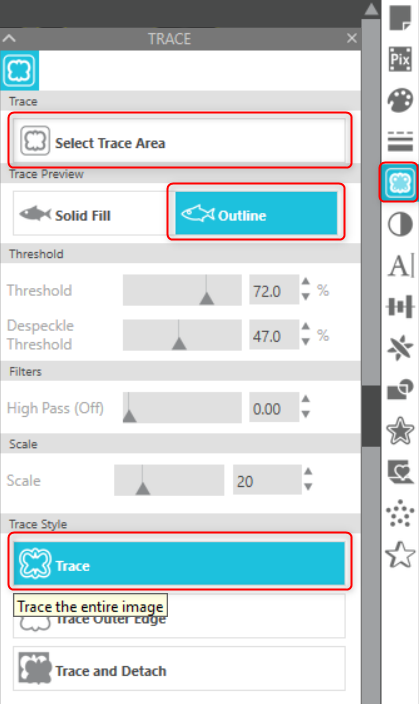
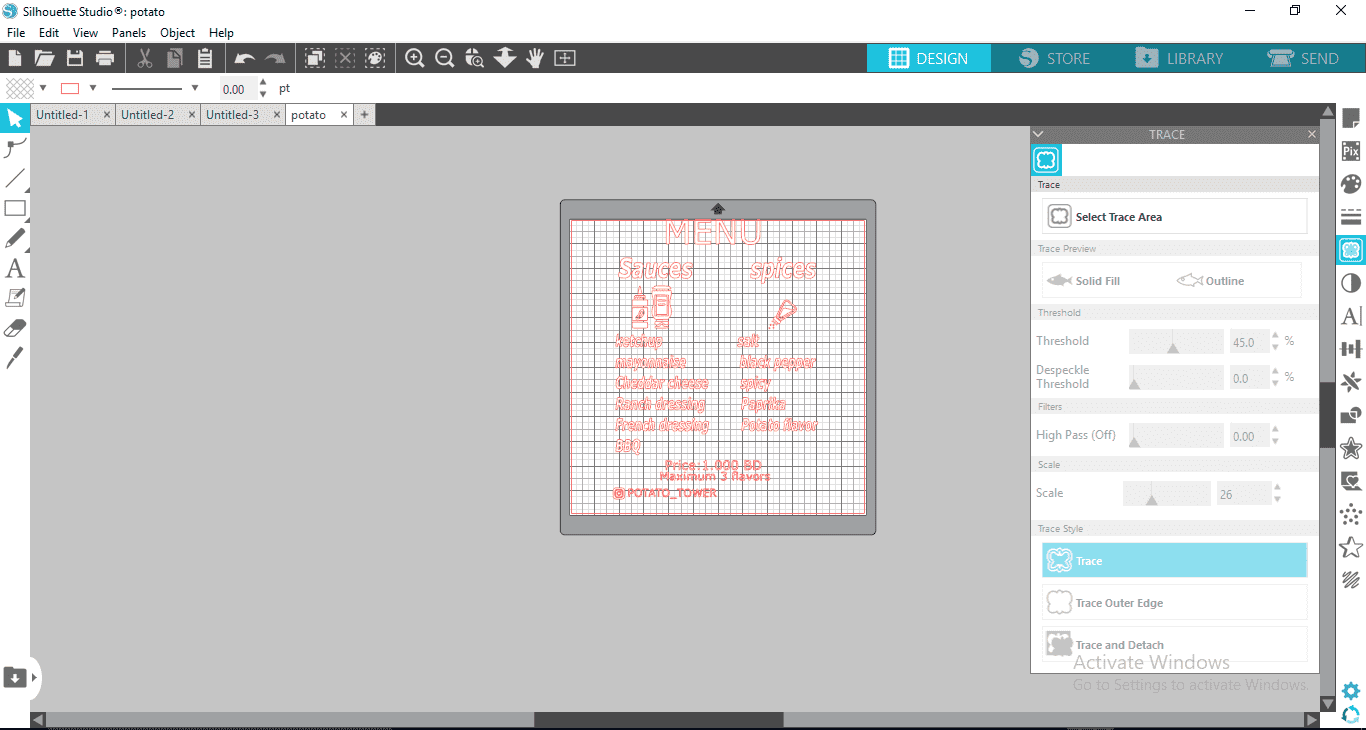
- From the right side tool bar, click on the (Trace) icon, the (Select Trace Area) and draw a rectangle around your object.
- Chose the Trace Preview as (Outline) or (Solid Fill), for my design I chose the second option.
- When you finish tracing, click on (Trace) from the Trace Style down menu.
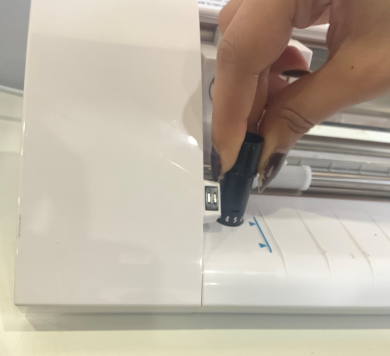
- From the machine hardware side, change the cutting depth manually from the blade as per the recommended depth in the software for the material used.
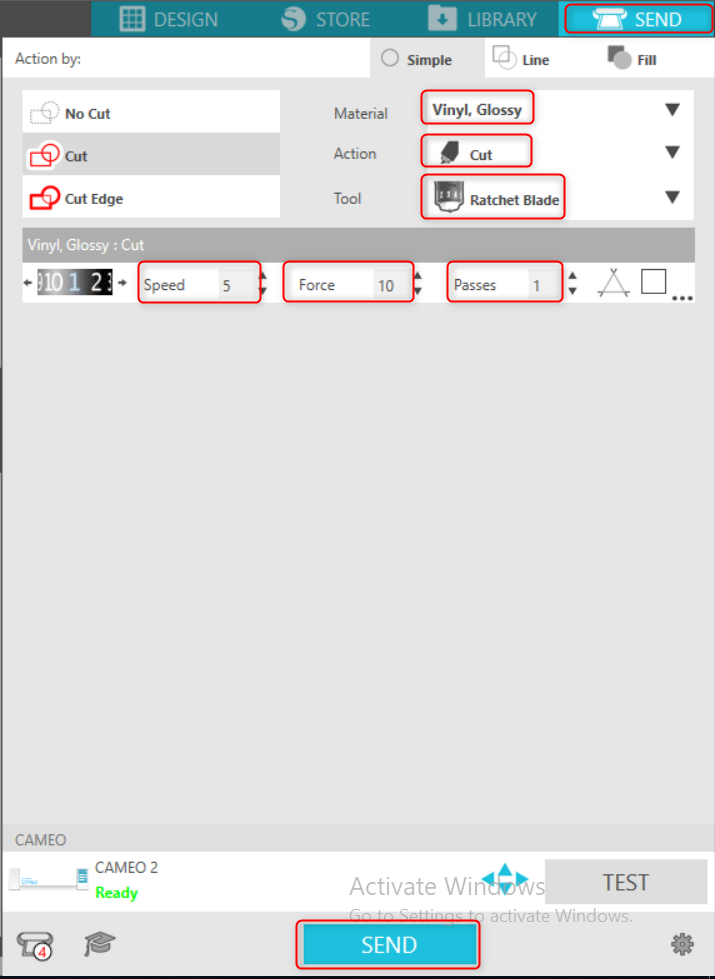
- When your file is ready to be printed, send it to the machine by clicking on (Send) from the top right corner, then set the printing parameters as you need. For my design I set the following: Material: Vinyl, Glossy - Action: Cut - Tool: Ratchet Blade - Speed: 5 - Force: 10 - Passes: 1.
When your file is ready to be printed, send it to the machine by clicking on (Send) from the top right corner, then set the printing parameters as you need. For my design I set the following: Material: Vinyl, Glossy - Action: Cut - Tool: Ratchet Blade - Speed: 5 - Force: 10 - Passes: 1.
Steps
- I made a design for the program (INKSCAPE)
- After I finished designing, I transferred it to the Vinyl Cutter program to define and cut the shape
- I made vinyl

- I chose the quality and color of the sticker and then cut it to the size of the bed
- I installed and installed it on vinyl I started cutting
- Clear stickers to remove excess
- I removed and cleaned the appendages

- After cleaning up
- After preparing it I paste a clear sticker on the menu in order to paste it on the place designated for it
Laser cutter
- To set the layer parameter by double click on the layer color or mode from the top right window.
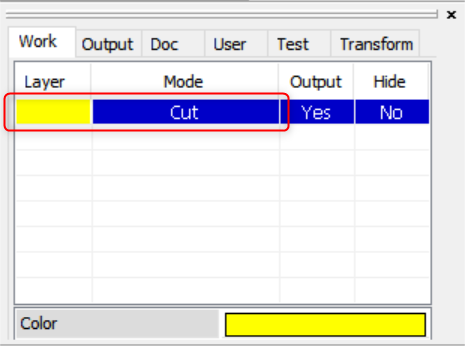
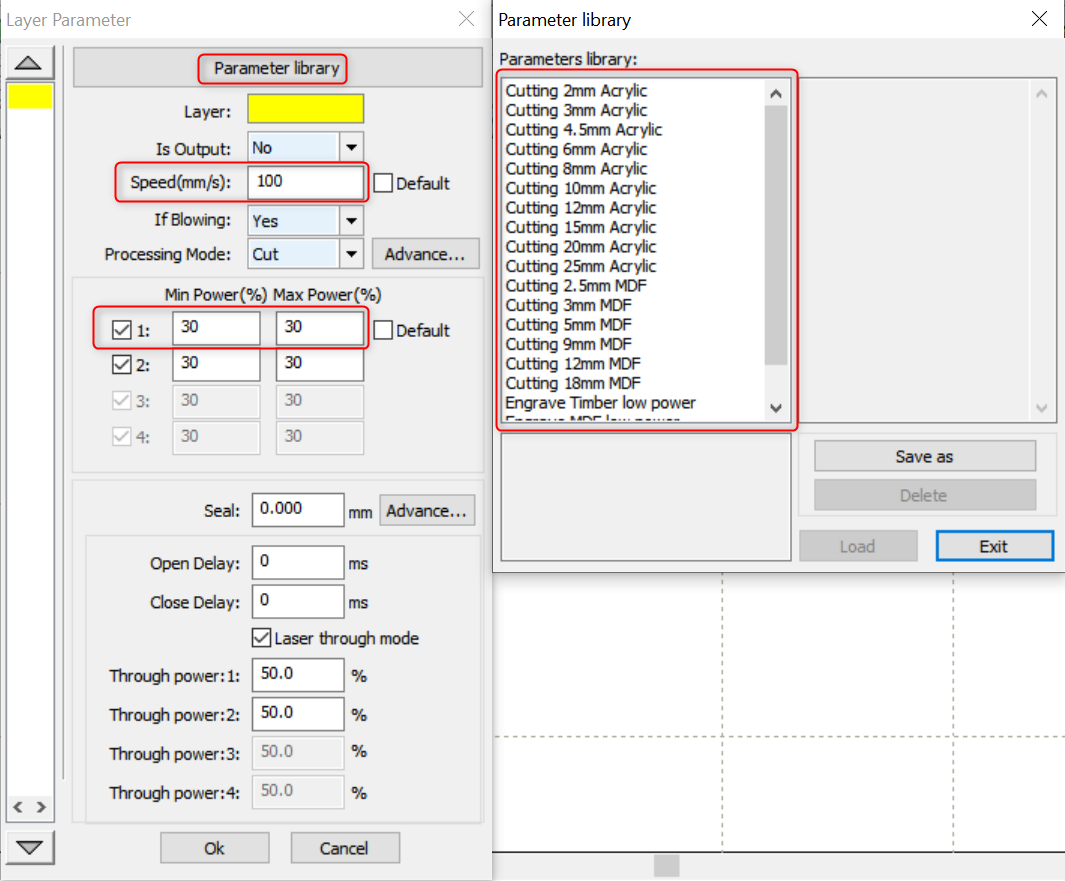
- There are two main layer paramters, which are speed (mm/s) and power (%). To check parameters library, click on Parameter library and chose the one that meet your needs. Also, you can set these parameters manually. You can change it from the laser machine later.
For cutting, we aim to use the maximum power (approx. 85) to allow us to cut the material with a faster speed setting without the fear of not cutting all the way through. For engraving, we aim to use the maximum speed (approx. 200 mm/s) and very low power to achieve the desired darkness, so it doesn’t cut all the way through material; it just cuts a little way.
- I opened Fusion 360 I chose the shape of the design that I would like to use
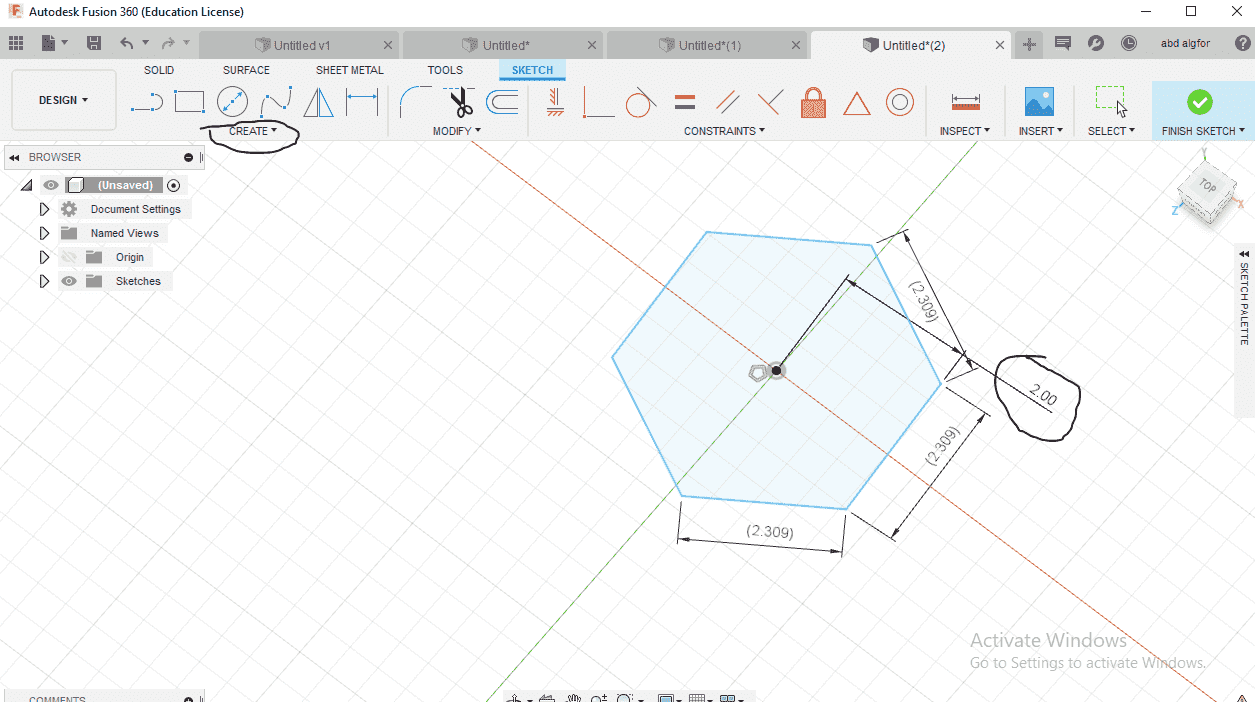
- I pressed modify + ghange parameters
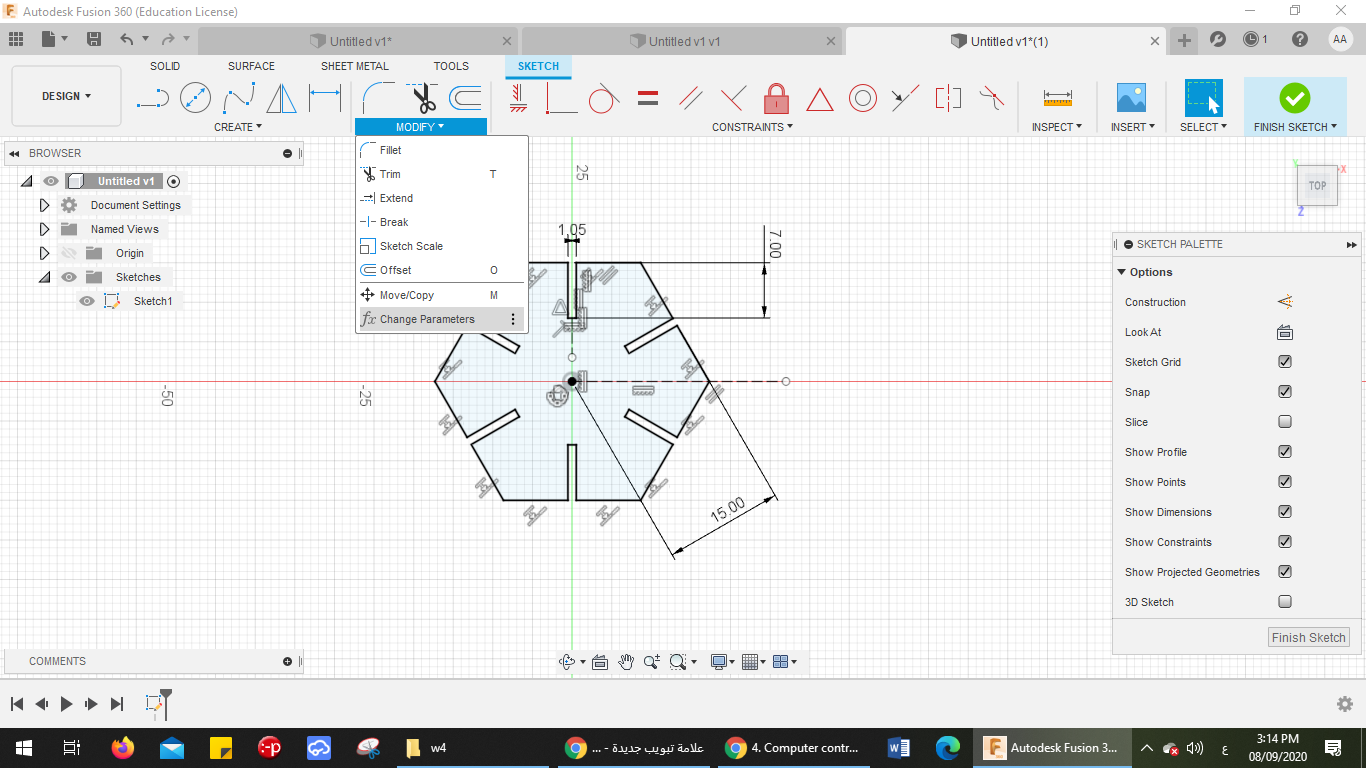
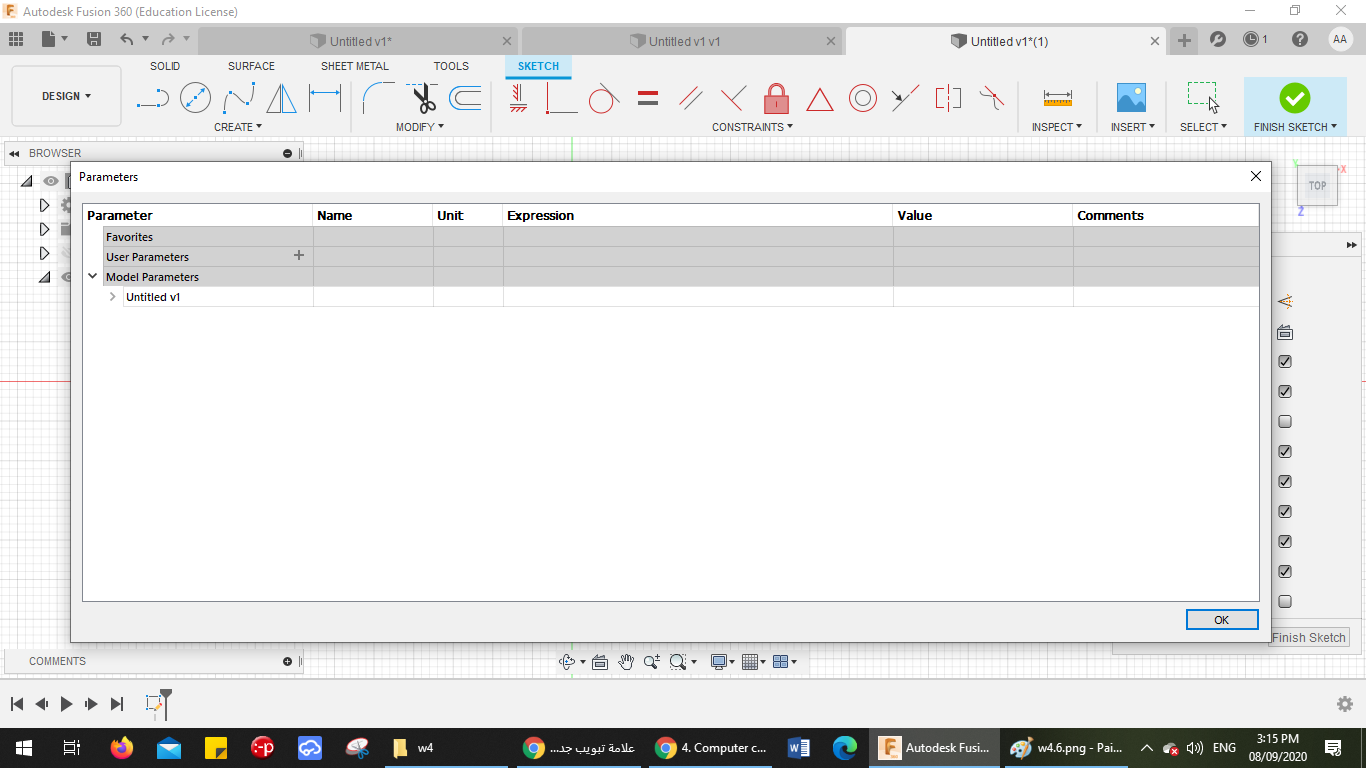
- i add some dimension lik (femaie_joint&femaie_joint_depth&hex_radias)
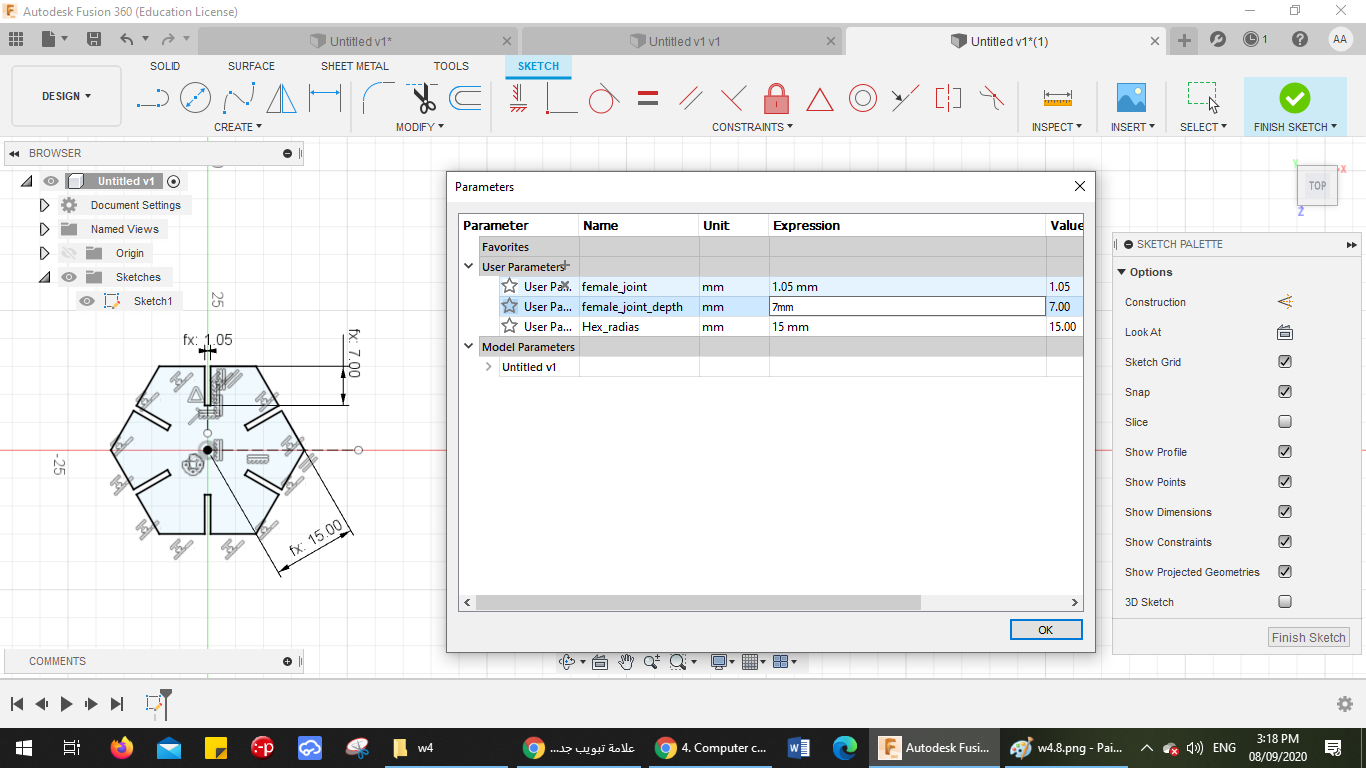
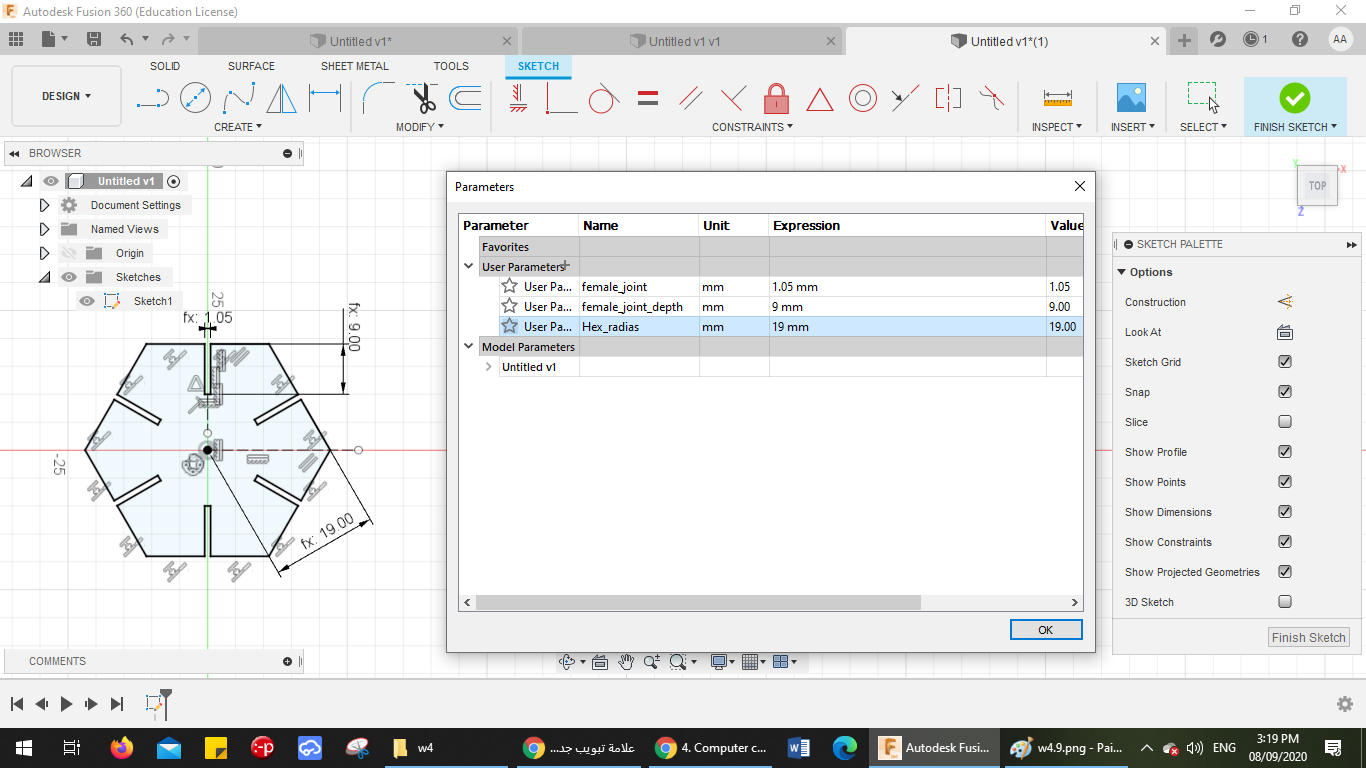
- You specify the sizes
- You standardize the measurements at all angles
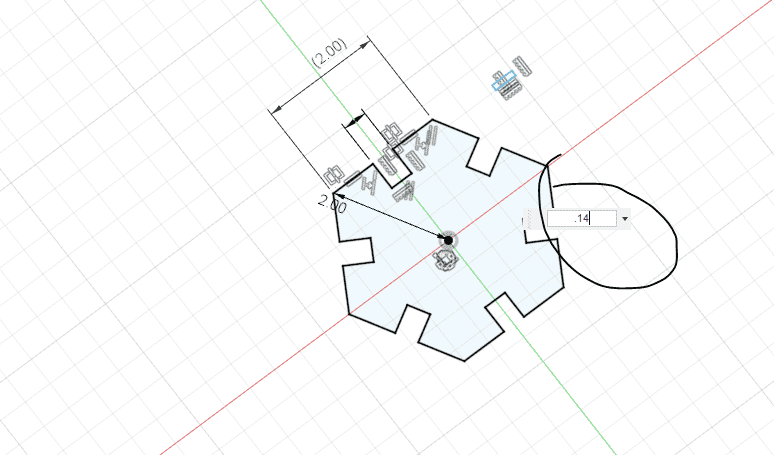
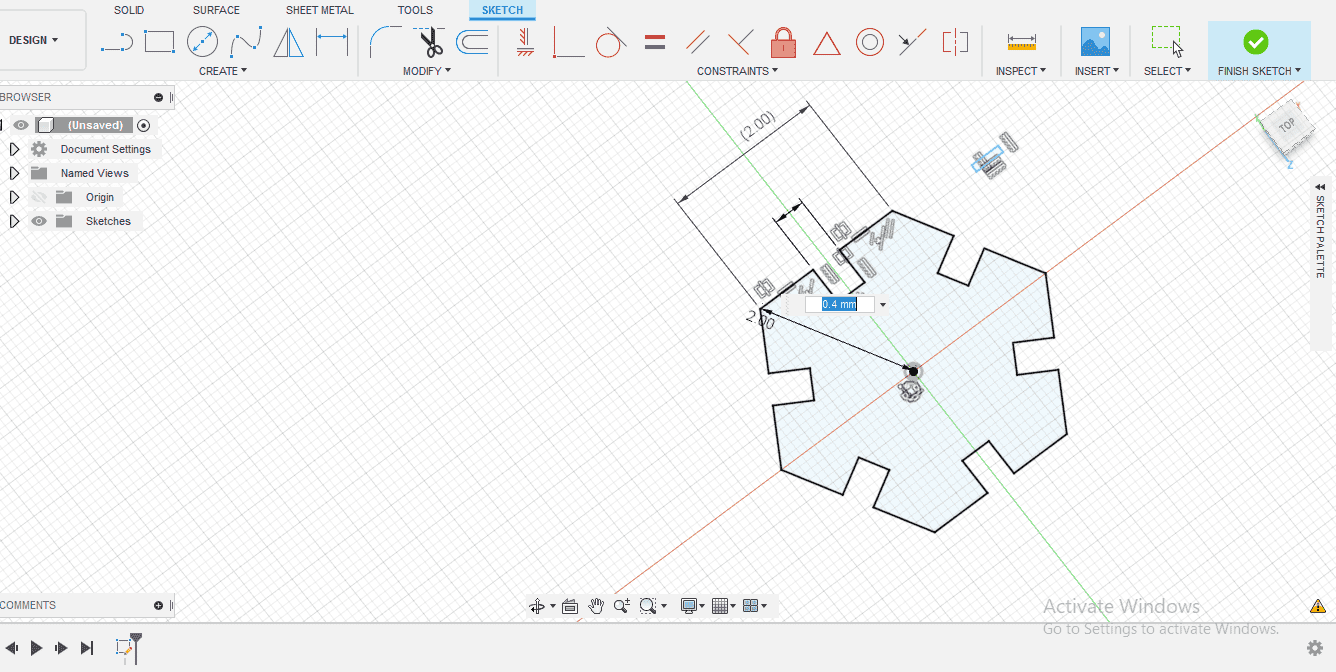
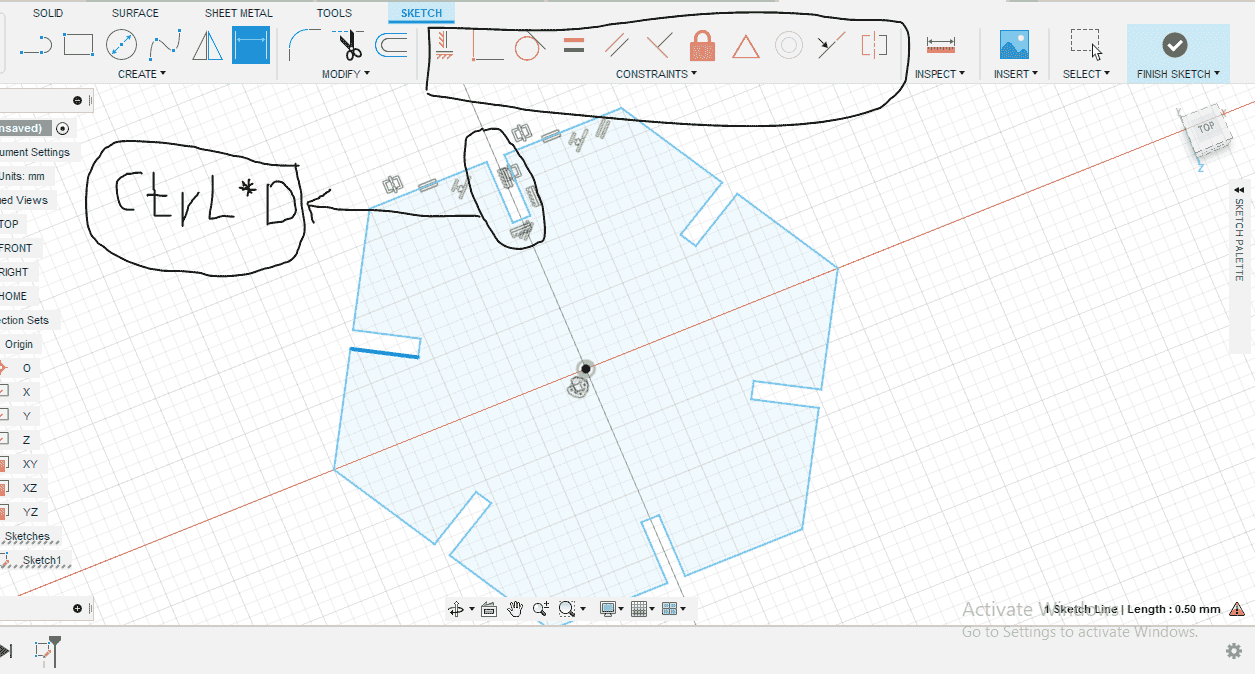
- I selected one of the rectangles in order to change the size of the width and height and there is no need to change each rectangle on its own and select one of the rectangles in order to change the size of all rectangles
- After I finished the design, I saved it in DXF format and went to the laser program to make a test before cutting all the parts.

- You opened the file

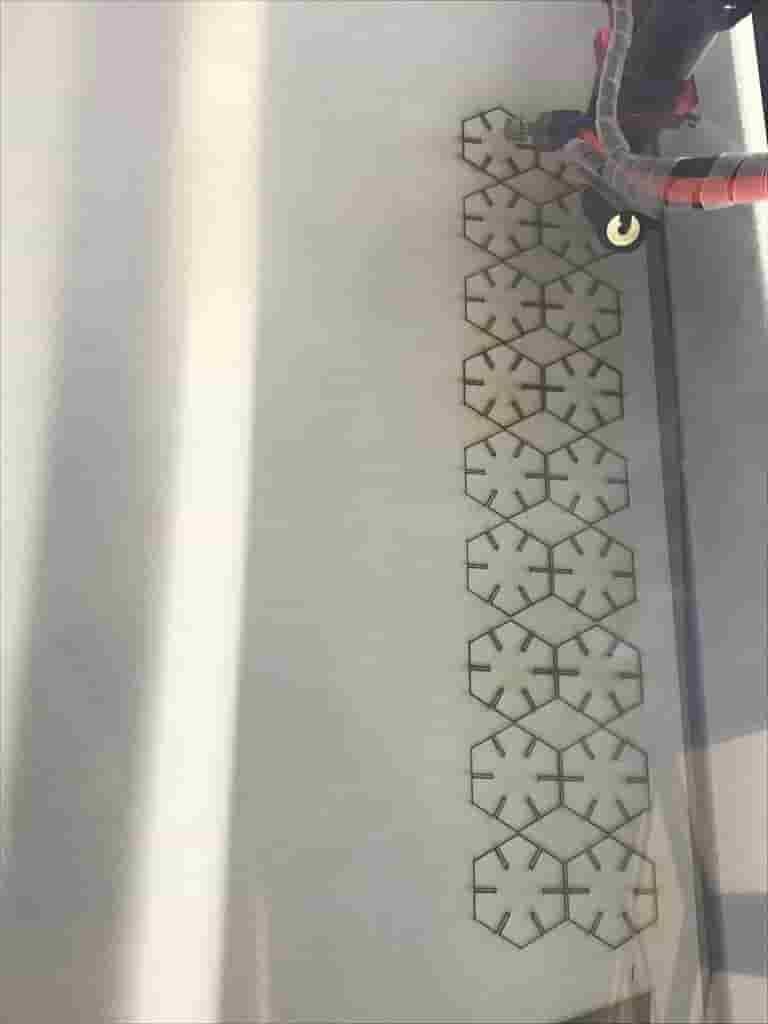
- I arranged the pieces and put 5 of the figure shown in the image

- I made each of the different parts have different energy and speeds for each one, so I know which one is better

- I cut it at different speeds and energy
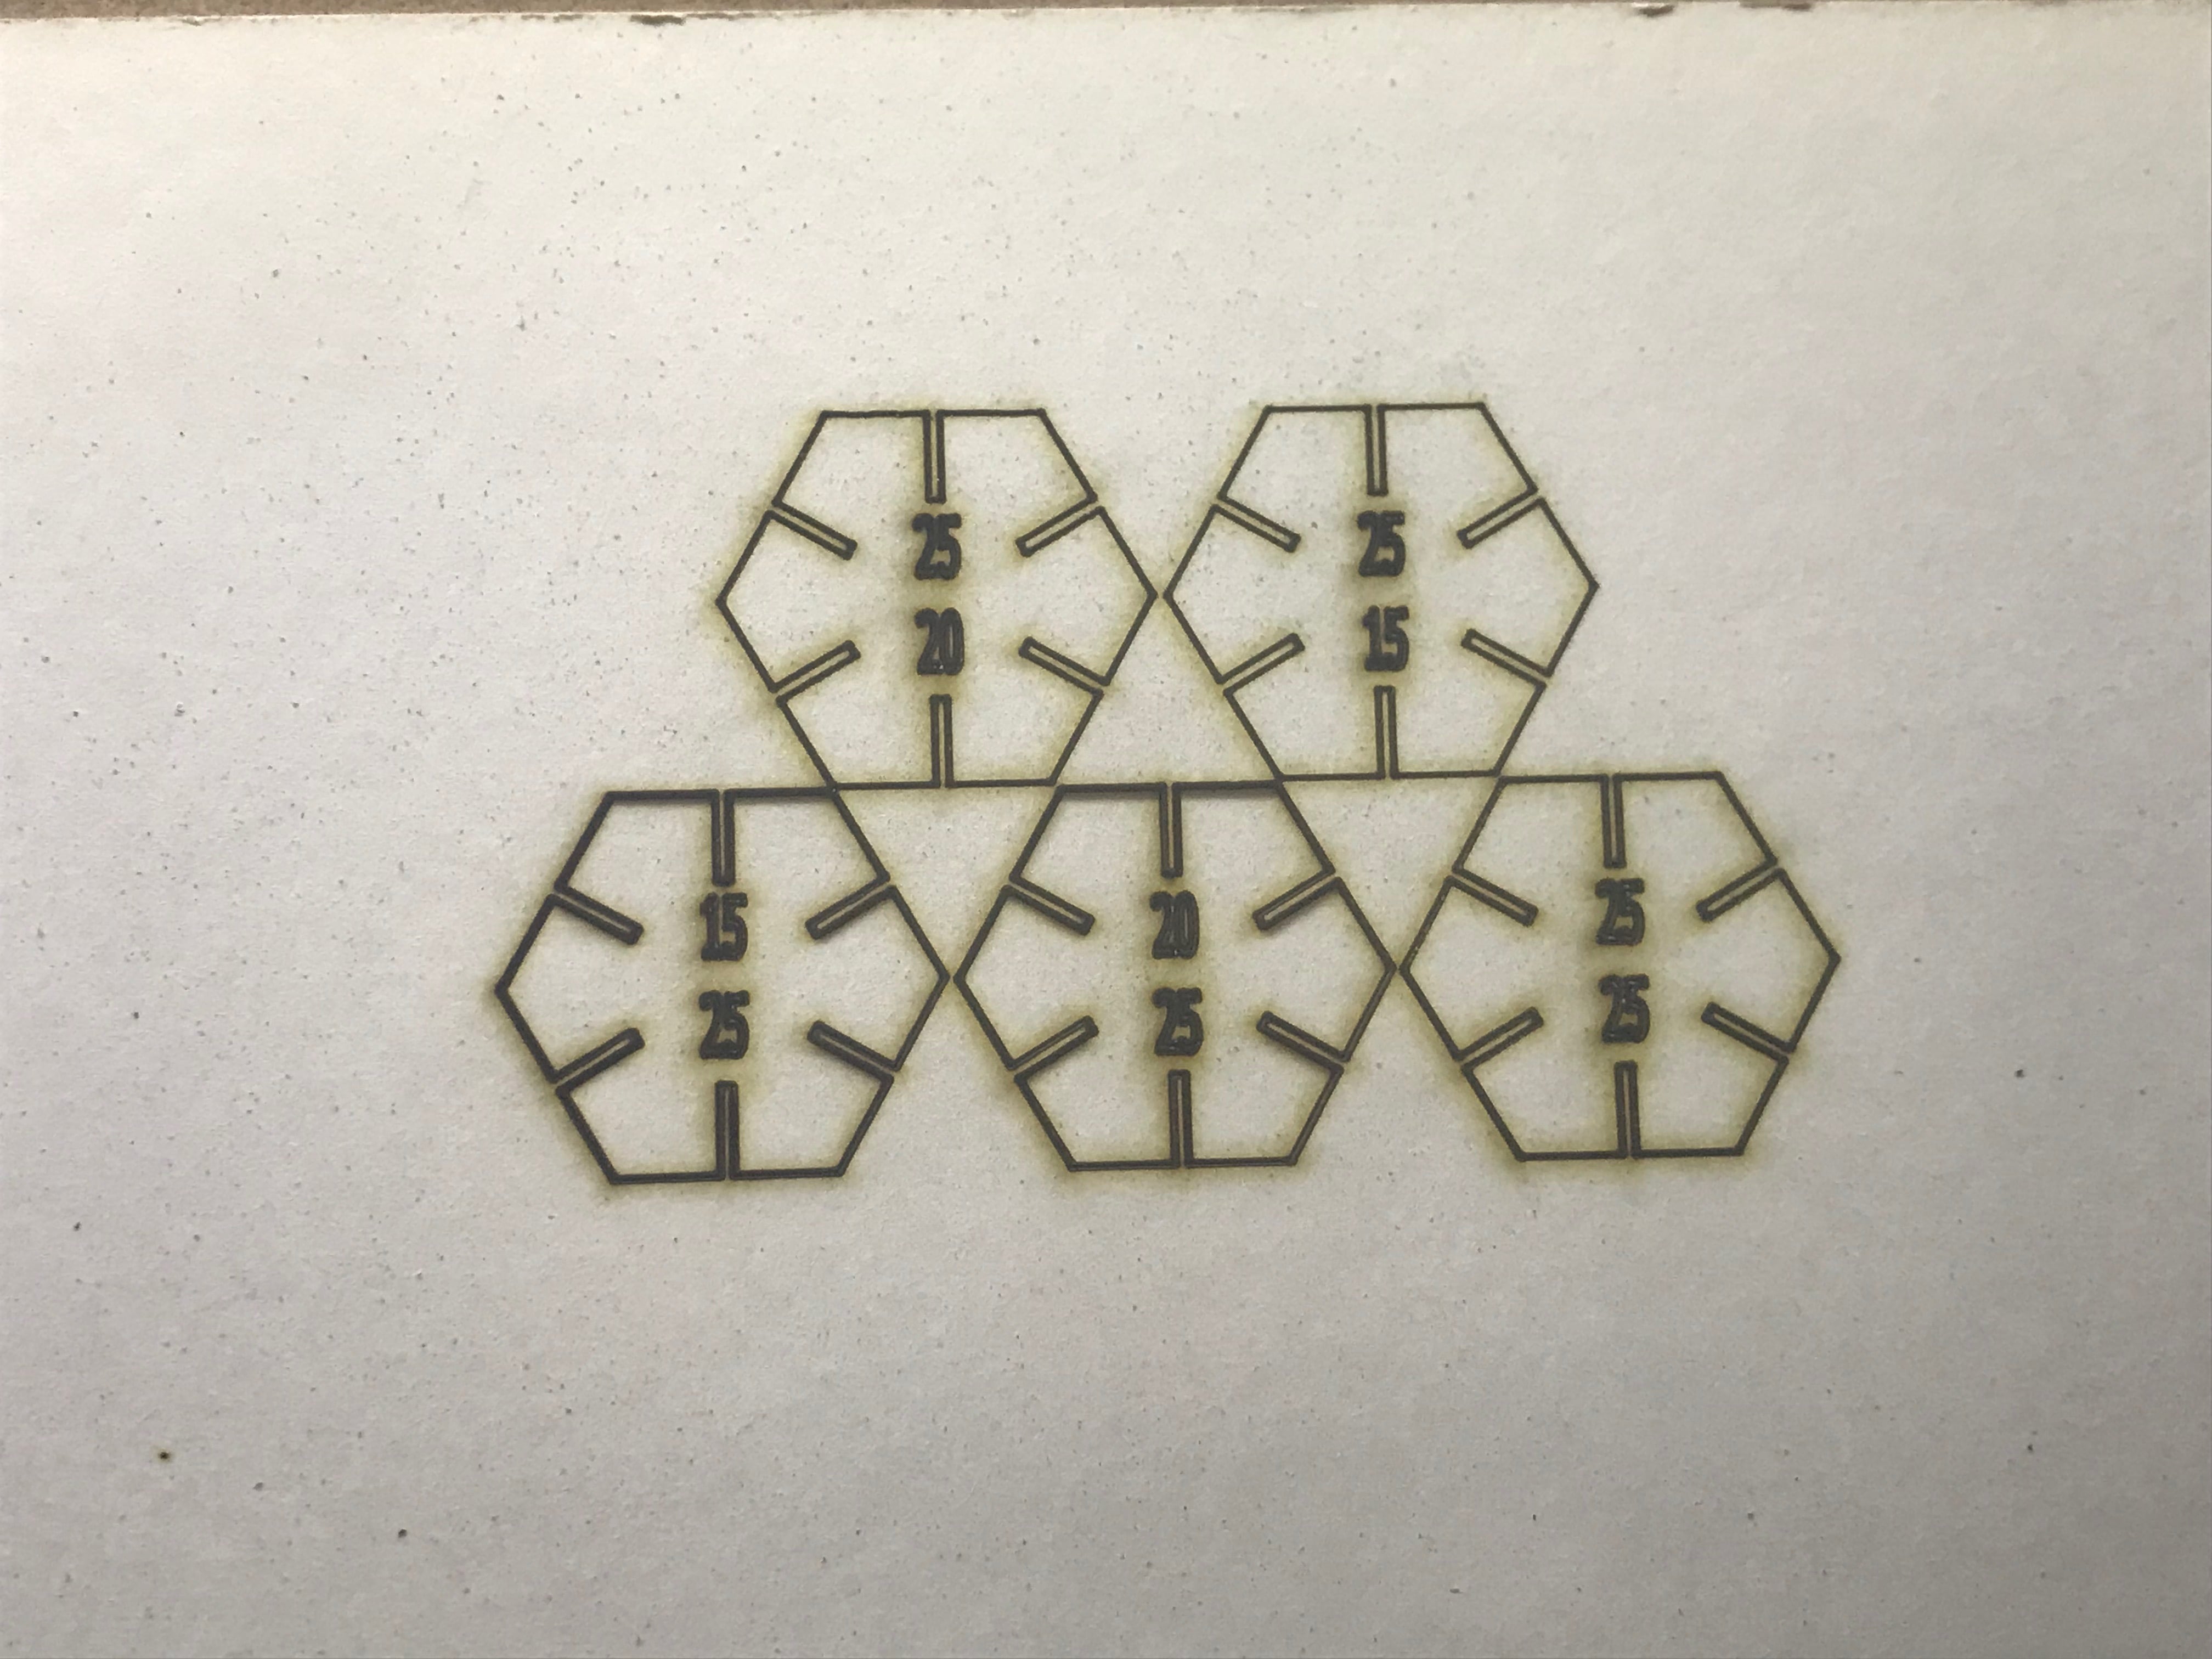
- After finishing the cutting, I discovered that two types of Power and Speed are suitable for cutting

- Here, it shows the difference between each piece and the appropriate power was (25) and the speed from (15 to 20).

- After I made the selection, I cut (110) pieces of the figure
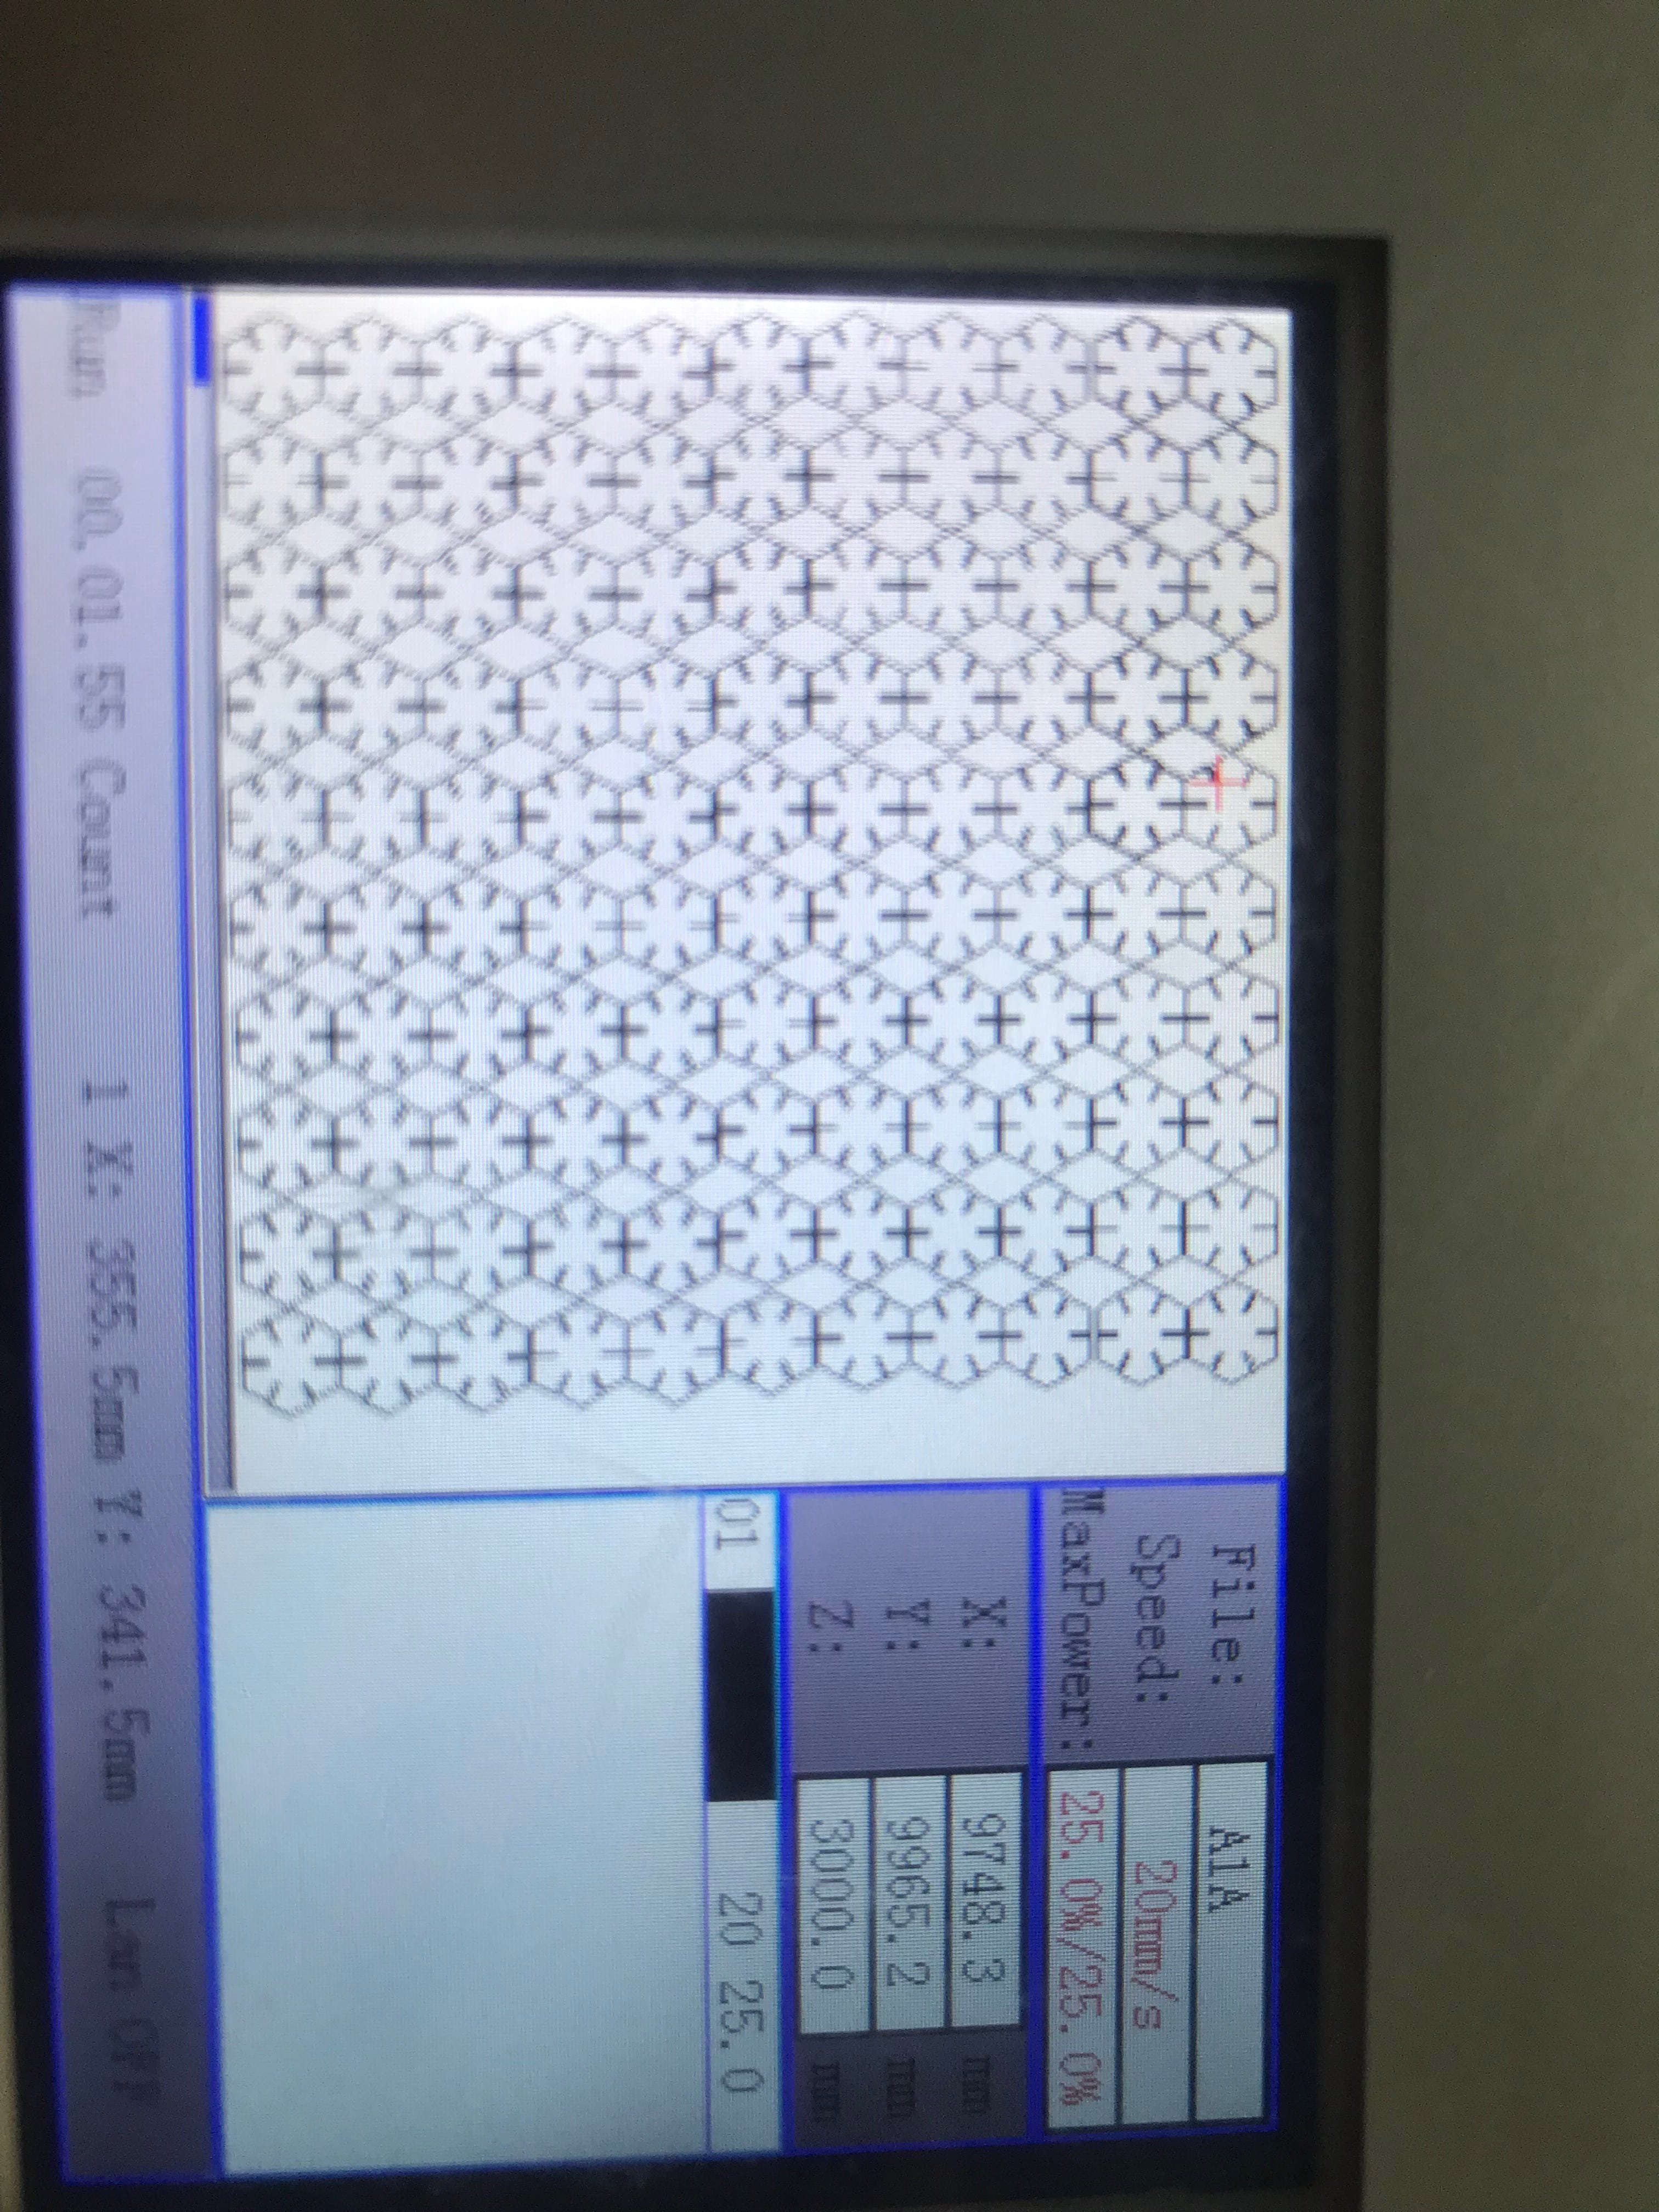
- The laser cut the cutting
- After completing the sternum

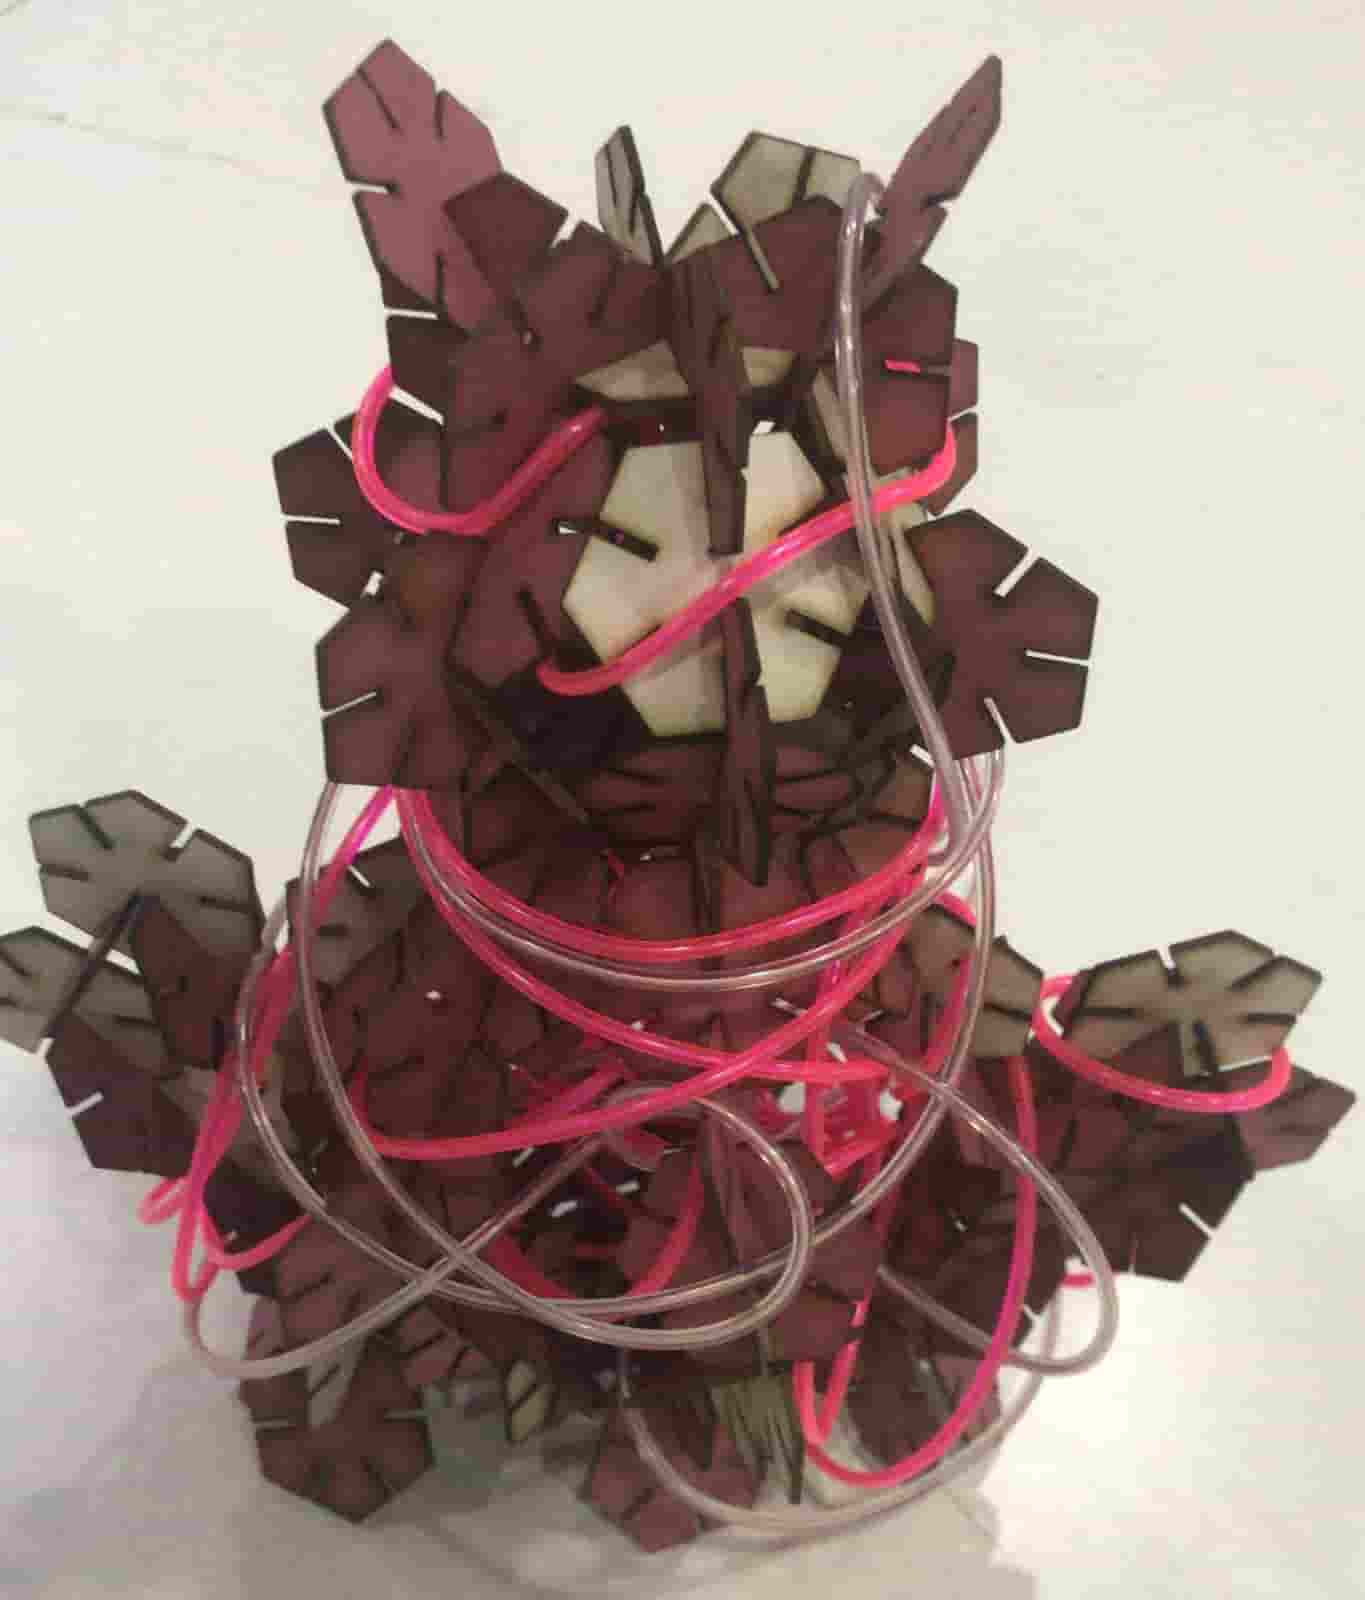
- I installed the pieces together and worked as a cat
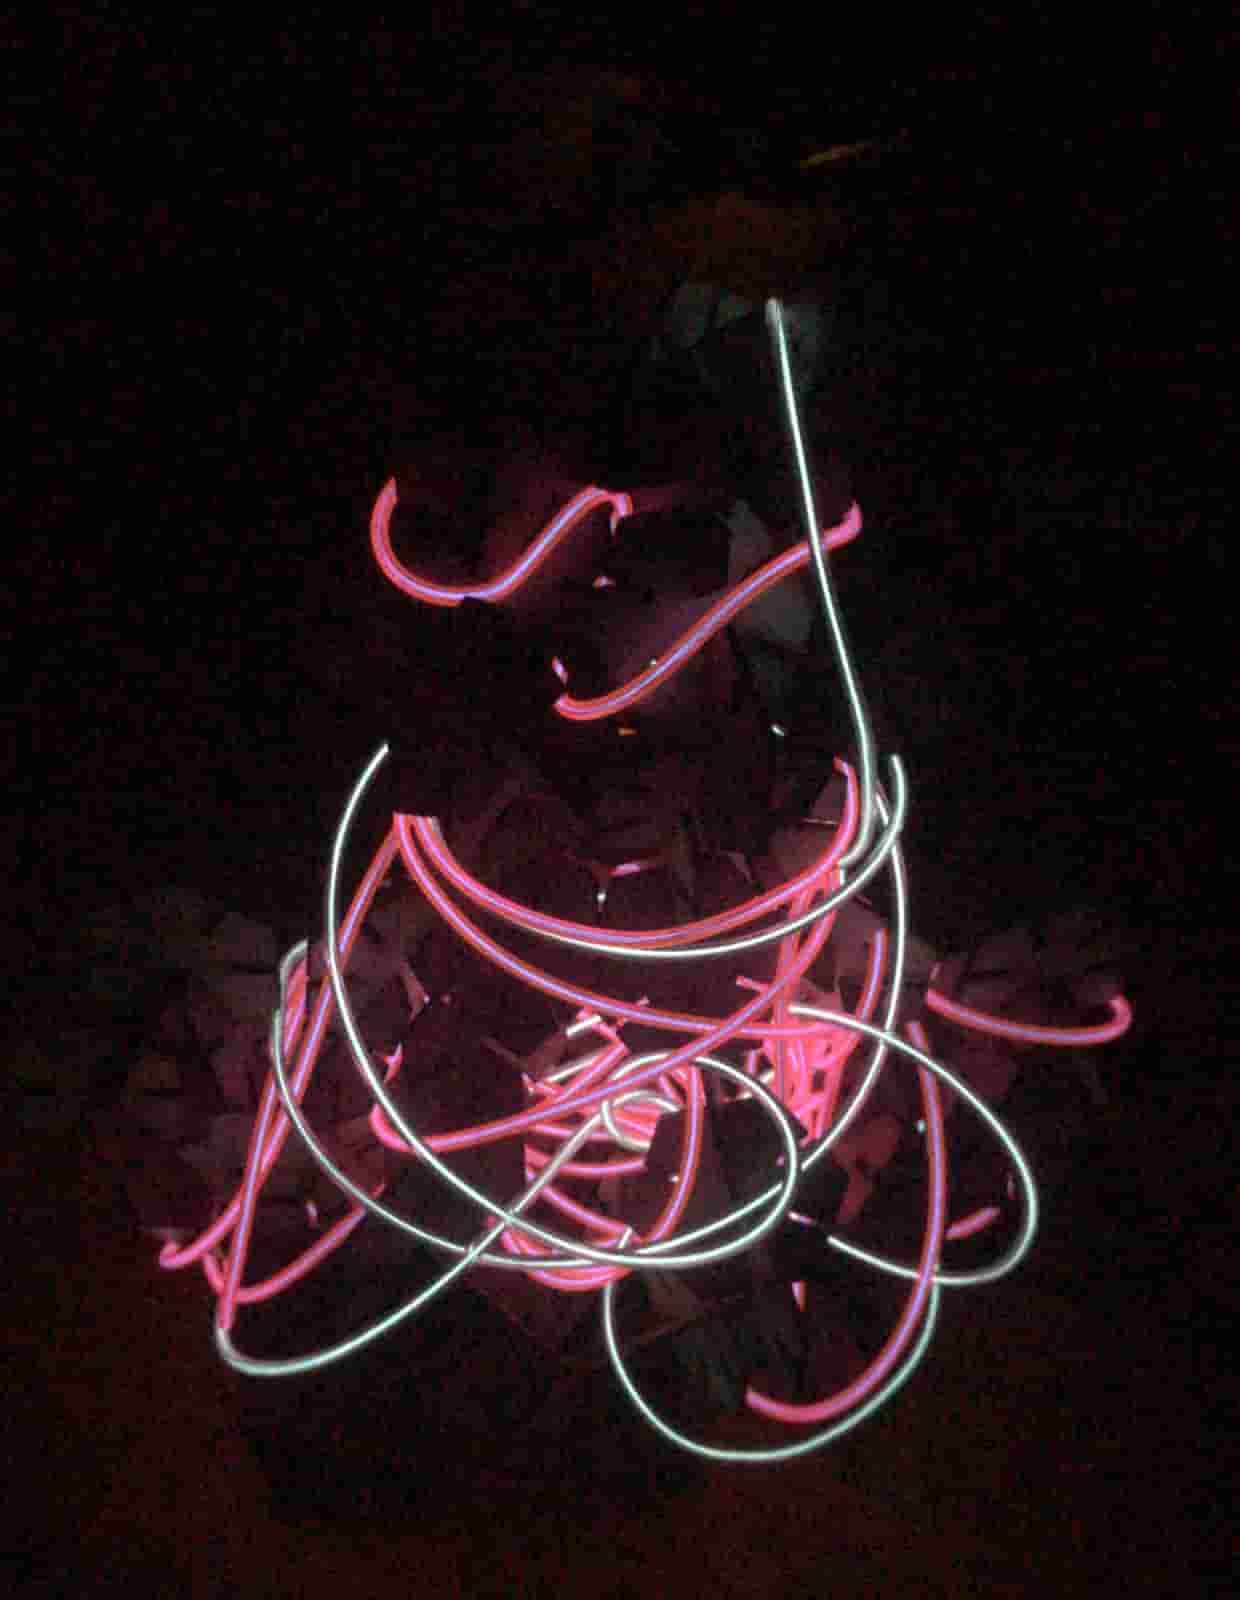
- The end and the glowing cat