13. Interface and application programming
group assignment page
-
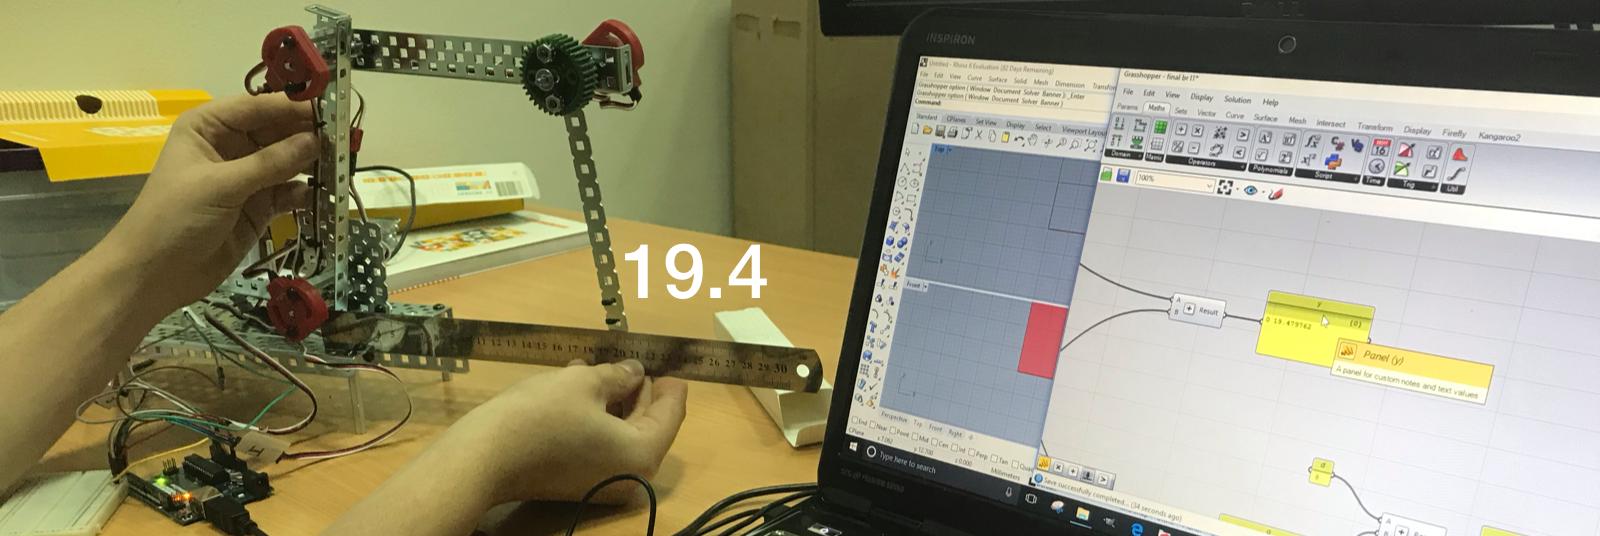
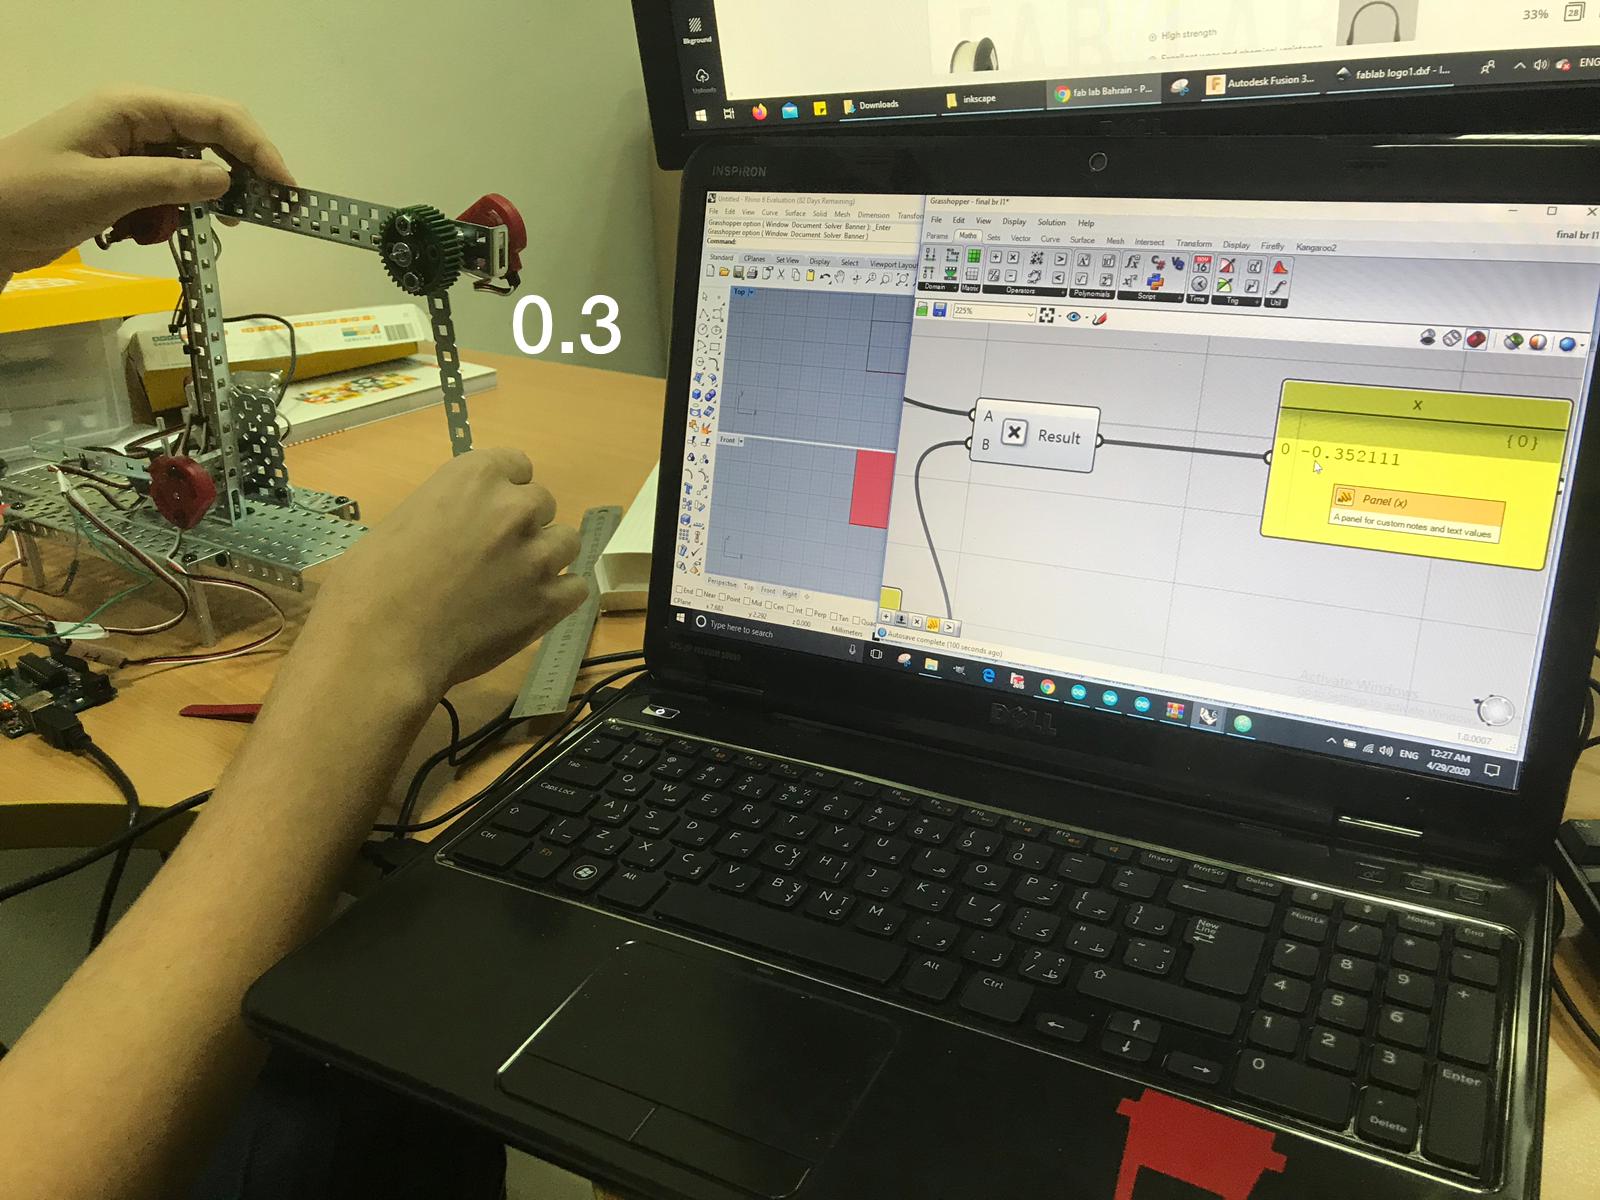
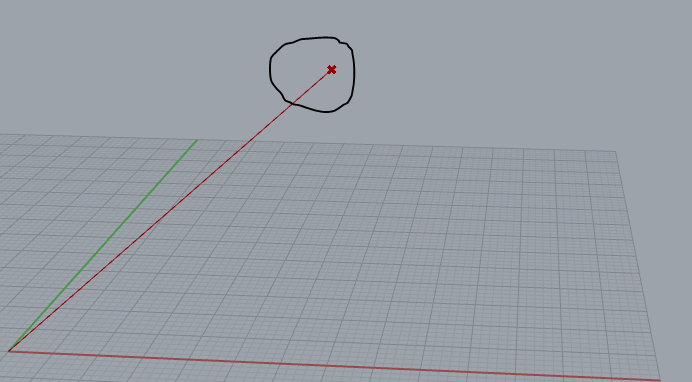
This week I did a Final Project experiment, connected my device to the computer, took readings of variable resistance, converted it into an equation, and then converted it into points in a three-dimensional space
Grasshopper
I used Grasshopper to help me solve equations and connect it with Arduino to give readings
Arduino
I linked Arduino to Grasshopper viaFirefly Firmata
Firefly
- FireFly
-
Steps and models in Firefly Firmata
-
FIREFLY is a set of comprehensive software tools dedicated to bridging the gap between Grasshopper - (a free plug-in for Rhino) - the Arduino microcontroller and other input/output devices like web cams, mobile phones, game controllers and more. It allows near real-time data flow between the digital and physical worlds – enabling the possibility to explore virtual and physical prototypes with unprecedented fluidity.
-
Using Grasshopper’s visual programming interface, Firefly gives you the ability to create interactive programs and devices by manipulating elements graphically rather than by specifying them textually. It gives you the ability to quickly mock-up and prototype ideas for interactive objects and devices. It achieves this mostly by sending data back and forth over the serial port really quickly. But, what if you want your device to stand-alone… meaning you don’t want to be tethered to your computer by a pesky USB cable?
-
Fortunately, Firefly has an advanced Code Generation feature which translate the visual representation of your Grasshopper graph directly into Arduino compatible code. And it does this all on the fly. Now, you don’t need to worry about writing all of that code yourself. Simply, prototype your design as you normally would, and the Code Generator will work in the background writing all of the code necessary to make your design come to life!
Circuits
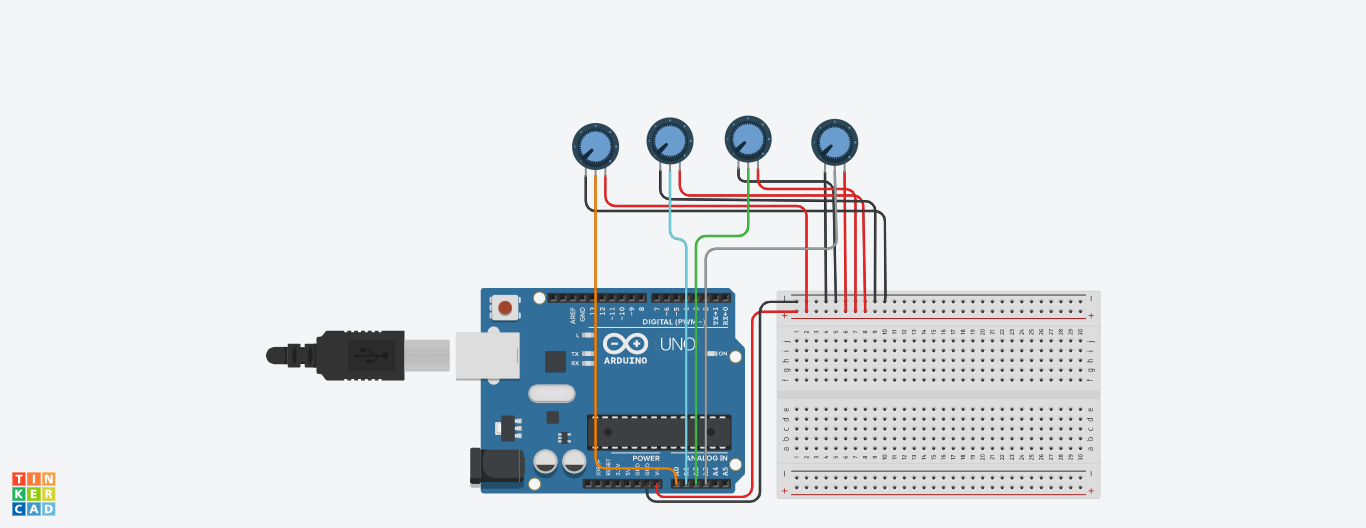
Component list

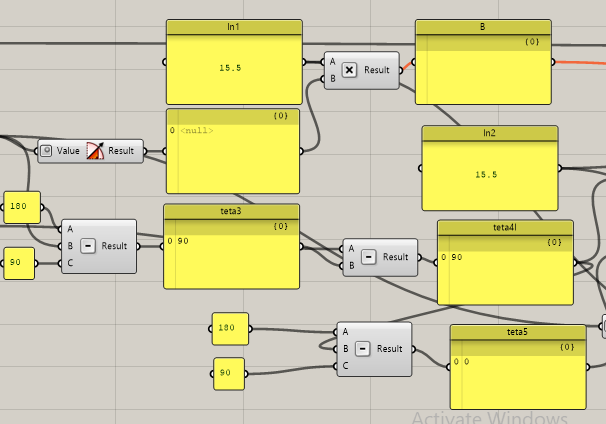
Conductivity and equation
I made an Arduino connection with Grasshopper To make codes and equations with icons
- I put the board in use, which is Arduino Uno
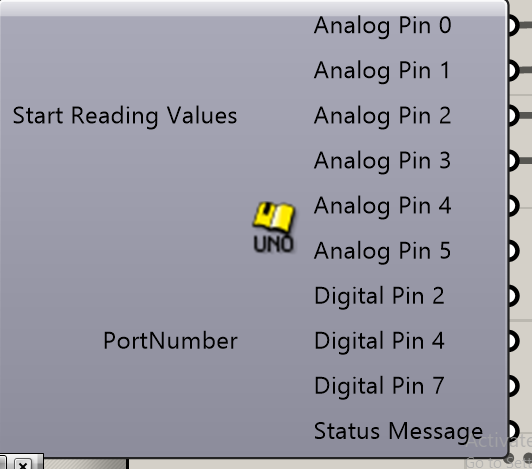
- I put a key to control and select the port
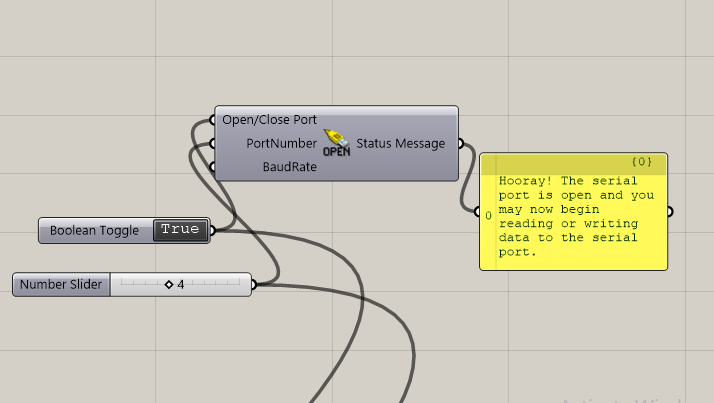
- You put the numbers for the variable resistance
- You named the entries
- I made icons to see the readings that variable resistance will give me
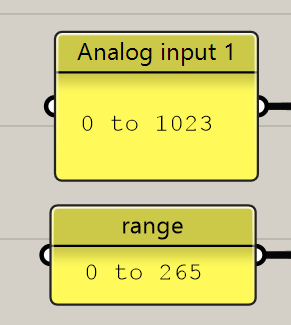
- I made the equation so that each number of numbers and readings made the next step and the process of multiplication and minus
- Continue the previous steps
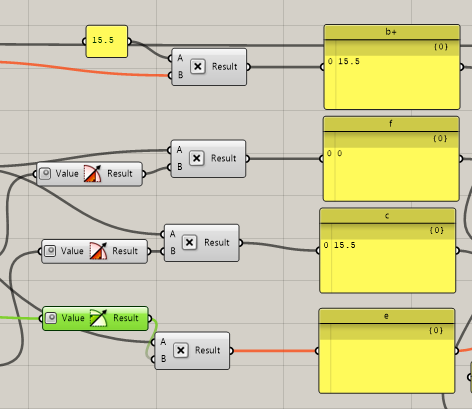
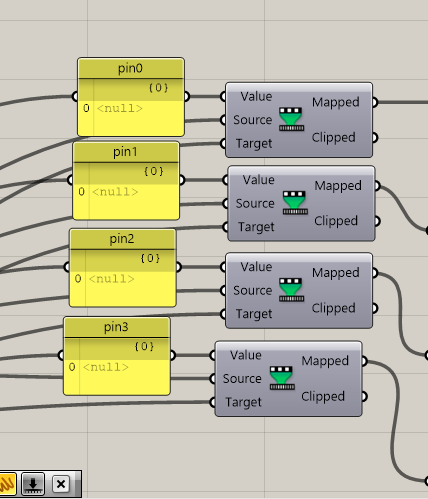
- Use another equation to do the final calculation of the XYZ axes
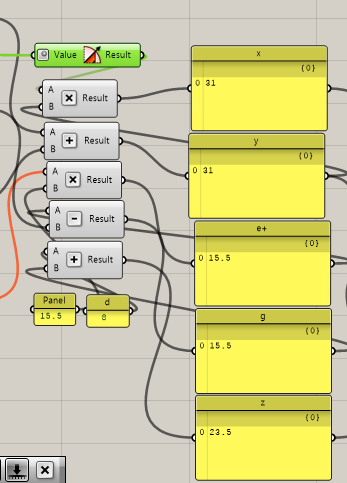
- Here XYZ readings are shown to me
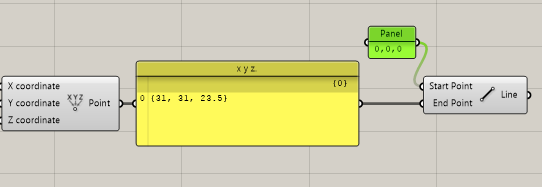
-And here I have a point in the 3D space
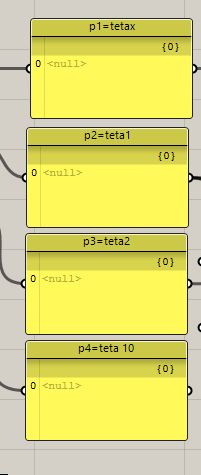
Confirm readings
- And here it shows me similar readings ( X axes)
- And here it shows me similar readings ( Z axes)

- And here it shows me similar readings ( Y axes)