Week 16
Interface and application programming
Link to the class content- Individual assignments
Write an application that interfaces with an input and/or output device that you made, comparing as many tool options as possible.
- Learning outcomes:
Interpret and implement design and programming protocols to create a Graphic User Interface (GUI). - Have you:
Described your process using words/images/screenshots. Explained the the GUI that you made and how you did it. Outlined problems and how you fixed them. Included original code (or a screenshot of the app code if that's not possible)
MIT APP Inventor
Is an intuitive, visual programming environment that allows everyone – even children – to build fully functional apps for smartphones and tablets. Use blocks-based tool facilitates the creation of complex, high-impact apps in significantly less time than traditional programming environments. Link to the web page
We use this web application to understand the basic concepts and apply them in a really easy way to create an application for our phones and connect them through bluetooth with an arduino one and blink the LED. To use this application we need a Google account and sing in.
Check the work flow!
DESIGN:
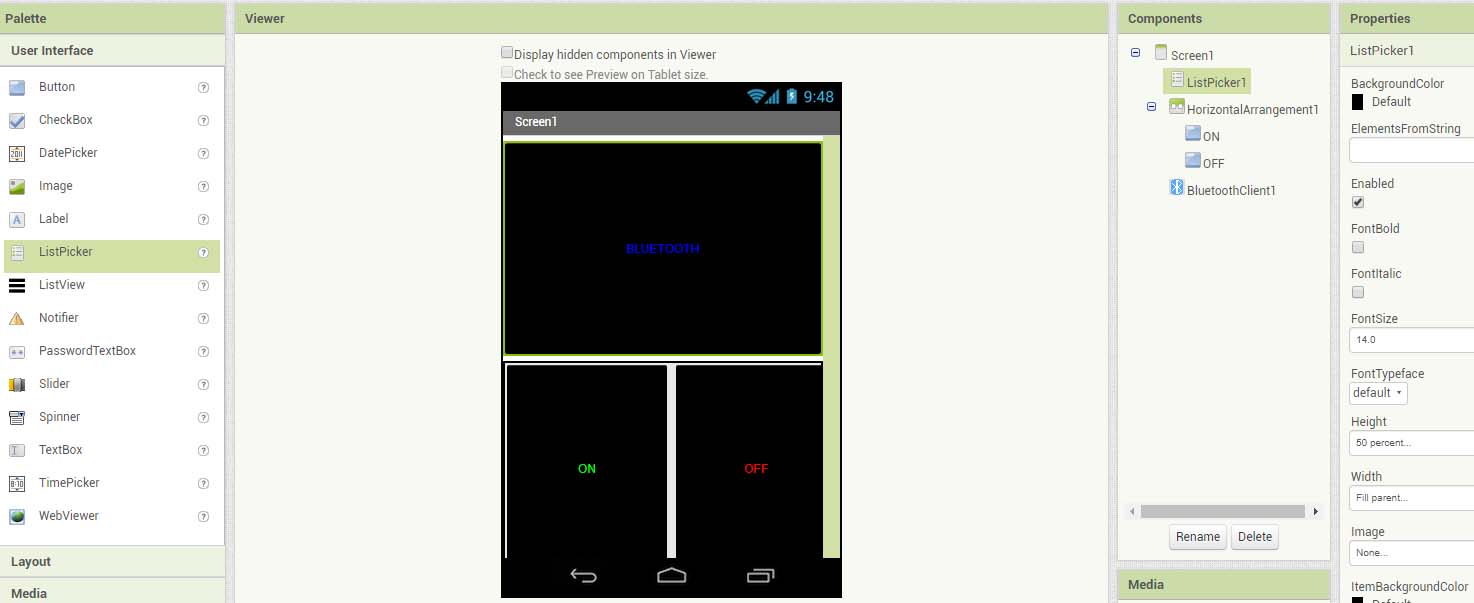
- Start a new project. Called "Shelter" and push ok.
Create the buttons:
- In the "Palette" window at the "user interface" select "Button" and drag it to the screen1.
- In the "Components" window we can rename it and I call my button "ON" and also in the "properties" window we can add some design parameters like color, font, width, text "ON", etc.
- Do the same with another button called "OFF".
Create a Layout:
- In the "Palette" at "Layout" add an horizontal arraignment, drag it to the screen and set the width to "fill parent" and the height to "50%".
- Drag the buttons into the layout created before and set the width and the height to "50%" and set the button height and width to "fill parent" and the text alignment to "centered".
Create a lay out:
- Add "list picker" called "bluetooth" and another layout and drag the list picker into the layout and set the height of the layout to "50%" and the width to "fill pattern"
Set the Buttons with this properties:
- Background:black
- Text color: on "green",off "red", bluetooth "blue"
- Text alignment: centered
BLOCKS (Code):
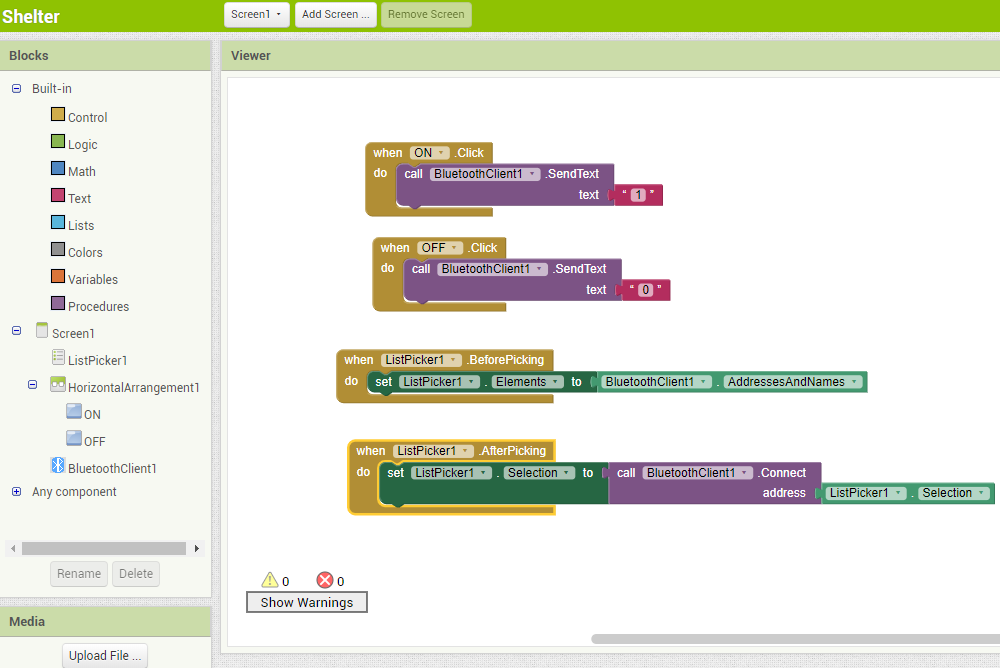
When I click the "ON" button I will send the mesage "1" to the bluetooth device:
- In "palette" window select connectivity and "Bluetooth client" and drag it to the screen.
- Change to the "blocks" work space
- In the "Blocks" window select the button "ON" and select the block "When on.Click do"
- In the "Blocks" window select the button "BluetoothClient" and select the block "call bluetoothclient1.SendText" and write "1"
When I click the "OFF" button I will send the message "0" to the bluetooth device:
- In the "Blocks" window select the button "text" and select a "text string". after that right click on the blocks and select duplicate and change the button "ON" to "OFF" and change the text to "0"
Display a list of the available bluetooth devices and the names:
- In the "Blocks" window select "list picker" and select the block "when listpicker1 BeforePicking do".
- Again select "list picker" and select the block "set lListPicker1 elements to"
- In the "Blocks" window select "BluetoothClient" and select the block "BluetoothClient-AdressAndNames".
- In the "Blocks" window select "list picker" and select the block "when listpicker1 AfterPicking do".
To Connect with the selected device from the list:
- In the "Blocks" window select "list picker" and select the block "when listpicker1 AfterPicking do".
- Again select "list picker" and select the block "set lListPicker1 selection to"
- Again select "list picker" and select the block "set lListPicker1 elements to"
- In the "Blocks" window select "BluetoothClient" and select the block "call BluetoothClient .Connect address".
- Again select "list picker" and select the block "set lListPicker1 Selection"
BUILD:
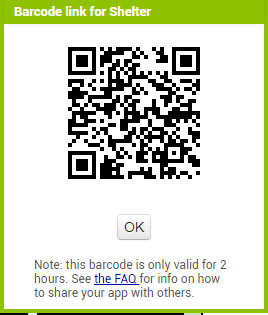
When the code is ready we can install our app by two different ways the first one is scanning a QR code and the second one by installing manually. Before installing our application in our cellphone we need to go to the security seethings and allow installation of the applications from both trusted and unknown sources.

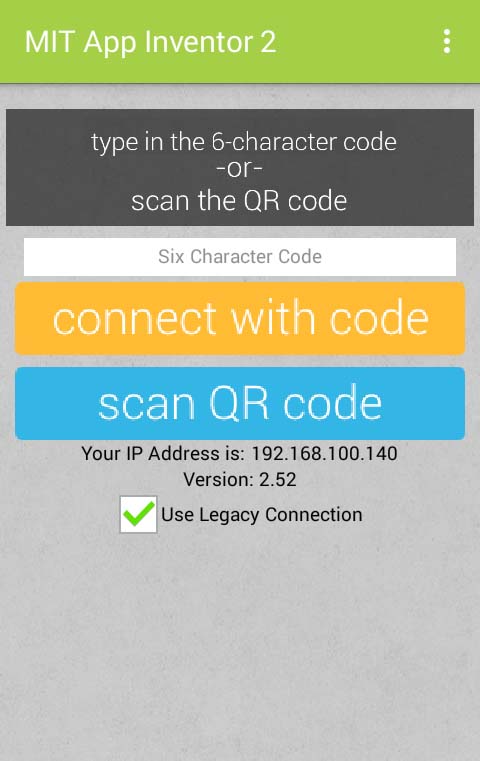
- App(provide QR code for /.apk): to use this option we need to install the MIT App inventor in our cellphone and to scan the QR code.
- App(save .apk to my computer): If the QR doesnt work we can download the app installer in our PC and after upload it to our cellphone and install the app.
You can download the files:
FINAL RESULT:
After installing the app I had to turn on my bluetooth and pair my phone with the bluetooth device "Slave" and after that open the "Shelter" app and push the bluetooth button and select the "Slave" device and connect to it.
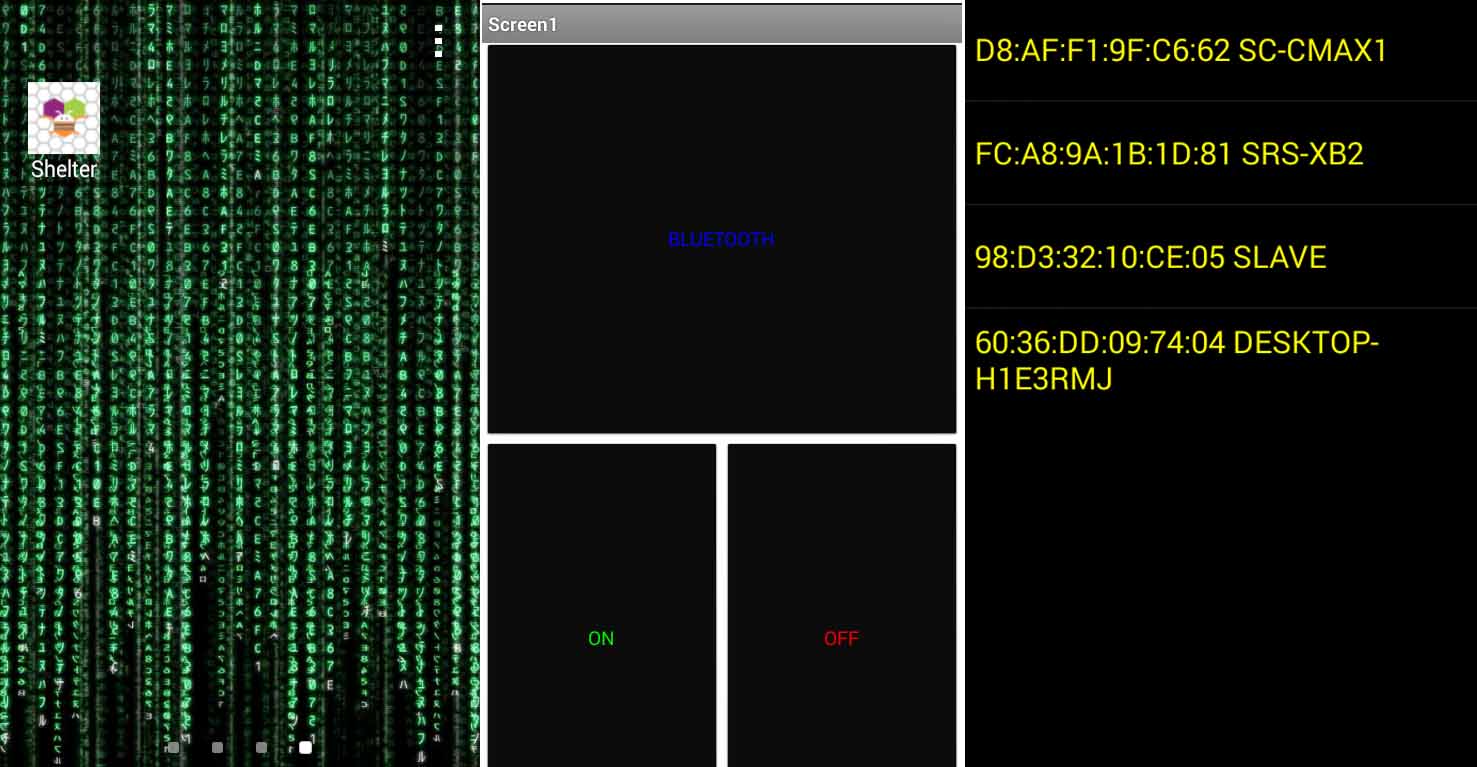
To test if the app was working right I connect the bluettoth device to my pc through a FTDI cable and open the arduino software and the serial monitor and setup to "Both NL & CR" and "9600 baud". And when I push the "ON" button the message "1" was displaying in the screen and when I push the button "OFF" the message "0" displays on the screen.
Check the video!
Interface with the board made by me.
For this part of the assignment I will connect through bluetooth my cellphone using the application that that I create and I will send the datum "1" to turn on and the datum "0" to turn off the stepper motor attached to my board developed and programmed in the Week 14. I did the next work flow:
- Programmed the output board of the stepper motor.
- Connect the bluetooth module to my board.
- Connect the stepper motor board to the power supply of 12 V.
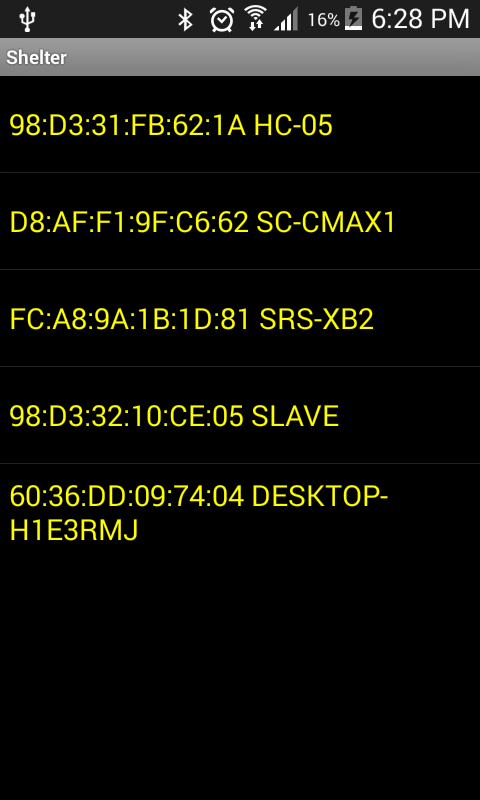
- Connect my cell phone with the HC05 device
- Open my shelter app.
- Click on the bluetooth button to search the available devices.
- Select the HC05 device
- Click ON and the motor moves!
Conclusion:
The MIT App Inventor is a really useful and very easy way to create interface and applications because of the blocks system I just need to make some decisions about the design and in the code part the block system allow me to understand better which blocks must fit correctly with each other.