
Lingyu Yue @ FAB LAB Szoil · 2019
© 2018 Lingyu Yue · Template by Bootstrapious

This work is licensed under a Creative Commons Attribution-NonCommercial-ShareAlike 4.0 International License.
3D Scanning and Printing
- Group assignment: Test the design rules for your printer(s)
- Design and 3D print an object (small, few cm) that could not be made subtractively (Individual Project)
- 3D scan an object (and optionally print it) (Individual Project)
Compare with the subtractive manufacturing technique , with the additive manufacturing technique, we can design some unique structures more quickly. I was so excited to print a 3D modeling by myself and also wanna make something which can be used on my final project.
About 3D Printing 
The 3D printing process builds a three-dimensional object from a computer-aided design (CAD) model, usually by successively adding material layer by layer,(same way as the normal printing), and it's a type of additive manufacturing.
There are some different processes applied in 3D printing:
Material Extrusion
Material extrusion is a 3D printing process where a filament of solid thermoplastic material is pushed through a heated nozzle, melting it in the process. The printer deposits the material on a build platform along a predetermined path, where the filament cools and solidifies to form a solid object.
- Types of 3D printing Technology : FDM (Fused Deposition Modling )
- Materails: thermoplastic filament (PLA,ABS,PET,TPU)
- Dimensional Accuracy:±0.5% (lower limit ±0.5 mm)
- Strengths: Best surface finish; Full color and multi-material available
- Weaknesses: Brittle, not sustainable for mechanical parts
- Types of 3D printing Technology : Stereolithography (SLA), Direct Light Processing (DLP)
- Materails: Photopolymer resin (Standard, Castable, Transparent, High Temperature)
- Dimensional Accuracy: ±0.5% (lower limit ±0.15 mm)
- Strengths: Smooth surface finish; Fine feature details
- Weaknesses: Brittle, not suitable for mechanical parts
- Materal Jetting (MJ)
- Drop on Demand (DOD)
- Binder Jetting (BJ)
- Direct Metal Laser Sintering (DMLS);Selective Laser Melting (SLM); Electron Beam Melting (EBM)
The most common used materails are PLA and ABS, cheap and accessible. We often use these materails at our space.
Vat Polymerization
Vat Polymerization is a 3D printing process where a photo-polymer resin in a vat is selectively cured by a light source. The two most common forms of Vat Polymerization are SLA (Stereolithography) and DLP (Digital Light Processing).
I saw the SLA technology at maker expo. The process is like the video below.
And there are more 3D printing technologies, like :
and so on, we could explore more.
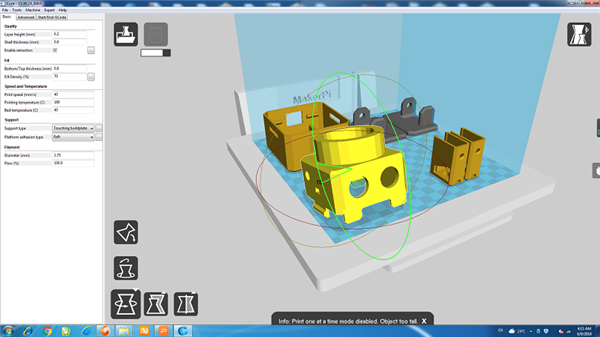
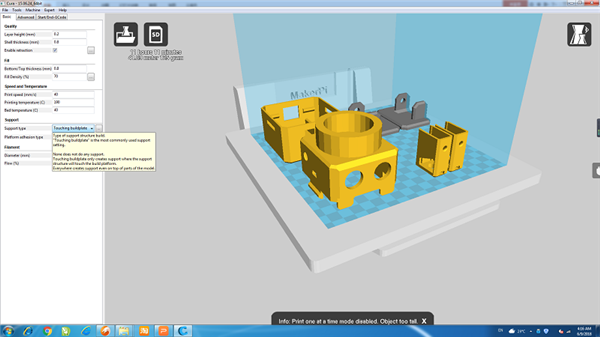
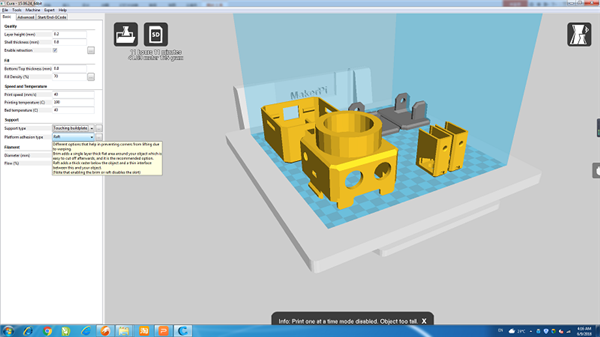
Test the 3D printer
Instructor Pablo suggested that I could downloaed the test file 3D Printer Test Print – 10 Models to Torture Your 3D Printer
I downloaded the second file and tried to print with the 3D printer at MG Space.
I tried Zortrax M200 at first. I used Z-suite to generate the .zcode file to print.
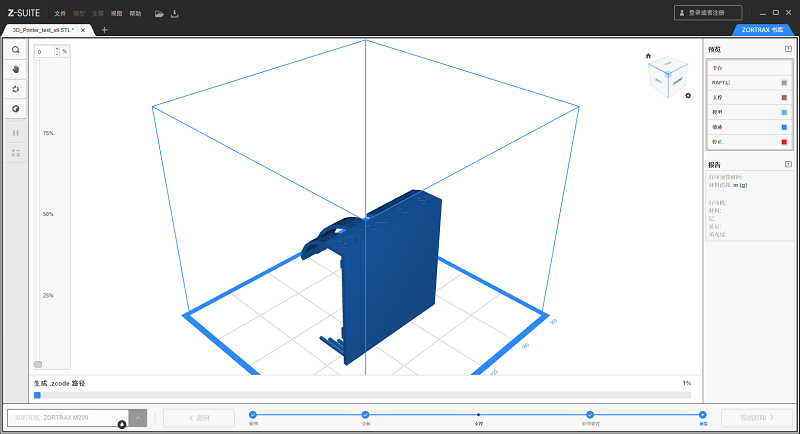
Then I downloaded the .zcode file to the 3D printer and selected the right model to print.
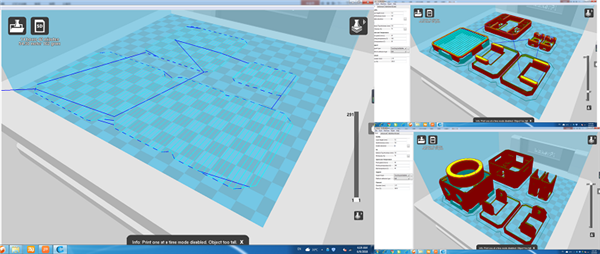
But the model didn't end up well. It failed when printed the angle parts.
.jpg)
.jpg)
And I found out that the platform is not even for this machine, so I use a tiny piece of wood to fix it.
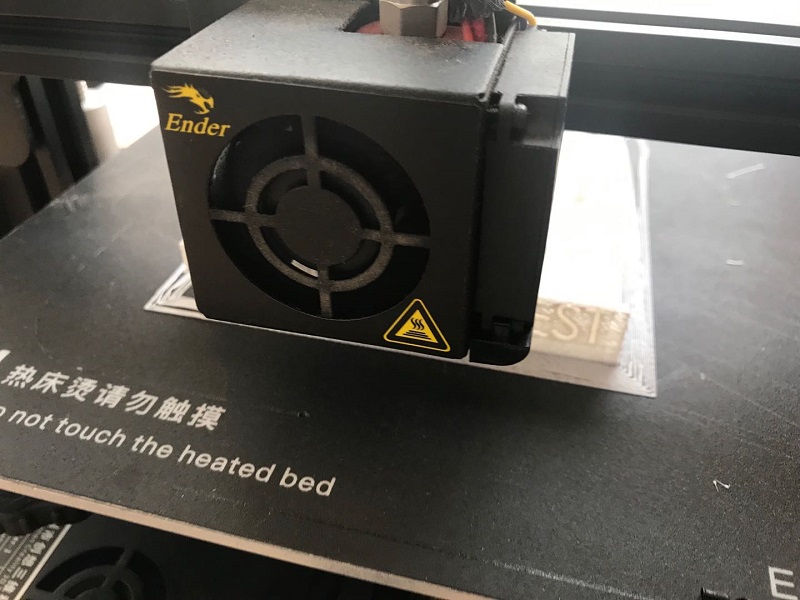
Then I tried the second 3D printer- Creality3D Ender-3 3D Printer . I used the model in different orientation.
I put the model stable on the platform,then I've got a better test model.
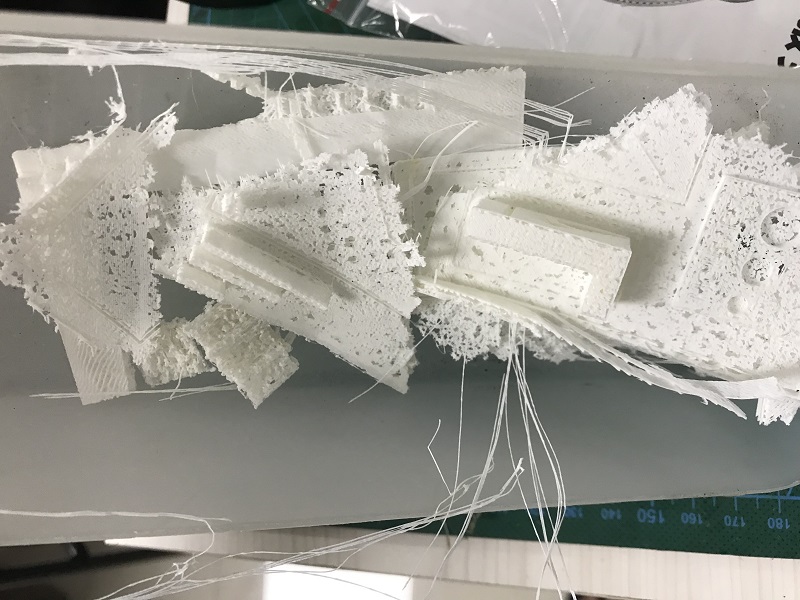
After that, I used fixed model to lay flat and print on model with ABS materials, it turned out good, I've got a nice and flat model. But I lost the model before I remember to take a picture. T T
So I reprint the model , but only PLA materail left, so I got a messy model again.
I ordered ABS materail again to wait to make a test model.
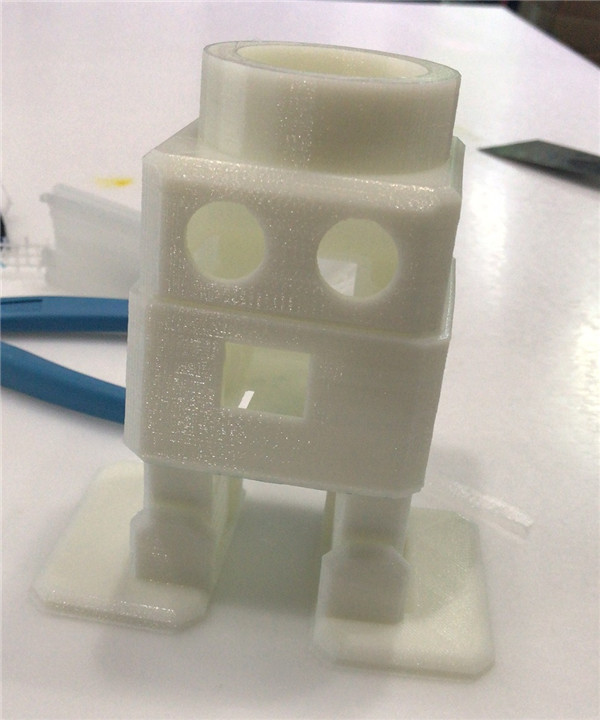
First try : 3D designing in tinkerCAD
I use the basic structure of an open source robot Otto DIY ,I added a small circle container on the top and poke a hole in the middle to put my LED strips.
.png)
.png)
.png)
.png)
.png)
.png)
.png)
.png)
3D Printing
I used to ajust the stl file and print it.
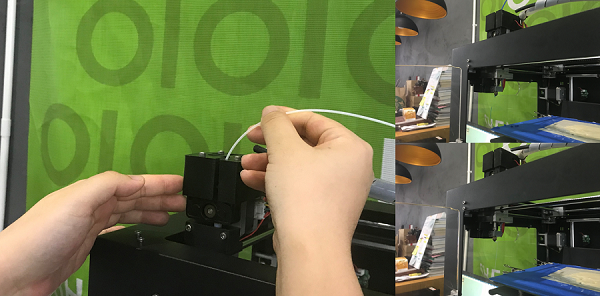
Then I printed it out.I changed the PLA filament into the right color. After heating, the new one will replace the old one.
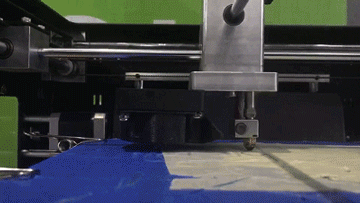
Printing now.
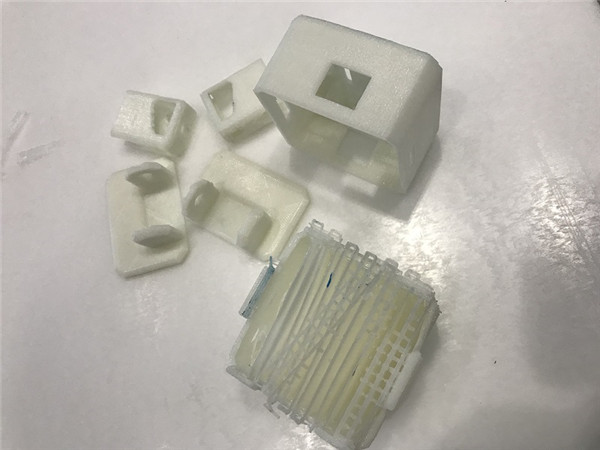
After 13 hours, I got these parts.
Second try : 3D Design a cage and Print
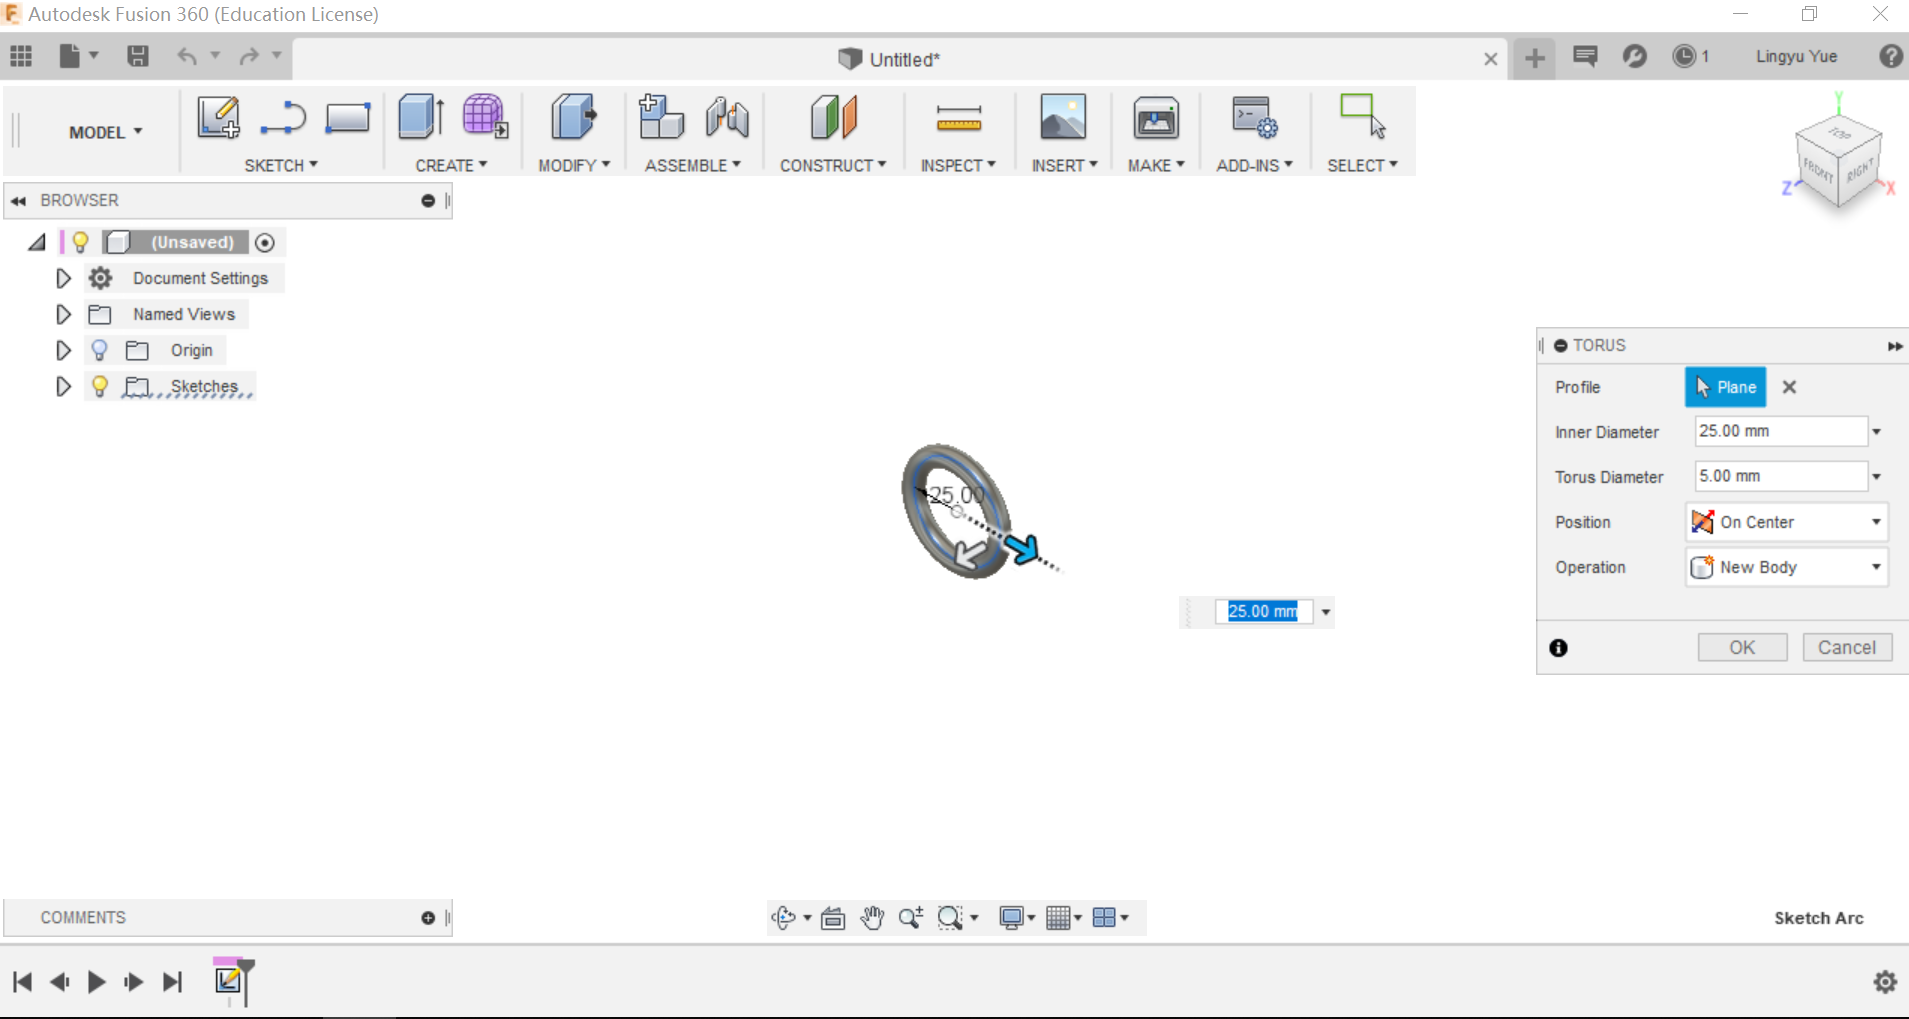
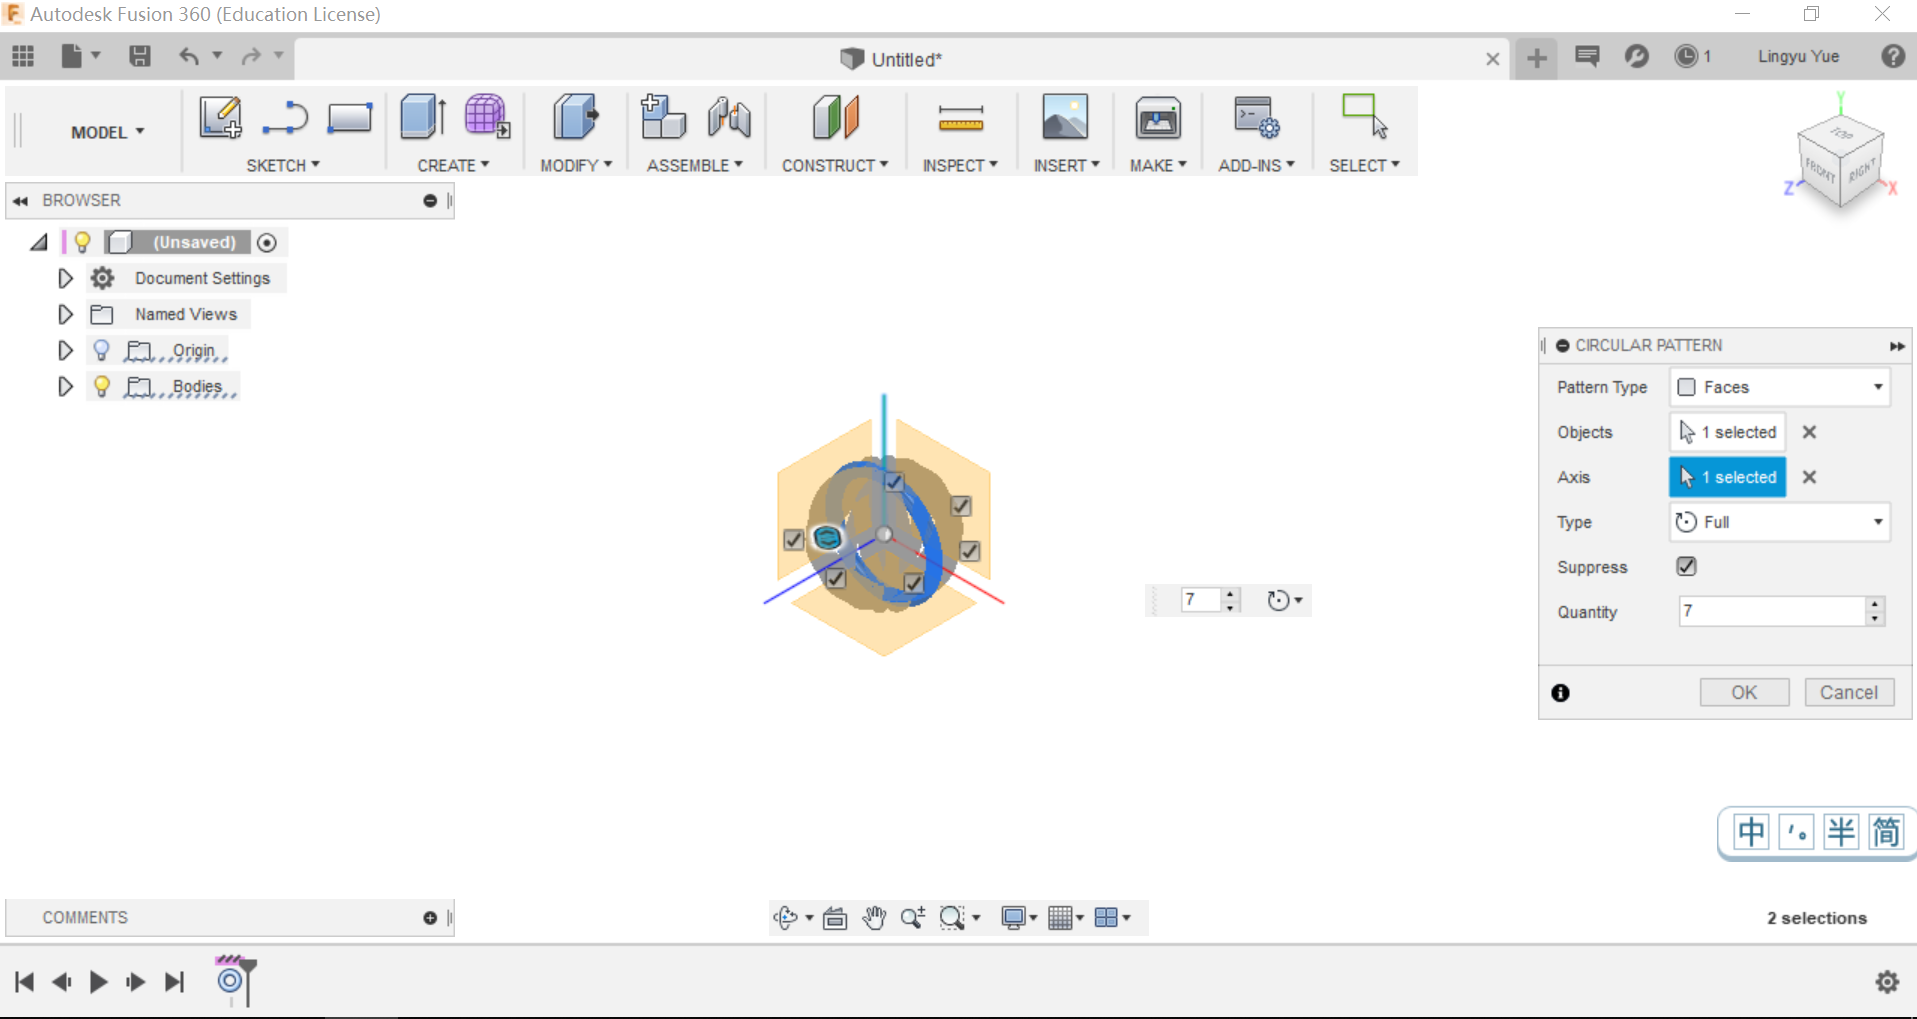
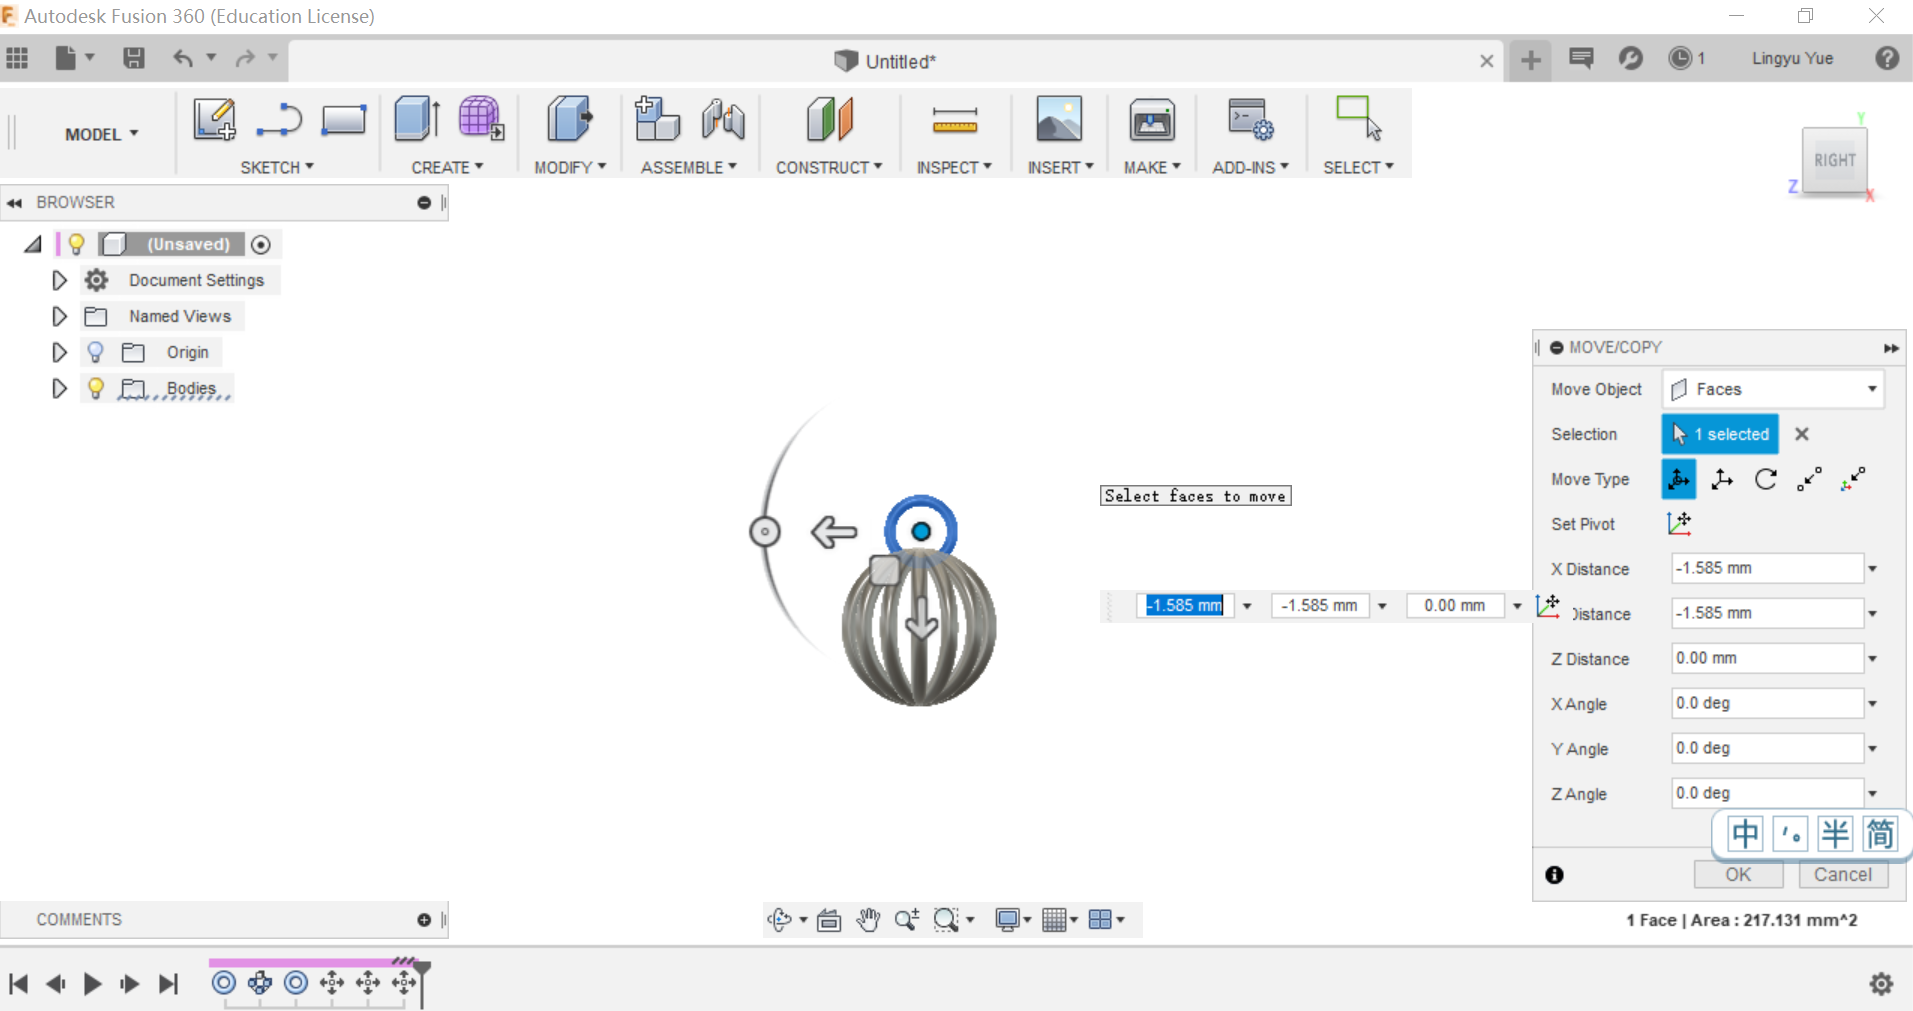
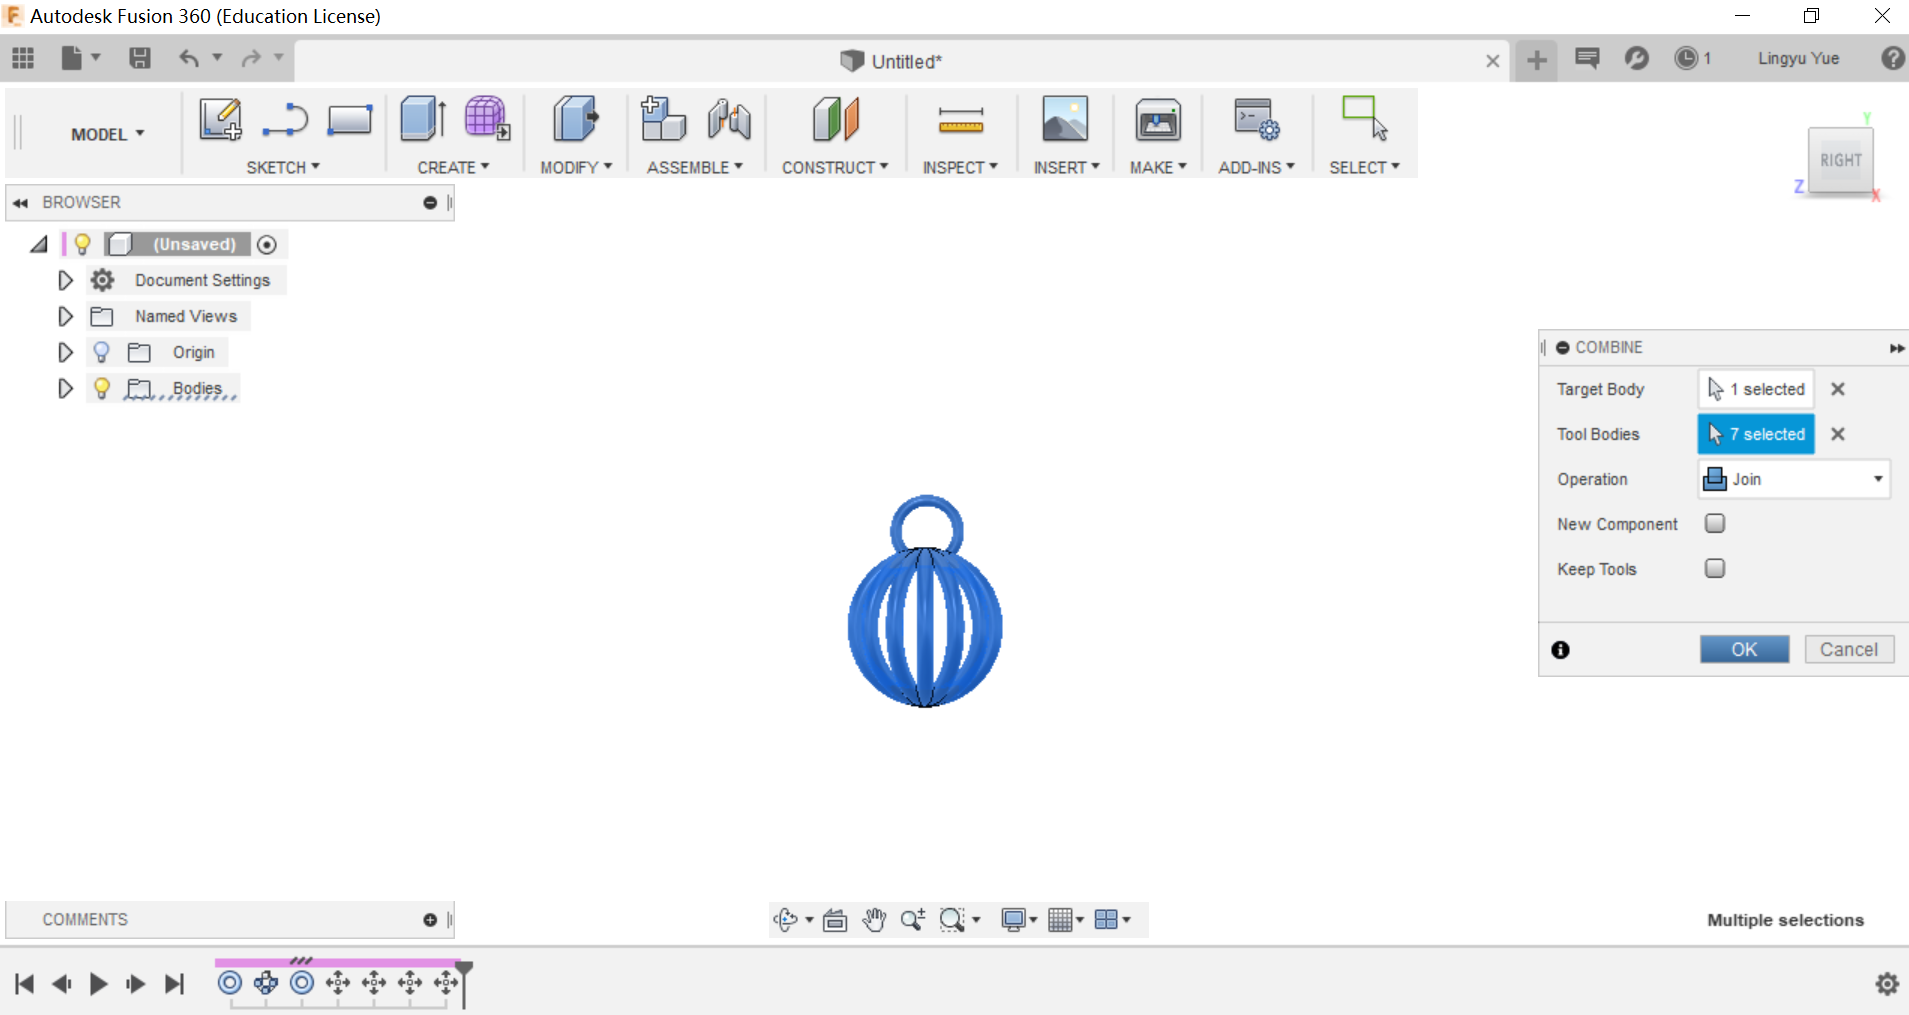
When I was thinking to make an objest that could not be made subtractively, the first idea is to make a sphere. I wanted to put a small sphere inside a bigger one. But then consider the situation of the 3D printer , I decided to make a cage, during the 3D printin process, I could put a small marble inside.
I used Fusion 360 to design the model.

During the printing, I found I leave a too narrow part to stay on the bed, it's easy to move.But luckily, it form the cage shape.
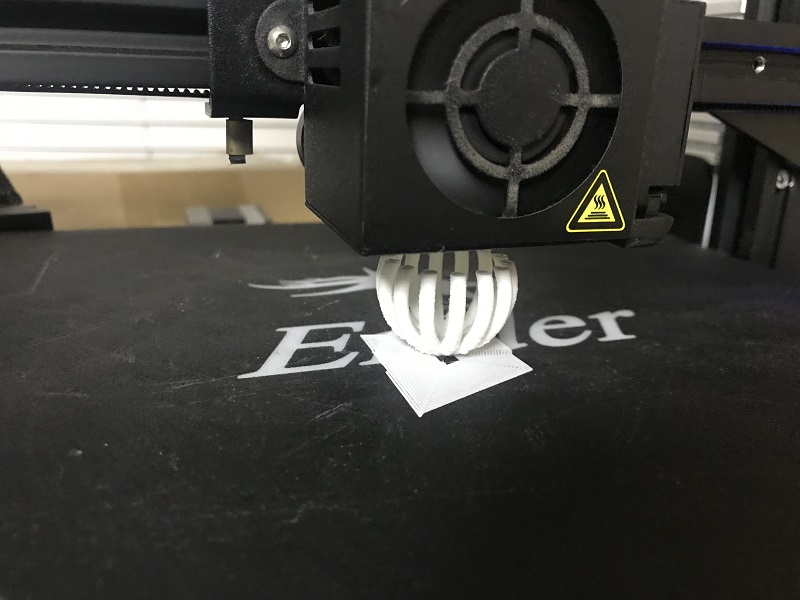
I paused the printing and put a marble inside.
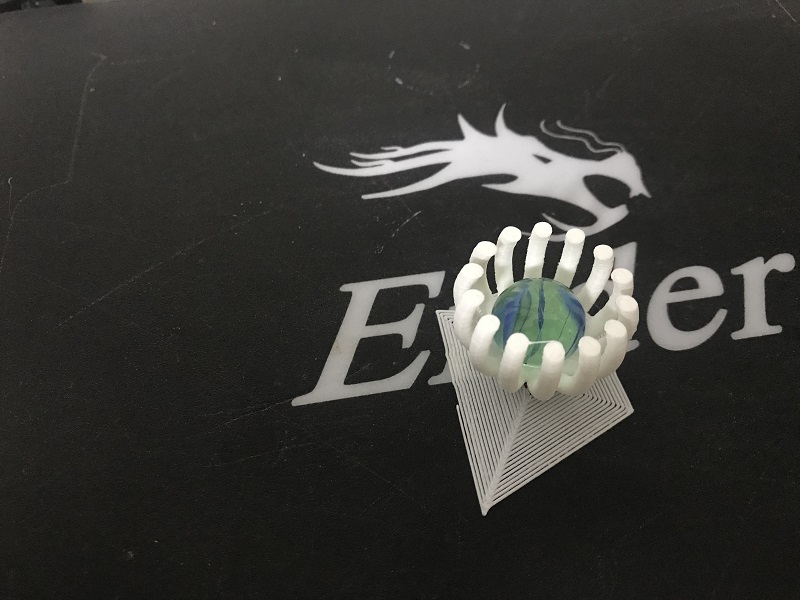
Then I continued to print.
I got this cage with marble inside .
3D Scanning
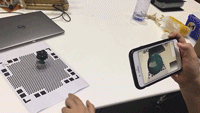
I tried several apps and chose the Qclone.I downloaded the scanning mat and printed it out, than I put the pbject onto the mat and scan it. I have to hold the phone steady and spin the mat nicely and slowly.
Here's the scanning results.
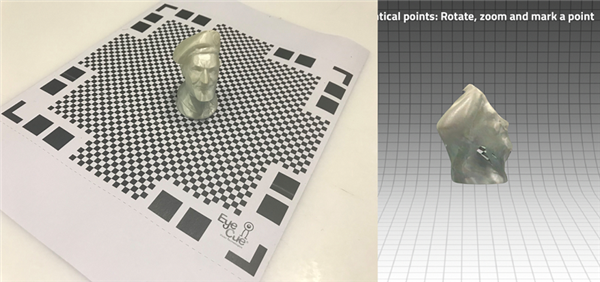
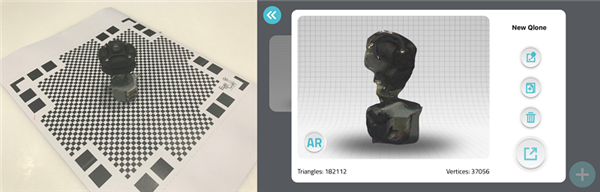
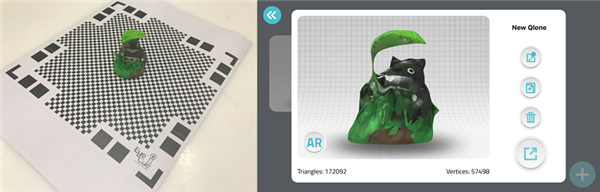
With Qclone,I can scan the object from different angles,and merge the result together, but sometimes, it need some paint after scanning. My coworker Yuanhan made a rotation pedestal, I'll use this for my next trial to see if I can get a better model.
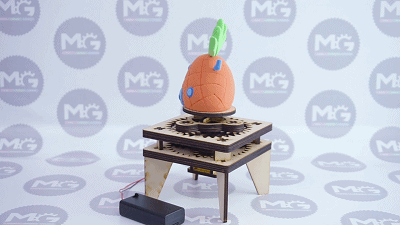
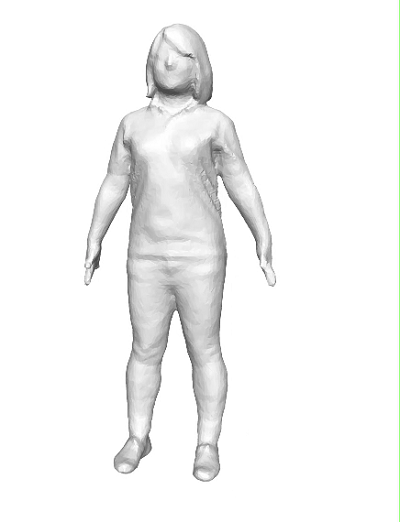
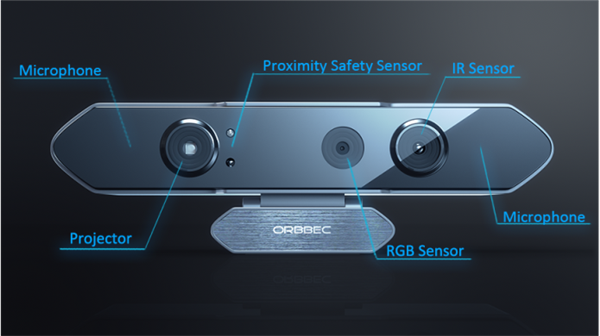
I found a nice prodcut Orbbec Persee: World's First 3D Camera-Computer on Indiegogo. So I tried to use it to scan my body.
Here is the RAR-package containing the design and scanning files of the week: