Mechine Design
Work for this week
This week our main focus is machine design. And we do not have individual assignment, instead we have group assignment - to build a machine.
As mentioned in week 15 Mechanical Design, we had several ideas about making the machine and we locked it down to: make an a spirograph machine! We already made the mechanical design and it worked manually. Now it’s time to think about how to make it work automatically!
Meterials
the mechanical parts from week 15
Arduino Uno
a light sensor (to tell the motor to when to stop)
Cables
jumper wires
360 degree motors - the version we use is MG966R 360 degree motors
Upgrade the mechanical design
To make it possible for the motor to control the whole system, we need the motor to be perfectly located to be attached to one of the current gears, so that we can drive the whole system to work.
We had 3 attemps and then finally came to the solution that works.
Attemp No.1
We are thinking about making a vertical motor system, with the motor in the middle, and gears of exactly the same size on the bottom and top. The top gear is attached to the motor on the propellers of the motor. When the motor moves, the top gear will move along. And the top gears are connected with the bottom gear via long nails which we designed with Fusion360 and made with 3D printers.
Setback No.1
Here comes the first obstacle. we carefully calculated the dimension of the motor, pinpoint the holes for the screws to go through (to mount the motor).
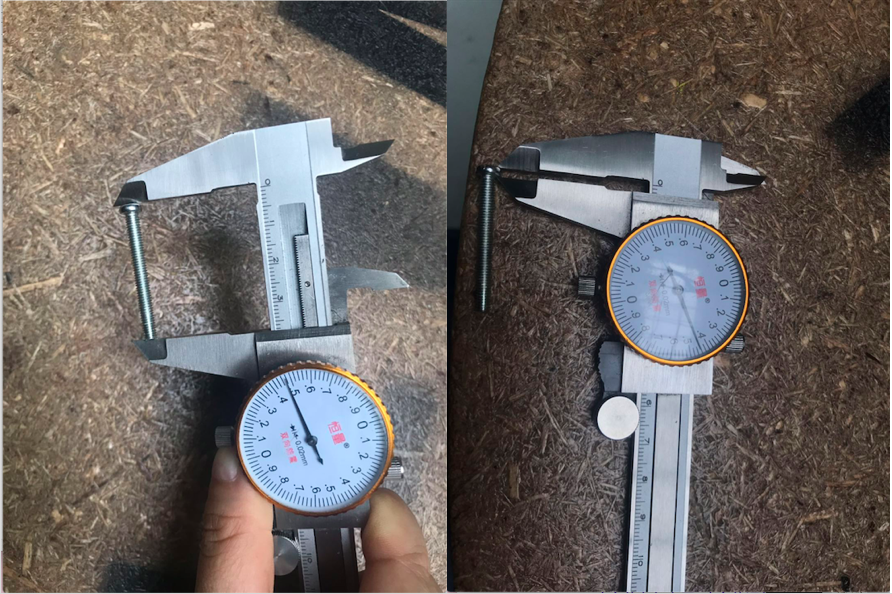
(Measure the bolts for fastening the motor)
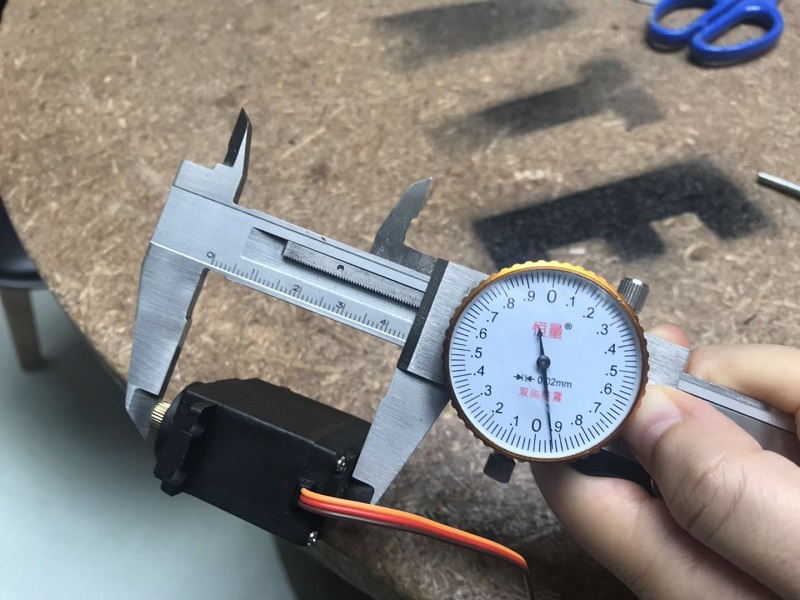
(Measure the motor dimensions)
However, we missed one important point!! The propeller/moving part of the motor is not in the center of the motor. As a result, when the motor moves, the top gear will move, around the same axis. However, the bottom gear won’t be moving around the same axis, which means, it won’t be able to move even one round!
We figured this out before we even mounted all the parts together. The good things is: we won’t destroy anything by testing it.
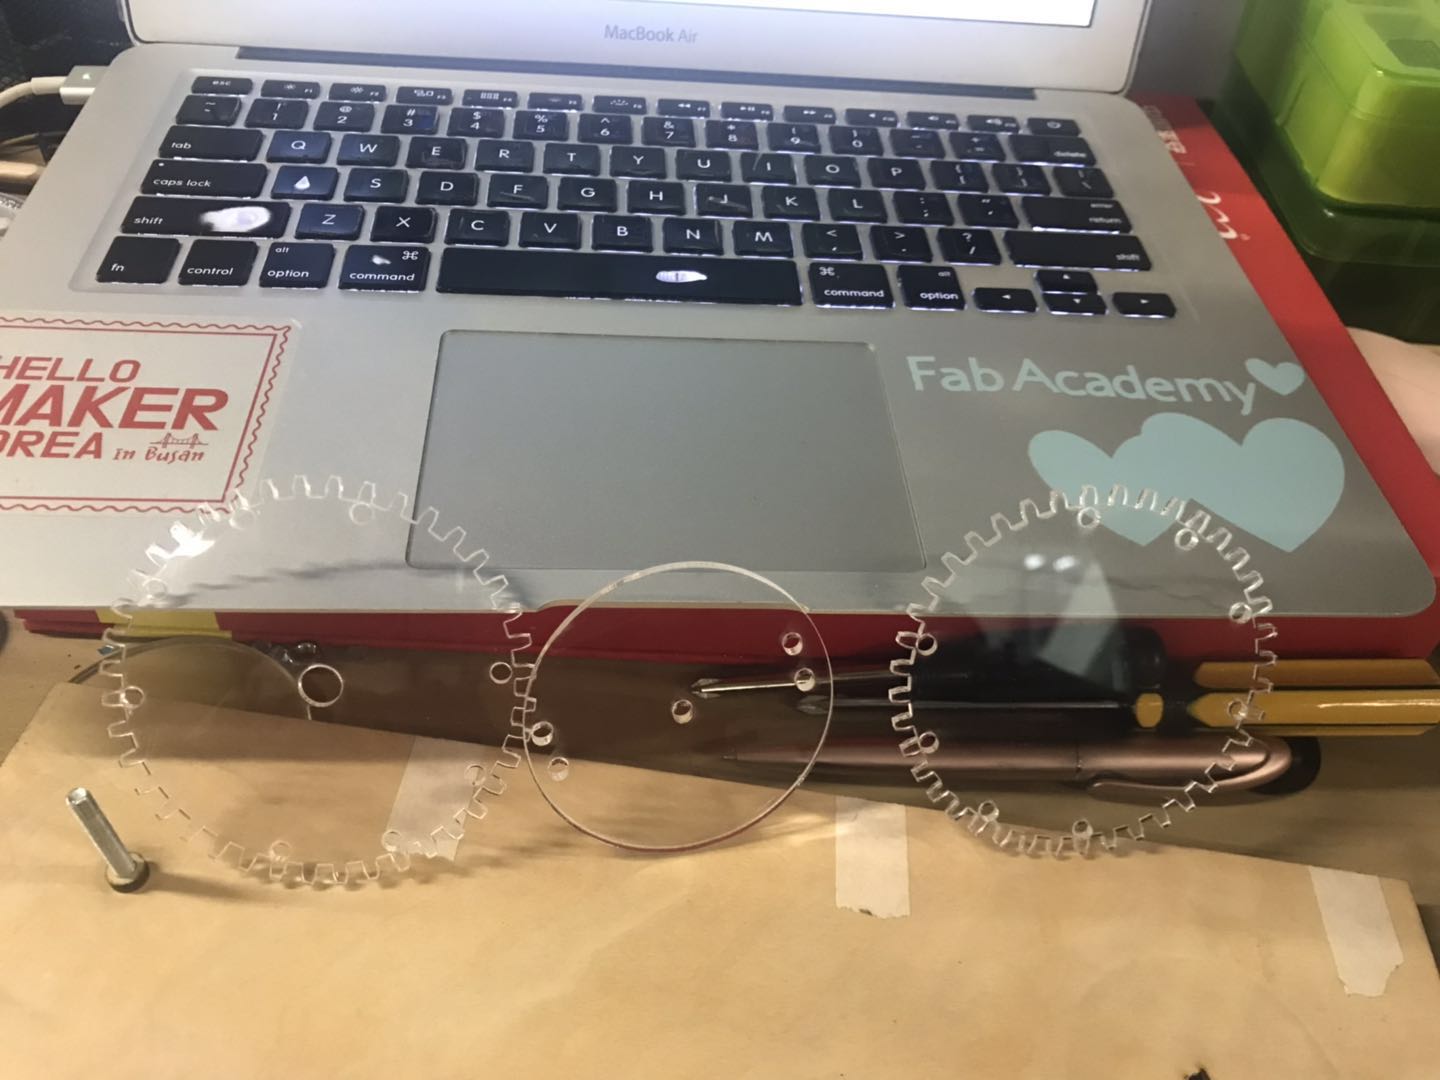
(parts for motor system version 1)
Setback No.2
And then we even more carefully redesigned the second time. This time, we recalculated the dimension, and moved the holes 10mm to the side, in this one, the axis for both the propeller, the top gear, and the bottom gear is exactly the same.
We happily ran downstairs to use the laser cutter to make new parts. In order to make enough room for the gears, we made the gears much larger than the previous version. You can see the new gears below. See the difference in the location of the 4 holes (they are not equally distanced from the edge anymore.)
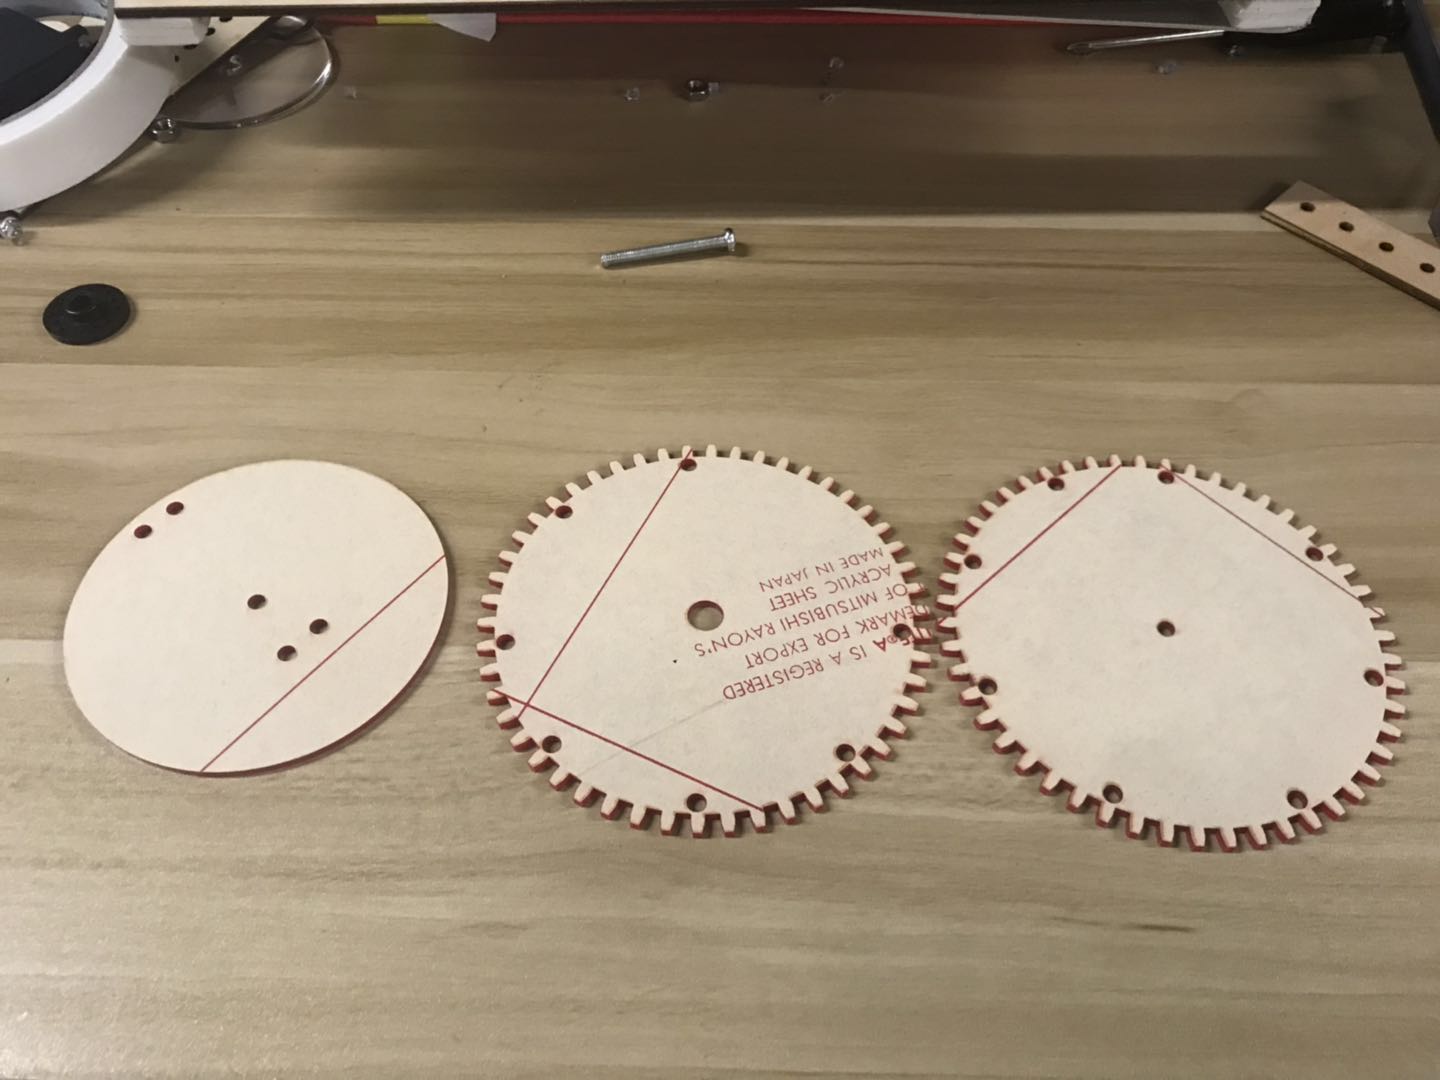
(parts for motor system v1 updated)
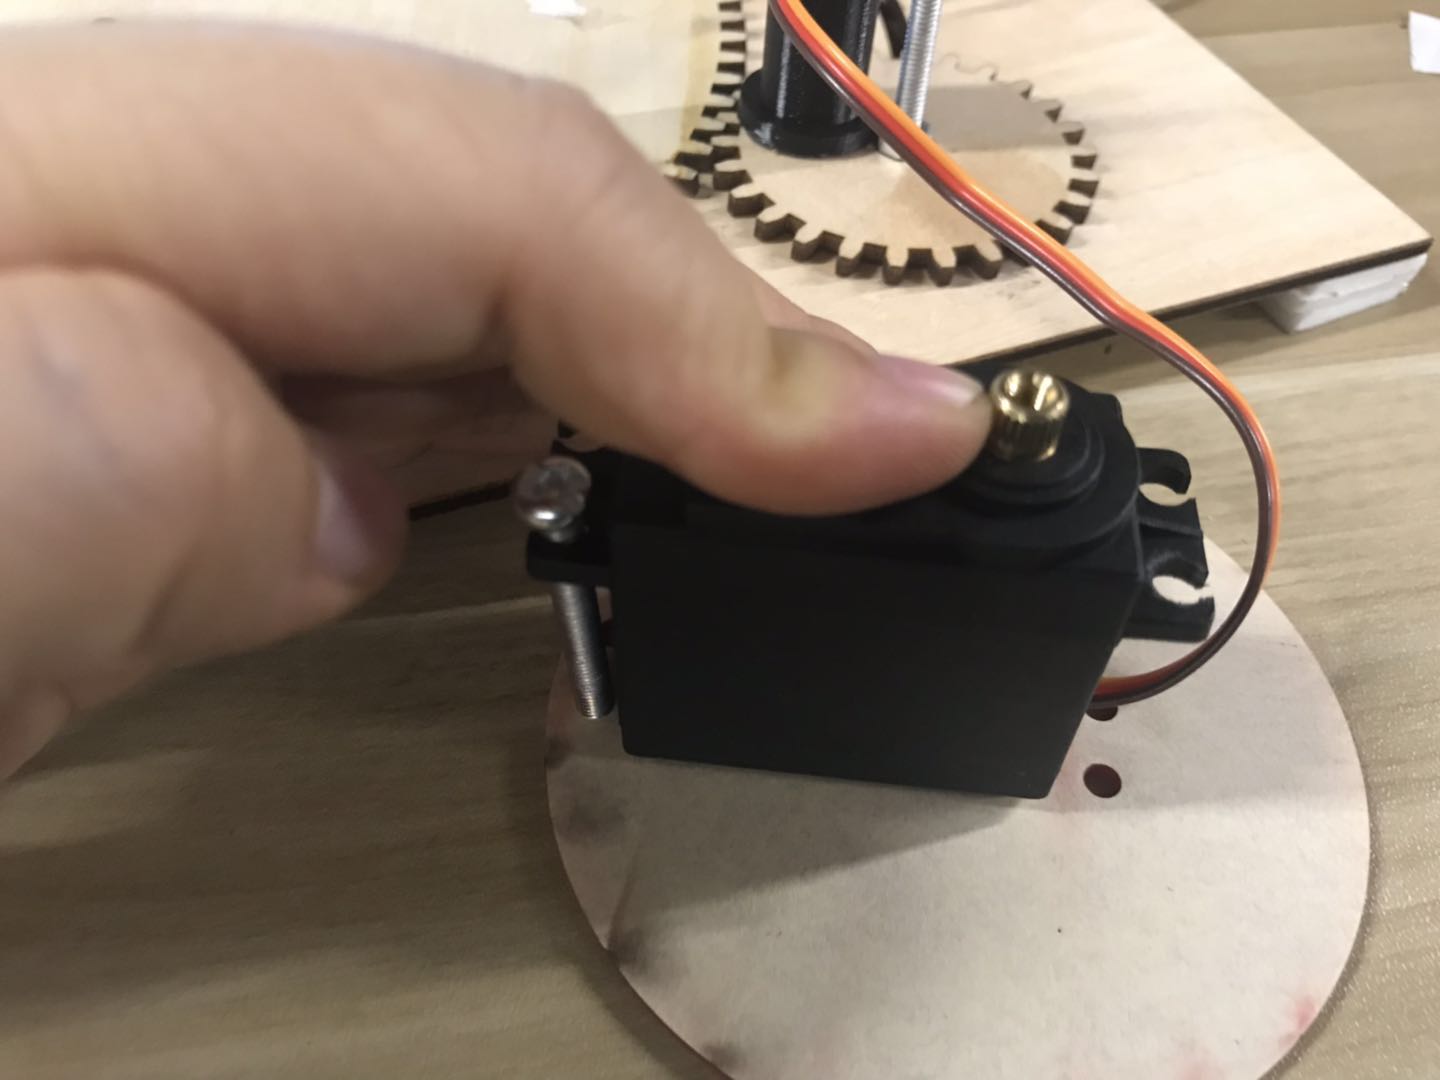
However, When we began assembling them, we realized this system won’t work! Why? We have a cable connected to our motor! If the top gear and the bottom gear of the system needs to spin around, the cable should not go through the sides, it should either go through the top of the gear or the bottom of the gear, not through the free spaces in the middle. No matter through the top or the bottom, we need to make the gear hollow, and if it’s made hollow, we are afraid it will be too fragile to endure so many spinning.
So time to think for a new solution.
Attempt No.2
The second idea was: Hey, if the top gear moves and the whole system moves, why do We have to build a 3-layer system, we can just put the motor beneath the central motor, or any of the current motors. In this way, when the motor moves, the gear attached to it will move.
With a second thought, the small gears at the side are not the right choice because if we dig a hole at the center for the motor to control one small motor, I’d need a support system for the motor to stay in its preset location for it to finish a drawing. And this will require me to change the design in a larger scale, which is not time efficient. So it came to the central large gear.
We move out the central support part, and decided to connect the central pillar with the big gear. After a few attempts (even with newly-designed central support part), it seemed to be an invalid solution. Our understanding was: the big gear is attached to the centra support part by a tiny point of 3.5mm pillar, it’s difficult to make sure it’s connected soundly.
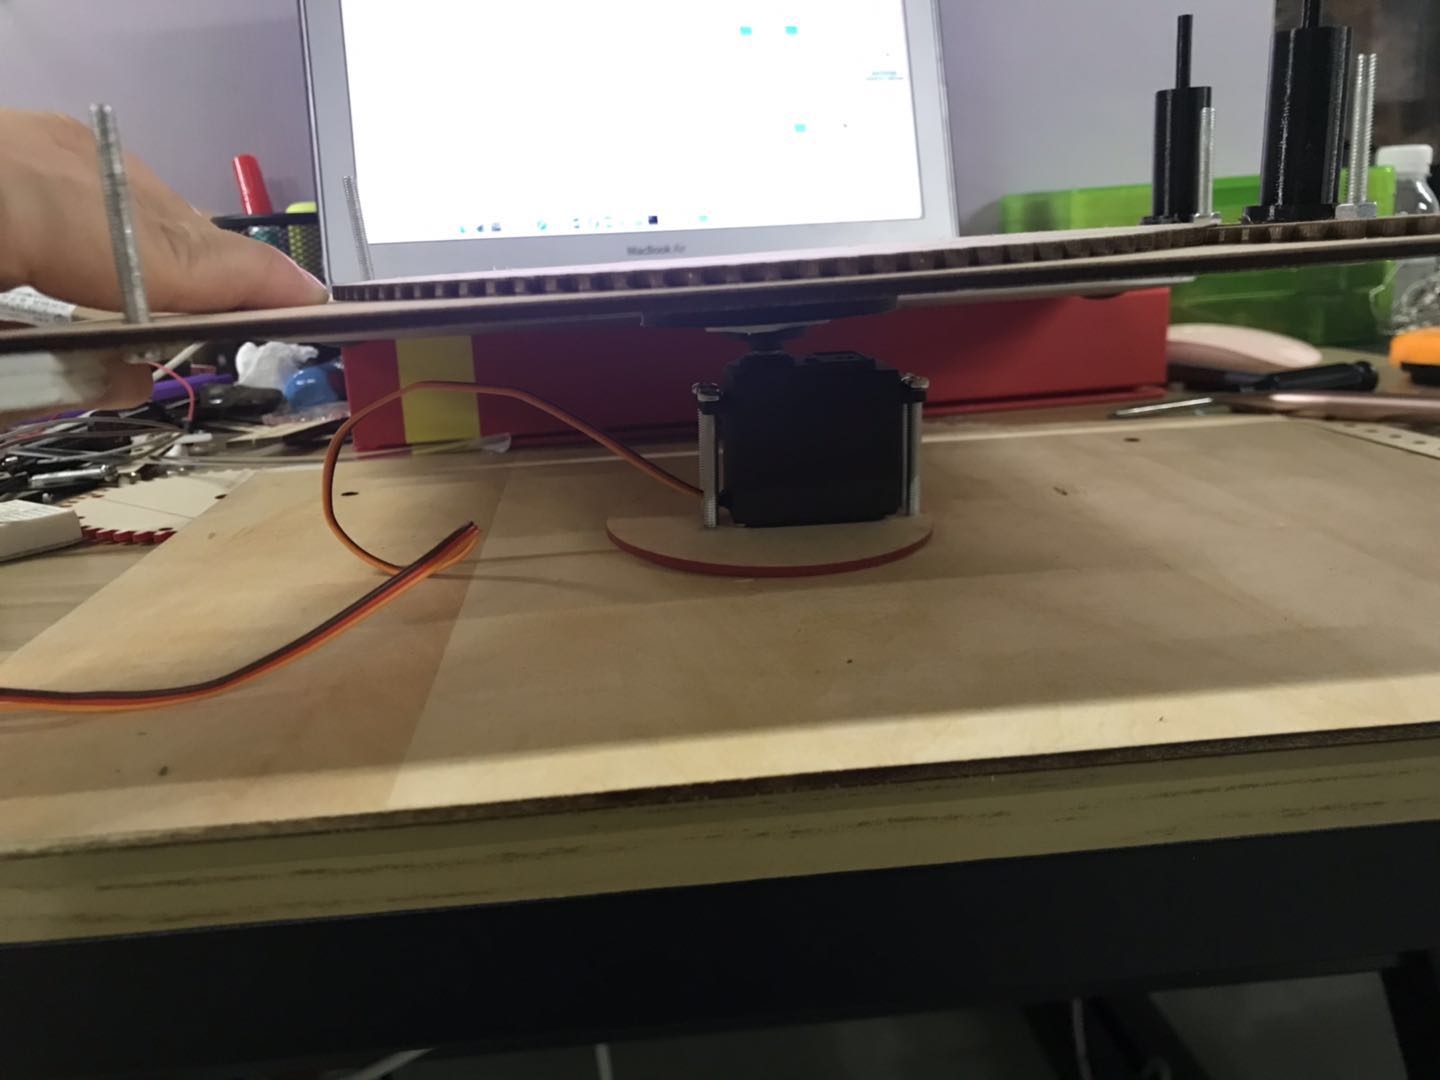
Attempt No.3
It suddenly occurred to me, if the gear that the motor controls needs to be at the top of the gear, why don’t we move the gear a bit lower than the current system! This is the lightbulb moment! We designed to make a chaisis for the current system. We got the plywood board from my previous cuttings as the base. And then, we made pinpoint three holes (we were thinking triangle is the most stable system), which we can use bolts as the support pillar, and nuts to calibrate and fasten the system to the right height. Luckily, we had several gears available now (with the previous several attempts), so we can test the system right after assembling it. It worked!! See the video below.
One more thing to mention, after everything is assembled, we found out the triangle system that we chose was not perfect. Because when the gears are moving, there are forces, and if we do not have a support pillar near the corner that is connected to the motor, it will lose balance and the gears won’t be attached correctly. So the next day, we added one more pillar near the corner that’s attached to the motor system.
Now it’s time to work on the electronic part.
Coding
        #include
        Servo myservo;

        void setup() {
          myservo.attach(9);
        }

        void loop() {
          myservo.write(0);
        }
After uploading the code to the board, we can disconnect the Arduino from the laptop, and then use an adaptor to connect it to the power supply directly.
Here is the link to our group assignment page of machine design

